Noise Testing, Fitment, and Lighting
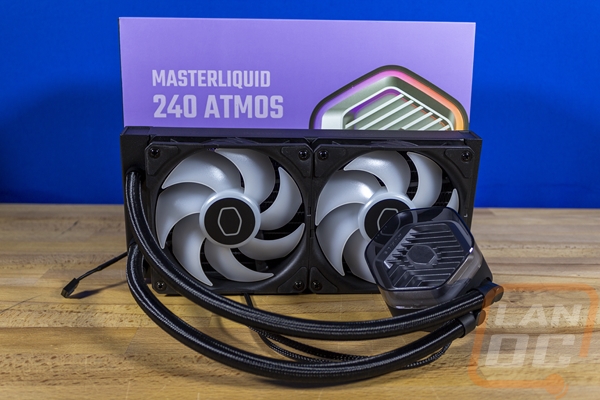
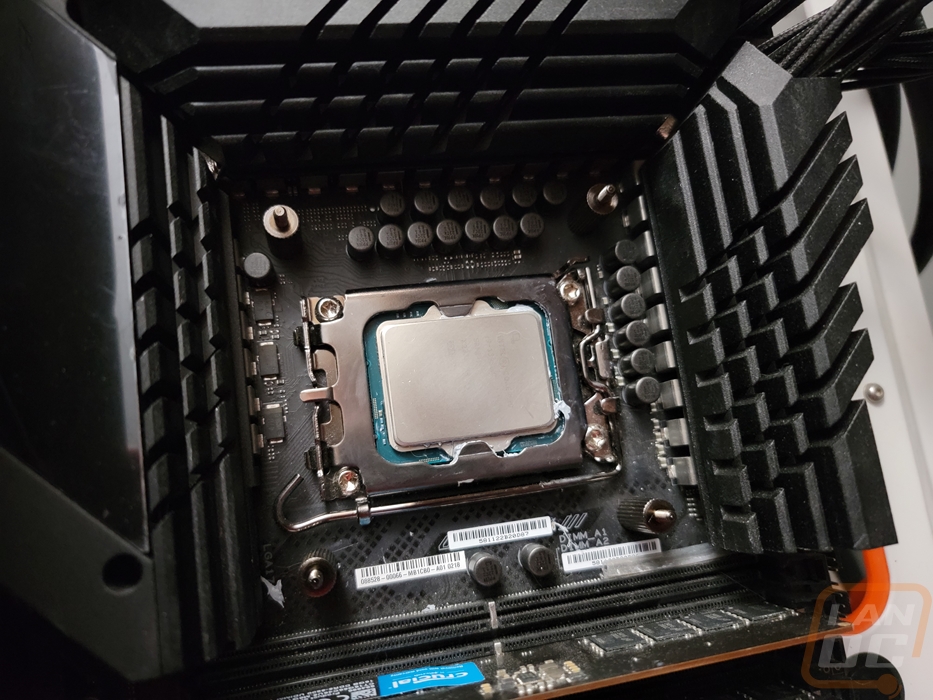
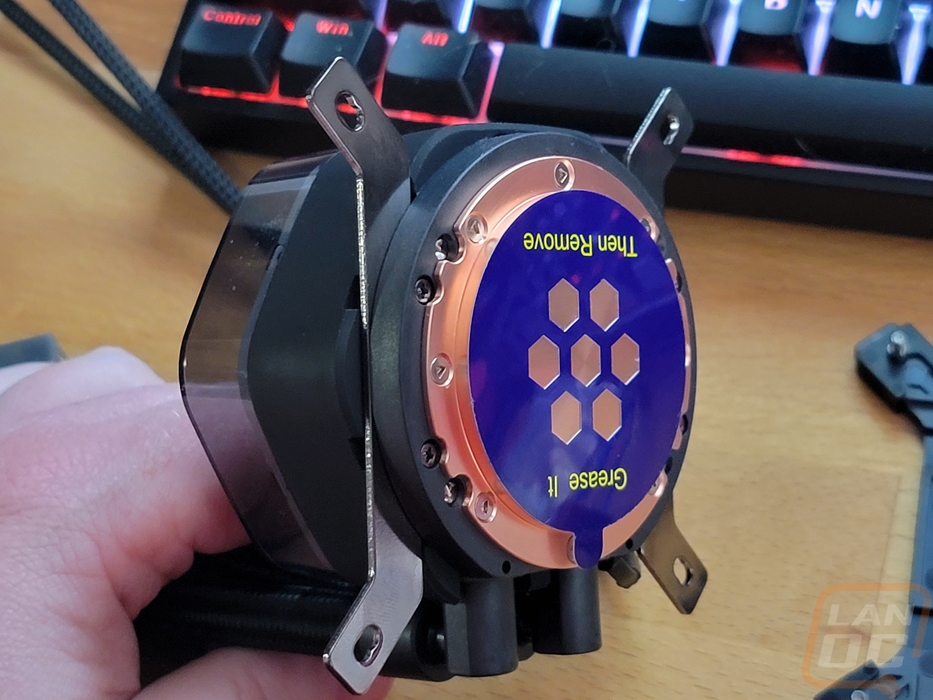
With the 240 Atmos coming with its fans pre-installed the installation and setup of the cooler was already ahead of the game. You do still need to get all of your CPU mounting brackets set up, however. This includes installing the two brackets onto the pump itself. Then for the CPU socket itself, you have the backplate and the large standoffs that screw into it. A lot of the coolers I have taken a look at recently cut out a step here and everything goes together all at once but I prefer this setup where you can install the bracket on the motherboard even before you install the motherboard in your case if you want and if you remove the cooler later it all stays In place. From there you need to mount the radiator into your case with the included screws and put thermal paste on the pump. Then it drops in on top of your CPU and is held in place with four nuts.
For wiring, you have three PWM fan plugs, two for the fans and one for the pump which can be tied in together with the included adapter or plugged right into your motherboard. TH aRGB lighting then has three connections as well but they can all be linked together leaving just the one plug. For that, you have the included RGB controller which can also control other RGB products in the future or running the lighting off of your motherboard's aRGB header.
As far as fitment goes the 240 Atmos has a standard thickness for its radiator and the dual or triple 120mm fan setup depending on model should work with just about any case. The water block/pump height was more compact than almost any other cooler I have tested recently and that includes the extra height that the translucent plastic cap on top adds so it shouldn’t be a problem in any cases.
|
AIO Cooler |
Fan Configuration |
Radiator Thickness |
Water block height |
|
Corsair H100i Elite LCD Display |
2x 120mm |
27mm |
57mm |
|
Enermax Aquafusion Adv 240 White |
2x 120mm |
27mm |
54.5 mm |
|
Enermax Aquafusion Adv 360 Black |
3x 120mm |
27mm |
54.5 mm |
|
Corsair H100I Capellix XT |
2x 120mm |
27mm |
49 mm |
|
Lian Li Galahad II Trinity SL-INF 360 |
3x 120mm |
27mm |
67mm |
|
Lian Li Galahad II Trinity Performance 360 |
3x 120mm |
32mm |
67mm |
|
Enermax LIQMAXFLO 360 |
3x 120mm |
38mm |
70mm |
|
Cooler Master MasterLiquid 240 Atmos |
2x 120mm |
27.2mm |
53mm |
With the 240 Atmos setup and up and running, my first round of tests were with the decibel meter. For this, I have it set up 18 inches away from the open-air test bench. I tested the fans and pump with the speed set to 50% and 100% to get a look at the overall noise levels that it is capable of. Then the last test was when the system had been running under load with AIDA64’s Stress Test CPU workload for a half hour or more. This gives us a look at the noise levels you can expect from the 240 Atmos overall in normal use. What I found was that the dual fan cooler was middle of the pack for noise levels in the 50% and 100% fan speed tests with it at 33.2 dB at 50% and 43.1 dB at 100% fan speed. There were a few larger triple fan coolers that ran quieter even. Under load, it did well though at 32.9 dB with the LIQMAXFLO 360 running a little quieter but overall this was the second quietest cooler tested.
|
Noise Testing |
50% Fan Speed |
100% Fan Speed |
Under Load |
|
Corsair H100i Elite LCD Display |
35.9 |
46 |
45.9 |
|
Enermax ETS-F40-FS ARGB |
32.1 |
37.2 |
37.2 |
|
Enermax Aquafusion Adv 240 White |
38.6 |
50.5 |
42.1 |
|
Enermax Aquafusion Adv 360 Black |
39.8 |
52.4 |
45.1 |
|
Corsair H100I Capellix XT |
33.4 |
46.1 |
40.8 |
|
Enermax Aquafusion Adv 360 Black Retest |
39.8 |
52.4 |
41.8 |
|
Lian Li Galahad II Trinity SL-INF 360 |
32.5 |
41.1 |
34.4 |
|
Lian Li Galahad II Trinity Performance 360 |
39.5 |
56.8 |
40.8 |
|
Enermax LIQMAXFLO 360 |
32.4 |
41.8 |
31.4 |
|
Cooler Master MasterLiquid 240 Atmos |
33.2 |
43.1 |
32.9 |
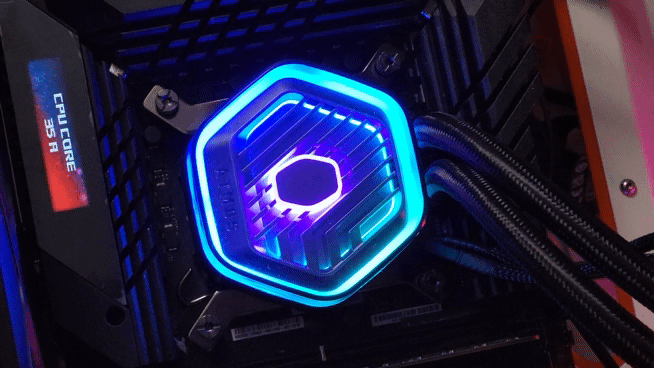
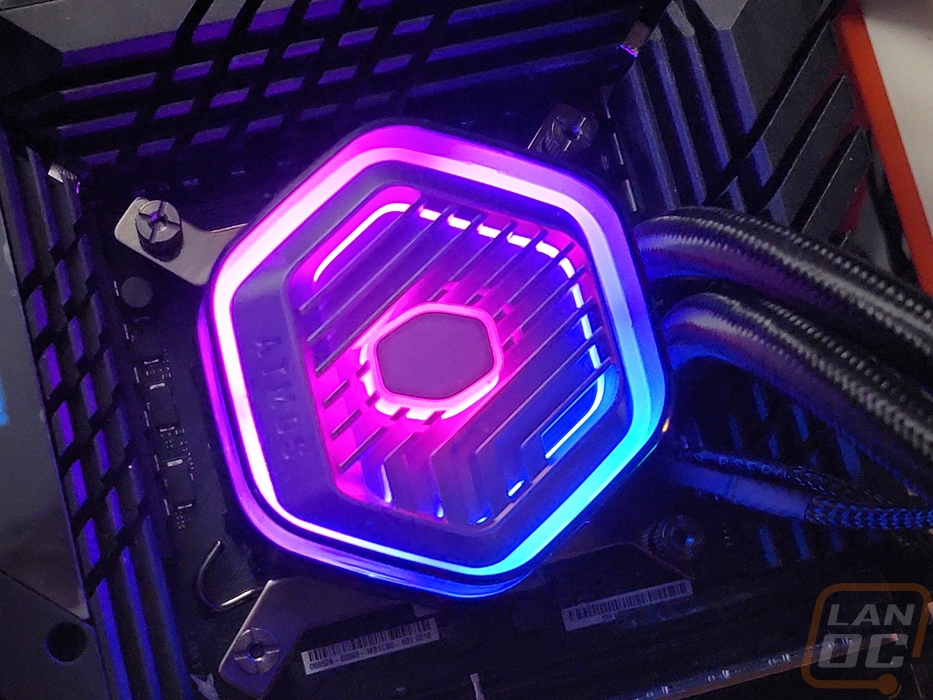
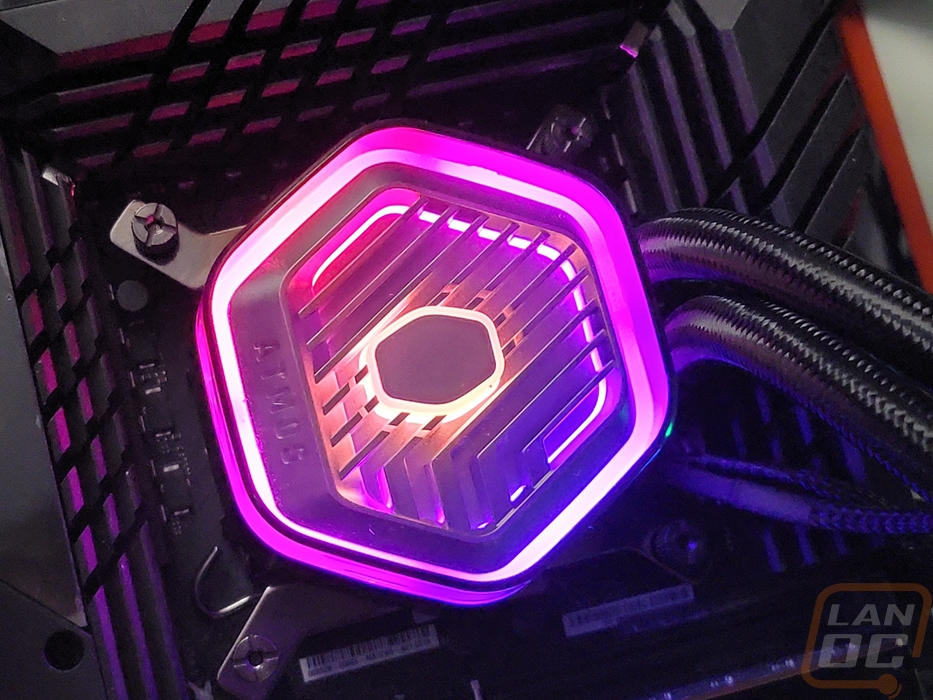
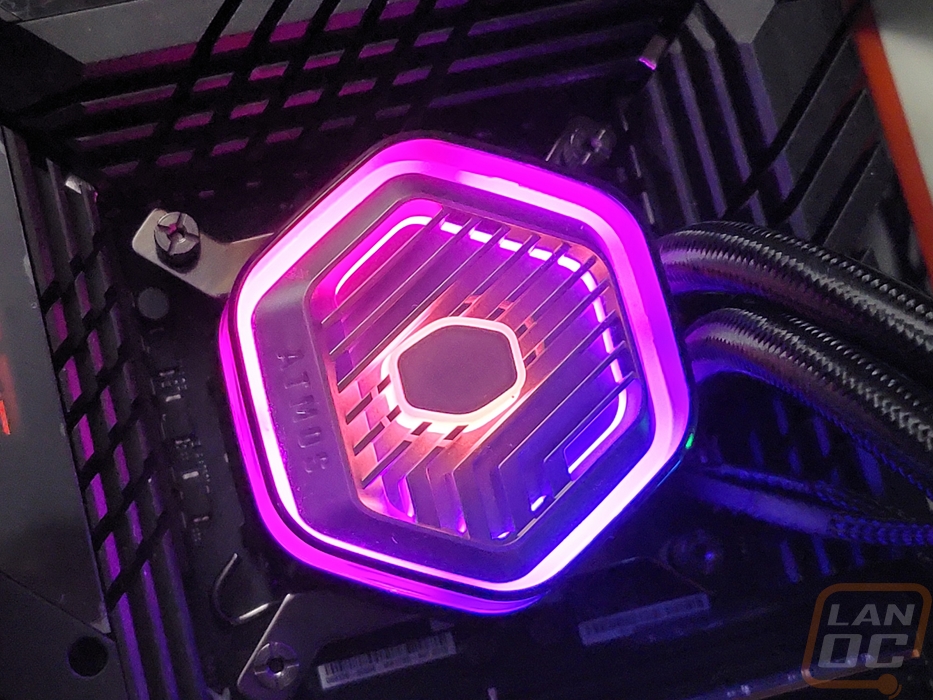
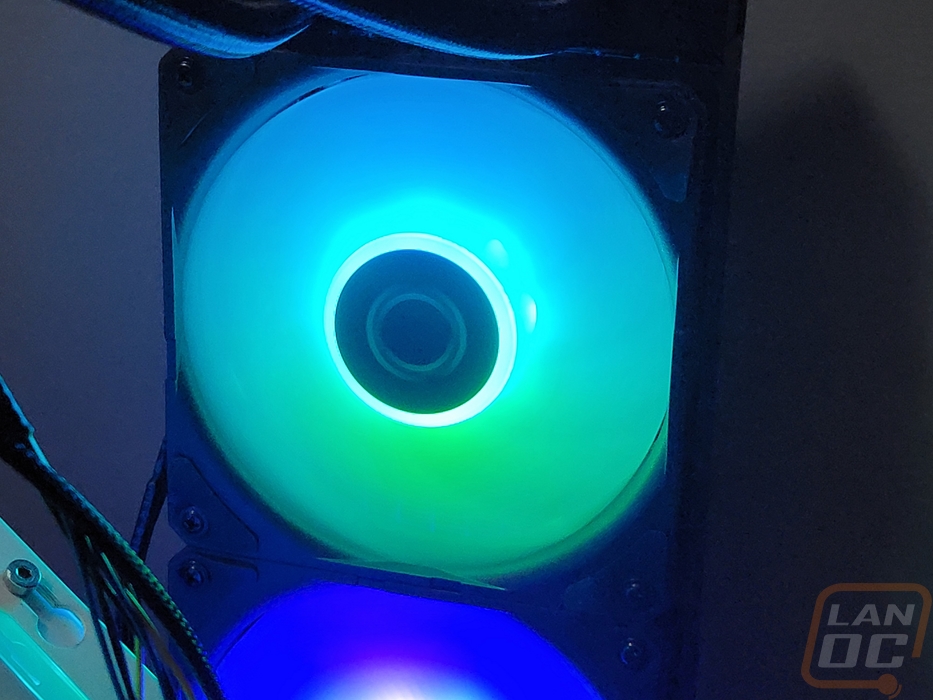
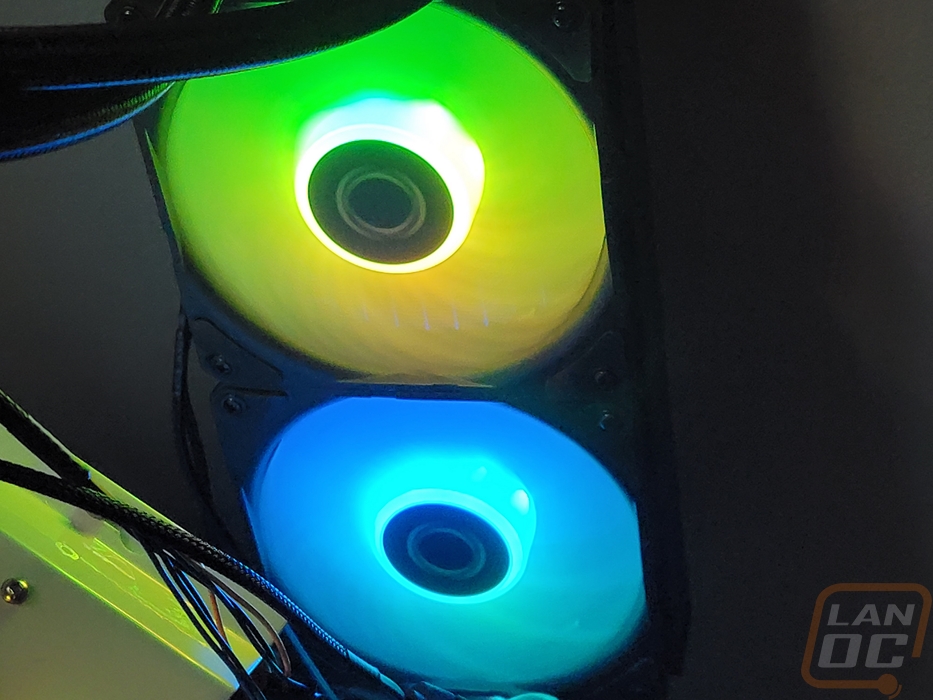
I also took the opportunity to check out the lighting on the 240 Atmos. This consists of the lighting on its two Sickleflow ARGB fans and on the top of the pump assembly which has lighting around and behind the hexagon-shaped design which is all visible through the tinted translucent cover on top. For the two fans, there weren’t any big surprises, this isn’t the first time we have seen the Sickleflow fans. All of the lighting comes out of the middle of the fan and radiators out through the white translucent fan blades and stops with the black fan housing. This design blends the lighting together really well when you have the fans running as you can see below.
The top of the pump was my main focus. The silver finish on the carved out shape inside of the top of the pump made it hard to see what would be lit up and what wouldn’t be. We knew that the Cooler Master logo outline in the middle was lit up and the outside edge was visible from the sides of the pump. But beyond that nothing else was visible. That outside ring is visible from the top view as well and it also glows off of the translucent cover over everything. There is also an inner ring of lighting that runs parallel on four of the six sides. The glowing Cooler Master logo then radiates out across the groves on the cover. All together the design looks great when lit up and the addressable RGBs help with this a lot as well with inner and outer lights.