Photos and Features
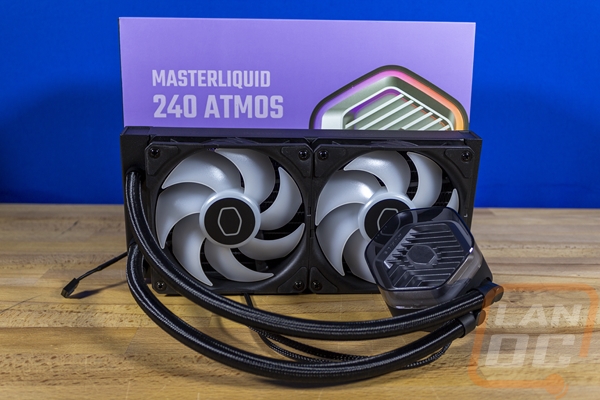
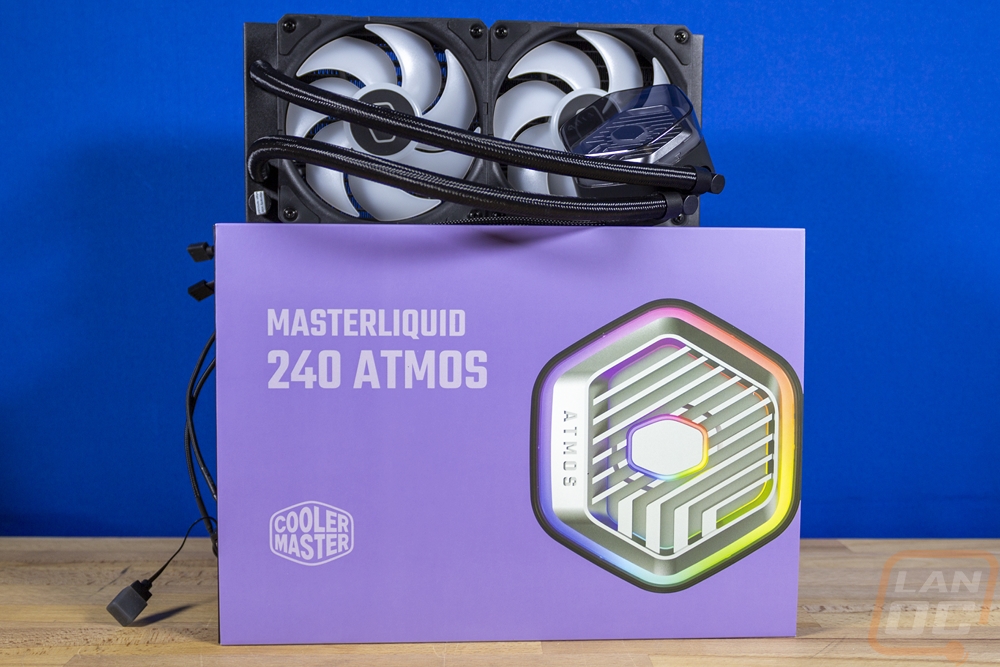
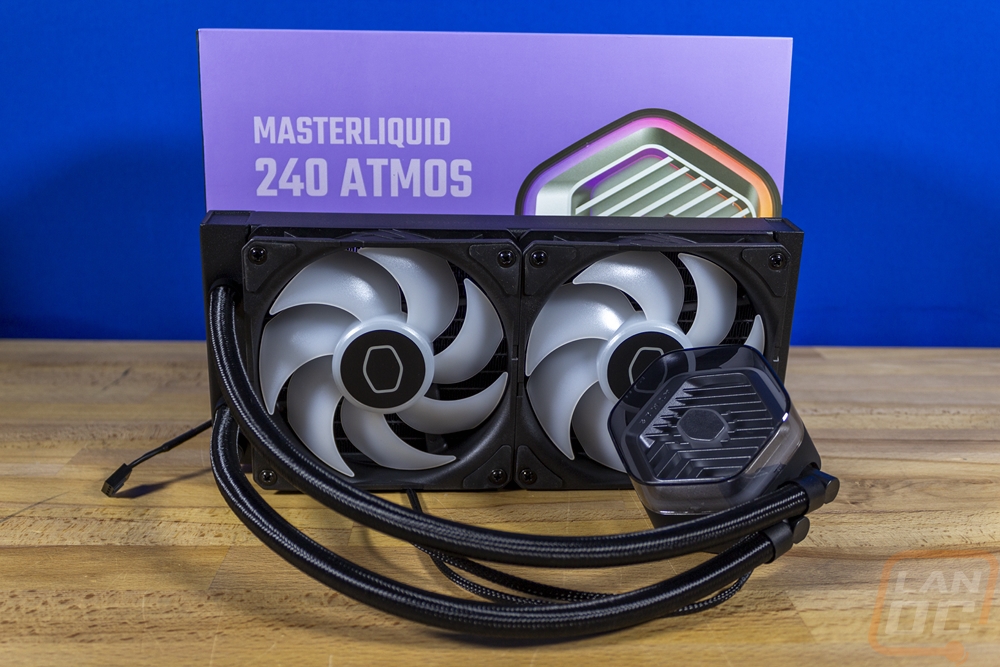
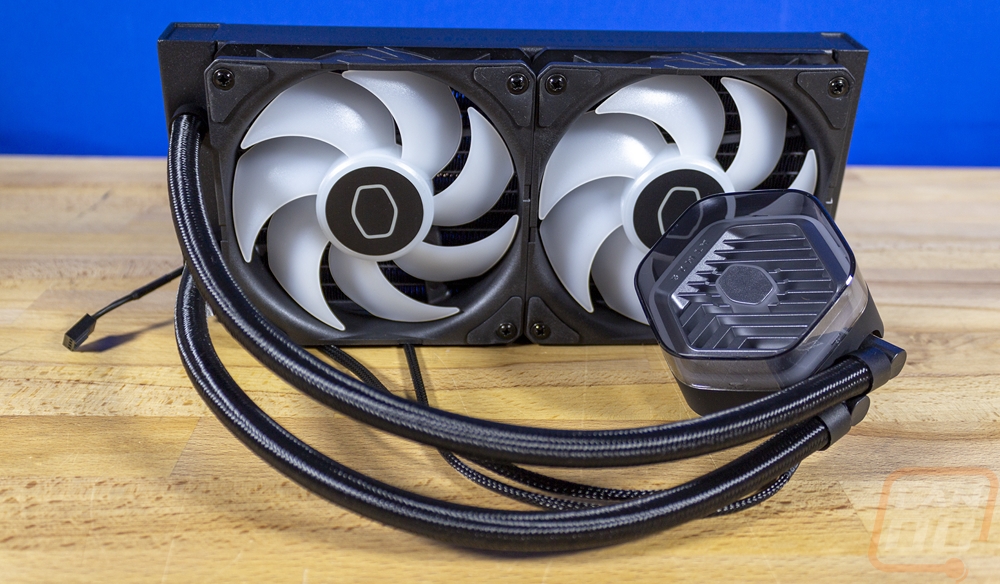
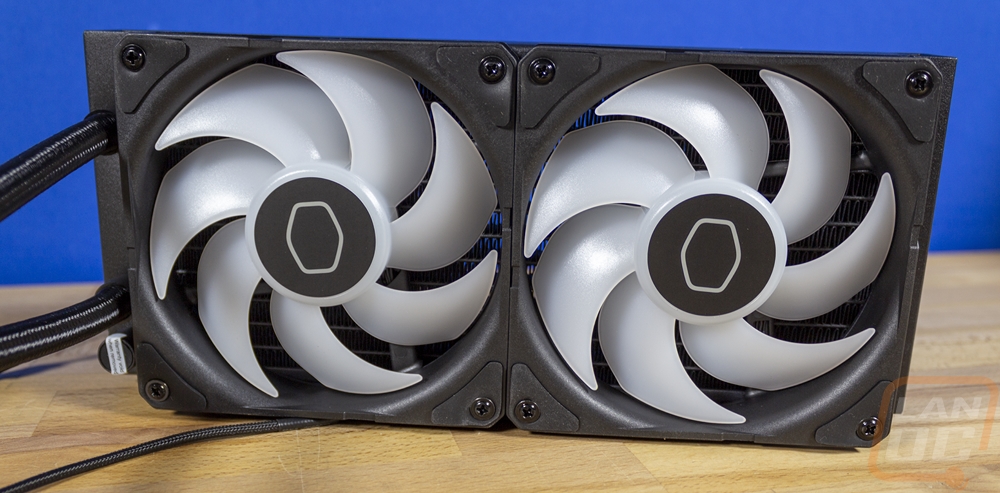
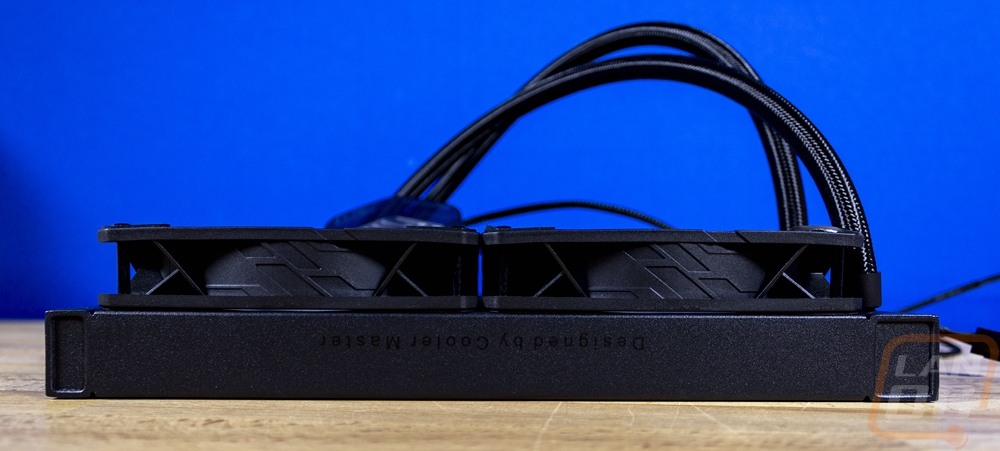
Like with the packaging for the Cooler Master MasterLiquid 240 Atmos, it is very clear that Cooler Master is aiming for the Atmos to be a more premium all-in-one cooler. One noticeable area is with details like having the fans already installed. Installing the fans isn’t that difficult to do, but it normally does take up a good portion of the installation time when setting up a new cooler. The Atmos comes in a 240 and a 360 model which means it is available with dual and triple 120 mm fans. For the fans, Cooler Master has gone with their Sickleflow ARGB fans. They have standard 120 x 120mm dimensions as well as a thickness of 25 mm. They have a standard looking black housing with black rubber vibration mounts on each corner to dampen vibrations both on the mounting screw contact surface and against the radiator. Then they have a 7-blade white translucent blade in the center with black center stickers that just have the outline of the Cooler Master logo. The Sickleflow ARGB fans have their addressable lighting in the center housing that radiates out into the blades as they spin to give a nice blended effect. They can run at up to 2500 RPM and can push up to 70.7 CFM with a max pressure of 3.61 mmH2O which is solid for a radiator fan. They have loop dynamic bearings and are rated at over 160,000 hours of line.
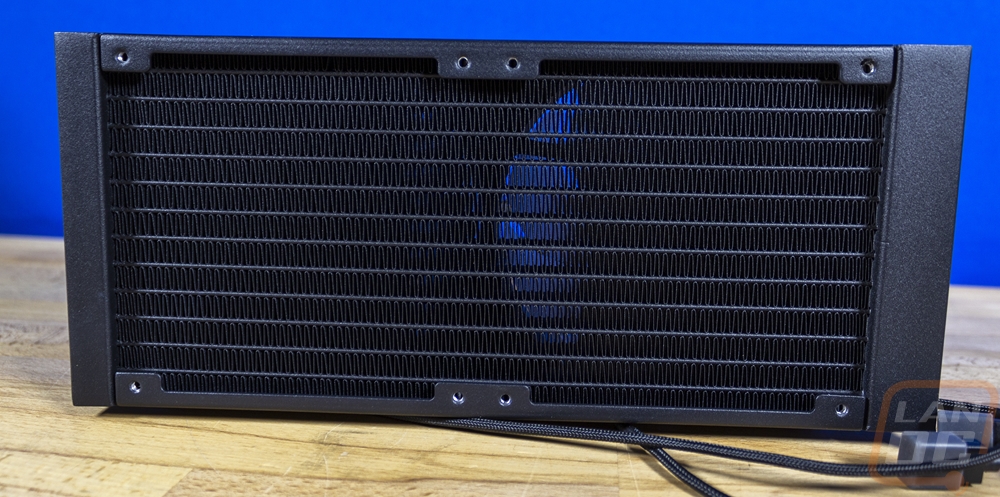
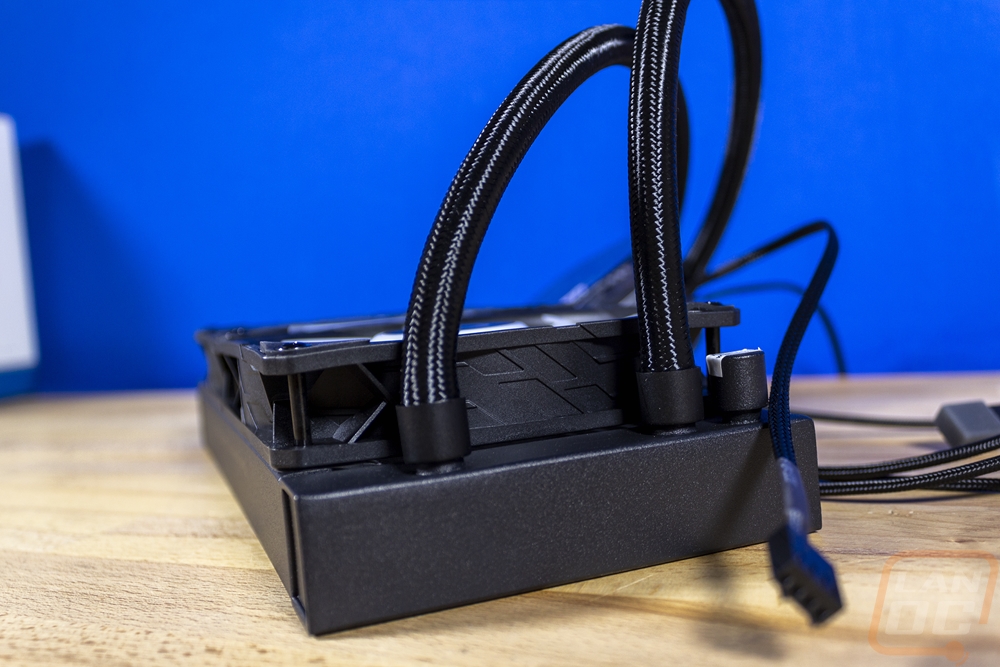
The radiator design for the 240 Atmos has boxed endcaps that give the cooler a more modern look. I was also surprised with the finish which has more texture than your standard AIO radiator. They didn’t change the dimensions at all, it is 277 mm long, 119.6 mm wide, and 27.2 mm thick which is just .2 past the standard AIO radiator thickness. I would bet that the extra .2mm comes from the upgraded textured finish. It is all aluminum and has a standard fin density as well. The side view does let us just barely see text that is printed on the sides. It is printed in black on the black finish and it says “Designed by Cooler Master” on it. The main end of the radiator has two water lines going into it and a capped third hole where they fill everything. The lines have black plastic caps on the ends and a black sleeving over the entire rubber line.
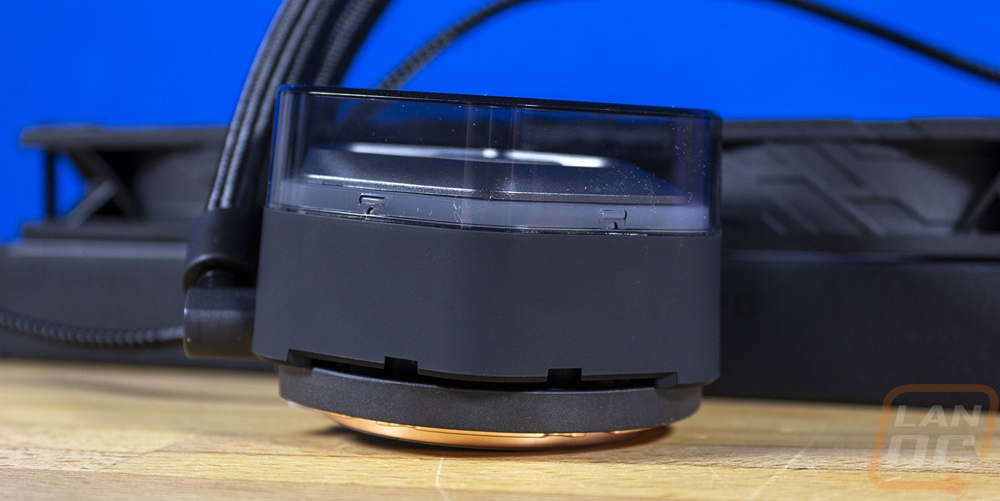
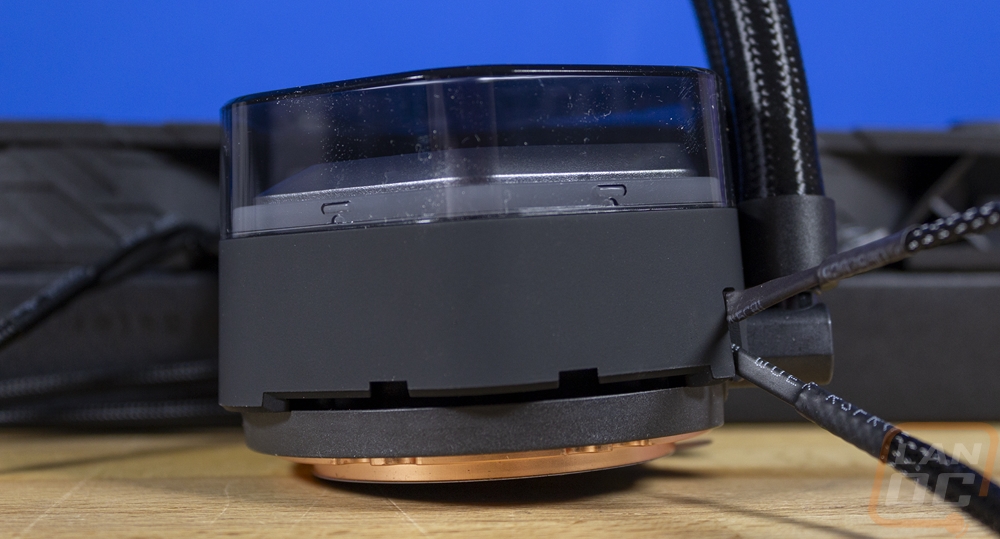
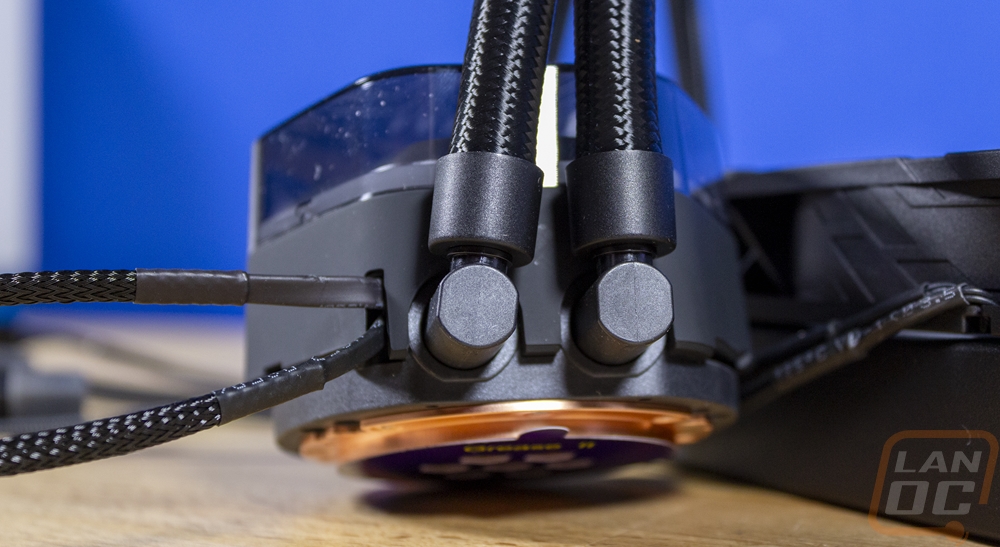
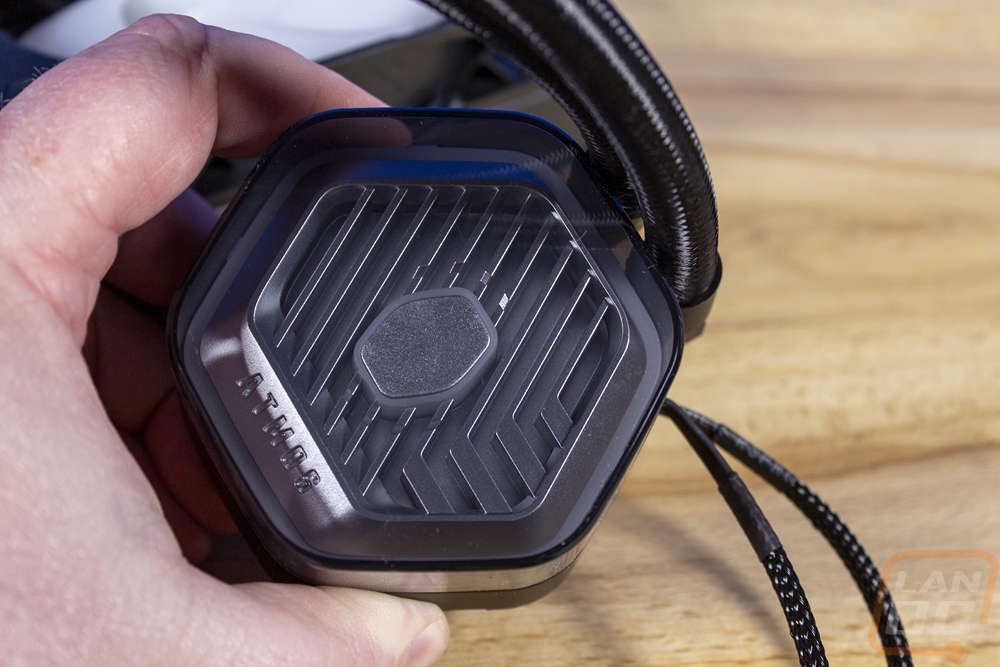
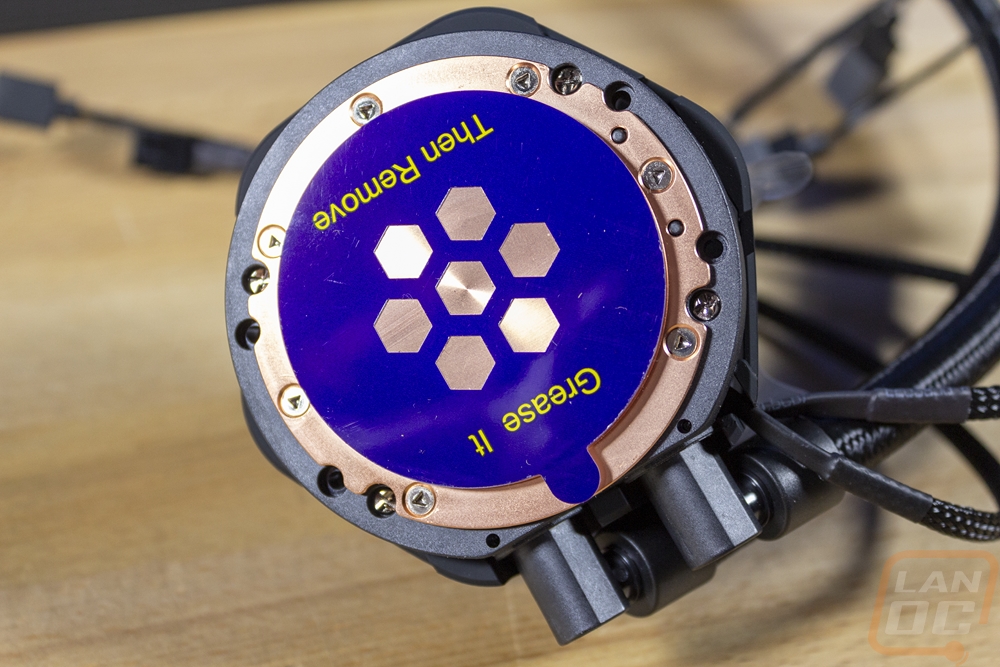
Cooler Master has always had a nice variety of unique pump/water block designs but I think the 240 Atmos has the best looking of them all. Where most are round and some are squared off, the 240 Atmos has a 6-sided hexagon shape. If they went a little wider they could pull off the Cooler Master logo shape. The assembly is 53 mm tall but the pump section itself is surprisingly compact. The extra space is filled with the top 1/3 of the pump having a tinted plastic cap over top. Inside of that, you can see a grooved design which has the Cooler Master logo outline in the middle with translucent white plastic around it so it can light up with RGB lighting. The top design has the Atmos branding on it as well. Both the water lines and both of the sleeved cables all run into one side of the pump then under it all, we can see a traditional round design at the base with the copper contact surface. With the fans pre-installed I expected to see the thermal paste also pre-applied which is common these days but Cooler Master didn’t do that. They did include a sticker with 7 hexagon cutouts on it that you can use to get the perfect application with the included paste. The contact surface has a visibly machined surface and while smooth isn’t the mirror finish you might find on higher-end custom water cooling components. The bottom view also shows the four mounting holes, two on each side for the included mounting brackets depending on which CPU you are running. The hexagon-shaped plastic housing has a flat black finish below the translucent top cover and from the side, you can see a ring around the top of translucent plastic for the aRGB lighting up under everything.


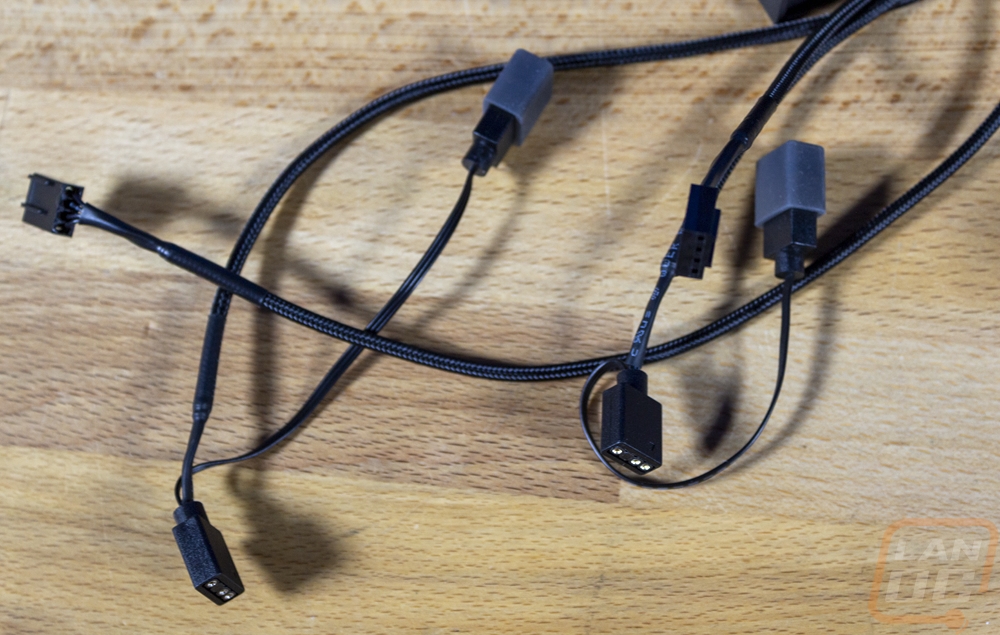
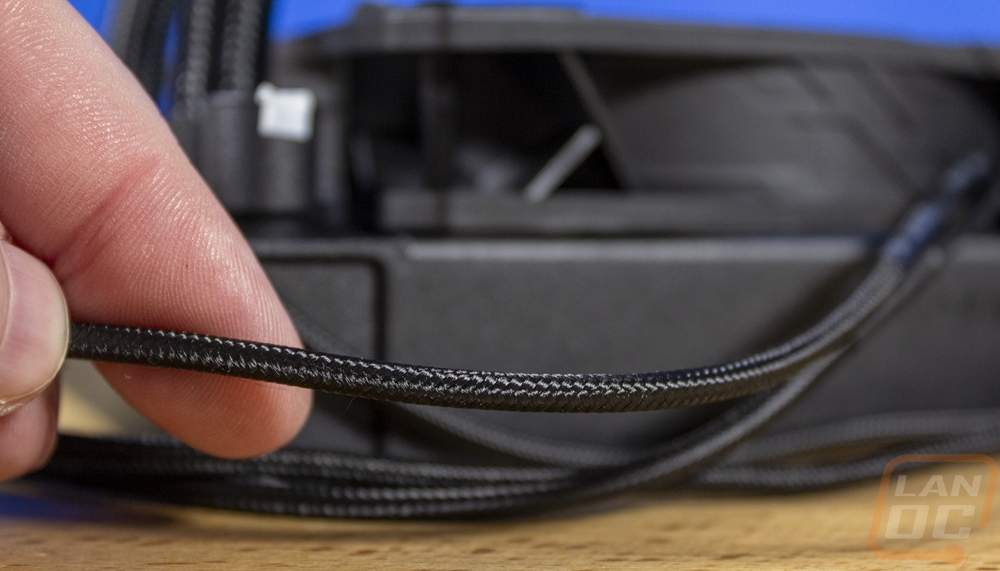
The Atmos sadly doesn’t have daisy-chained fans so you will have to deal with the wiring when you set everything up. The sleeving for everything however is surprisingly compact with a tight black sleeving over everything. Each fan has an addressable RGB cable which has a daisy chain plug at the end so you can connect them together, each fan also has a four-pin PWM fan header. The same goes for the pump as well which has both. All of the lighting connections can be hooked up to the included RGB controller or directly to your motherboard's aRGB header if you have one.