Packaging and Accessories
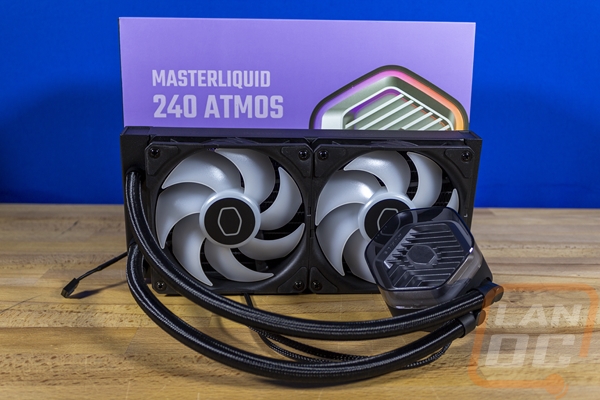
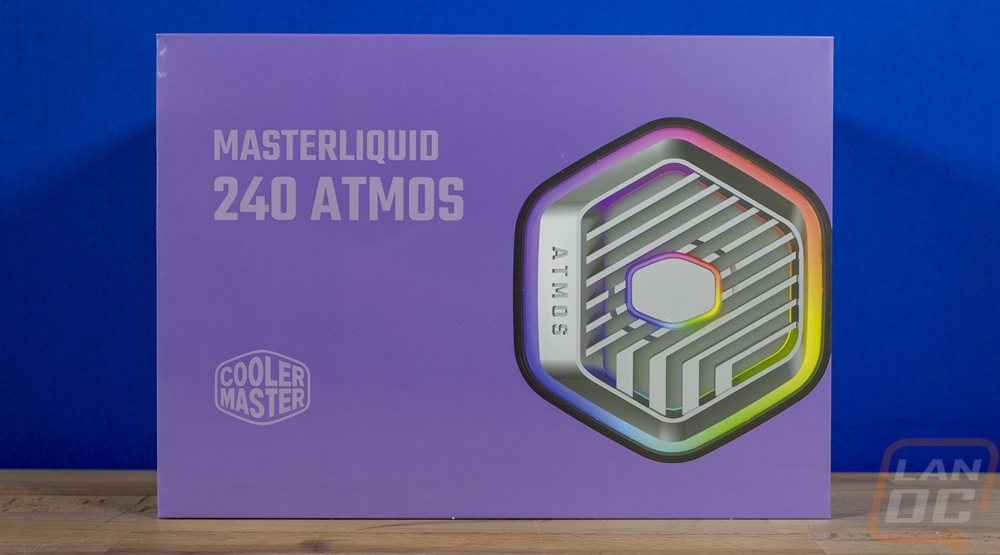
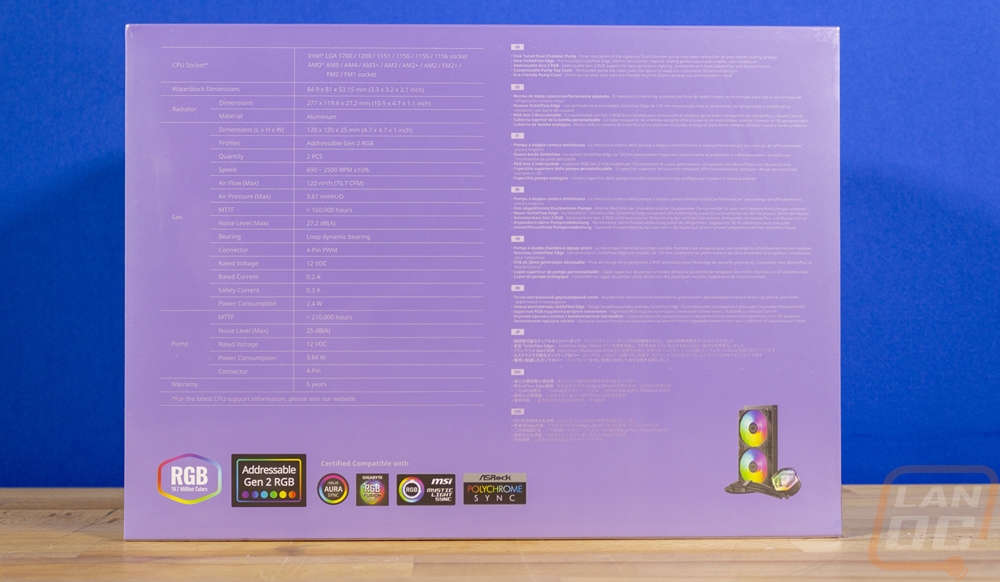
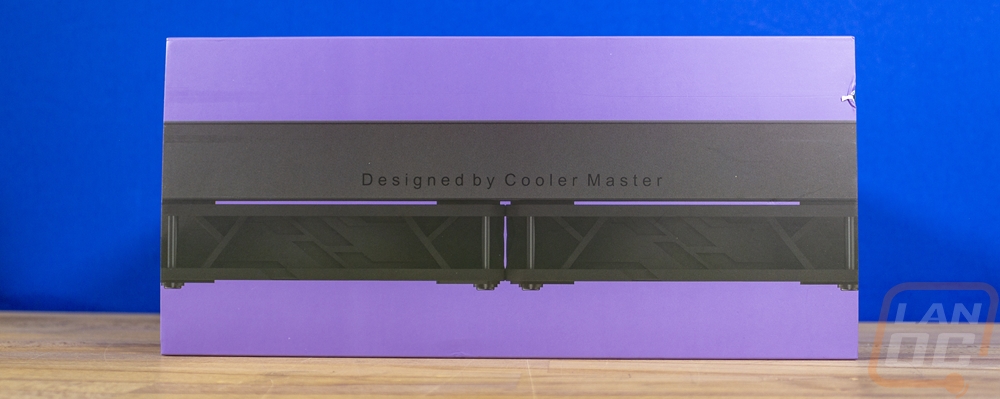
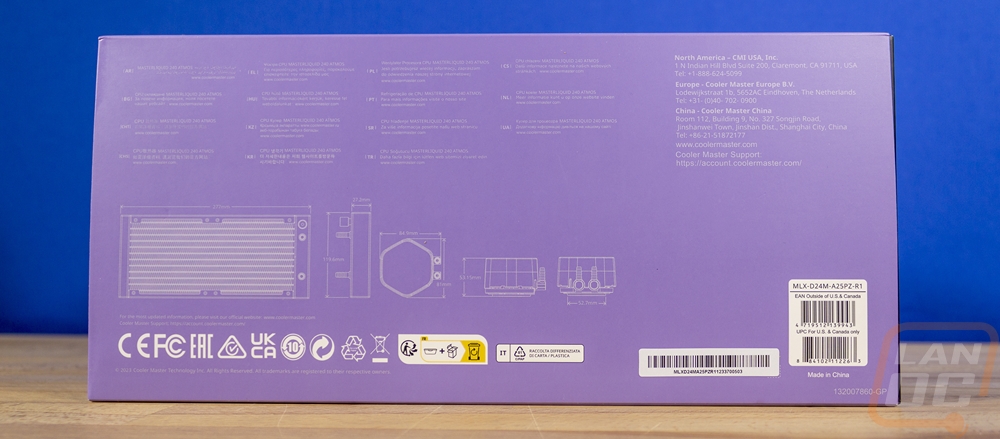
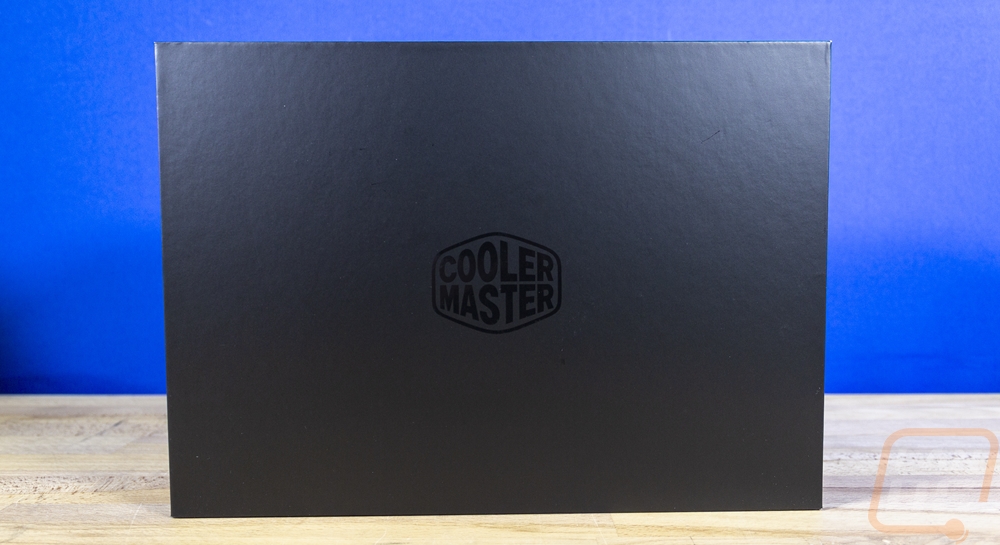
The box for the Cooler Master MasterLiquid 240 Atmos is a surprising departure from what I have seen any other AIO water cooling kits have in the past. Most have a thin outside printed cover and a brown box inside. Cooler Master has upgraded things for the Atmos however, there is an outside printed cover but it slides over top of a heavy-duty black box with the Cooler Master logo on top. The outer cover has a purple background which isn’t a surprise from Cooler Master but the purple shade here is more of a violet which is a little different. The front of the box is simple and to the point. It has the MasterLiquid 240 Atmos branding in a large font, the Cooler Master logo, and a picture of the top of the pump which has the Atmos branding on it and the RGB lighting turned on. Around on the back, the box has a full specification listing and they have also listed out key features with a short description. Those are repeated across 9 different languages. There is a tiny picture of the cooler with the fans lit up and along the bottom, they do have icons showing this is a Cooler Master addressable Gen 2 RGB product and icons that show support for lighting control from the main motherboard RGB software. The side view of the box has a picture that shows the side of the radiator and the fans with “Designed by Cooler Master” on it. The other side has line drawings of the cooler from every angle with all of the dimensions.
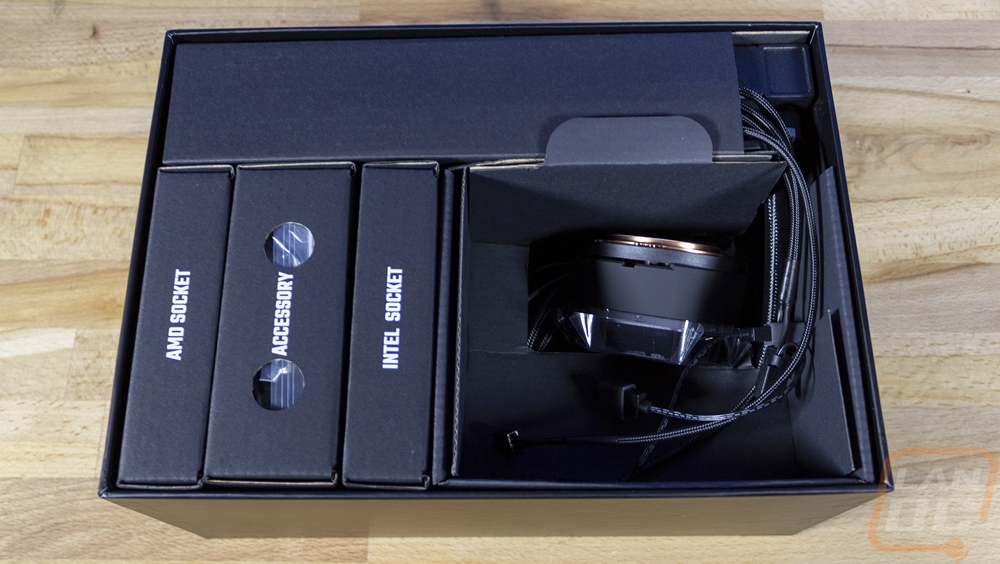
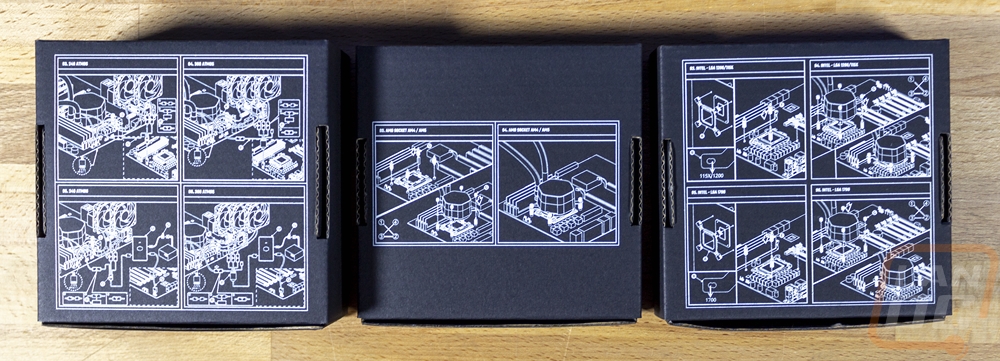
To open the black box up, you lift the top half of the box off. Inside other AIO coolers have a recycled cardboard formed tray to hold everything. The Atmos has three boxes that are labeled letting you know what is inside with one for AMD CPU compatible parts, one for Intel CPUs, and the main accessory box. The radiator comes with the fans already installed, it then has a black cardboard wrap around it to keep things safe and the pump itself sits in its own little compartment.
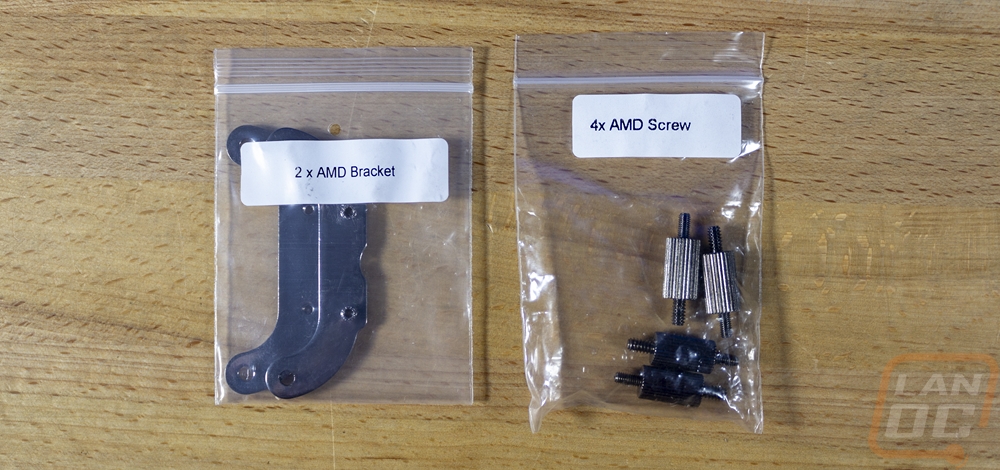
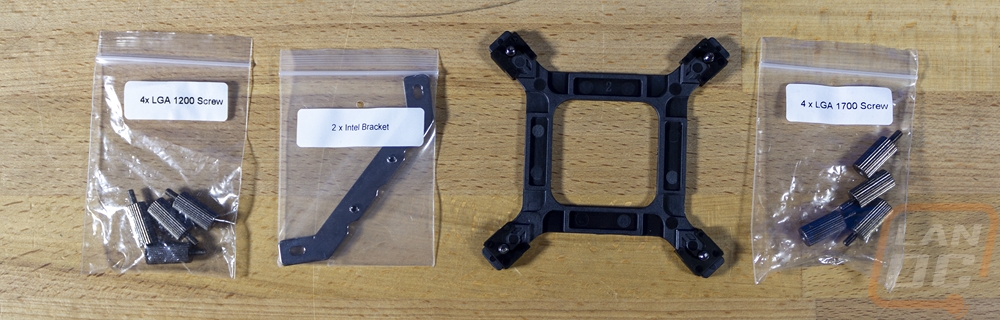
Each of the accessory boxes has installation instructions printed on the bottom and on the top a line drawing of everything inside of the box as well as the start of those instructions. This is unique and a nice way of getting the important information visible and one less reason to dig into a manual. The AMD box has two small baggies, one with the metal AMD brackets and the other with the four standoffs. The iNtel box has more with two metal brackets and a plastic backplate. They have already installed the standoffs in the backplate, something that in the past you would have to do. Then you have standoffs for LGA 1200 and LGA 1700 sockets, all are bagged up and each is labeled making them easy to find.

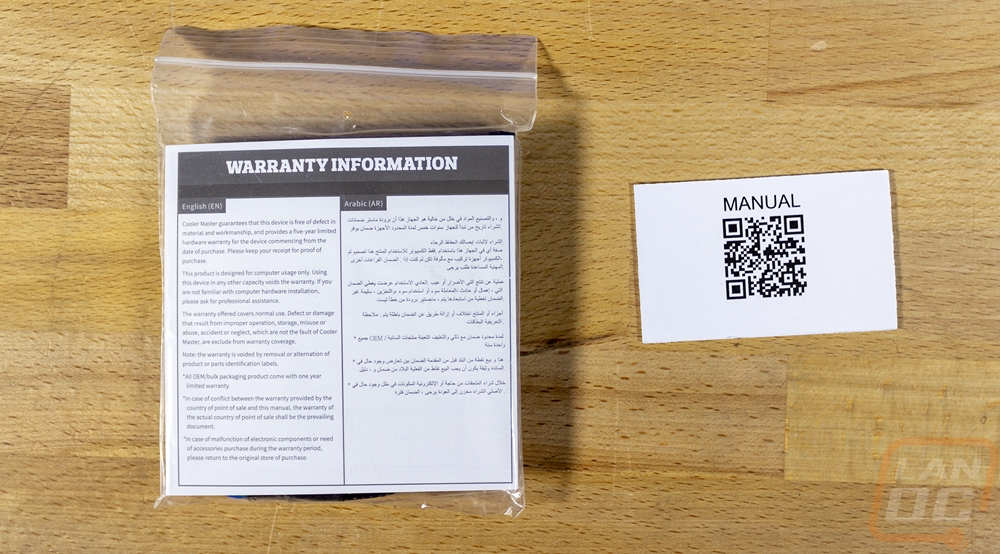
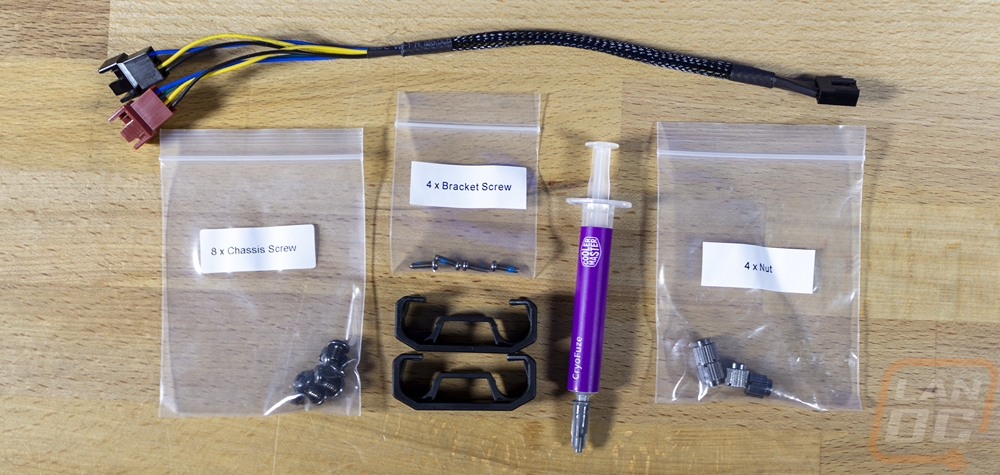
The main accessories box has a bag with the documentation inside along with a few other things. You also get a thick card that has a QR code that links to the installation manual. That bag has a fan and pump 4-pin PWM splitter, bags with chassis screws, bracket screws, and nuts for installation which are all labeled. You have two plastic clips that can keep the water lines the same distance apart and a full tube of thermal paste as well.
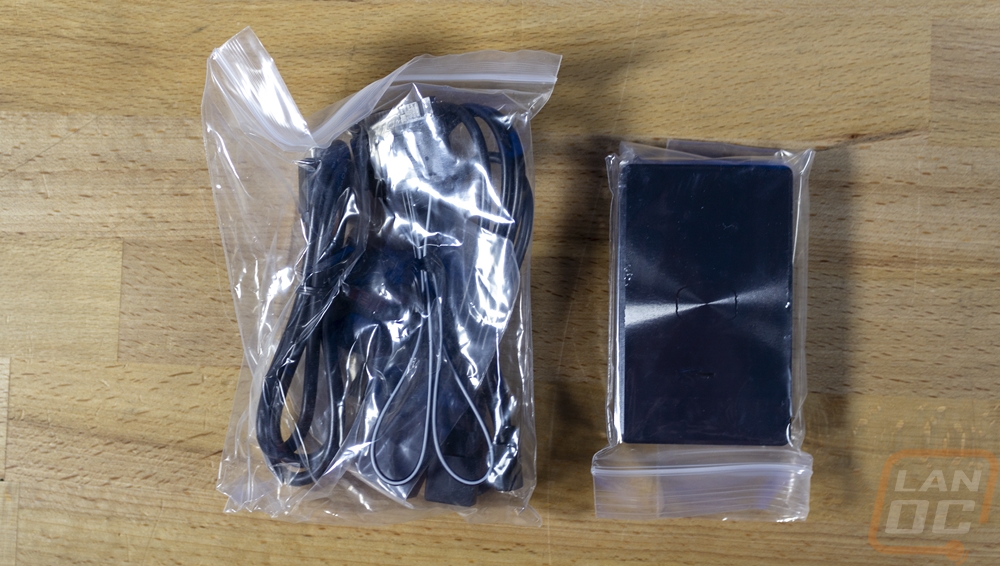
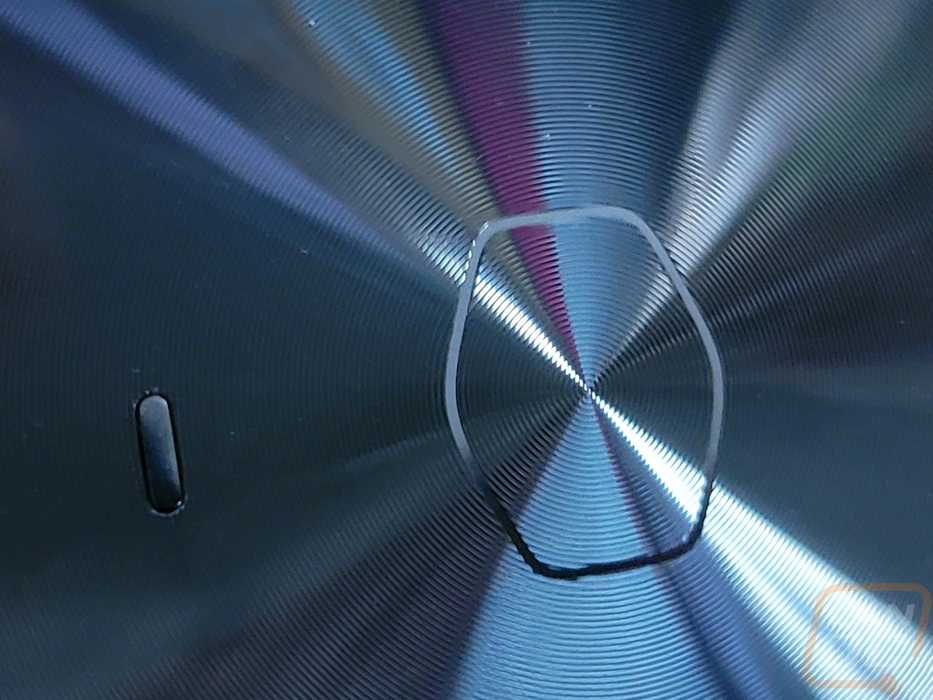
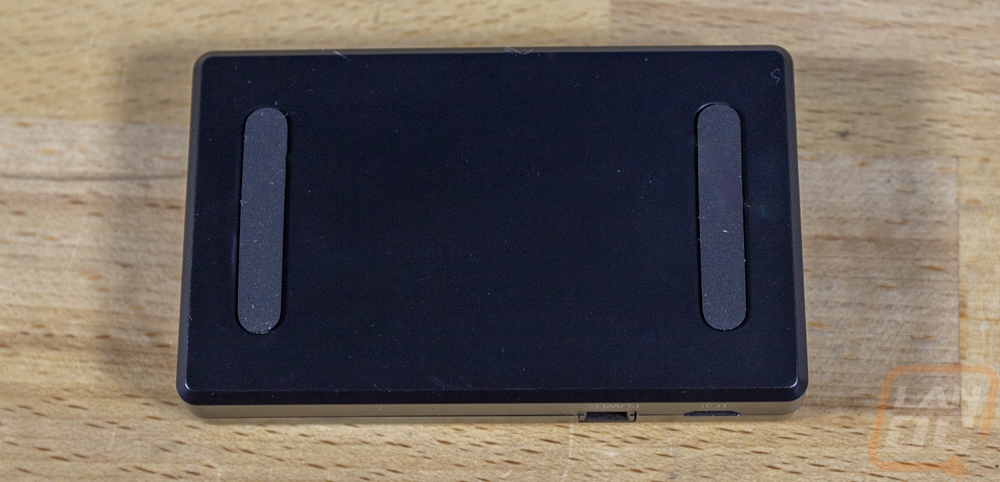
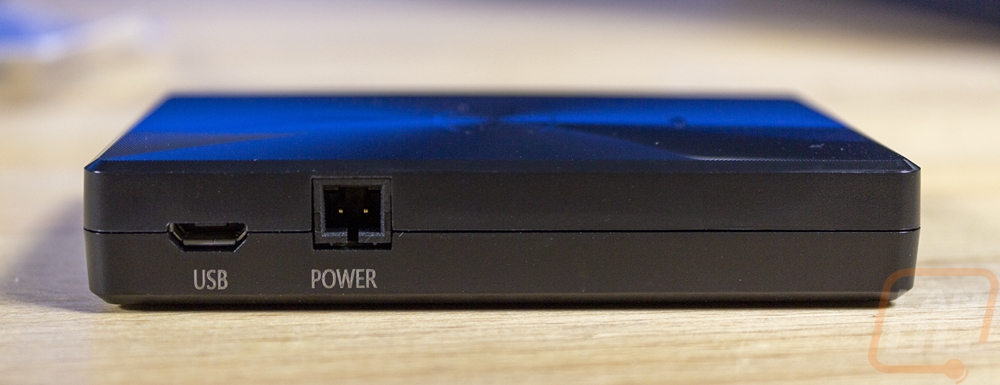
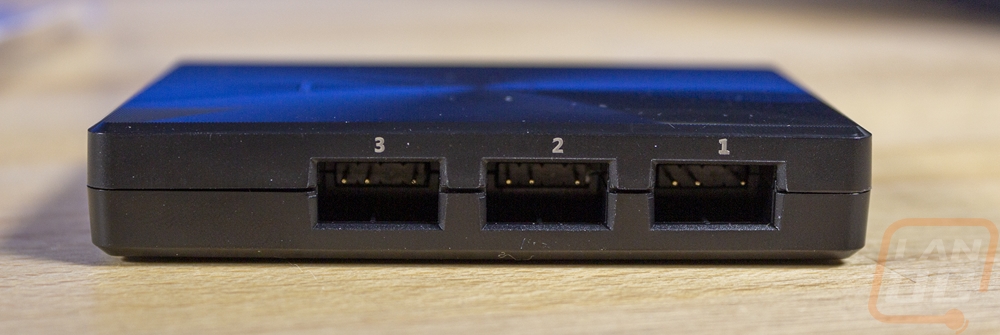
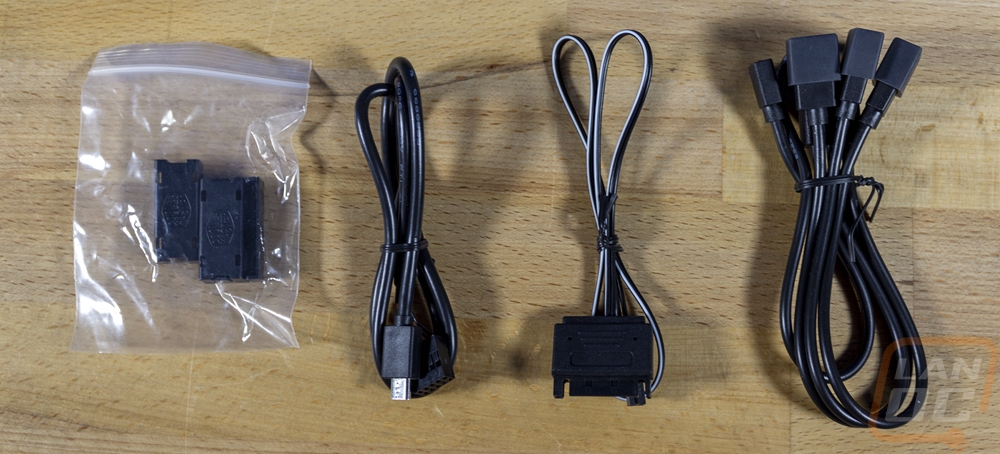
Also in the accessories box, you have the RGB controller which comes bagged along with a large bag of wiring for it. The controller has a machined aluminum-looking top that is actually black plastic. It has the outline of the Cooler Master logo up top and a machined ring that gives the entire top a nice texture. On the sides, one side has a micro-USB plug and a small plug for the power cable. The other side has three RGB channels with the addressable 3-pin plug design that everything uses, so you can use the controller with Cooler Master products and anything else RGB as well. Then the bottom of the controller has rubber feet on the bottom, surprisingly I didn’t see any mounting holes or double-sided tape, that is because the controller has magnets inside, if you have an aluminum or plastic case you will need to get double-sided tape but that should make installation easy in most cases. For the wring, the controller has three sets of cables and a bag with plastic clips. The plastic clips lock the RGB connections together preventing them from pulling apart later. The first cable is a USB header to the Micro-USB connection. The second is SATA power to the small two-pin power connection on the controller. Then the last one is an RGB splitter that lets you hook up the pump and two fans all to one RGB connection on the controller. Leaving the other two connections for future use or anything else you have in your PC.