Logitech G Yeti GX Photos and Features
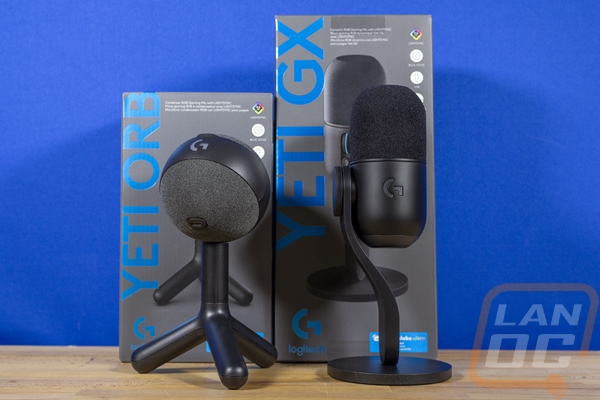
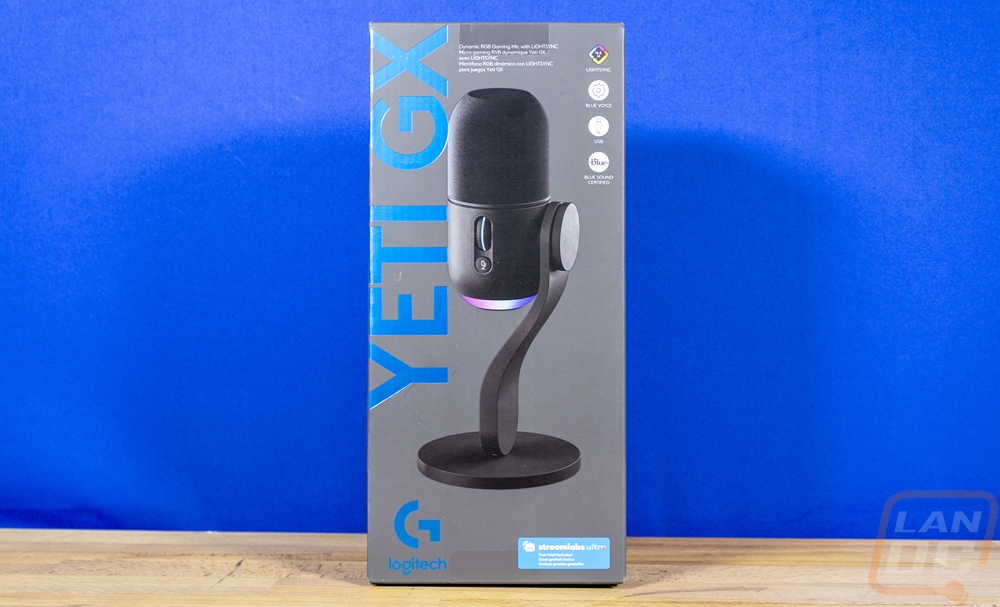
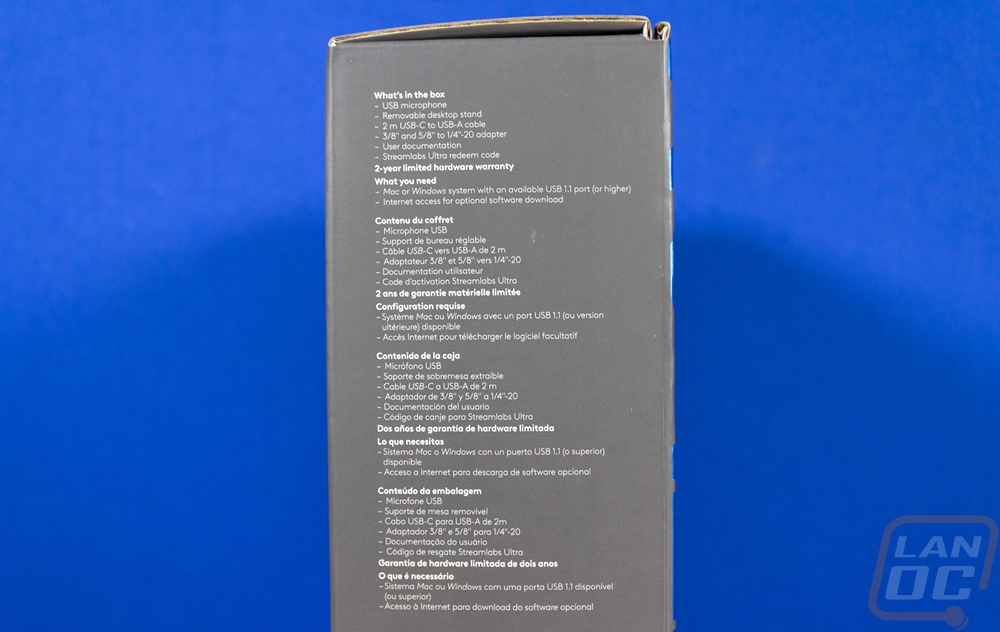
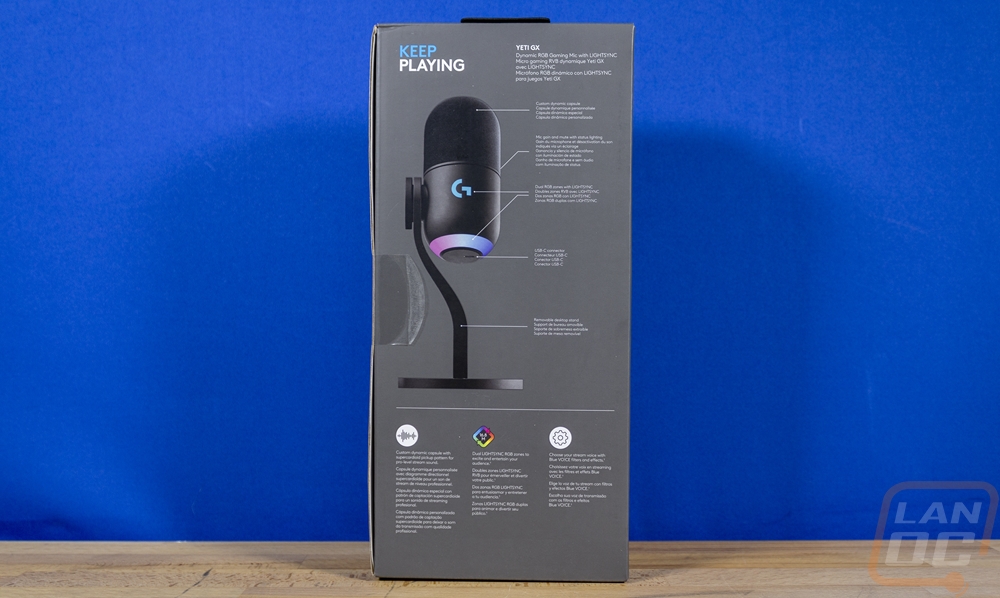
The Packaging for the Logitech G Yeti GX microphone has the same grey background and design that the Yeti Orb had. Both follow Logitech’s packaging styling which goes across most of the brand. That includes the large picture of the microphone that takes up almost the entire front of the box and the model name in a huge font on the left side as well as the Logitech G logo down in the bottom left. The Pro lineup has a black background and the branding is in grey but for the rest of Logitech’s gaming lineup, they have this grey background and the blue for the branding. The front of the box does have four icons in the top right that highlight some of the key features of the Yeti GX. The side of the box has a list of what you will find in the box, the warranty, and what you will need to use it which is repeated across multiple languages. Then on the back, we have another picture of the microphone, this time looking at the back side of it. This picture has lines pointing at its features with short descriptions. Then down at the bottom, the icons that we saw on the front are used again along with a longer description on each.
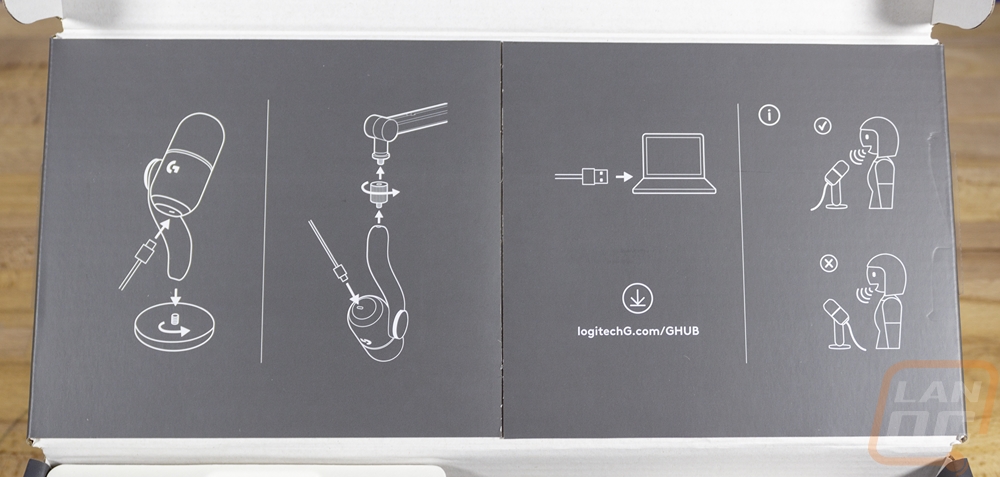
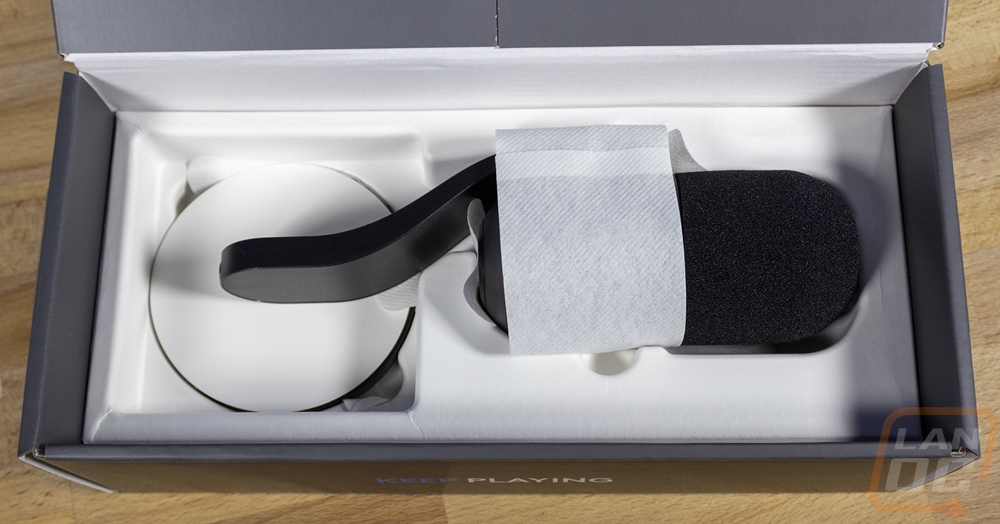
Opening the box up the underside of the lid has line drawings that show you how to install the included stand or to mount the Yeti GX to a microphone boom and plug in its USB cable. They tell you to download the G Hub software and have a link and then have one drawing that shows how to aim the microphone as well. Inside the box, there is one formed tray that has the documentation in it, the USB cable, and the mounting adapter. Then up under that the microphone and the stand base both sit in the second tray. The microphone has one strap of cloth around it to keep it from being scuffed up and the stand has a layer of paper.
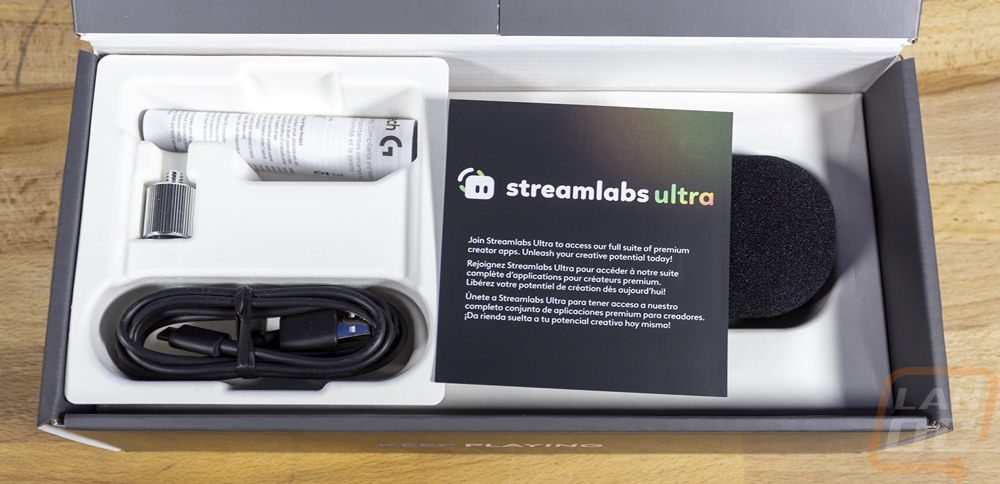
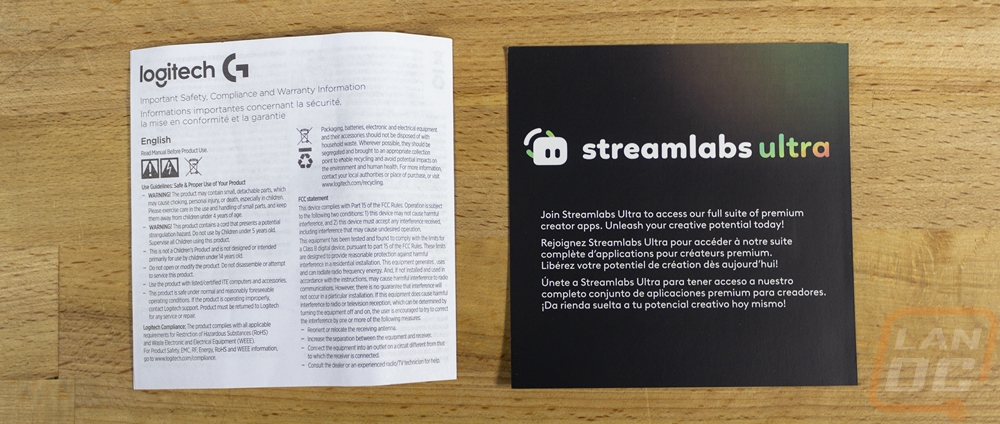
For documentation, the Yeti GX comes with the same universal safety, compliance, and warranty paperwork that the Yeti Orb and any other Logitech device comes with. It also comes with a card from Streamlabs which Logitech bought. The card has a code giving you access to Streamlabs Ultra.
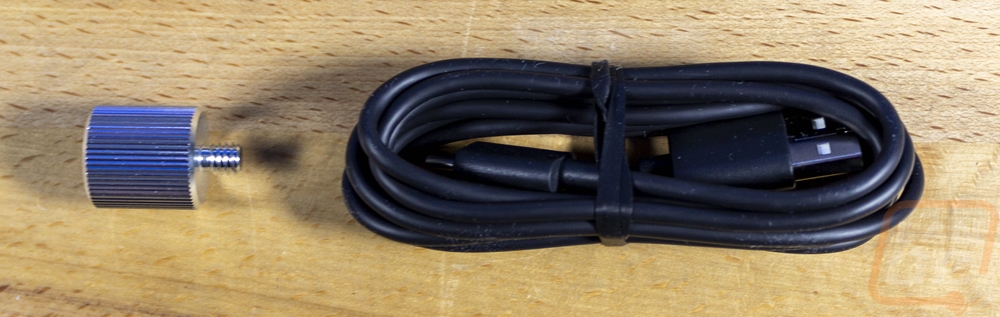
For accessories to get you going the Yeti GX comes with a USB cable which looks to be the same as we saw on the Yeti Orb as well. It has a USB Type-C connection on one end and Type-A on the other end, it is otherwise a basic black rubber-coated cable with no sleeving or anything. The metal adapter included as well is for ⅝” and ⅜” boom arms and mic stands which expands the number of mounting options you have for the Yeti GX.
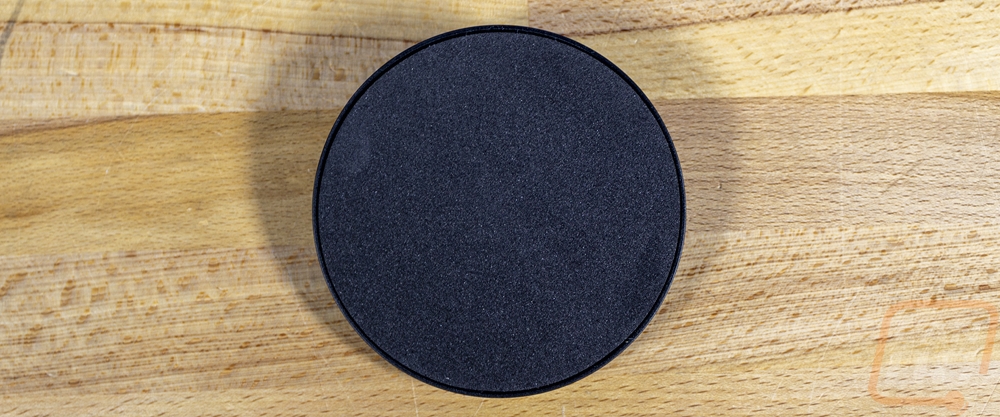
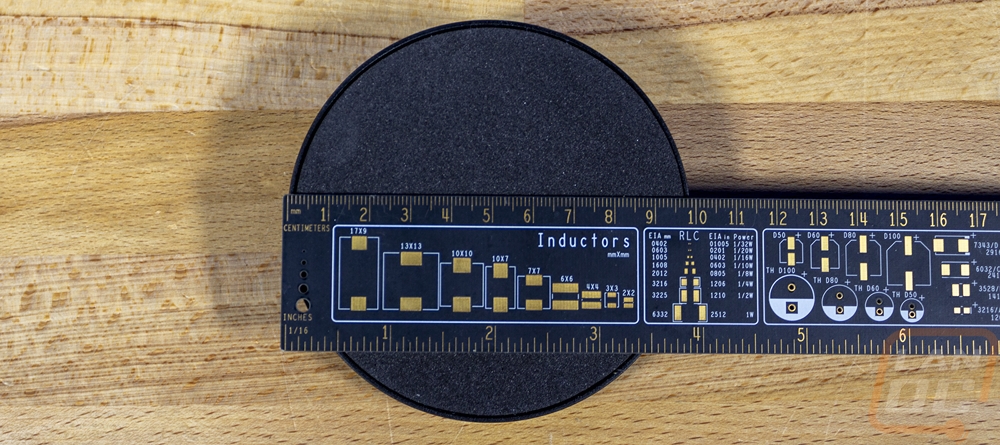
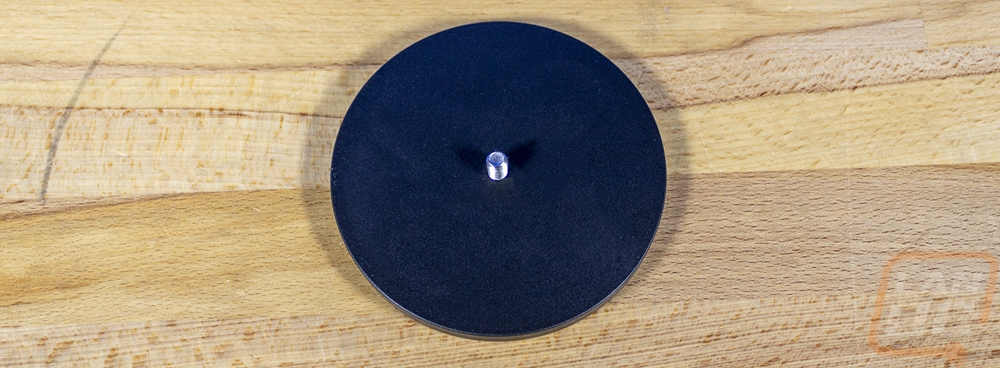
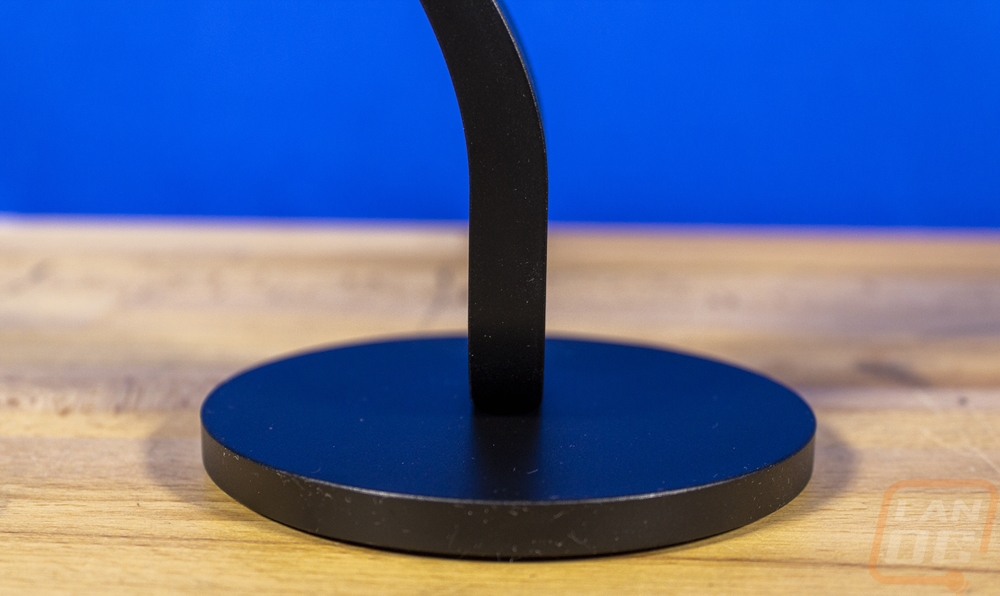
Speaking of mounting, you won’t need to get a stand just to get rolling with the Yeti GX. It does come with its own heavy metal base. This is a round steel slug with a black plastic cap overtop. On the bottom, they have foam covering the entire base for traction. I would normally prefer rubber as the foam doesn’t handle spills very well. I’m not sure if they went with the foam to keep vibration down or to keep costs down. Then up on top, the base has a ¼”-20 threaded stud on top.
The Yeti GX without the base still comes with an arm attached. In the past, most of the Yeti microphones did have that dual fork mounting arm. Before changing their plans for the Blue brand though the Blue Sona which is a higher-end XLR broadcast microphone was released and it has a similar arm design. The arm has an aluminum core, but like the base has black plastic around it, I’m surprised they went through that trouble as an all-metal arm would look great as well. The arm attaches to the Yeti GX with a large thumbscrew which has the same ¼”-20 threading as the base attaches to the mount. It then has a rubber grommet as well to give it at least some vibration isolation.
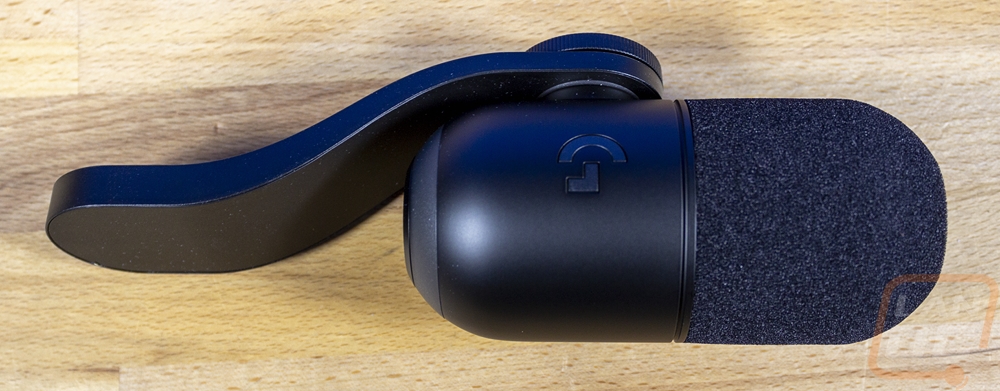

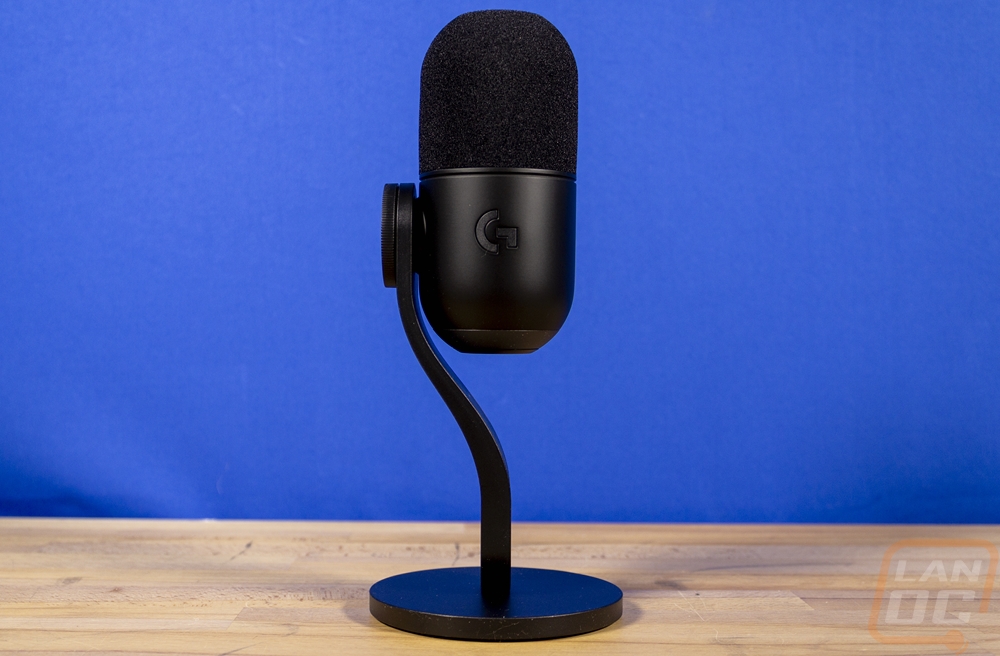
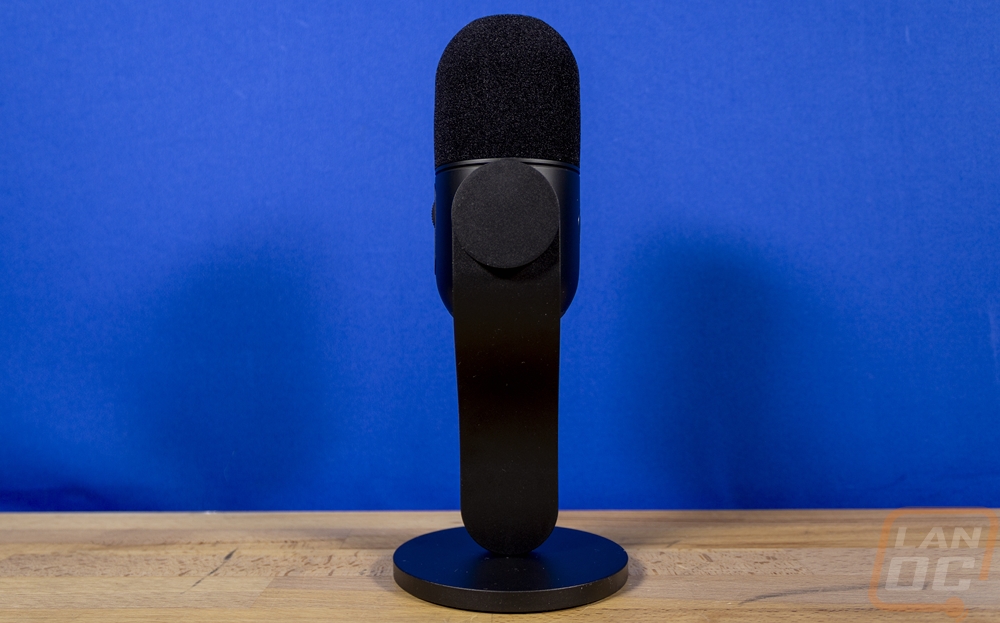
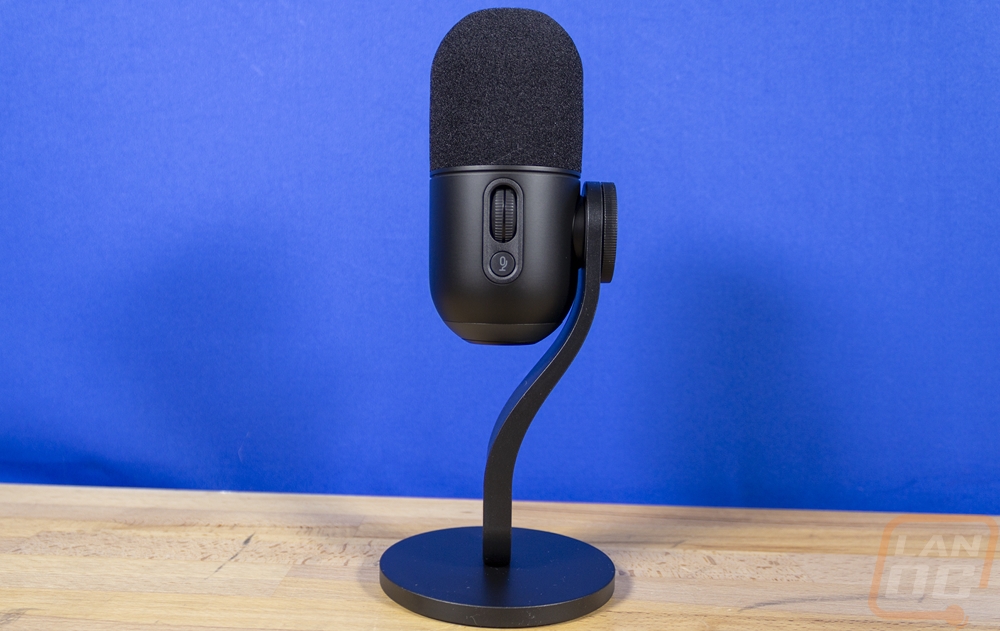
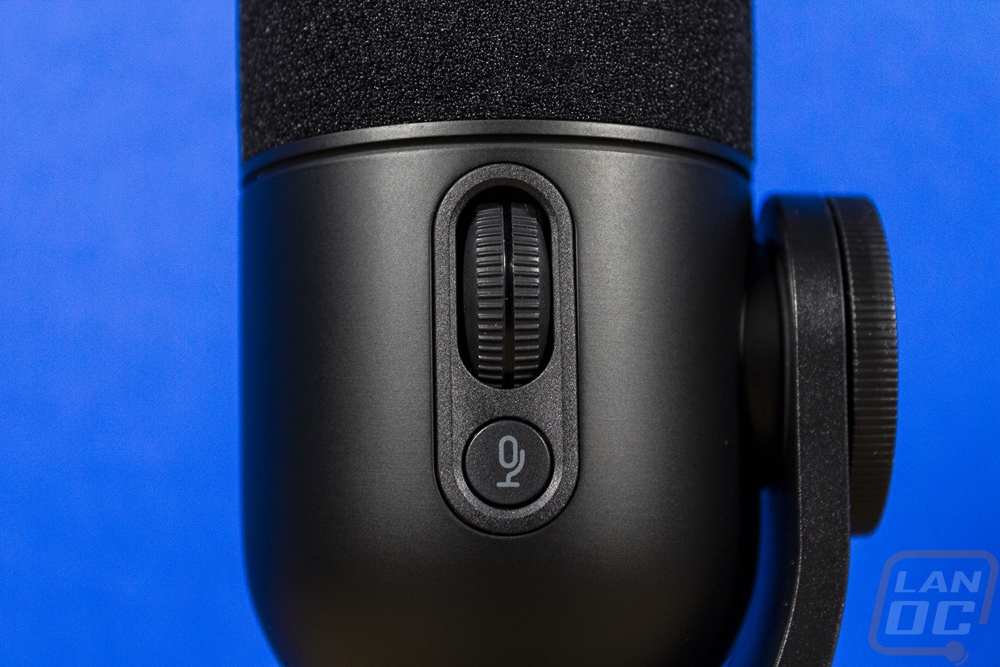
The main Yeti GX housing is cast in aluminum just like the arm but unlike the arm which has a plastic cover over it, the main microphone has a black finish on it. One side has the ¼”-20 threaded mount then the front has the Logitech G logo which is backlit with RGB lighting. Around on the back of the microphone, it has a raised section with the controls. It has a microphone mute button at the bottom and then a mouse scroll wheel. The scroll wheel is exactly what you would expect, it has the same bumps when you scroll it that it would on a mouse. Pushing it in also has a switch up under it with a defined click. The wheel has a rubber grip with small groves in it for traction, then down the center, it has RGB lighting as well. The idea is to make gain control easy and one-handed then pressing the scroll wheel down can turn on Logitech’s Smart Audio Lock setting. The like in the wheel lets you know what is going on and is also your mute status indicator.

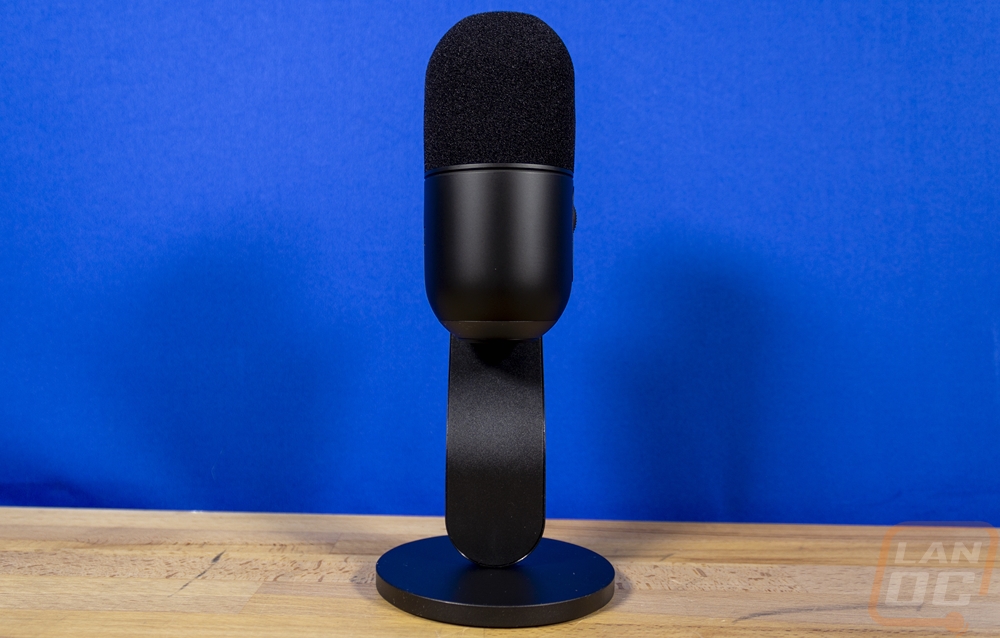
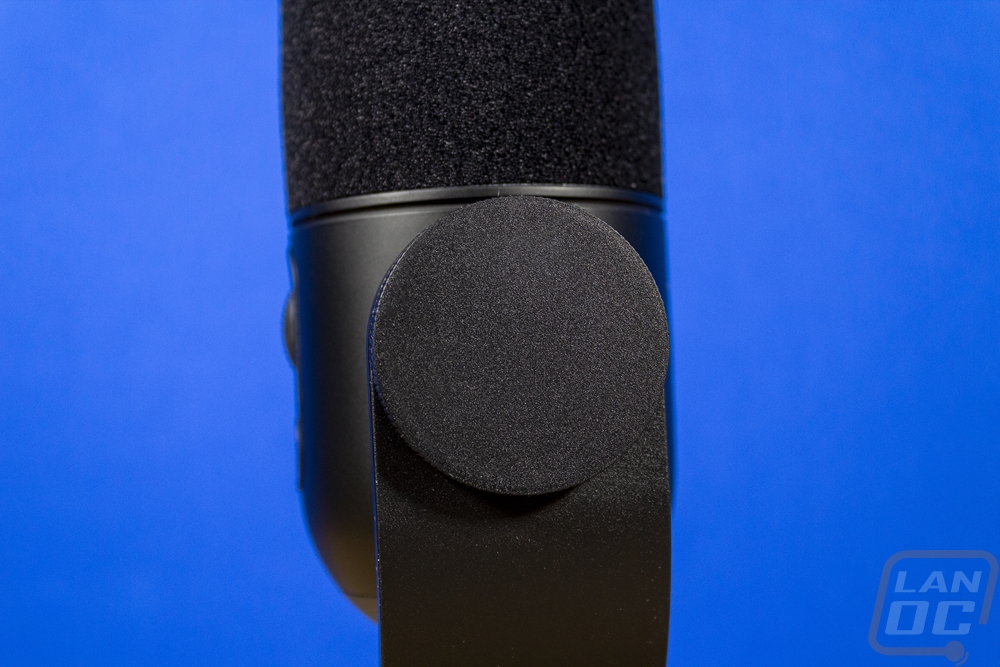
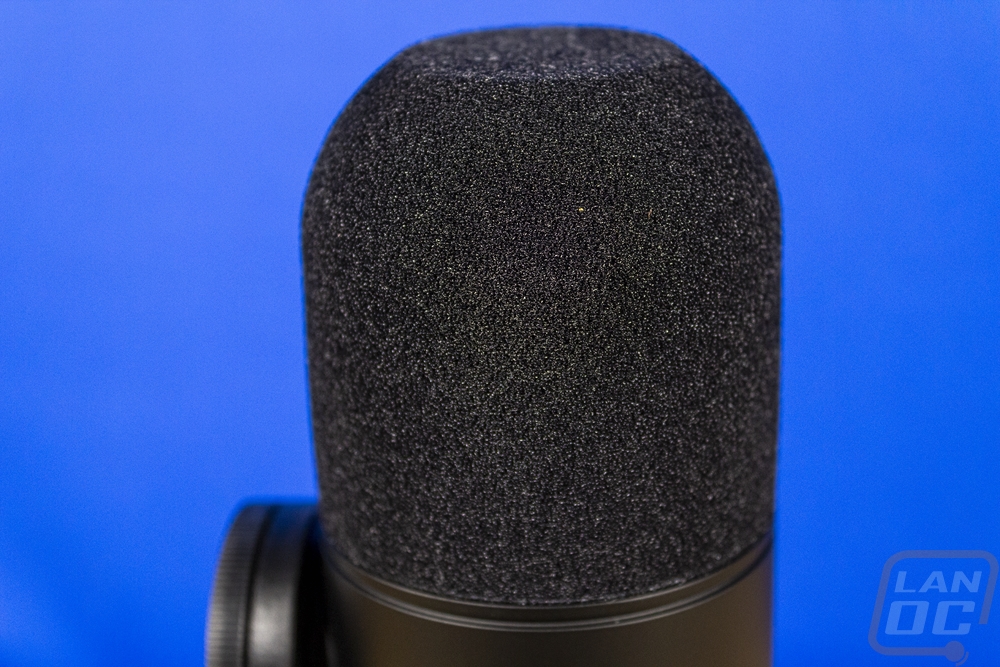
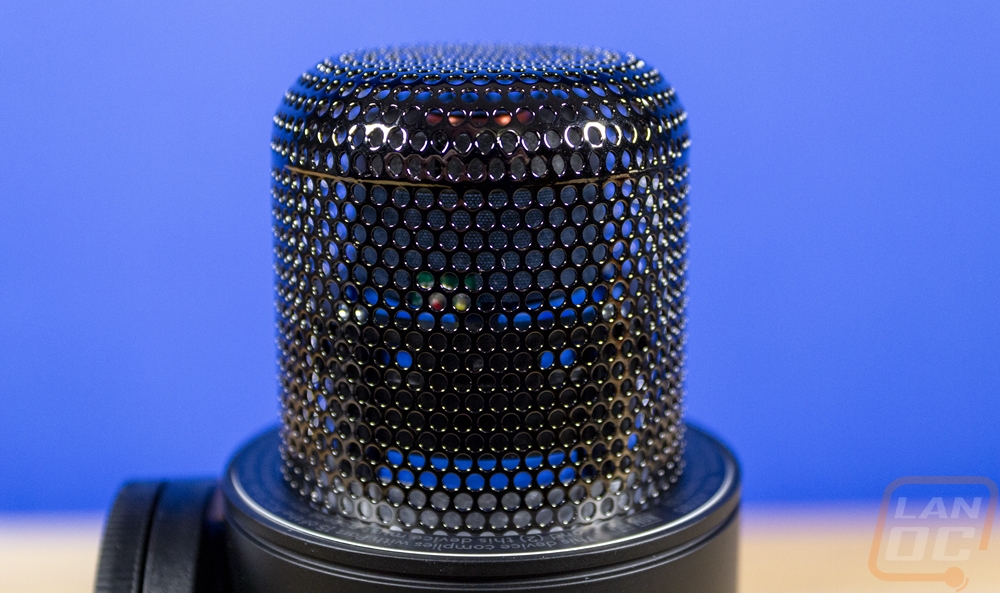
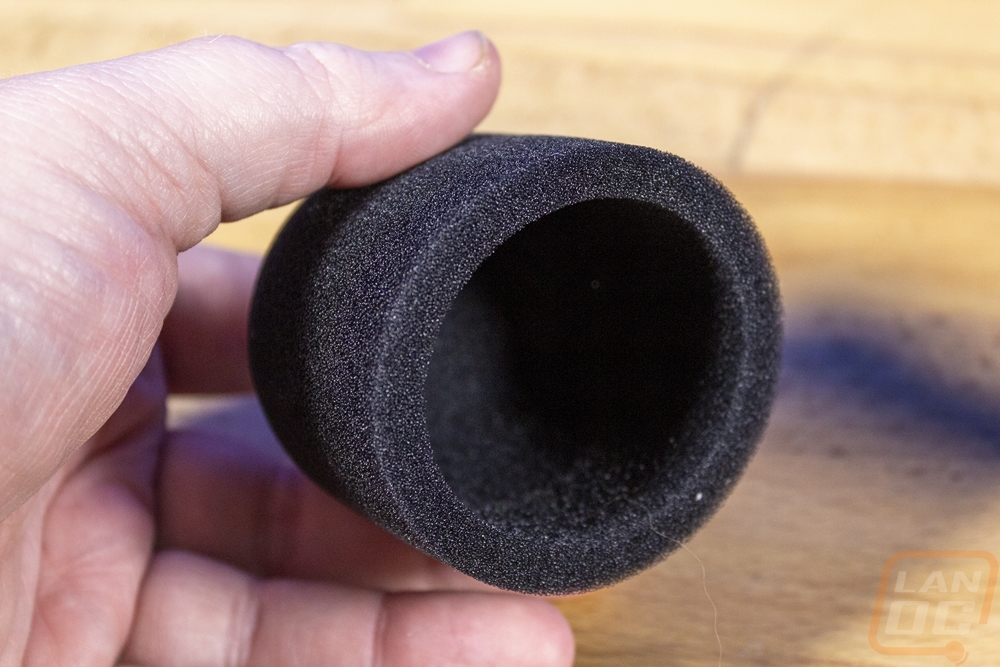
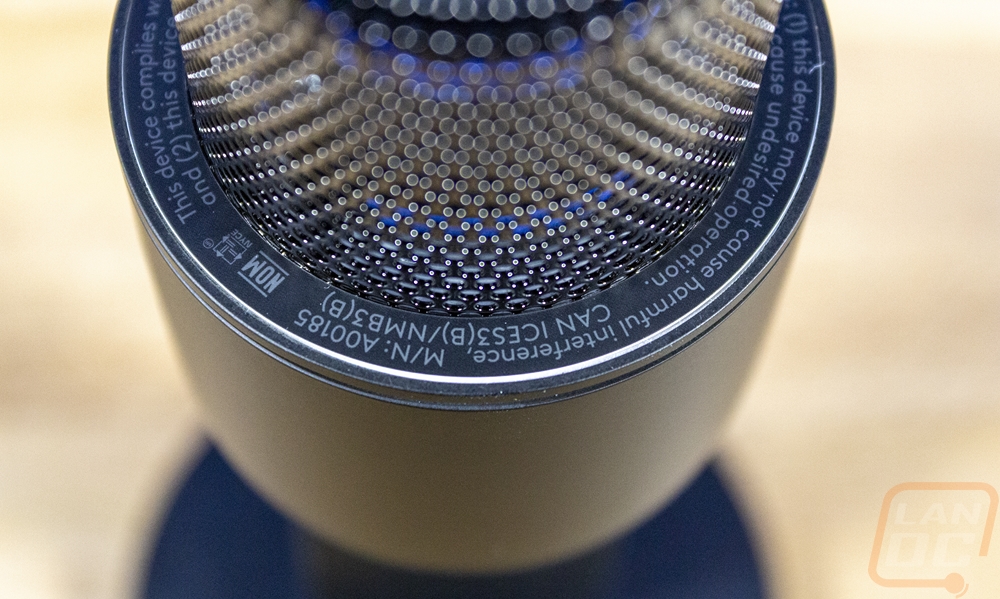
The top half of the Yeti GX has a foam pop filter covering it. The foam is cut to perfectly match the housing size and up at the top rounds off with a flat top. Under the foam, the Yeti GX has a metal housing covered in small holes with a nice finish to give the structure under the foam and to protect the microphone. Logitech has hidden some of their legal information around the lip. The Yeti GX has a dynamic microphone with a super-cardioid pickup pattern. Some microphones of this shape may have their microphone designed to pick up out of the front and back but the Yeti GX picks up from the top of the microphone. While it doesn’t have the same shape, it is just like a singer's microphone with a round top and then the handle. The Yeti GX is a 24-bit 96kHz microphone and it has a frequency range of 50 Hz up to 18,000 Hz. It has a dynamic range of 95 dB and a signal-to-noise ratio of 78 dB. For comparison with the Yeti Orb, the GX picks up better on the low end but is 2000 Hz lower on the top end and its higher signal-to-noise ratio means that the GX is going to be better at picking up softer sounds before you hear a noisy signal.
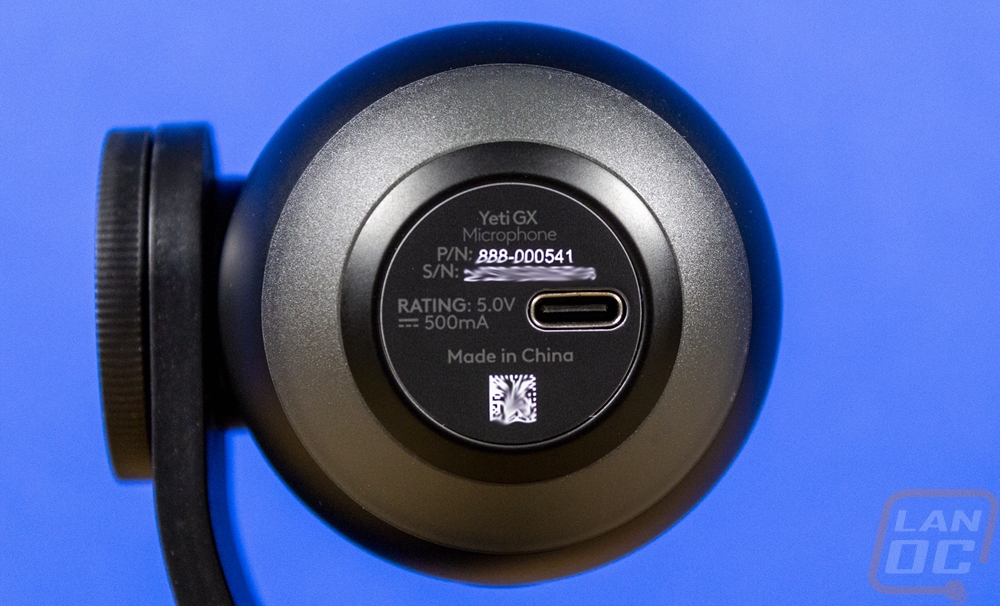
The bottom of the Yeti GX is rounded off with a flat bottom just like the foam was shaped on the top. The rounded part here has a translucent plastic ring which they have used to add a touch of RGB lighting. Then on the bottom, you have the part number and serial number printed. This is also where the USB connection is which is a USB Type-C connection which makes it easy to plug in.