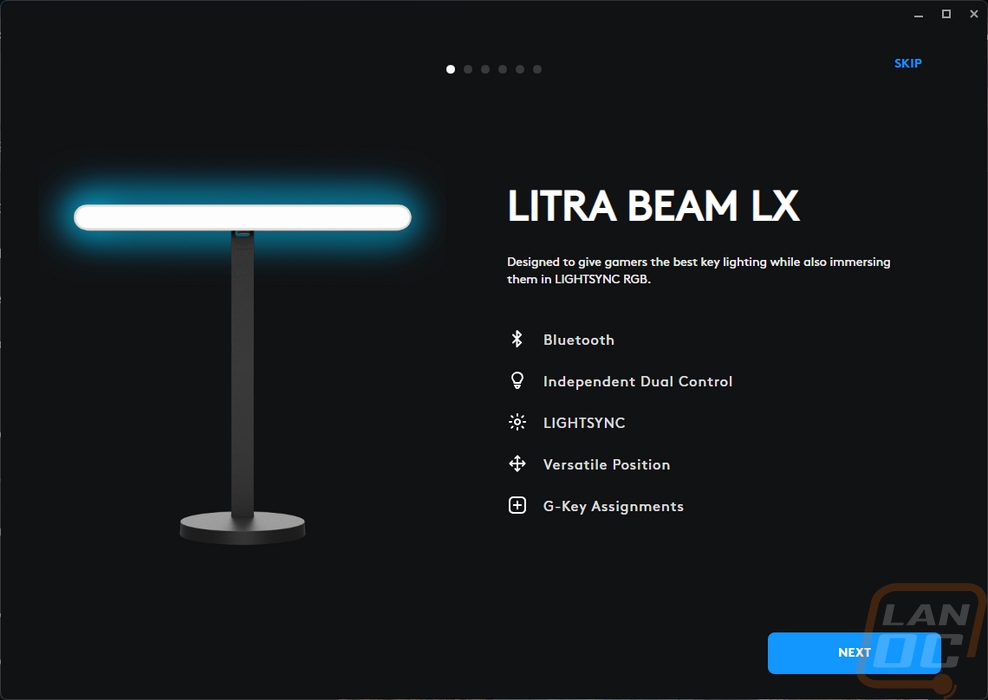
Software and Performance
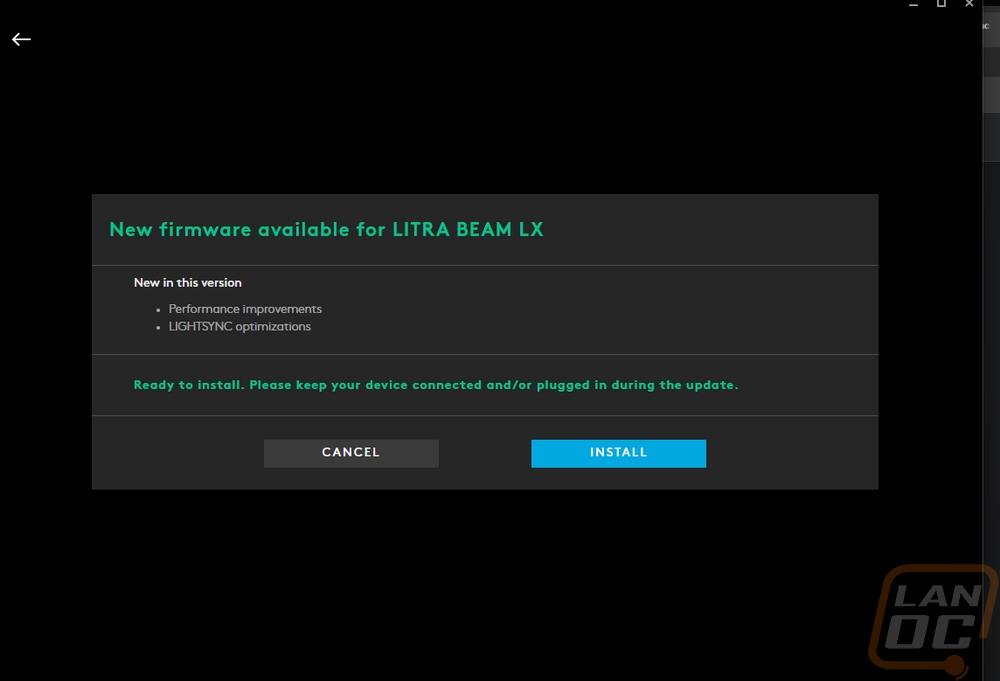
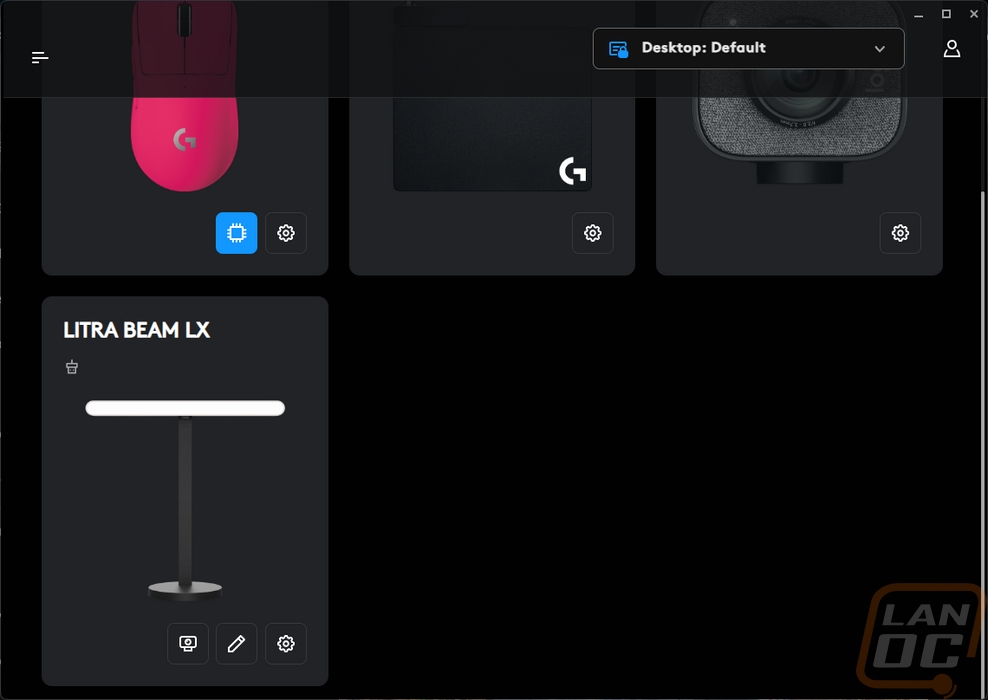
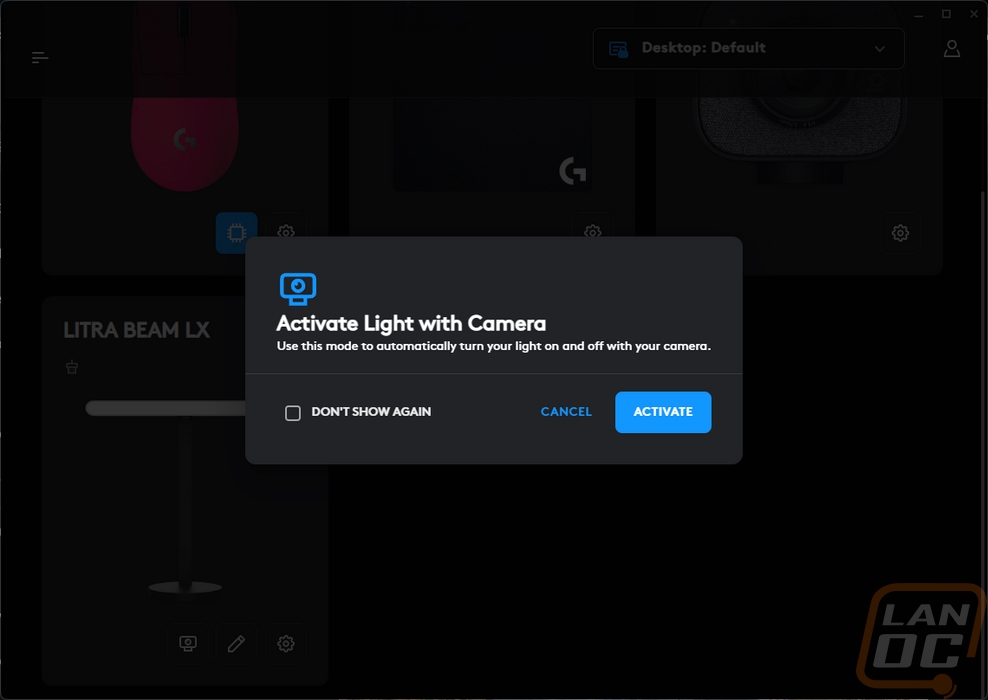
Like with any other Logitech Gaming product, the Litra Beam LX uses Logitech G Hub for its software. When you first plug the light in with the software installed it will check for a firmware update and initiate that. Logitech does list a few of the changes that it will include. Once that is done the landing page for G Hub has pictures of each supported device that you have plugged in. The gear icon over the picture will take you right to the settings page to check the firmware. The pencil lets you edit the device name which you will notice isn’t available on the other devices but could be important here because you might have more than one light. Then the camera icon turns on or off the option for the light to automatically come on when you use your camera. Clicking on the picture itself then opens up the full Litra Beam LX menu.
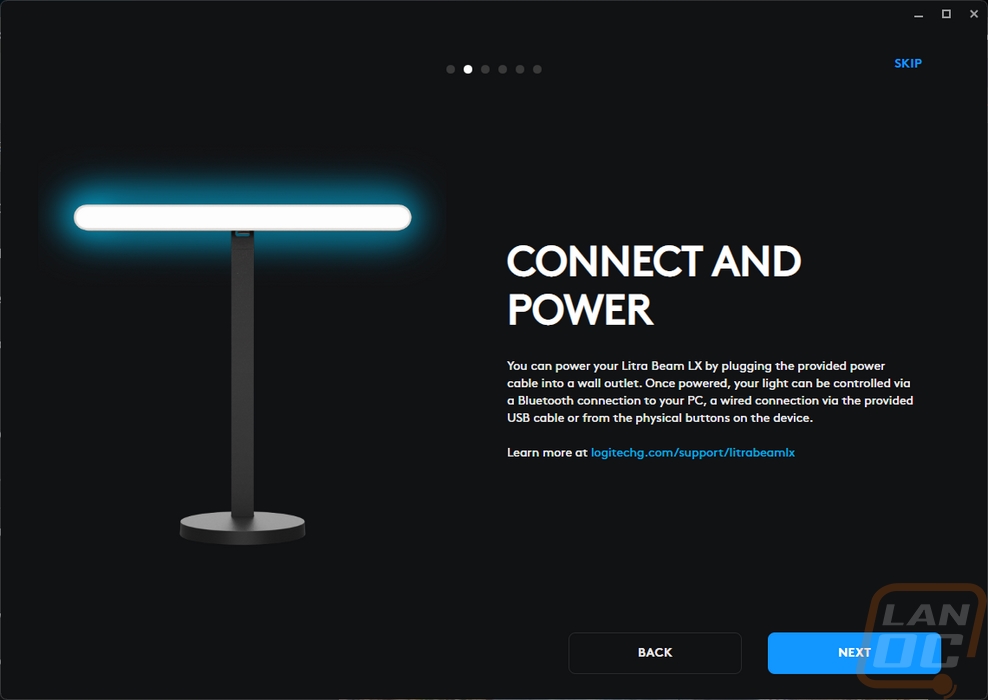
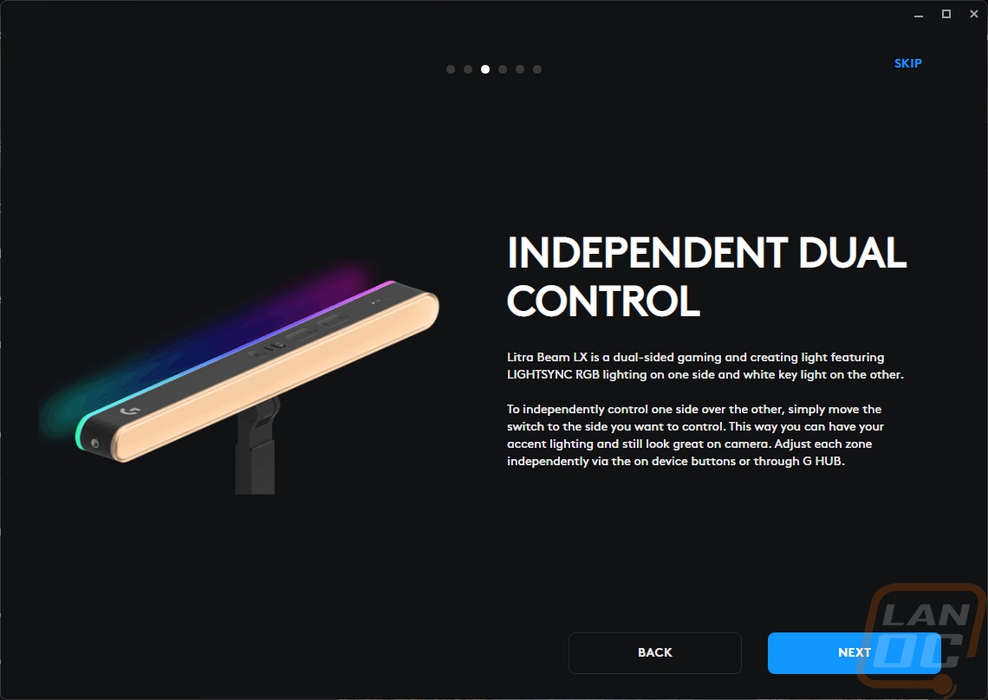
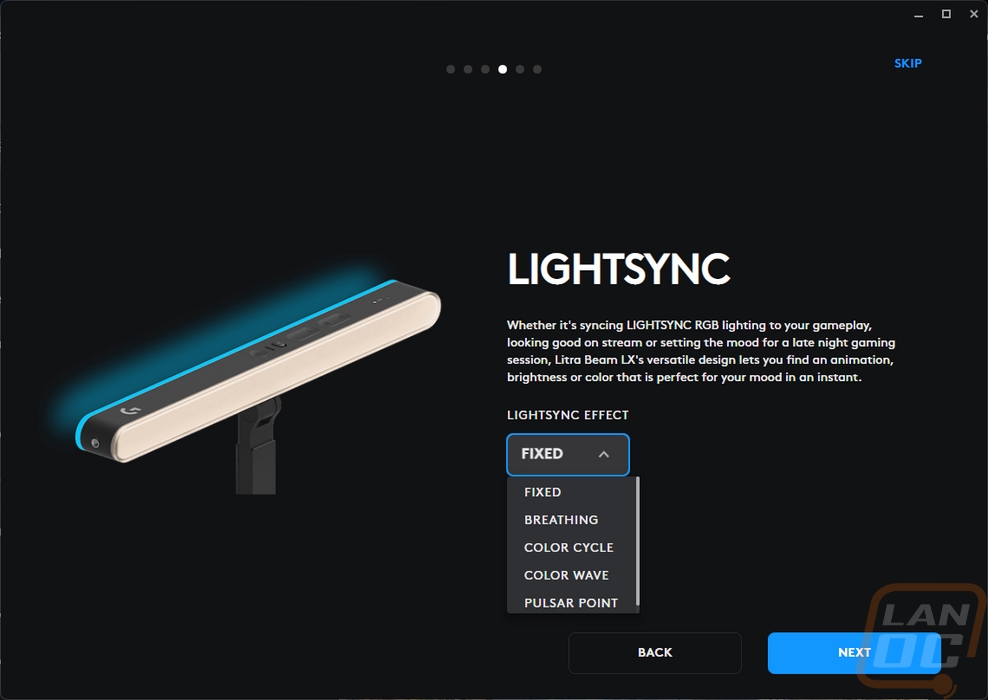
The first time you open up the software for the Litra Beam LX you will get a popup that walks you through the lights features. You can skip it but it does highlight key features including the ability to use Bluetooth. The third page also lets you pick the lightsync lighting effect for the background lighting.
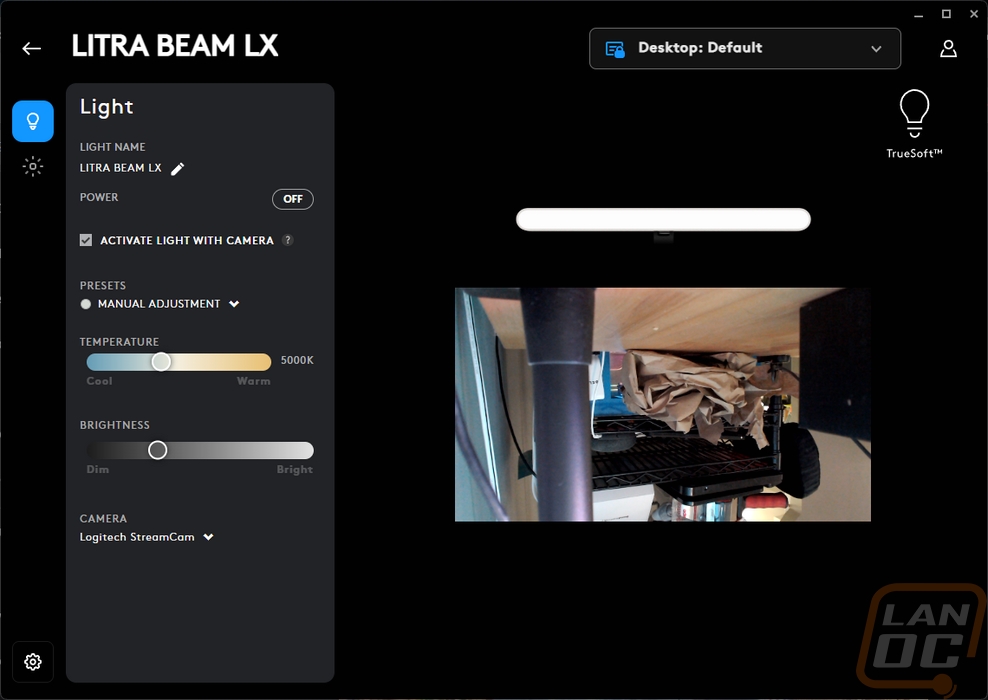
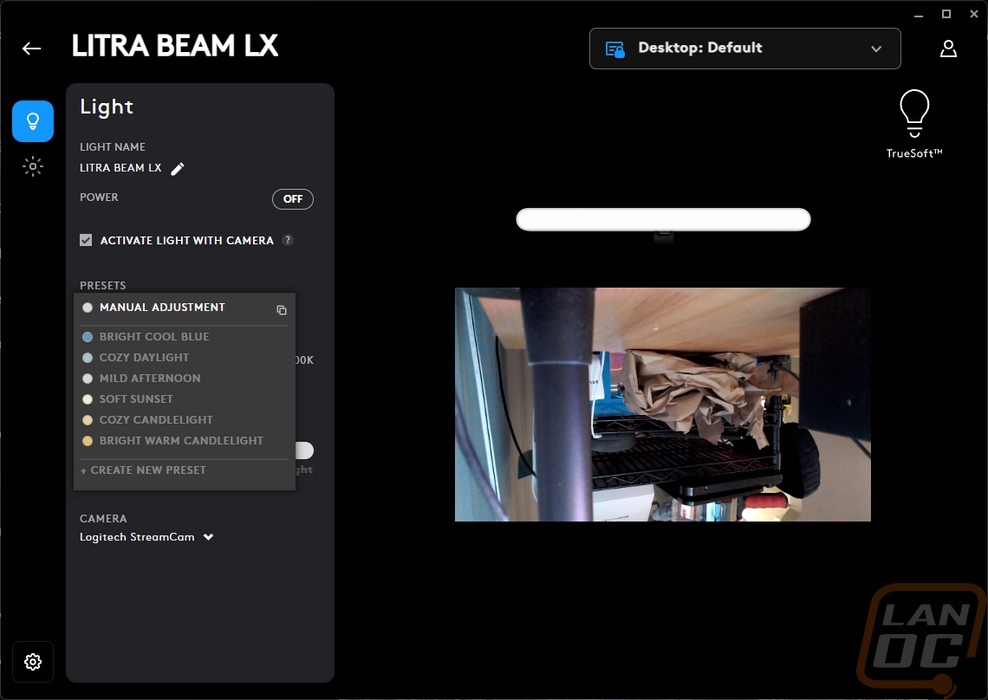
G Hub has two different main pages for the Litra Beam LX. The first is all about the front-facing lighting. You can edit the light's name here as well and manually turn the light on. To the right you have a picture of the light which will reflect whatever the current status of the lighting is and below that it will pick up your webcam where you can see my camera had fallen. On the left, you have the option where you can have the lighting turn on with the camera right up top. Then from there, you have a preset dropdown with a range of options that have different color temps and brightnesses. You can also create your own new presets, a good use for this could be setting a profile for daytime and nighttime if you have a window in your office. From there you have two sliders, the top adjusts the color temperature, and the second the light brightness. There isn’t anything else you need here. Last you can pick which camera shows up on the right. The only thing missing here could be some automation that automatically sets your lighting for you using the camera feed for anyone who doesn’t know what temperature and brightness they need.
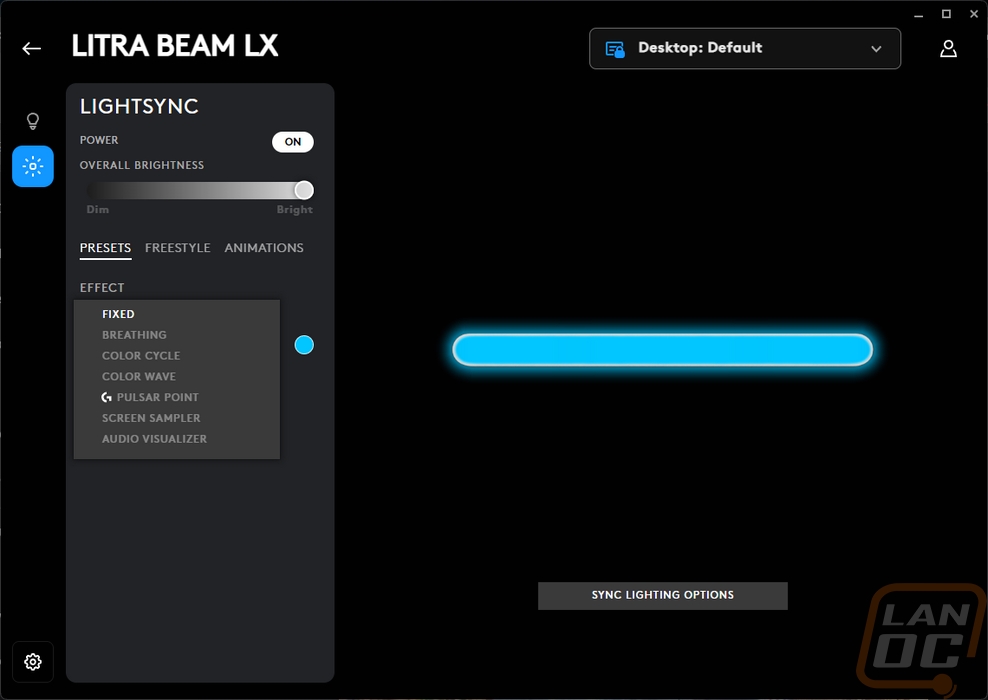
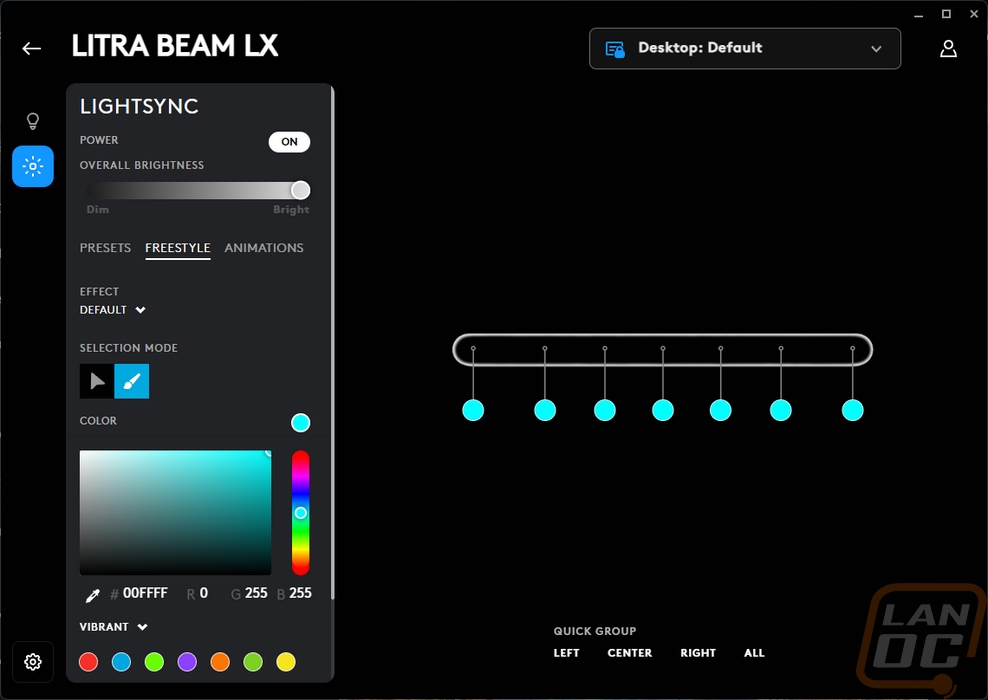
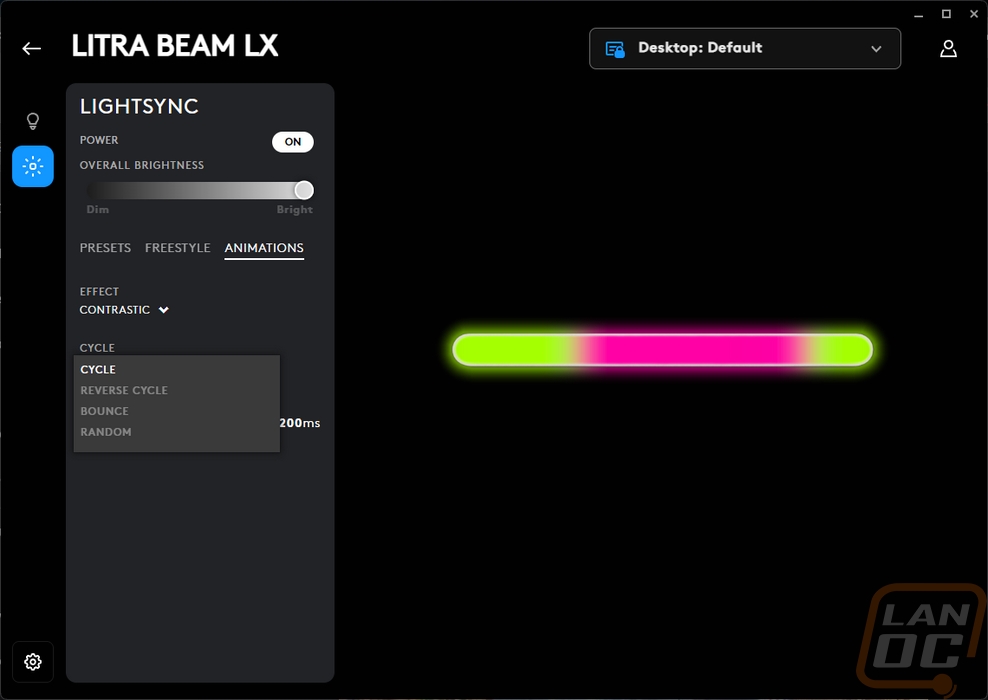
The second page is then all based around the rear lighting that is specific to the Beam LX model. This ties into Logitech’s Lightsync which is what they call their lighting across all of your peripherals. Like the front lighting, you have your opens on the left and a picture of the lightbar on the right that shows your current lighting setting. There is also a button to sync this lighting with the rest of your Logitech devices which will link them all together. You have an on-and-off button up top and then the lighting brightness slider. Below that there are three tabs, presets, freestyle, and animations. The presets page has a drop-down list of effects. Selecting each of these will then open up different options that you can change. For the fixed for example you can just pick a single color, breathing has that and rate and speed, color cycle adds in saturation, and screen sampler lets you pick where on the screen it will pull the colors from. This is cool because if you use more than one light you could set them to the side the light is on. The freestyle tab lets you select the color on each of the seven color zones. Then the animation tab has a dropdown of different lighting effects, each of those then has its own settings as well.
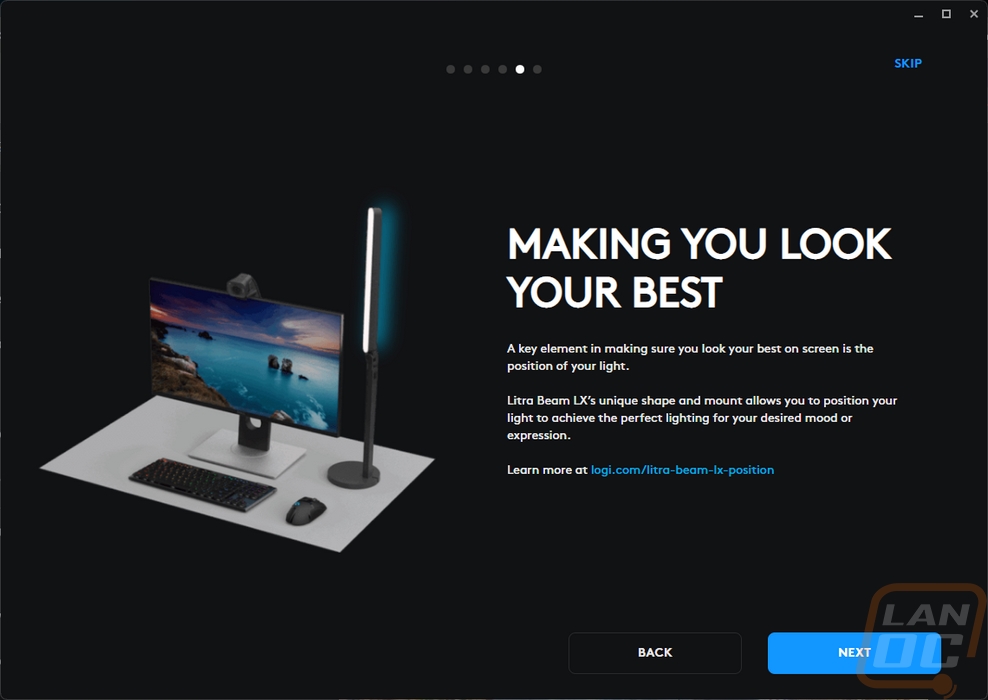
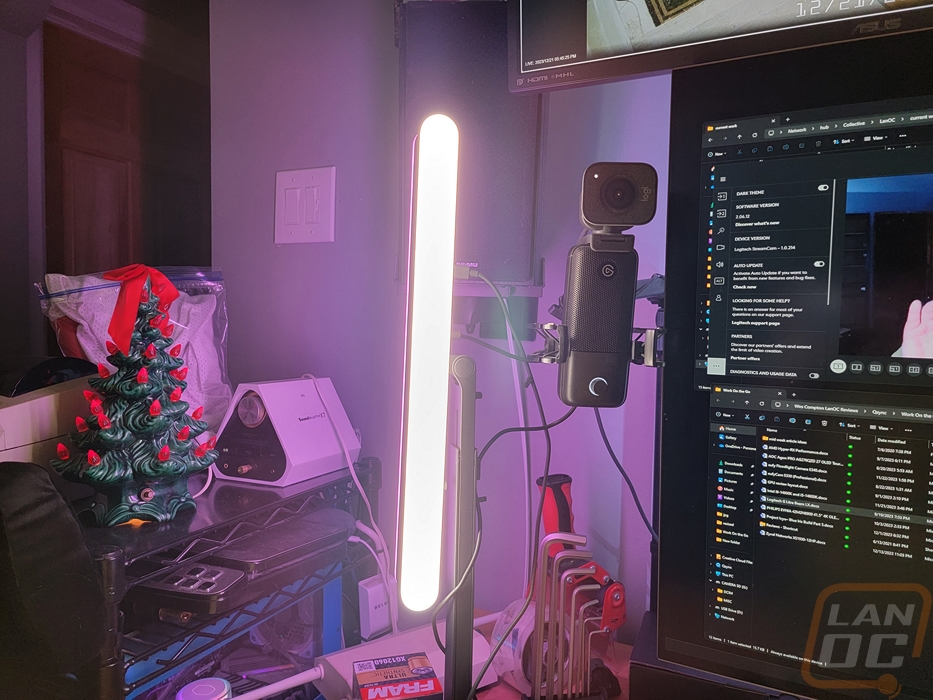
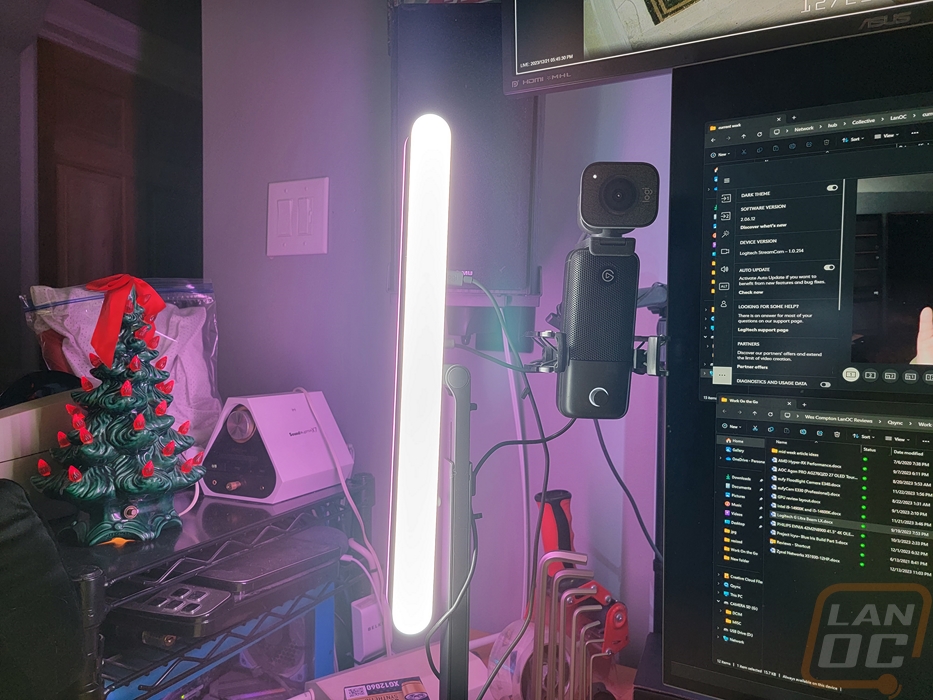
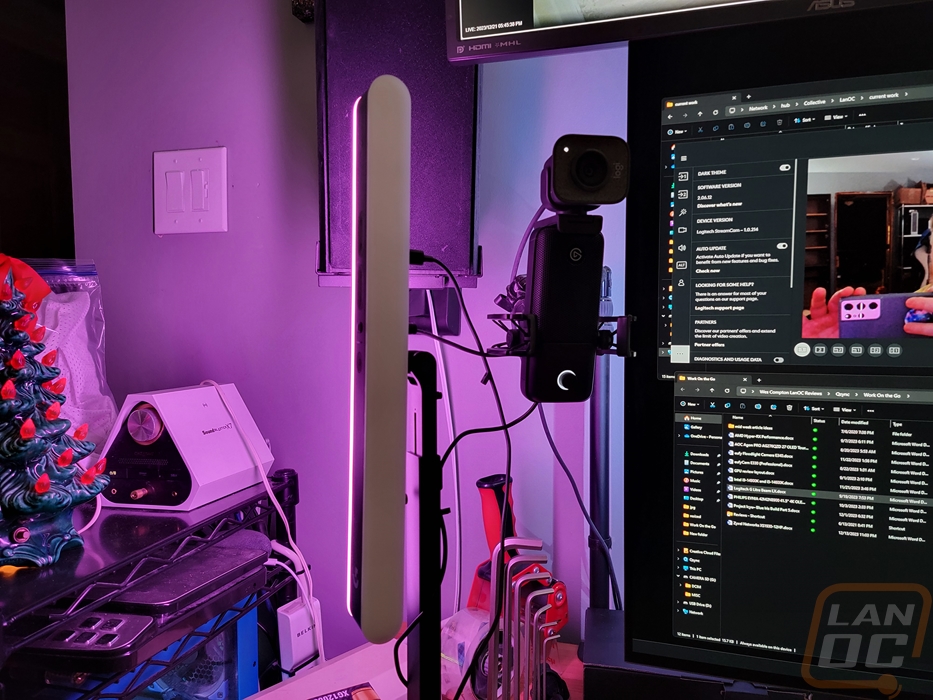
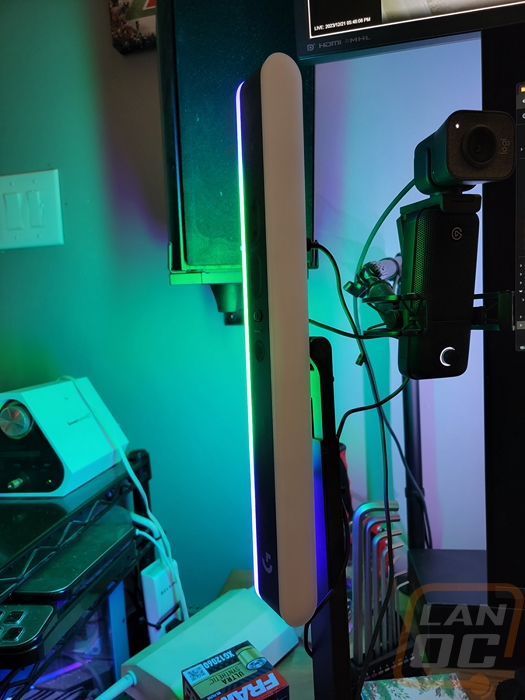
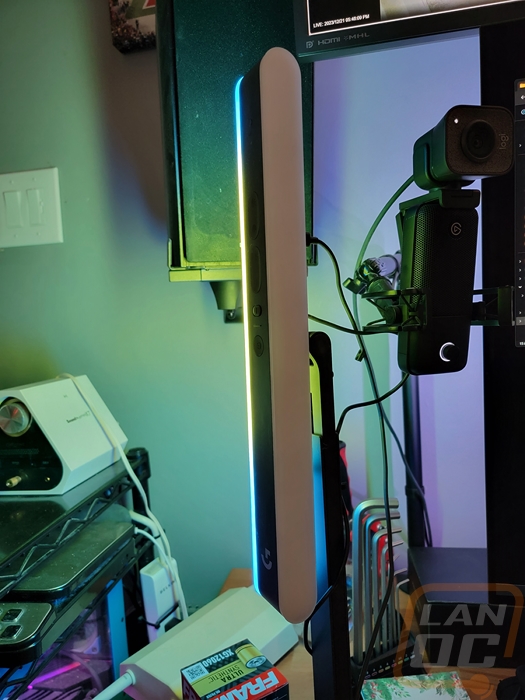
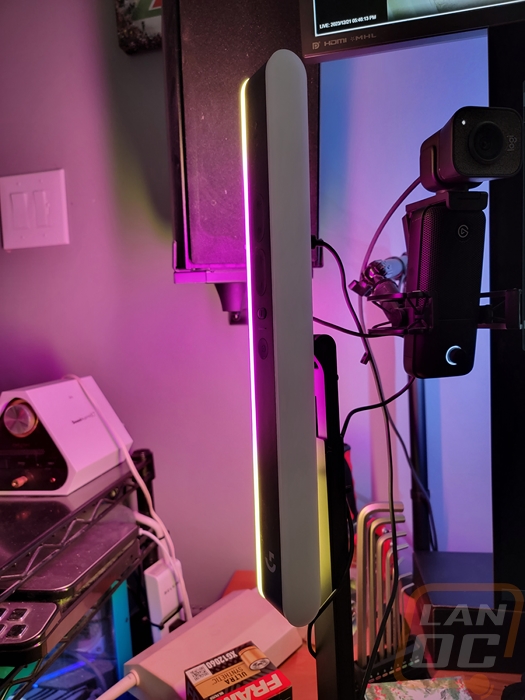
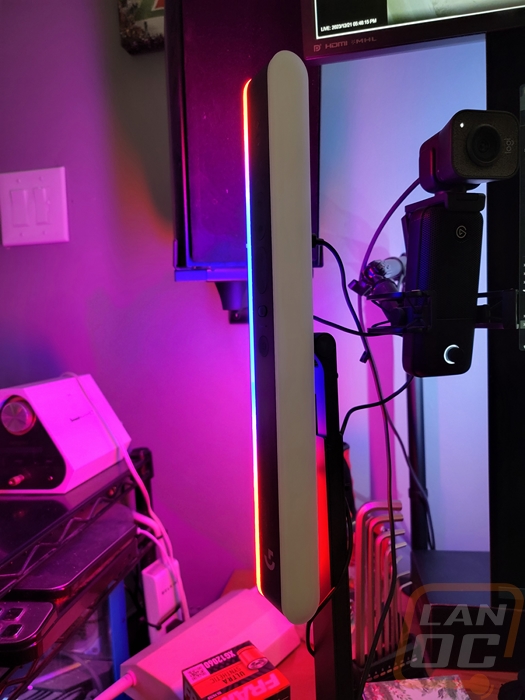
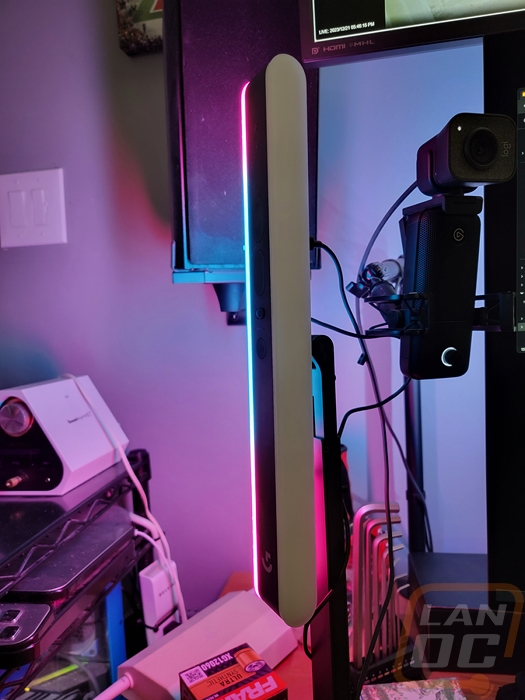
Getting the Litra Beam LX in the location that works best for you is going to be important and the two mounting points on the stand along with the height adjustment and pivoting top allow for a lot of different configurations. Of course, though, my specific setup couldn’t be that easy. I run a 42-inch monitor on the bottom and two 27’s above it next to each other. The ideal setup would be to have the light in the center above your monitor but I can’t fit it between the monitors. I did play with lowering my monitor down to fit it and that worked but I didn’t like having the gap. The Litra Beam LX also doesn’t have the height with the stand to reach up over top of the 42-inch monitor, but that won’t be an issue for most people. What worked for me after a lot of laying with it was setting it to the left side vertically next to my monitor. This is also where I currently have my webcam as well which I have the same issues trying to find a good spot for it as I did with the light so the lighting doesn’t end up all on one side of my face. Along with showing that setup, the three pictures below also show the light set to warm, medium, and cool color temperatures as well. The lighting doesn’t have any gaps or hotspots, the diffuser does a great job of softening it all up. As far as the setup goes, long term I will need to figure out a better layout. Using the microphone to hold a webcam and having it then sitting in front of my speaker is far from ideal but will require moving things around more and potentially a stand for the camera and light to be on their own.
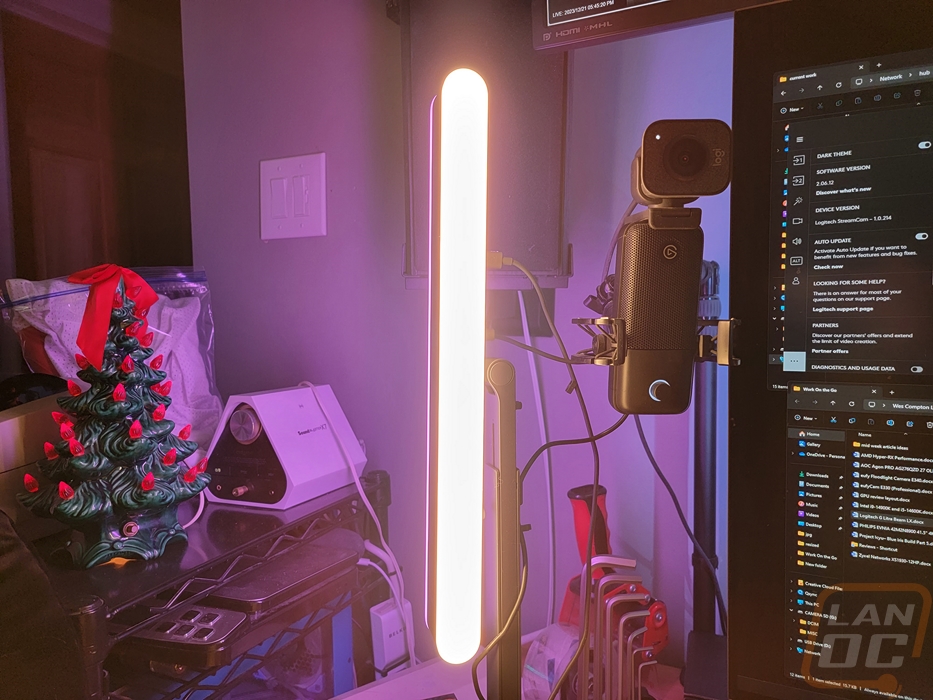
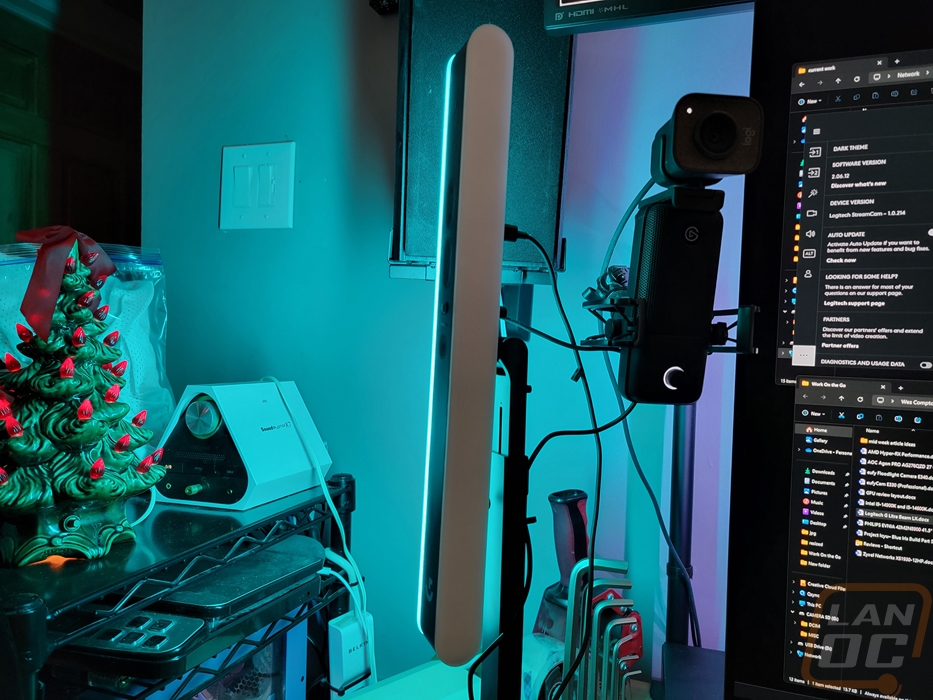
Having the light to the side doesn’t work out the best for the rear lighting which is the main feature of the LX compared to the original Litra Beam. It lights up everything extremely well but is only one side of my desk. If you are going for that “streamer” look with lighting effects though this does a great job without having to add a second light on top of your key light. When mixing colors or running animated effects the wall behind my desk reflected it all out without also lighting me up.
Diving into testing, I did all of my testing pictures at night in my office which has a lamp in the background. As you can see, I also have a really pale complexion and rosy cheeks, and getting lighting or camera settings figured out is always a big challenge for me. The difference between daylight and night lighting on my complexion is huge but by far the biggest challenge I run into is the lighting from my displays. Even before I ran three to four 27-inch monitors and it is even worse now with the 42-inch monitor as my main display, but the lighting from my monitor lights me up a lot but it isn’t consistent at all. When on a call when people flip through slides it changes everything so my goal was to bring in new lighting that could overpower the light from my monitor, especially when I am often in a not ideal lighting situation with lights on behind me. My concern though was with my light complexion that I would wash out and that did happen in some of my testing with the Litra Beam LX, some fine tuning was needed for sure. My first two pictures below were with basic settings out of the box and then again with the lighting off using the Logitech Streamcam for the picture. The result was that having more lighting did drop down the background lighting and bring me into the picture but it wasn’t perfect. Not having lighting on also resulted in lower picture quality as well.


The Beam LX has six different lighting presets by default I flipped through these and got a picture of each to show how they change the picture. Both of the brighter options washed things out right away even when it was the bright warm candlelight which ran warmer lighting. Funny enough those bright options still only run the lighting at 2/3 of their max brightness helping me dial in what brightness level that worked for my situation best. From there I just had to figure out what I liked for color temperature.

Bright Warm Candlelight

Cozy Candlelight

Soft Sunset

Mild Afternoon

Cozy Daylight

Bright Cool Blue

Lighting completely off
To pick a color temperature I went through with 50% brightness and got pictures of each going from cool to warm in the pictures below. You can see it best comparing the coolest to warmest, in the middle it starts to blend together more but I found that for me, right in the middle looked best but later when I have outside lighting during the day the color temperature being farther into the warm side worked even better to give me some color and not look like a ghost.