Software and Performance
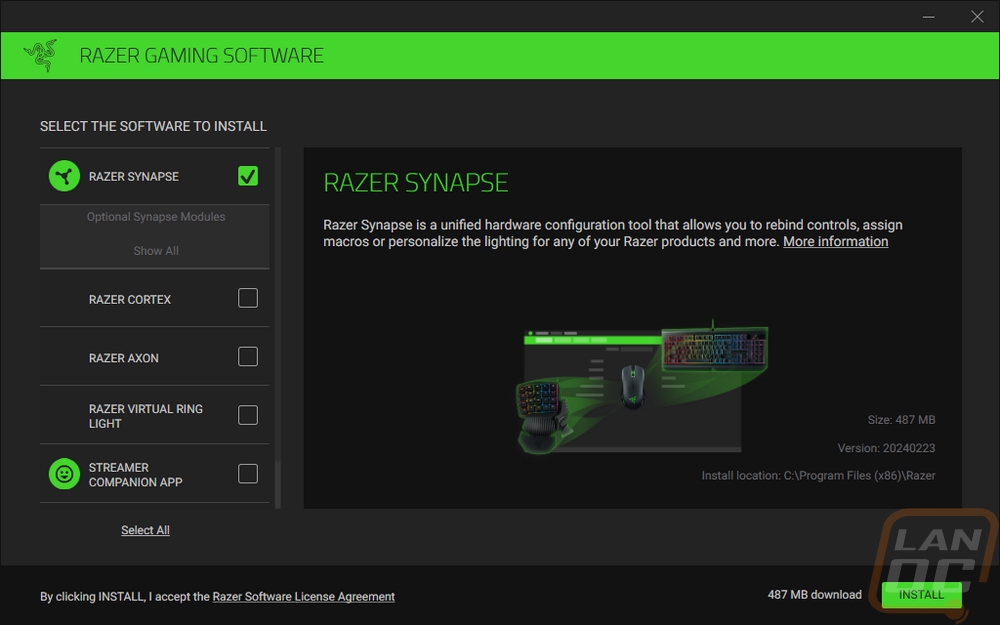
Before getting into testing both of the Razer Seiren microphones, they use software so let's check that out. Both use Razer’s Synapse software which ties in with all of Razer’s products. So if you already have any other Razer products you won’t have to do too much. Installing it was simple but it does want you to reboot your PC after you install the software which is annoying.
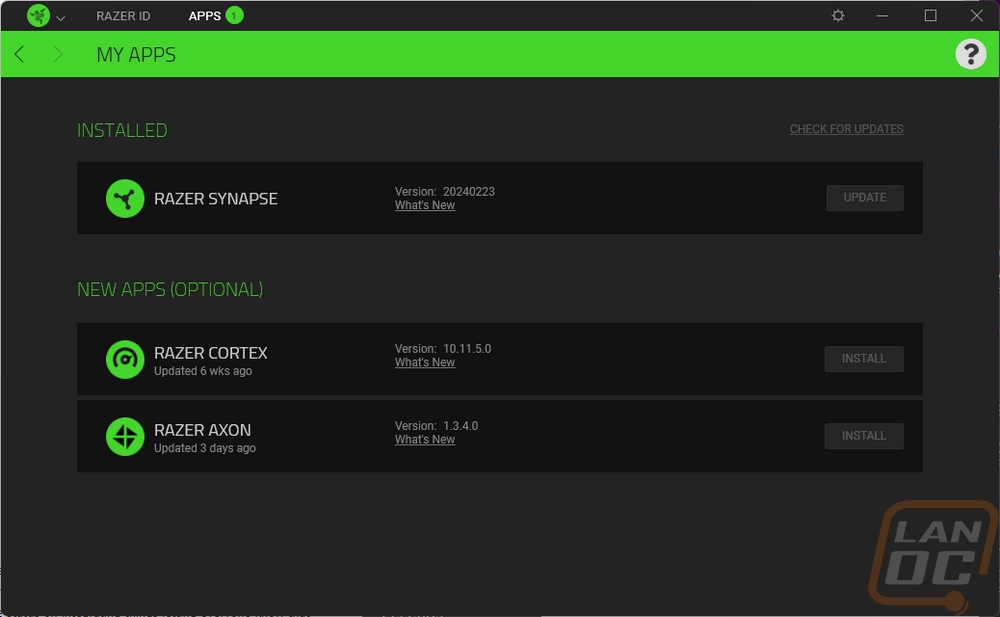
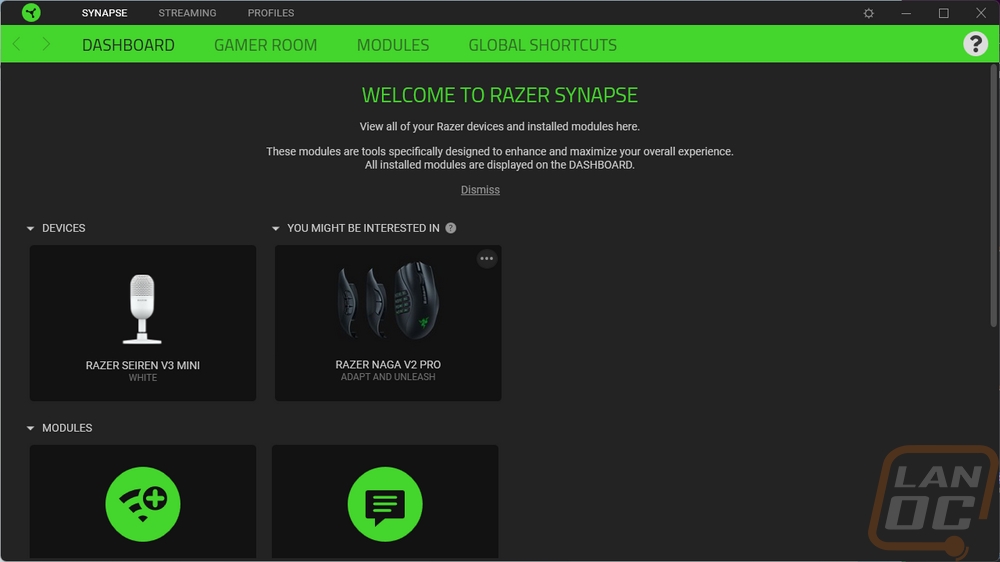
Once set up, this is your main landing page when you open up Synapse. Up top, you have the Razer greep bar with a few main options. A welcome message and then a list of all of your Razer devices with pictures. The device picture could be a little larger. Especially with the ad sitting next to it, the v3 Mini button blends in.
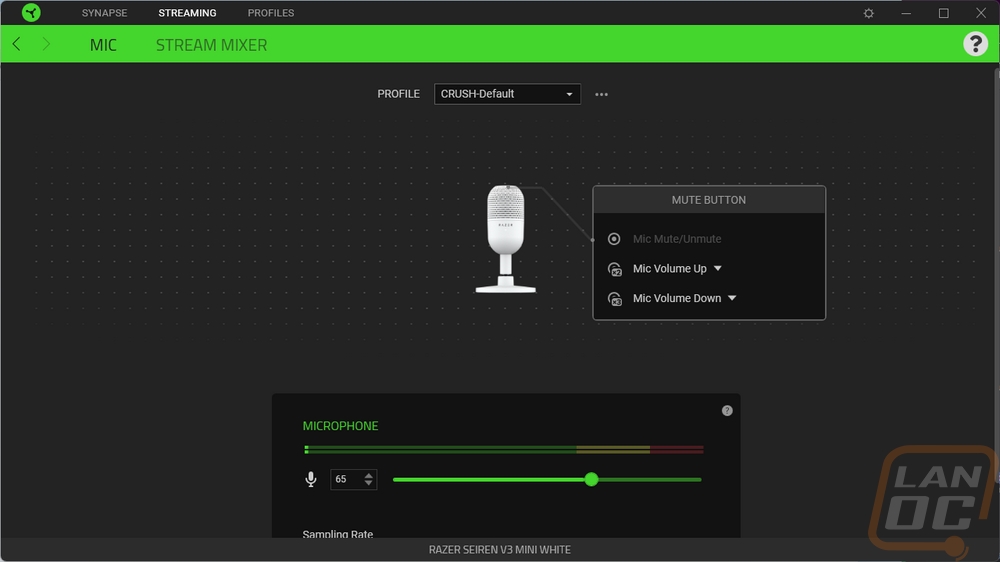
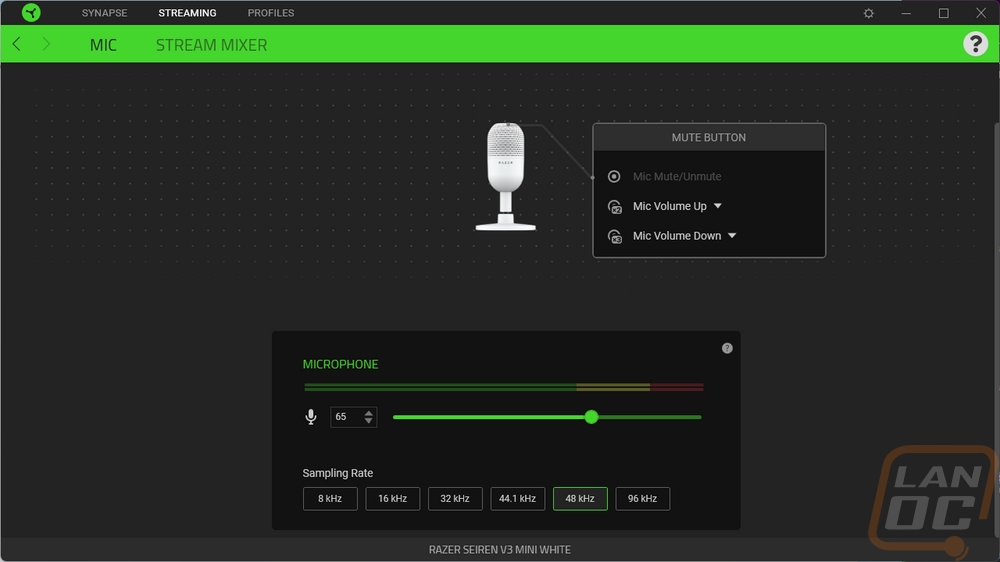
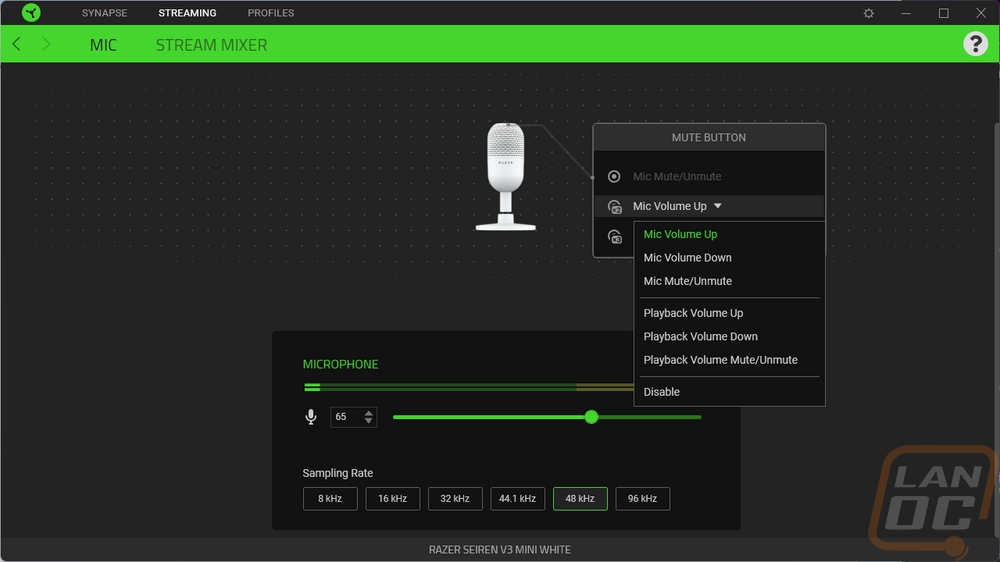
Clicking on the v3 mini’s picture opened up this page which was surprisingly bare. Up top, you have two menu pages and then a drop-down to flip between profiles. The microphone doesn’t have many buttons so you just have control over the top button. The mute and unmute are locked in but you can change the volume up and down or disable those functions if you want. Then below that you have a volume control along with a current sound meter that you can use to make sure you aren’t peaking. Then you can also change the sampling rate as well. With just a few controls, the main thing that bothered me here was that I had to scroll down to see it all when most of the space was empty. If I didn’t double check that there wasn’t anything else I would have most likely never noticed the sampling rate options.
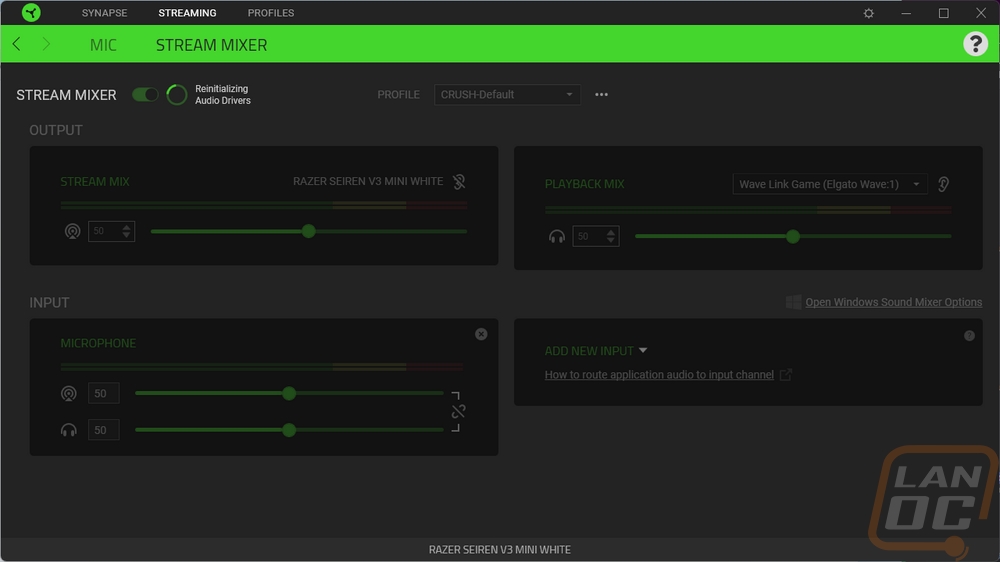
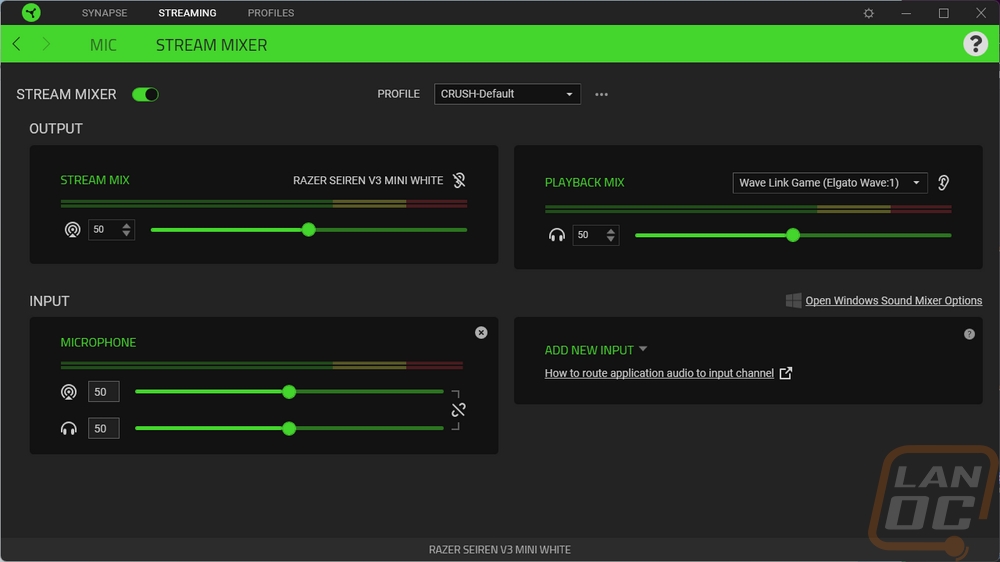
The Stream Mixer page up top has a switch at the top you will need to turn on if you are using this. This will change your audio settings around to give Synapse more control over things. With this, you have stream mix controls including setting your microphone output level differently than your microphone backfeed into your headphones. You can add in additional channels as well. The idea here is that you can set one dedicated audio output to go to your stream and use this software to fine-tune the levels on each audio source.
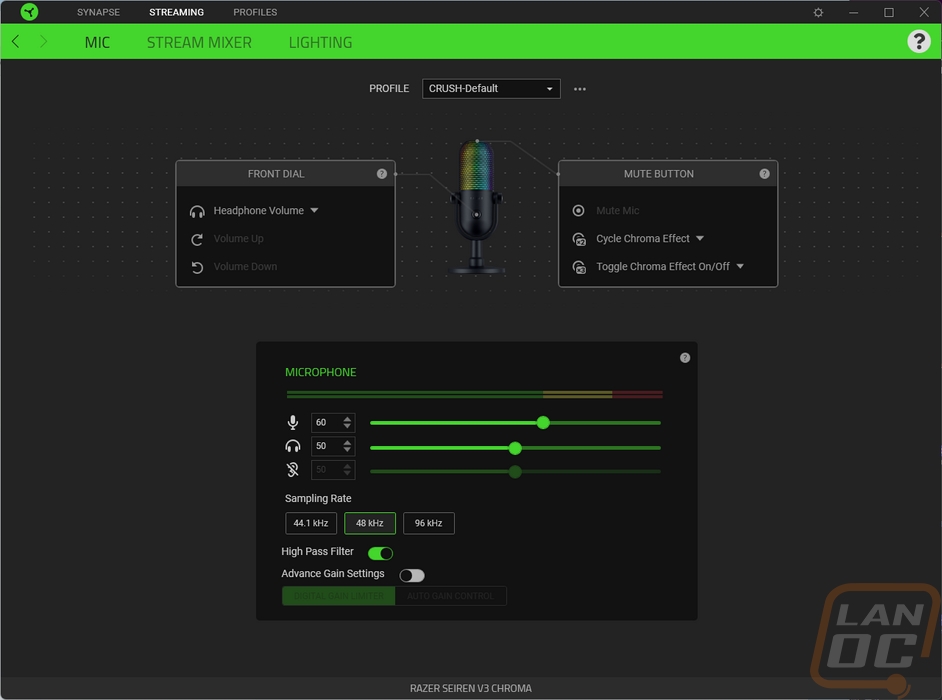
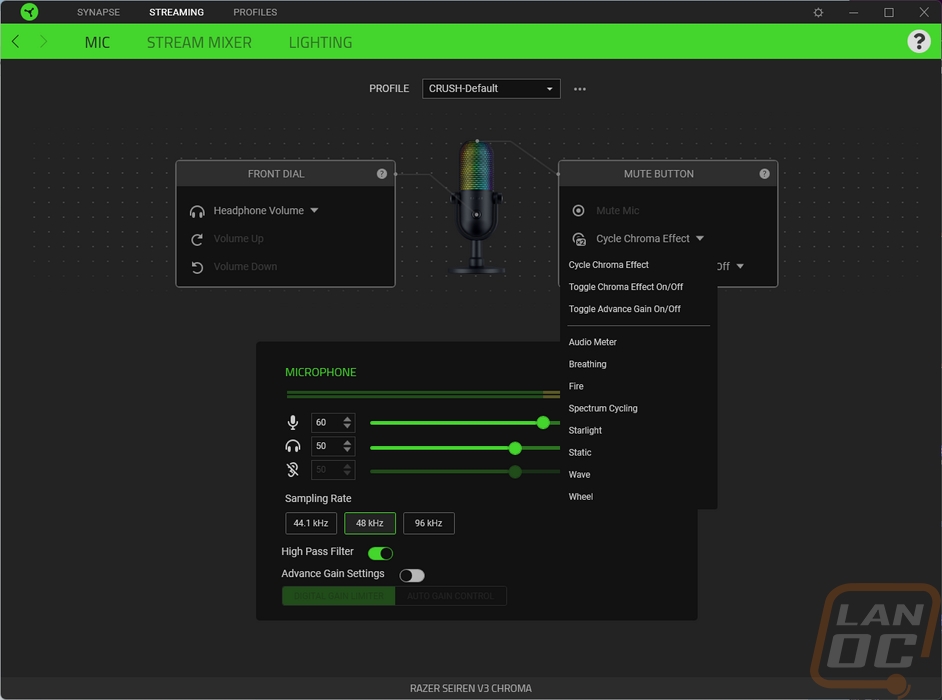
Switching over to the Seiren v3 Chroma, the main page is similar but does have two sets of button controls because the Chroma has the multi-function top button and the front volume control. I expanded the software out this time around to get everything in one picture but by default, a lot of this is hidden down at the bottom once again. Because the Chroma has a headset output, in addition to the microphone volume control there is also a headphone volume slider. They also has a high pass filter which comes on by default and the advanced gain settings option as well.
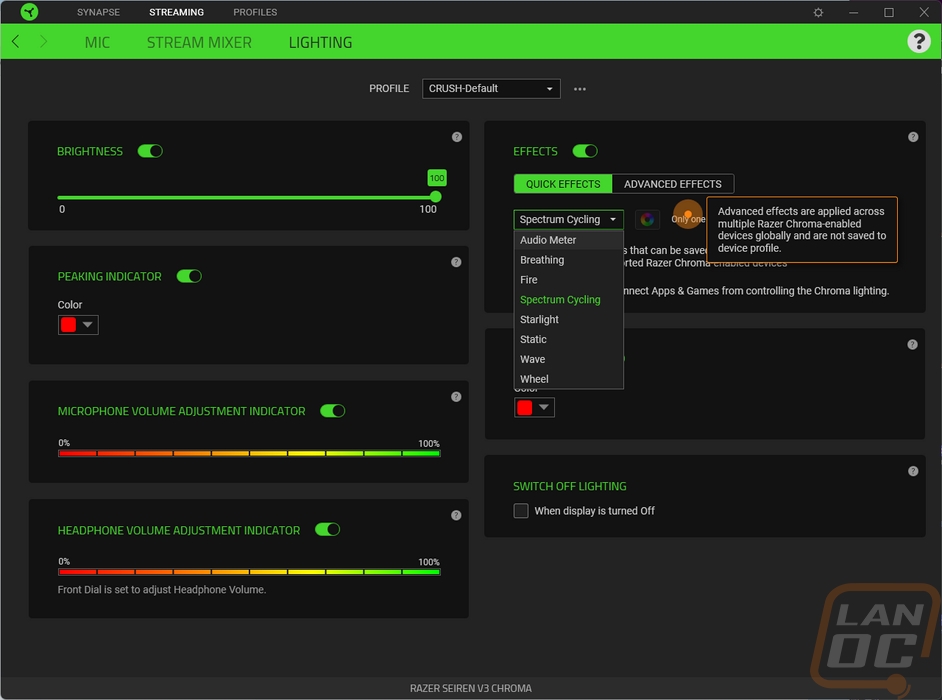
The v3 Chroma does have the same Stream Mixer page up top but because I touched on it already there is no point in showing the same features again. What it does have however that the Seiren v3 Mini doesn’t have is a page of lighting controls. The first option here is a brightness slider, by default it was already set to 100% but you can tone things down if you need to or turn the lighting completely off. Then to the right of that is the effects dropdown menu. Razer gives you complete control to make your open effects using their Chroma tool which isn’t part of this software. But even by default, you get a lot of different effects. On top of those effects, they have a few other lighting indicators built in because the Chroma lighting is also the status lighting for the Seiren v3 Chroma. For example, they have a peaking indicator that will turn your lighting to red anytime you are too loud to let you know you need to adjust your microphone volume level down. When you press mute it lights up red as well, either of those can be set to any color but red is what they have by default. Then when you use the front volume control you can see how far you are turned up or down for the microphone or headphones by the color of the lighting changing as well.

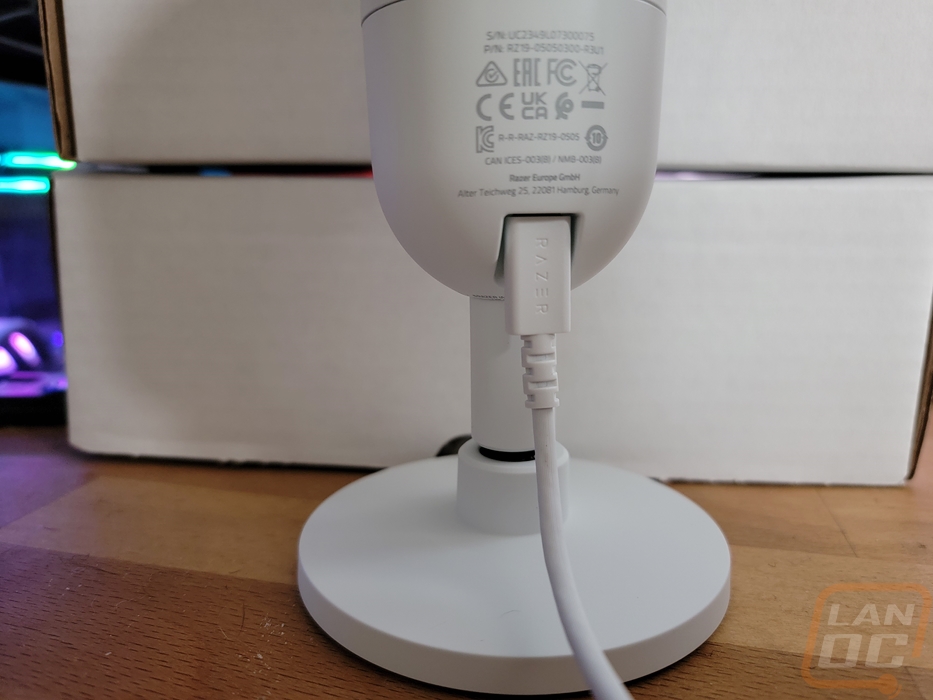
For testing, the most important part is how well each of the microphones performed, and for that, I have recordings of both microphones. I tested with the volume set to 100% and nothing else changed from their default settings. I have comparison audio clips from a wide range of other microphones as well. Both the Seiren v3 Chroma and v3 Mini have the same Supercardioid pickup direction. This means that a majority of their pickup comes from the front but they do also pick up some from the back. That, combined with being a desktop microphone does mean that either of the microphones are going to pick up some background noise. It also means that you need to use the adjustment for the microphones to aim them up towards your face. The Seiren v3 Chroma has more adjustment for that, it can be tilted to be vertical if needed whereas the Seiren v3 Mini has a lot less adjustment in its stand. Both are desktop microphones sitting on your desk so the amount of noise they pick up from you moving around and especially from your keyboard will depend on the type of desk you have. For my testing, I have an inch-thick wooden desk. Both didn’t do too bad with background noise, better than some of the other desktop microphones I have tested. You will still always get a better result with a more isolated mounting setup on a microphone arm. The arm lets you get it up at your level, not down below you where it is closer to your mouse or keyboard than your mouth.
Going off of the specifications the Seiren v3 Chroma and v3 Mini have the same frequency range of 20 Hz – 20 kHz and 24-bit bitrate. There are a few differences though, like in the sensitivity where the Chroma has a sensitivity of -34 dB and the Mini is -36 dB. Both have a sample rate of 96 kHz as well. Razer does list the condenser capsule size for the Mini as being a smaller 14 mm size whereas the Chroma has a 16 mm capsule size. So I was especially interested to see how they would sound next to each other. The most noticeable thing is that with the same settings, the v3 Mini was louder. They both do sound similar, however. I saw something similar with the Logitech Yeti GX and Yeti Orb with the cheaper/smaller Orb being louder. Overall though both of the Razer microphones seem to have a little more bass on my voice which sounds a little fuller. The two Yeti microphones, which are the direct competition to these microphones do have a lot more adjustment on the software side. With both Seiren microphones, you get what you get, but the Yeti’s have the option to tune things. Thankfully both of the Seiren v3 microphones sound good out of the box.
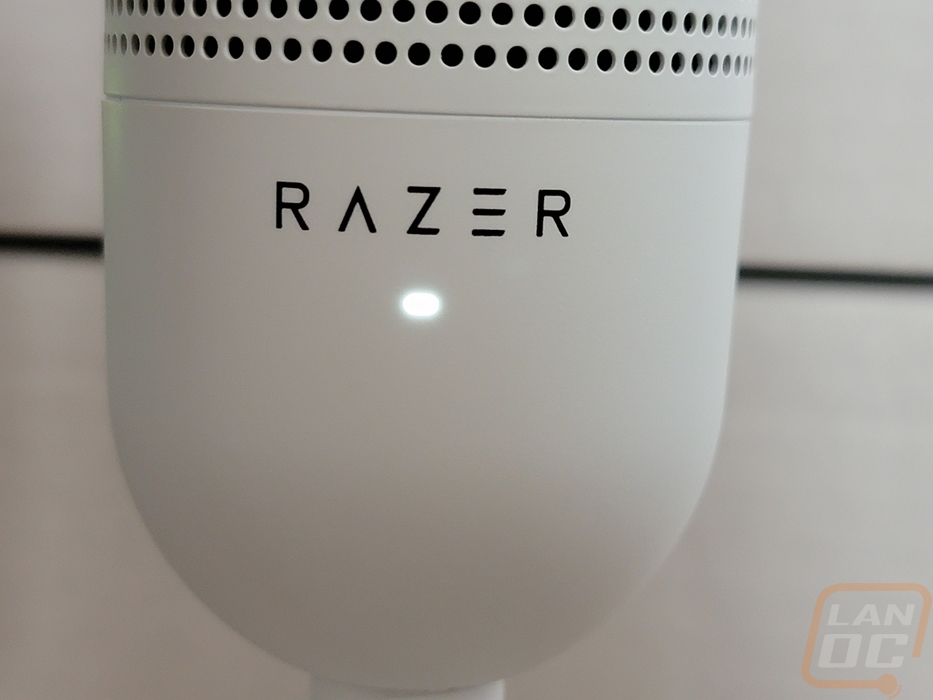
Beyond the microphone performance, how was the overall functionality? Well, I’m not normally a big fan of capacitive buttons, I prefer something with a little feedback but the capacitive multi-function button on top of both microphones wasn’t too bad. With the Seiren v3 Mini, this is the only control you have. You can use the top button to change your microphone volume settings using the double and long presses but I didn’t find that to be as useful, I would still prefer to use the software for that. You also have the front status LED on the Mini which makes it easy to see when you are muted.
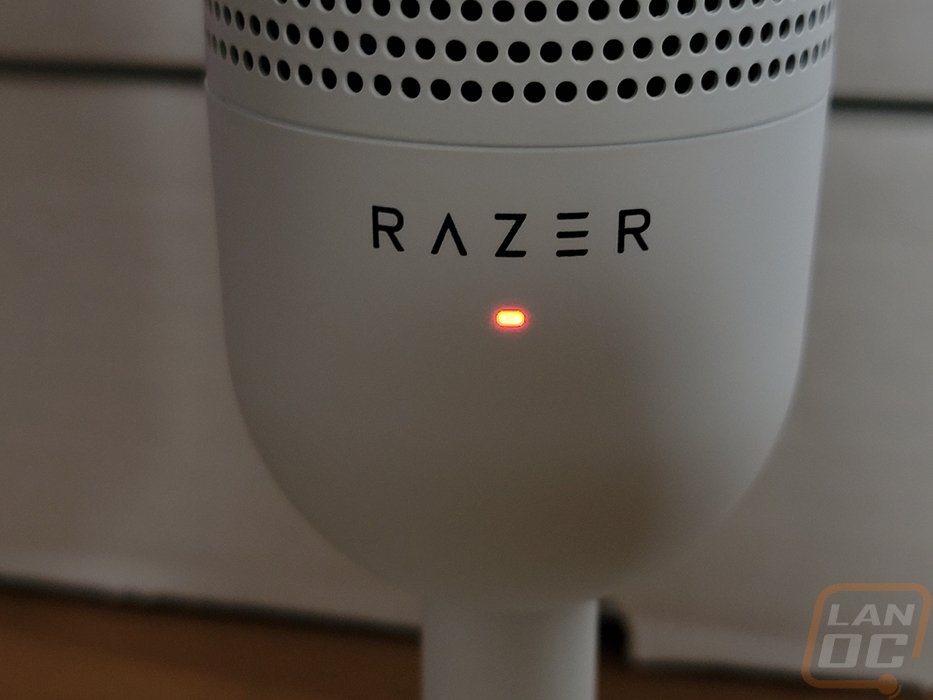
For the Seiren v3 Chroma, it has the front knob and that opens up better control with the ability to adjust your microphone volume and also the volume for the built-in headphone output as well. You do have to use the top button’s secondary functions to switch between those two which can be a little confusing especially because all of the lighting on the microphone itself is your status indicator. But having the control there is a big step up from the Mini. The quick tap on top is the same as on the Seiren v3 Mini and that means it is easy to reach and quickly mute or unmute. Having the whole microphone turn red when muted is great, as long as you weren’t planning on running red as your normal color. But you can change that if you need in Razer’s Software.
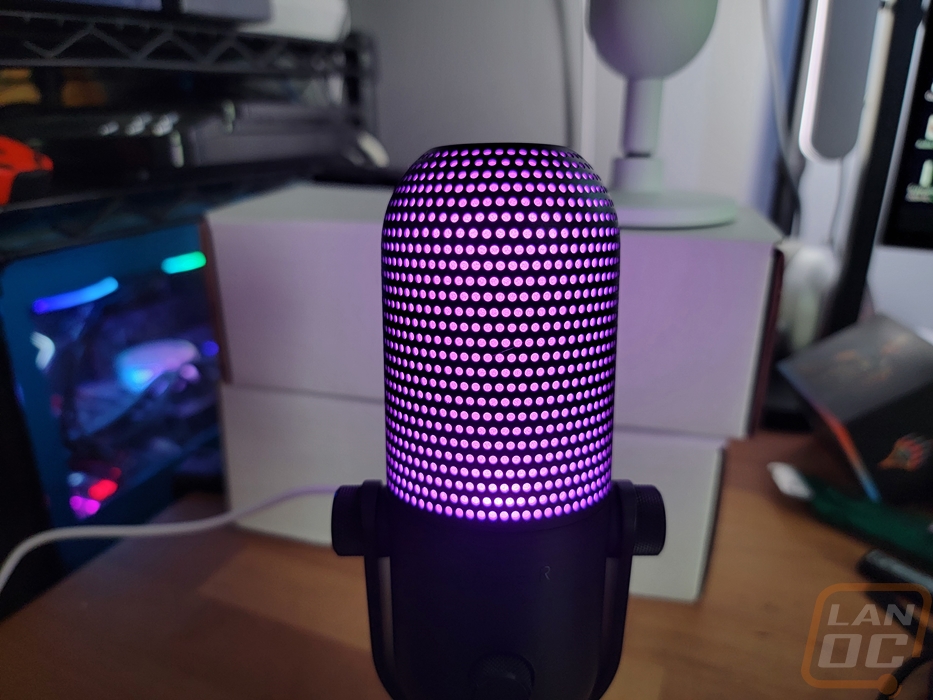
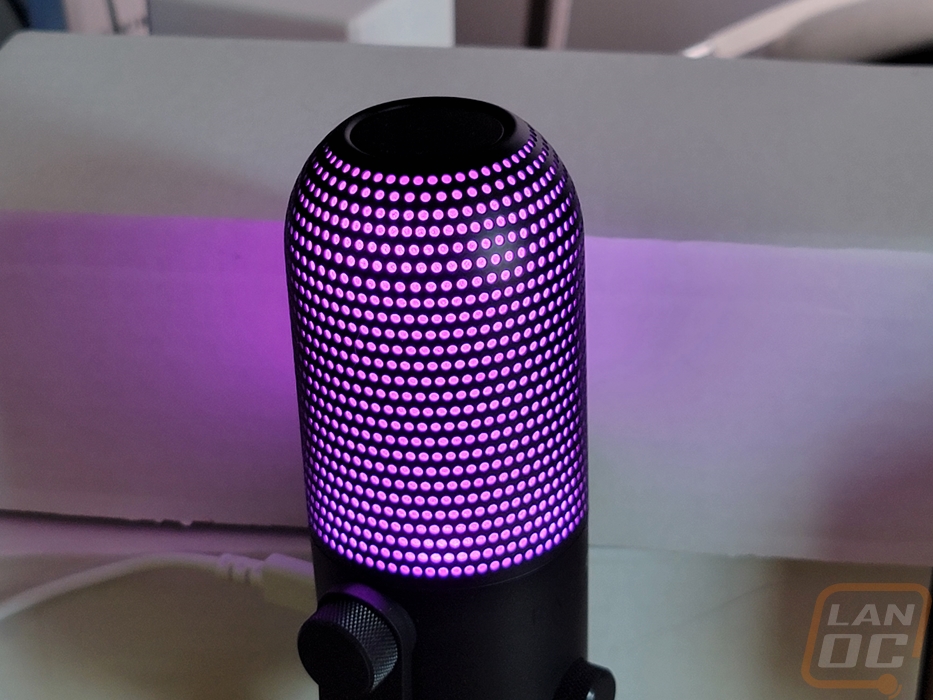
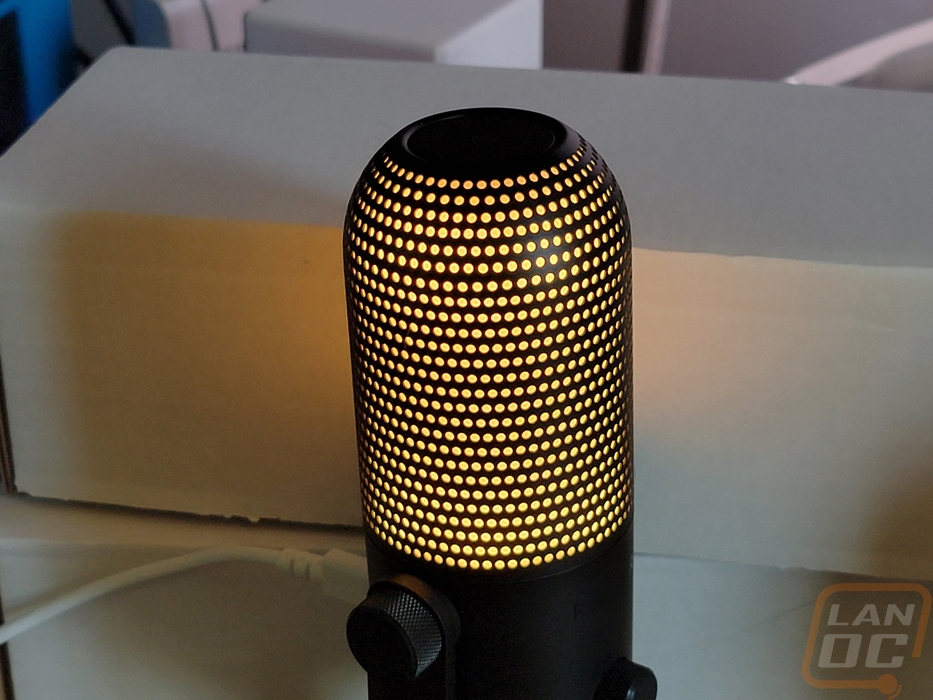
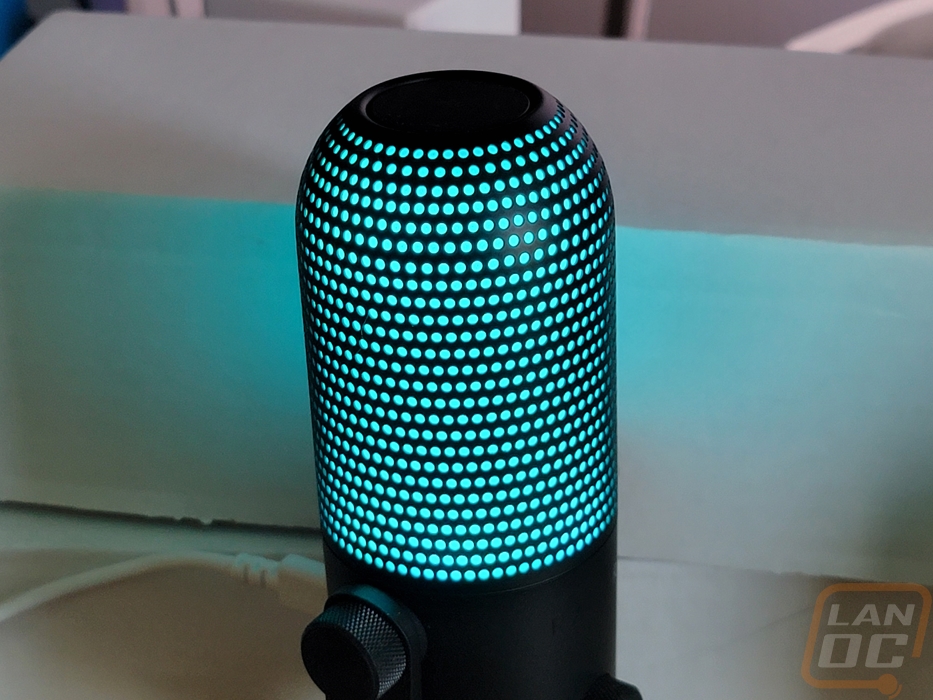
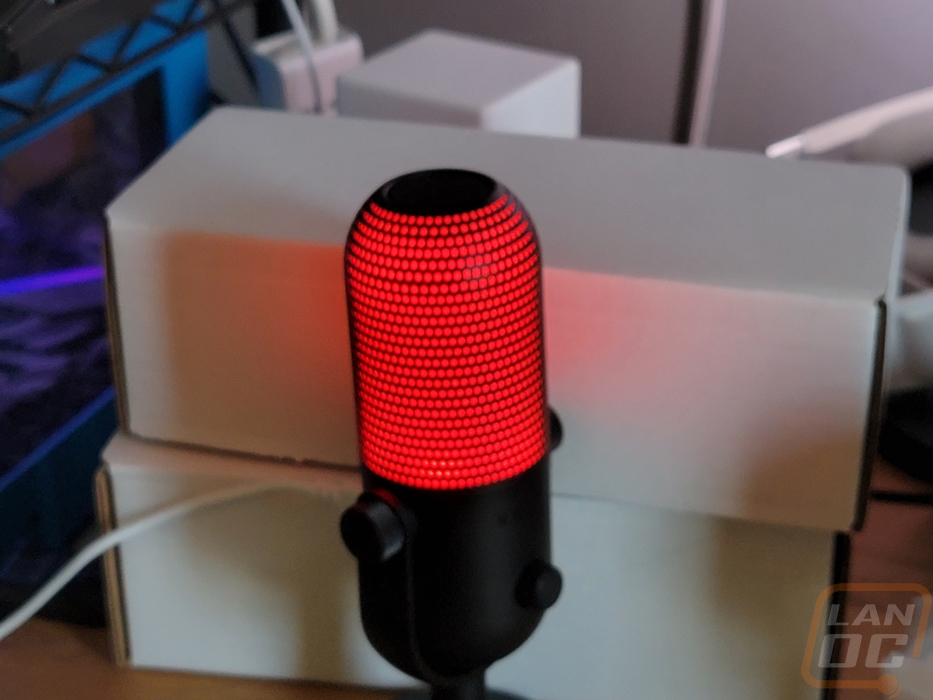
The lighting on the Seiren v3 Chroma is its biggest feature. With everything behind the perforated grill lit up it does look good even if I personally don’t need an over the top RGB setup. Even before getting into the other effects that you can create or pick from, the base lighting rotates through different colors. Then down at the bottom of the pictures below you can see the microphone lit up red while being muted.