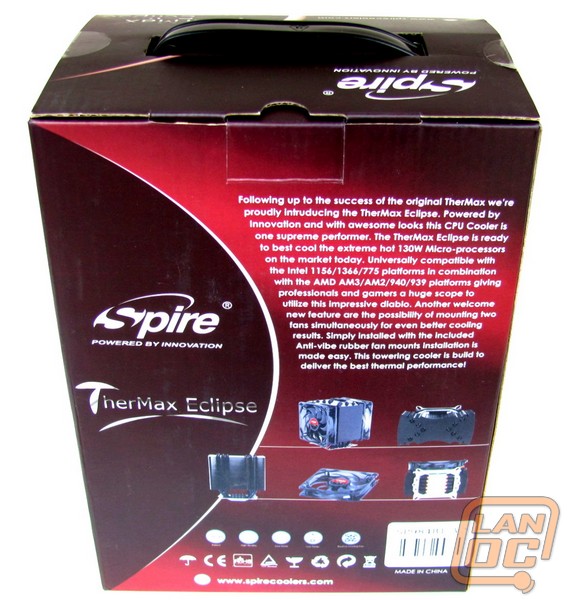
 Following the success of the original TherMax, Spire is introducing the TherMax Eclipse. Powered by Innovation and awesome looks, this CPU Cooler is ready to cool the extremely hot 130W Micro-processors that are on the market today. Universally compatible with the Intel 1156/1366/775 platforms in combination with the AMD AM3/AM2/940/939 platforms, giving professionals and gamers a huge scope to utilize this impressive diablo. I think we've heard enough from the marketing department, let's see what this baby can do.
Product Name: Spire TherMax Eclipse
Review Sample Provided by: Frozen CPU
Review and Pictures by: Chris
Specifications
SP984B1 TherMax Eclipse* Five (5) 8mm all copper U-shaped direct touch heat-pipes
* Straight lined heat-pipes allowing air to easily pass through
*·46 stamped Aluminum wide fins for best surface rate
* Dimpled surface fin for increased heat transfer rate
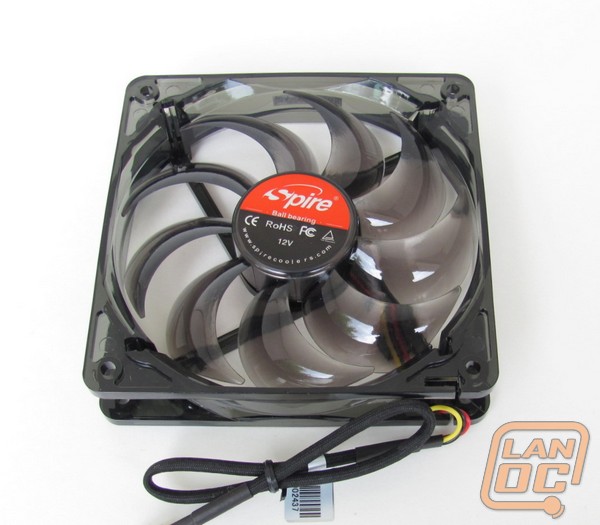
* Two (2) 120mm BlackStar 9 blade fan design
* High Quality, Long MTBF Japanese Ball bearing
* Anti-Vibe universal rubber fan mounts
* Supports AM2/AM3 socket 939/940/ 775/1156 & 1366 incl. Intel Core i7 Extreme 130W
Compatability:
The TherMax Eclipse CPU Cooler is compatible with the latest Intel and AMD Micro-processors based on sockets 775/1156/1366 for Intel and AM2/AM3/940/939 for AMD.
MSRP:
USD 48.95 / EURO 32.95Product Includes :
TherMax Eclipse heat-sink, Two (2) BlackStar 120mm DC Fans, 8 Anti-Vibe rubber fan mounts, BlueFrost thermal interface compound, Intel universal mounting set, AMD universal mounting set, Mainboard back-plate, User installation manual, Warranty registration card.
| Socket 1156 / AM3 / 940 / 775 / 939 / AM2 / 1366 Static cooler |
| Dimensions |
|
||||
| Material | Al+Cu | ||||
| Heatpipe | Five (5) 8mm all copper U-shaped direct | ||||
| Bearing | Ball bearing | ||||
| Rated speed |
|
||||
| Rated power | 4.2 W | ||||
| Rated Voltage | 12V V | ||||
| Noise level | 29.0 dBA | ||||
| Air flow | 93.3 CFM | ||||
| Current | 0.35 A | ||||
| Connector | 3 PIN | ||||
| TDP | 130 W | ||||
| Thermal resistance | 0.091 oC/W | ||||
| Thermal Grease | BlueFrost - SP802 blue grease(Injection Tube,0.5g) | ||||
| Static Pressure | 3.35 mmH2O | ||||
| MTBF | 50000H | ||||
| Operating Temperature | 30~70 oC | ||||
| Storage Temperature | -10~40 oC | ||||
| Warranty | 5 years | ||||
| Packaging type | Color Box | ||||
| Package includes | FAN / Clip 1 set / SP-802 grease / Manual | ||||
| N.W | 0.822 KG | ||||
| G.W | 1.3 KG | ||||
| Life hours | Ball: 50.000 |
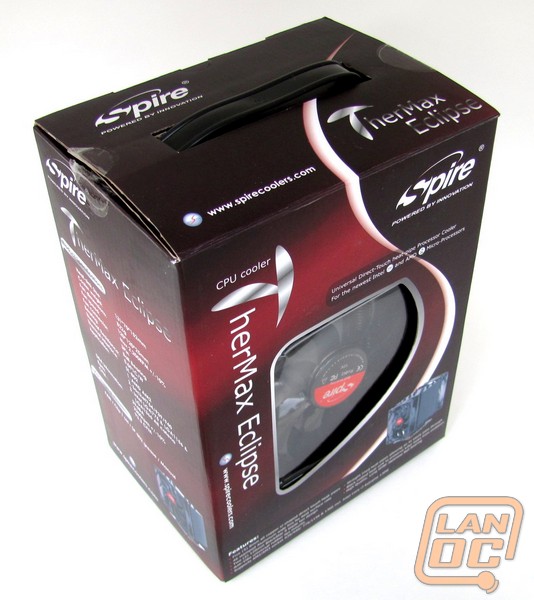
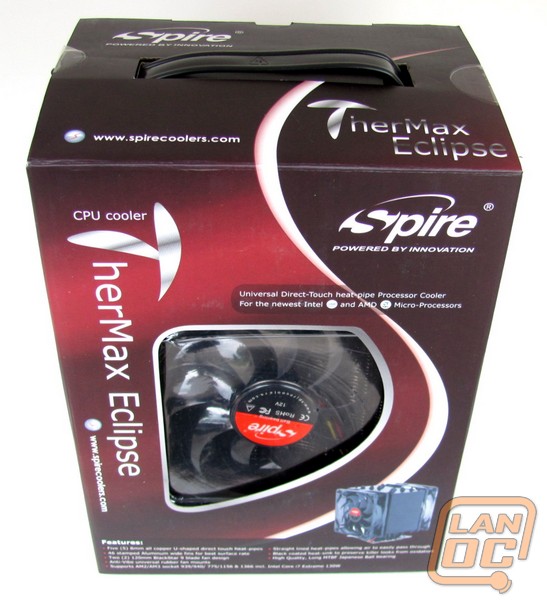
Packaging
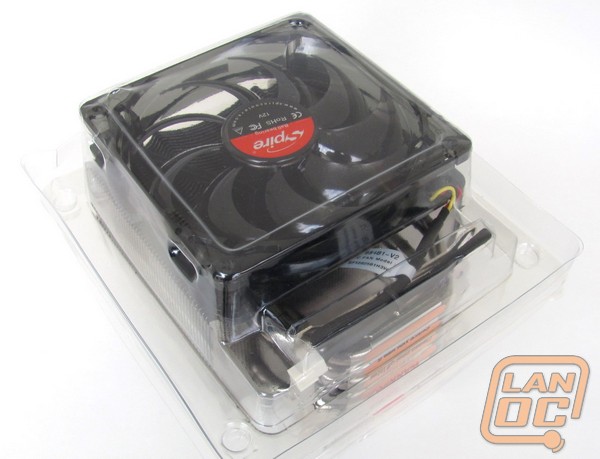
The packaging is typical for this type of heatsink. All the pertinent info is posted on the side for the browsing customer to see. Too bad the window on the front doesn't show off more than just the fan. Being the kid that I am, I couldn't wait to see what the actual heatsink looked like. So, I opened the box before I got around to taking pictures. This is evident by the fact that the seals on the box are broken in the pictures. I love new toys.
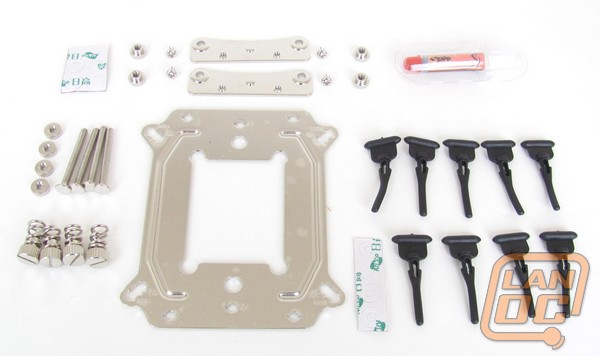
This is all the hardware that comes with the TherMax Eclipse. I take that back. There are actually 10 of the rubber mounts included, not nine like in the picture. I didn't find that last one until later and wasn't in the mood for setting up the shot again. So I went with what I had. Getting all those bits to line up like that isn't as fun as you would think. Also in the same box as the hardware, is another fan. It looks just like the first. The only difference is that there's a molex connector along with the standard 3-pin connector.
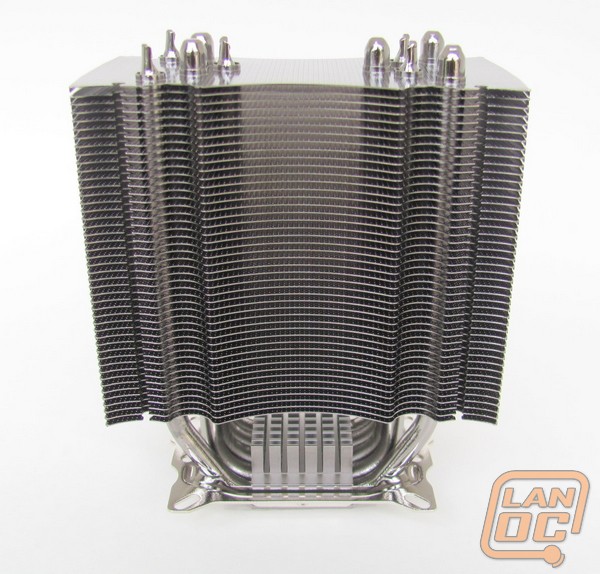
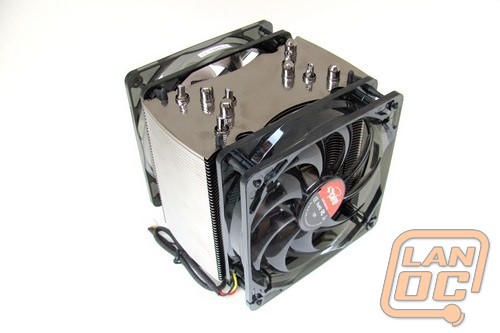
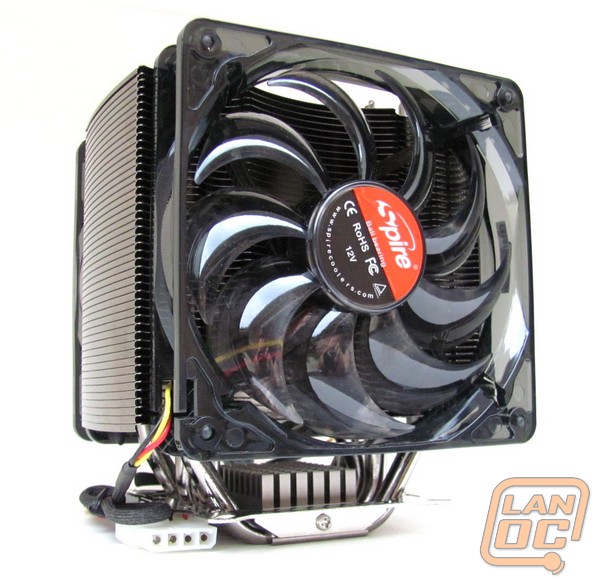
This is one shiny heatsink. The picture doesn't to is justice. You've got to see it in person to get the full effect of how good it looks. Even though the metal is embossed, you can almost make out my driveway and lawn in the reflection. The one down side is that it was very hard not to leave my fingerprints all over it.
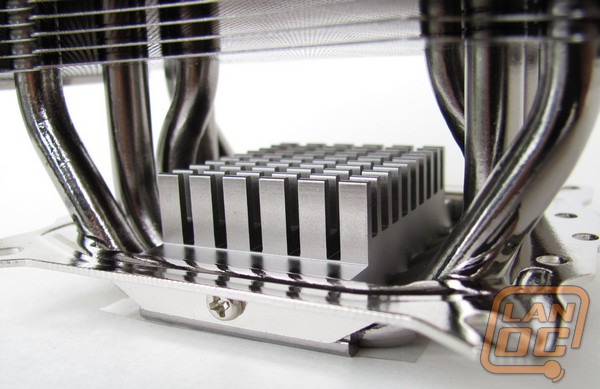
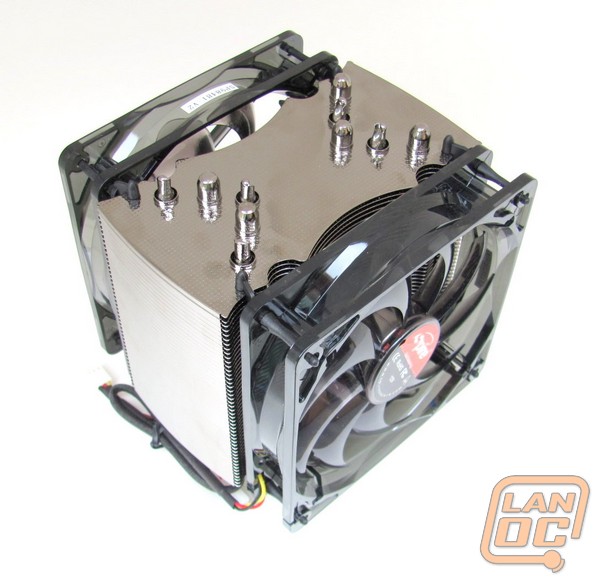
The addition of the extra fins on the lower section is interesting. I wonder how much of an effect on cooling this has? This calls out for someone to find an old Pentium 1 fan to stick on there, just for giggles. Also minor in the grand scheme, but noticed by me, is that the top mounting plate is already attached to the bottom of the heatsink. Usually you have to put this on yourself. I'll take every little extra bit of help I can get. This makes one less thing I have to do, when I get to the install. AMD owner aren't quite so lucky though. That adds a step, because it has to be removed and another put in it's place. Sorry AMD guys.
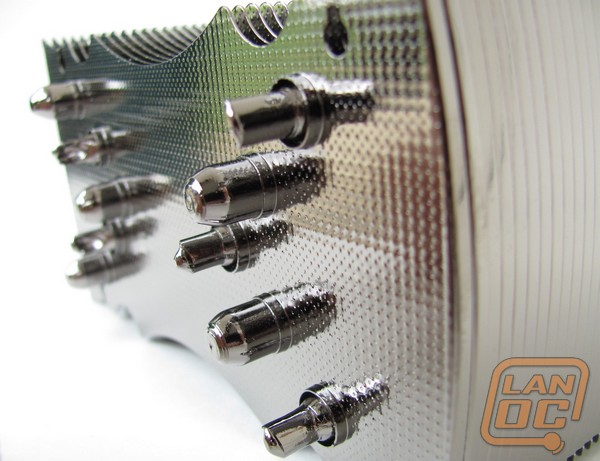
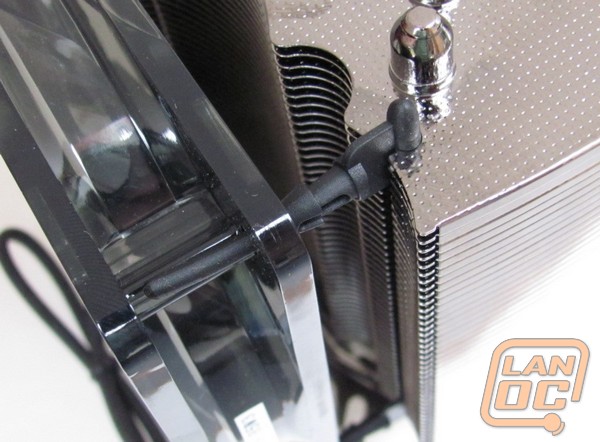
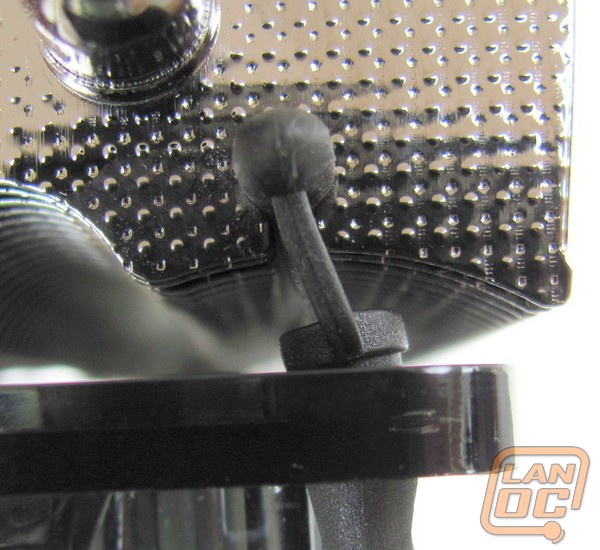
Most tower heatsinks that I've seen have wire clips to hold the fan to the heatsink. Instead, Spire opted for these rubber mounts. They easily slide into the groove that's cut into the fins, but are tight enough not to fall out. Once in place, you position the fan over-top of them and finagle it on. Certainly not the hardest way to attach a fan to a heatsink. Compared to some of the other clip type systems, this is a breeze. There is a little alignment problem though, they didn't quite make the groove that's in the fins the same width apart as the holes in the fan. It's not so far off that it doesn't work, and since the mounts are rubber, it's no big deal. My only real concern is the longevity of them. I have yet to see this type of rubber fan mount last through more than a couple mount and unmounts. If you're like me and are the type who fiddles inside your computer all the time, it won't be long before you've used up the 2 extra mounts that are provided and are looking for another way to hold the fan in place. One the upside, if you can manage to keep your hands off of it, the rubber will dampen the vibration from the fan and make for a quieter computer.
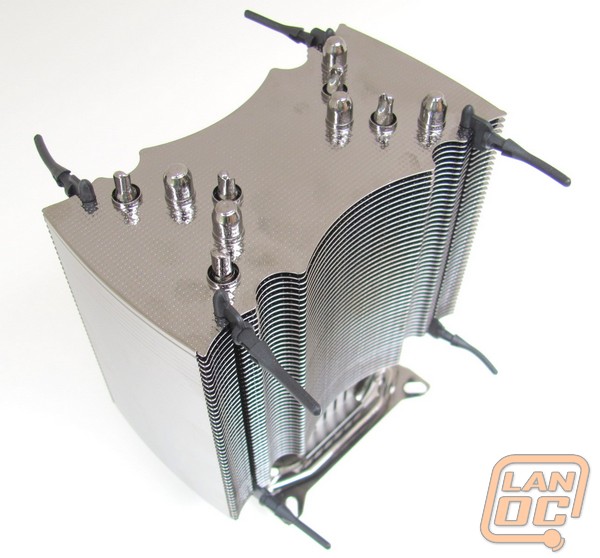
After attaching both fans, the TherMax Eclipse grows to monstrous proportions. If this thing doesn't keep you CPU cool, I don't know what will.

Installation
There was some good and some bad when I was installing this heatsink. I blame some of the bad on the poor documentation. The instructions leave out a couple important details that are needed when assembling the base. I'm glad I figured out what went wrong by the time I got to the second install.
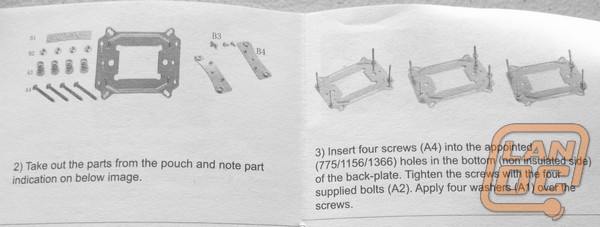
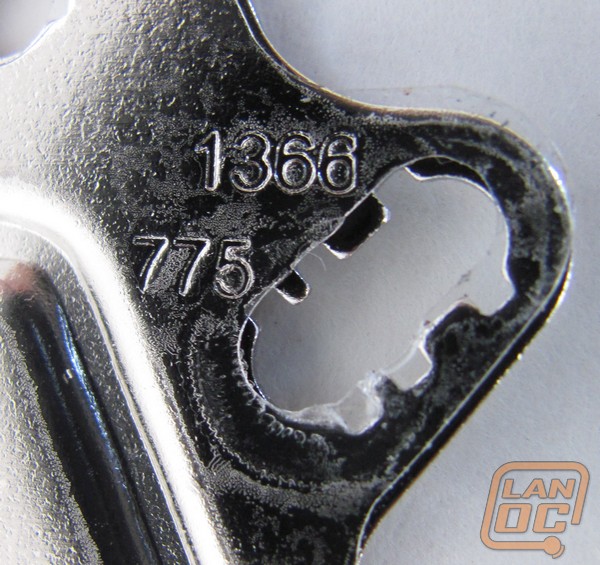
I think the best way is to explain my frustration with the install is to run through and point out the problems I had. First off, you take the back-plate and find the holes that corresponds to the type of motherboard you have.
Then one by one, you slide a bolt into each hole, put a nut on the bolt that is now sticking out of the back-plate and tighten it. Then you'll want to punch out the non-conductive washers and put one on each bolt. This protects the motherboard from getting shorted by the nuts. This is where the missing detail in the instructions would have helped. There's a tiny notch on the head of the bolt that needs to slide into a groove on the back-plate. It throws the whole thing off if you don't.
 ·
·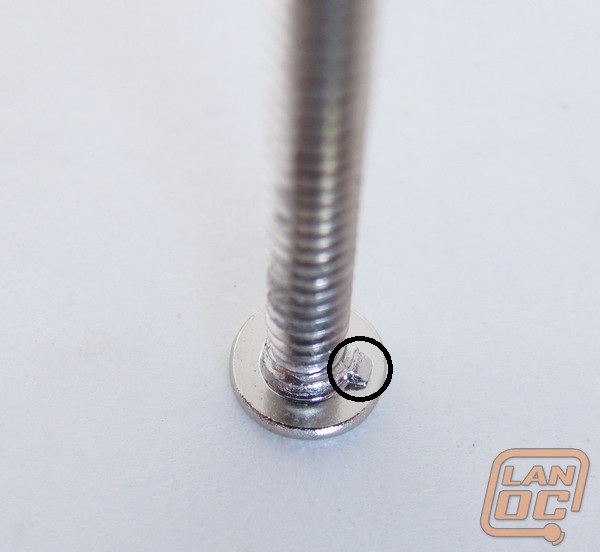
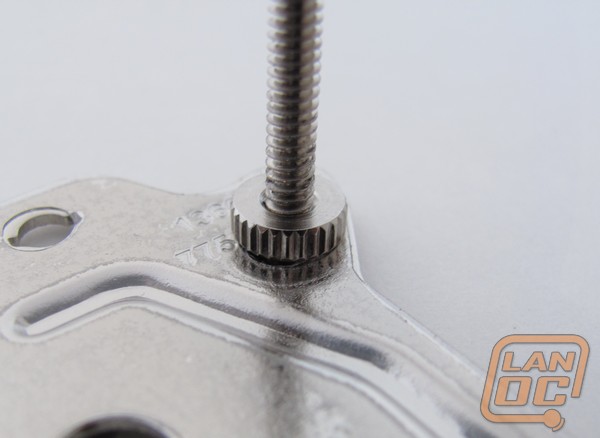
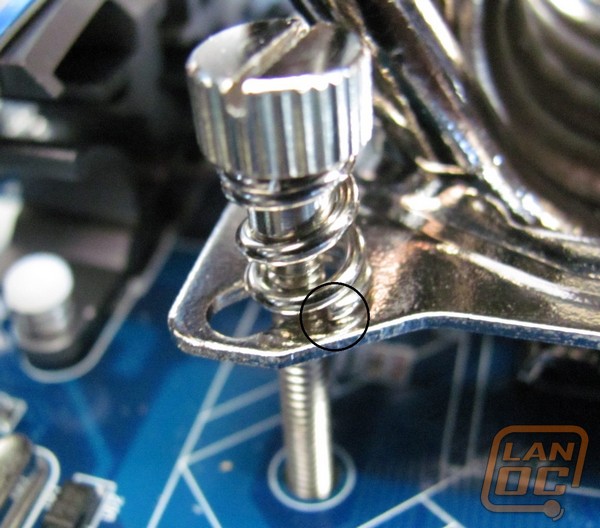
Now you align the assembly with the holes on the backside of the motherboard, push them through, and then lay the whole thing flat. After you put thermal grease on, you take the heatsink (without fans) and lower it onto the CPU, aligning the bolts with the holes that are on the mount that's attached to the base of it. Then it's a matter of screwing the last four springed thumbscrews on, to finish the job. It's that last little bit that was the kicker. You can see in the picture below, the end on the spring sticks out a bit. When you turn the thumbscrew, the spring turns as well. As it turns the spring drops down into the hole and gets caught on the other side. This makes it impossible to turn it any further. Since Spire didn't include washers that would solve this problem, I had to go to the hardware store and pick some up. 15 minutes and 9¢ later, I was back. Thankfully the thumbscrews are easy get threaded onto the bolt, but another problem arose. With all the messing around before I got washers, the nuts on the back-plate came loose. By turning the thumbscrew on the top, clock-wise, it put some force on the bolt in the same direction. This happens to be the same direction that loosens the nuts on the bottom. Since I hadn't lined up the nub on the head of the bolt correctly, there wasn't anything to keep it from spinning. All of the bolts were loose and wobbly before I knew it. Not wanting to take everything all back apart and start over, I held my finger on the ends of the bolts, on the back side of the motherboard, as I turned the thumbscrews. This was good enough to get the testing done. This hastle could have been averted had this been mentioned in the manual. Maybe I'm going blind or something, but the nubs were so small the I didn't notice them right away.
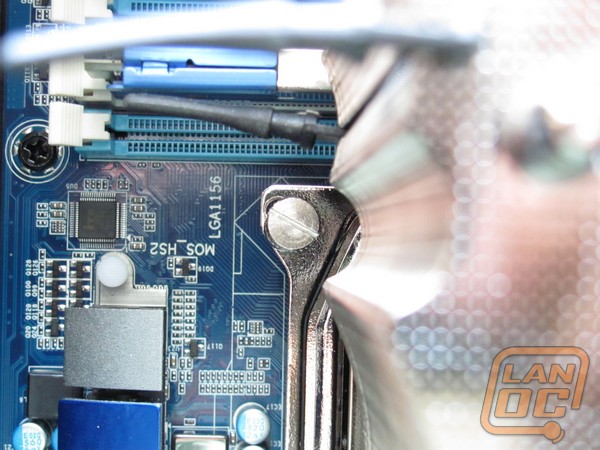
As expected, the thumbscrews started getting harder and harder to turn by hand. This is where the shape of the heatsink was really well thought out. The channel down the side gives you plenty of room to drop your screwdriver in there an finish the job. Assuming yours is long enough, that is. My flat bladed screwdriver wasn't, of course. So, I was still trying to turn the screws from an angle anyways. It's not Spire's fault I don't have the correct tools, but it sure would have been easier had they made it a Phillips head instead. They seem to keep a screwdriver from slipping off a little better than a flat notch.
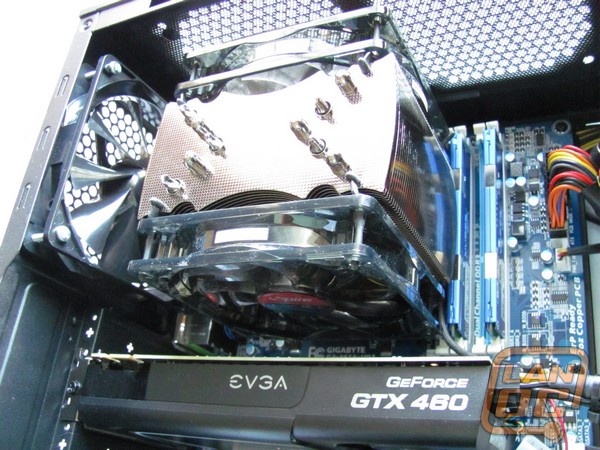
After that whole ordeal, all you're left to do is attach the fans. I must say, the end result is pretty nice looking. And wow, it's honkin big!! There's barely enough room to fit my hand between either the top or the bottom without getting bit by the fan. One thing I noticed when uninstalling the TherMax Eclipse was that the motherboard was warping under the pressure of the mount. This is a warning. Don't turn the thumbscrews until they stop like you would with similar heatsink mounts. Get them tight enough to hold the heatsink in place and stop. I'm really lucky the motherboard didn't break. I'd be highly upset if it did.
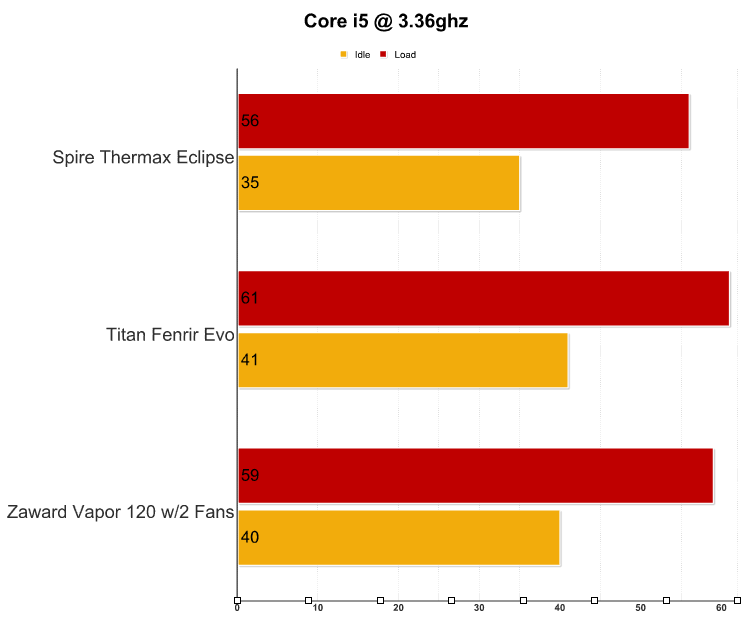
Performance
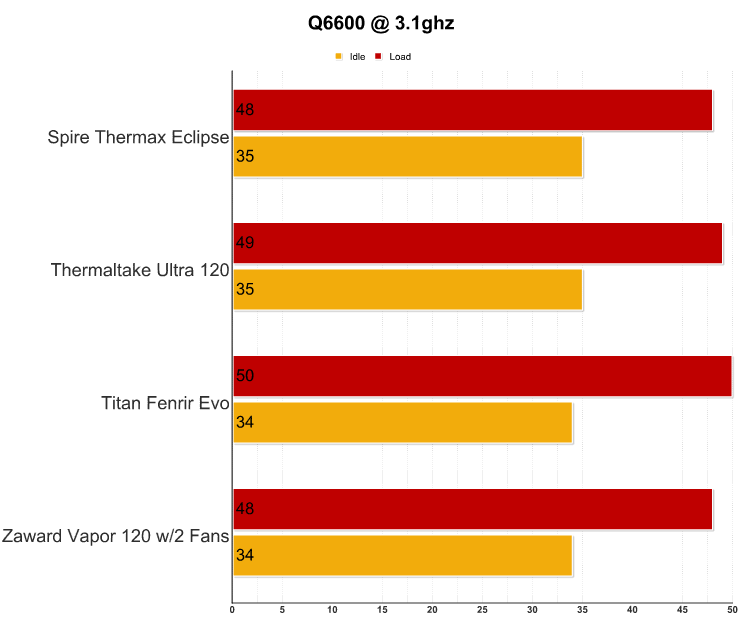
Since I still have the computer that CyberPower sent me, I was once again able to use it to test out this heatsink. The other set of numbers is from my own aging computer. Maybe one of these days an i7 will show up in the mail? Hint-Hint. I was really impressed by the performance of the TherMax Eclipse. It bested all the heatsinks that I have here. 3 degrees lower at load is pretty good, but 5 degrees lower at idle, on the overclocked i5, is astounding. With as big as it is, I'm really not that surprised.
To check how loud the fans were, I turned everything in the house off, except for a server, and plugged in both fans. Once the room was quite, I figured out why the TherMax Eclipse is such a good performer. The fans on it are spinning really fast and are putting out a good amount of air because of it. One fan by it's self is noticeable, but two of them running at the same time are pretty loud. While I don't mind the noise, I keep the fans in both of my GTX260's running at 80% all the time, some of you might not be so thrilled with it. This is where a fan controller might come in handy. As long as you don't mind loosing a little cooling power, if you do. One last note, after installing this on 2 separate computers, the rubber mounts are still intact. I didn't take it easy on them when removing the fan each time. In fact, I just pulled on the fan until it came off. This eases my concern about their longevity.
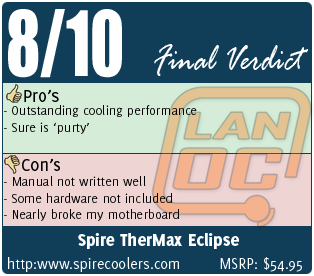
Overall
If the instruction manual had been written better, installation would have been a breeze. That is, once I got back from the hardware store buying washers that should have been included, but weren't. Like I've said in the past, I'm willing to put up with "hard to install" if the product does it's job good enough. And the TherMax Eclipse not only does the job good, but puts the smack down. If you have the room in your case for this behemoth and don't mind a little noise, this is a must-buy if you are overclocking. Just don't over tighten the screws or your motherboard will be toast.