Air Cooling
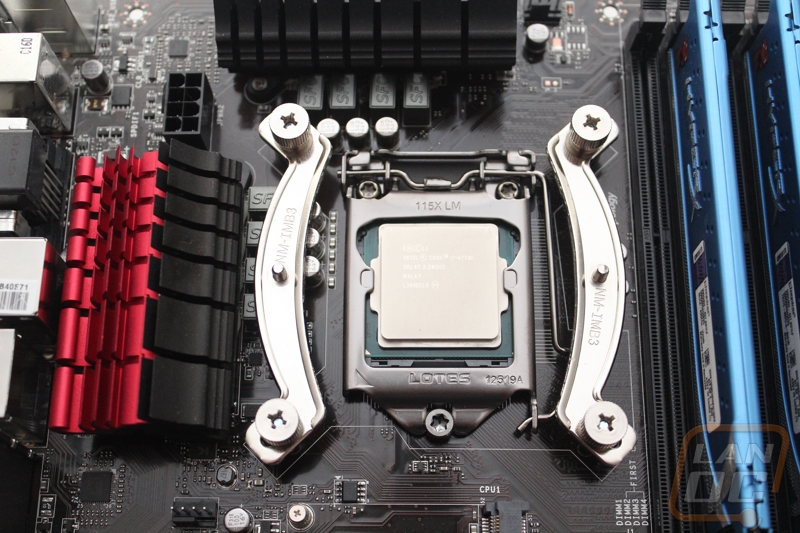
Just about every PC, even PCs with water-cooling still do a little air cooling. So if you have water cooled your PC don’t skip out on reading about what you should work on in this section. The most obvious thing with air-cooling would be a little heatsink maintenance. Most thermal compounds will only be effective until they dry up. Because of that every year I like to pull my heatsinks off and clean off your old thermal paste and reapply fresh thermal paste. There are a few compounds that are made to help you clean up your thermal paste but I will be honest in my experience a dry cloth is actually really good at cleaning off the main portion off your CPU and heatsink, I then follow up with a dab of rubbing alcohol to make sure it is perfectly clean.
Before you go to apply your thermal paste and reinstall you should take a little time and blow the dust out of your heatsink and clean the heatsink fan/fans. Depending on the fin density and how long it’s been you might only have a light dusting or in a lot of cases if you have cats or smoke near your PC you could have a wall of dust and dirt between the fan and heatsink. This is one of the most important things you can do to keep your PC from overheating.
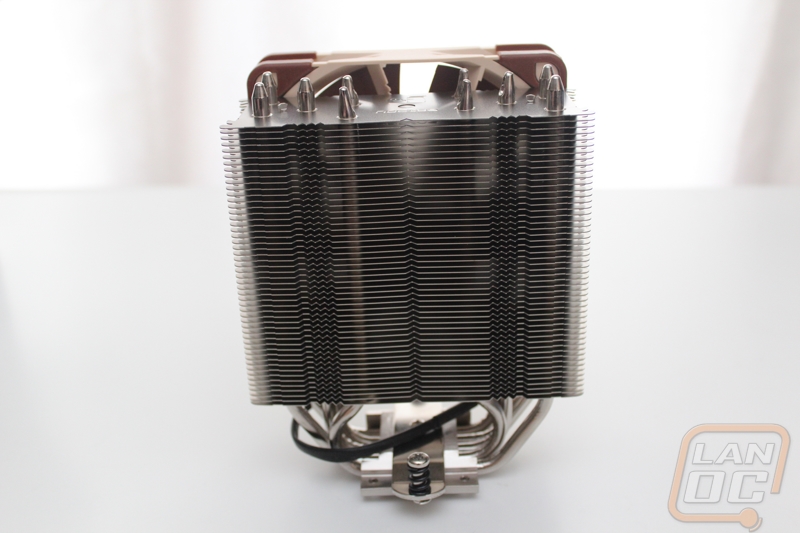
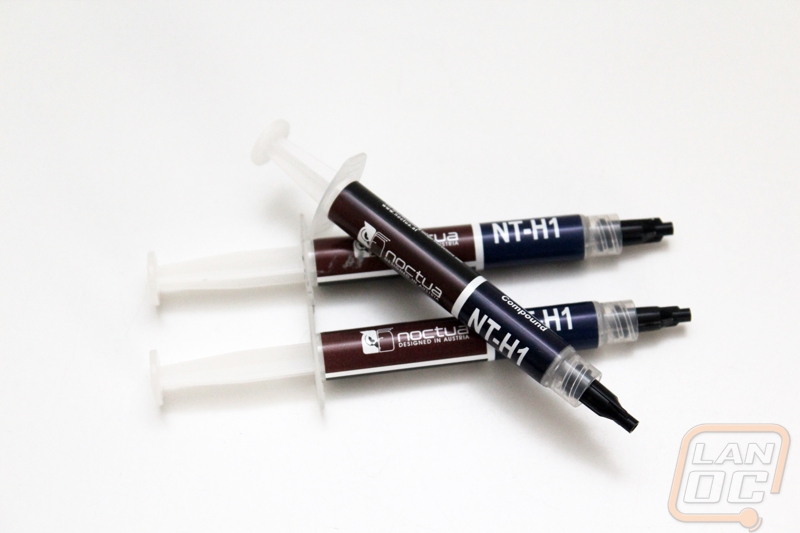
With your heatsink all cleaned up you just need to reapply thermal paste and reinstall it onto your CPU. Follow your heatsink instructions for the installation and for how much thermal paste I would recommend checking out the following articles for a little information HERE and HERE. If you need to pick up thermal paste for this project I would highly recommend Noctua’s NT-H1 thermal paste. A lot of people won’t use anything but Artic Silver but my experience with Noctua’s thermal paste has been great over the years. Not only does it not require setup or burn in time, it is also not electrically conductive. I don’t think I need to explain why that can be important.
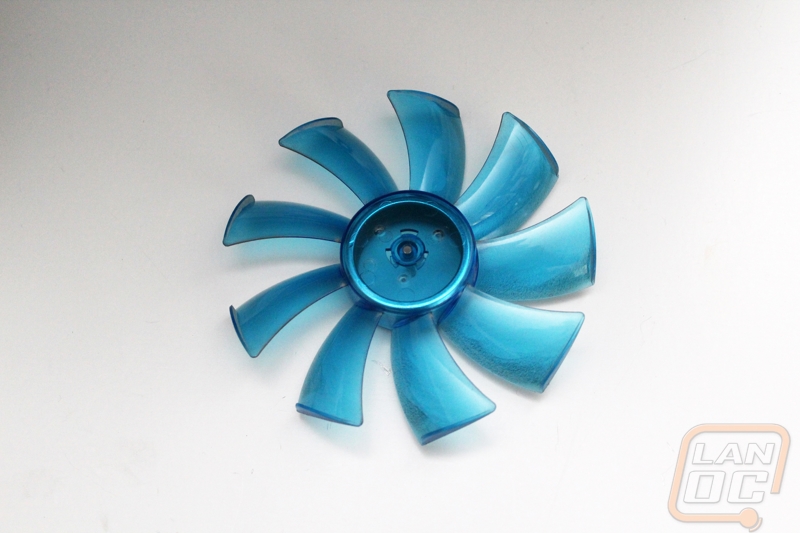
Your heatsink isn’t the only are of your PC that you need to worry about of course. You should check the condition of your case fans to make sure they are still working. It is easy for a fan to stop working and because it might not make any noise you would never notice other than lowered cooling performance. While you are checking them, you should clean them off. I’m a big proponent of fans that have removable fan blades to make cleaning easier. Gelid Solutions, Enermax, Cooler Master, and a few other companies make fans that do this but each of them has a different name for the functionality so it is a little hard to search for.
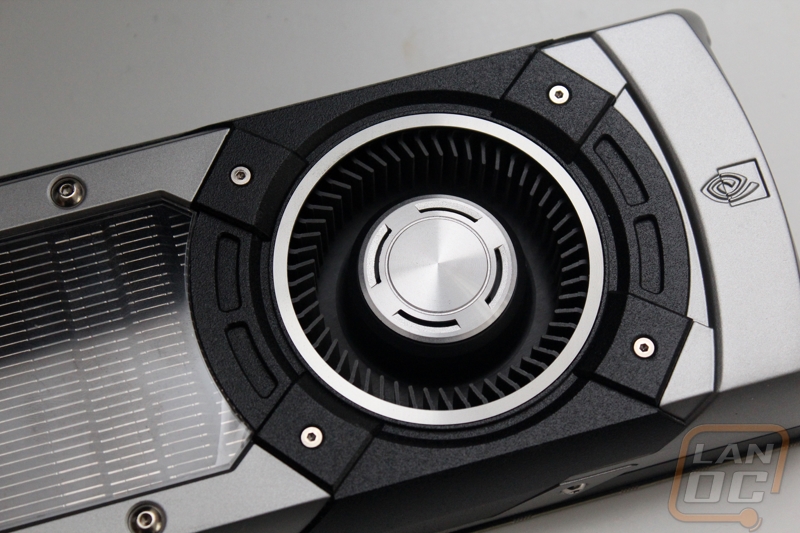
Cleaning our your video cards is also very important. If you have a video card with a reference cooler you have to worry about this even more because the blower style of fans they use tend to really collect dust. The only good way to clean them out is with compressed air. With reference coolers, you should blow both through the fan and also through the end of the card to try to knock everything loose. Aftermarket designs you can typically see how dirty things are and handle it a little easier.
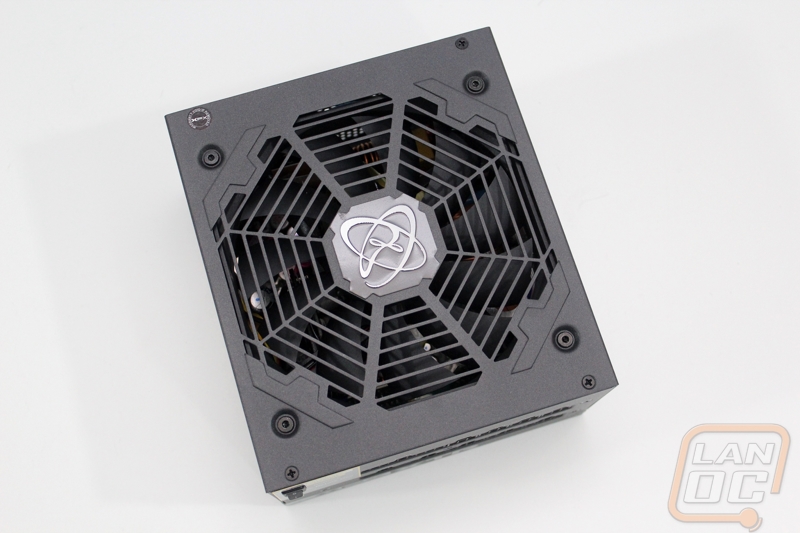
Before you put your PC back together, you should also be sure to clean out your power supply. With their own fan, they tend to suck in dust without it being noticeable. The easiest way to do this is to vacuum on the rear and fan grills then use compressed air to blow the rest of the dust out.
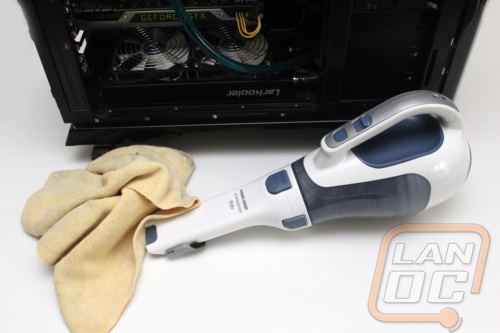
By now, you have most likely made a mess in your case even if it wasn’t too dirty before. In open areas, I use a microfiber cloth to clean up the big portion of the dust rather than kicking it up into the air. To get in the corners and on your motherboard you will still need a little compressed air to clean up the rest.
