 When Coolermaster announced their Cosmos chassis around a year or a year and a half ago I was amazed. For the first time I wanted to buy a case the day it came out. I was looking for an upgrade from my Antec SuperLanBoy and the Cosmos 1000 fit the bill, well minus the front door and the lack of a window. When the case came out, I read about lots of problems with heat, considering how much I tend to push the limits with overclocking I decided to pass on the case. Coolermaster realized the problems and set out to perfect the Cosmos chassis. They released the Cosmos S to much fan fare; we now get a chance to take a look ourselves. We are going to find out if the cooling is better and if this really is the perfect gamer case.
Review Sample Provided by: Coolermaster
Review by: Wes Compton AKA:Garfi3ld
Pictures by: Wes Compton AKA:Garfi3ld
Specifications
| Model | RC-1100 |
| Dimension (W / H / D) | (W) 266 x (H) 598 x (D) 628mm |
| Weight | Net Weight: 30.4 lbs; Gross Weight: 39.2 lbs |
| 3.5" Drive Bay | 4(Hidden, converted from 3x5.25 inch drive bays) |
| 5.25" Drive Bay | 7(Exposed) |
| Cooling System | Front fan(intake): one 120x120x25mm, 1200 rpm, 17 dBA (included), Top fan(exhaust): one 120x120x25mm, 1200 rpm, 17 dBA (included), Top fan: 120mm x 2(optional), Rear fan(exhaust): one 120x120x25mm, 1200 rpm, 17 dBA (included), Side fan(intake): 200x230x30mm, 900 rpm, 150 CFM(included) |
| Expansion Slots | 7 slots |
| I/O Panel | USB 2.0 x 4, IEEE 1394 x 1, eSATA x 1, MIC x 1, Audio x 1(support Intel HD / AC 97 audio) |
| Material | Chassis: Al. Appearance: Al (side panel: 1.5mm) |
| Motherboards | Extended ATX, ATX |
| Optional Component | Transparent side panel, Fan bracket |
| Power Supply | Standard ATX PS2 / EPS 12V (optional) |
| Other | Keep-out requirement for CPU cooler installation:, At least 5.7 inch(145mm) separation between motherboard and the side panel of COSMOS S |

Packaging
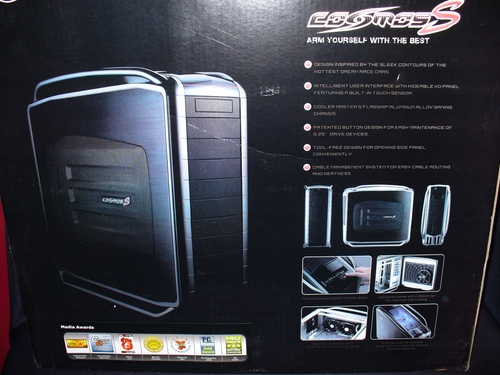
Coolermaster packed the Cosmos S in a typical PC case box. On one side they just have a large Cosmos S logo to get your attention. On the opposite side they have a good picture of the case along with a few of the cool features of the case. What is most important is the inside of the case. Digging in you will find the case packed in foam to keep it from being damaged during shipping. Past the foam they have a plastic bag and then a soft bag with a Coolmaster logo on the side. The soft case shows how much they cared to keep the case free of scratches, and will come in handy to keep the case protected when going to lan parties. Once the case was finally uncovered, I found all of the screws and parts packed away inside the case inside of a box to keep them together.

Outside
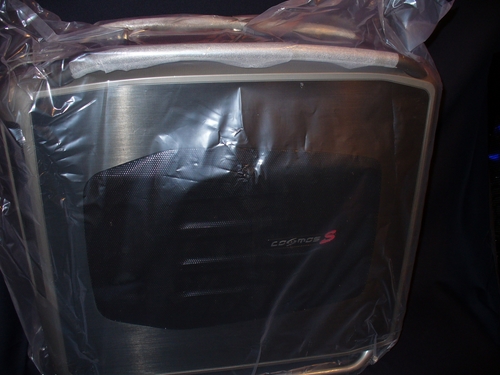
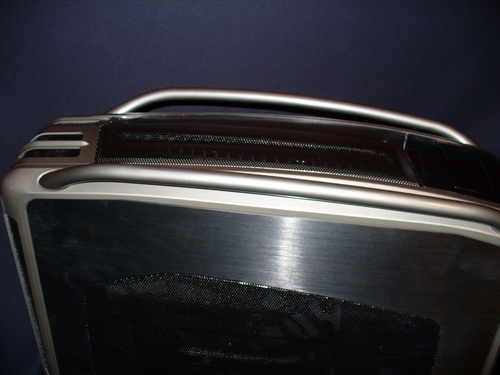
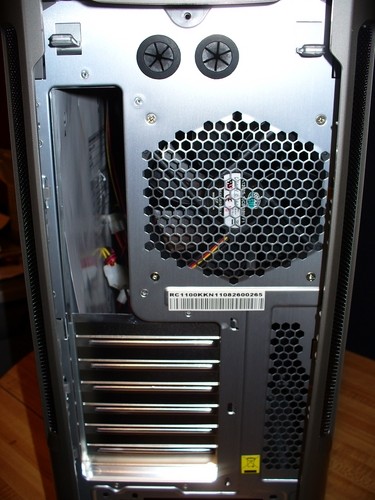
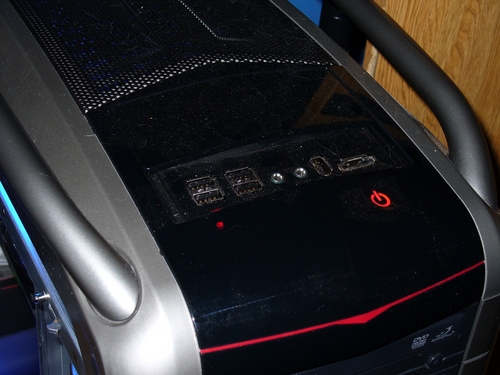
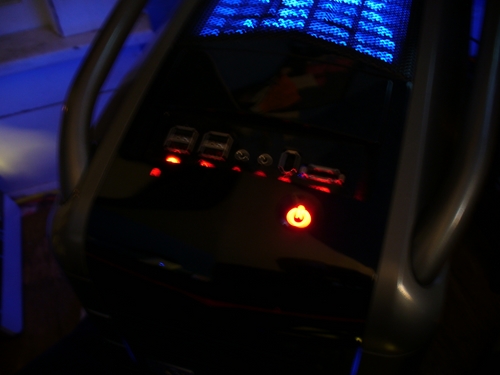
Starting at the back of the case, Coolermaster included a 120mm fan right above the I/O panel. Above the fan, there are two holes with rubber grommets for routing water-cooling lines in and out of the case. You will also find two switches that if you flip them down open up each side panel (much easier than thumbscrews). The top of the case is covered in a black mesh to help the case breath. Framing in the mesh are two bars, one on each side. The bars are a perfect way to pick up the otherwise large and hard to move case. On the top, you will also find the sliding door that hides away an eSATA plug, Firewire, microphone, headphone, and four USB 2.0 plugs. Each plug is labeled directly below each plug with a very nice red backlighting. Also on top and in red backlighting you will find a touchless power button.
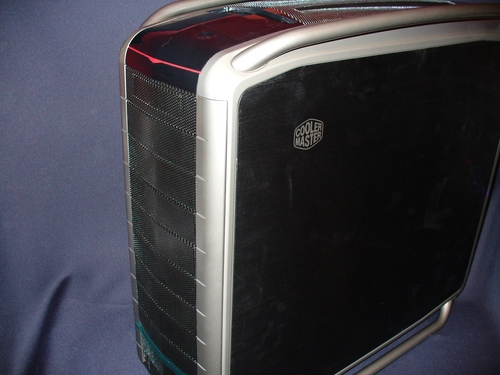
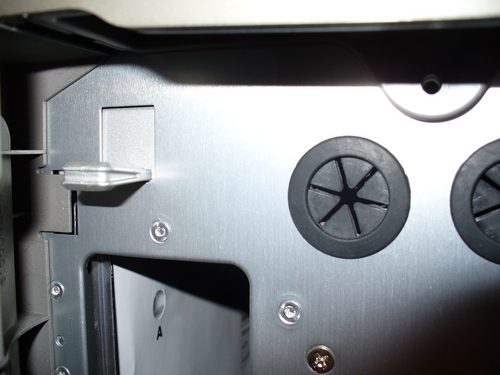
Moving onto the front of the case you will find mesh 5.25in covers that match the mesh on the top of the case. In order to make it easy to take the drive covers in and out Coolermaster built in two small doors, one on each side. The doors are similar to the doors used in my former case the Thermaltake Armor. With the doors open you have access to the clips to remove the 5.25in drive covers.
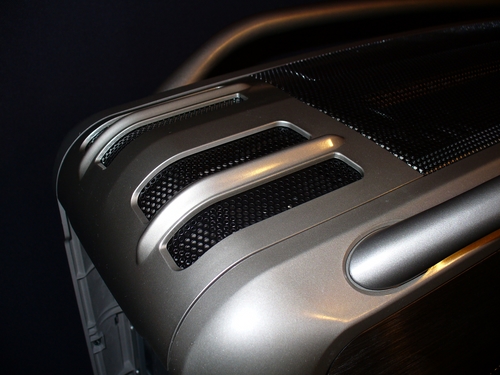
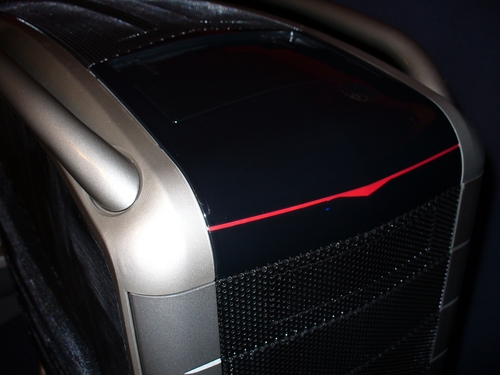
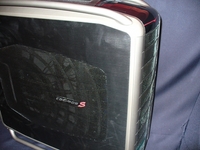
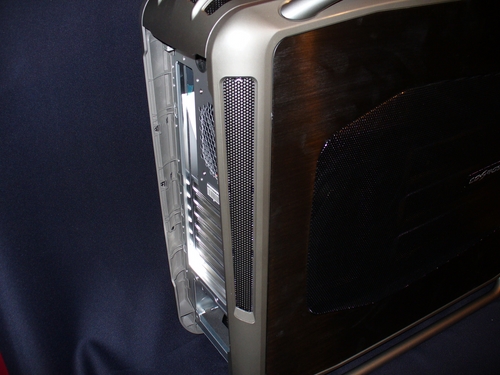
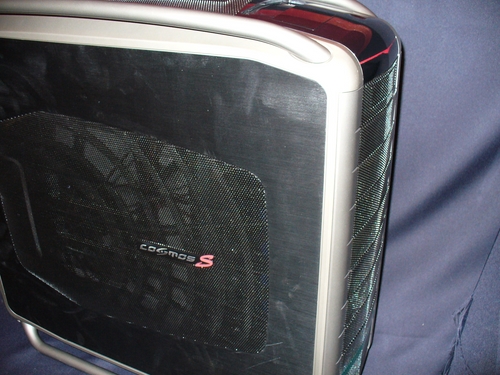
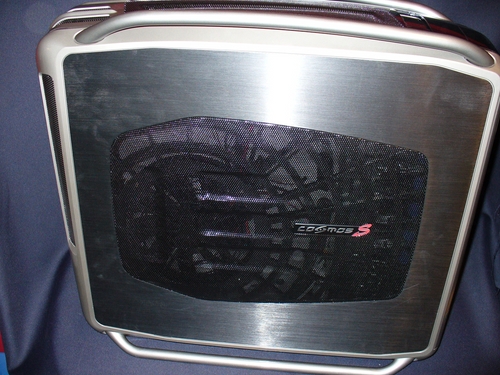
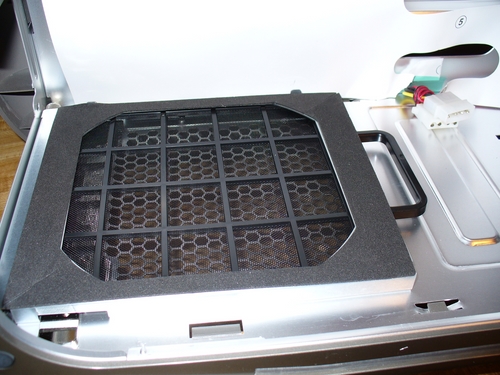
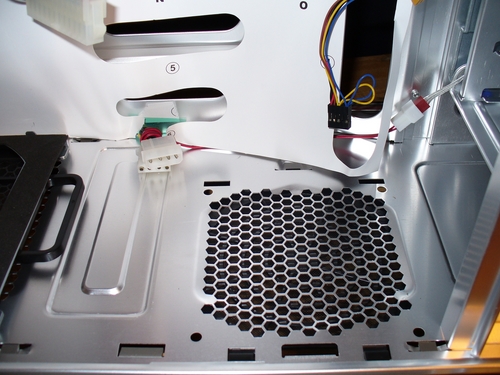
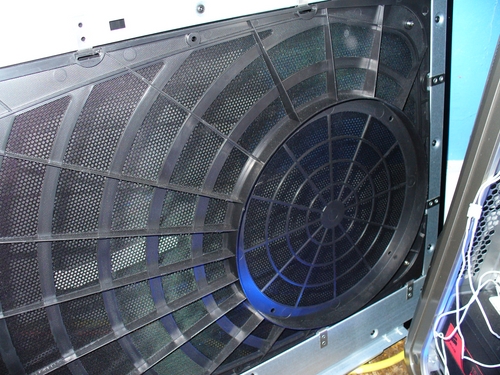
There are bars on the bottom of the case to match the bars on the top. They make it easy to slide the case along with leaving room for the power supply to breath from the bottom. Speaking of letting things breath, the side panel on the left side has a large mesh panel to give you even more airflow. Behind the mesh, they have included a 200mm Fan to push air while keeping the noise down. Side panels are made out of a brushed aluminum; this gives the case a great look. However, I found that the texture is abrasive enough that when touched it takes off skin and leaves marks on the case.
Inside
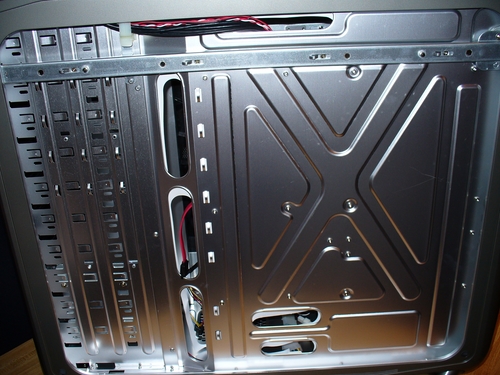
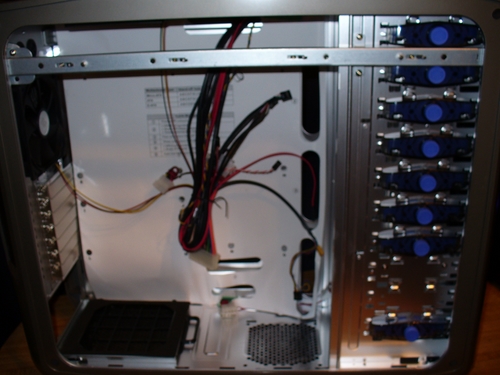
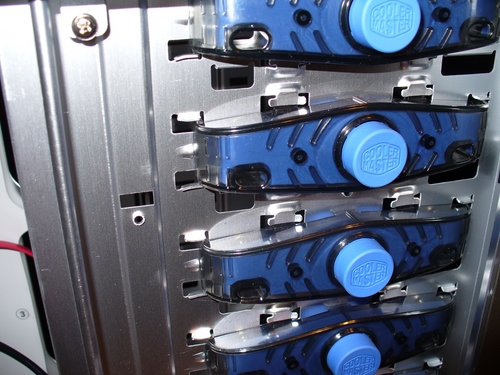
The first thing I noticed when I opened up the case was the large paper Coolermaster included in it. The paper points out where the motherboard standoffs should go for each motherboard standard. The inside of the case hasn't been painted even though I think that a darker color would better match the outside of the case. This isn't a big deal because of the lack of a window (at least for now). The PCI slot covers are held down by thumbscrews. Other than the thumbscrews, there are a limited amount of screws. All of the 5.25 inch drive bays have a simple push button lock on them. Coolermaster was well aware of importance of good wire management, and with 6 holes in the motherboard tray they didn't miss anything.
Our Test Setup
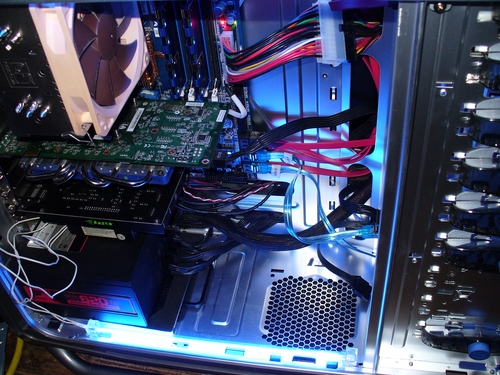
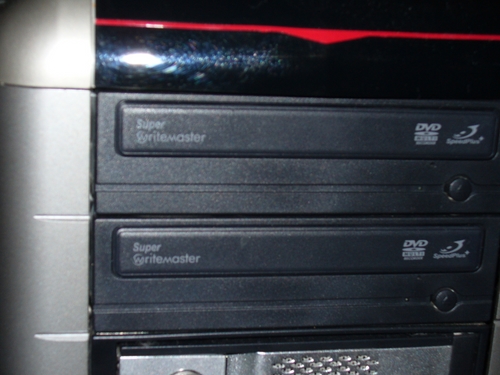
Intel Q6700 CPU Running at 3.8Ghz Abit IP35 PRO Motherboard Noctua NH-U12P heatsink 4 gigs of Mushkin Ram Corsair HX620w Power Supply Razer Barracuda Sound Card EVGA 8800GTS G92 with Coolink GFXChilla Two Samsung DVD burners Icy Dock MB671IK Internal Enclosure 750 Gig Seagate HD (In IcyDock enclosure) 150 Gig Raptor X 640 Gig Seagate hard drive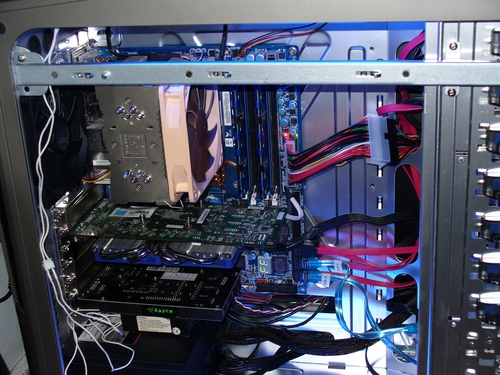
Installation
Moving all of the parts over from my main rig into the Cosmos S ended up being easier than I thought it would be. Moving from a mid tower case to a full size case left me with a lot of extra room to move around. I routed all of wires through the routing holes, but I did find that the space between the back panel and the motherboard tray is not as much room as needed. With my first setup, I could not put the panel back on. While hooking up the front panel connector's one thing stood out, the Cosmos S requires you to hook up in line with the 24pin connector. This setup is required because of the touch free power button, but it would have been nice to see the cable have some sort of sleeving. When everything was put together I went to install the side panels and found that the fan interfered with the Noctua heatsink. This was a little disappointing considering that I wanted all the cooling I could get, but with plans of getting a side window the large side fan would have been gone soon anyhow.
Performance
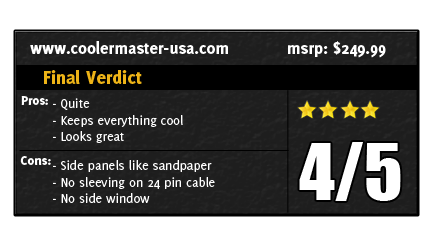
The Cosmos S did a great job of keeping all of the components cool even without the large side fan. The new layout for hard drives kept my hard drives cooled down much better than the old Cosmos design. Even though the front, top, and side are all covered in mesh, the case did a great job of keeping the noise level down. I think it has a lot to do with the thick side panels and large low speed fans.
Overall
A lot of people have called this the best gaming PC case, I moved all of my gaming pc components over into the Cosmos S to test to see if those people were correct. After living with is for a few weeks, taking it to a lan 5 hours away, and playing around with the case a little, I would agree... To a point. Some cases like the Antec Twelve Hundred have more airflow than some wind tunnels. The Cosmos S has good airflow, but not at the same level of the Twelve Hundred. The Cosmos S was a great improvement over the already great original case. The fact the Coolermaster was willing to admit their mistakes and work to improve the case is very impressive. The only thing this case is still missing is a side window, I understand that not everyone cares about side windows, but most gamers like to show off their expensive rigs. Overall the case is a great looking case with lots of potential, this case should be on everyones list to check out when looking for a new case.
