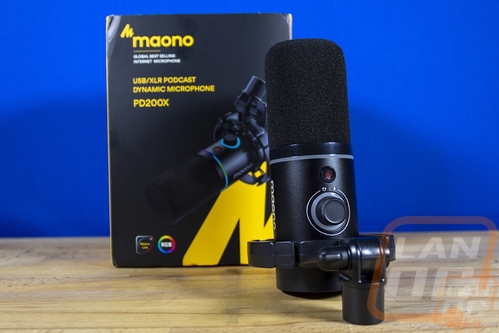
Photos and Features
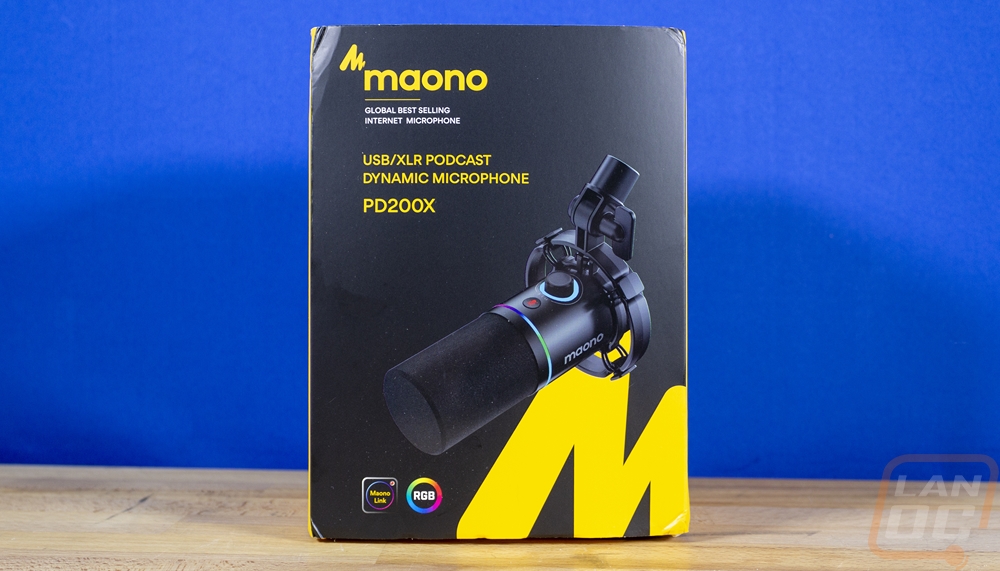
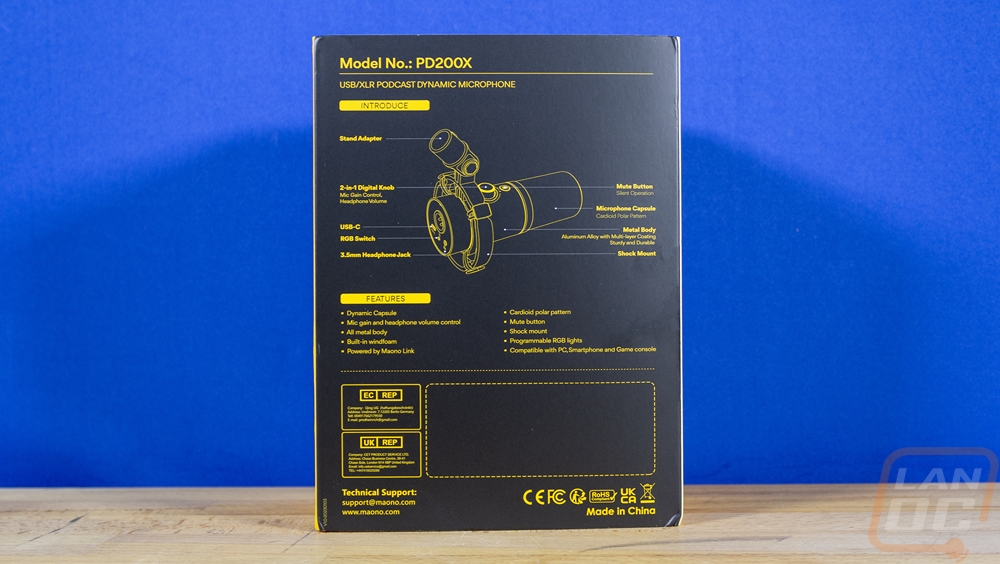
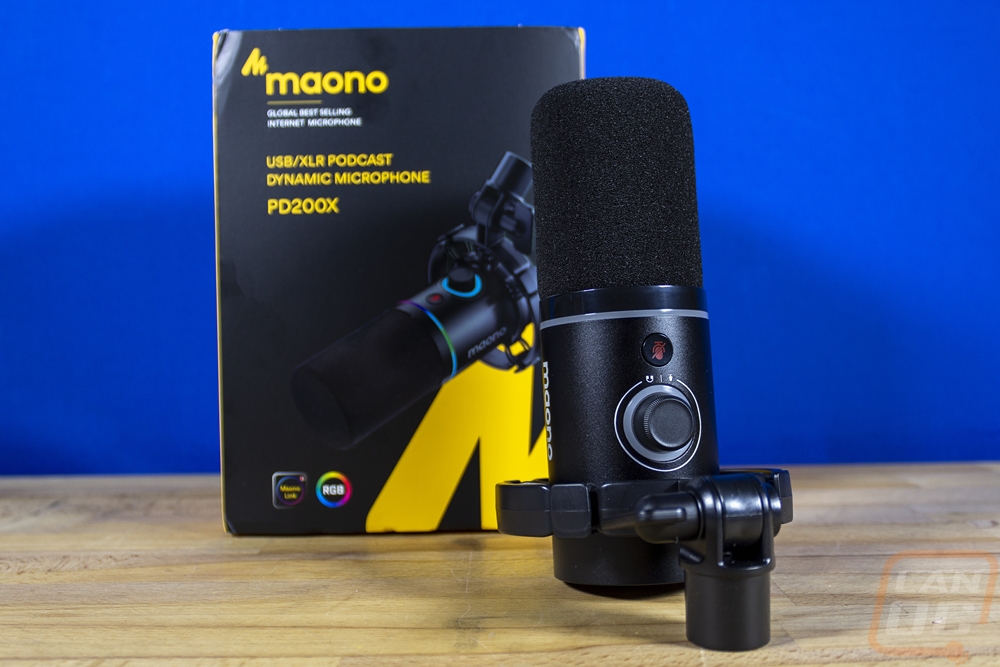
The packaging for the Maono PD200X came in a little banged up in the corners from shipping but still did protect the microphone inside. The front of the box has a black background and Meono has used a bright yellow for their logo up in the top left corner, the model name, and a large M in the background as well. Along with the model name they also let you know that this is their USB/XLR Podcast Dynamic Microphone so even before getting to the back you know a lot about it. You also have a picture of the microphone on the front which shows the RGB light ring, the foam cover, and the anti-vibration mount that the PD200X comes preinstalled inside. On the back of the box we have the black background again and here everything is in yellow. They have a line drawing of the microphone and lines pointing out different features along with a feature list below that.
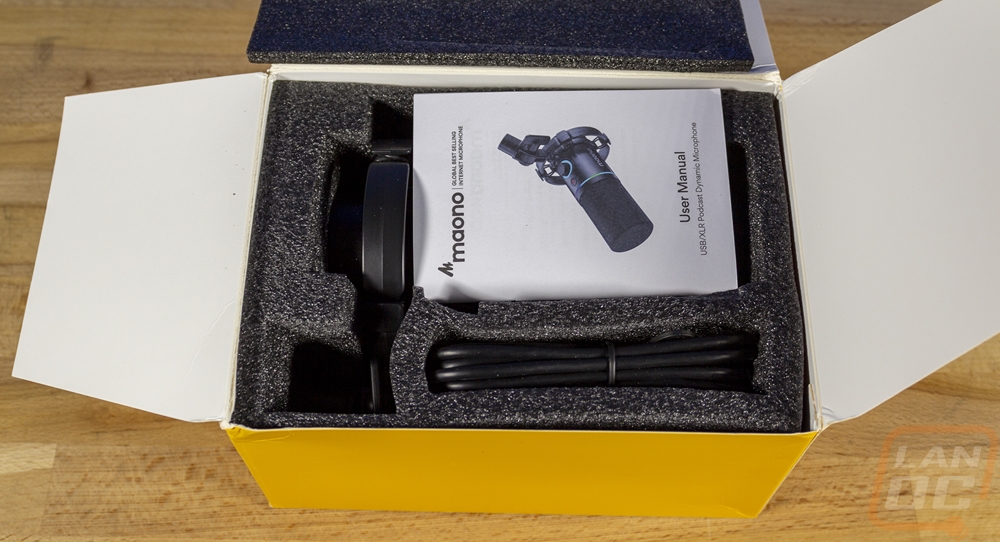
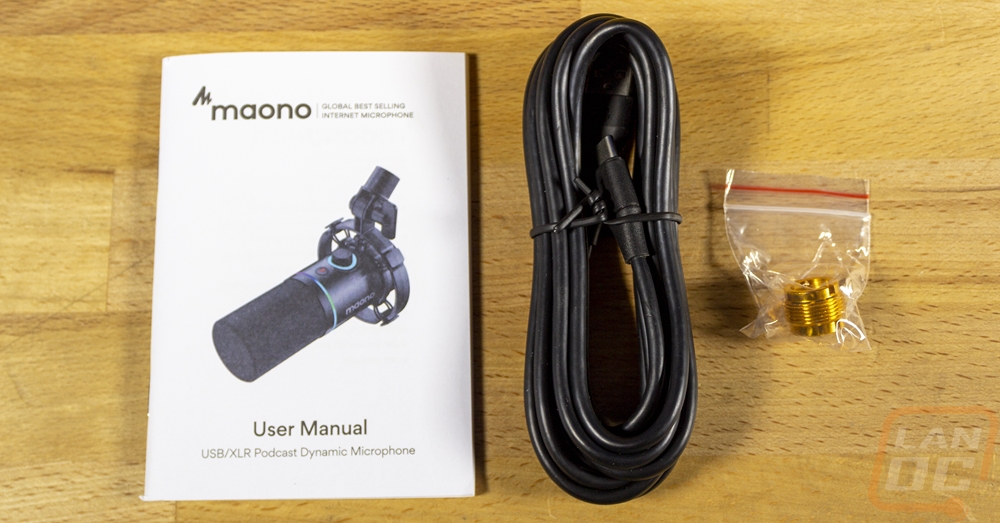
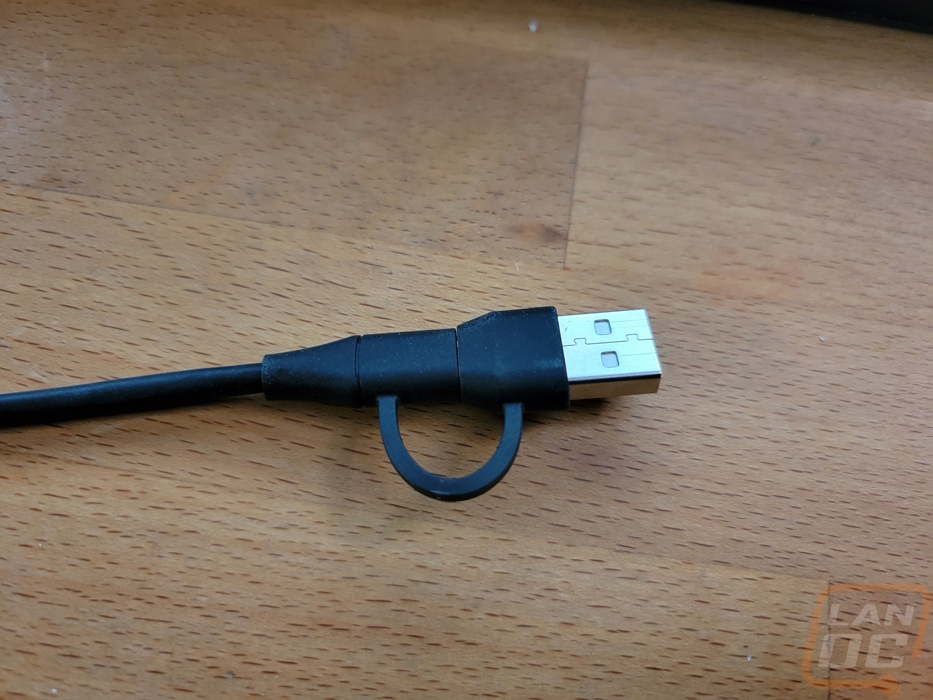
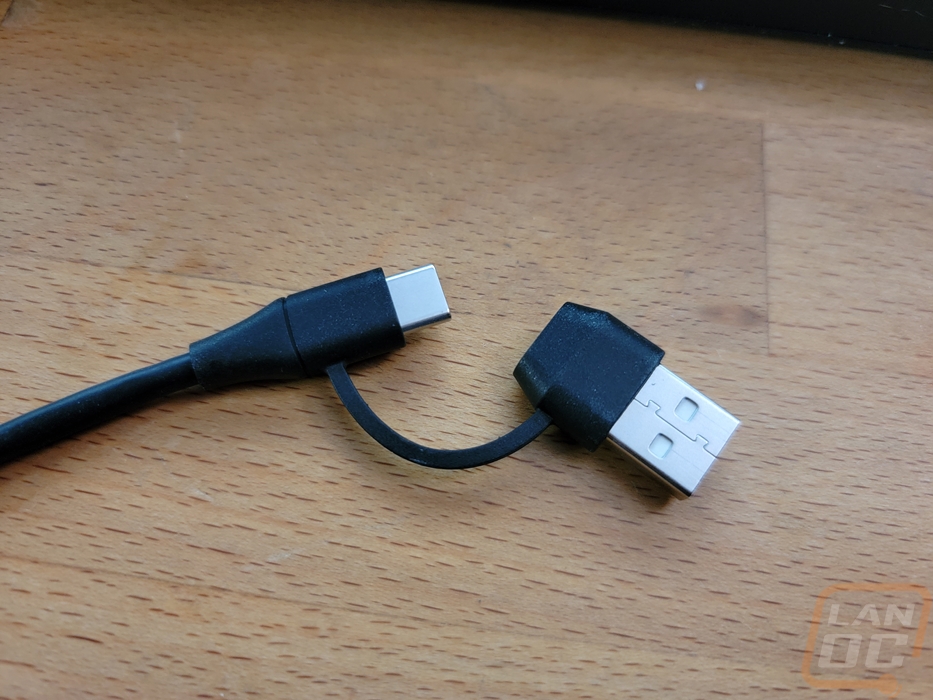
When you open the box up, it’s no wonder that everything came in safely. You have the documentation up on top and below that the PD200X is packed in thick foam. For accessories, you get one Type-C to Type-A USB cable which has a thick rubber sleeving and is surprisingly long at 8.2 feet. The cable is both Type-C and Type-A with an adapter that comes attached to the end of the cable so you can use this with your PC or with modern laptops which sometimes have more Type-C connections. You also get a 5/8'' to 3/8'' adapter which helps make sure that the PD200X can be mounted to either sized solution.
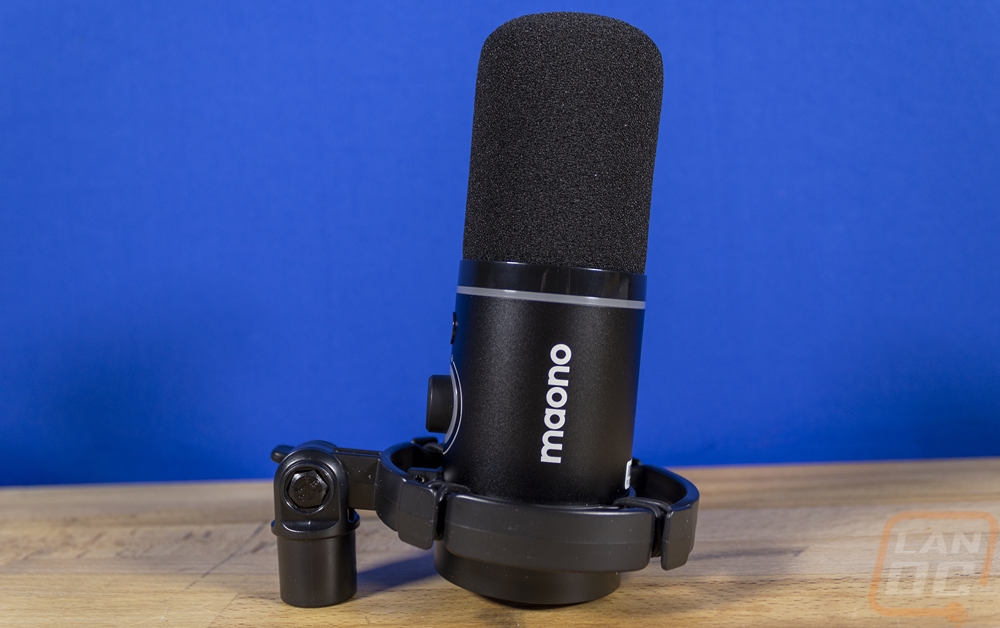
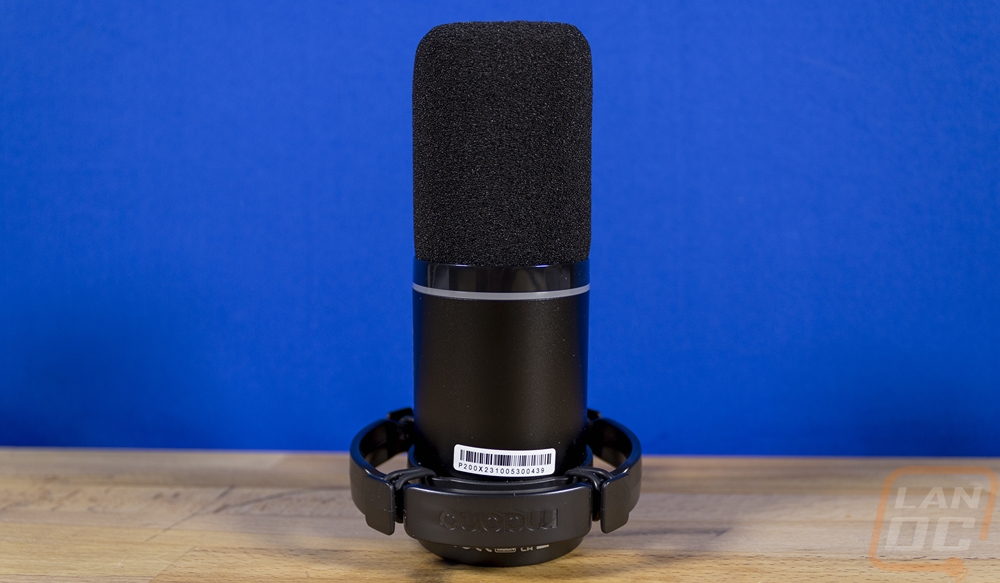
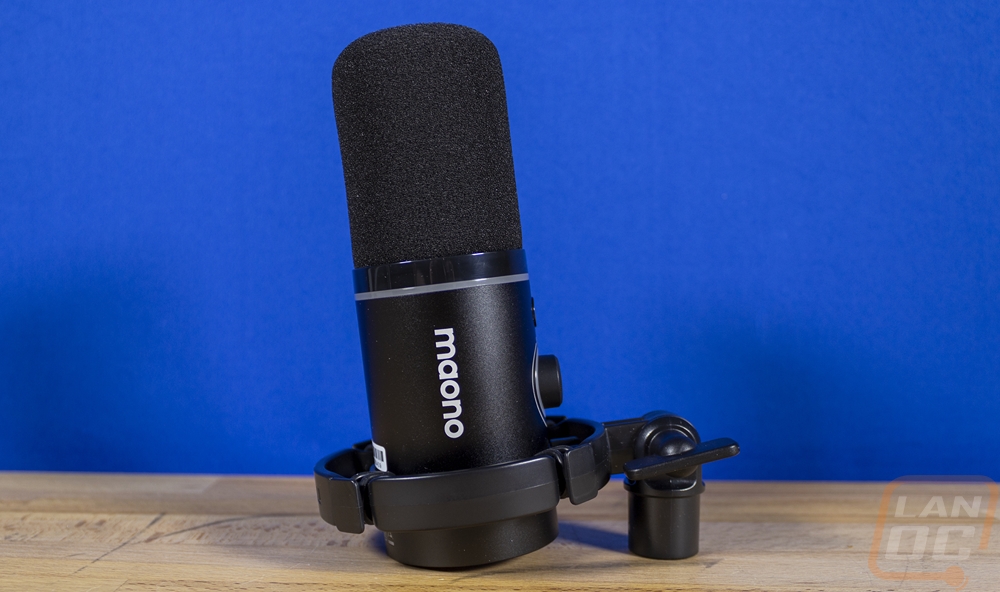
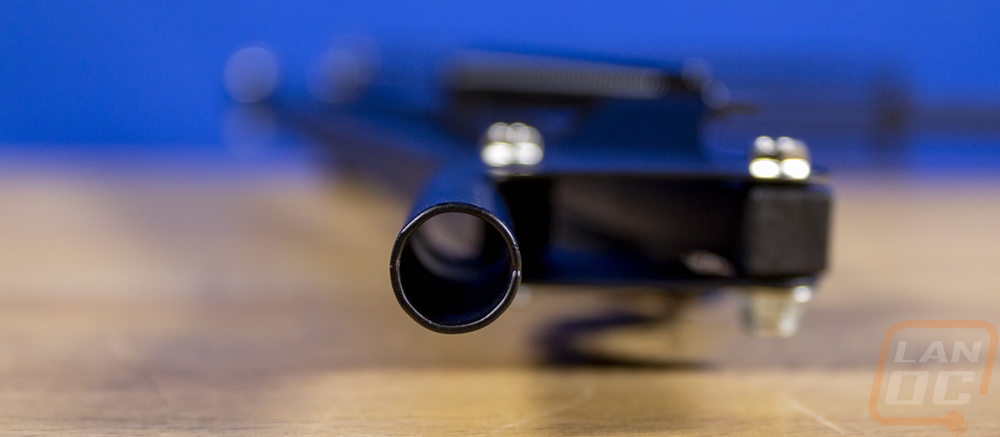
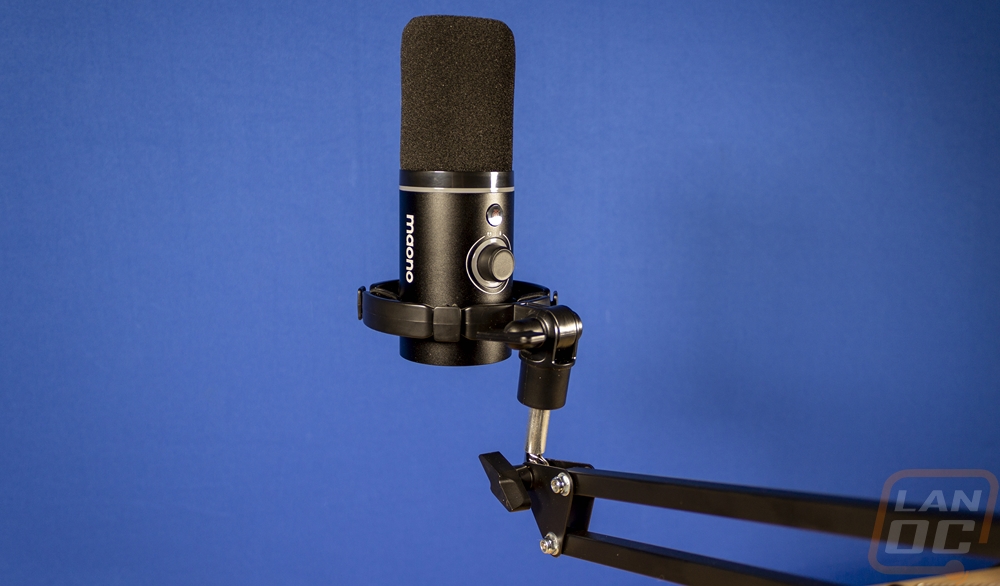
The Maono PD200X is all black like most microphones but they do also sell an all-white version that looks great. Where traditionally a microphone isn’t an aesthetic thing, some podcasts that are recorded in video as well as streaming, which this is also good for, both have the microphone visible so it is nice to have the color option. The PD200X is a dynamic microphone, not a condenser microphone, dynamic microphones use a magnet to transfer sound into voltage and work a lot like a speaker whereas a condenser microphone works more like a battery. Interestingly, they have gone with a dynamic microphone for podcast use because these are more often used for situations where you may have loud audio because they handle that better than a condenser microphone. That said it should also mean that the PD200X shouldn’t have too much trouble with loud voices being picked up. The design comes with a foam pop filter already installed and just below that it has a white ring that runs around the microphone for the built-in RGB lighting. It has the Maono brand name on both sides in bright white and then the back does have a sticker with your serial number. It’s interesting that isn’t tucked away up under the bottom.
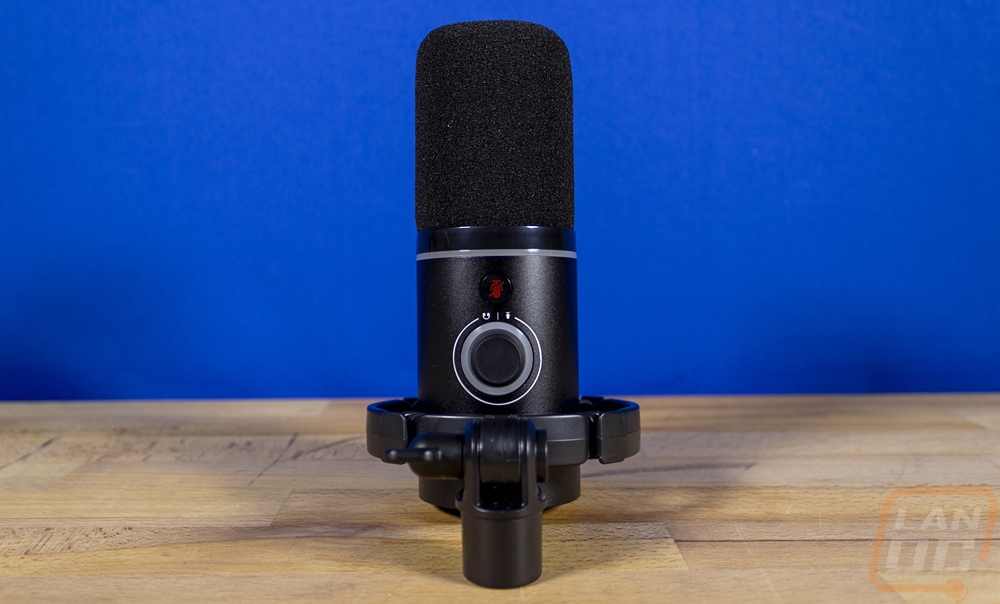
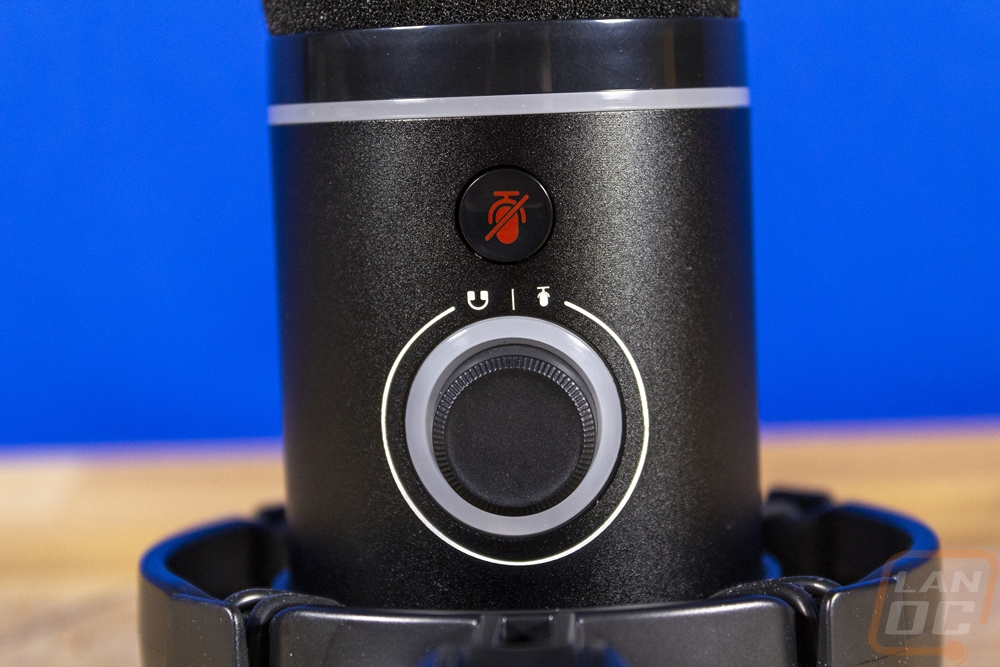
The front of the PD200X has a volume control knob. The knob has a LED ring around it to help differentiate between when you are controlling the microphone volume and the headphone output volume. It lights up blue or green for those and then also red when you use the microphone mute button next to the volume knob.
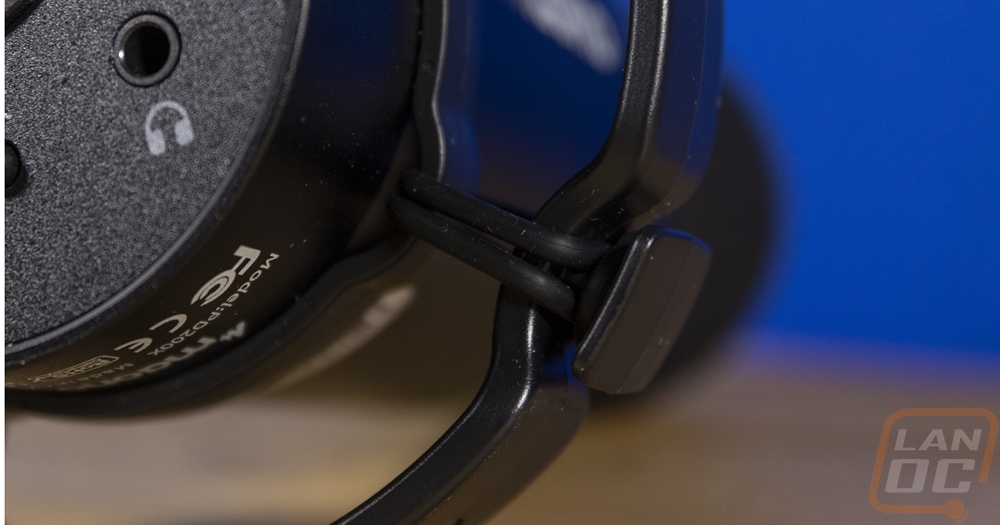
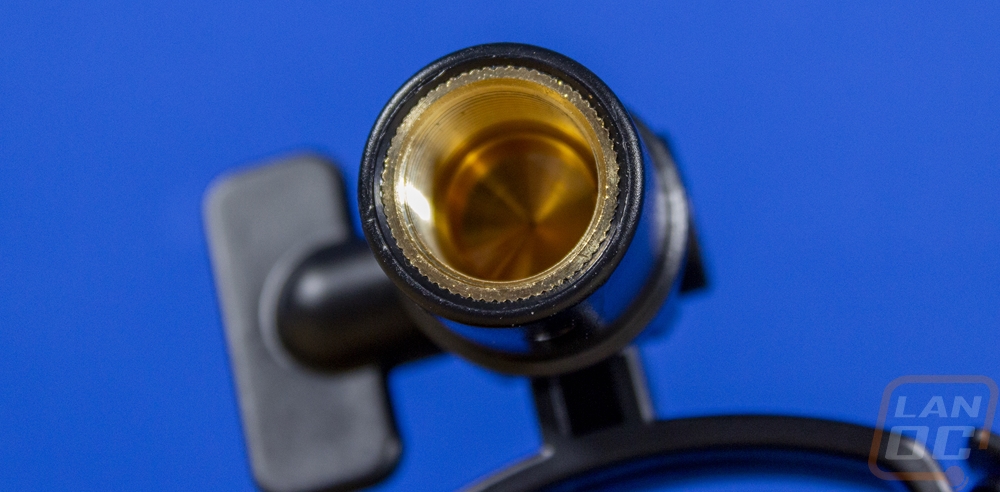
The bottom of the PD200X is where the rest of the action is. Near the center the XLR jack takes up a majority of the space but below that there is a small button. This lets you flip through the lighting colors without using the software which will be needed if you are using XLR. That button sits in between two more connections. On the left, you have the USB Type-C which works with the included USB cable, and on the right, you have a headphone jack where you can listen in to your microphone.

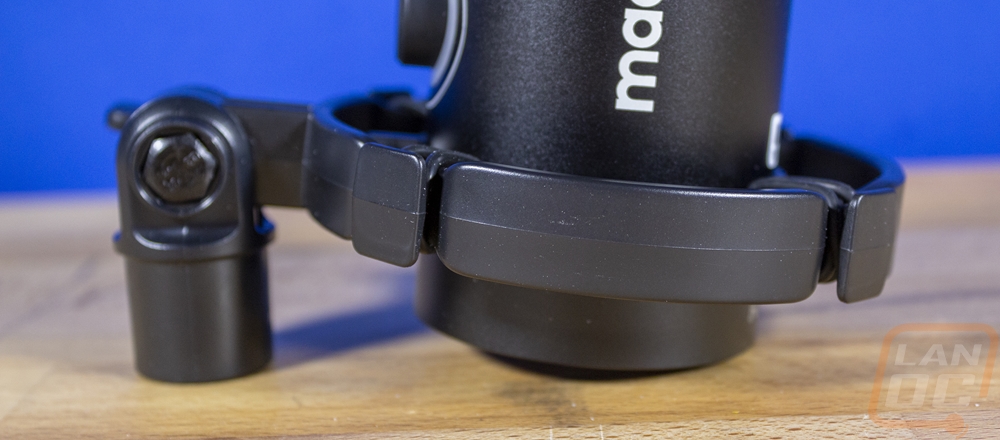
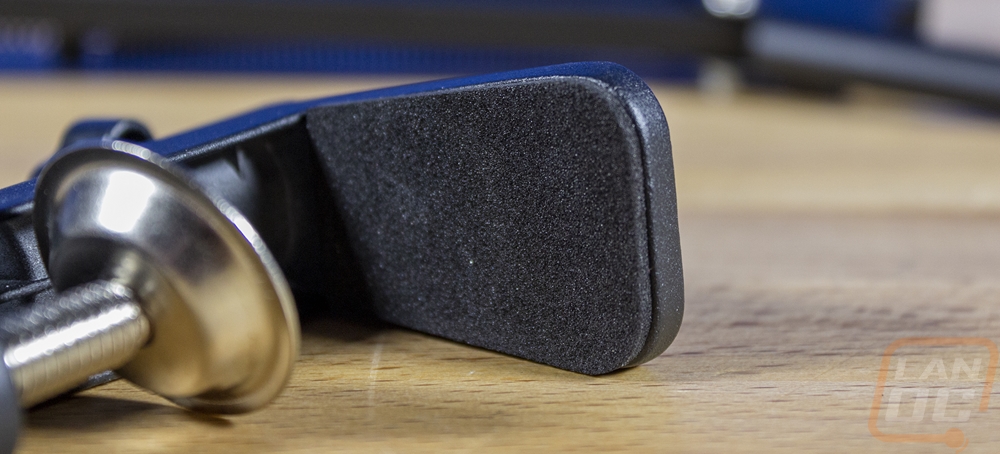
The PD200X comes with a pre-installed stand which does mean that to use it you will have to provide your own microphone stand. The stand has a pivot attached to the screw on a 5/8 thread mount. The mount then has a ring that runs around the microphone and thick rubber straps are used to attach the microphone to the stand. This means there is no direct connection and helps cut down vibrations between the mount and the microphone, this is huge to help cut out any bumps or noises where a basic desktop stand without a vibration mount like this would pick it all up.
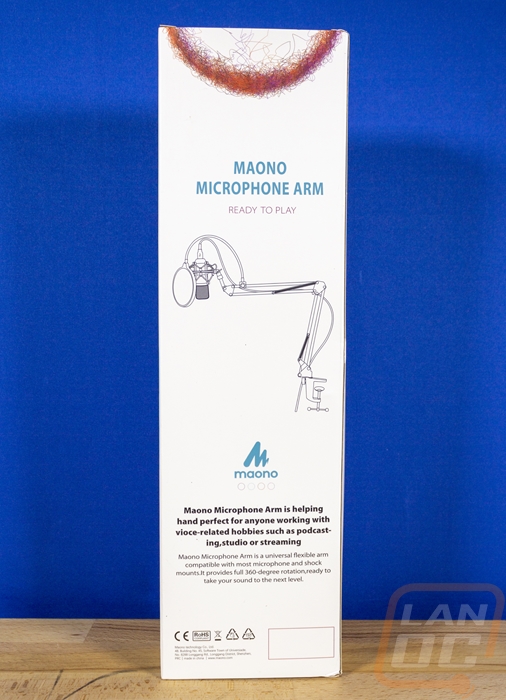
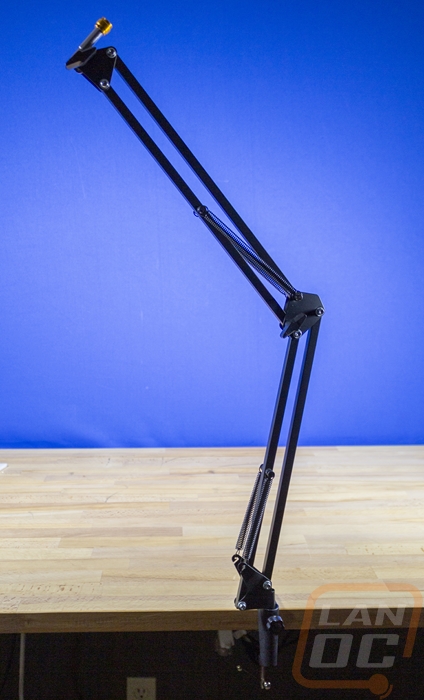
In addition to the PD200X, I did ask Maono if they could also send over one of their microphone stands. My main microphone is already on its own stand and I didn’t have one to test the PD200X on and you do need a stand of some sort to be able to use it, it doesn’t come with a basic desk stand. Maono has a few stand options from two different boom stands and a desktop stand or portable tripods as well The Maono B01 Microphone Suspension Boom Scissor Arm Stand is their cheapest stand and price-wise is a good match for the PD200X. This box is significantly taller than the PD200X’s box and Maono has gone a different direction on the packaging theme as well, this has a white background, not a black one. Their branding is in the top left corner in light blue and down at the bottom it says Microphone Arm but the B01 model name isn’t mentioned. Then of course most of the front has a picture of the stand across it which I always like. The white background continues on the back but there isn’t too much going on here. They have a line drawing of the stand being used with a microphone similar to the PD200X and that’s about it.

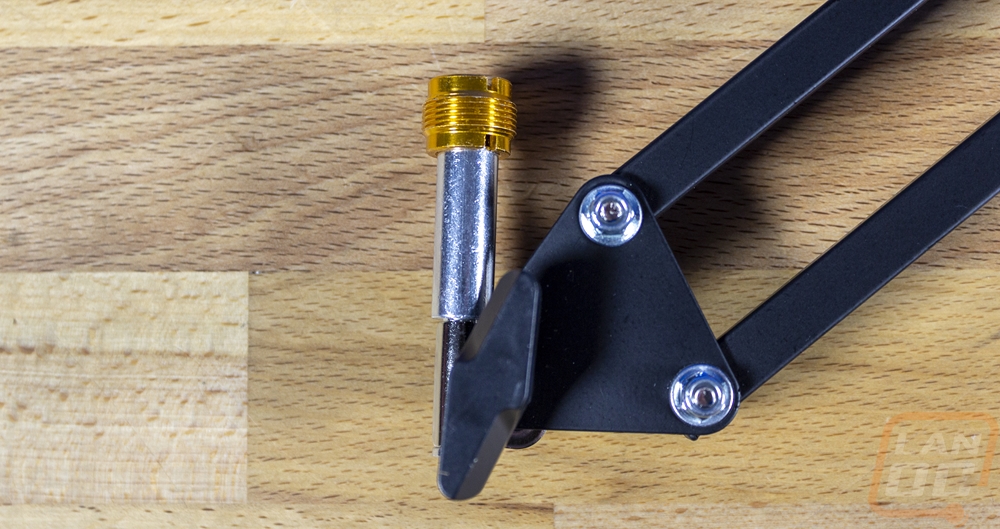
The microphone stand has everything inside in its own plastic bag and the stand itself has a big bubble wrap bag that kept everything nice and tight. You get four components in total. You have the stand which is the biggest part of course, the clamp base, a traditional condenser microphone holder, and a small 5/8'' to 3/8'' adapter which comes preinstalled on the stand. This is the same adapter that the PD200X comes with.
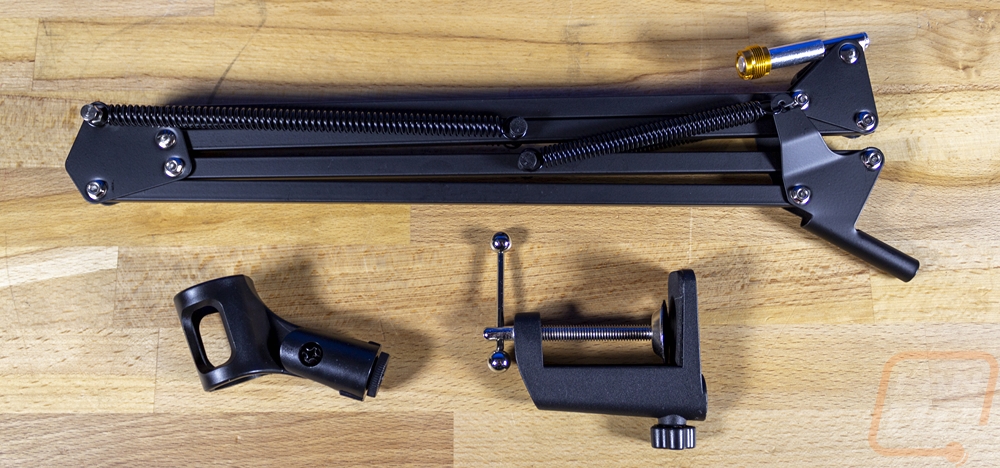
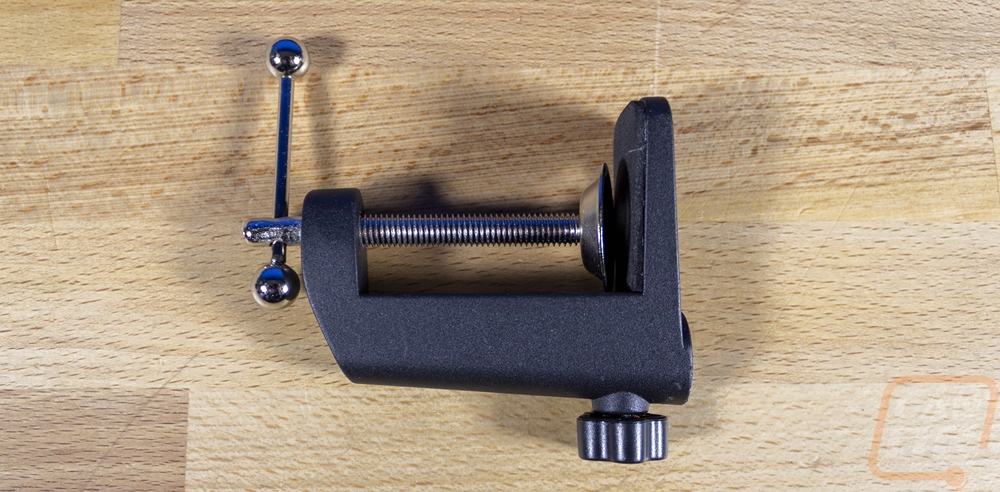
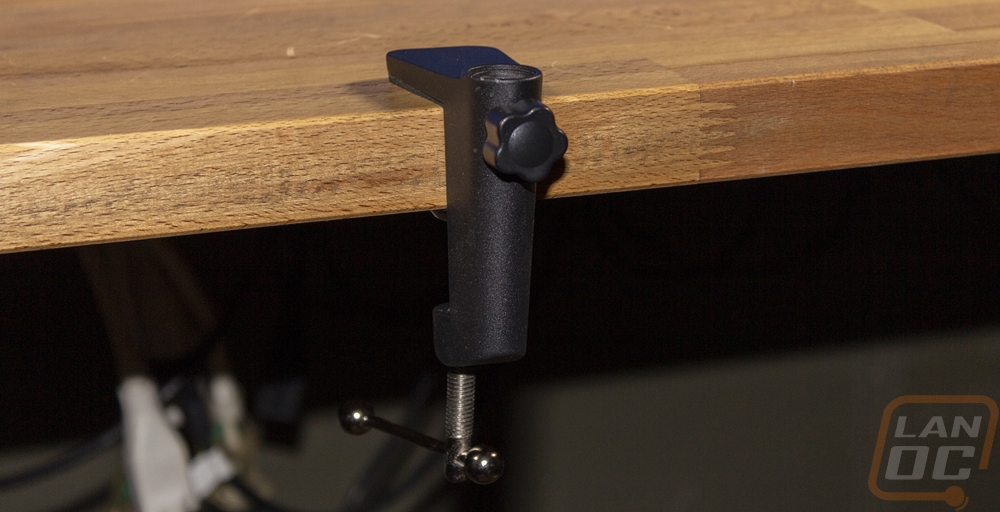
The desk clamp is a simple design that a lot of desk devices use and it looks like a tiny vice. It has foam on the underside and it will tighten down on your desk at the edge. It has a second wheel that tightens down where the stand itself attaches to keep that from coming out. You just attach this somewhere out of the way on your desk and then you can slide the stand inside.
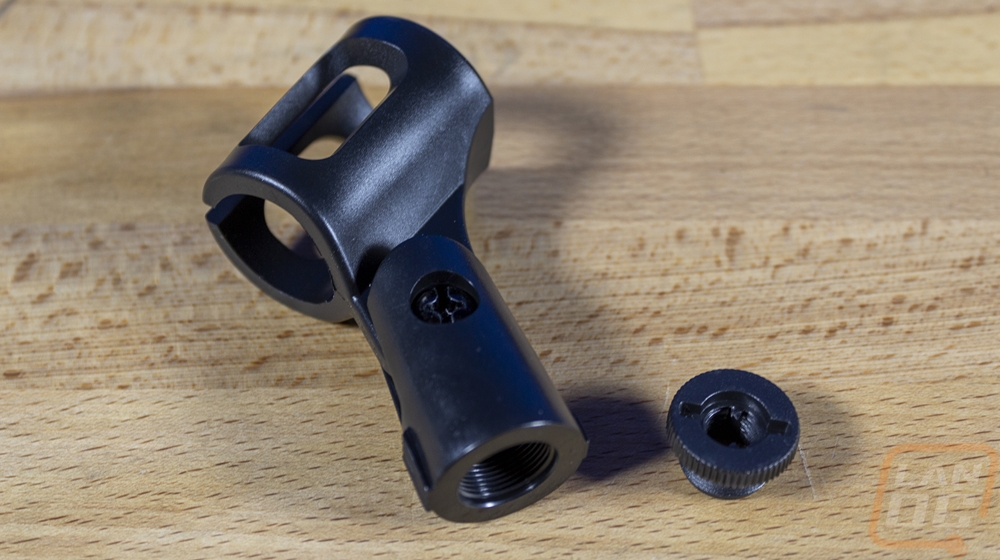
The microphone holder included is all plastic but it does have a pivot point in the center that you can use by loosening the screw. It also comes with its own 5/8'' to 3/8'' adapter only plastic, unlike the others. This is for using the arm with a standard microphone, the PD200X won't need this, however.
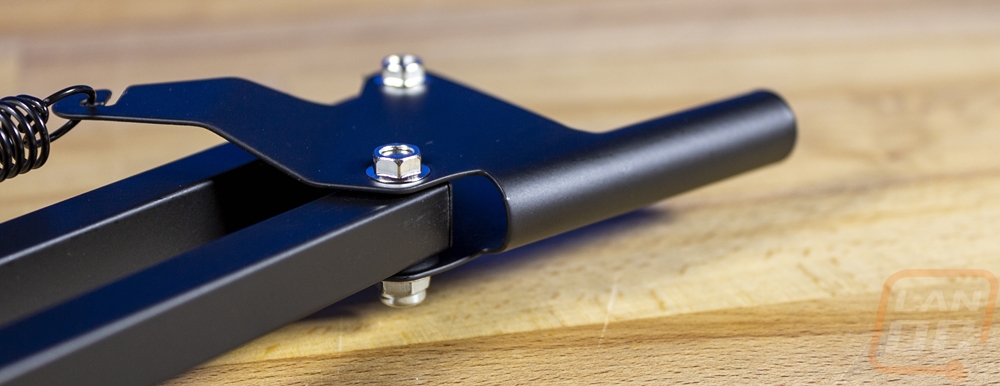
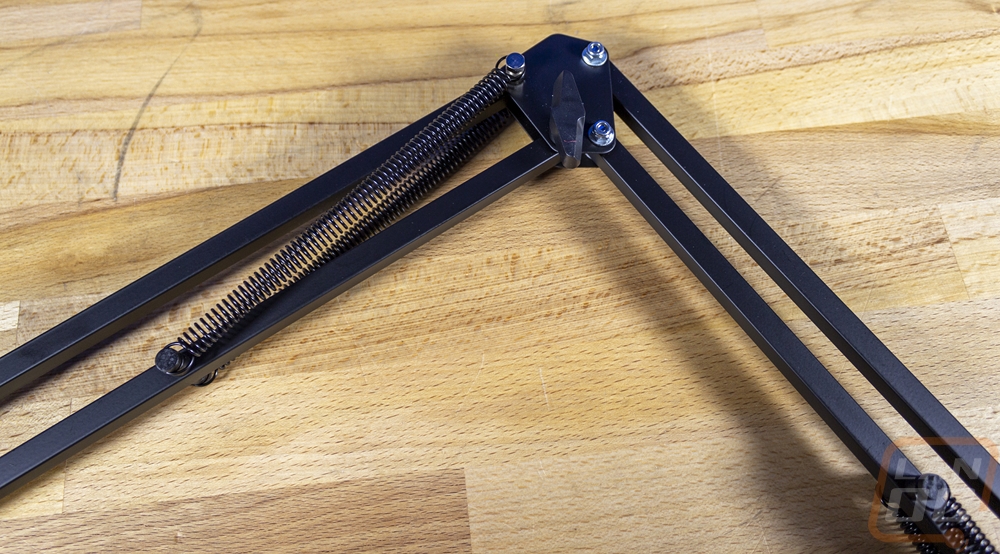
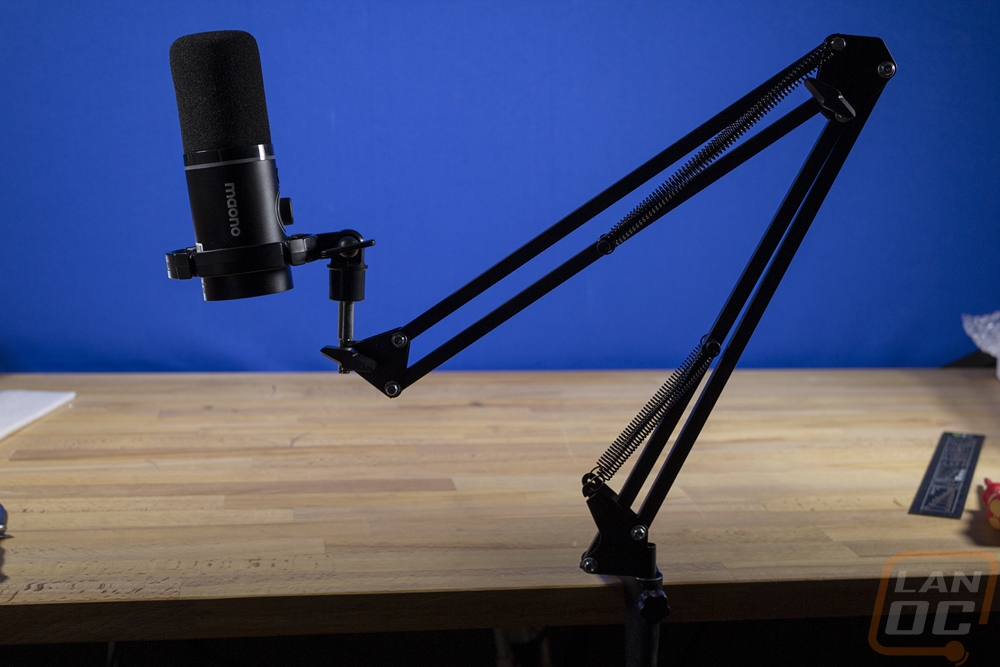
The arm itself consists of four hollow square aluminum bars that are attached together in the center and at the ends to give the arm articulation. If you have ever seen an old-school desk lamp like the Pixar lamp they use the same design. It has thumbscrews up at the top behind the microphone and in the center where you can tighten it down to keep it from moving around. It has springs on each side for each joint to help hold it up as well. At the microphone end, it has a metal arm that sticks out that you can thread your microphone to, and down at the bottom it has a round hollow tube that slides into the desk clamp. This design is simple and cheap. I have two main concerns with this design just from past experiences with arms like this in the past. The sprung design can make a lot of noise when you move it around which will be picked up by the microphone, this gets worse over time. This isn’t a big deal unless you move your microphone around a lot, I know for my normal microphone it is on a completely fixed mount because it never moves. But that is something to keep in mind, if you do you may want to look at spending a little more on an arm. The other concern is the hollow tube at the bottom where you slide it into the clamp, this is more than enough for a microphone, but don’t bang it around and hit it from weird angles, you could fold that up.
As I said before, setting up the microphone arm couldn’t be much easier. You just have to clamp it to your desk somewhere out of the way and then slide the arm down into the hole and tighten that clamp down some. If you want to spin the arm around you can’t tighten it down much but if you have it loose the stand is also loose. Higher-end versions of this will have a grove cut into the part that goes into the clamp that way you can tighten it down enough to make sure it cant be lifted out but you don’t have to have it tight enough it won’t move around. From there you can screw on the PD200X and plug in your UBS or XLR cable. One thing that this stand is missing in my opinion are a few clips to help run the wire down the stand to keep it from being in the way or pinched. You will need to use a few zip ties or Velcro straps to clean things up.
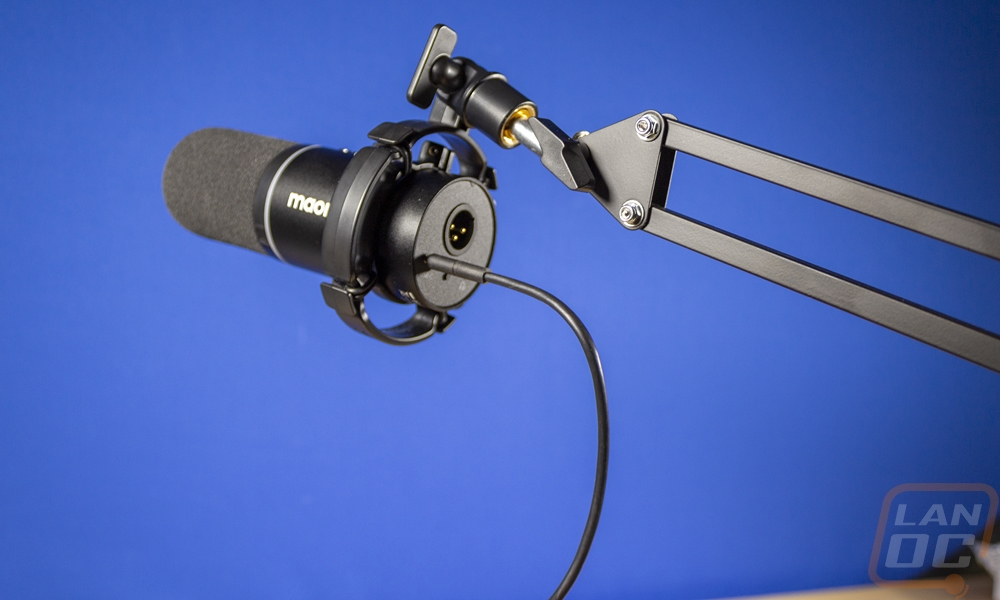
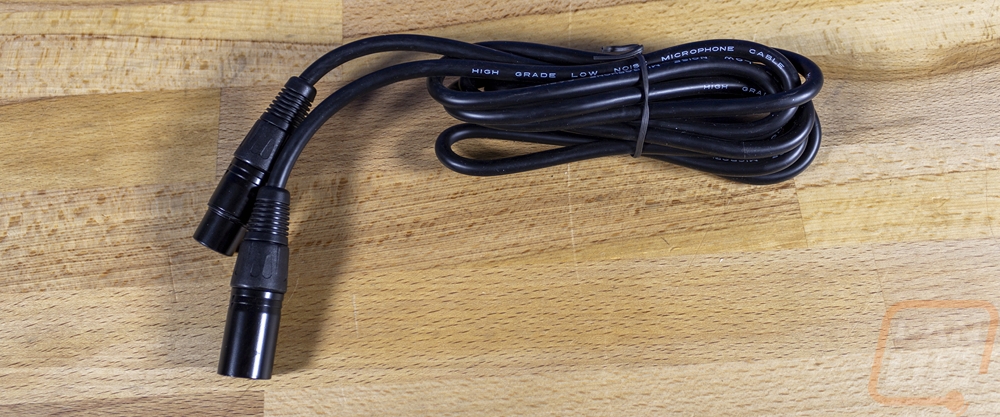
Maono did also include an XLR cable which is one of the accessories that they sell. I didn’t need it for testing because I am using USB. But the next time I need to test out any XLR device the PD200X and that cable will be put to use.