Inside
It’s impossible to ignore the bright red interior of the Centurion 5 II. Cooler Master covered the PCI slots, motherboard tray, and hard and disc drive bays in the sexy color. The rest of the interior has a powder coated satin black finish that looks amazing itself and even better when contrasting against the gloss red finish.
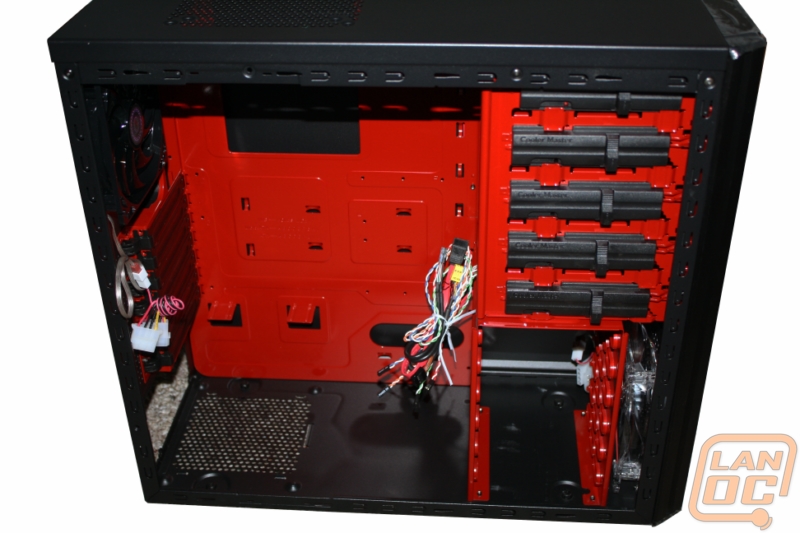
The motherboard tray features a adequately large access hole on the back, not as large as other cases on the market but more than enough to get the job done. Wire management is limited to a large hole near the power supply and then access from the side of the motherboard tray. There are no special grommets or other features we see on other high end cases, but please remember this is a budget case. The same goes for the included wiring; there isn’t any sleeving on the front I/O cabling. A good wiring job should make that almost unnoticeable, but it’s nothing an entry level enthusiast couldn’t fix with a sleeving kit.
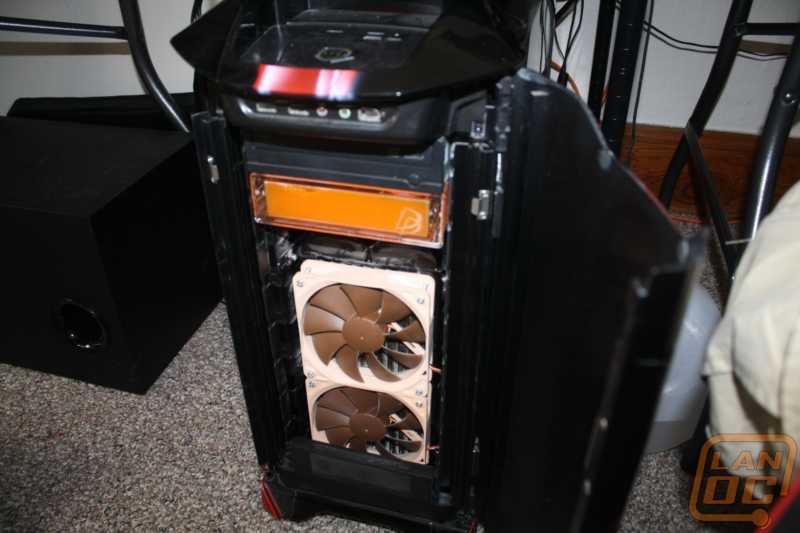
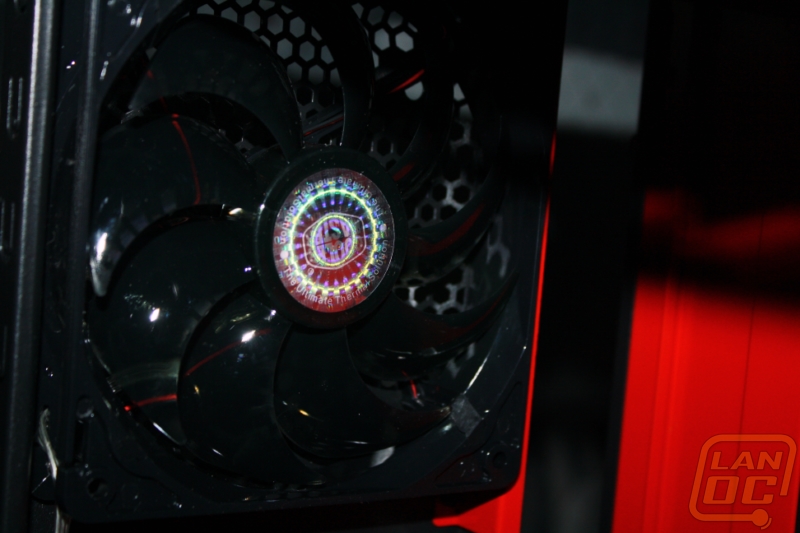
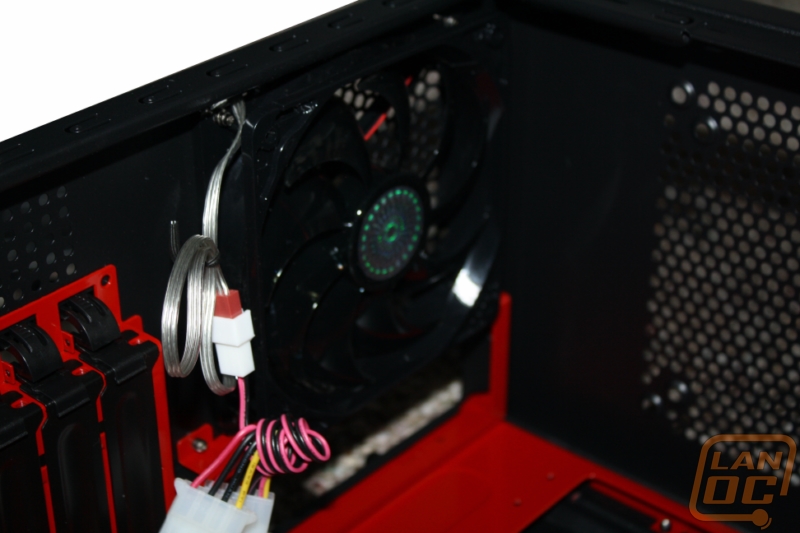
For cooling you have the rear 120mm fan and the 120mm LED fan on the front. The top and side window both have additional locations to add fans but Cooler Master didn’t include them. This is still an improvement over other budget cases, some only have one fan. Not to mention both of the fans that Cooler Master included are good looking fans, not generic flat black fans.
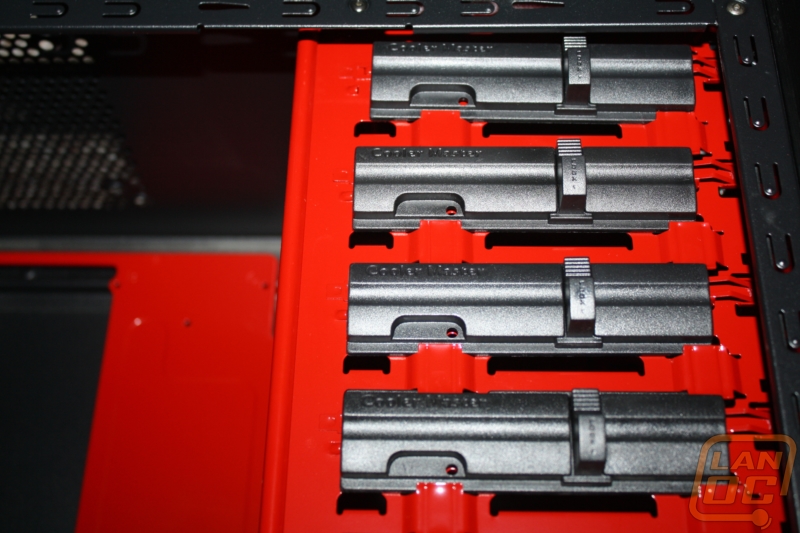
Cooler Master did a good job implementing a tool-less setup in the Centurion 5 II. All of the PCI slots use a small plastic clip to keep the PCI cards in place. They did still leave screw hole for anyone who isn’t secure with leaving their expensive video card in place this way. All four of the 5.25 bays have a black plastic piece that slides over to hold your device in place and then has a slit down lock to lock everything into position. For the five hard drive bays they used guide rails that snap on to the side of your hard drive and then just slide right into the bays. The rails include rubber mounts to keep the vibrations to a minimum also.

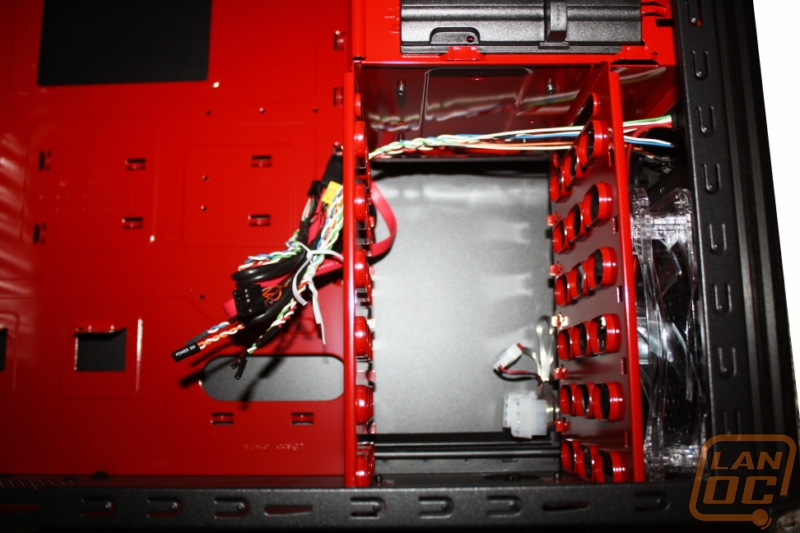
The power supply mounts at the bottom of the case and is a very simple setup. Two tabs on the motherboard tray hold the power supply from the top while four indents on the bottom of the case hold it from the bottom. To keep it in place the standard four screws hold it from the back plate.