Card Layout and Photos
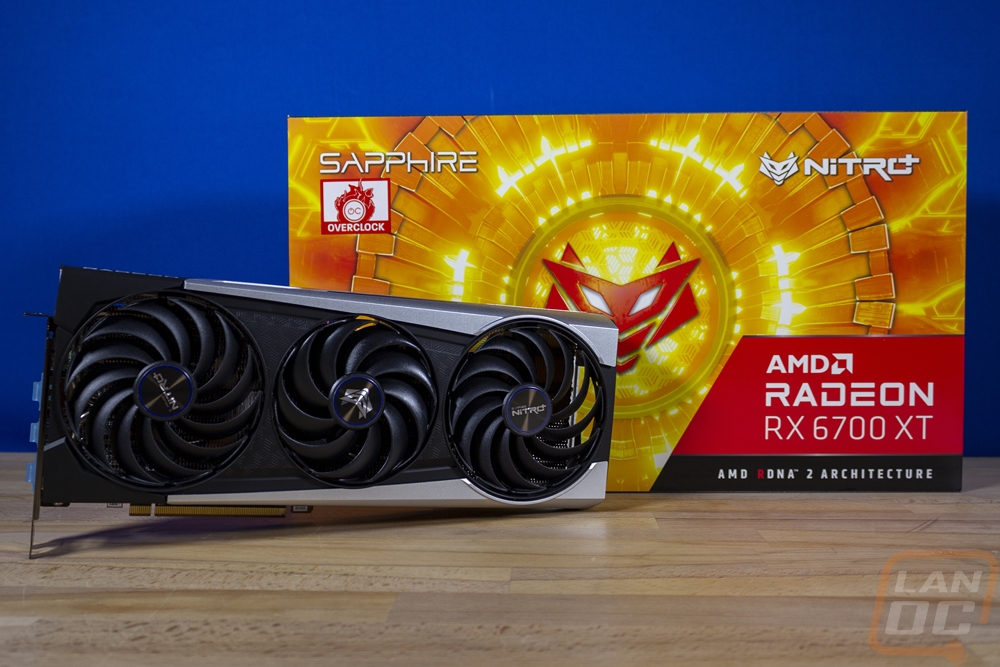
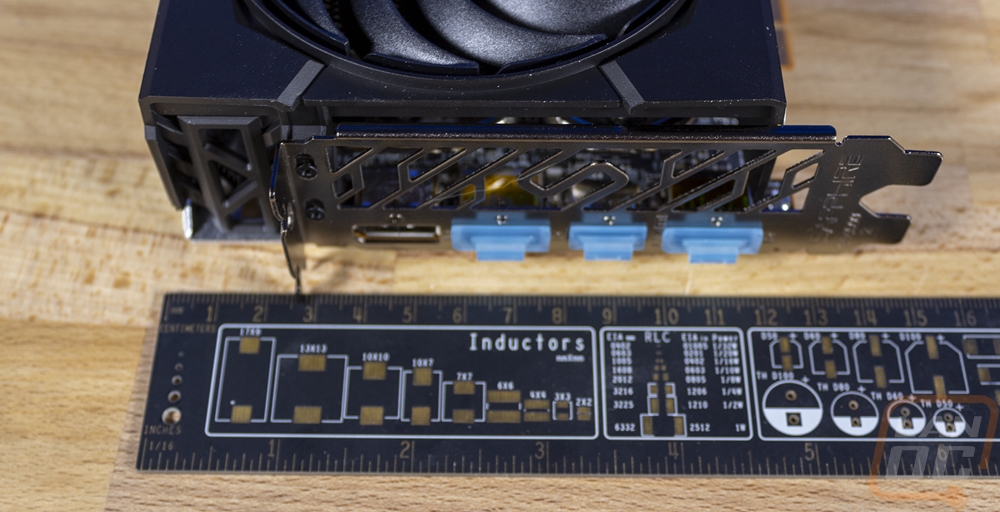
Well the Sapphire Nitro+ RX 6700XT is significantly different than the RX580 that I took a look at last and like every other card, it has gotten much bigger. It comes in at 310mm long which is huge, interestingly enough though it is still 13mm shorter than the XFX 6700XT that I took a look at but it is longer than the dual-fan MSI. It is a touch over 130mm tall which means it is about an inch over the top of the standard PCI height and the bracket. Then for thickness, it is a 2.5 slot card at 51mm. They went with a three fan design which isn’t a big surprise because this is Sapphire flagship 6700XT, they also have the Pulse which is a dual fan overclocked card and they have reference cards as well.
For the fan shroud, it is a multi-piece design that has a base black plastic frame that runs the length of the card. This is what you can see on the left side and down the middle as well. The black section has a touch of the angular look on the left then from the first fan on it has arches that separate the textured center from the smooth plastic. Then the card has two add-on silver panels, one on top and one at the bottom that match up with the arches as well and offer a little contrast. It’s a little like an opposite to the AMD reference design which has silver in the middle and then on the top and bottom. Overall it's not too flashy and they stay color neutral.

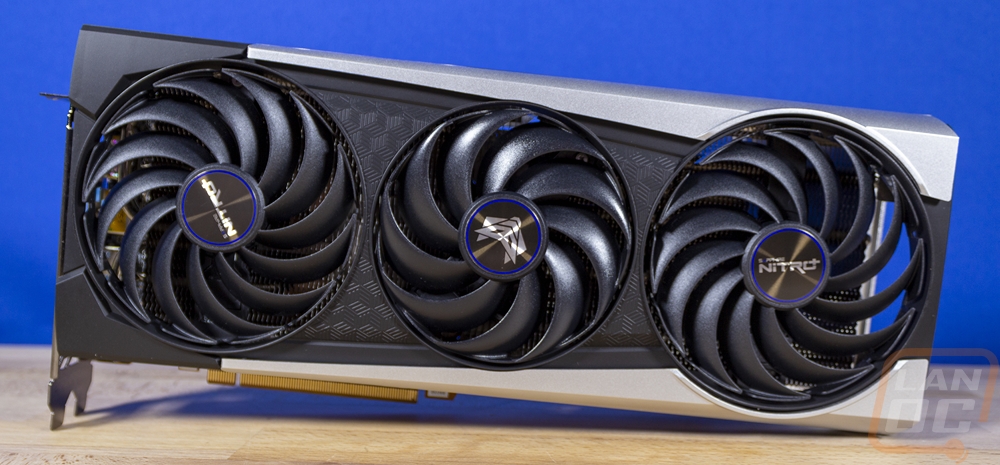
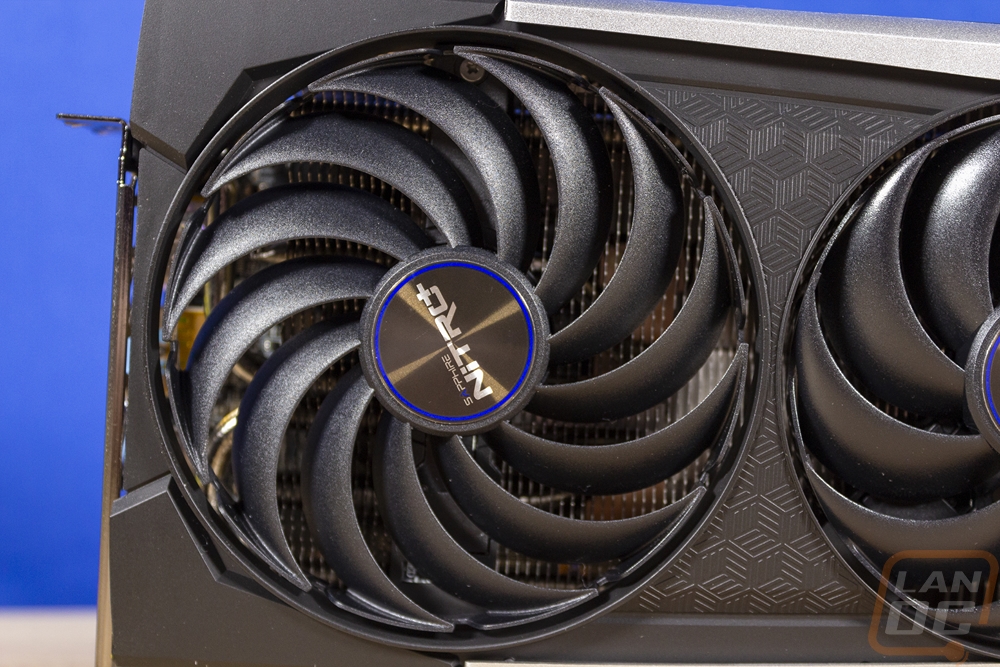
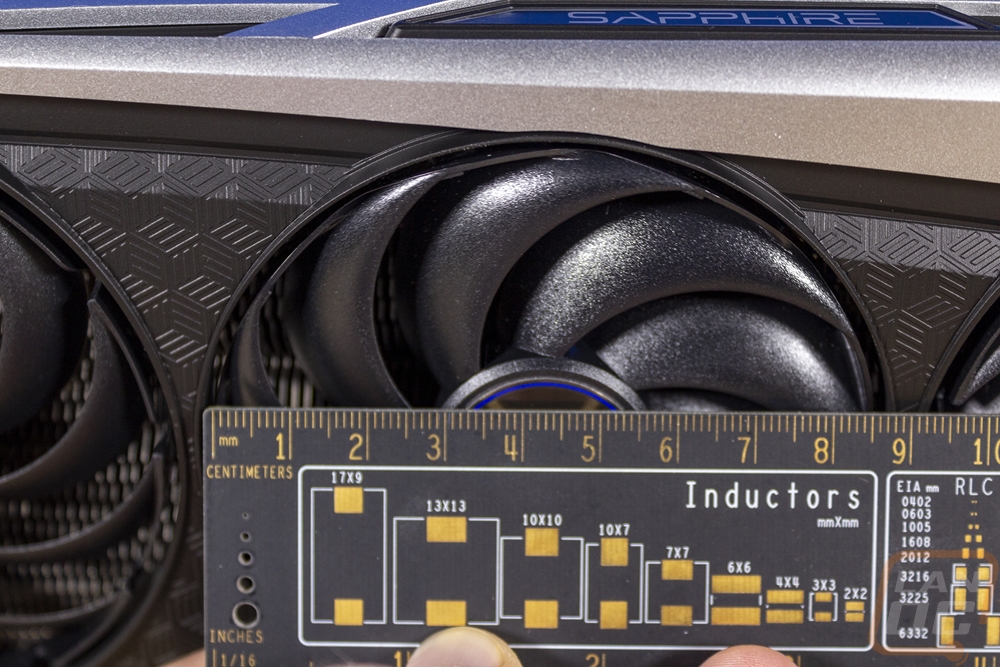
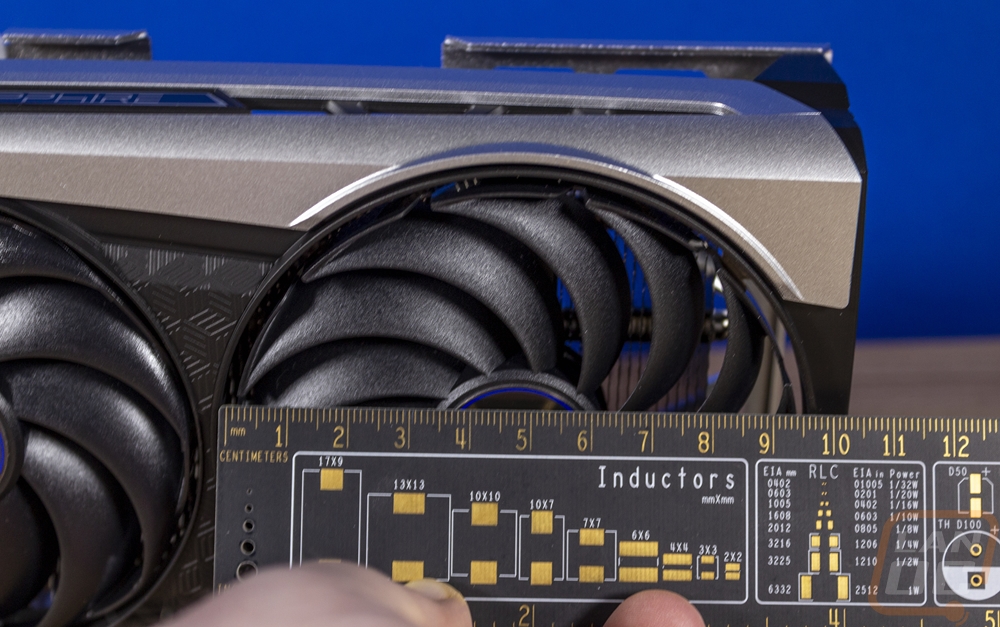
The fan layout is interesting because they aren’t all the same size. The two end fans are 95mm and the center fan is 85mm. The two larger fans are matching but the center fan also spins counter-clockwise as well. You can see it with the curvature of the fan blades being flipped around. The center fan has all of the blades connected on the outer ring. The 95mm fans are also connected, but it almost looks like they tried to hide it with each blade having a winglet sticking up like an outer ring but then between each blade there is a gap with just a small amount of material connecting them towards the back. The 95mm fans have the Nitro+ branding on them with a small blue ring then the 85mm center fan has the Nitro+ logo with the same dark grey and blue ring for its background. This side view also gives us a few clues about the heatsink below it all as well. We can see that it is a horizontal fin layout and the aluminum fins also have a V shape repeating across the fan side in perfect rows. I’ve seen a similar design that stagers the shape every other row to help the heatsink catch the air more but here Sapphire is doing it to cut down on noise. The flipped middle fan direction also helps with this as well, cutting down on turbulence between the fans. The large fans at the ends also show a glimpse on each end where they extend beyond the heatsink itself. The left has heatpipe loops but the end of the card is open meaning some of that large fan air is going to waist. I wonder if a second 85mm fan down on that end might have had the card length under 300mm with the same cooling. The Nitro+ fans are also replaceable, Sapphire has a kit where you can swap these out with addressable RGB fans.

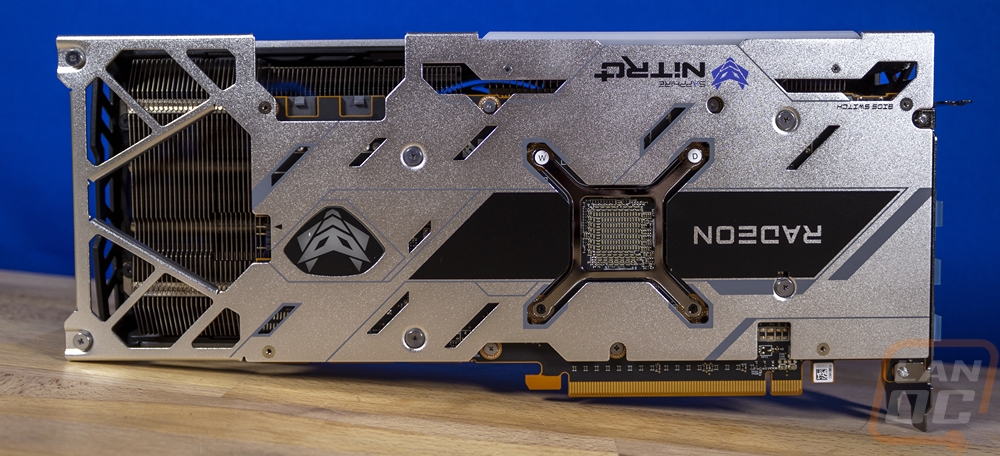
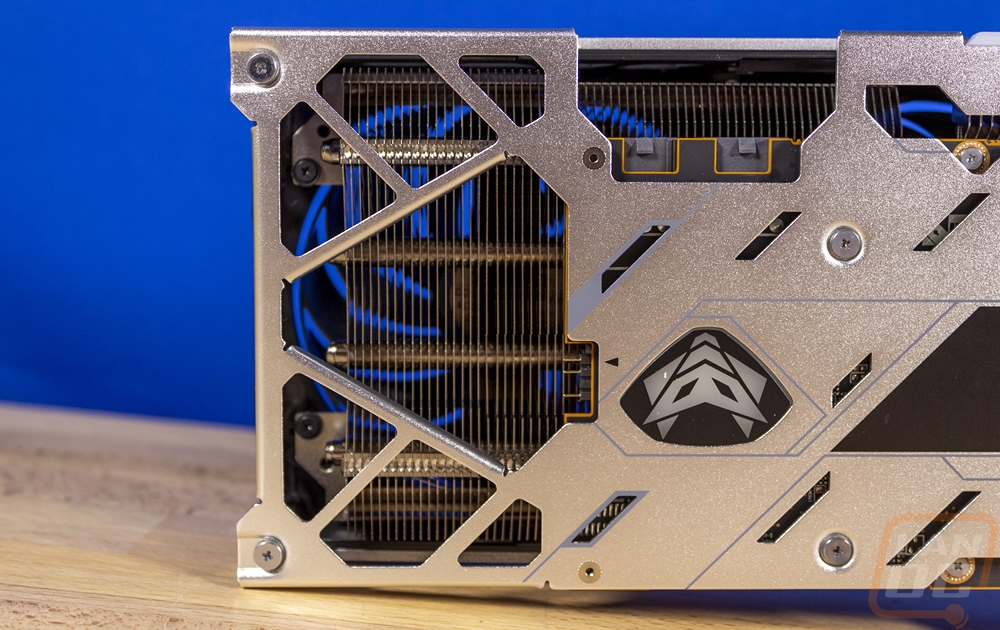
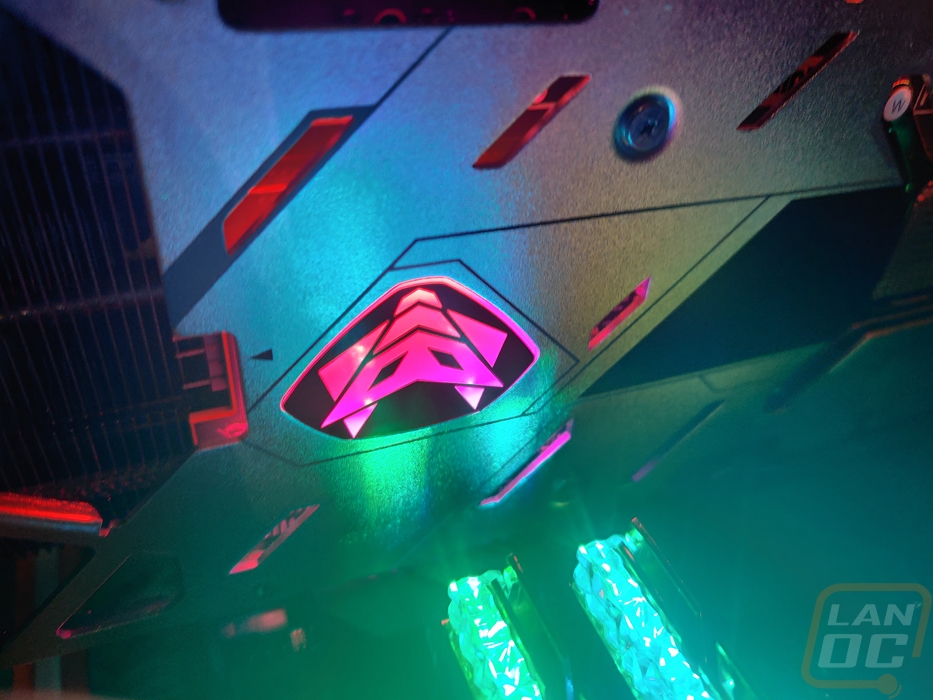
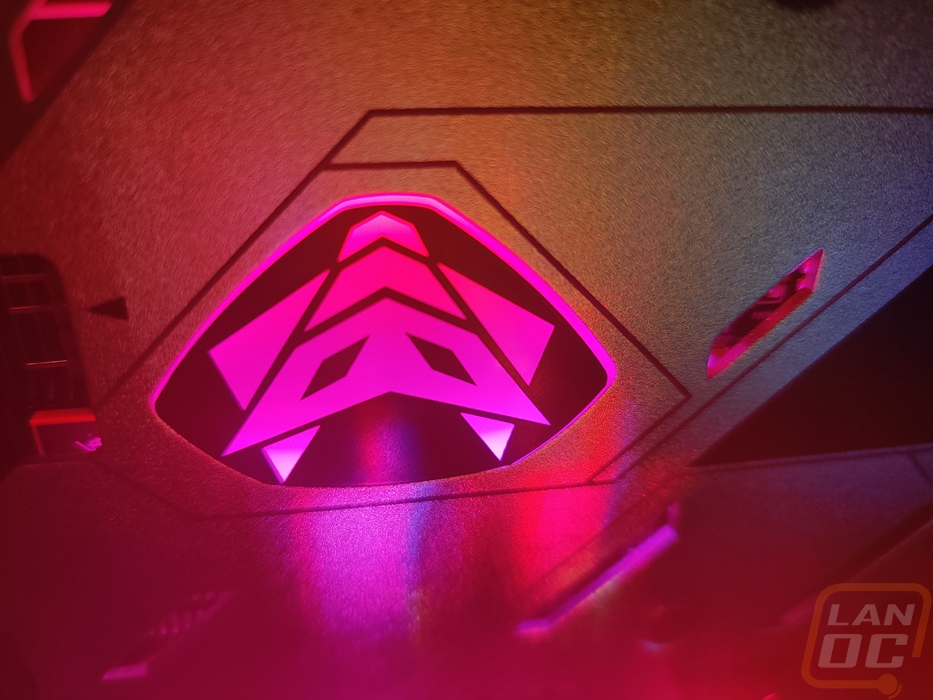
The back of the Nitro+ 6700XT has an all-aluminum backplate that goes the full length of the card, kind of. On the left side of our picture the end area past the end of the PCB is extremely open, Sapphire made sure all of the air that could blow through from that end fan would. The heatsink in that section also gets thicker as well, not down next to the PCB, but close. The rest of the back has other openings across it that are like small dashes as accents. Then there are a few larger openings up at the top. There is also a square opening down on the bottom right, this gives you access to voltage pads for overclockers to get accurate voltage readouts with a multi-meter. The Nitro+ logo over on the left is backlit and right next to it there is also a three-pin addressable RGB header. This header can be used with an accessory cable that Sapphire sells to hook it up into your motherboard lighting. This is a nice option for the addressable RGB lighting if the card isn’t supported by the main board companies RGB software. A standard addressable RGB cable with female plugs on each end should work if you can’t find Sapphire's specific cable.
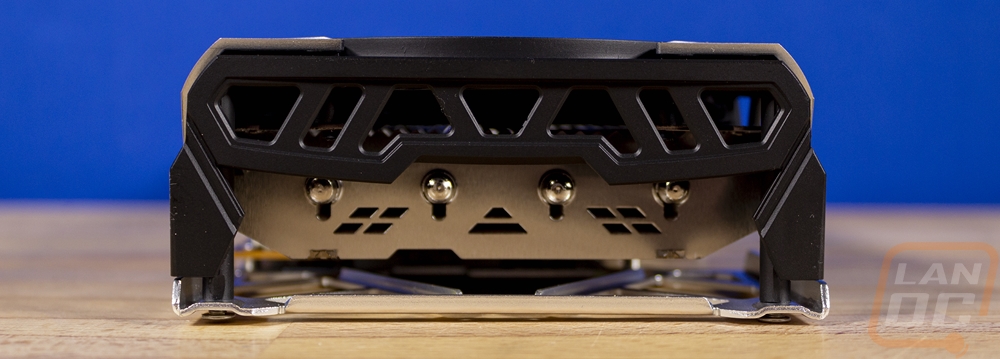
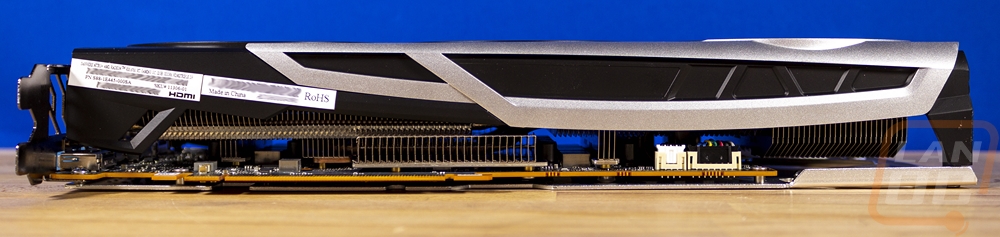
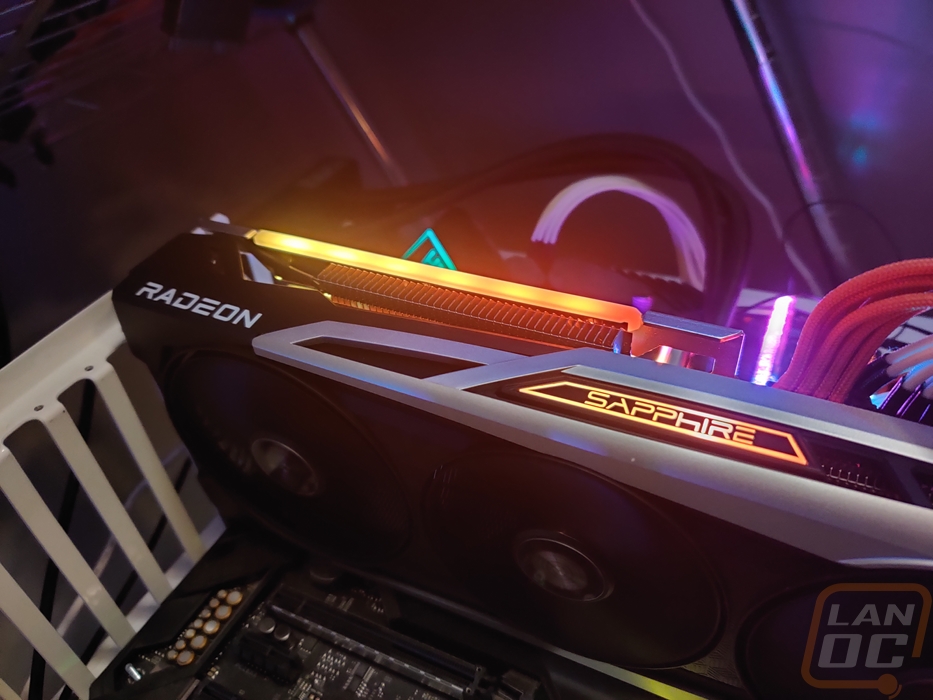
Looking around the top, bottom, and end edges we can see that Sapphire went through a lot of effort to shape their cooler around components on the PCB to pack as much cooling as possible into the card. All three edges are also surprisingly opening on these edges which helps the axial fan layout to push the warmed air out. For the bottom section that does mean it will be pushing warm air down against your motherboard, I would try to avoid putting an M.2 under or near the card. The top edge of the fan shroud has the Sapphire branding which is backlit by some of the cards addressable RGB lighting as well as the Radeon branding which isn’t backlit. I would normally complain about backlit branding because I'm not a big fan of the times square look with all of the RGB in a build just advertising brands. But Sapphire did at least put a long diffuser bar on the edge near the backplate that diffuses more aRGB lighting to even things out a little bit.
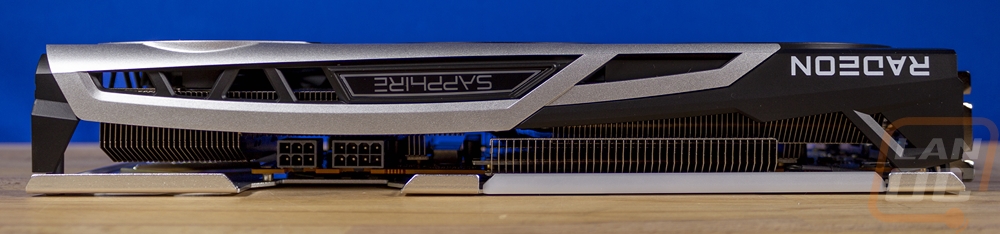
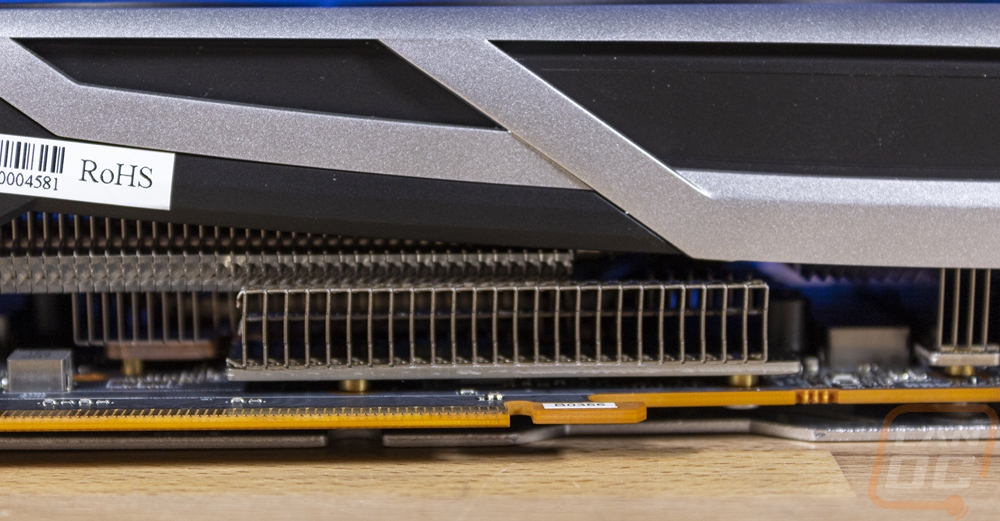
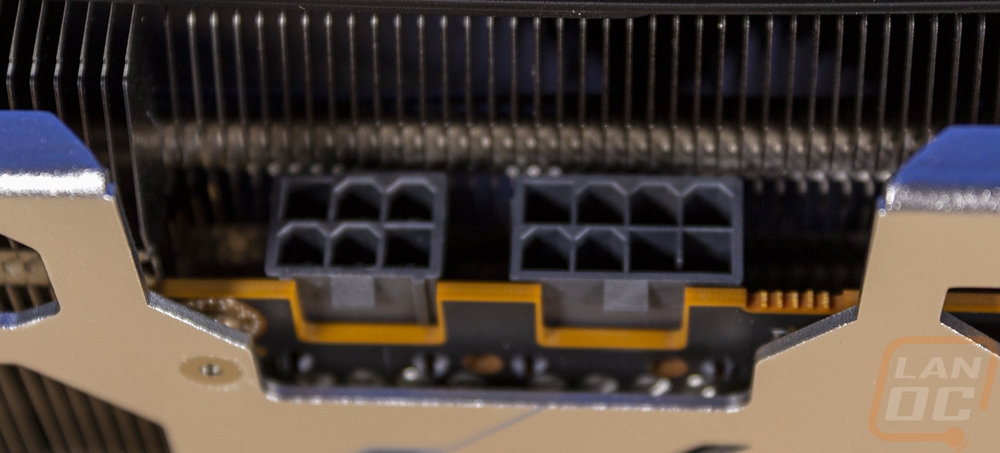
Also up on the top edge and one of the backplate openings is for the dual power connections the Nitro+ 6700 XT requires. You will need an 8-pin and a 6-pin to power things and Sapphire did leave room around the plugs to get them plugged in. They also have them recessed down closer to the normal PCI height where the PCB ends. This means some of the card's extra height is just taking advantage of the space it already would need for the plugs sticking out. This is a LOT better than tall cards that also put the plugs right at the top edge. Then towards the front of the card, another one of the backplate openings has a small switch exposed so you can switch between the dual BIOS as a safety when overclocking.

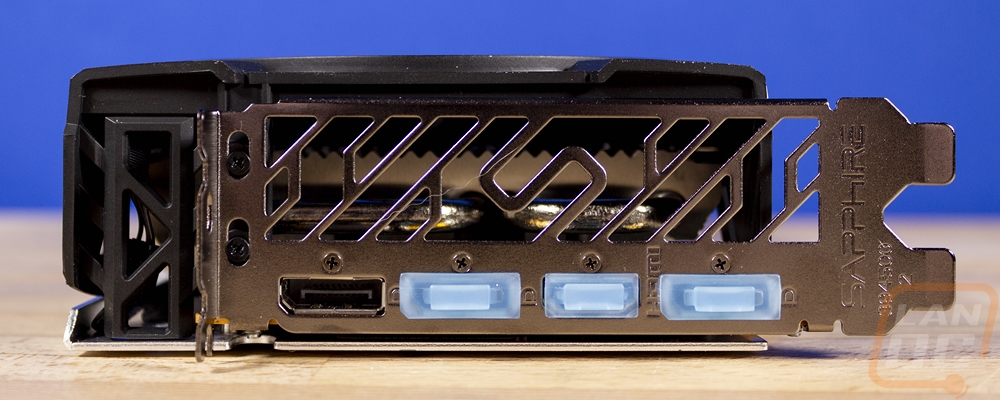
Down at the end, the PCI bracket has the Nitro+ 6700 XT’s four display connections. It has three DisplayPort plugs and one HDMI which is the standard these days. This also leaves a majority of the bracket open for extra airflow with a very generous opening that has a Sapphire S in the middle. The only thing down here that I wouldn’t mind seeing is the bracket itself being blacked out. It would match the card better and black PCI brackets match up better with most builds, making the card look integrated.
I also wanted to check out the RGB lighting before getting into performance testing as well. The top edge of the card looks good with the diffuser bar then there is of course the sapphire branding as well. It doesn’t reach crazy RGB levels because the diffuser bar only goes around half of the length of the card but it is enough that RGB haters may want to tone things down. Then on the backplate, the Nitro+ logo on the back is also lit up. But even more interesting to me is that all of those small accents cut into the backplate are also backlit. Overall I like that at least half of the lighting is focused on non-branding accents.

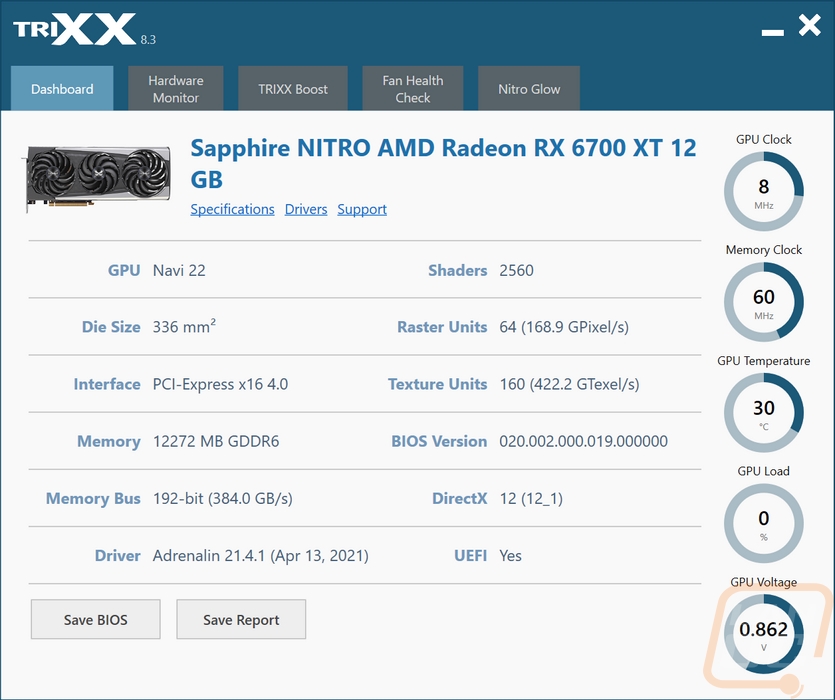
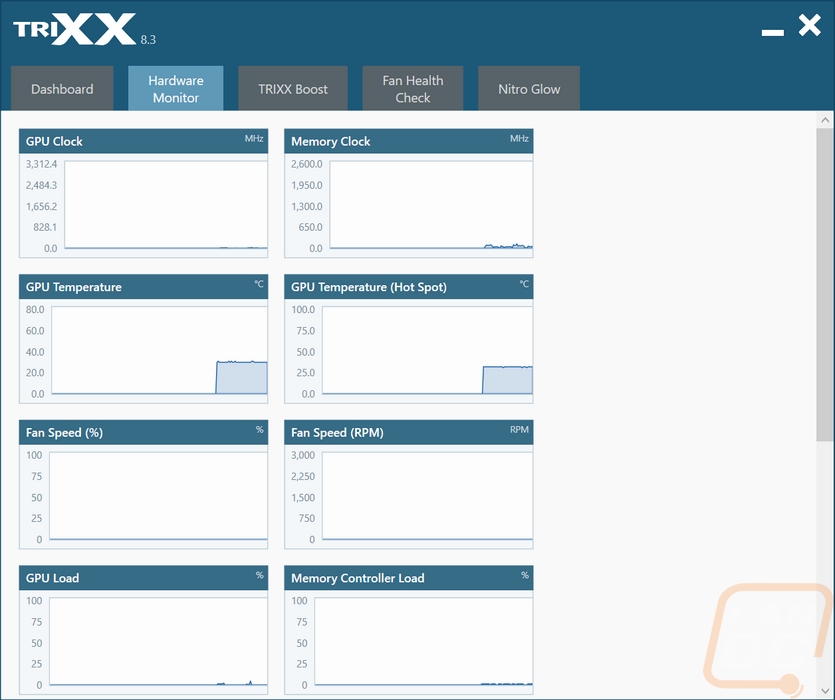
Now typically I don’t take too close of a look at software coming with video cards. Most companies are only changing things every few years. For this time around though it has been a long time and I haven’t seen Sapphires Trixx software which is now up to 8.3. The landing page lets you know about your card and even shows the driver information. You can also backup your vBIOS here as well and they have links to more card information, drivers, and support. Then on the right side, they show off your temperatures, load, clock speeds, and voltage. The second page is the hardware monitor and it graphs out the information from the first page and more. I want to point out that the fan speed for the fans aren’t registered even in Trixx as that comes up later in my testing.
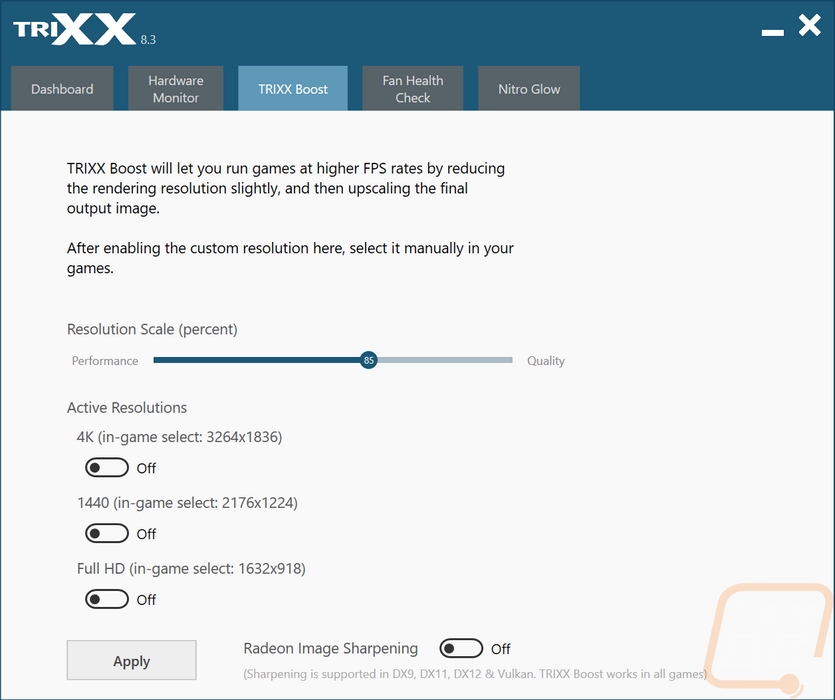
The Trixx boost page lets you edge out more performance by reducing your rendering resolutions and then upscaling to your output resolution.
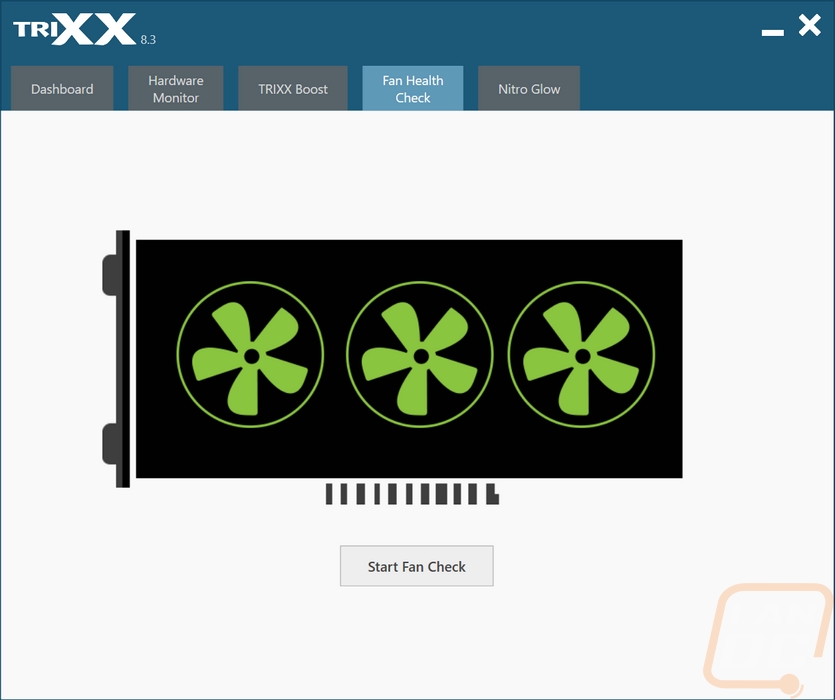
Trixx has an integrated fan check that will spin up the fans and let you know if you have any problems.
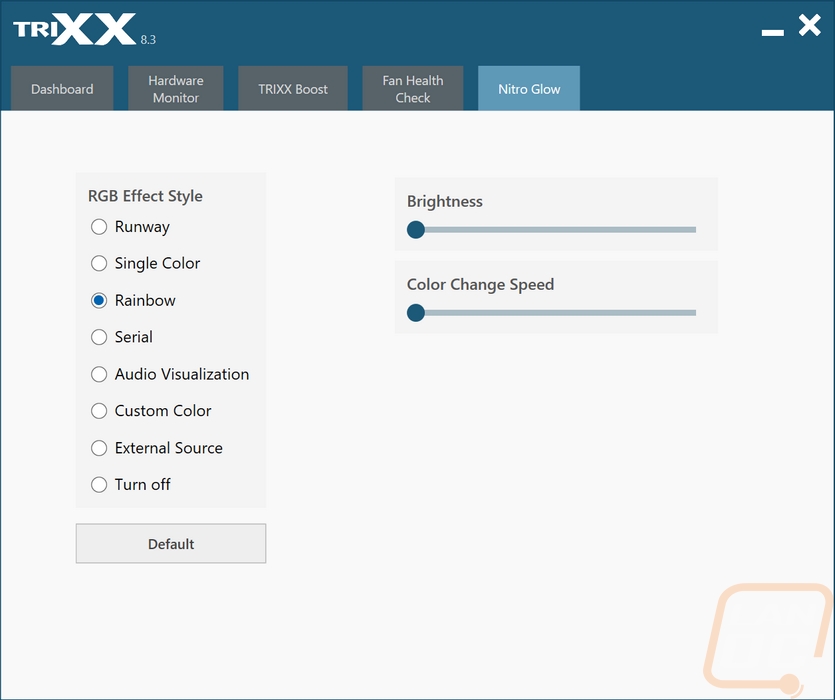
The last page is where I think most of you may spend a little more time. Without hooking your card up to your motherboard's extra aRGB header or if your motherboard supports the card natively you will need to get into here to control the RGB lighting. Or if you hate the lighting this is where you can turn it off. Sapphire has just a few effects, the Rainbow is the default. I personally like just setting a custom color. Sadly the backplate lighting and both of the top aRGB are all tied together so you can’t set them independently.