Card Layout and Photos
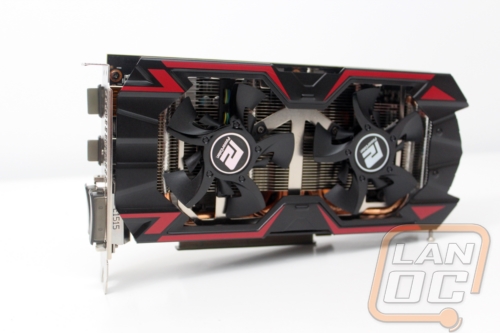
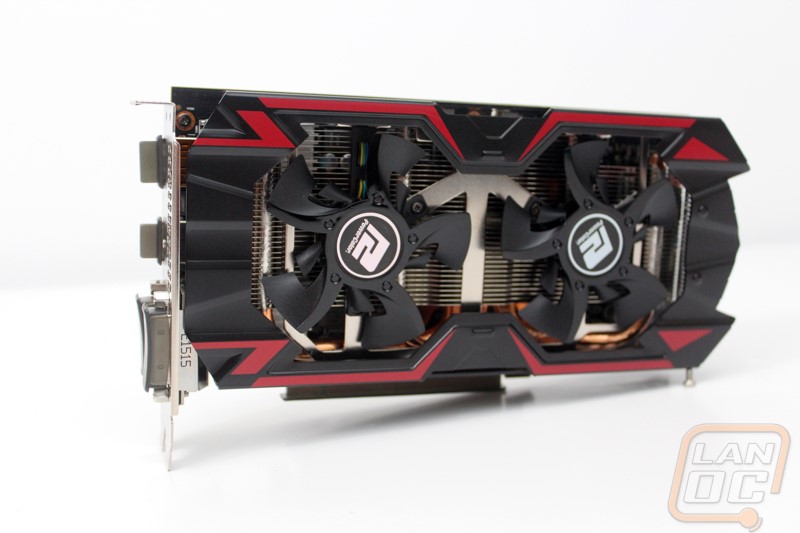
The PowerColor PCS+ R9 380 is an interesting looking card. For the most part a lot of the cards tend to all look the same but I can say for sure that this card looks nothing like them. Just the two fans alone are enough to set it apart. They seem to be missing every other fan blade but if you look closely the second blade is there but small and tucked up inside a knock out of the larger fan blades. The blades don’t look attached to a circle in the center as well, the middle of the fans actually looks to be part of the fan blades. The fan shroud is a little different as well. As regular readers might know I love metal fan shrouds and this card does have one. PowerColor stamped it out of steel and then finished it in a textured black with red stripes. By stamping the shroud out of metal they were able to do a design much closer to the plastic shrouds but with a little stronger design. The black and red theme isn’t different but the opening between the two fans is. Additionally the whole design is noticeably smaller in both height and width compared to the MSI 380. Next to each other they look like completely different GPUs, the PCS+ 380 is a lot more likely to fit in your small builds.
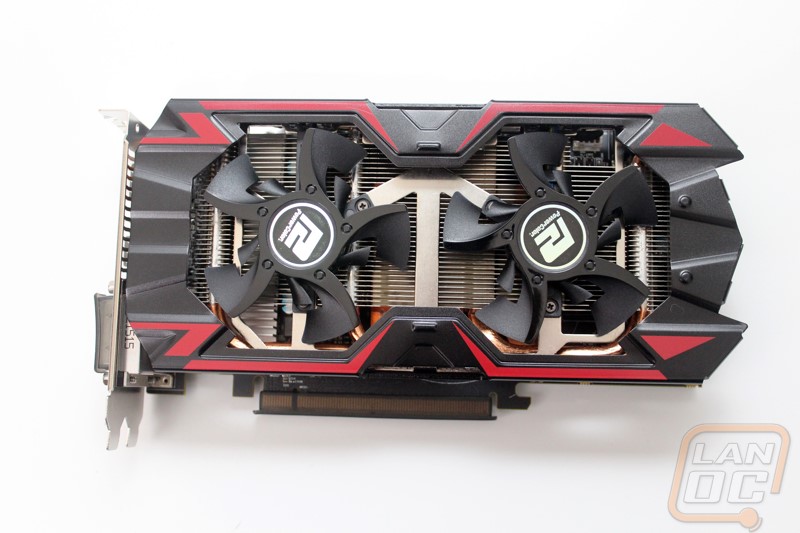
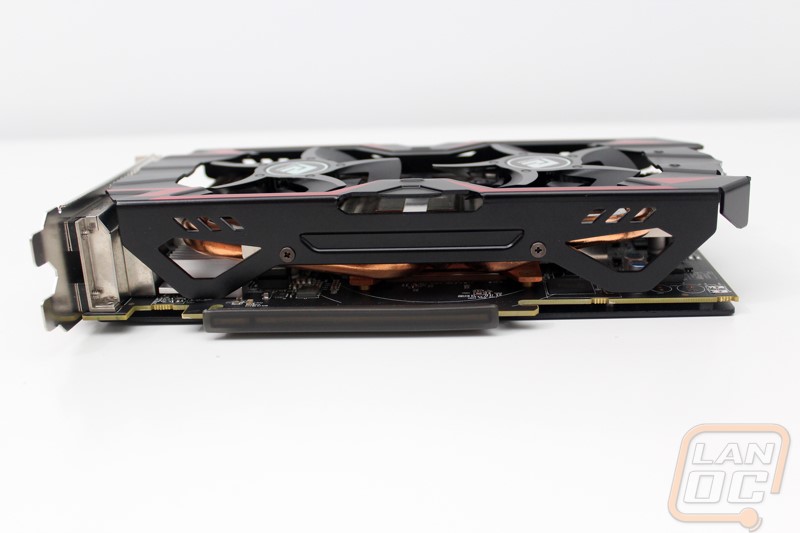
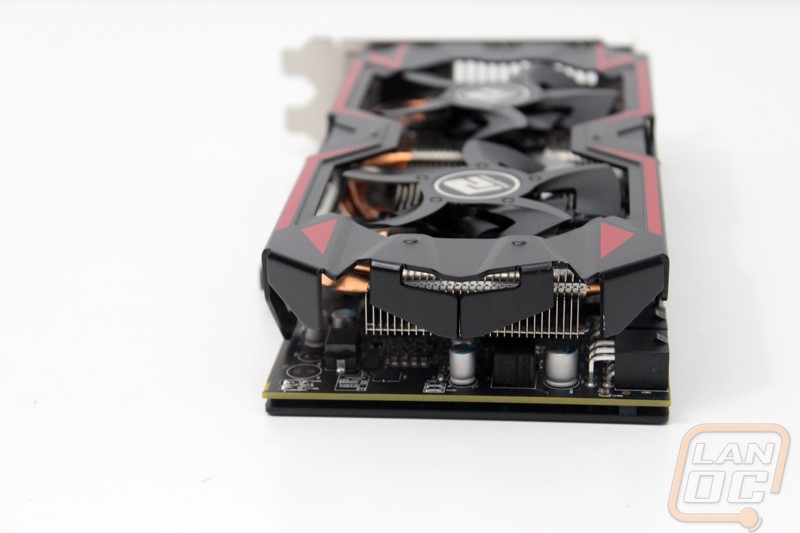
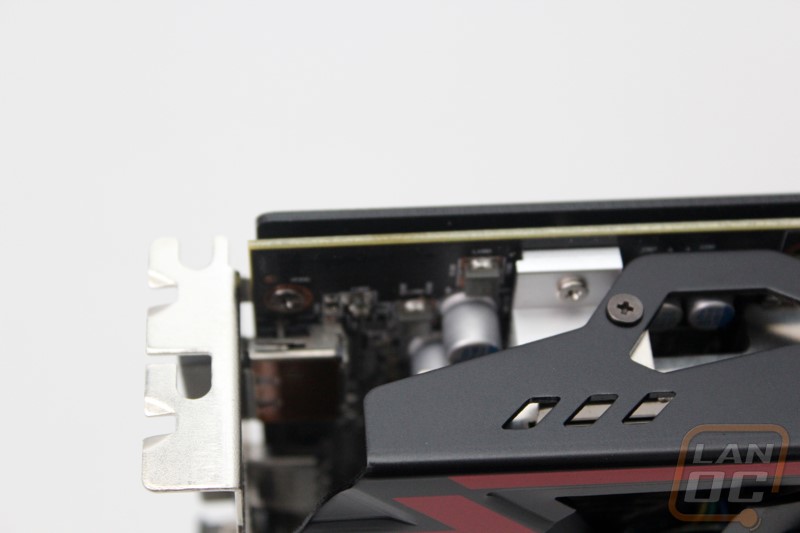
For a card that is relatively small I was surprised that PowerColor decided to pack the heatpipes in up under the fan shroud. In fact the heatsink is actually only about 2 and a half inches tall, the rest of the space under the shroud is taken up by the heatpipes. Given the smaller fans the small heatsink is about the right size for the fans though. The two fans blow the air down through the heatsink and across the PCB. From there the air does vent out every edge of the card. This means the warmed air will vent into your case but that is expected for cards with aftermarket coolers.
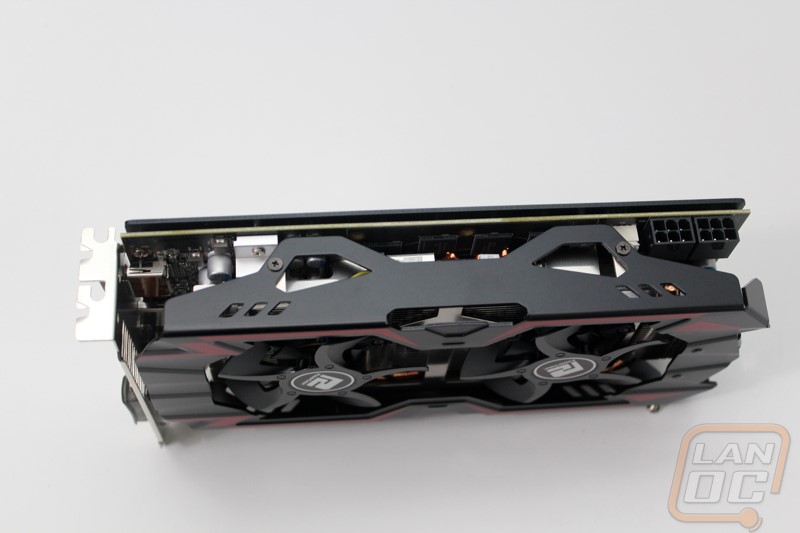
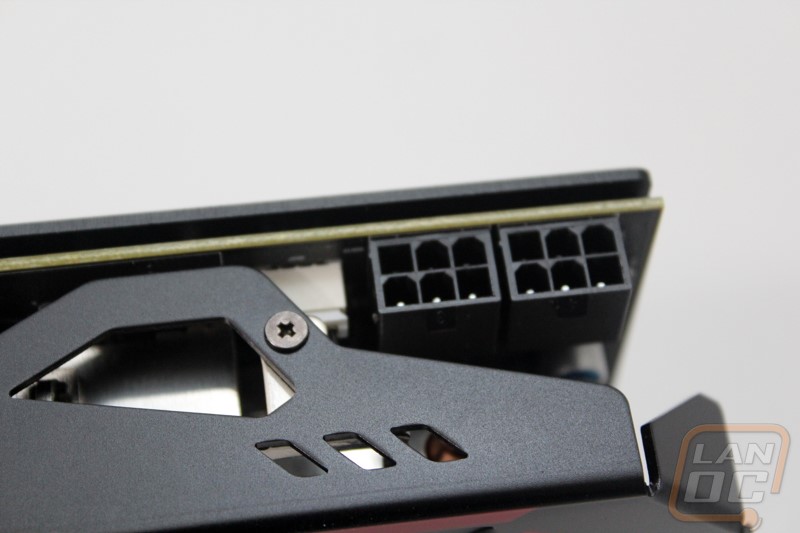
For power the PCS+ 380 needs two six pin connections to get everything powered up. This is the same as seen on other R9 380’s so no surprise there. The connectors are facing the normal direction and even though the fan shroud gets kind of close there is more than enough room to get your finger in there and unhook the cables.
The R9 380 doesn’t have a traditional Crossfire bridge, like the R9 290 they actually run the Crossfire through the PCI slot.
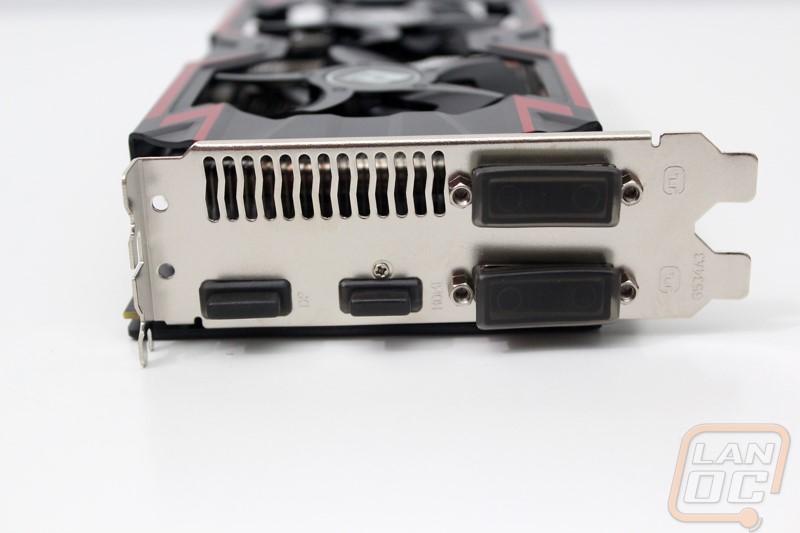
For display connections the PCS+ has the same options that the MSI 380 had as well. You get two DVI connections as well as a DisplayPort and HDMI both full sized. There is a small vent in the second slot as well for a little of the warm air from the card to vent. Most cards these days are going away from the dual DVI connections and moving to more DisplayPort connections so I’m always happy to see the dual DVIs, I know a lot of people haven’t even moved to HDMI monitors let alone DisplayPort.
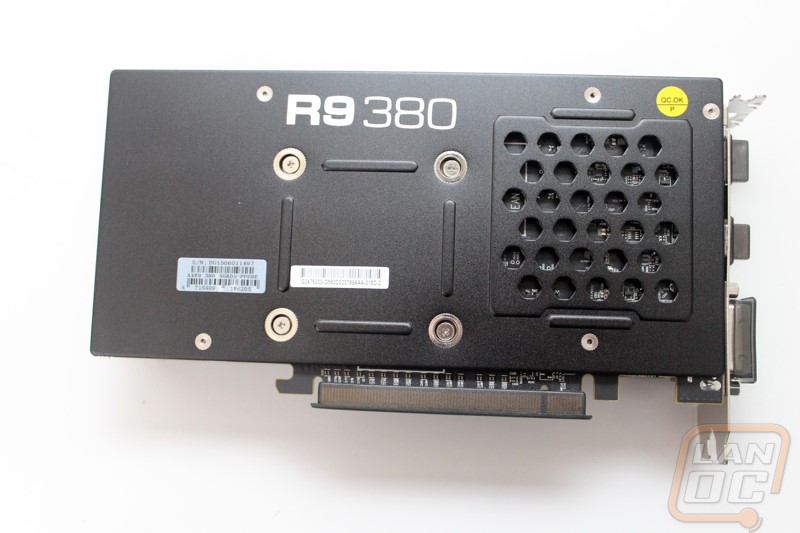
The back of the PCS+ R9 380 had a stamped steel backplate. This helps with the rigity of the card and prevent the PCB from bending over time but they are known for hurting temps. To help with that PowerColor did vent part of the backplate. The MSI 380 had a backplate as well but it was machined aluminum, its vents were on the end towards the power circuity, I’m curious if the location on this card will help or hurt cooling. The backplate also has the serial number and model number on it to make it easier to find those if you ever have to RMA. They also included the R9 380 logo on the backplate although I would have preferred the logo to be flipped around so that you can see it when the card is installed.