Card Layout and Pictures
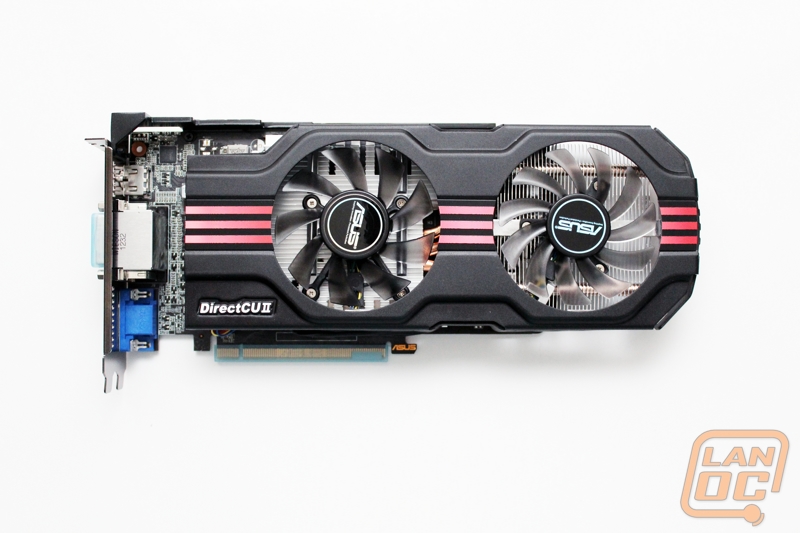
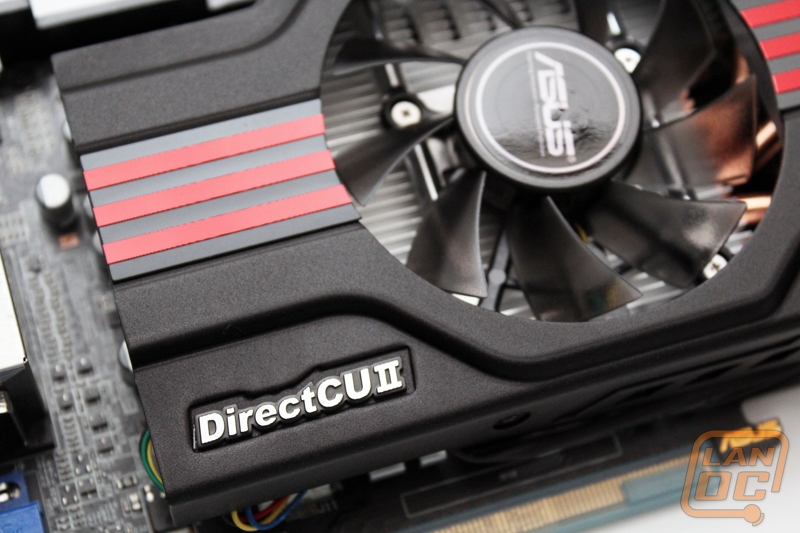
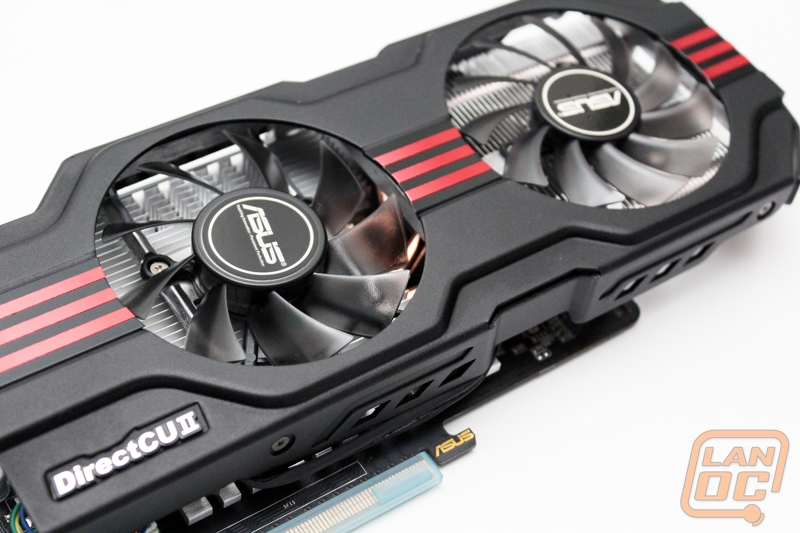
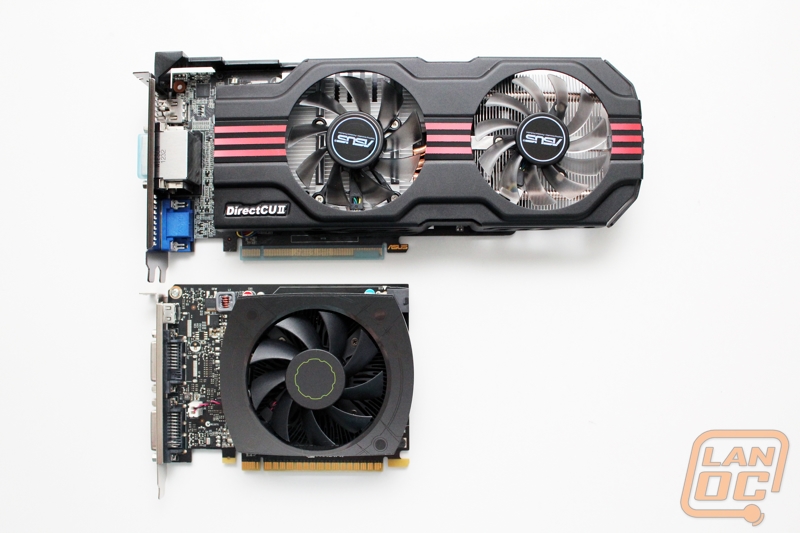
I love that Asus doesn’t try to pack graphics all over the GTX 650 Ti DirectCU II TOP. The card also lacks any bright colors that might affect it matching the styling on your builds. They went with a black and red design with the black having a heavy duty texture that looks great. The black fan shroud surrounds two 9 fin cooling fans. Each fan is smoke in color to match the shroud while still letting you peak past to the heatpipes and heatsinks underneath.
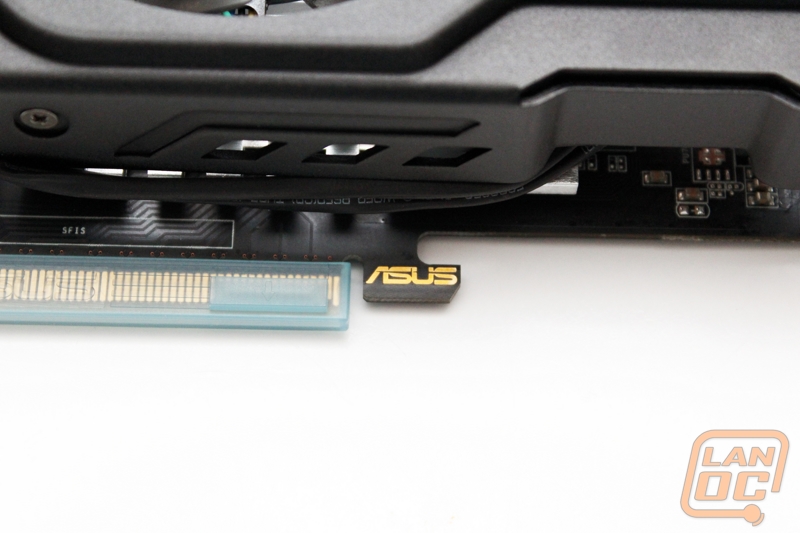
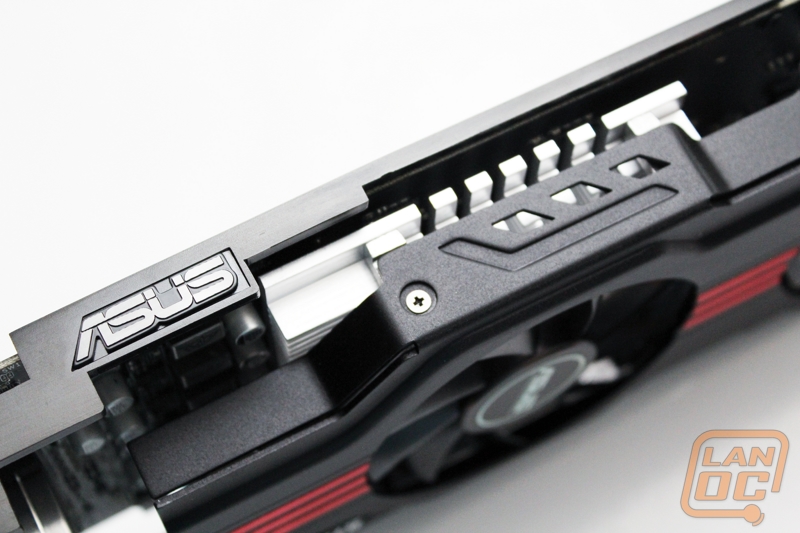
It’s a very small touch, but I love the gold Asus logo right on the PCI Express slot lock.
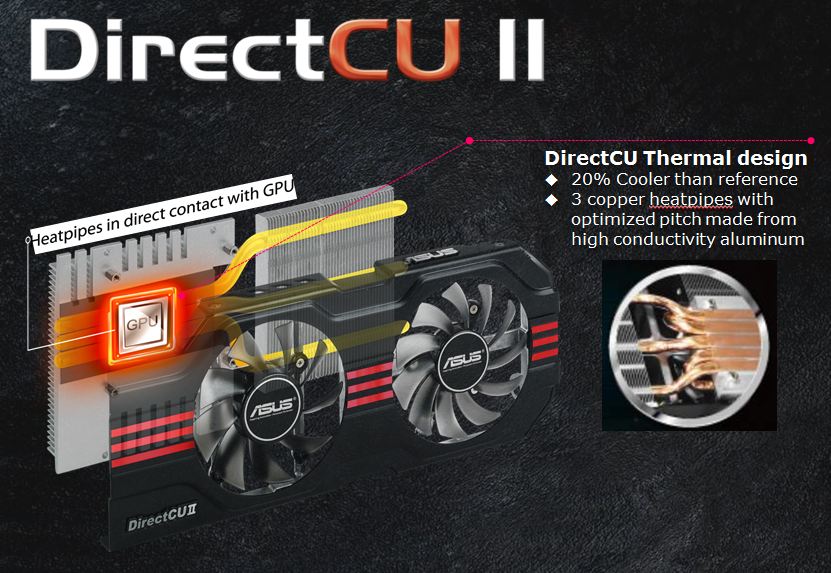
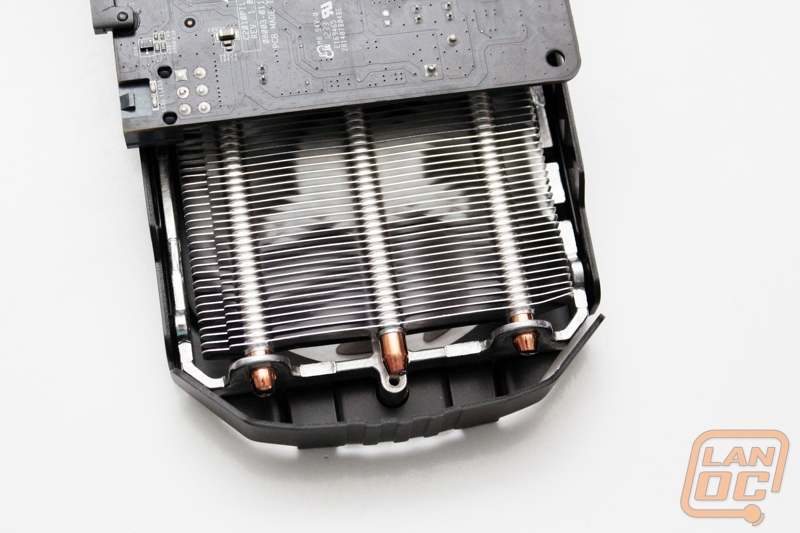
Asus’s fan shroud is a unique design that when combined with the support bracket looks great on top. It is a little weird that there are two Asus logos; personally I would have preferred that one have the card’s model name or maybe the DirectCU II logo. From the top you can also see that Asus didn’t go with anything like the reference cards cooler that looked a lot like an Intel CPU heatsink. The Asus card has a large machined aluminum block with heat fins cut out of it on top. Internally Asus has flattened the copper heatpipes and put them directly on top of the GPU as well, pulling the heat right out to the second half of the heatsink. This is their DirectCU II design.
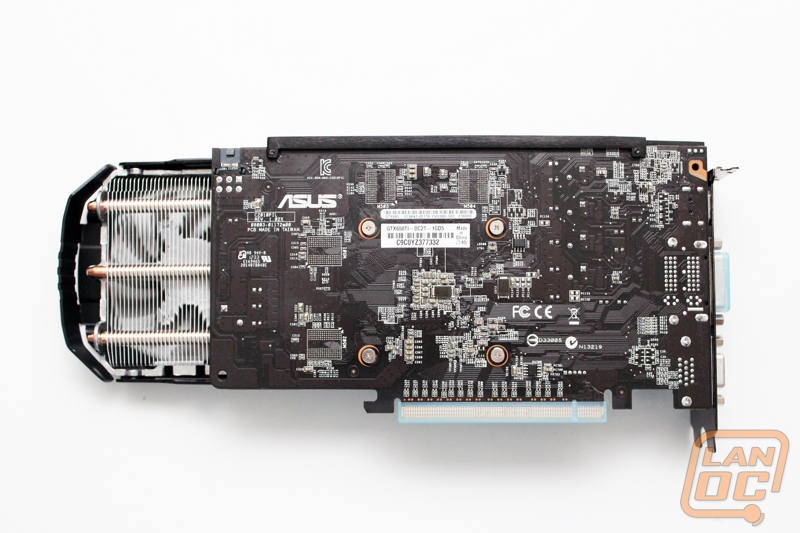
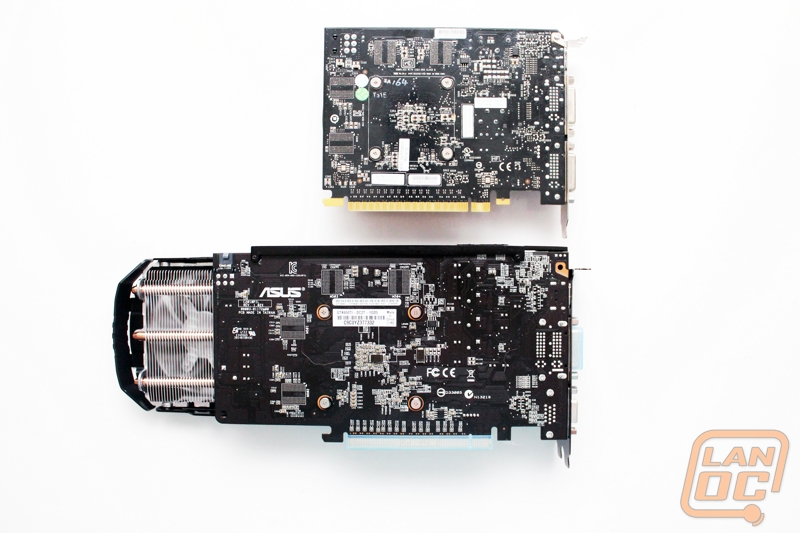
Flipping the card over is where it gets really interesting. Much like the GTX 660 and above, this card has a heatsink that hangs past the PCB considerably. In this case you can see through the heatsink to the fan from the back. This means the second fan is actually blowing the heat up and away from the card. From the back here you can also see that Asus went with a nice black PCB to keep the style of the card consistent. You can see that the heatsink is attached in six spots total. There are the four key mounts around the GPU and then a support beam across the top as well. Something else very interesting to me is the cards power connection. If you look closely you can see that the 6 pin connection is completely flipped from how we would normally see it. There is a cutout in the PCB for the hold down clip that would normally face the other direction. This keeps the connection flat against the PCB, giving more clearance for the heatsink.
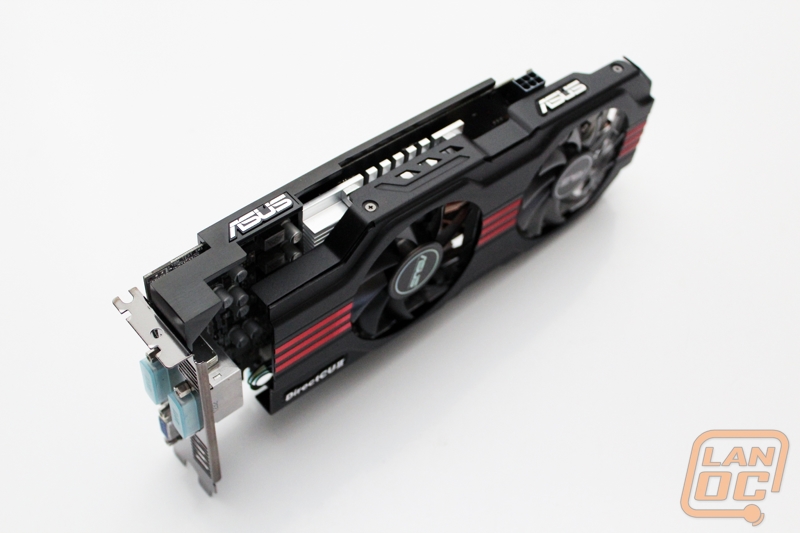
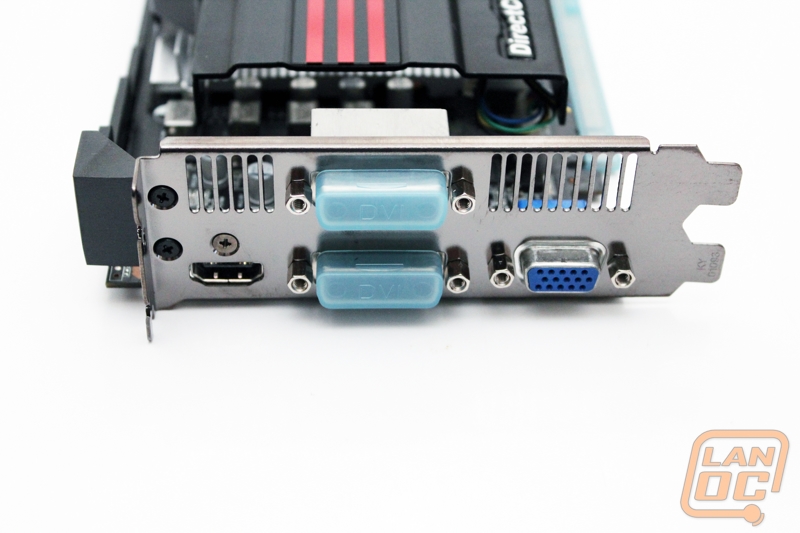
Unlike our reference card, the DirectCU II TOP is officially a dual slot card. This allows a little more room for connections that the reference card didn’t have. Interestingly enough, being a lower budget card, Asus decided to include a VGA port on this card. I think this is a good choice, a lot of people with lower budgets are still running VGA. If this was a GTX 670 or GTX 680 I might look down on including VGA, but this was a good call at this price point. You are still getting the came two DVI ports as the reference card and even an HDMI port. Unlike the reference card though, the HDMI port is full sized on the Asus card. I think everyone can appreciate that!
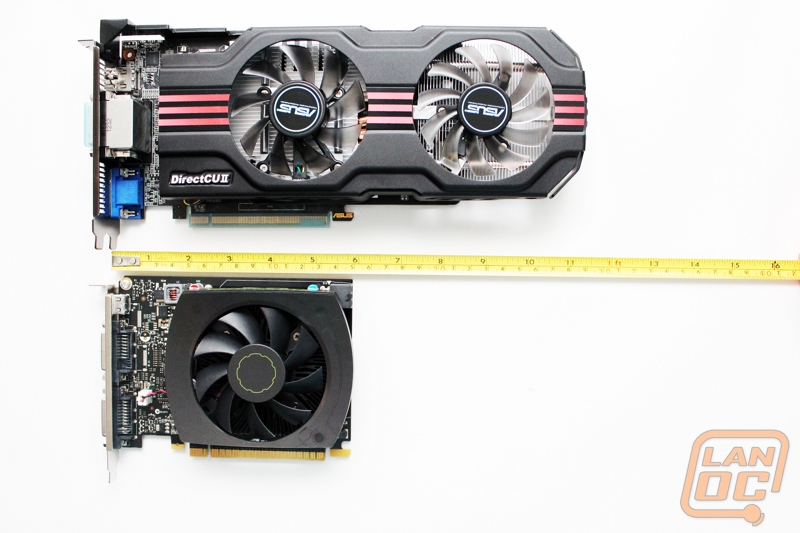
It is painfully obvious when you put the card up next to the reference card that it is huge. Even more importantly, it’s not just the heatsink that is making it so large. As you can see when the cards are flipped over, the PCB is much longer as well. Poking around on the card I see nothing noticeably different between the two PCB designs other than the obvious length. The trace routes showing on the outside layer of the PCB show a very clean and organized layout when compared to the reference card. The additional room gave them a chance to clean things up; this is a nice little touch. Everything important is in the same spot other than stretching them out slightly for additional length. This added length plays a role in making sure they can fit the largest heatsink on the GPU itself but moving the 6 pin power connection farther out and out of the way.
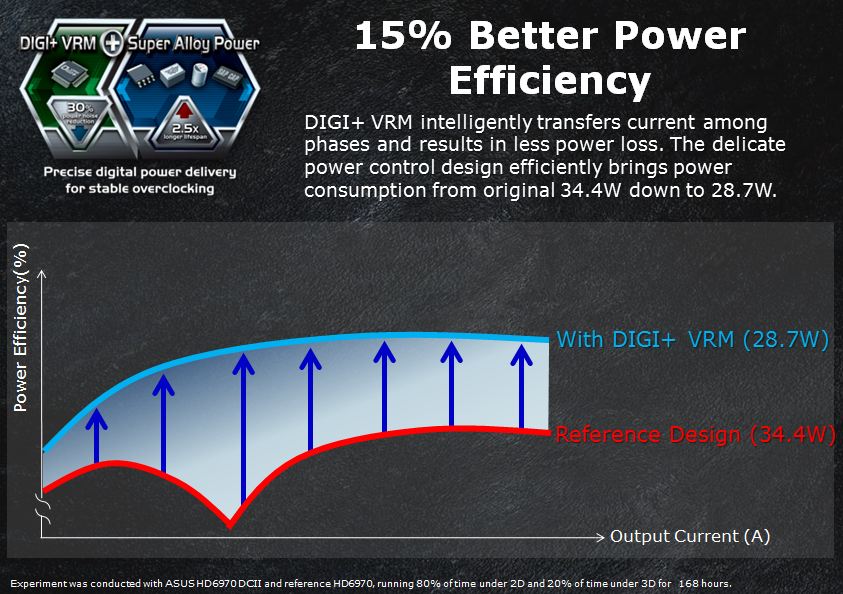
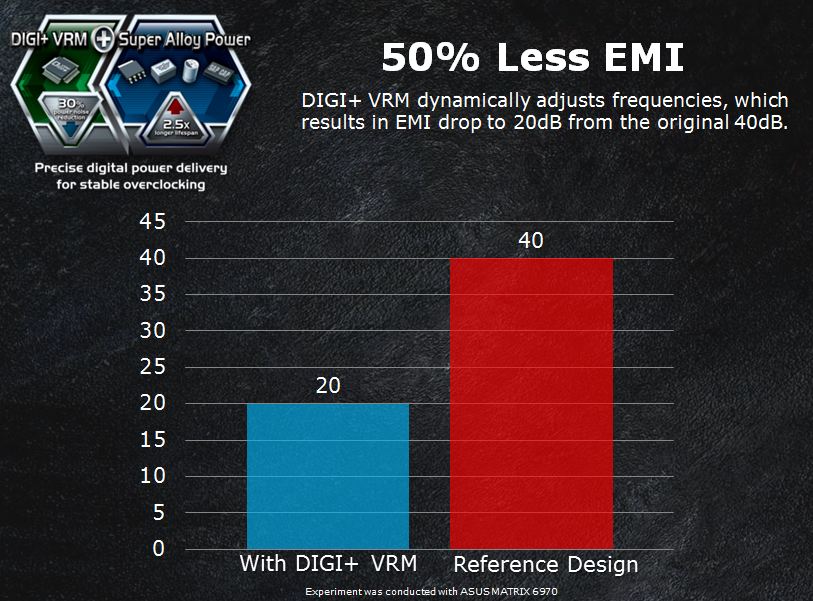
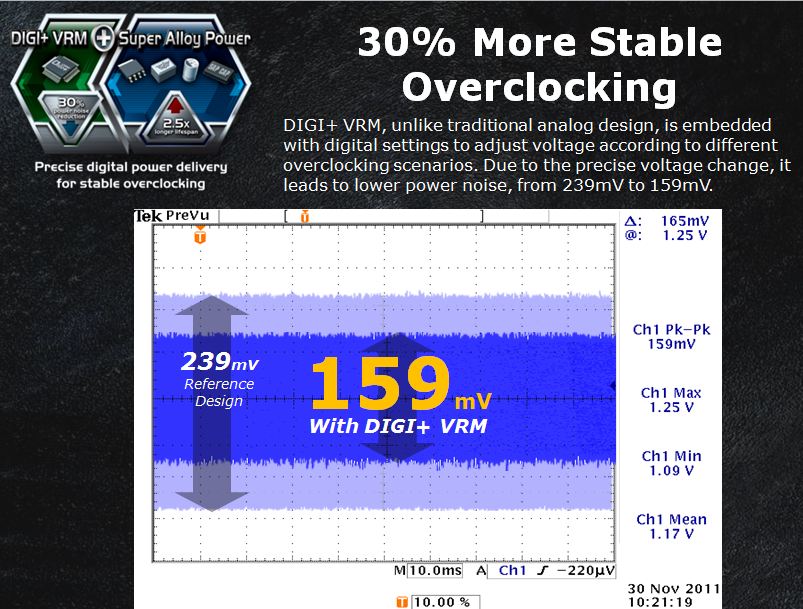
What you can’t really see in our photos, and what really makes the Asus card special is their inclusion of a DIGI+ VRM as well as 4-phase Super Alloy Power. Their improvements here will help with overclocking, overall temperatures, and lower EMI. In Asus’s testing they were able to lower the power noise on their test card from 239mV’s to 159mV’s when switching from a traditional VRM to their DIGI+ VRM.
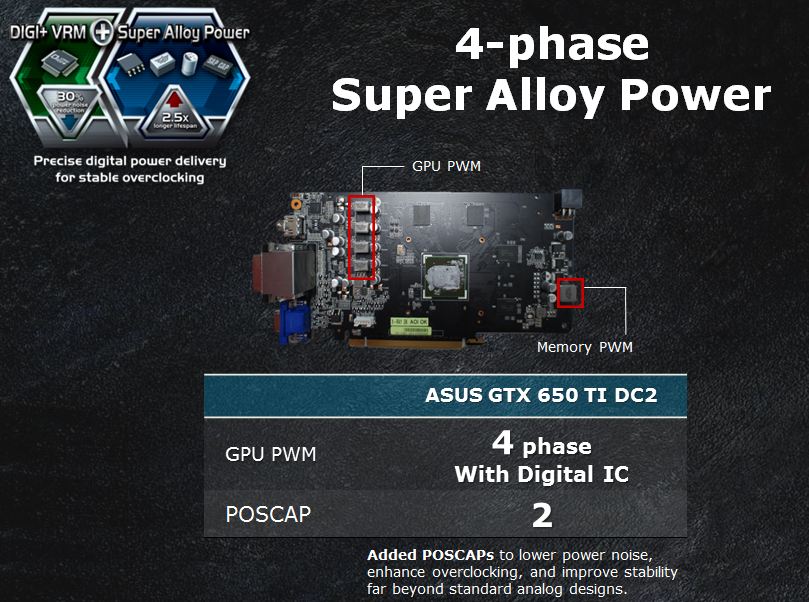
Where the DIGI+ VRM really helps is improving the power control. This is how they are able to keep temperatures down more. When you can cut out 6 watts of power usage you are making the card more efficient and lowering the overall heat output.