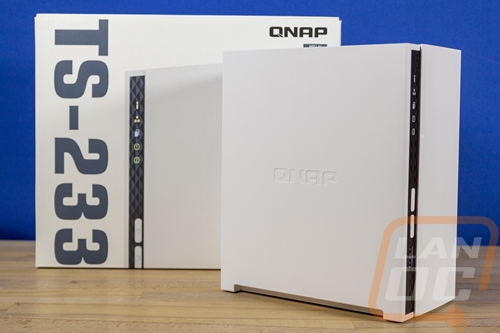
Photos and Features
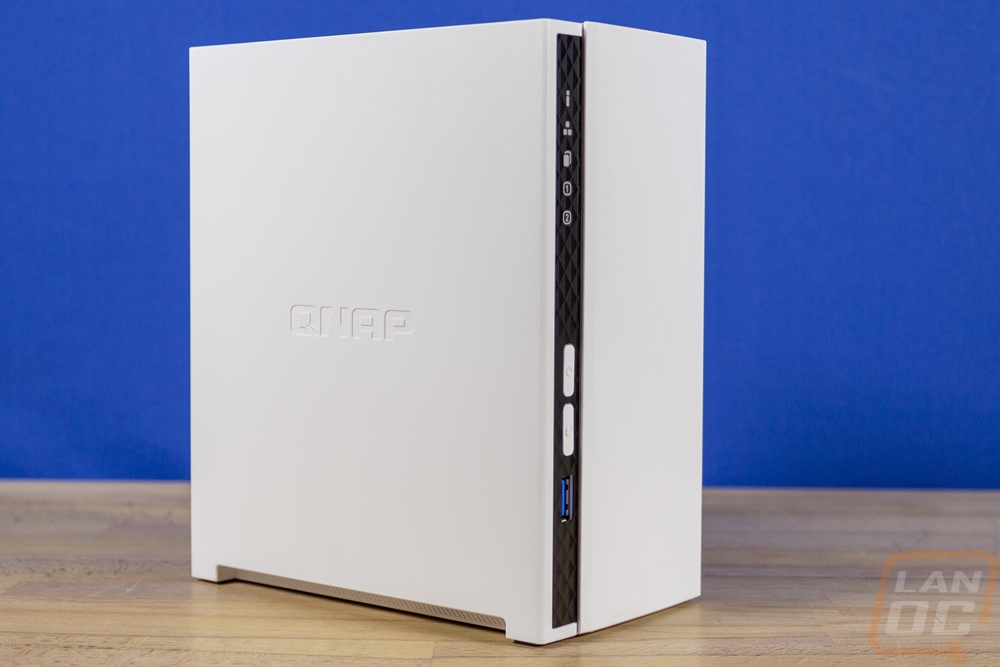
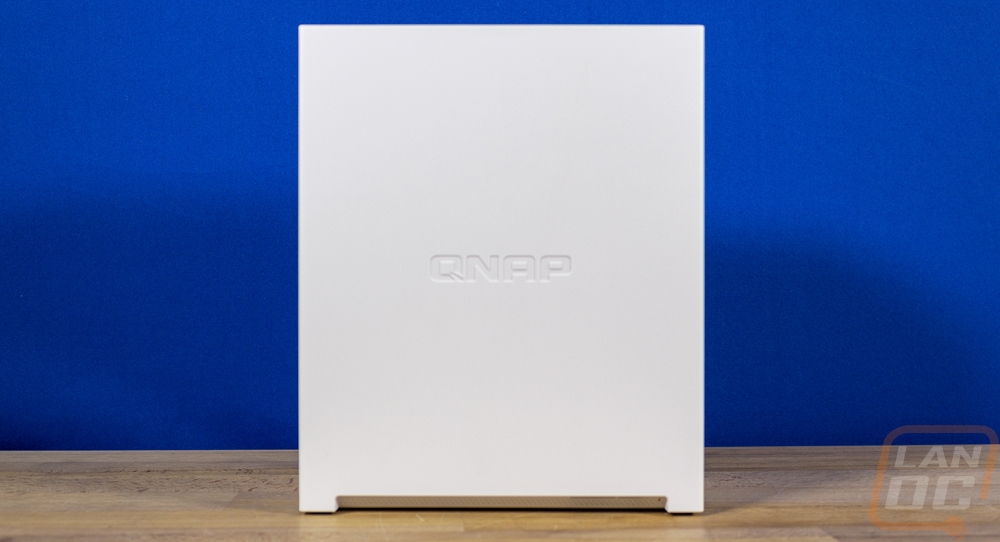
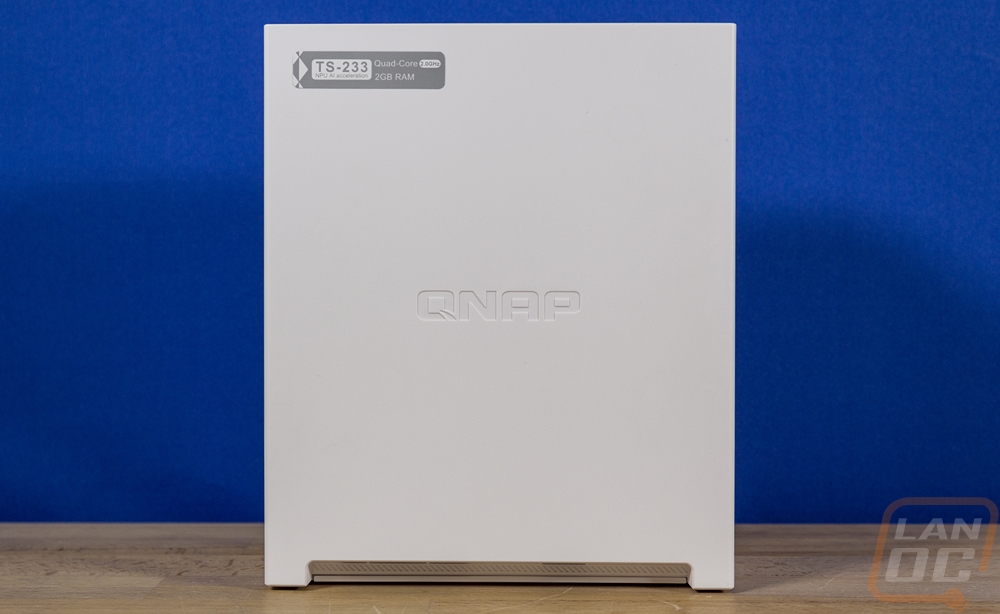
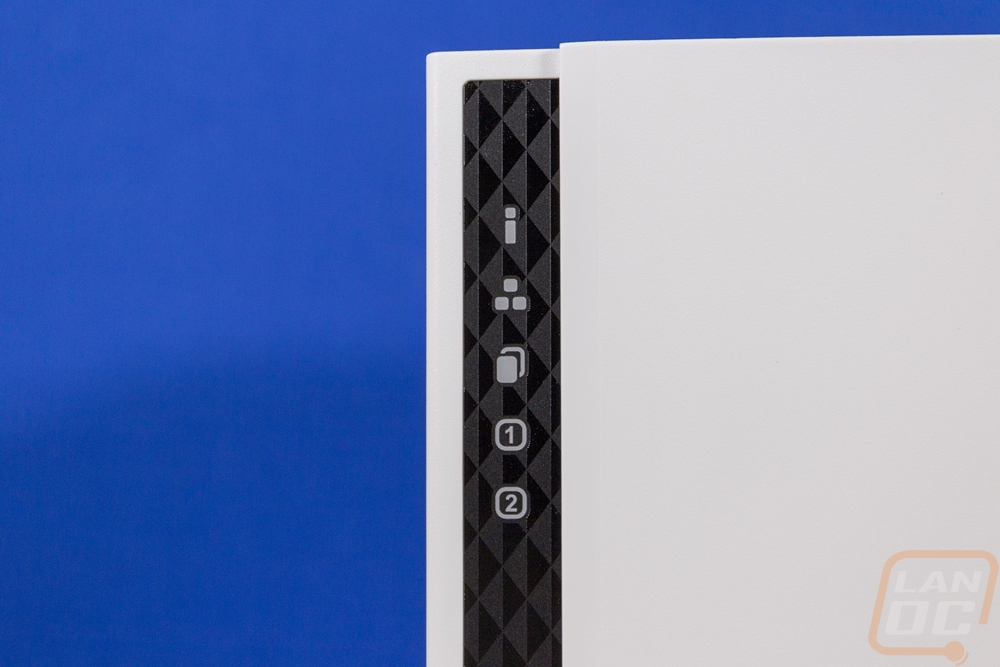
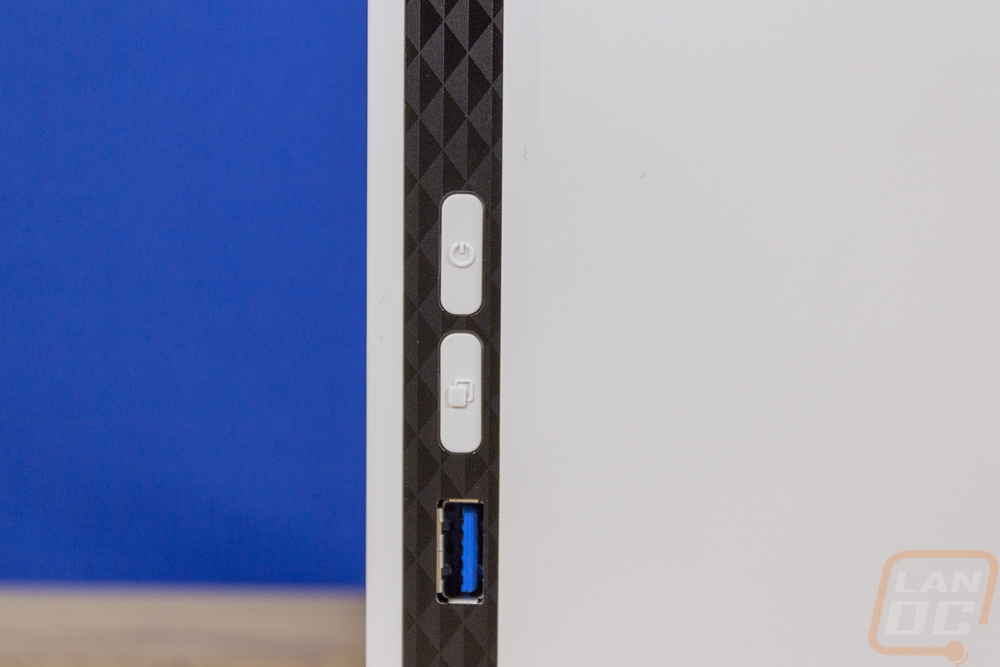
A lot of NAS have that same black box look with exposed bays but with the TS-233 you can tell that Qnap is expecting this to be used in a visible area in a home, not a closet hidden away somewhere. The TS-233 has a bright white finish with the Qnap branding on the side. Then the front has a black accent strip which has a quilted pattern which has the power button, the status indicators, the quick copy button, and a front USB 3.0 port. There aren’t any visible drive bays which also means nothing a kid could walk up and pop out unexpectedly.
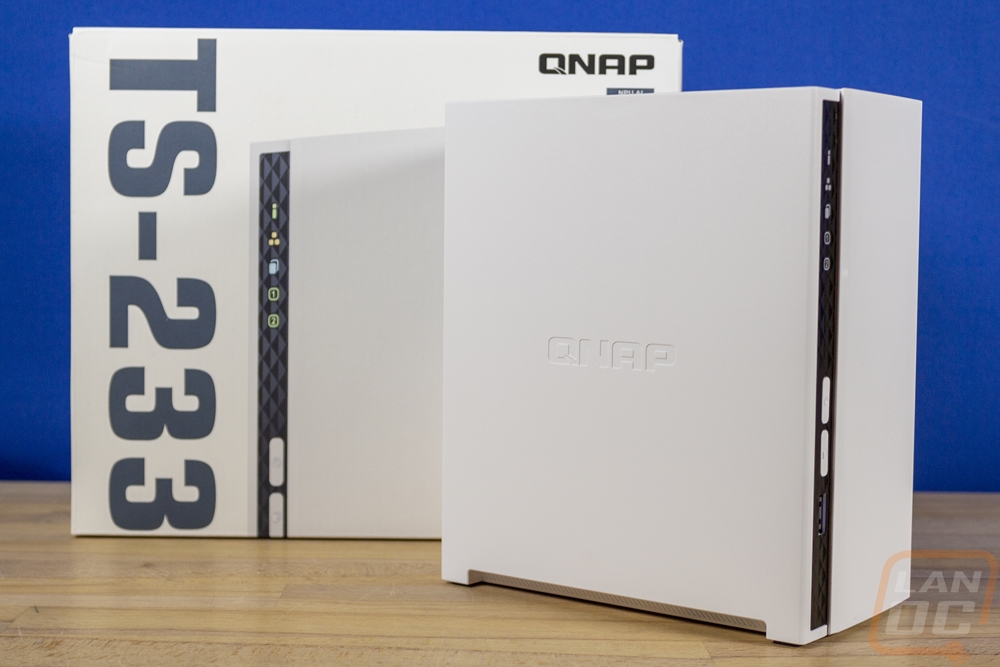
The TS-233 isn’t tiny, but being a 2-bay NAS it isn’t large as well. It is 7.43 inches tall and 6.15 inches deep and just 3.55 inches wide. Like I said before it seems to be designed to be visible in your house and at this size, it still isn’t going to be too in your face and frankly at about twice the size of a modem or router without the antennas you could tuck it away anywhere in your office or entertainment center without problems.
Both sides of the TS-233 are bright white and have the Qnap logo debossed into the center. The right side does also have a grey sticker with the model name and letting us know this has a quad-core 2.0 GHz CPU and 2GB of ram.
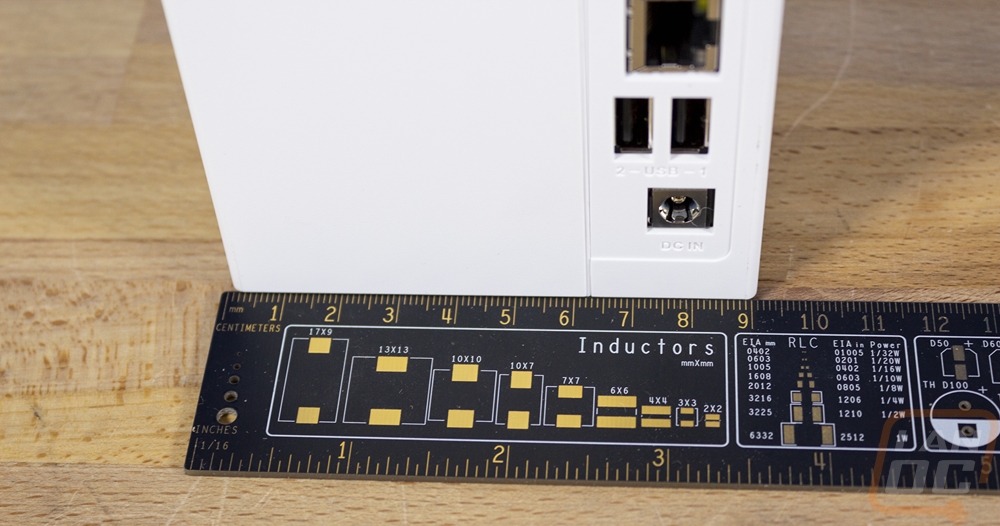
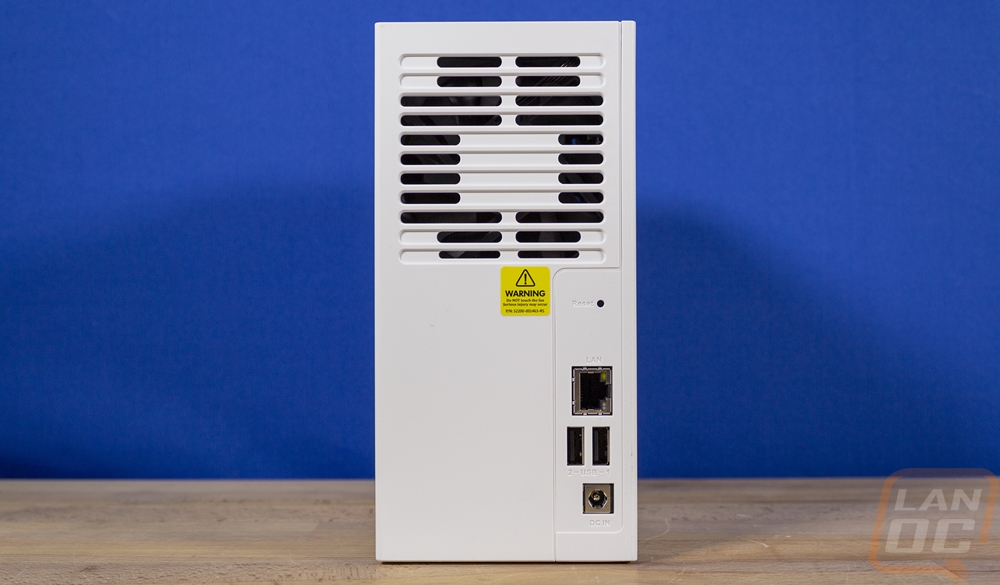
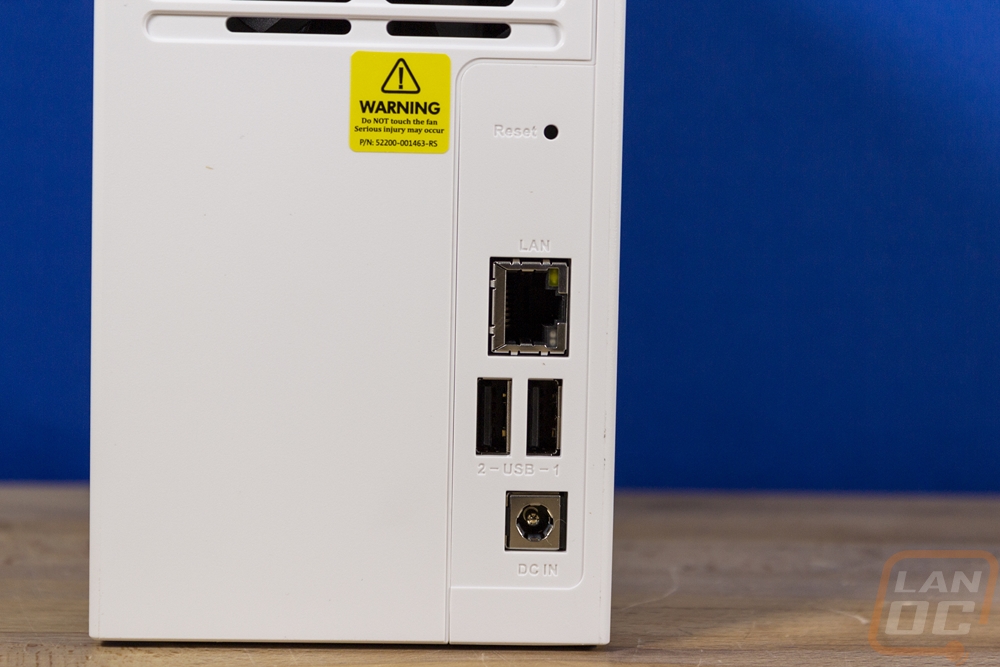
The back of the TS-233 has a large vent in the top half for the NAS’ only fan which also comes with a yellow warning sticker letting you know to not touch the fan. Below that on the right side is the rear I/O. At the top is a pinhole opening for the reset button. Below that is the network port which is a gigabit NIC. Below that there are two USB 2.0 ports and at the bottom is a 12v DC in power connection.
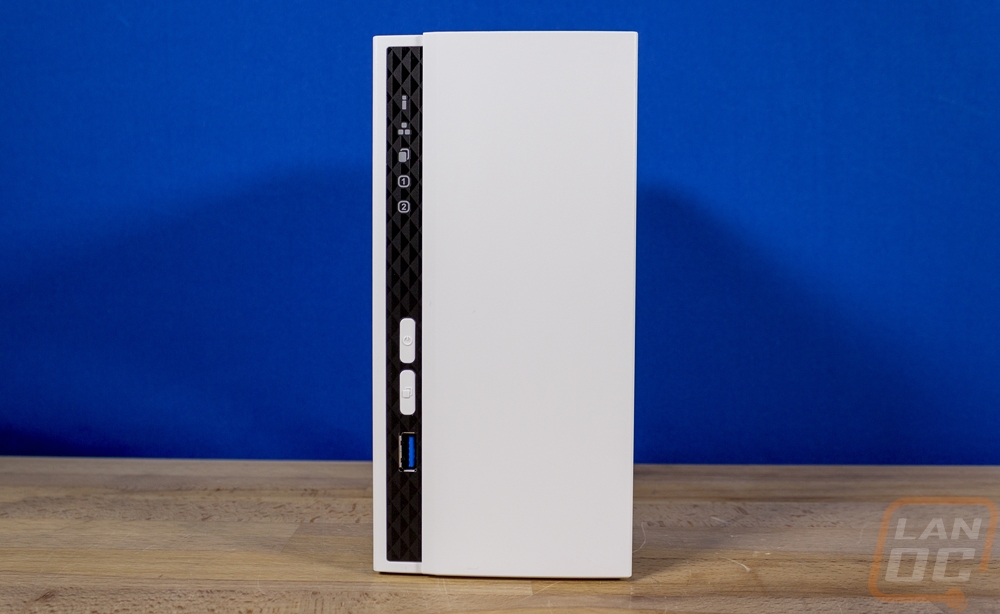
The front of the TS-233 has a black stripe going up the left side of the front which has a diamond design texture to it. Up top the black stripe has the status LEDs with the first starting at the top for power, the second is network activity, the third is status for the one button copy function, then the last two are hard drive activity indicators for both drive bays. There are two white buttons, the top is the power button and the bottom button is the one push file copy button. This works with the USB 3.0 port on the front for quick copying files from an external USB drive or hard drive.
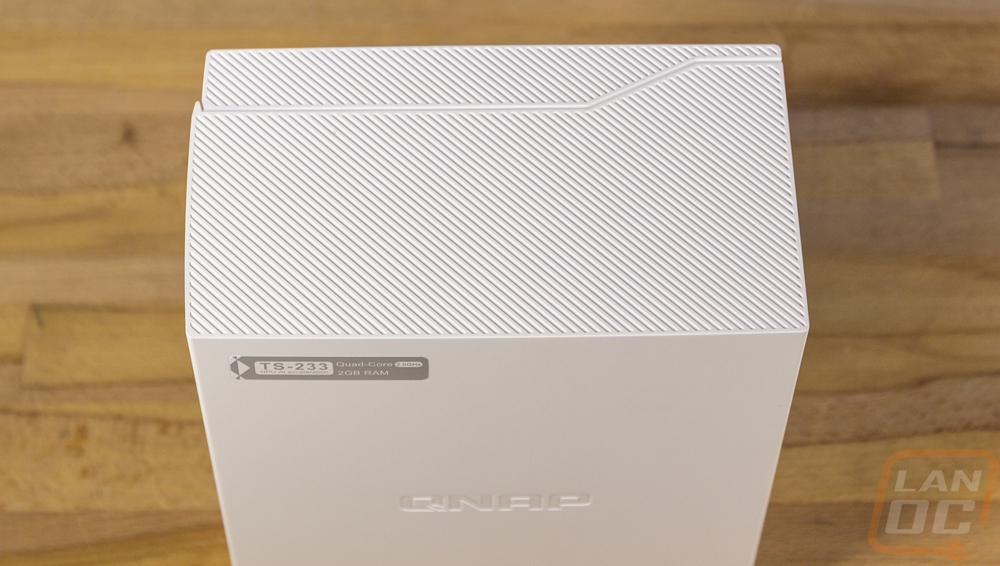
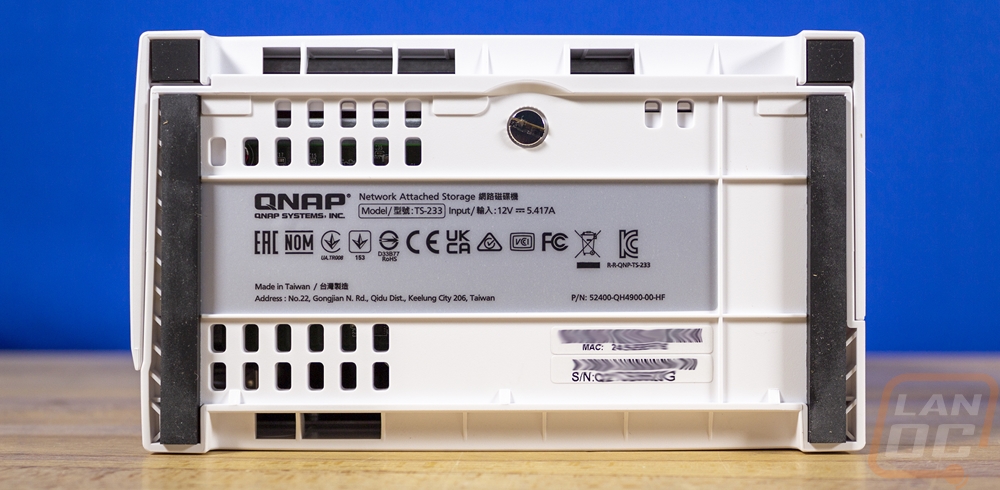
The top of the TS-233 continues the white and has an angled line design in it but there isn’t much else going on. The bottom of the TS-233 on the other hand has a lot going on. For starters, you have long rubber feet on both ends of the NAS. There is some ventilation on the left and then down the center is a silver sticker which has all of the certification logos and the model information. Below that there are additional white stickers that have the mac address and the serial number. Then up near the top, there is a single flathead screw that holds everything together.
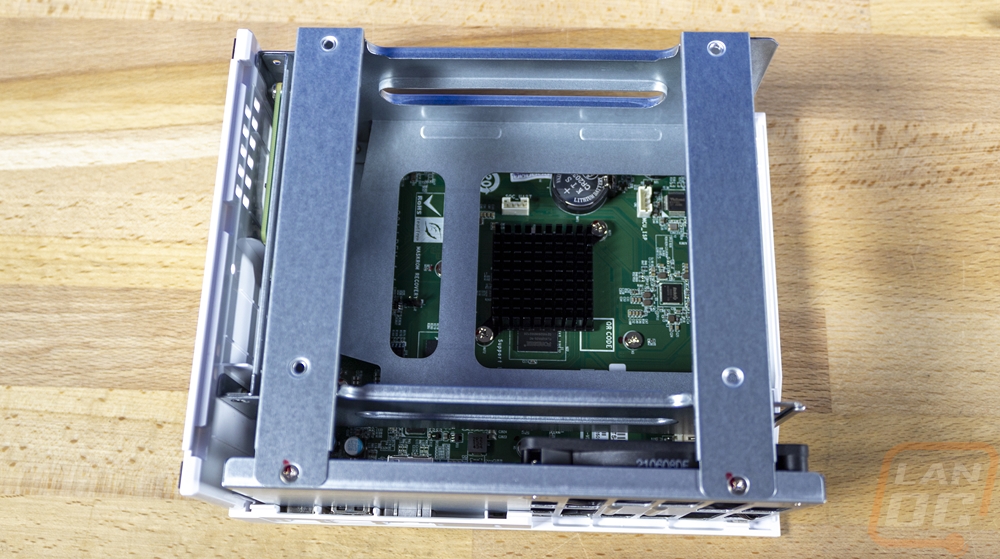
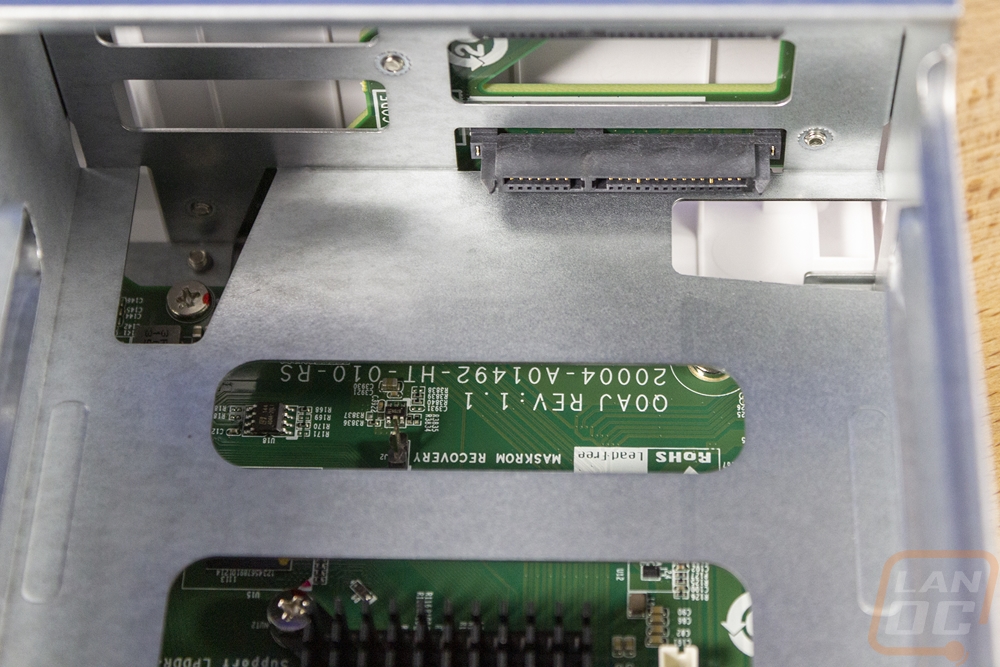
With the two drive bays being hidden you do need to get inside the TS-233 to install your drives. It also gives us an excuse to peek inside as well. To get inside you have to remove the slot headed thumbscrew from the bottom. Once that is out half of the case will slide half an inch and then lift off. This exposes the metal frame which holds everything together as well as the one cooling fan at the back of the TS-233. The fan is an 80mm fan and it is positioned to blow sideways across the two drive bays and to give a small amount of cooling down below the hard drives for the Cortex-A55 2.0GHz processer which has a half inch high heatsink on it in the middle of the PCB. The two bays have a small riser PCB that handles the SATA data and power connection. For future reference, our TS-233 has revision 1.1 on it.
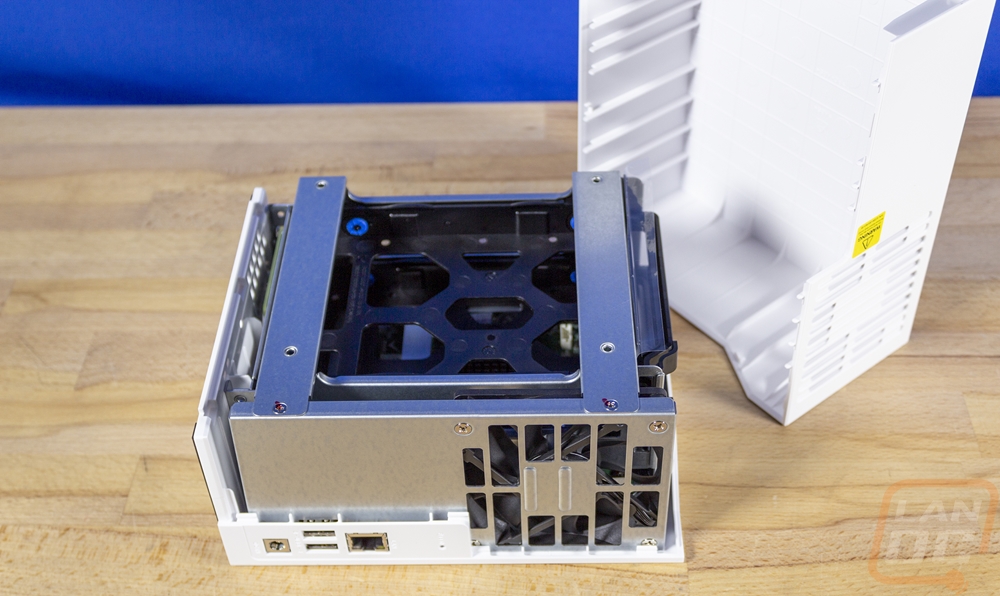
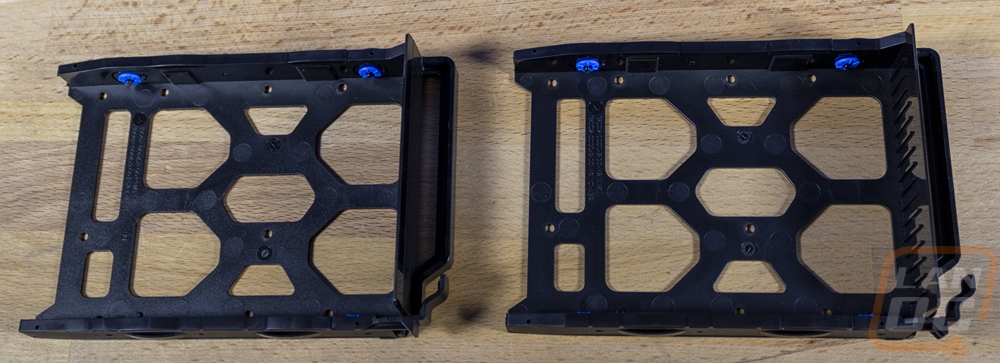
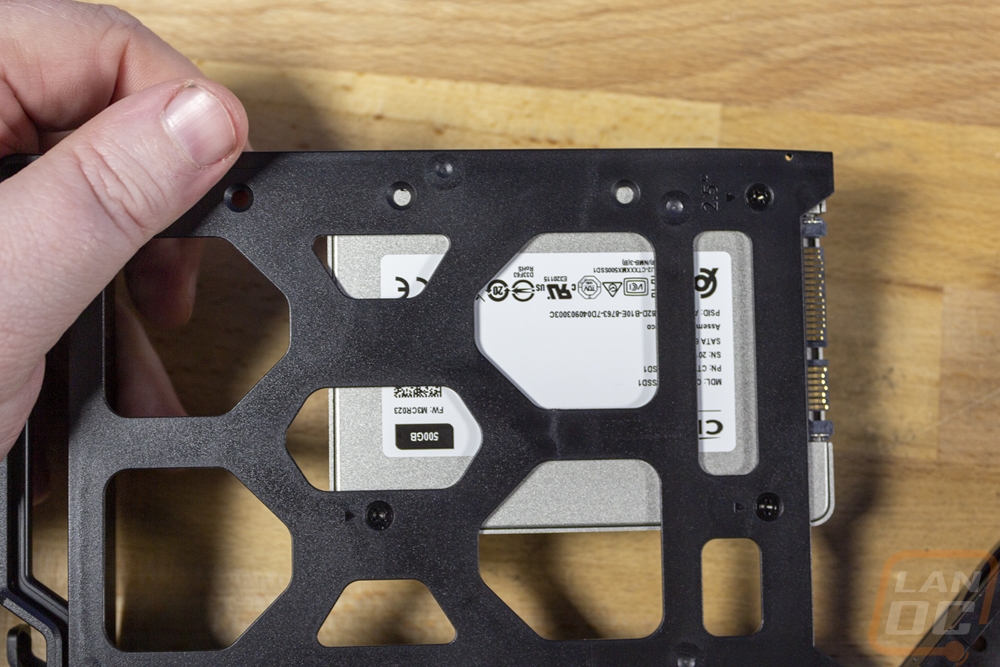
The two hard drive trays have a small clip that holds them in place, once you push it they slide right out. The trays are fully plastic and have mounting holes on the bottom for both 2.5-inch and 3.5-inch drive mounting. They also have tool-less mounts on the sides which clip in and have rubber mounted pegs that stick into the side mounts on 3.5-inch drives. For our testing, I am using SSDs to max out the interface speeds, and for those, you have to mount from the bottom using the included screws. These only mount with three screws as the fourth doesn’t line up. It's also important to note that the tool-less mounts (at least the side near the SSD) do need to be removed if you are installing an SSD or the tray will not fit back into the TS-233.


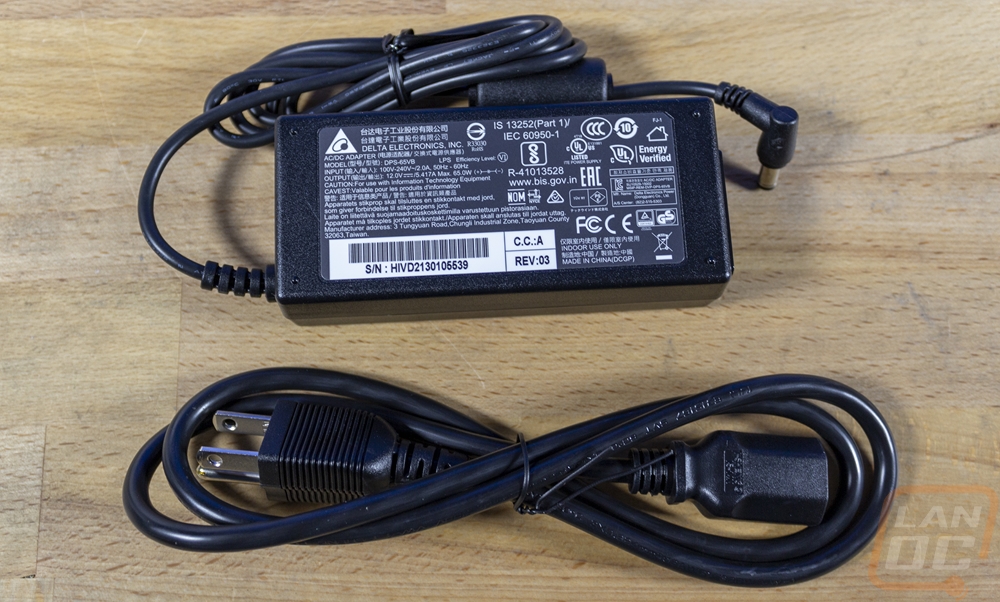
The power adapter included with the TS-233 has an inline AC to DC power supply in line. The output rating on it lists it outputting 12 volts at up to 5.4 Amps mac or 65 watts and it can support 110V to 240V for full international support as long as you have the correct power cable to get things plugged in.