So for someone like me with a lot of PCs in the house, storage on the network is the way to go. But it’s easy to forget that a lot of people may only have one PC and when that is the case you don’t need to overcomplicate things with networked storage. You can rely on internal or external storage options depending on how much space you need. When it comes to editing video you will see a lot of people with stacks of external hard drives but those don’t offer any redundancy or protection. Something with RAID as a possibility is always going to be the safer bet and TerraMaster has the network and external options covered. I’ve taken a look at a few of their options in the past and they sent over their D5-300 which is a 5 bay USB 3.1 option that just about any PC is going to support. Today I’m going to check out what the D5-300 is all about and see how it performs in a best-case scenario when packed with SSDs. Let’s check it out!
Product Name: TerraMaster D5-300
Review Sample Provided by: TerraMaster
Written by: Wes Compton
Amazon Affiliate Link: HERE
|
Specifications |
|
|
Disk Slot Number |
5 |
|
Compatible Disk Types |
3.5" SATA HDD 2.5" SATA HDD 2.5" SATA SSD |
|
File System |
FAT 32, FAT 16, NTFS, and EXT4 |
|
Maximum Internal Raw Capacity |
90TB (18 TB drive x 5) (Capacity will vary along with the RAID type) |
|
RAIDs Supported |
RAID 0, RAID 1, RAID 5, RAID 10, CLONE, JBOD, Single Disk |
|
Hardware RAID |
Yes |
|
RAID Manager Software |
Yes |
|
RAID Manager Software Language |
English, Chineses, Japanese, German, French, Spanish, Italian |
|
RAID Online Expansion |
Yes |
|
RAID Migration |
Yes |
|
RAID Auto-rebuilding |
Yes |
|
Drive Hot Swap |
Yes |
|
HDD Sleep |
Yes |
|
HDD S.M.A.R.T. Inspection |
Yes |
|
Sector Inspection and Parity Check |
Yes |
|
SSC Cache |
Yes |
|
Daisy Chain |
Yes |
|
HDD NCQ Technology |
Yes |
|
Alert Notice |
Yes |
|
Event Log |
Yes |
|
External Ports |
|
|
USB |
USB3.1 Type-C gen1 x 1 |
|
Thunderbolt |
Yes |
|
DP Interface |
Yes |
|
Power Socket |
DC IN 12V |
|
Reading/writing Speed (max.) |
|
|
Reading Speed (max.) |
Read:210MB/s (2 SSHD RAID0 mode) |
|
Writing Speed (max.) |
Write:190MB/s (2 SSHD RAID0 mode) |
|
Appearance |
|
|
Size (H*W*D) |
227 x 225 x 136 mm |
|
Packaging Size (H*W*D) |
300 x 275 x 186 mm |
|
Weight |
Net Weight: 2.1Kg Gross Weight: 3.5Kg |
|
Others |
|
|
System fan |
80 mm x 80 mm x25mm (x 2) |
|
Fan mode |
Smart |
|
Noise Level |
19.8dB(A) |
|
Power Supply |
|
|
Power Supply |
90W |
|
AC Input Voltage |
100V to 240V AC |
|
Current Frequency |
50/60 HZ, Single Phase |
|
Power Consumption |
45.6W(Access) |
|
Environment Temperature |
|
|
Working Temperature |
5°C ~ 40°C (40°F ~ 104°F) |
|
Storage Temperature |
-20°C ~ 60°C (-5°F ~ 140°F) |
|
Relative Humidity |
5% ~ 95% RH |
|
Supported OS |
Windows OS, Mac OS |
|
Certificate |
CE, FCC, CCC, KC |
|
Environment |
RoHS compliance |
|
Package Contents: |
Host unit (x1) Power cord (x1) USB Cable A to Type-C(10Gb) (x1) Quick Installation Guide (x1) Power adapter (x1) Screws (several) Limited Warranty Note x 1 |
|
Warranty |
2 years |
Packaging
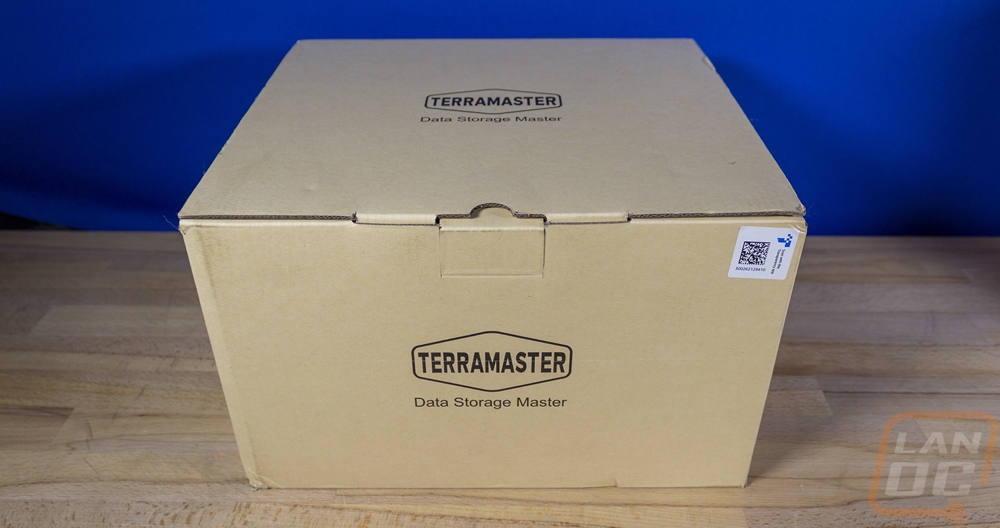
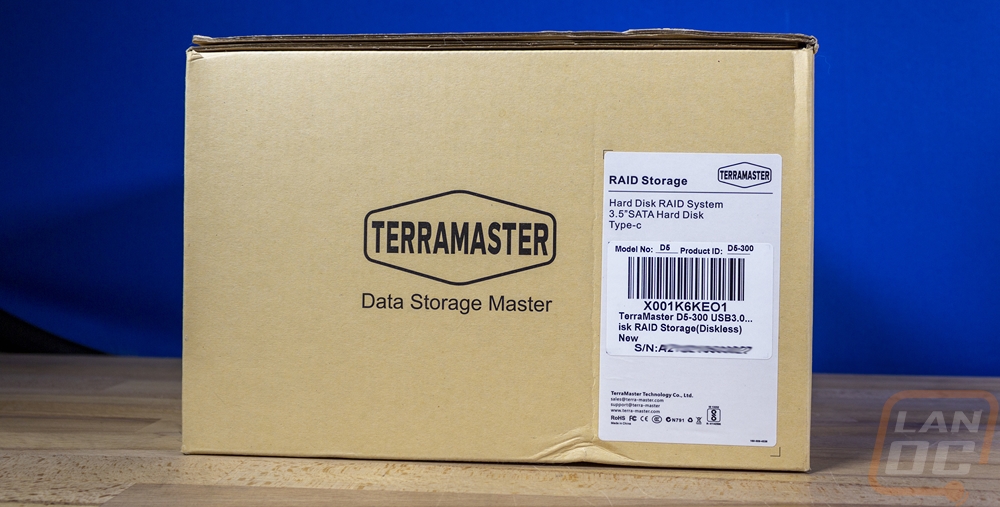
The last two TerraMaster products that came in both had the same simple box design with the TerraMaster logo in the center but both of those had a bright blue box itself. I was a little surprised that the D5-300 changed that up. But other than the blue being dropped for a basic standard brown cardboard the D5-300’s box doesn’t do too much to get your attention if you were shopping in a retail store. It is however no different than just about any product that is more enterprise-focused. You have the logo in the center on each side and then on one end, there is a sticker that lets you know what product this is. That has a second sticker over it which has the actual model number and the serial number as well along with a barcode.
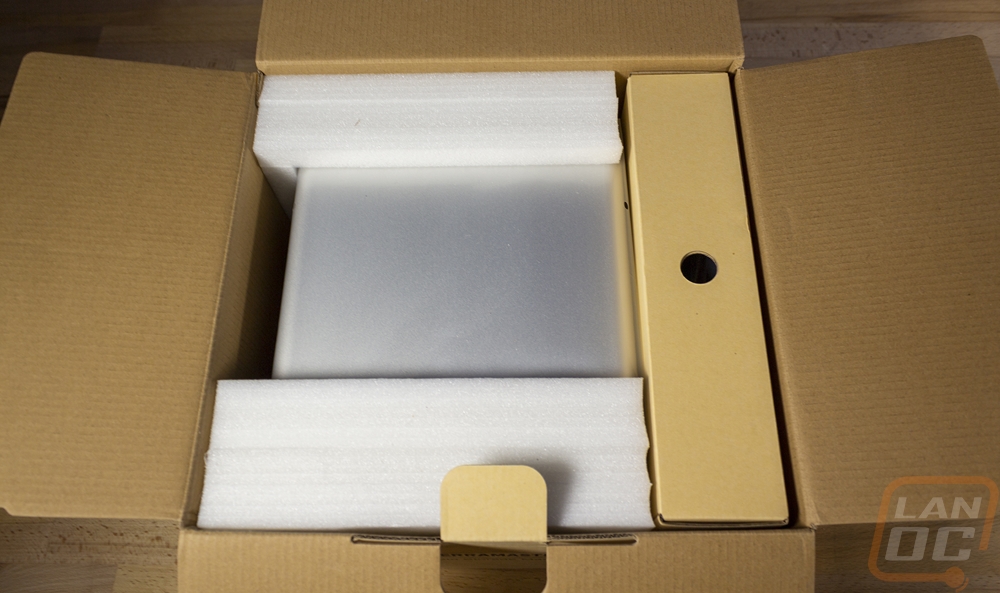
Inside the box, the D5-300 enclosure comes wrapped up in a thick clear plastic bag then it sits with foam around it on both ends. The foam keeps a gap from the D5-300 and the outside of the box to protect it and helps keep any drops to a minimum. It also keeps everything in the box from moving around including holding the accessories box in place.
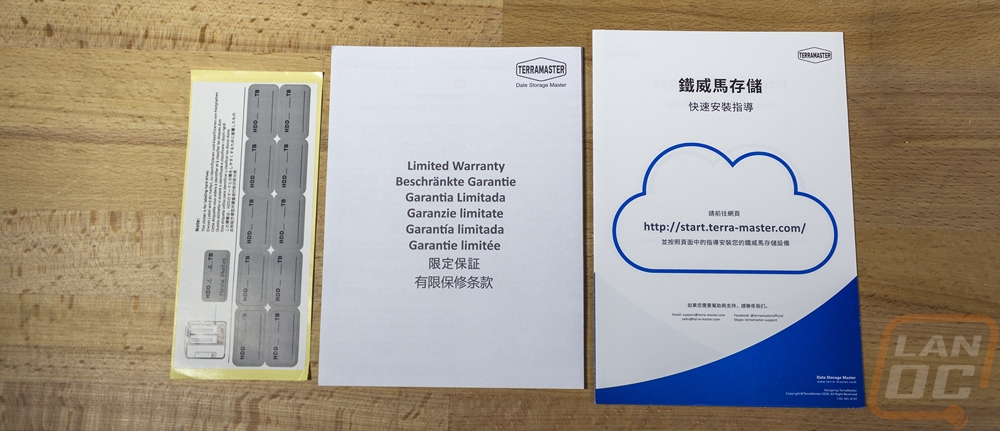
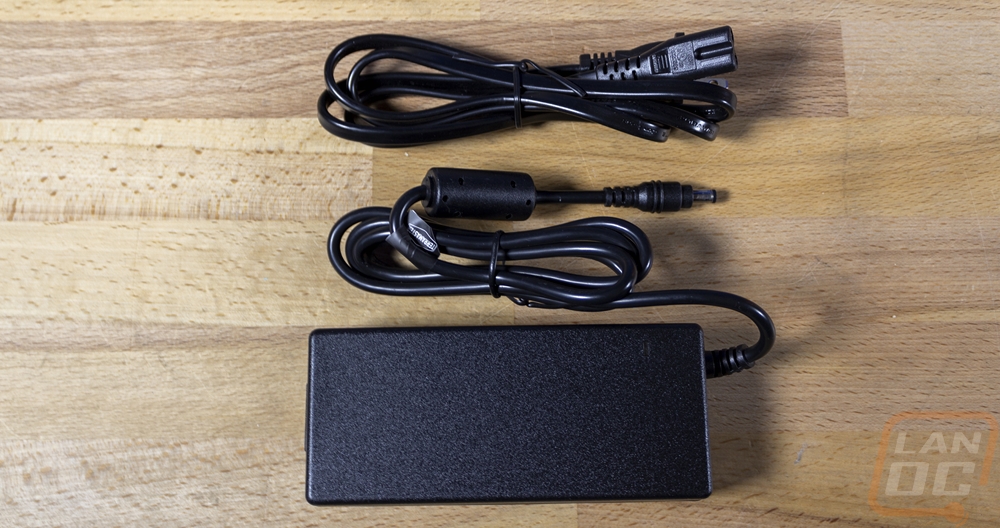
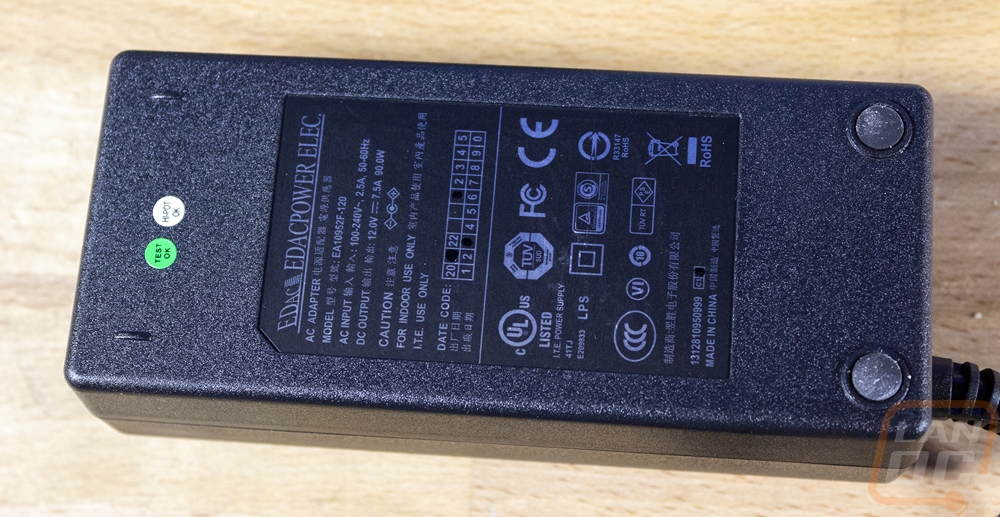
The accessories box comes with all of the documentation together. That gets you a sticker sheet with labels that you can label your hard drives with, a small book on the limited warranty, and then a paper with the web address with your setup information. The D5-300 also comes with a few important accessories for you to get going as well. The biggest of those is a power supply. This is a 12 volt 7.75 amp and 90 watt AC to DC adapter. It has a standard 12v DC plug on the end like most available power supplies so you could replace this if needed in the future as well.
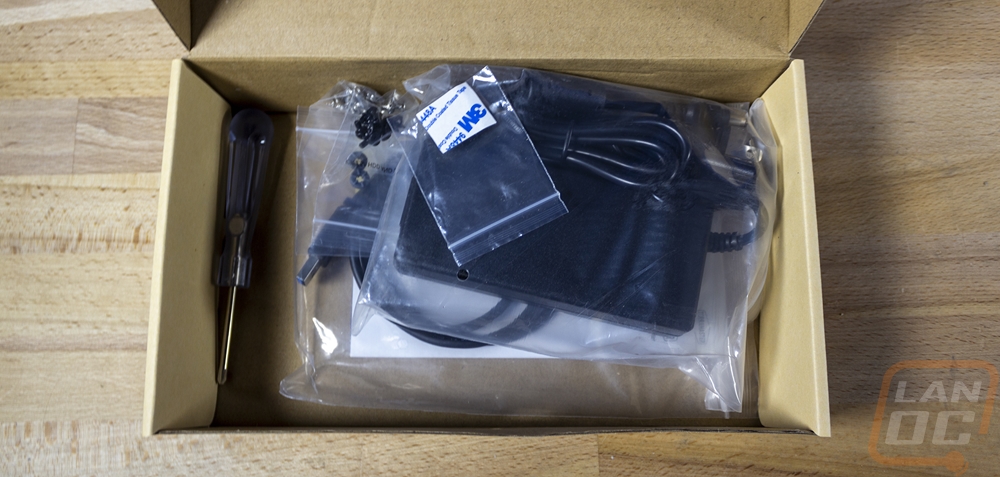
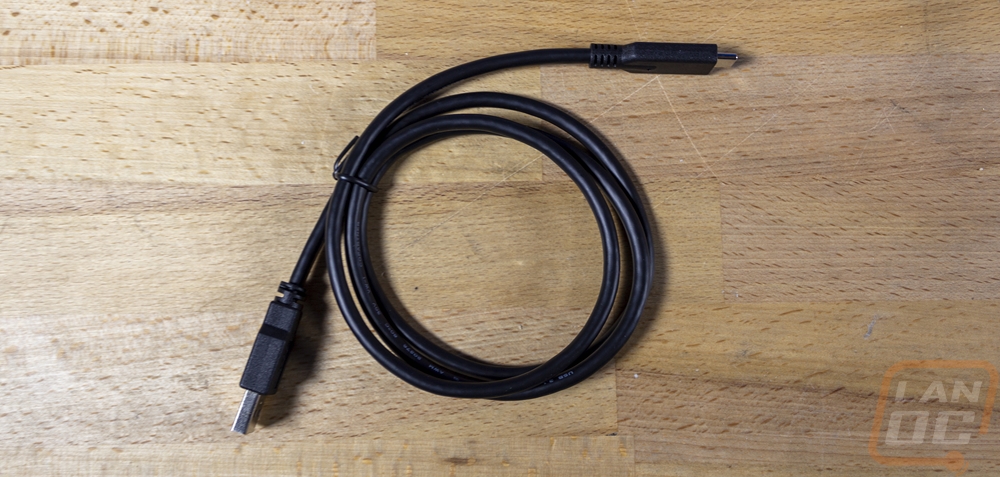
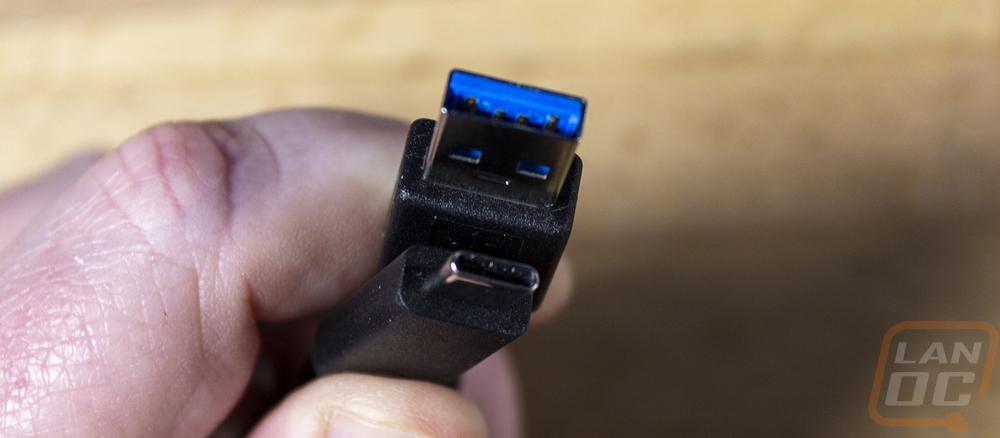
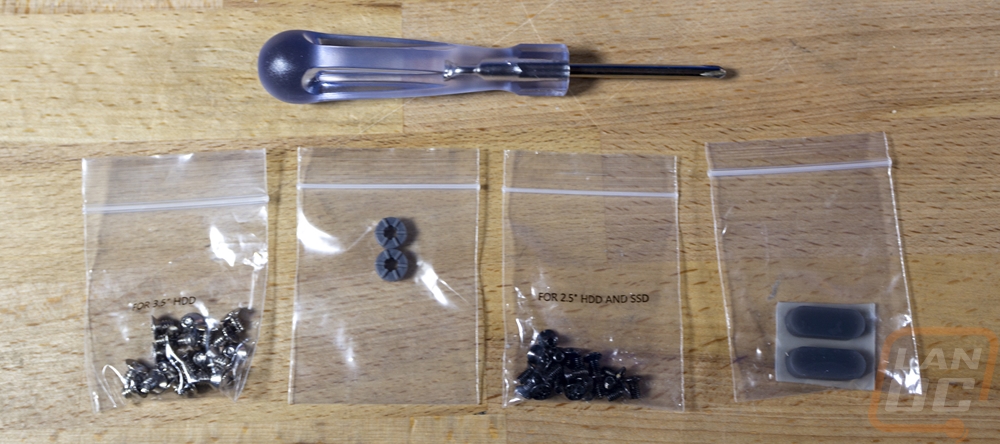
For data, the D5-300 uses a USB 3.1 cable which has a Type-C connection on one end and Type-A or a standard USB plug on the other end. Then you get a few small baggies as well as a Phillips screwdriver. The screwdriver being included is a small but nice touch that means you don’t need to worry about getting any tools out to put things together. In the bags, TerraMaster has things divided up. There are two bags of screws and both are labeled. One is for 3.5 inch hard drives which all of those are silver. Then the other bag is for installing SSDs and 2.5 hard drives which use machine screws and all of those are black. There are two extra rubber vibration mounts, those come preinstalled in the drive trays but it is nice that there are a few in case you lose some. There are also two extra stick-on feet which I thought was interesting. I’ve never seen extra feet included except when they have you installing them. But I guess it is a good thing because our D5-300 came with one foot missing so that worked out!
Photos and Features
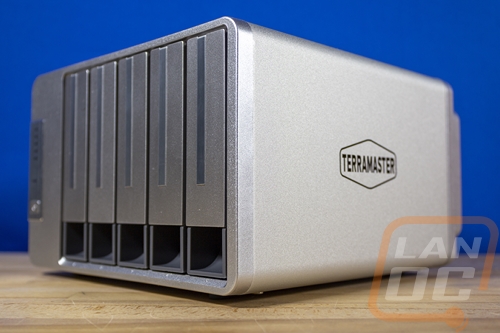
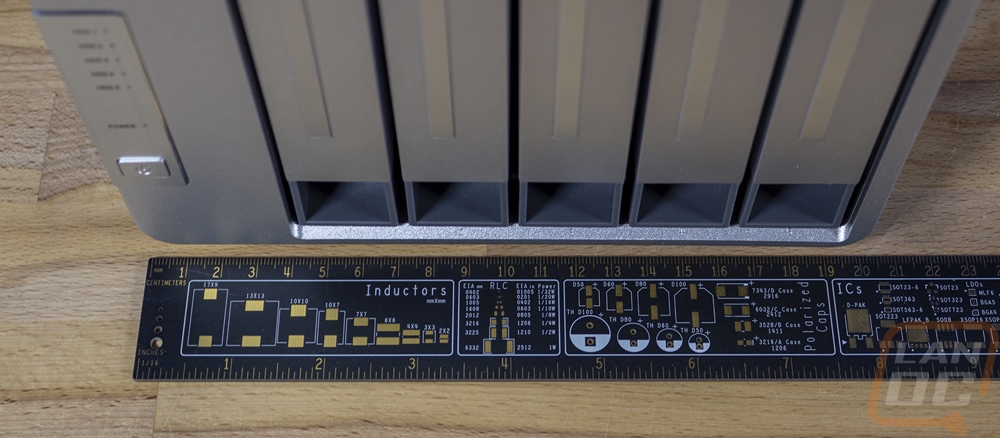
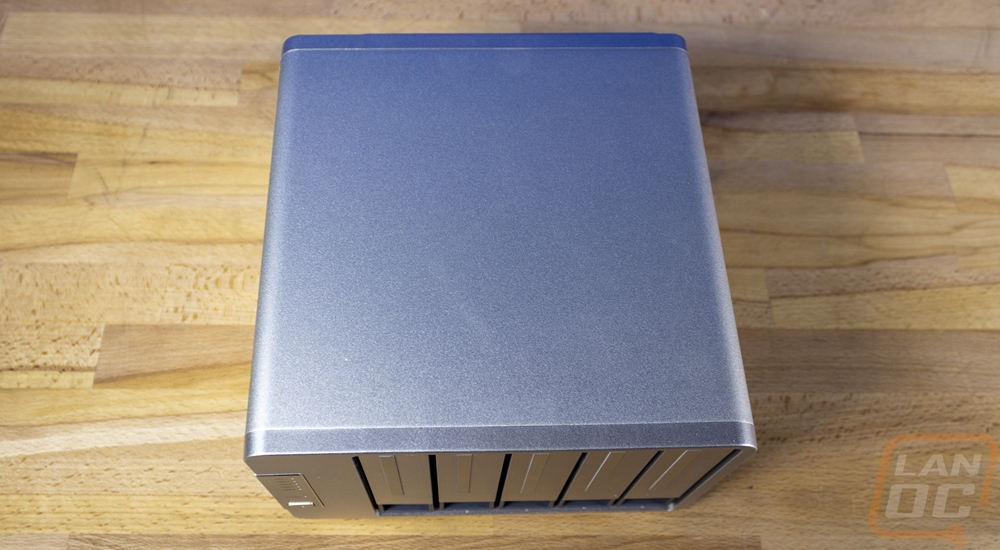
The D5-300 shares the same styling as the F2-422 and TD2 from TerraMaster that I previously took a look at. Only the D5-300 is wider and supports 5 drives and those were both 2 drive devices. That styling is a silver aluminum housing that wraps around the top, bottom, and sides and then plastic panels painted in silver to match on the front and back of the D5-300. This is what gives the rounded corners on the aluminum housing and the sharper edges on the front. Then the drive trays also have the same silver finish as well. I would personally prefer black, but with this being attached storage the silver may look better up on your desk. Especially if you have it hooked up to a Mac which it also supports. For overall size, it is 8 inches wide and 5 and a ¼ inches tall. As for its depth, it is about 8 ½ deep when you don’t include the fans on the back that stick out.
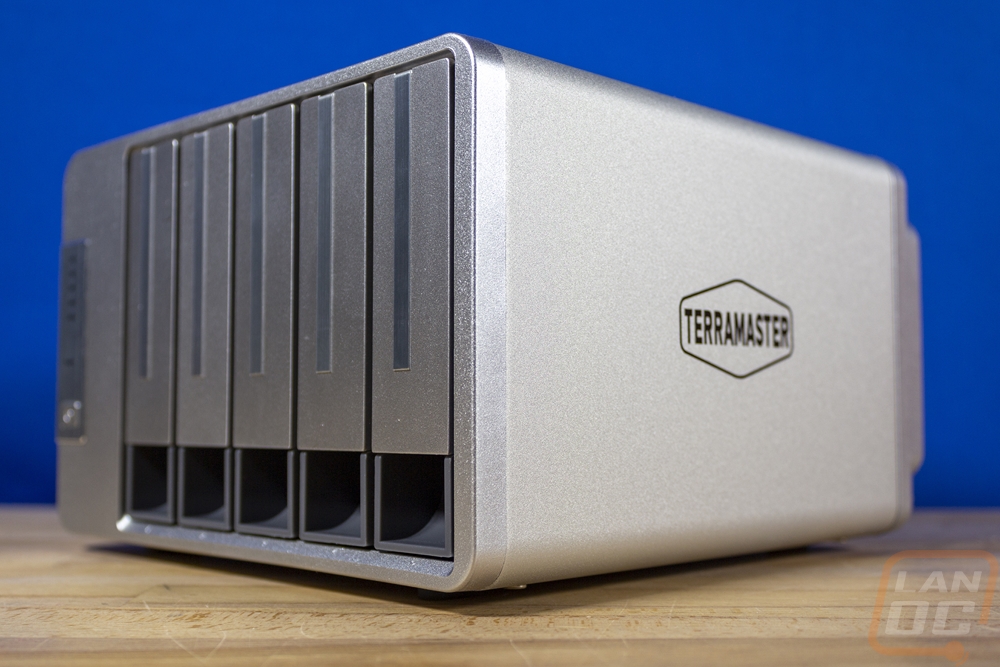
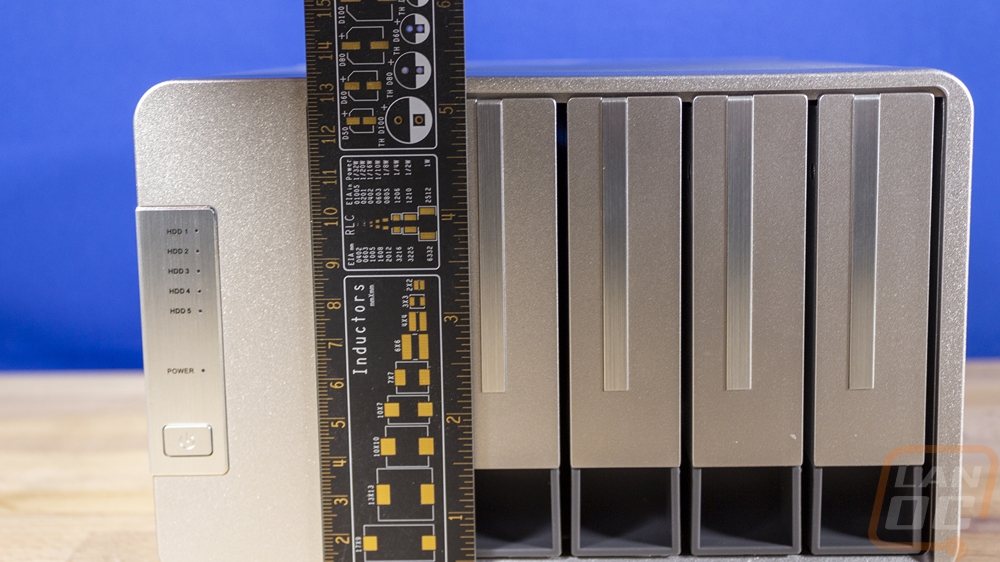
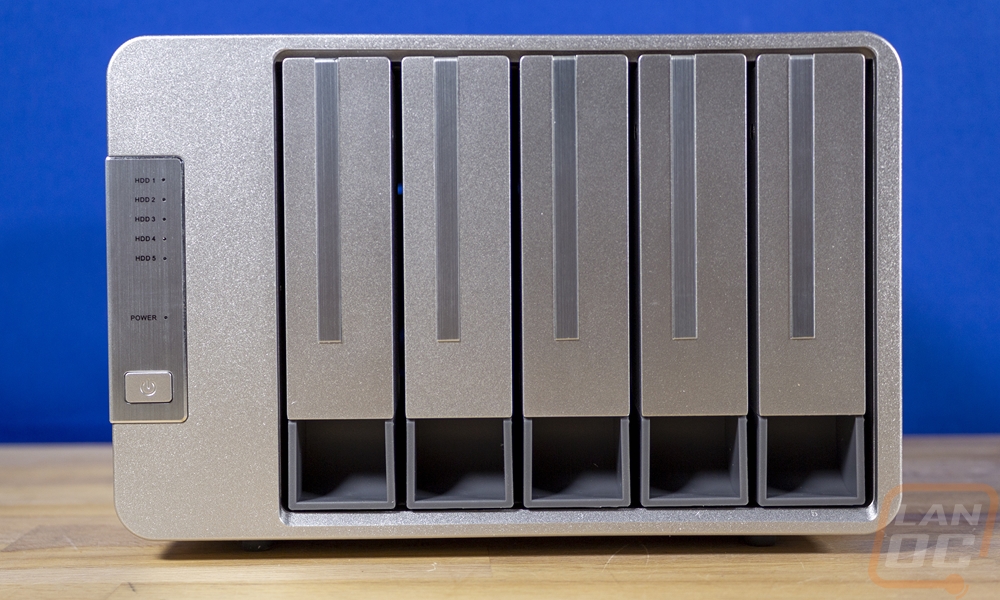
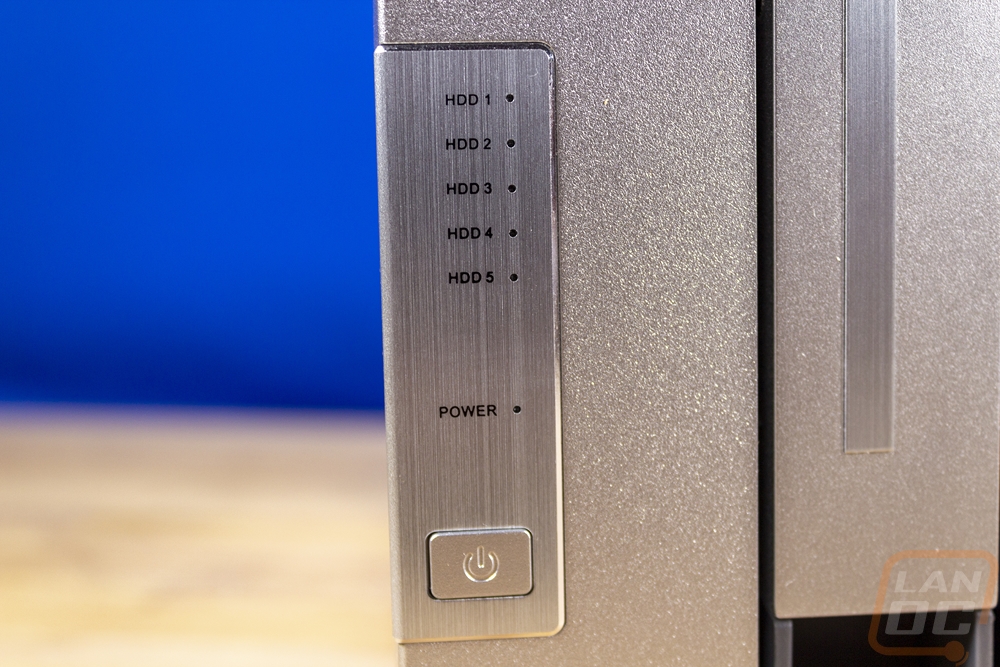
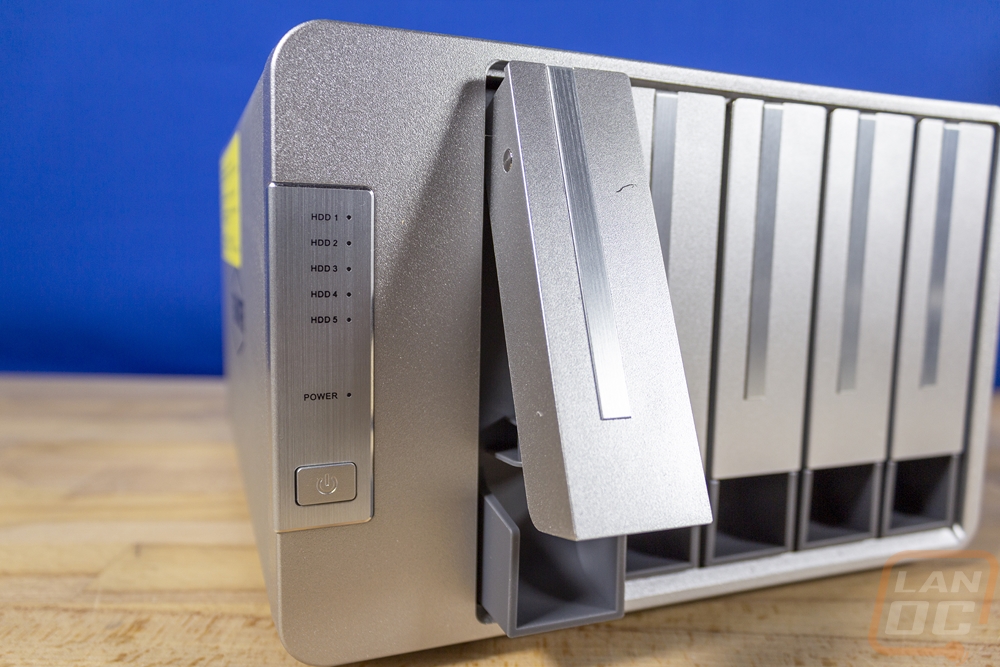
The front of the D5-300 like I said before has a plastic front panel with the silver finish. Each of the five drive trays have the same finish painted on the front handles and then for an accent, each has a stripe of silver brushed finish. This is the same finish over on the left of the front where the power button and the status LEDs are located. There is one pinhole status LED for the powered up status then up above that there are five more, one for each hard drive with each LED having a label next to it so you know which is which. The drive trays down at the bottom have a hole for you to be able to put a finger in and pull the front latch, this section surprisingly doesn’t have a painted finish. It has a medium grey plastic color. Below that, on the front panel, each bad does have small numbers to label each drive bay.
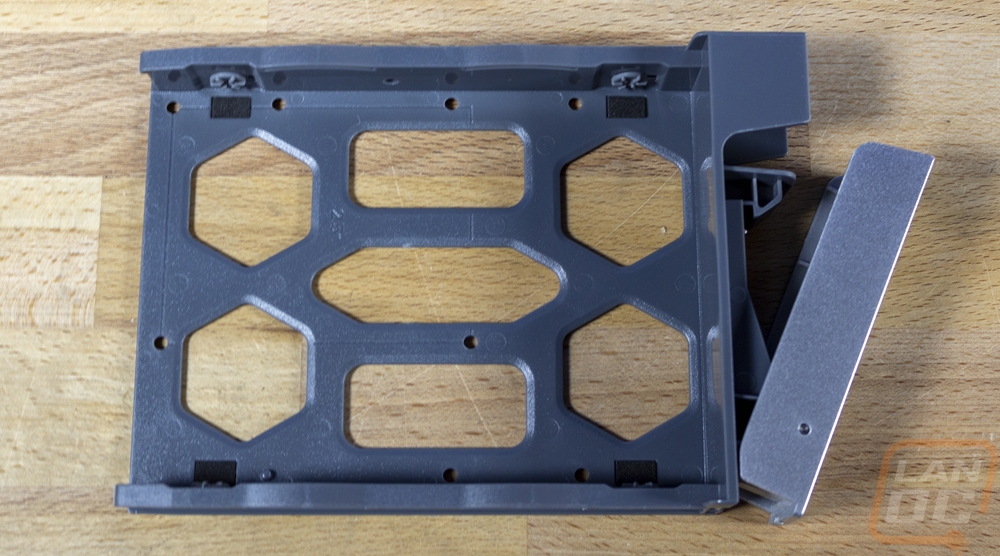
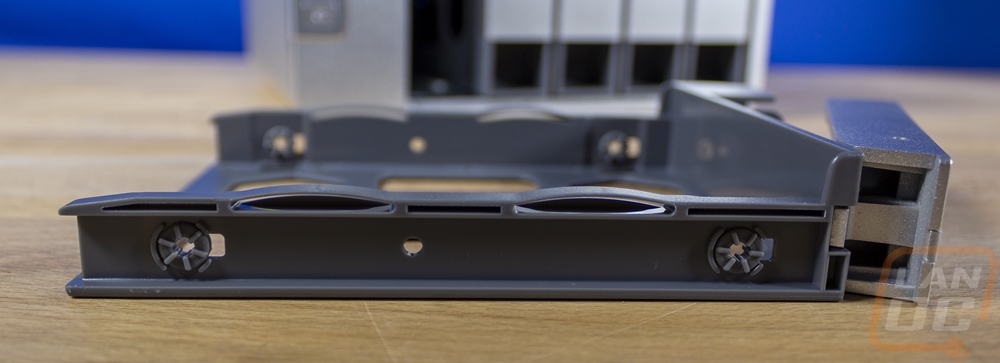
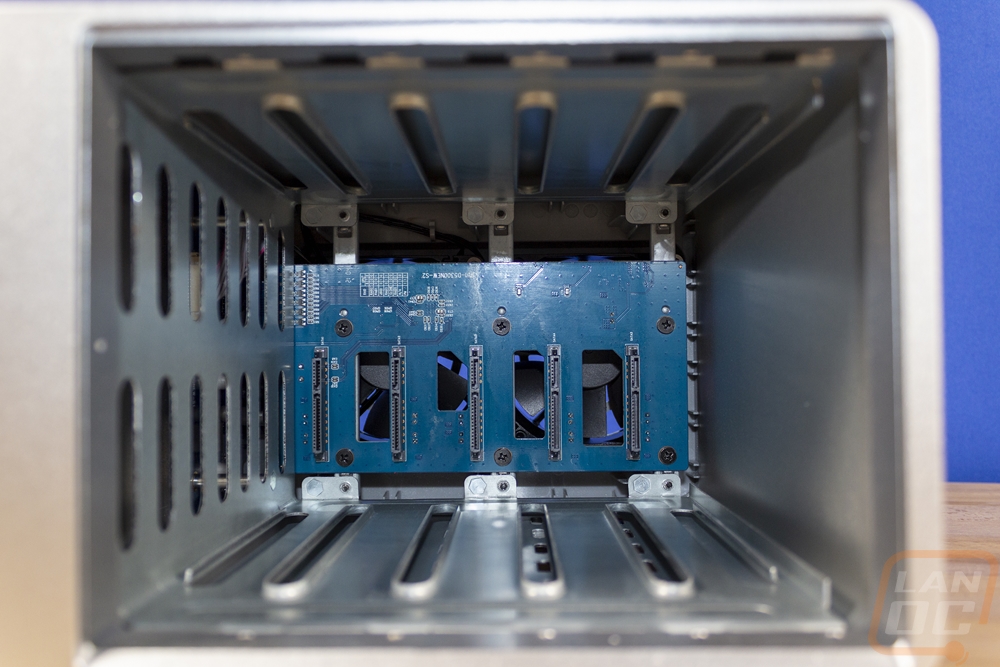
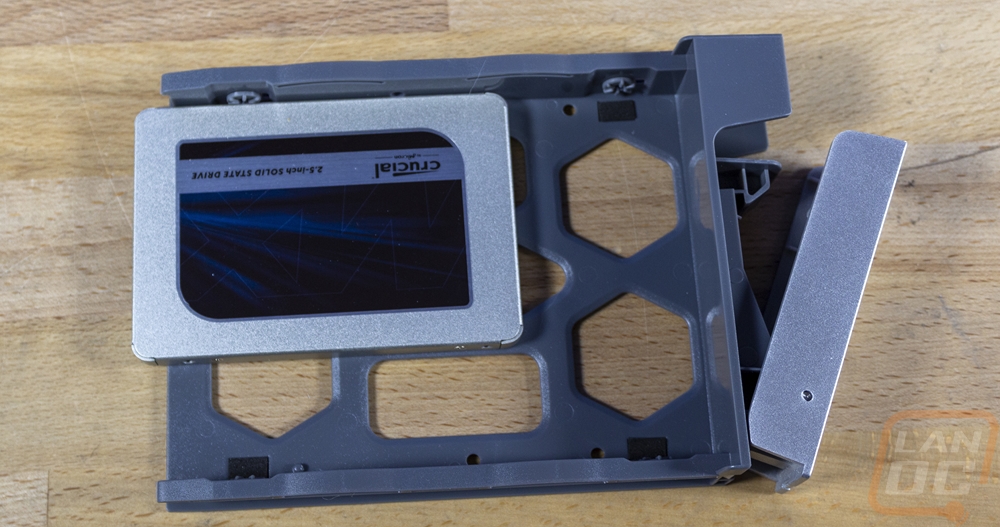
Pulling the drive trays out on the D5-300 is simple, you pull out on the front and it unlocks the tray so you can pull it out. Each drive tray has that medium grey plastic finish. The trays have multiple mounting locations. You can use the side mounts for 3.5-inch drives which have the rubber vibration pads already in the holes. For smaller drives, the bottom of the tray has two sets of holes. For 2.5 inch SSDs there is a line in the plastic with the 2.5 labeling in the middle but only 3 holes will line up here because one of the 3.5-inch drive holes gets in the way. Then for full-sized drives if you need to use the bottom mounts they do have holes for those are all. With the trays out looking down into the D5-300 there is a PCB backplane with each having the standard SATA power/data connection.
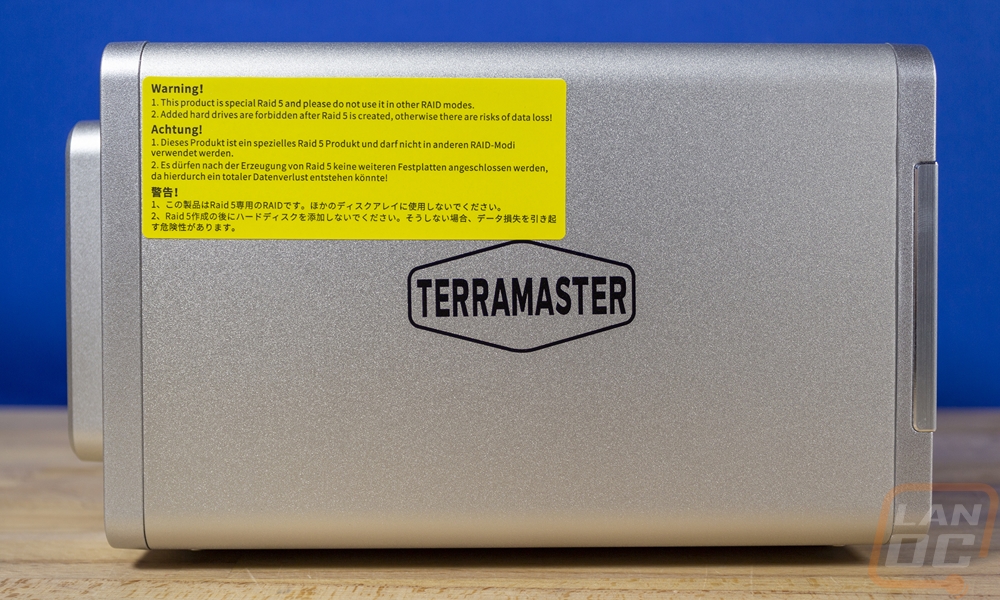
The sides of the D5-300 both have the TerraMaster logo in the center but beyond that, there isn’t anything else going on. There is a bright yellow warning sticker installed on the side as well that warns not to add hard drives when running in RAID 5 or you will get data loss. The top also doesn’t have anything going on as well.
So the bottom of the D5-300 doesn’t have the same aluminum housing as the sides and top. This has a more traditional steel plate which is the foundation of everything with the aluminum housing attached to it. The bottom does have ventilation holes cut in all across it, which is important because hard drives do create heat and there is only so much airflow going through the hard drive trays. The bottom also has the model information on a sticker and a second sticker with your serial number on it. To keep everything up off of the ground then it has four inch long silicone feet. I mentioned earlier that the D5-300 came with two extra feet, this did come in handy because as you can see ours was missing a foot from the start.

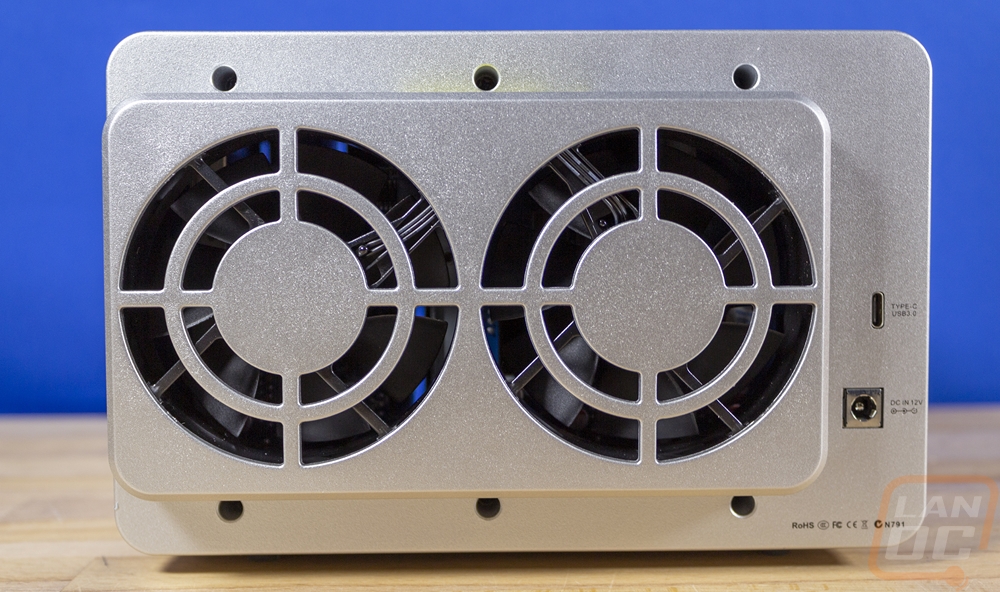
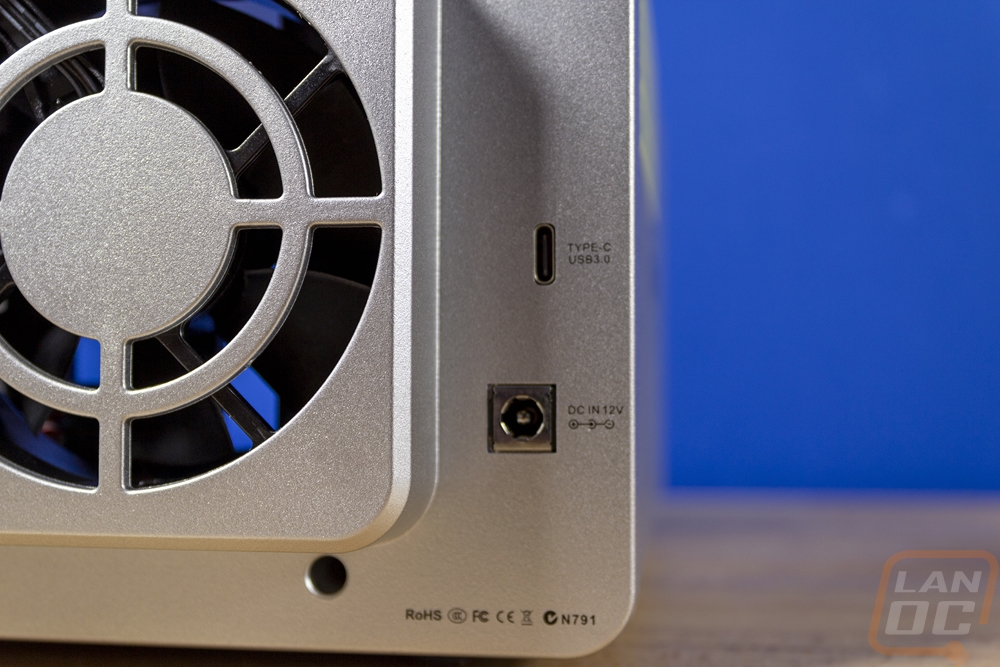
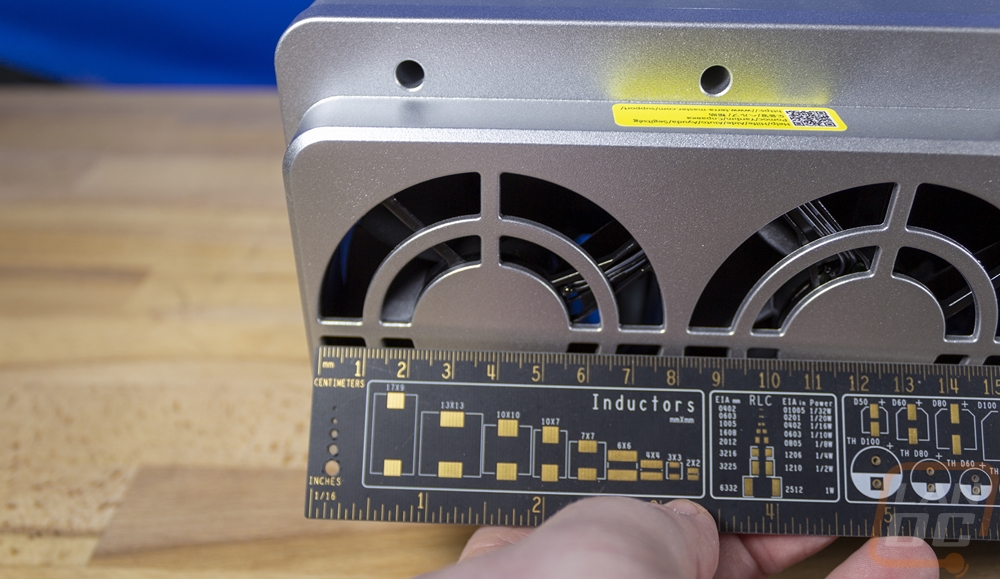
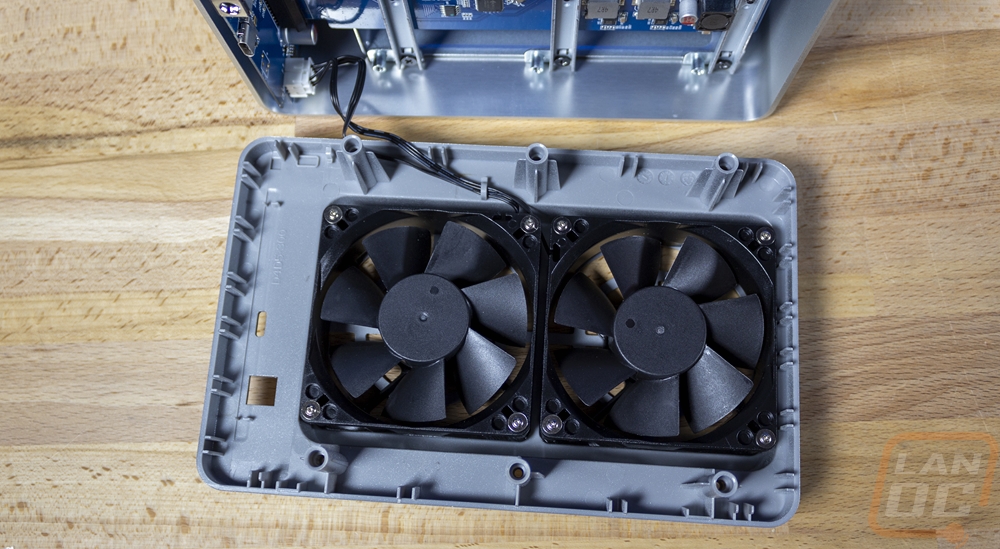
The back design of the D5-300 was similar to the dual drive models from TerraMaster that I took a look at previously, only with the extra width of the five drive bays they went with a wider fan kick out with two fans, not one. Each fan is 80mm and both are set to blow air out which should pull air from the holes in the bottom and the holes in the drive trays as well to pull air across everything. Beyond that, the back of the D5-300 has two connections down in the bottom right corner. One is the DC power plug connection and then above that, it has a USB 3.0 Type-C connection. This isn’t one of the ultra high-speed USB 3.2 or 3.2 Gen 2 connections.
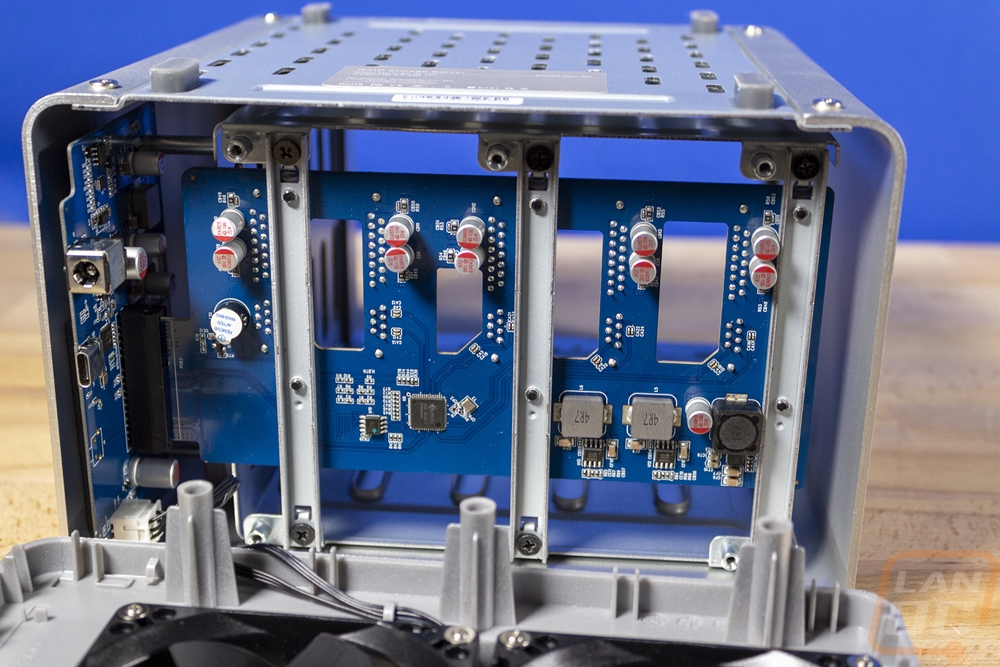
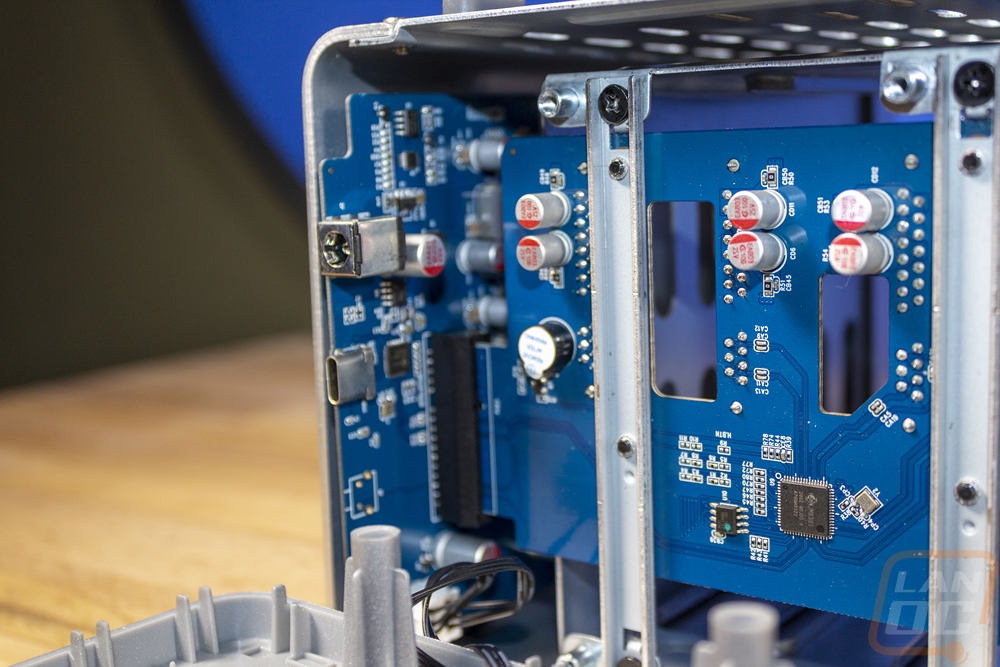
Before getting into testing I did want to take a look inside the D5-300 to see what was making it tick. Getting inside is very easy, you just need to remove the four screws that hold the back panel on and it will come off and the rest slides apart from there. With this just being an external enclosure there wasn’t too much inside. You have the PCB backplate for the hard drive connections. Which plugs into a PCIe x1 like slot on the mainboard. That just has the fan header, the power and USB connection on it, and 1 VRM. For comparison, the TerraMaster F2-422 10GbE had a board the full length of the NAS and the Terra Master TD2 Thunderbolt3 Plus was about half the length of the NAS but still more than twice as big as the board here in the D5-300.
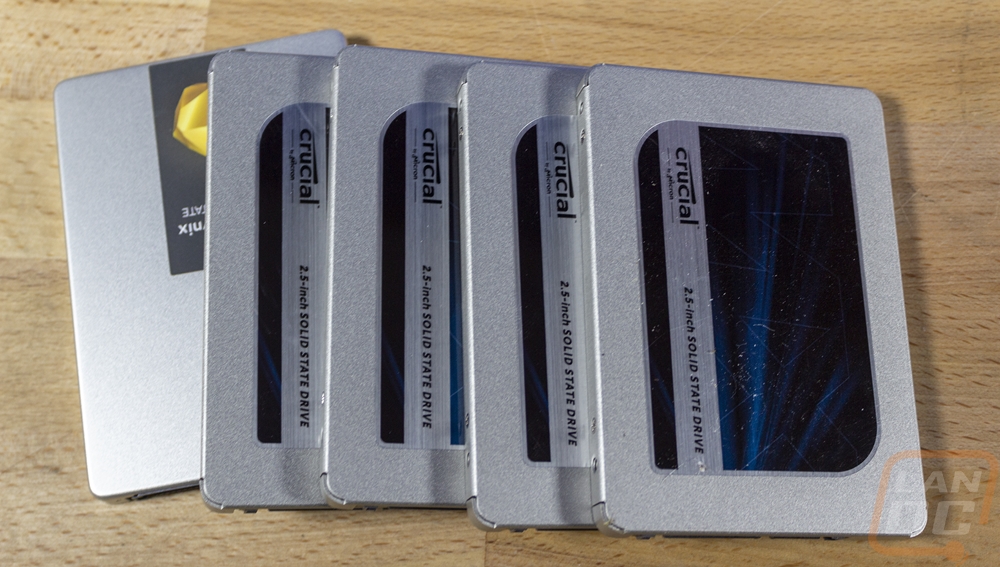
With the D5-300 back together, I did still need to install our test drives. I would recommend using hard drives, but for testing to get the best possible speeds we have a set of SATA SSDs for testing. With this being a 5 bay device I did have to add in one additional drive as well. We have the four Crucial MX5 SSDs and then one SK Hynix Gold S31 drive. The Crucial drives are all 500GB each and the S31 is a 1TB drive. Installing them in the drive trays was easy, but do keep in mind only 3 screw holes will line up for SSDs. This is more than enough to keep them in place when there aren’t any moving parts.
Performance
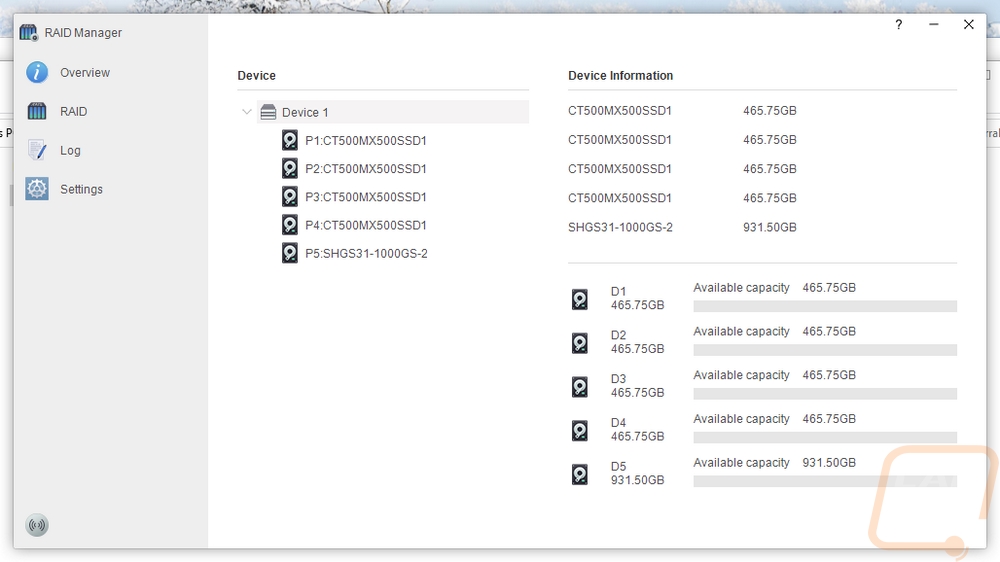
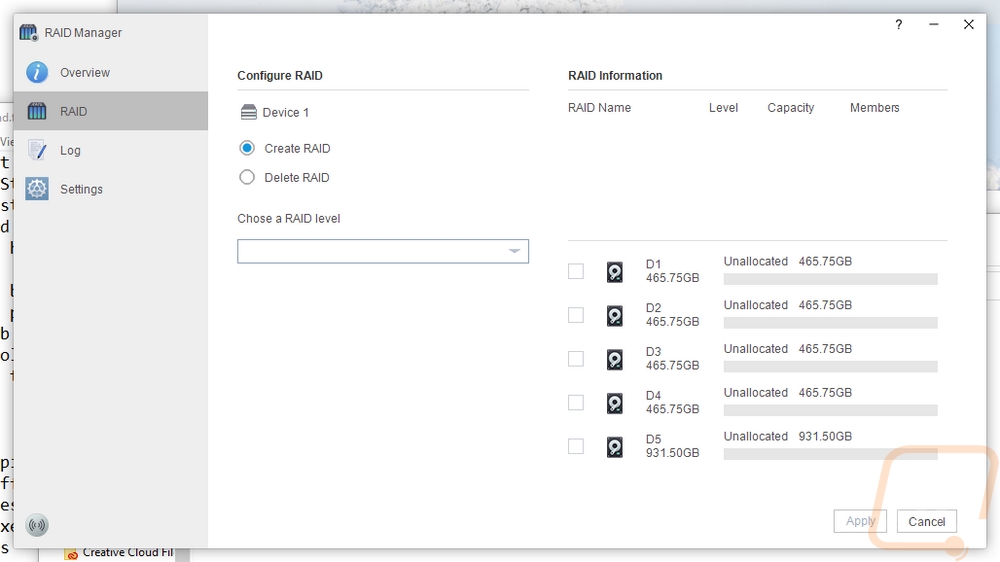
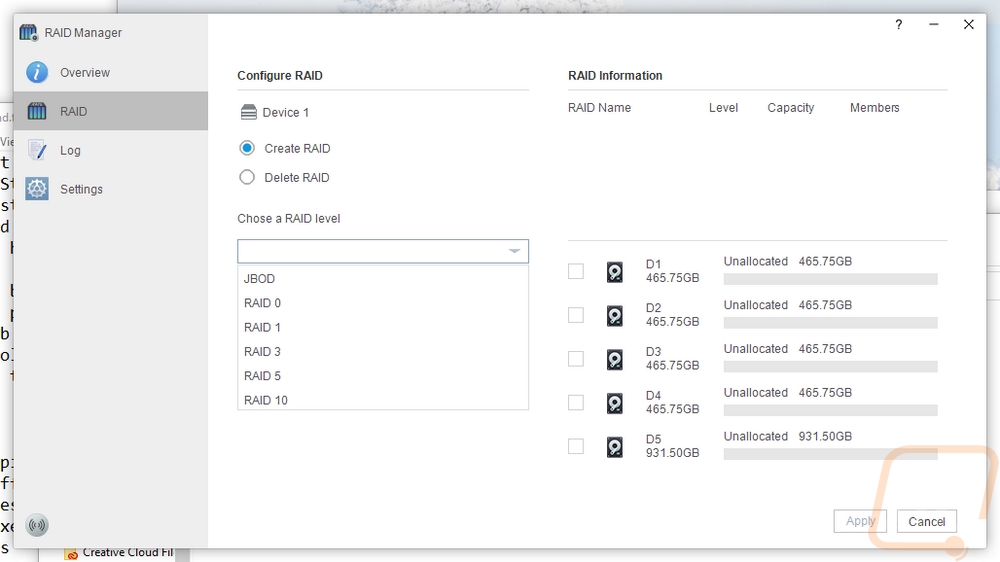
Given my previous experience with the Terra Master TD2 Thunderbolt3 Plus, I was expecting the setup for the different RAID configurations to be a manual process. The TF2 had a tiny switch on the back that you could turn between each mode and then you just needed to boot it up. I figured we would see something similar here with the D5-300 but it doesn’t have a switch at all. So to get things set up, you will need to download TerraMaster’s RAID Manager software. With your drives installed and the D5-300 plugged in the software picks everything up right away and lists the drives. You can then go to the RAID page for selecting which drives you want to use in a RAID and pick your RAID mode. This also means that you can set up more than one RAID using the 5 drives or you can go back in and delete an old RAID as well.
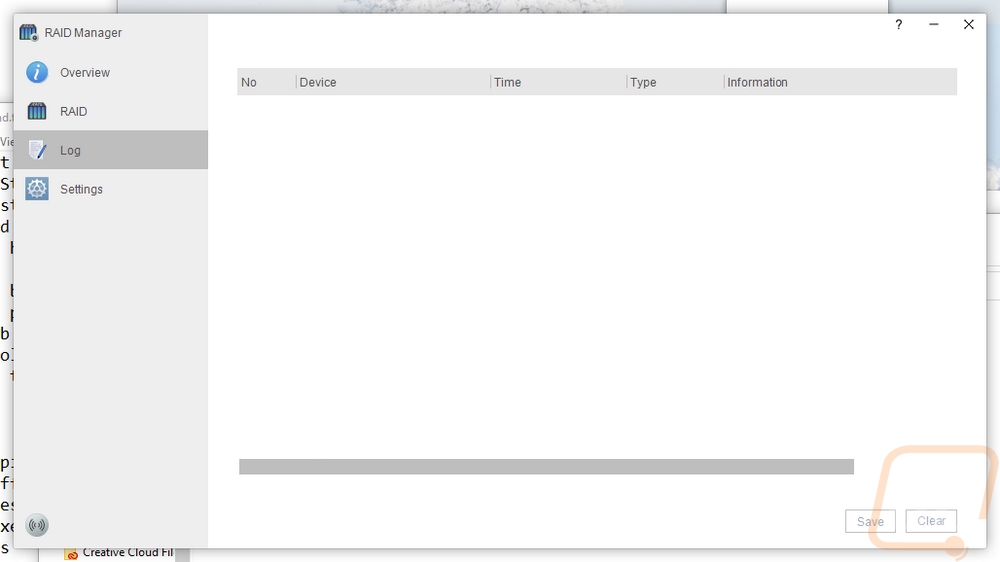
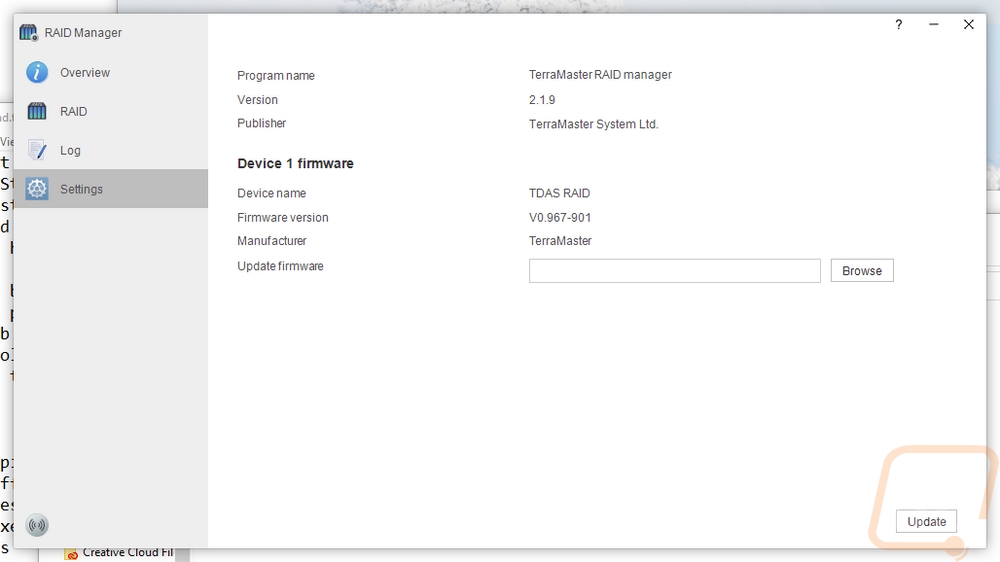
The software does also have a log listing that you can refer back to if you have any issues which is a step up from the TD2’s manual setup as well. TerraMaster has also gone ahead and included a way to upgrade your firmware using the RAID Manager. I didn’t see any new firmware revisions on the website, but it should be easy to update if there is one in the future. I should also point out that if you go through the TerraMaster website where they have set up guide videos. The video for the D5-300 is using an older-looking version of this software. Feature-wise they seem the same, but I just have to say just how much better this looks. The old one looked like an old Winamp skin.
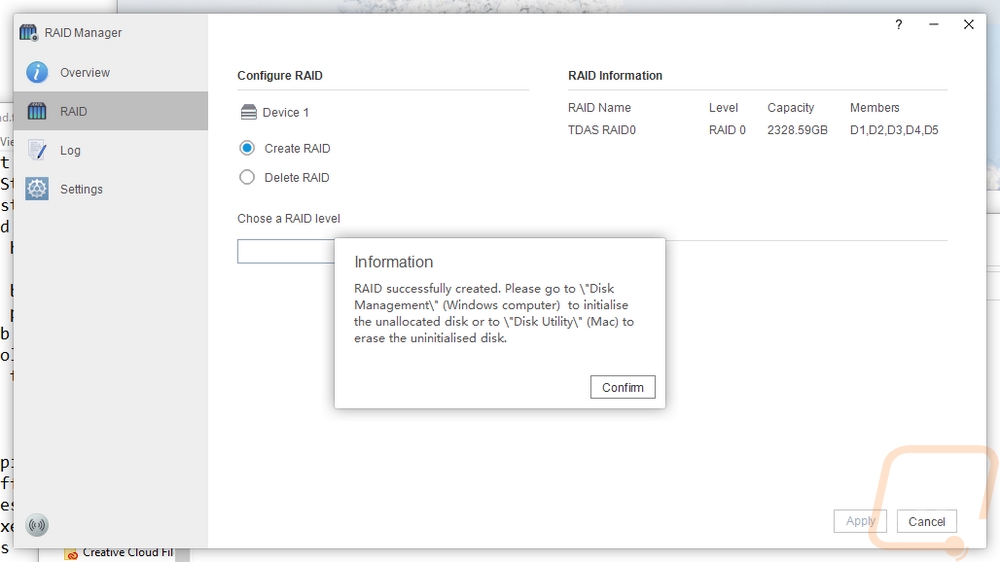
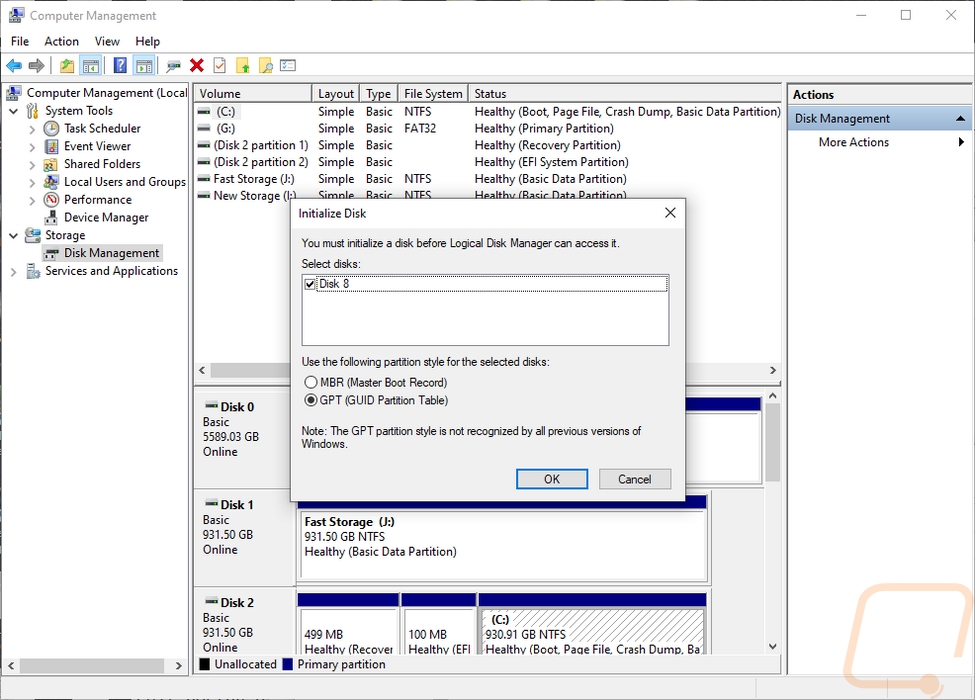
Once you pick your RAID configuration windows will have a few disconnect sounds and reconnect sounds. From there you just need to get into Disk Management and format the new RAID.
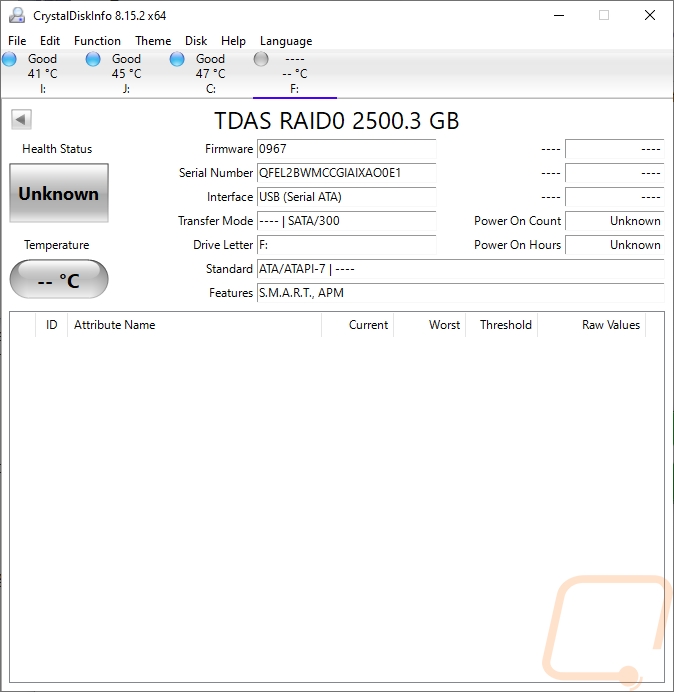
Once up and running I did double check things with CrystalDiskInfo to see what it had to say for our connection. It does list that I had the setup running in RAID 0 and it connected on a USB interface. SMART and APM features do still work as well but power on counting isn’t tracked. It also doesn’t register drive temperatures as well.
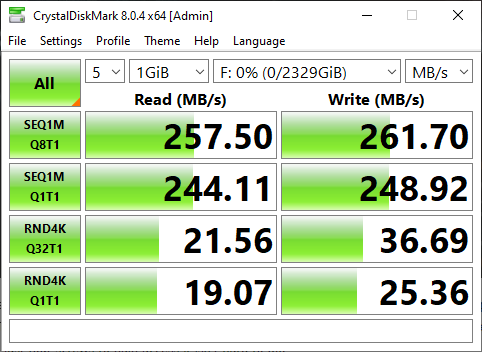
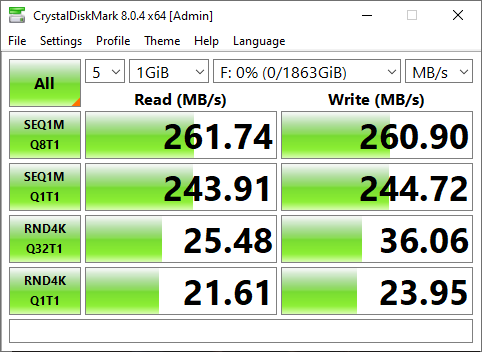
Rather than go through a whole series of tests like I do on most of our external drive tests. For the D5-300 I wanted to confirm how fast the USB connection could be. Then go through and see if there were any differences across the different RAID configurations. We do need to keep in mind that even just one of the SSDs is going to be faster than the standard USB connection whereas with hard drives only the fastest drives will be getting up near that limitation so with some slower drives a RAID 0 setup may still offer a little bit. Speaking of which I did start with RAID0 because this is a striped configuration that has no redundancy and its goal is for speed only. With our 4 500GB drives and 1 TB drive, this totaled out to 2500 GB because the last drive has to match in size with the others. The D3-500 came in at just under 260 MB/s for read speeds and a hair over that at 261 MB/s for the write speeds. So the D5-300 is listed as a USB 3.1 Gen 1 which should have a limitation of 500 MB/s so the D5-300 is running slower than that but it does run faster than the TerraMaster specs have it listed as well. It’s also twice as fast as the last two external hard drives we have had in to test as well. So as long as you have decently fast drives in the D5-300 it isn’t bad for hard drive storage but the USB interface is limited to slower than it should be.
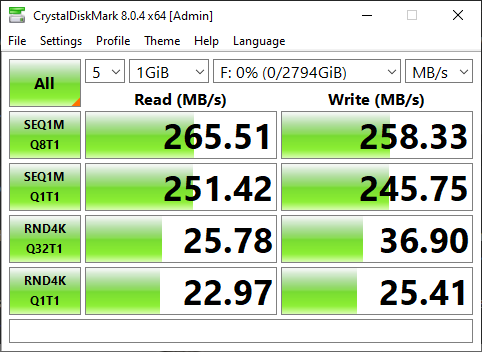
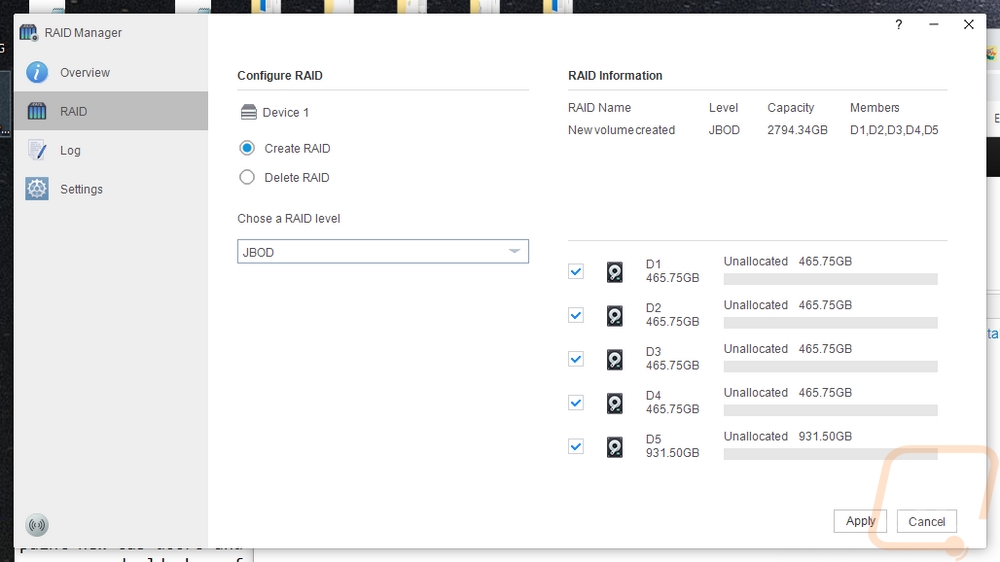
Taking the RAID off completely and running JBOD took the drive capacity up to 2794 GB because it was able to take advantage of the fifth drive's extra space and the read speed was slightly faster as well.
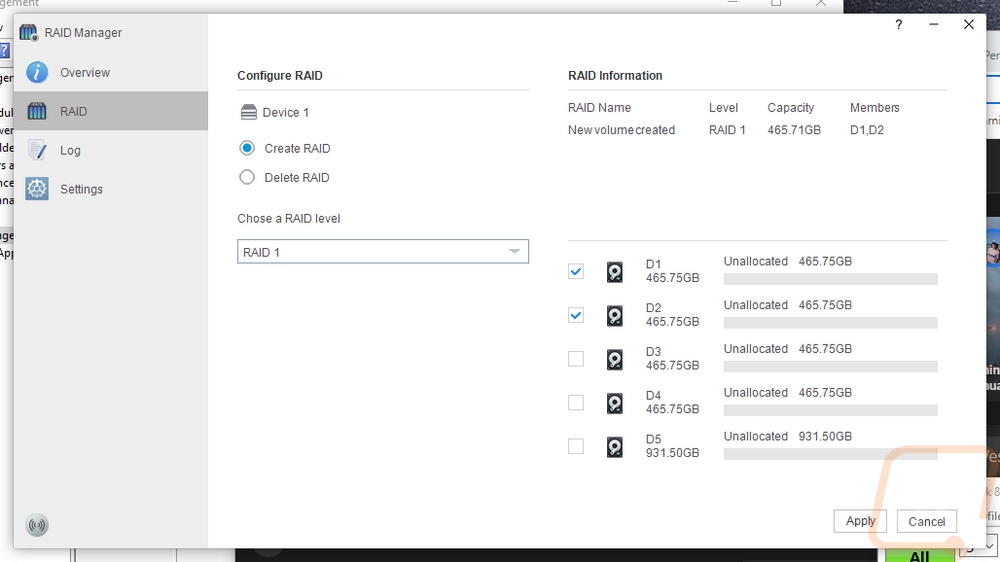
For RAID 1 the D5-300 mirrors one drive with another to have redundancy. The D5-300 will only let you run RAID 1 with two drives which was interesting. I thought I would be able to do it as 2 or 4. Because of that our test drive just has the 466 Gb of a single drive. Performance-wise, even with the mirroring performance was as good as the two previous tests. In fast the read speed was a little faster but writing was a touch lower which makes sense with that getting written to two drives.

I was really surprised to see RAID 3 being offered at all because this is a configuration that has mostly been replaced by RAID 5. RAID 3 uses byte-level striping and then all of the parity information is all on one disk.
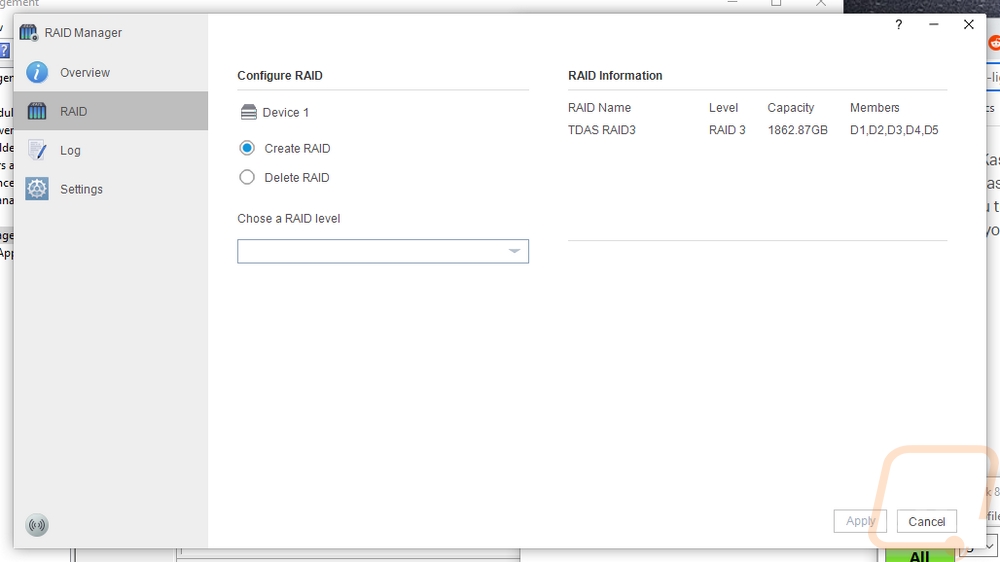
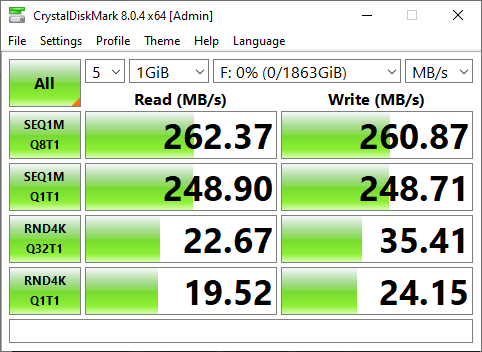
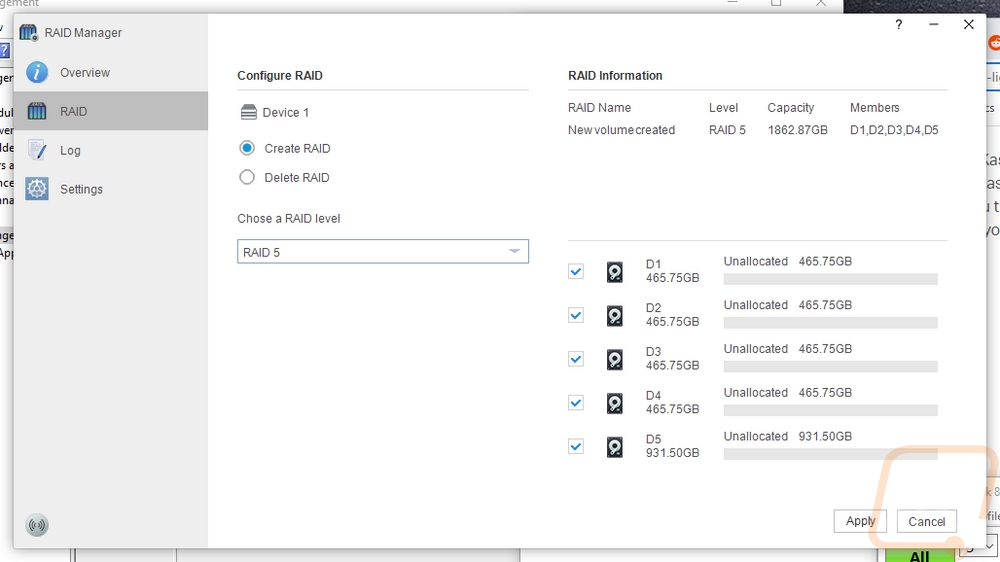
So RAID 5 uses block-level striping like RAID 0 does. But the difference is that it also stores some of the parity information across each drive. In a five drive RAID, 5 that means that one drives worth of storage is lost to the redundancy so the total for our RAID was 1863 GB once formatted meaning it did consider the larger drive as a 500GB drive as well. Performance-wise this configuration did well for both read and writes. This is the configuration I would suggest if you want to use all five slots of the D5-300 and also have at least some redundancy with one drive being able to die without losing your data.
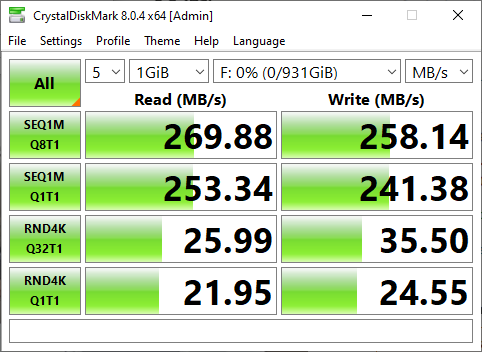
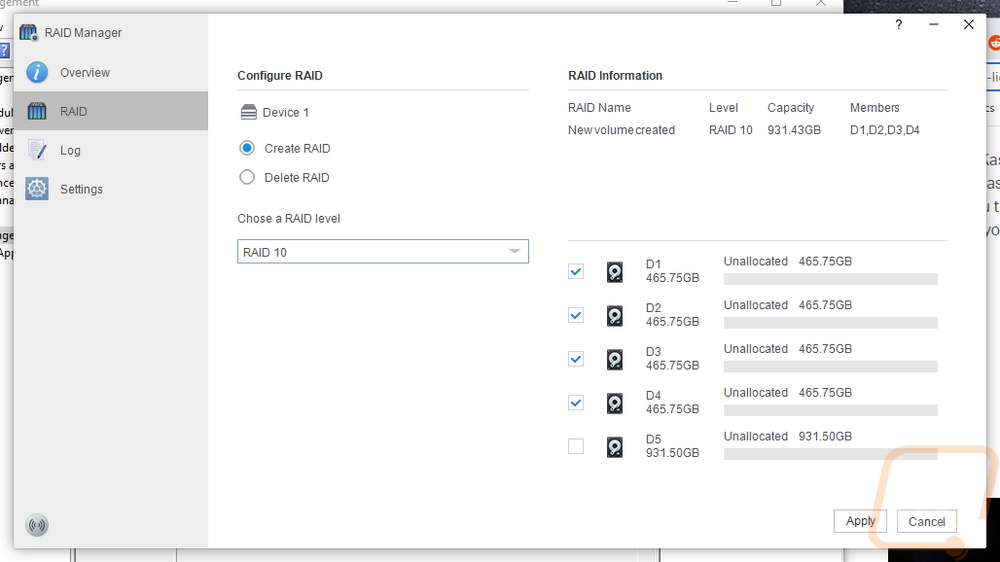
Then for the last test, I set everything up in a RAID 10. This is similar to a RAID 5 in that it does use striping to speed up performance. But RAID 10 is at the simplest level a combination of RAID 0 and RAID 1. If you have four drives it will split the four up into pairs and then run those pairs striped. This means two things. For one with the D5-300, you can’t use the fifth drive slot with the raid, you can however use that as a solo drive. I wish the D5-300 supported using that slot as a hot spare that would rebuild the raid if any drive died with the extra drive. RAID 10 also uses up more space with its redundancy which is why the four drives totaled up to 931 GB.
Overall and Final Verdict
Like I mentioned at the start of this review. Storage needs vary a lot depending on the person. For some people, a NAS is the best option because it can be accessed by any PC on your network. But there are some situations where a DAS or direct attached storage is a better option. Namely, if you have one PC or only want one PC to access the data or sometimes you might need to expand the storage on a server and don’t have any room for expansion. TerraMaster has a variety of options with both NAS and DAS and the D5-300 is one of their larger models with 5 drive bays. They do have a newer option as well that has a different configuration that has come out in the time that I have had this NAS (I’ve been really behind on this one). The D5-300C that I’m referring to does address a few of the issues I have with the D5-300 but there are situations where this is the better option as well.
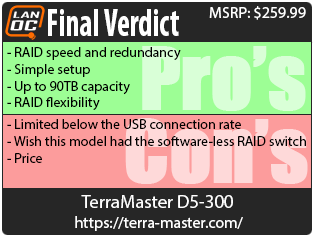
So without a doubt, the overall capacity of the D5-300 is its biggest selling point. With five drive bays combined with today's huge drives, you could set this up with up to 90 TB of data though I do think the speed limitations of USB and of the D5-300 itself might make going THAT large a little frustrating. What I like about this though is the relatively simple setup. Once you have the drives installed you give it power and plug it in and all five drives are going to register in windows. If you just want to have this as a desktop expansion without any RAID this would make setup very easy. I can see someone like a lot of Youtubers who have stacks of external drives using this to keep a few current drives in and swap between old drives.
If you want to set up a raid and I would suggest you do, the D5-300 has a hardware level raid but you will need to install a program to set it up. I do think that a manual switch like TerraMaster has done on some of their options including the new D5-300C would make this easier. But there is one area that the D5-300 that stands out because of the software. Unlike the switch option, with the software, you can set up more than one RAID at a time. So you could have a RAID 0 with two drives for speed and then the other three drives in a RAID 5 or two different RAIDs and then a single drive. I do suggest setting up a raid though either way, redundancy is important if you care at all about the data, and with some RAIDs, you can get both that and extra speed offered by striping.
As far as speed goes, the D5-300 isn’t the fastest option out there. The USB 3.1 Gen 1 connection itself is a limitation, but the D5-300 isn’t able to even get up to the speeds that the USB connection is capable as well even with SSDs. I did see better performance than TerraMasters specifications, but do know if you need performance the new D5-300C does speed things up.
This brings me to the pricing. The D5-300 has an MSRP of $259.99 which I will say that you can find a few DAS enclosures that have five drive slots at around $200 if you aren’t interested in RAID at all. The $259 price point isn’t too bad once you include the RAID controller but TerraMaster themselves have made the D5-300’s price look a little high now that the D5-300C is out for $219 and is faster. Both aren’t bad options, but unless you need the flexibility that the software configuration offers it’s the D5-300C that I would go with assuming it performs as well as promised. I do wish I had one here to confirm that though.
Live Pricing: HERE


