Photos and Features
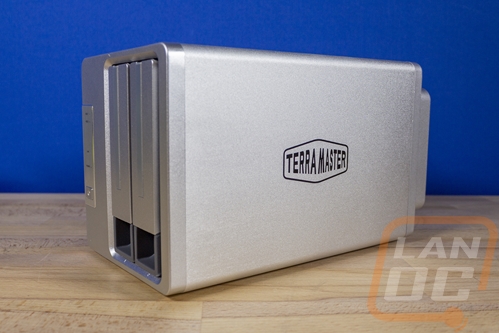
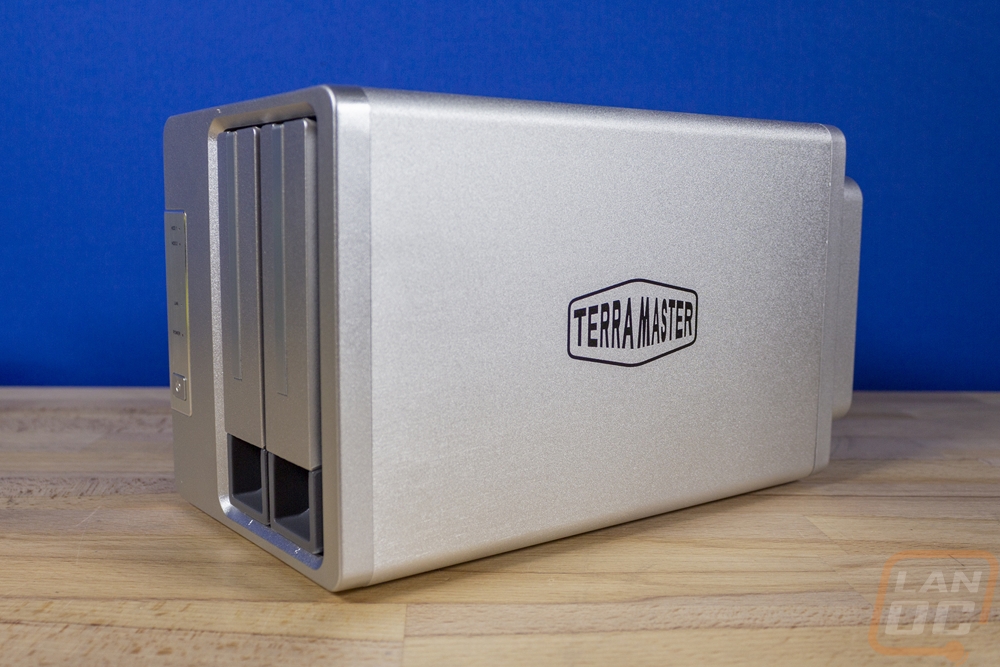
So earlier with the packaging, I mentioned that the F2-422’s box looked the same as the TD2 that I took a look at. Well the NAS itself also shares a LOT with the TD2 as well. Both have a two-hard drive capacity so TerraMaster was able to share most of the enclosure across the otherwise different products. That means the F2-422 has the same aluminum shell and silver finish and it has the Terra Master logo on the side. It is 227mm long, 133mm tall, and 119 wide. It is around the same size as your average two-bay NAS so no big surprises there and like the Thunderbolt3 enclosure this is a diskless setup so you do need to include your own hard drives, which is also what most NAS also require with the exception of a few options from the hard drive manufactures themselves.
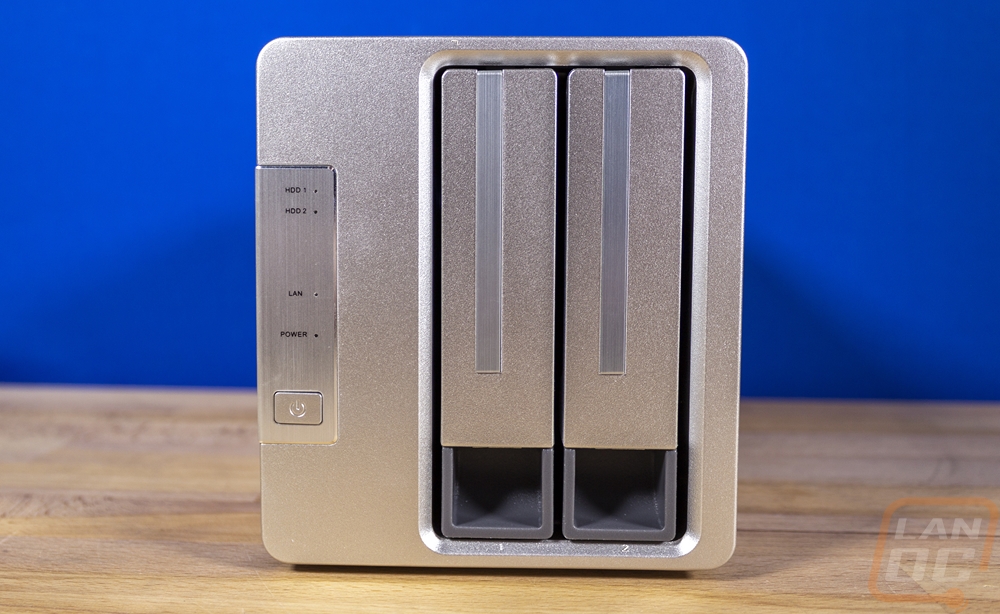
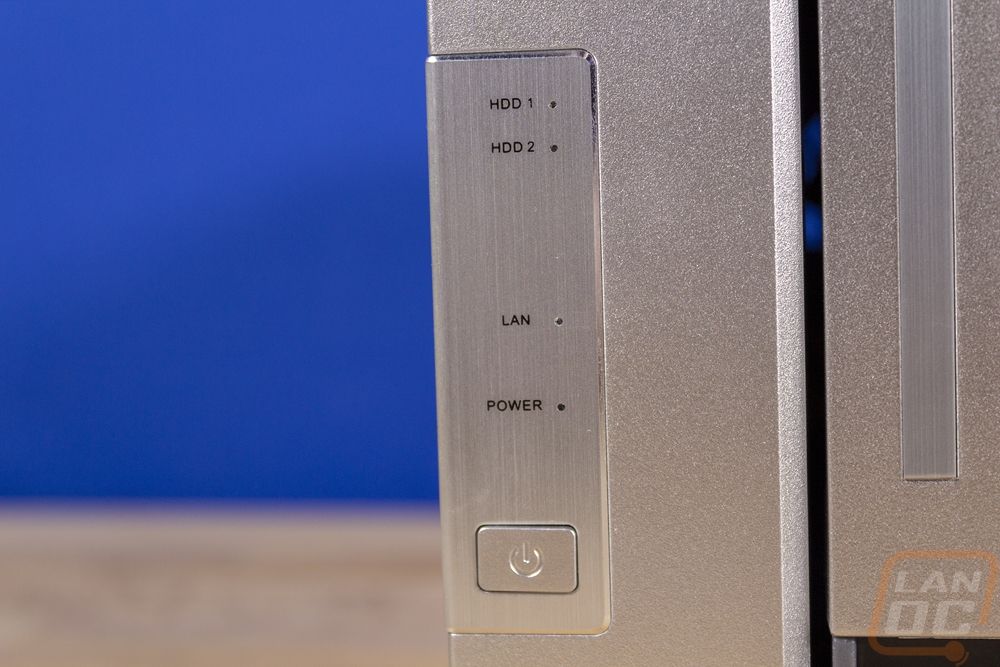
So the front of the NAS has the two pull out hard drive trays on the right side and down on the bottom below them they do have small labels as well so you can keep track of them but they are easily missed. Then over on the left, the front panel has four LED status indicators, each with a label. The top two are for the hard drives and will let you know that the drive is picked up or change color if there is an error. Then below that one is a LAN status indicator which flashes with network traffic. Then last is a power indicator. I’m surprised there aren’t more network indicators given that this NAS has three different NAS, it would be nice to be able to see which is hooked up from the front here. Then down at the bottom is a power button which sticks out a little, this might be better with a touch of protection from it being bumped.
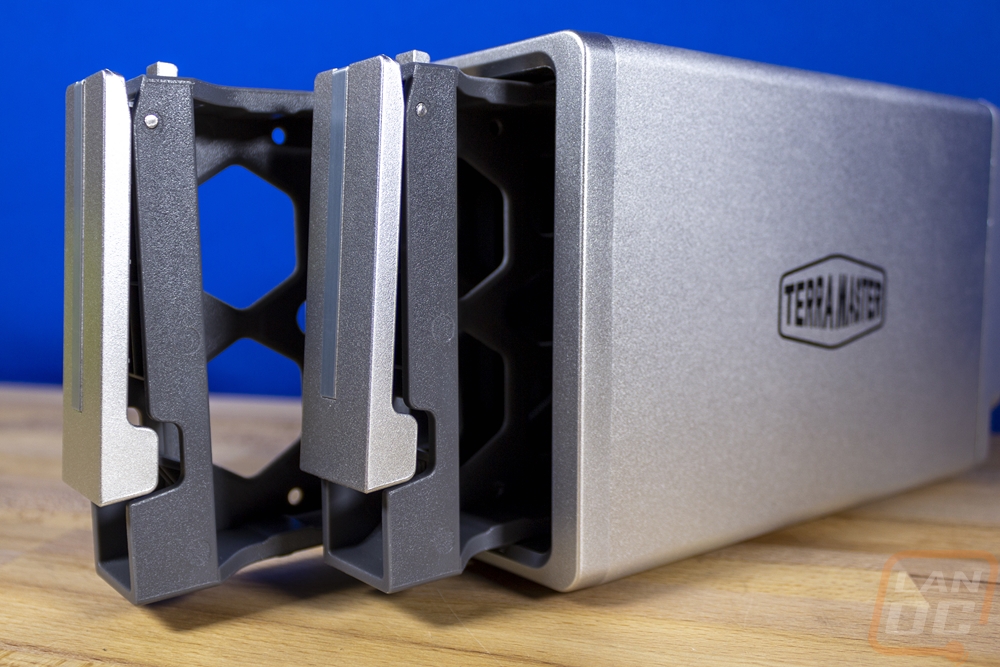
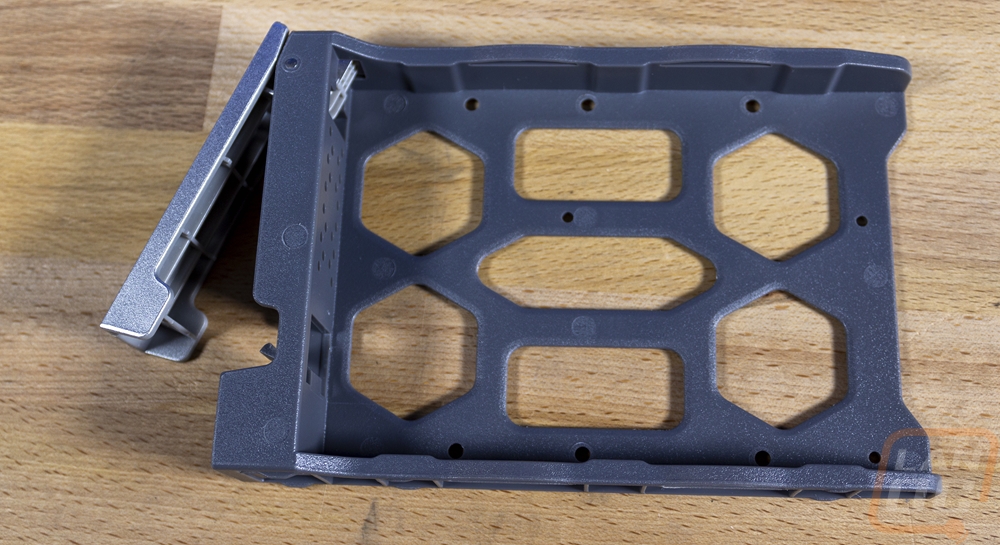
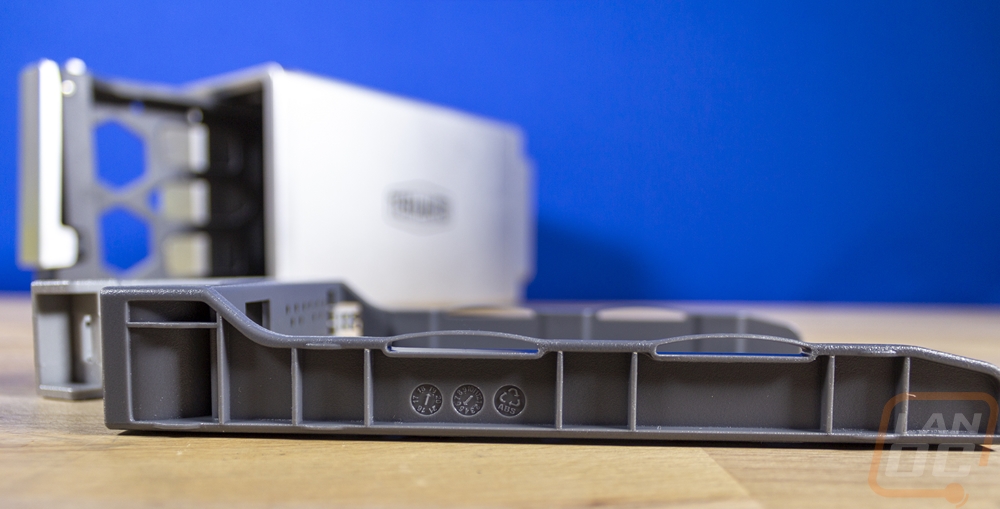
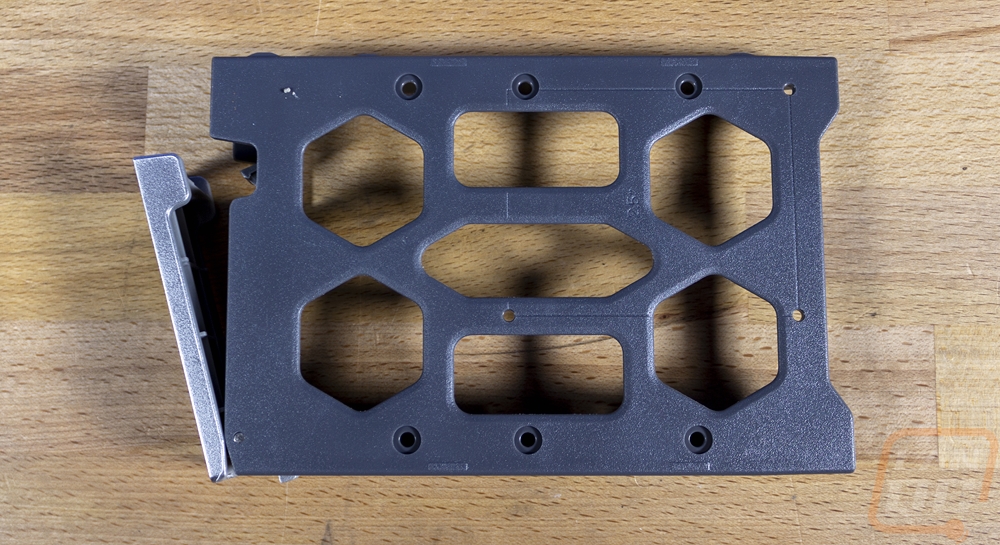
The pull out hard drive trays have a basic latch setup where you pull up on the silver front and it unlatches from the top and lets you pull it out. This also helps when putting drives in, giving you leverage to make sure they are plugged in correctly. Both trays are completely plastic and they don’t have as much ventilation as a lot of other NAS that I’ve seen but the front edge does have small holes in it for some ventilation. Interestingly the sides don’t have any mounting holes or any toolless setup for 3.5 inch hard drives. All of the mounting holes are in the bottom to be used with the included screws.
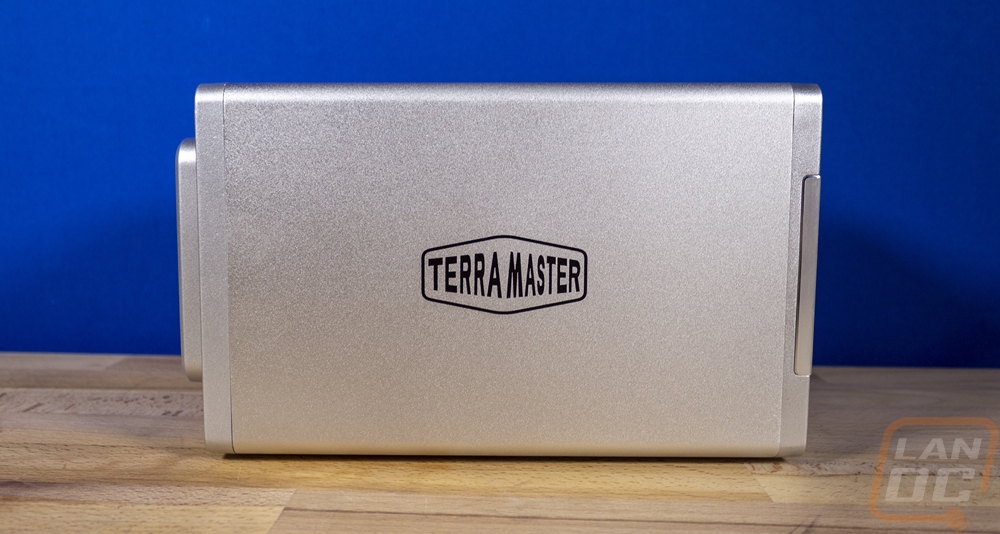
Both sides and the top of the F2-422 don’t have anything going on at all. The entire middle of the NAS is aluminum. Beyond that, the sides have the TerraMaster logo in the middle and that’s about it.
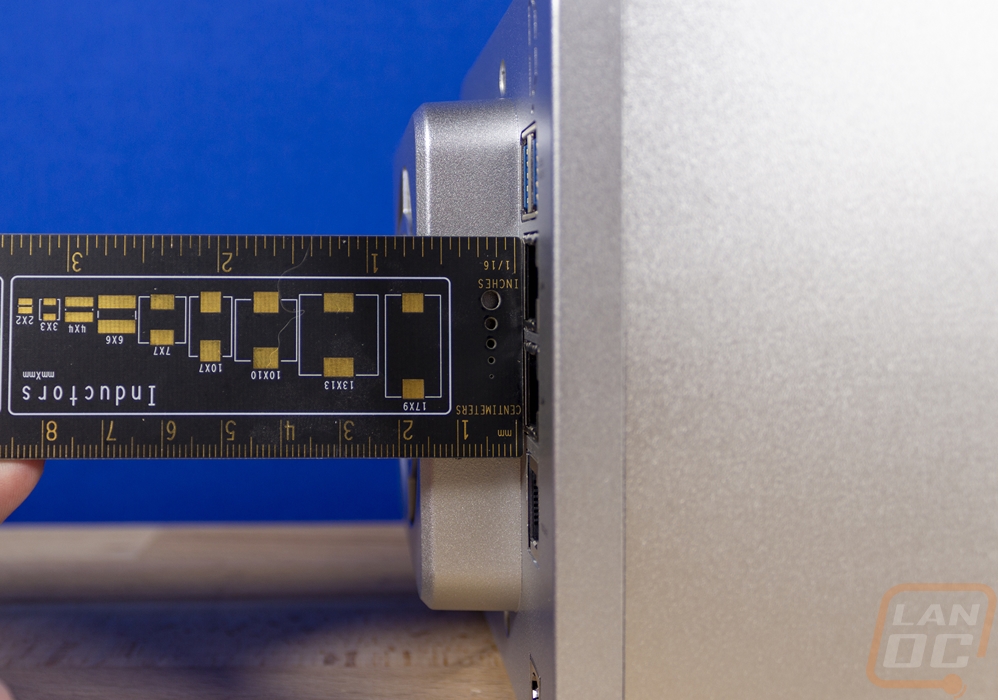
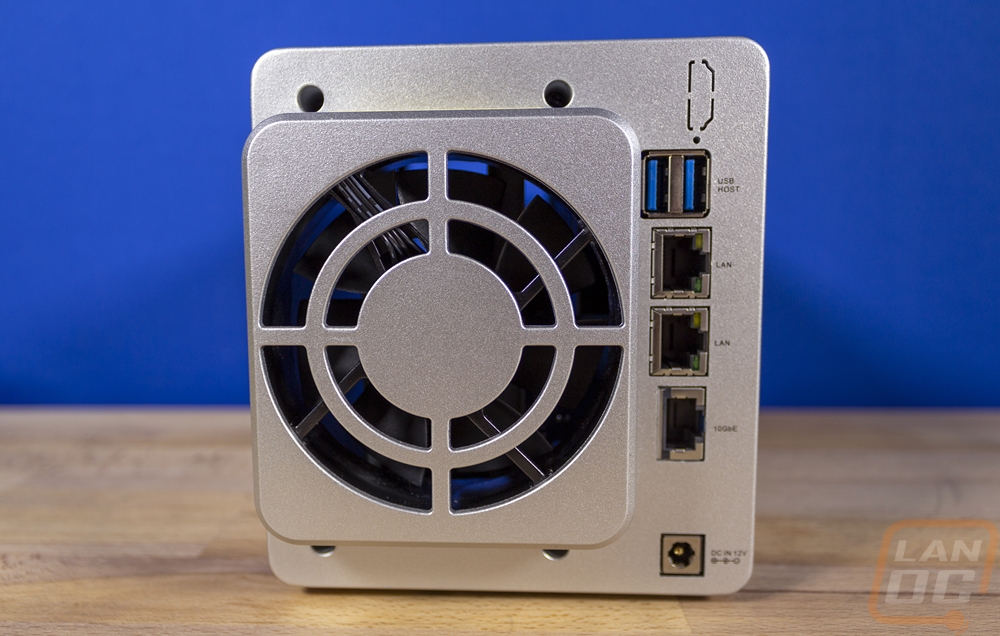
At the back, just like the TD2 the F2-422 has the bump out of the back that holes the enclosure's only fan which sticks out around 15mm. Then on the right of that is the rear I/O. Down at the bottom is the 12v DC power in from the included power adapter. Then for connections, the F2-422 has two USB 3.0 ports up top. Then there are three network connections. The top two that match are both 1Gb ports then the bottom port is a 10Gb network connection. It uses the same RJ45 connection as the other two but with 10 times the connection speed, assuming you have a 10Gb network to hook it into of course.
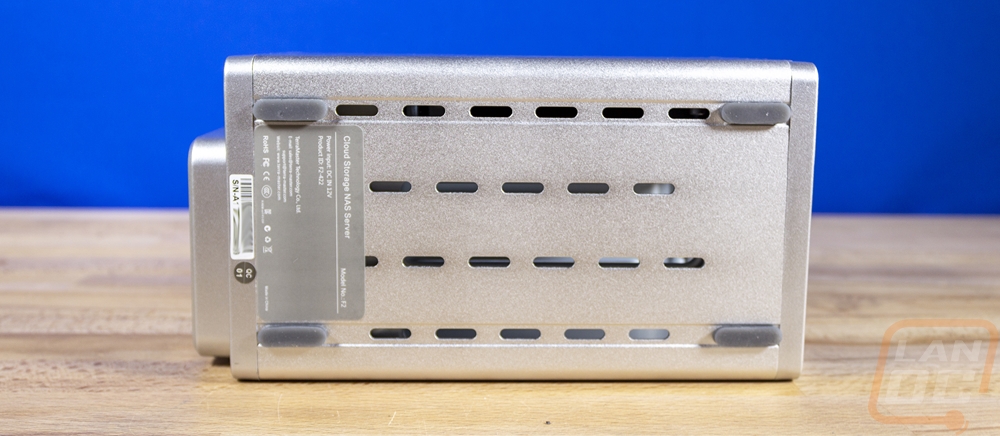
While the hard drive trays don’t have as much ventilation as I would like. The F2-422 makes up for that with the vents in the bottom of the enclosure. These still help pull fresh air up across the hard drives with the help of the rear fan. They also are under the motherboard as well to keep things cool. The bottom has inch wide feet on all of the corners to keep it up for airflow. This is also the only place on the enclosure that you will find the model information at all with the grey sticker having the model information as well as the normally required certification logos. With that, there is a smaller second sticker that has your serial number as well in case you have any problems.
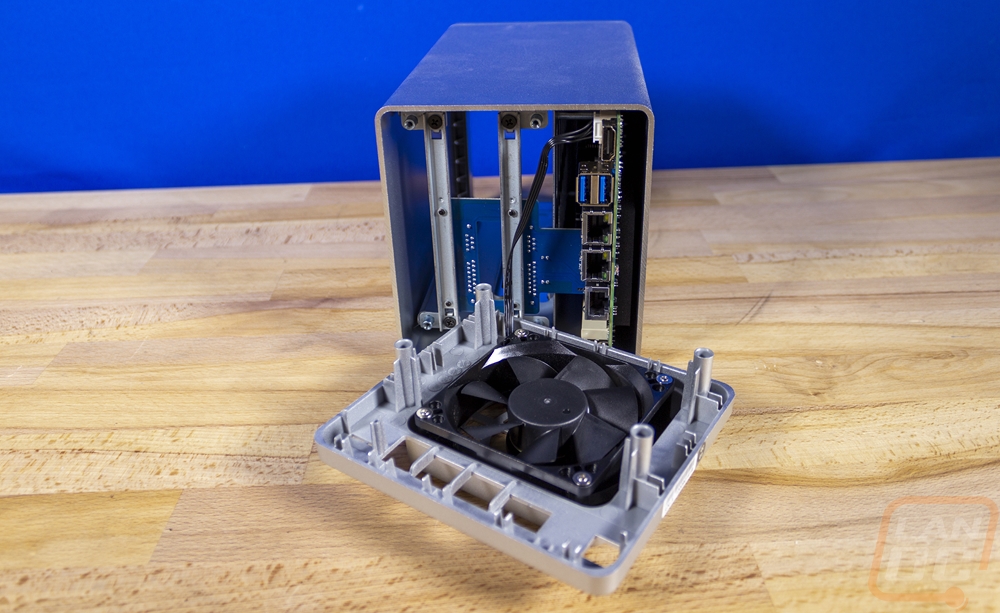
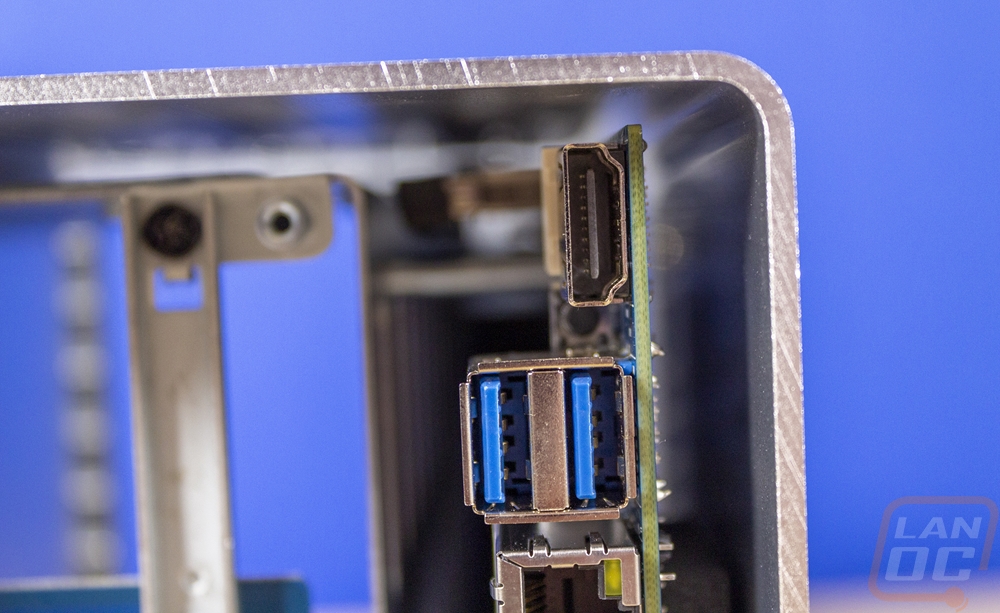
Digging inside of the F2-422 is extremely easy with just four screws on the back panel holding everything together. Once those are out the back panel comes off with just the cable for the fan being plugged into the motherboard keeping it attached. I was really surprised when I took this off however because I also found an HDMI port hidden behind the back panel. The rear I/O does have a knockout for it, but I didn’t expect it to be behind the knockout.
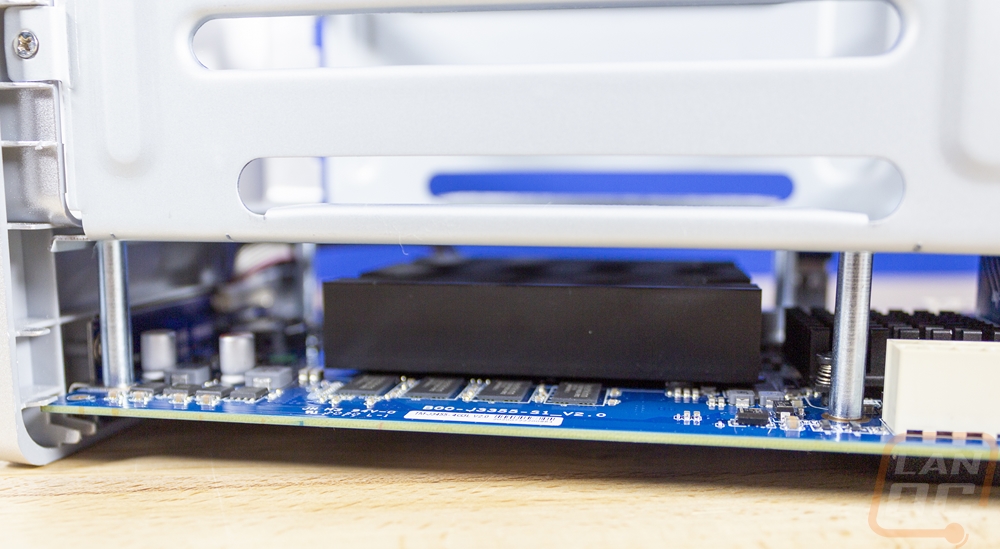
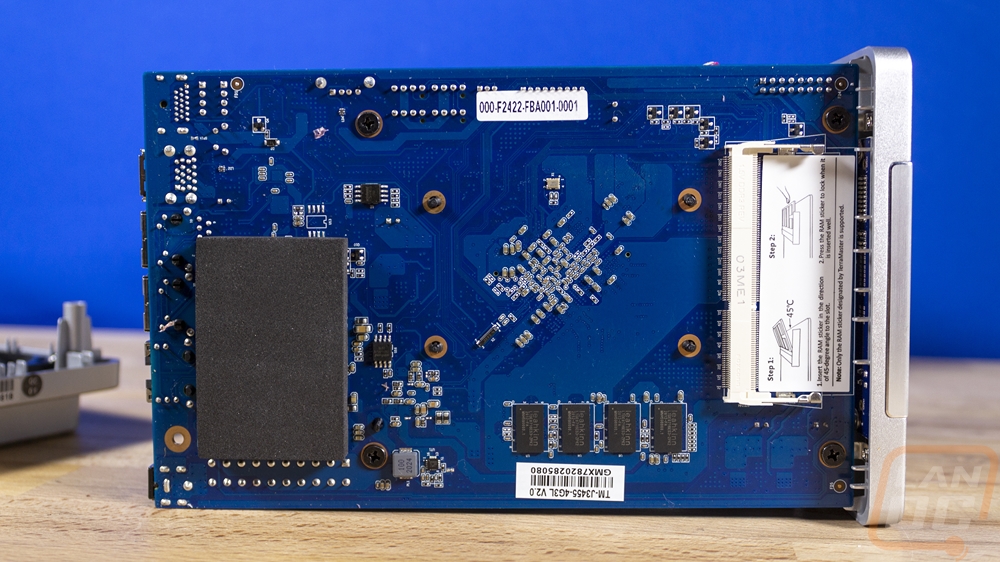
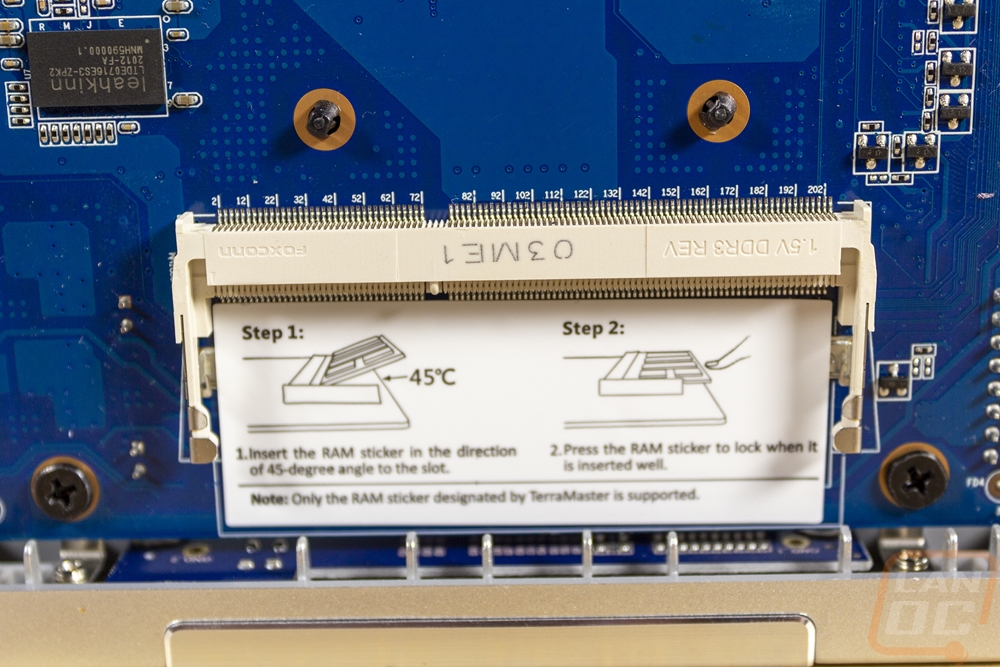
The back of the motherboard has a thick foam pad that helps keep things supported on the bottom of the NAS. Then over on the far right, there is a single DDR4 SODIMM where you can expand the memory of the F2-422, this might be the easiest ram upgrade on any of the non-rack-mounted NAS that I have taken a look at. Most are packed on the top of the motherboards up under the hard drive cage. This being a single slot is interesting though and if you look down at the bottom of the motherboard we can see why. The four chips above the sticker are memory. The base 4GB is soldered on so you can’t remove it and replace it with something larger. This also means that the expansion slot is limited to 4GB to match the base memory.
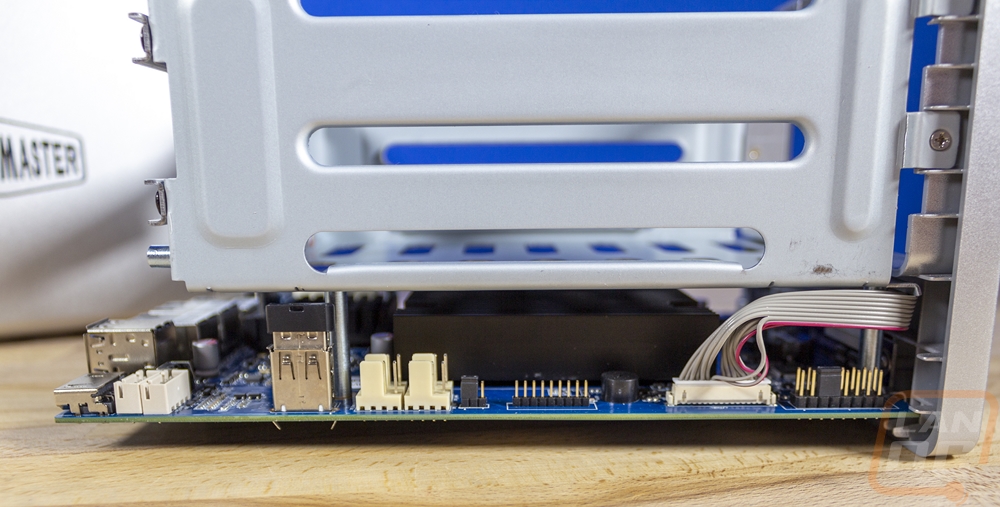
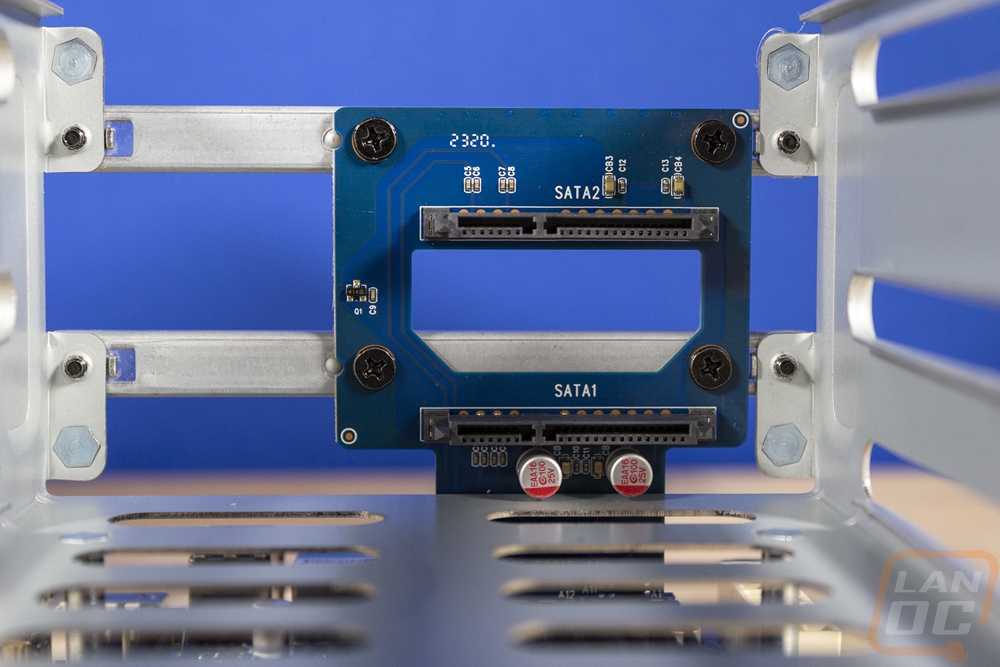
Up on top of the motherboard, the dual hard drive cage is attached to the top. The cage has a break-out board that plugs into a PCIe x4 slot on the board. This provides the two SATA connections as well as the power for the two drives as well.
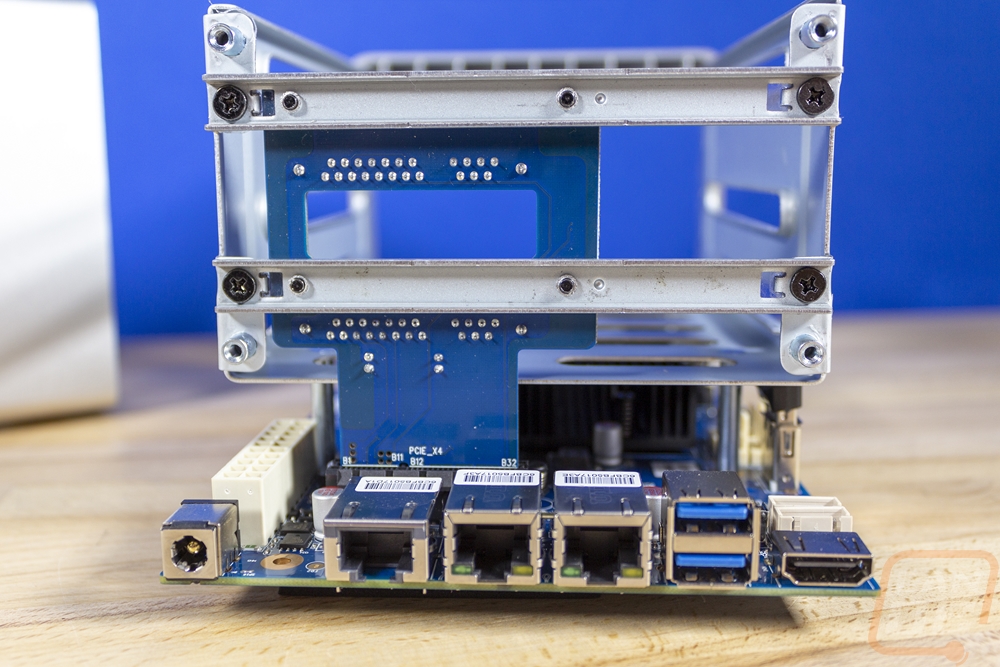
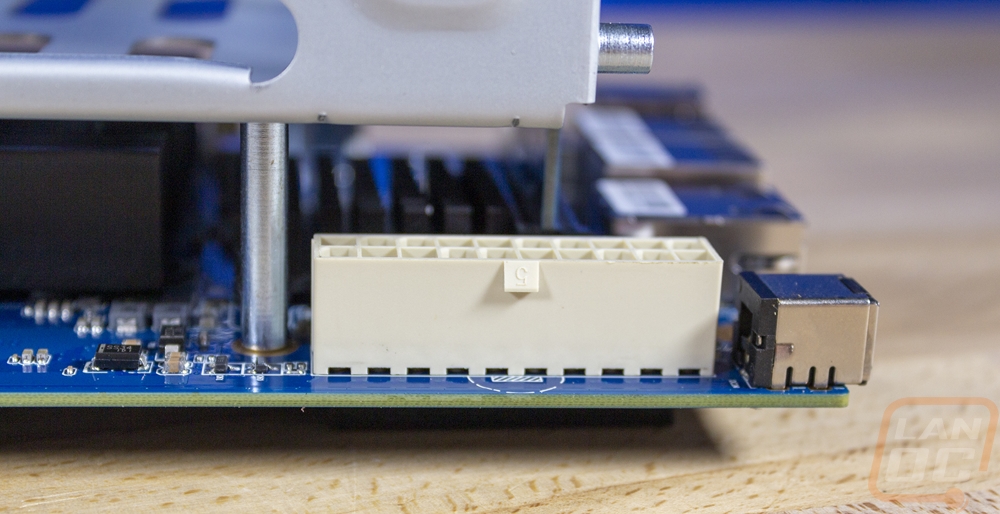
Poking around the rest of the board there are a few other interesting things. So the Intel Celeron J3455 CPU is in the center up under the drive cage. You can see the black heatsink that it has covering it. The J3455 obviously doesn’t need too much cooling with the basic aluminum heatsink without a fan. The J3455 is a Quad-Core that runs at 1.5GHz with a max burst of up to 2.3GHz. Its 10-watt TDP does explain the cooling. This is an older CPU, I tested the Qnap TS-453Be with the same CPU back in 2018 but it is still capable of handling things. Also around on the motherboard, I was surprised to find a normal motherboard power connection which was unused and there were also more fan hookups, four in total. Then there is also an internal USB plug with a dongle inside. Normally this is a basic way to add wireless or Bluetooth to a chipset without it but the F2-422 doesn’t have either so I’m not entirely sure what that is being used for. It may be storing the base OS for the installation, that’s my only other guess but I wasn’t able to confirm.