Photos and Features
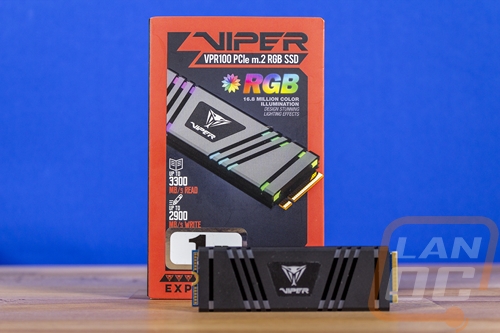
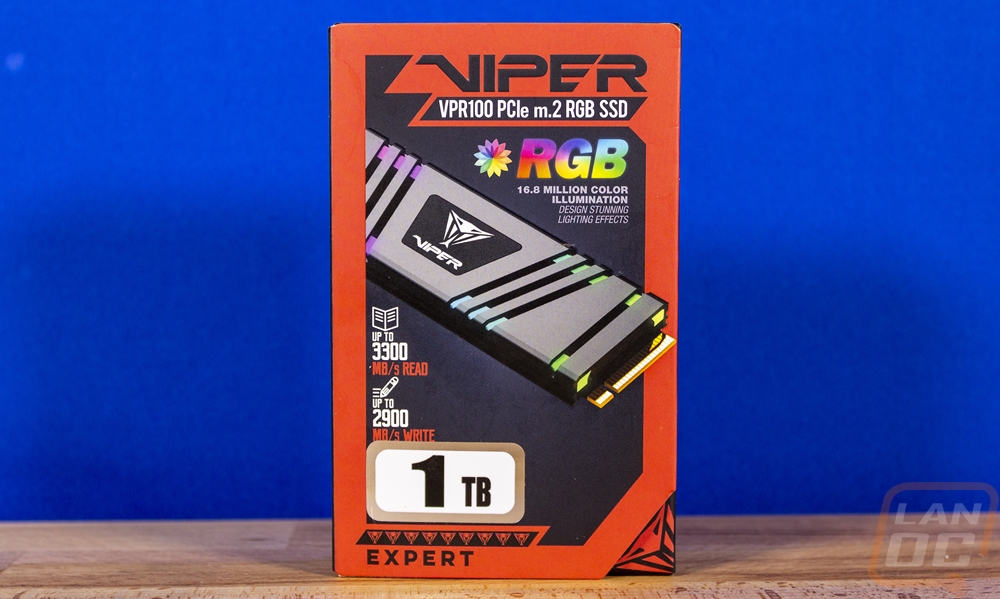
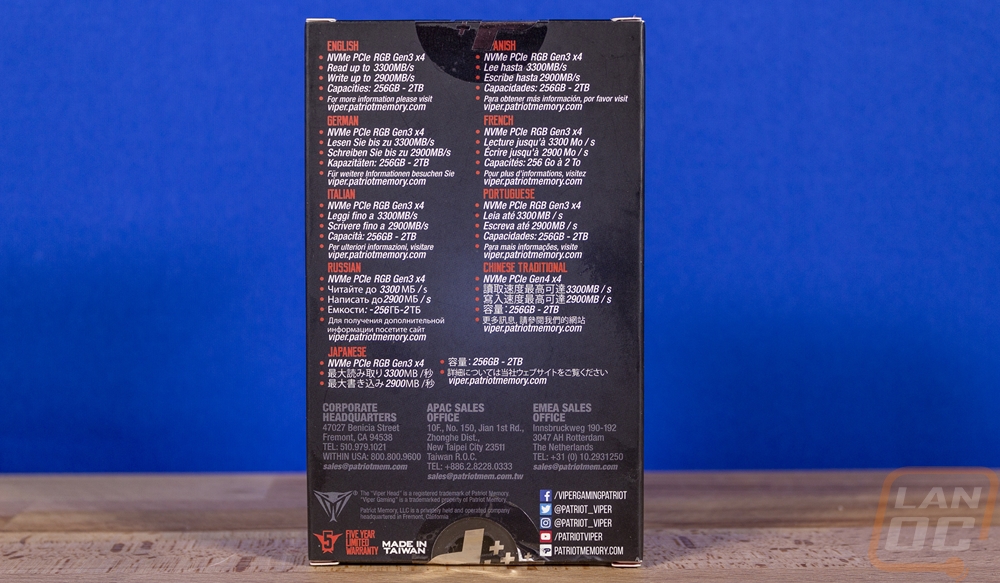
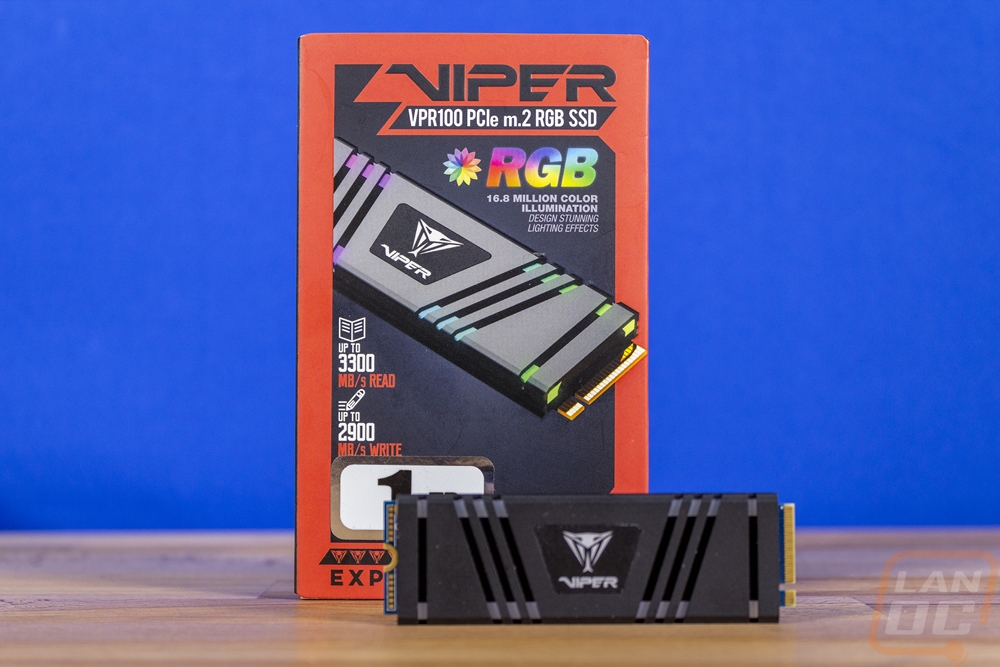
So the box for the VPR100 RGB SSD is actually very similar to the last Viper SSD I had come into the office. It has the same red outline and of course the Viper branding up on top. They also have a viper rating down at the bottom, which I assume is related to installation difficulty, classifying both drives as Expert. I love that they put a picture of the SSD right on the front. Even when it isn’t about RGB lighting or heatsinks, I do sometimes factor in the PCB color of a drive when picking one, just like with memory, I will still try to at least get something that matches the build. Above the picture they highlight the RGB lighting with all of the colors, what is important to me is what is below where they say the drive should see up to 3300 MB/s read and 2900 MB/s write speeds, nice! Our specific sample is the 1TB model as you can see from the sticker near the bottom. The front opens up and you have a full description of the drive and those read and write speeds featured again on each side of a plastic window that lets you see the drive itself. That is even better than a picture! The back mostly just repeats those same drive speeds and that this is an NVMe PCIe RGB Gen 3 x4 drive, having the RGB in the middle of that is a little confusing though lol. That is repeated across 9 different languages, then at the bottom, they have social media information and addresses for three offices.
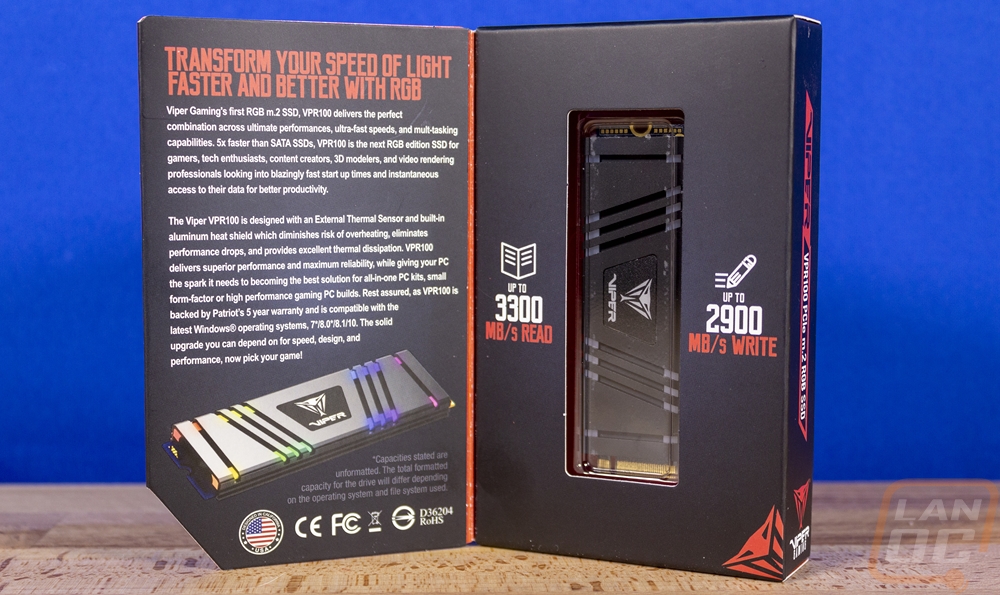
Inside of the box, you get a clear plastic tray which has the drive completely enclosed. There isn’t any documentation or accessories. They get right to the point basically with exactly what you bought, protected but visible.

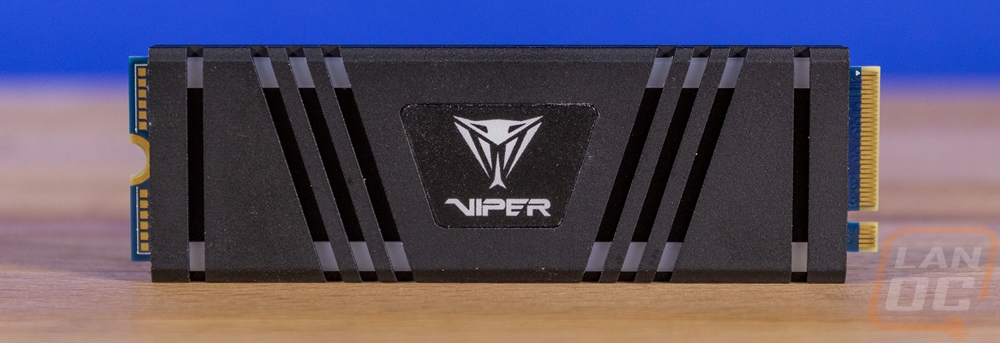
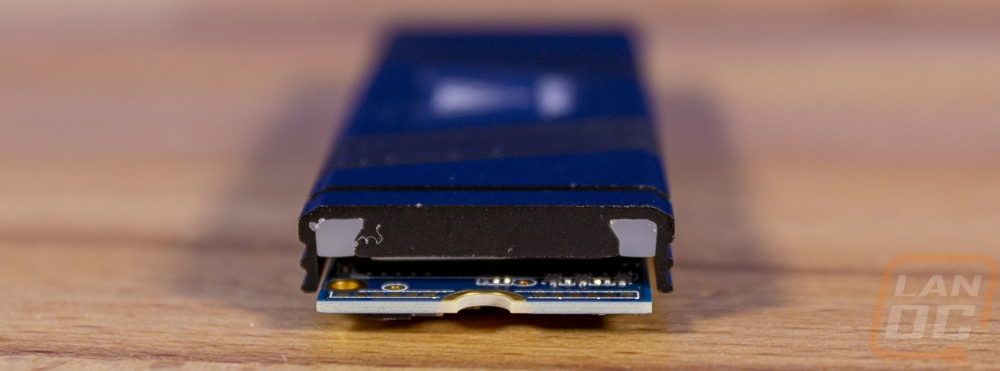
The first thing I noticed about the VPR100 is that the heatsink is actually much thinner than the last Viper M.2 drive to come into the office. This heatsink features the Viper name and full logo in the center and then it has grooves cut in each side to give it a V shape and then one last pair of grooves that are vertical on the ends. Each of those lets you get a peek at the two light diffusers that run the length of the drive. The center logo has RGB lights behind it and then there are addressable LEDs that go under each diffuser. The heatsink itself is aluminum with a black textured finish. When you look at the picture of the end of the heatsink it gives you a better idea of the thickness of the drive and how the two diffusers are placed. The center of the heatsink is still dedicated to cooling.
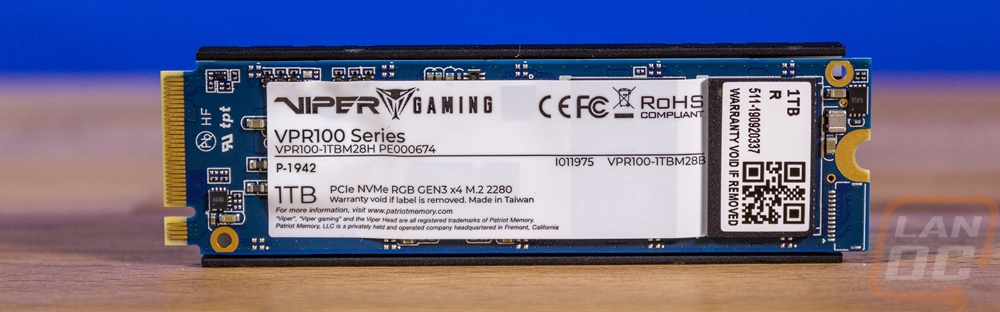
The back view of the drive has a full-length sticker, the type you would normally see on the top. This has a few of the normal certification logos on it of course. Then it has the model number and drive capacity on it. Interesting enough is that there is another sticker on the end covering one of the NAND that again has our 1TB drive capacity and what I assume is the serial number. They also say the warranty is void if removed, but at least in the US that has been proven to not be true at all. Not that it would stop me even if it was. I did pull the main back sticker off to take a look under it. We have a blue PCB which although not visible from the top much is an interesting choice. Black would look a lot better with the drive. Under the sticker, we can see one DDR module letting us know this isn’t a cacheless model like a lot of drives have been going as a cost-cutting measure. We can also see that this is a dual-sided drive with two NAND on this side and we can expect another two on the front. The VPR100 does come in a few different capacities (256GB, 512GB, 1TB, 2TB) with our 1TB model being large but not the largest so the dual-sided design does allow for that while only having to go with 512GB NANDs.

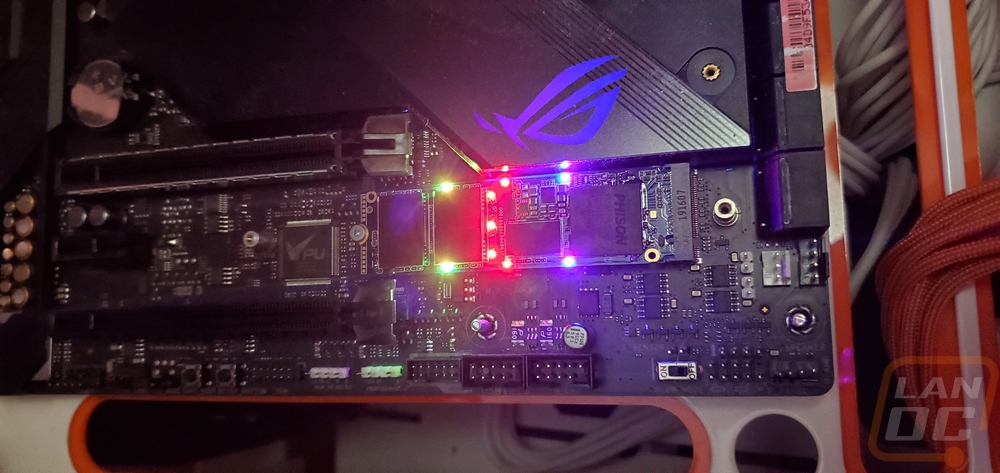
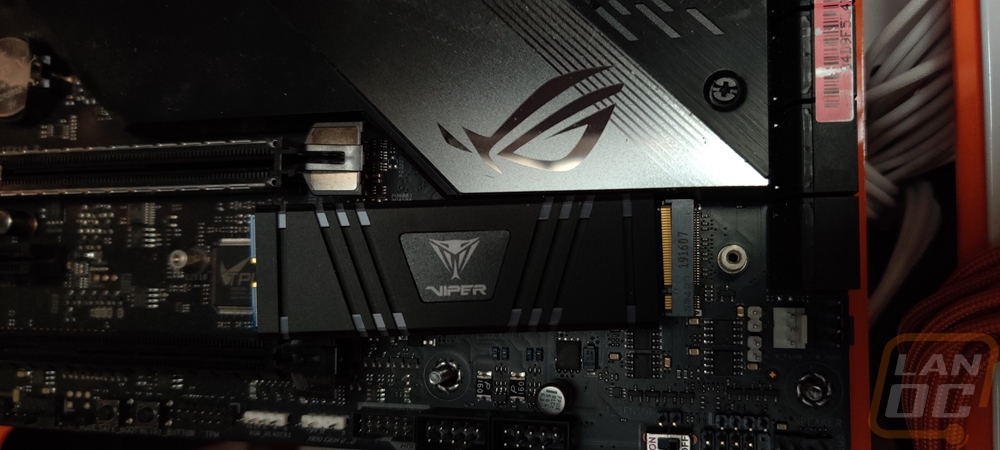
Now I hadn’t originally planned on showing what the drive looked like under the heatsink. At least not until I finished testing. But when I originally installed the drive in our Asus X570 Crosshair VII motherboard in the second M.2 slot I ran into an issue where it was extremely tight against the chipset heatsink. This is because the heatsink wraps around the sides of the drive where on other drives like Vipers own VPN100 or the WD Black SN750 with heatsink, they don’t overhand the edge of the PCB at all. I managed to get it to fit when I really shouldn’t have and eventually that pressure pushed the heatsink off. Oops.
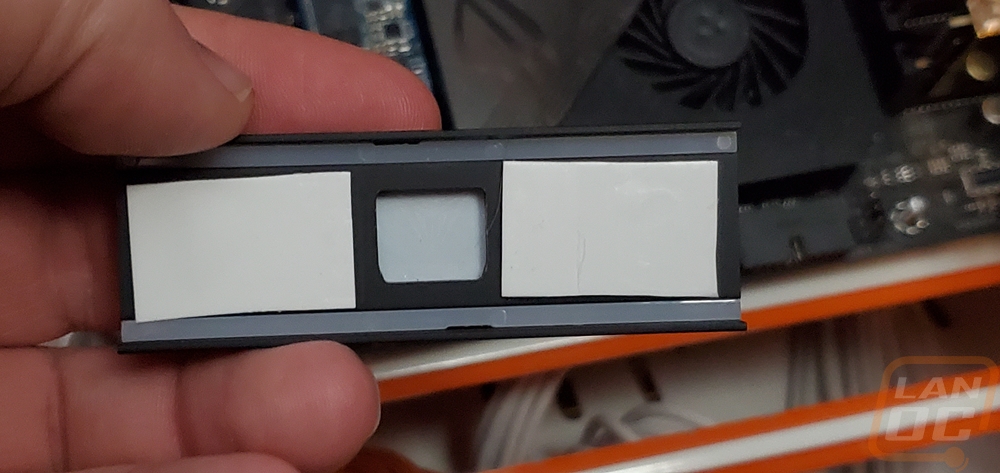
With the heatsink off the drive, I did go ahead and get a few photos including of the underside of the heatsink. You can see the diffusers that run the length of the heatsink and also how the center is hollowed out to get the lighting up to the Viper logo in the middle. Beyond that, it is kept attached with two thermal pads which land on the controller on one side and over one full NAND and ¾ of the other on the other side.
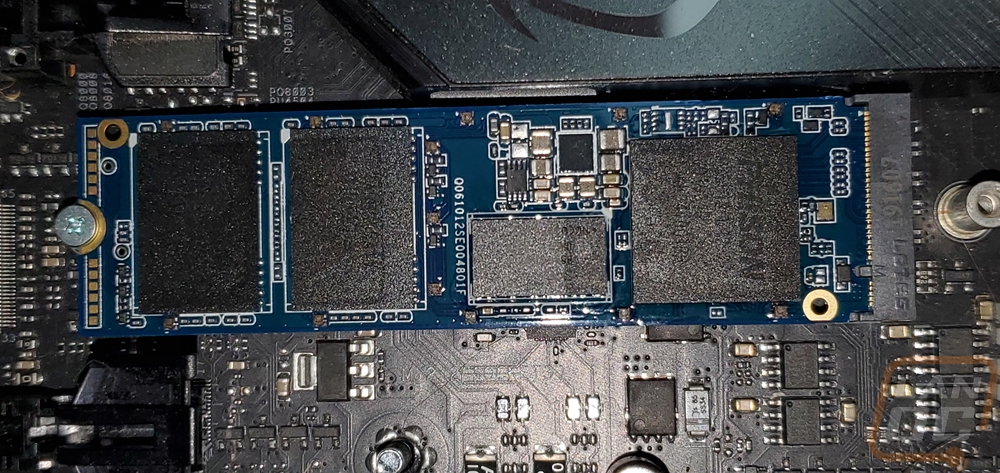
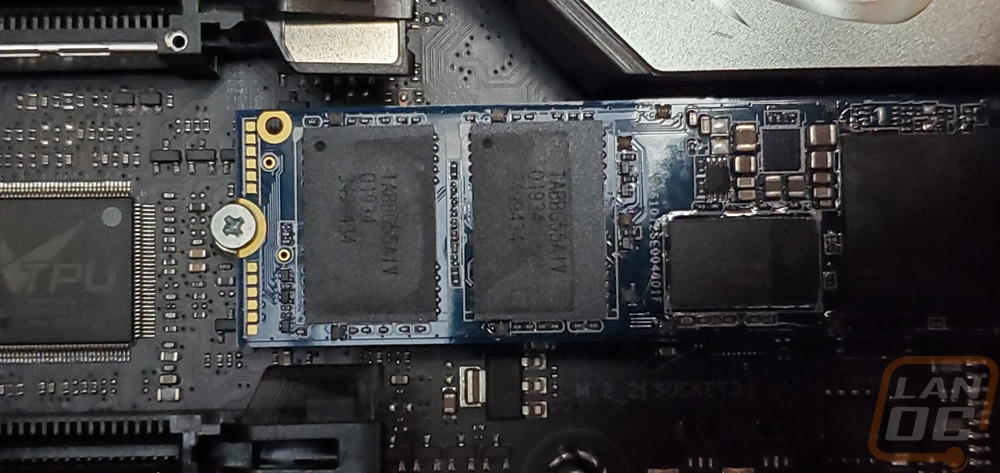
Here is a look at the top side of the drive. As expected it has two more NAND on the left. On the right is the Phison E12 Series Controller. Then in the middle, there is a second memory chip for the cache. Both have SKHynix branding with the model number h5an4g8nbjr which means each offers 4GB in cache. Which are both DDR4 and running at or at least rated to run at 2400 MHz 17-17-17. If you look close you can also see exactly where the heatsink contacted and where it didn’t, it did touch the top DDR4 slightly but not much.
With the heatsink off I also had to take a look at the lighting right? You can see a total of 9 LEDs lit up but I can confirm that this is because it was in the middle of a lighting effect. There are two more LEDS on each end that weren’t lit up at this time. Basically, there are five addressable LEDs for each of the diffusers that run the length of the drive and then three in the center for the backlighting on the Viper logo/branding.