Photos and Features
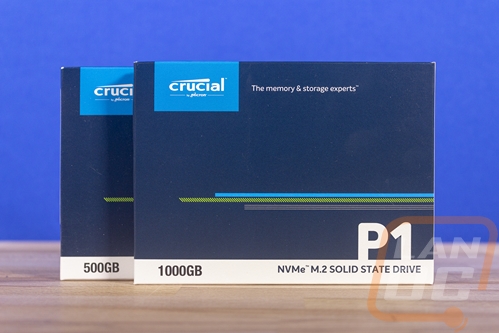
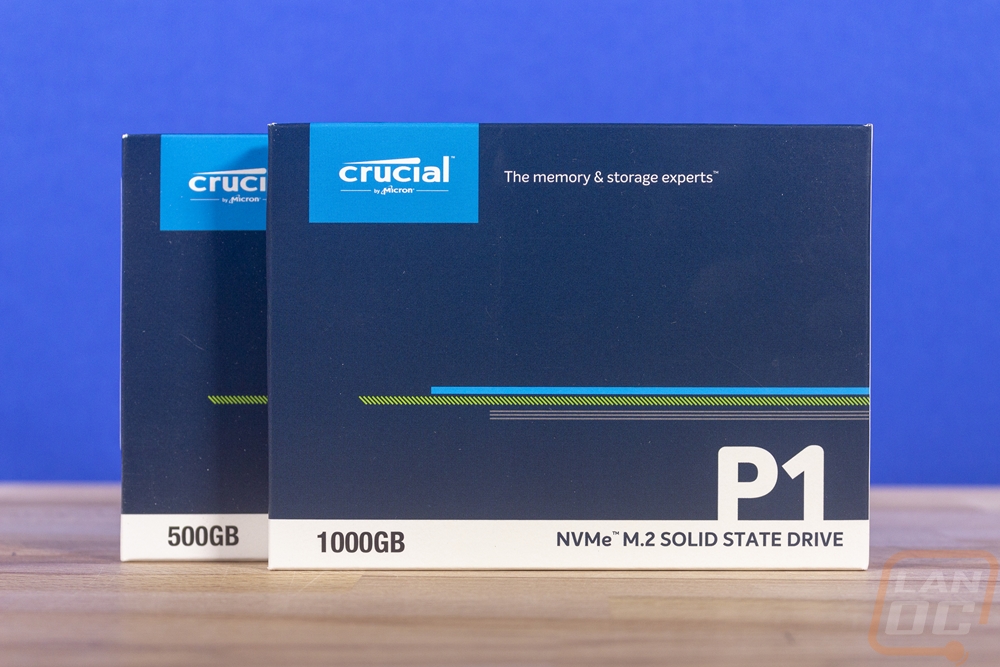
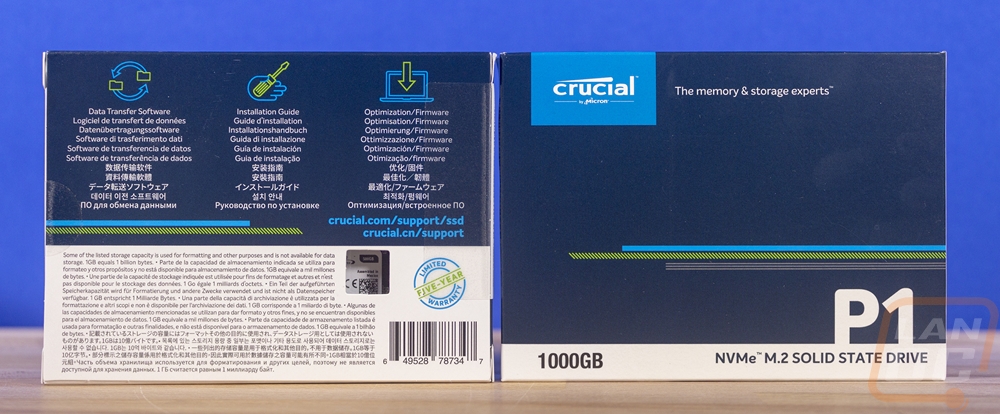
Before diving into the Crucial P1 itself, we should take a quick look at the packaging. Both the 500Gb and 1TB drives were sent over and they both have the exact same box with the exception of the capacity printed on them. It is a simple look with a dark blue background and the Crucial logo up in the top corner with lighter blue around it. The P1 branding is the most prominent with mention of this being an NVMe drive below that. The back of the box doesn’t have anything special going on. They mention an installation guide, data transfer software, and optimized firmware but don’t explain any of those. I can only assume they mean you can get all of those at the support link listed below that.
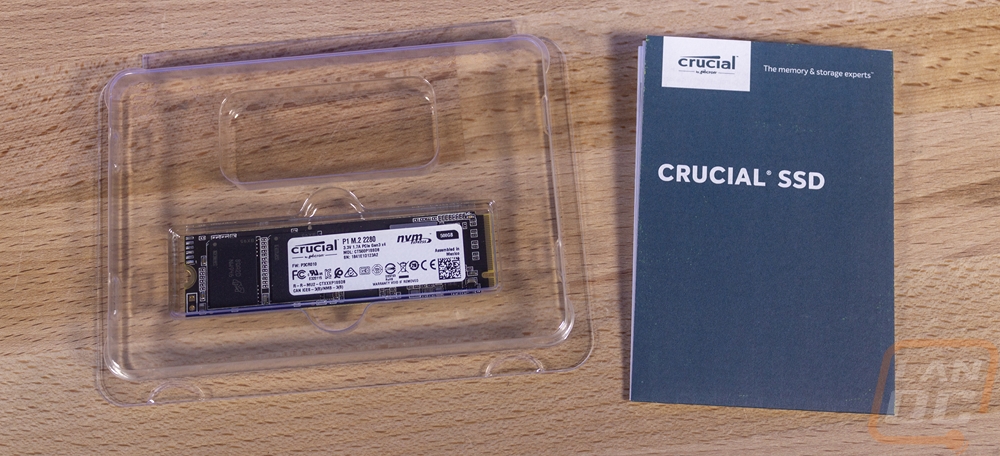
Inside, the M.2 drive comes in a plastic tray like normal and there is one guide folded up with information on the warranty inside.
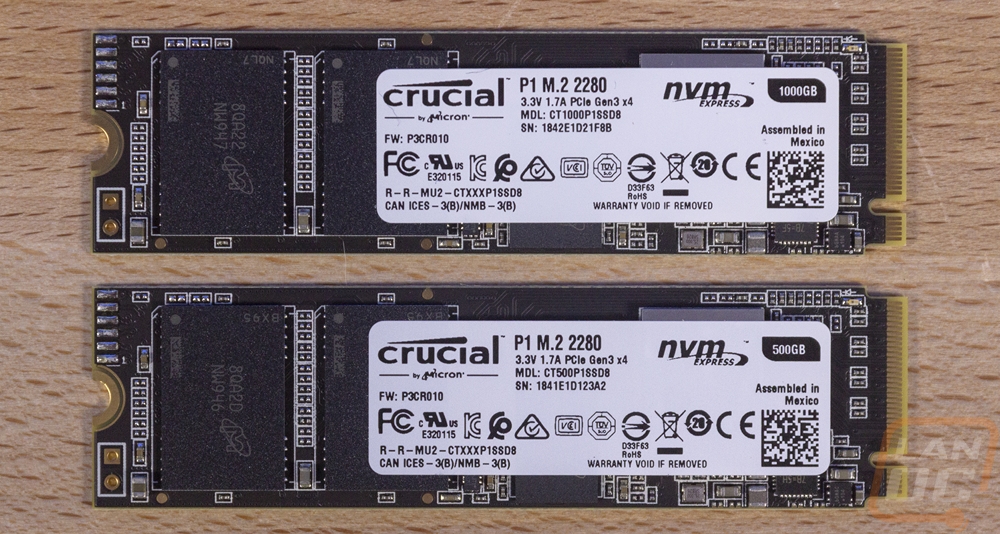
Well if I’m being honest I miss the different cases and styles that 2.5-inch SSDs had, but M.2’s are also right to the point most of the time. The P1 in both capacities is about as basic as you can get when it comes to aesthetics. Most M.2 drives really can only use a sticker to give it any specific look with the exception of a few that have a heatspreader on them. But Crucial went with just a plain white sticker with all of the required and needed information on it. So in the top left corner, you have Crucial by Micron and next to it the model name which is P1 along with its M.2 length of 2280. Below that they have the voltage and amperage draw and it is a PCIe Gen 3 x4 drive. The model and serial number as below that, I think the code in the corner is also the serial number as well. The capacity is in the top right corner and then there is a stripe with all of the federal certifications and stuff like don’t throw in normal trash that is also required.
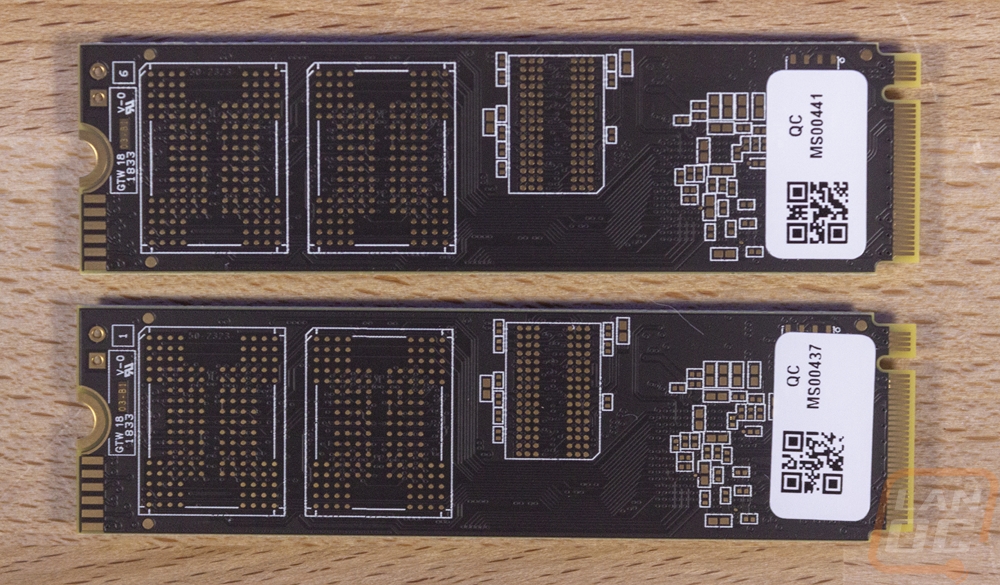
The back side of both drives has a QC sticker on it and beyond that, the layout is all the same. You can see they did at least go with a black PCB. The only thing noticeable that is different here is the number 6 on the 1TB drive and 1 on the 500GB drive in the top left corner printed on the PCB, this may be revision numbers or manufacturing related.
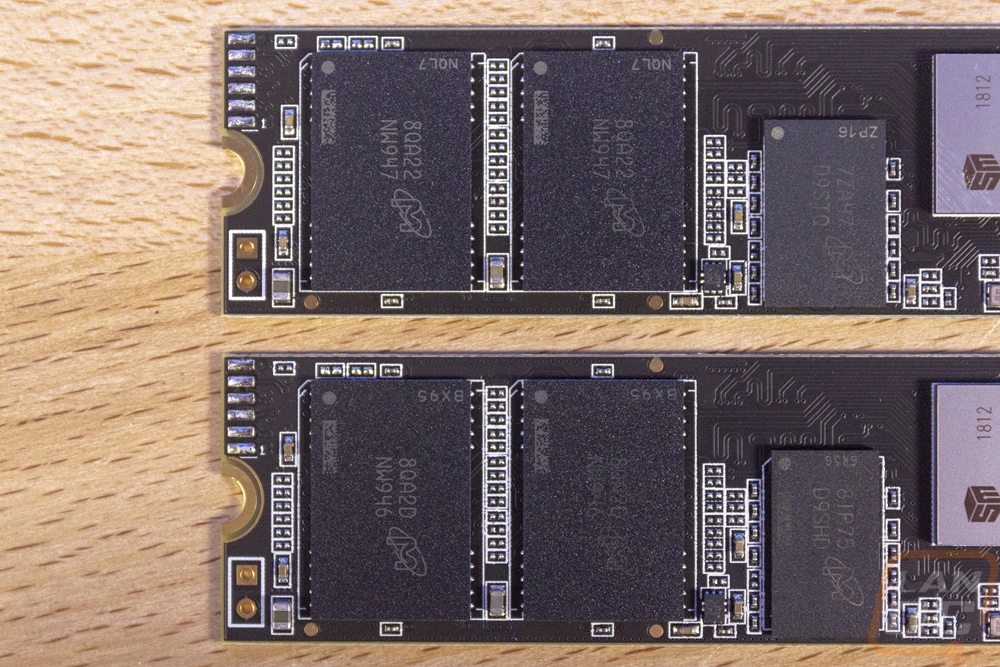
I pulled the stickers off of the drives so we could get a better look at the layout and talk a little about the components on the P1. The top drive is the 1TB and the bottom is the 500GB. They both have the same controller. It is the bright silver chip on the right side with the SM2263ENG model number on it. This is a Silicon Motion controller as noted by the SM logo and it is officially the SM2263 controller. This is the same one used on the Intel 660 as well but from what I understand Crucial is using their own firmware. To the left of that, the smaller black chip is a ram chip. Specifically, Micron DDR3L chips. The 1TB has a 1GB (D9STQ) chip and the 500GB drive has a 500MB (D9SHD) chip. This is an improvement over the Intel drive and it sticks with the 1GB cache to 1TB of capacity rule that some drives use. It should also be noted that the upcoming 2TB version will have 2GB DRAM but in DDR4.
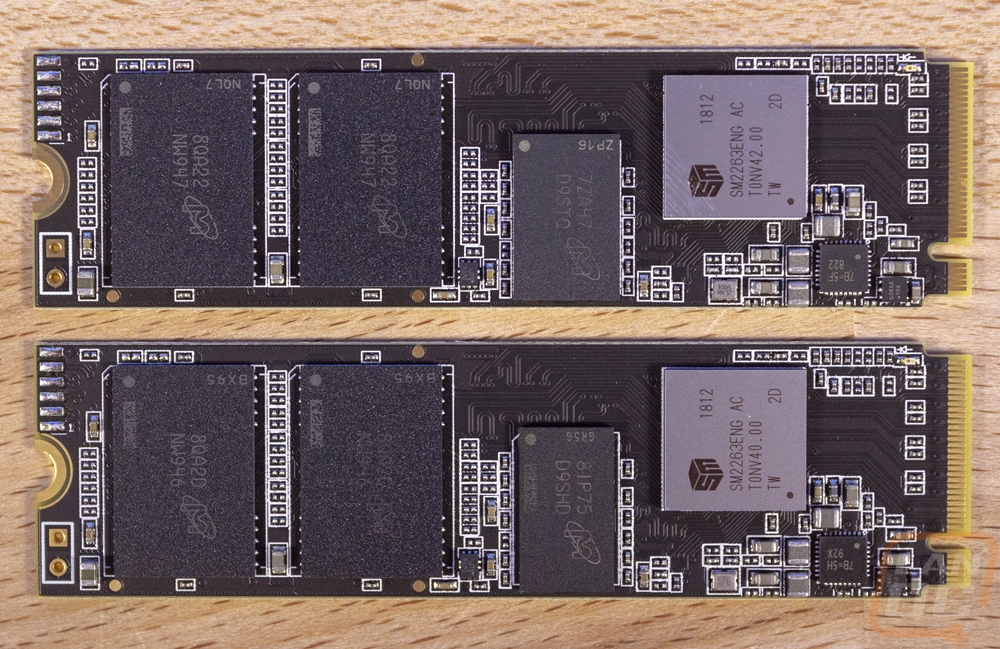
There are two NAND chips for each drive on this side and the back has room for two more and an additional cache as well from the looks of it. These are also Micron made and are relatively new 64 layer 3D QLC flash. QLC is designed to hold more capacity for cheaper with 4 bits per cell where TLC did 3 bits per cell and MLC 2 bits per cell. QLC isn’t known to be extremely fast so it does rely a lot on treating part of its capacity as an SLC cache to speed up writing to the drive and from what I understand the P1 also keeps some often used data there to speed up read speeds so it should be interesting to see how that shows in our testing. The 1TB drive has two 512GB NAND chips and the 500GB drive has two 256GB NAND chips so there is some room left over to help maintain the 1TB and 500GB capacities later on in the drives life.