Software
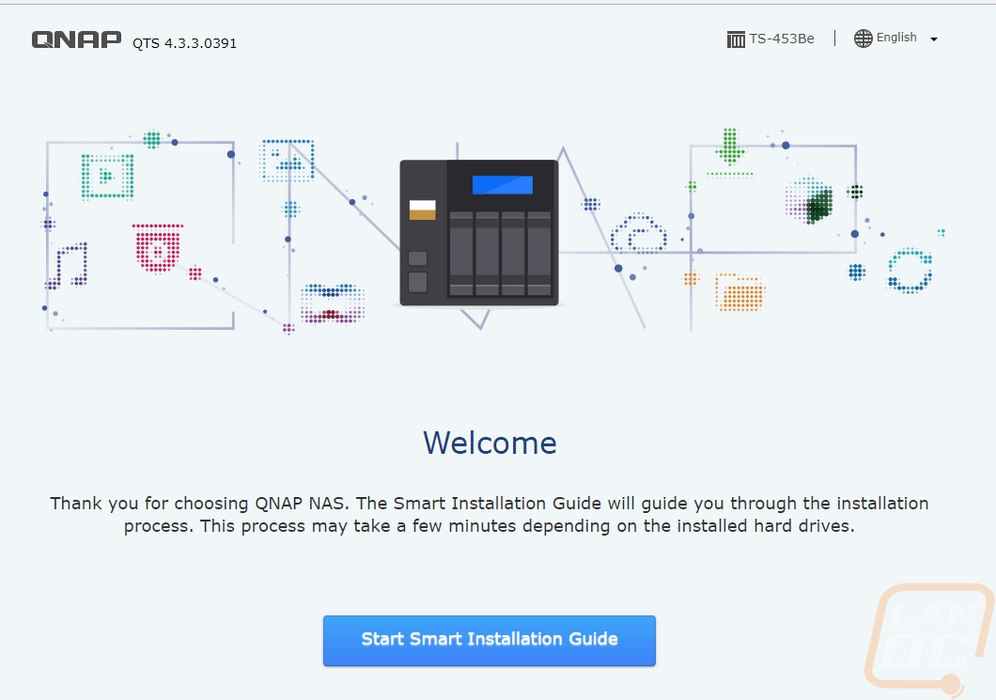
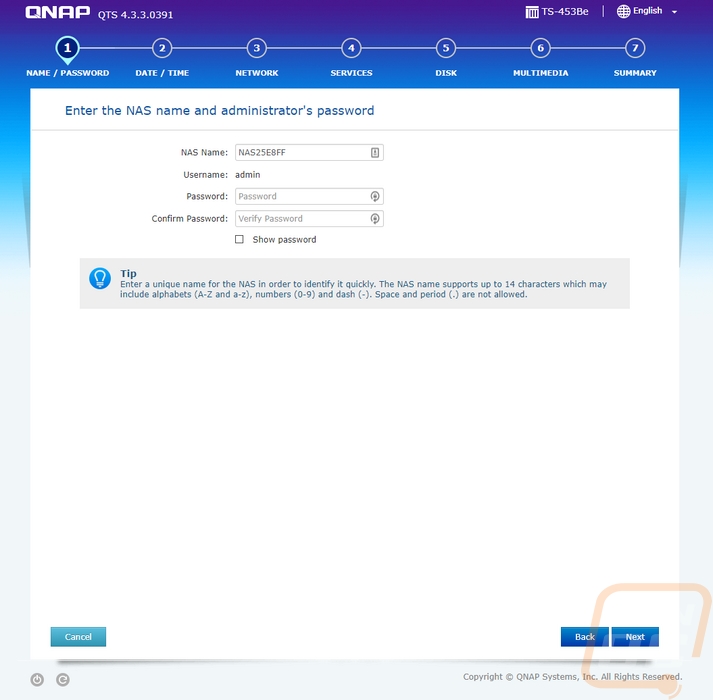
Before you can use the TS-453Be you do have to get everything set up. I will talk about getting the hard drives installed in the next section but as far as the software goes you do have to go through a short installation process. Basically once powered on you log in to the NAS via its IP and when you get there you have an install wizard to run through. The first page will have you give the NAS a proper name and set up your admin password. Then from there, you have to tell it your time zone and get your network configuration setup.
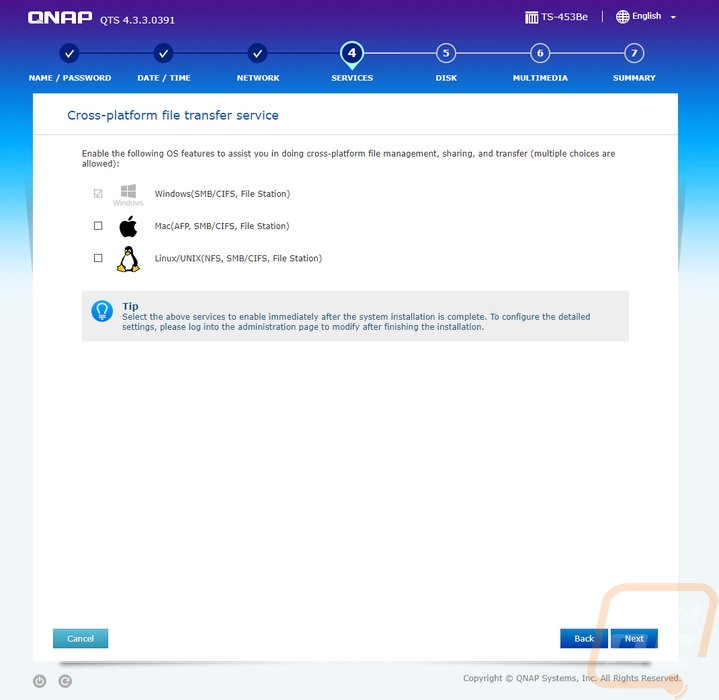
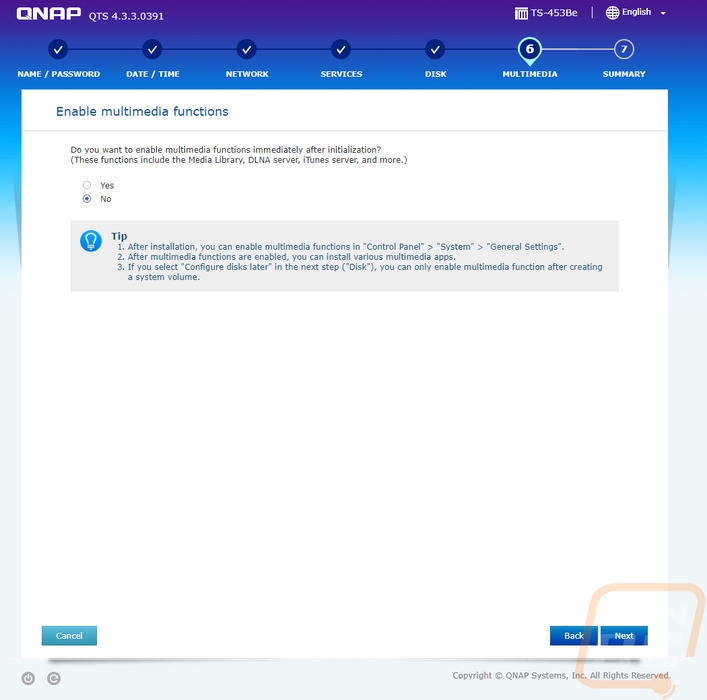
Then you have to tell Qnap what types of services you need to be running. In my case, I will only be connecting to it via Windows so I didn’t need to set up the Mac and Linux file services. You will also have the option to turn on multimedia functions, for me, I don’t need those as well. There is also a page for you to set up the disks but I skipped that setup because for performance testing I will be going through and testing using a few different RAID configurations.
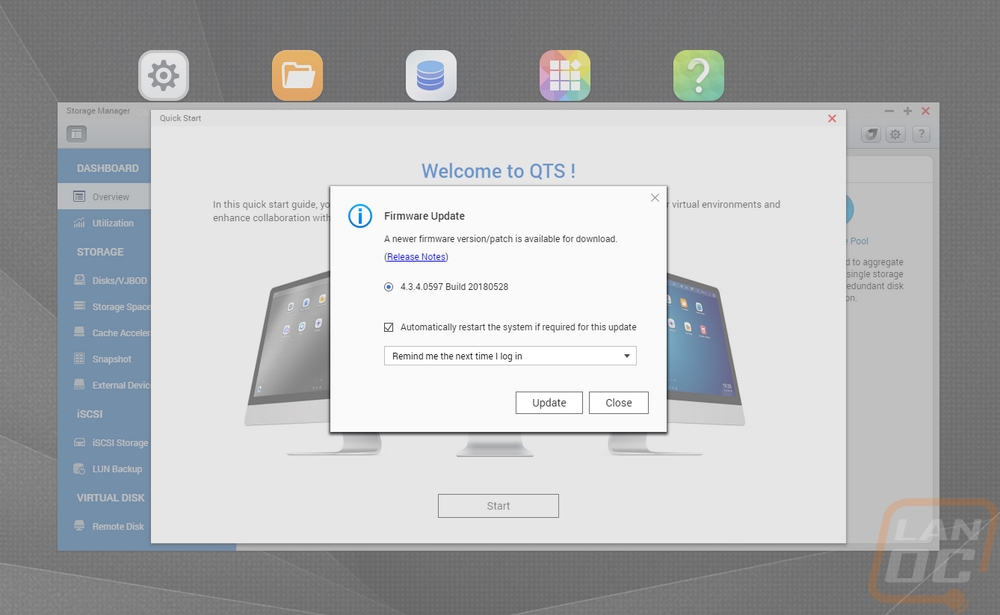
Once you are done the NAS will reboot and you can log into it with your network settings. The first thing that will pop up is a firmware update. In my experience, Qnap is very busy with firmware updates. Thankfully the update is easy, you just have to click update and it will download, install, and reboot for you.
Now beyond performance, the software experience with a NAS is going to play a big role in what you think about it. Normally you tuck the device away in a closet or out of sight in your office so the software is where you interact with it. In the past, I get screenshots and run through some of the software but this time around I recorded a basic video showing all of the options. I did this so you can pause on any page and see what options you might have.
So with Qnap constantly updating their software has changed a lot in the past two years from our last review. They still have the OS like interface where you can flip through your apps and options and have multiple windows open at once. That might seem simple, but a lot of the NAS I have used in the past didn’t have this and it does make it a lot easier to work on things. Especially when you are waiting for a RAID to be created, for example, you can still flip through and make other changes.
I love that you can see your resources quickly by clicking right up in the top right corner and the time and date are always shown (but hidden a little by the LanOC logo in this video). The Control Panel is a little confusing, it feels like they are still transitioning from one design to another. When you open it up it is just like the windows control panel, but if you click anything it all opens up a slightly older design where everything is on the left. I don’t mind either design but it is weird to have to click through one to get to the other.
Beyond that, the apps make or break the experience. This is where you can download and install just about any feature you want beyond the standard file storage and backup features that are part of the OS. Qnap has a store where they have everything sorted out from utilities to entertainment. You can also expand things like backup functionality with add-ons here. Each is easy to install with one click it will download and install. Then later it will let you know when each needs updated and let you update one at a time or all at once, just like your phones app store. You can install things like WordPress to run on the NAS or even chat software to keep your in-house or in business chat on the network and off the cloud.
You also have instructions on how to setup your virtualization. This includes some apps that let you set things up. Basically, the TS-453Be is a full Linux based server and you can setup and run full VMs on it. Obviously, the quad-core CPU is going to be the biggest limitation here, but you should be able to spin up a few things without issue.
