Photos and Features
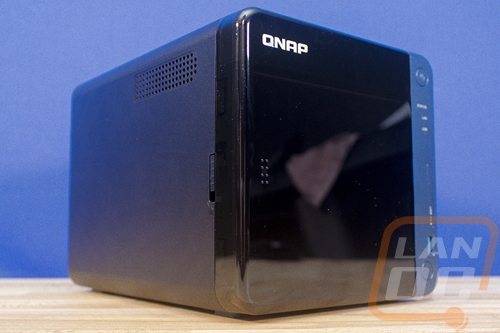
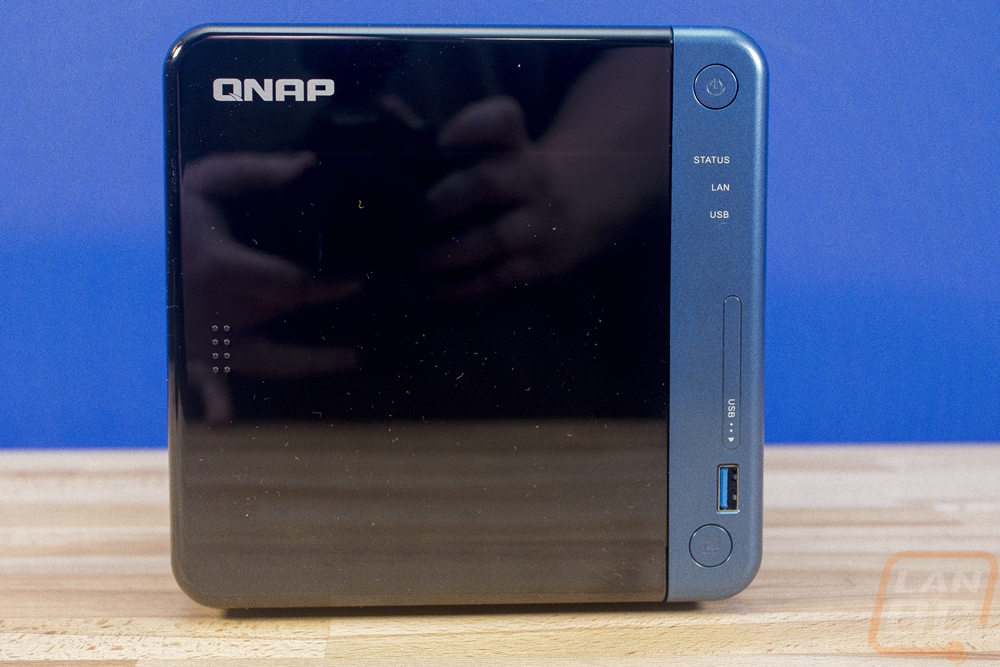
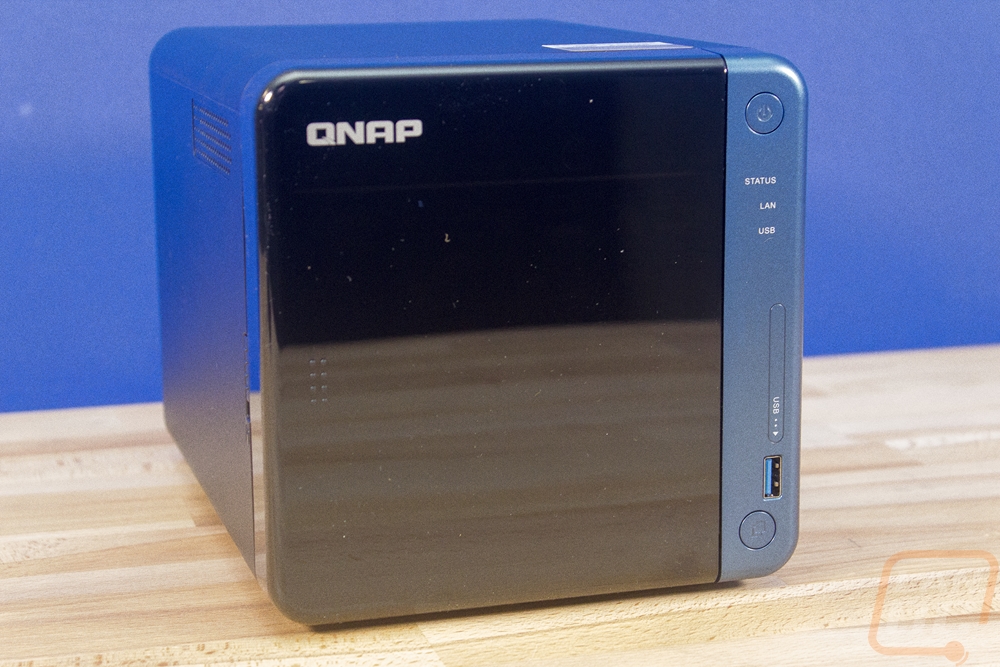
So the last QNAP NAS we had come in the office was the TS-451+ and it was designed to be a relatively budget-friendly NAS and the TS-453Be that we have in today is similar. They both have simpler designs that avoid the expensive stuff like front mounted status screens. The two drives end up looking completely different though, even with the other similarities. The new TS-453Be has a completely different look. Everything is a lot more rounded including all of the corners. Also, the front doesn’t have the drive bays exposed, this time around they are behind a panel. Oddly enough you would think from the looks that this is a home and office focused product, but the TS-453Be is actually part of QNAPs small business lineup. Of course, a lot of the small business do start at home.
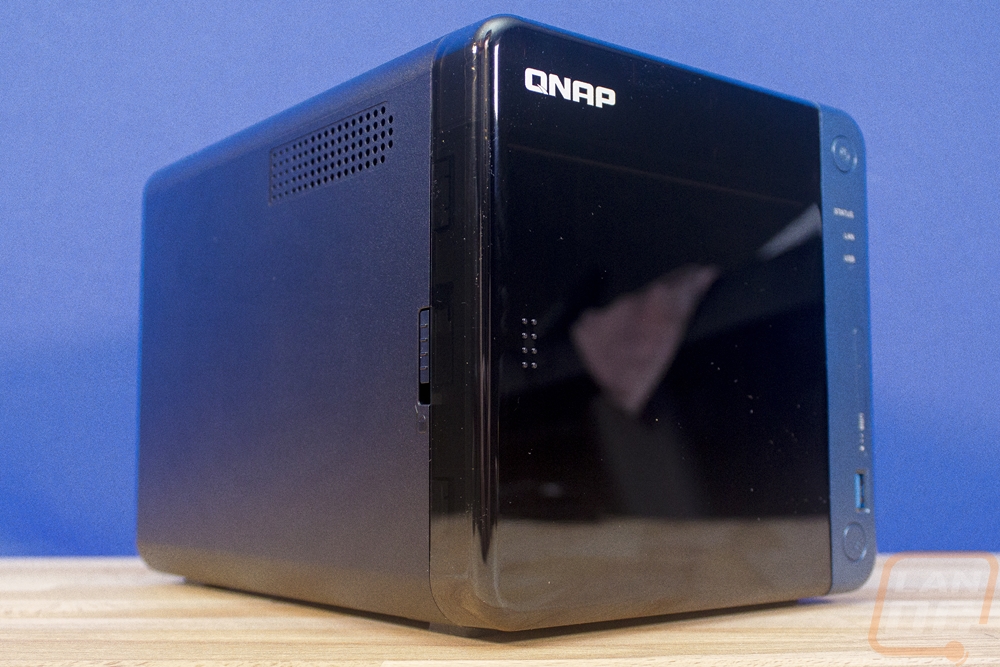
So the front of the TS-453Be is most of what gives it that new look. Most of the front is covered in a slide off plastic panel. It is slightly transparent but you can’t really tell by looking at it. But the other part in the new clean look is the use of the new color. The case is all black but the front panel has a cool metallic blue finish on the side. This is where all of the front I/O is as well. They kept things simple with a power button up top and three status LEDs below that with labels that show what each is. The button down on the bottom is the USB sync button that works with the one USB 3.0 plug on the front down at the bottom. Now the original TS-453B (no little e) did have a USB Type-C and an SD card slot in the round area above the USB port, I do wish those were still on here for more backup options, like plugging your camera SD in and copying it all over quickly. But the USB 3.0 should be all most people need.
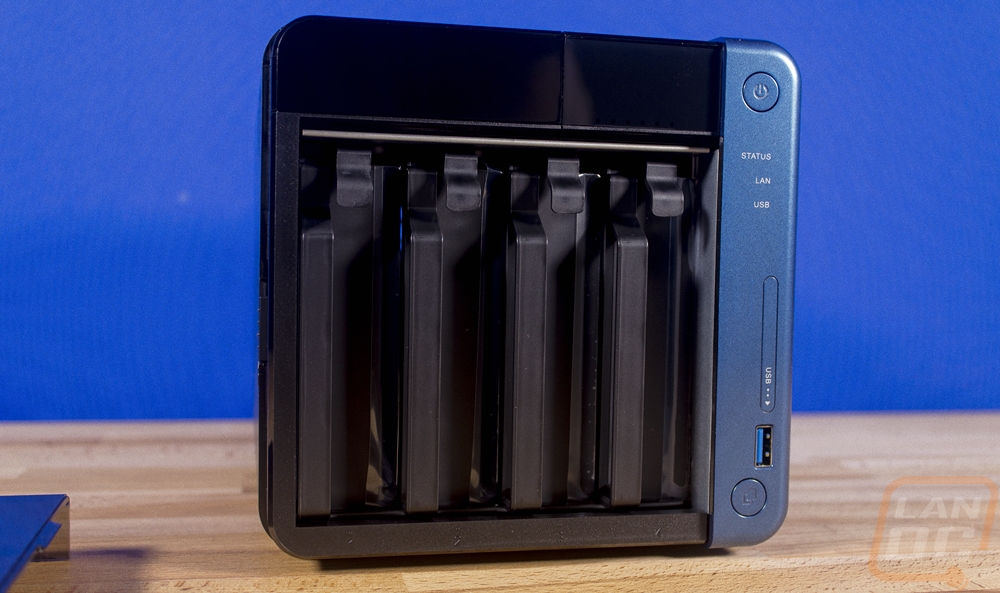
With the front panel pulled off you gain access to the four drive bays. There aren’t any locks or special latches here, the trays themselves are plastic and have a thumb latch built in at the top. From there they just slide in and out on the tracks.

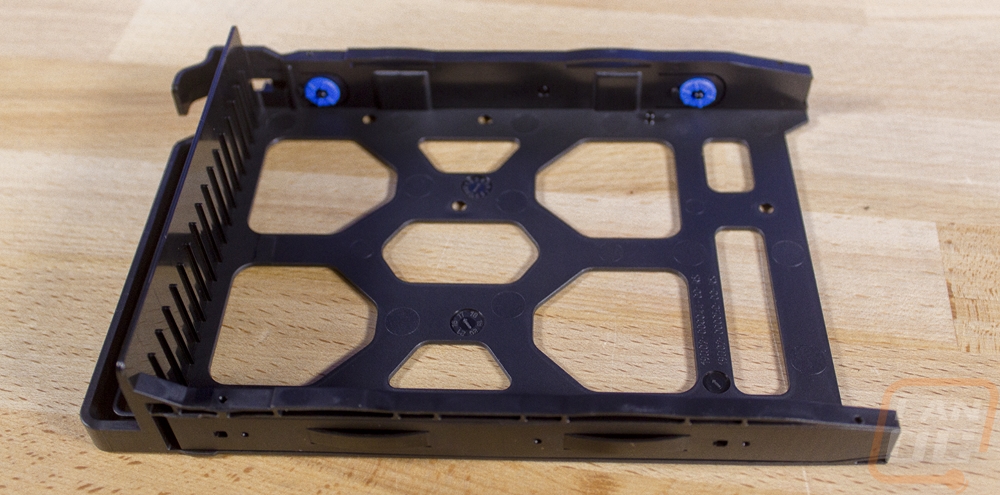
Each tray as removable clips on the sides that push inside of the side screw mounts on a standard hard drive. There are rubber pads to help keep the vibration down but overall the entire design is tool-less. That is unless you prefer to use screws or if you want to use 2.5-inch drives or SSDs. In that case, you use the included screws to mount the drives to the tray.
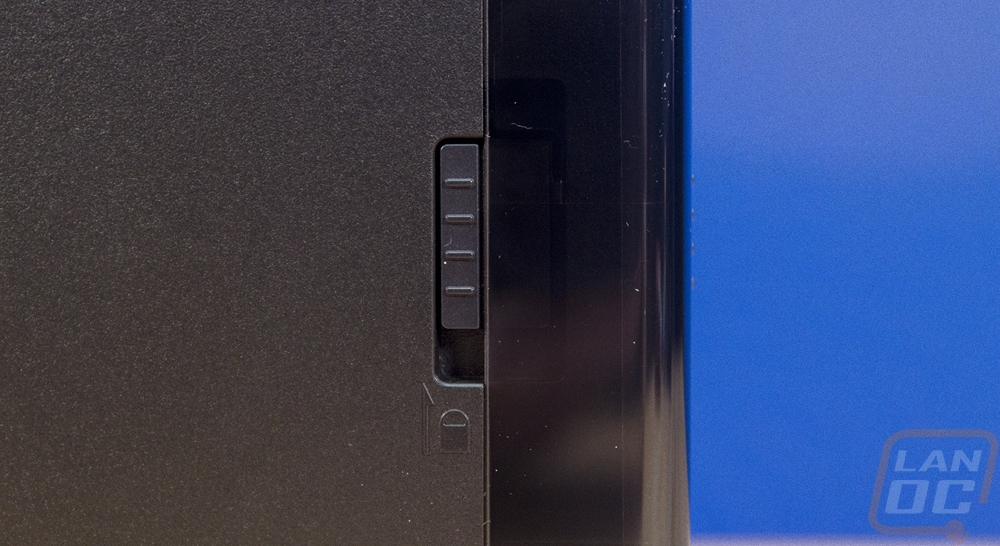
Now there is one lock that will prevent someone from just pulling your drives out. It is on the left side of the TS-453Be and it latches that front panel in place. So to remove the front you flip this than you can slide it off. Other than that there isn’t much going on here. Just a small vent.
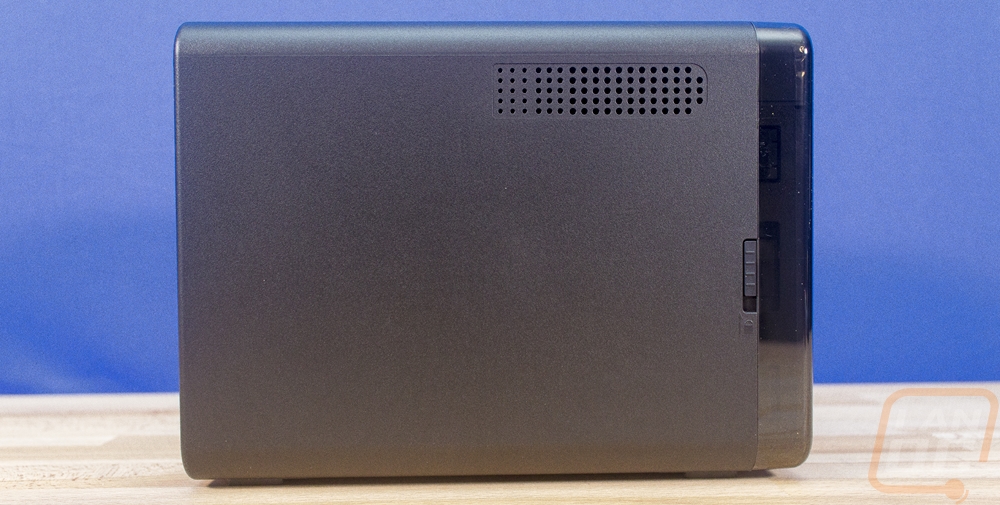
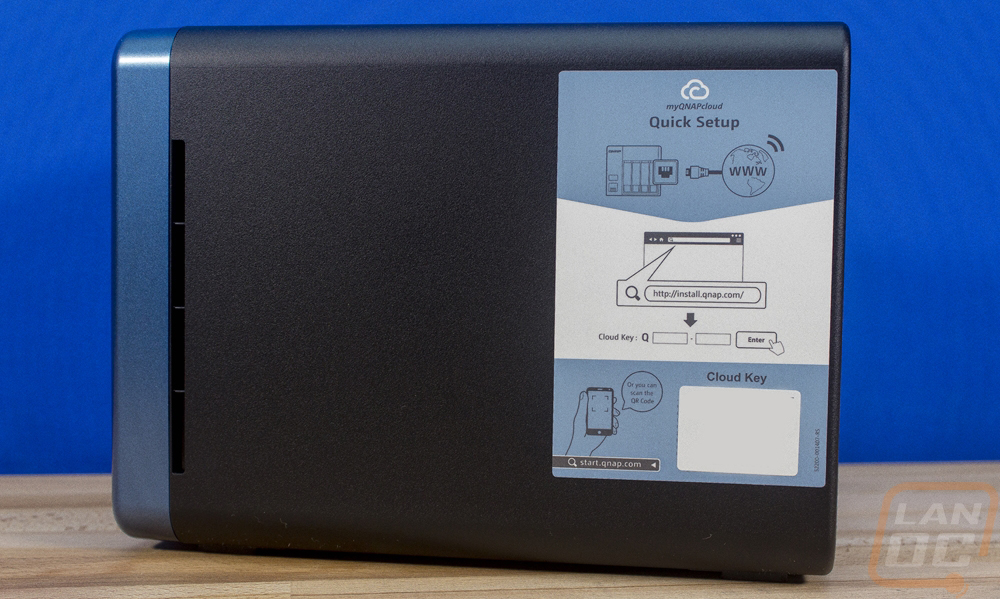
The other side of the TS-453Be has even less going on. There is a vent near the front and then there is a large sticker. The sticker has quick setup instructions explaining how to log into the NAS and it has a QR code for quick setup for the cloud. For obvious reasons I blanked that out, I don’t need people gaining access.
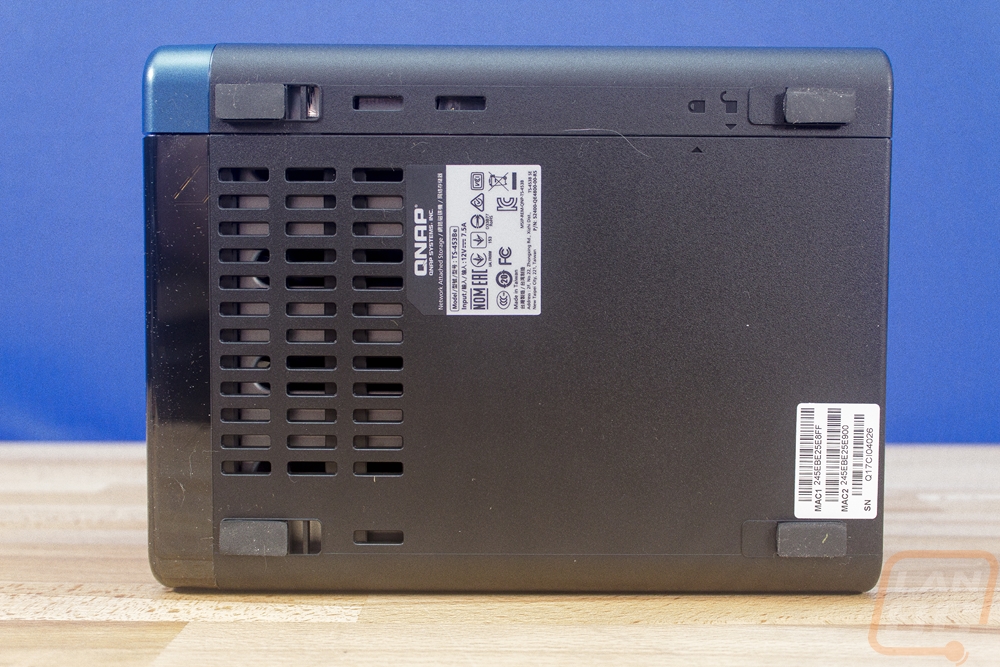
Now the bottom of the TS-453Be has a lot more ventilation with a large one taking up about 1/3 of the bottom. There are the normal regulatory stickers as well as the model information. Then you have four rubber feet keeping everything from sliding around. If you look, you will also notice a small lock and unlock with an arrow, this is the latch for taking the casing off the NAS to get inside. I will touch on that in just a minute.
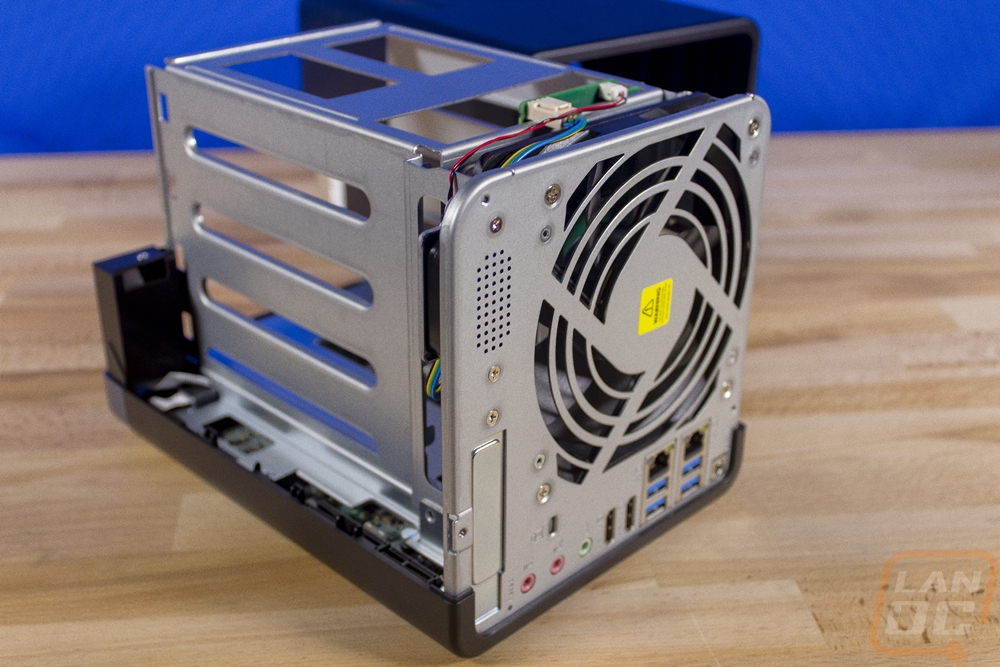
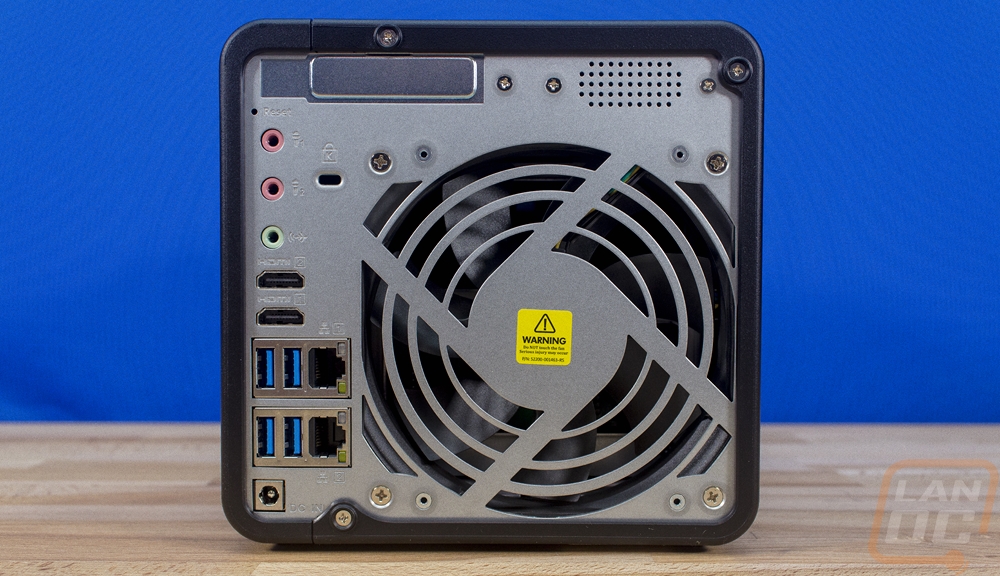
Now the rear of the TS-453Be has more going on than any other area. For starters, there is a large exhaust fan here that pulls air in from all of those different intake locations across the four hard drives to keep things running cool. There is also a Kensington lock that looks a little like a USB Type-C, this is if you need to secure the NAS to a table/wall/rack. For the rear I/O you have a few connections. Down at the bottom is the power plug. Then just above that, you get four USB 3.0 ports and two NICs. This should be more than enough for any external USB drives that you want to backup too or from. They also go well with the audio out and two microphone in ports as well as the two HDMI ports. You can hook the TS-453Be up and use it as a media center. But I still don’t really understand the need for two microphone ports. The other big thing back here is the PCIe slot up at the top. Actually, it’s a half-height slot, but this is one of the big features of the TS-453Be as it allows you to install a 10GB NIC or a dual M.2 adapter to add some ultra-fast NVMe storage.
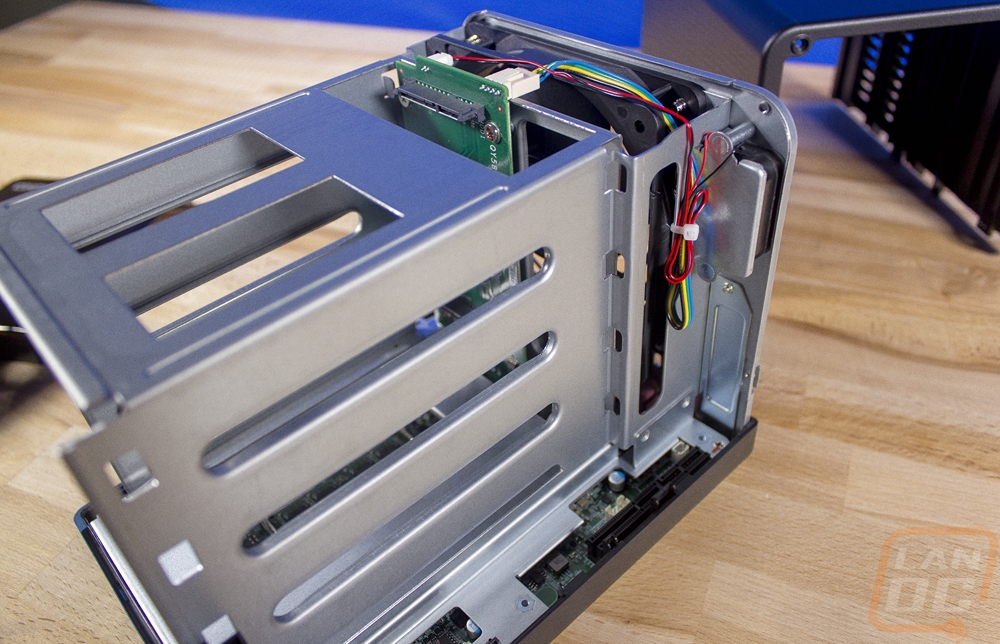
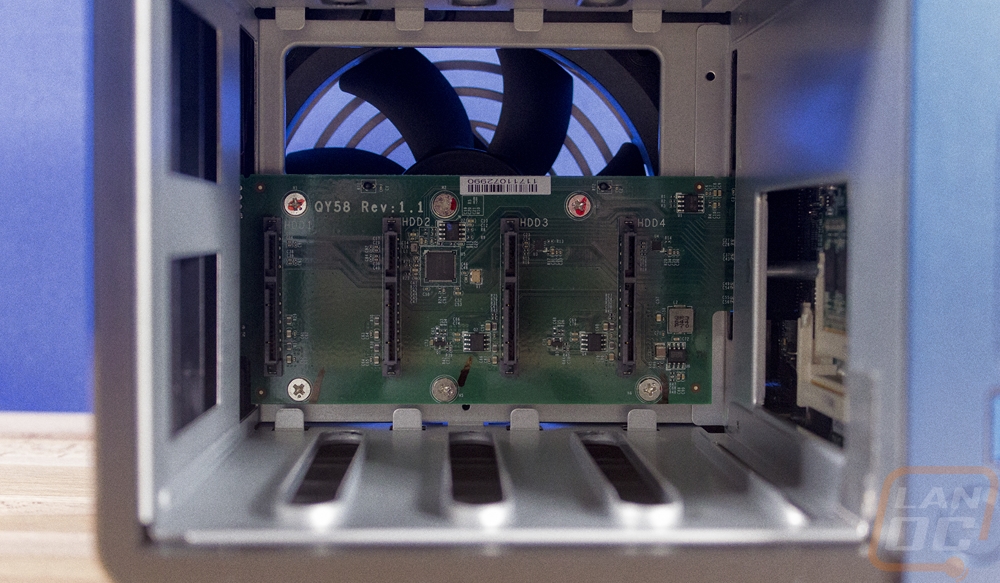
I had to dive inside of the TS-453Be to see what Qnap had going on inside as well. To do that I started by pulling the four drive cages out and taking a look in there. They have a PCB backplane with all of the SATA connections in the back so the drives plug in when they are locked in place. But what really caught my eye is that the two SODIMM slots for the ram are accessible from in here. That means to upgrade the memory you don’t have to pull the casing off, you just pull the drives out. Once you have a RAID all configured that might make you a little nervous but as long as you place the drives back in the same slots you should be fine. Our sample came with just the one 4GB stick or SODIMM DDR3L but dropping a matching one in would be really easy.
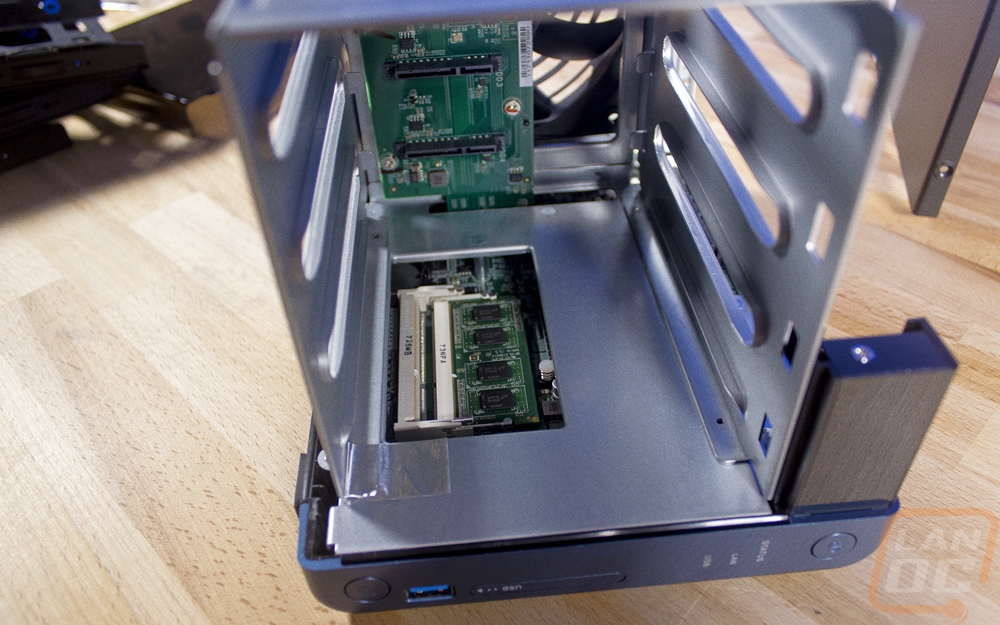
I took the screws out of the back of the TS-453Be and slid the main part of the casing off to get all the way inside. The main motherboard is up under the drive cage so you can’t see all of it. But we do know that it has the same Intel Celeron J3455 that the last Qnap we had come in had. It is a quad-core that runs a 1.5 GHz base clock and goes up to 2.3 GHz for boost clocks. For graphics using the built-in display outputs, the NAS has HD Graphics 500 for the onboard GPU. The J3455 CPU with onboard graphics has a TDP of 10 watts so power usage isn’t bad at all. The big thing here though is the PCIe slot that is exposed on the side of the drive cage. One of the big features of the TS-453Be is its expandability. The slot looks like a PCIe x4 slot but is an x2 slot and the slot mount is a half-height design. There is actually room for a full height card here but Qnap has mounted a speaker facing out the back of the NAS in the area above the slot. Qnap offers a dual M.2 card that you can install here to add two NMVe drives that you can use as a cache or for fast storage. They also have a few different 10GbE options depending on if you need an SFP+ or 10Gbase-T port with dual and single port options. There is also a USB card that I don’t think most people will need. In the past they also allowed wireless but they don’t have a card for that so you will have to find another option if that is what you need.