Packaging
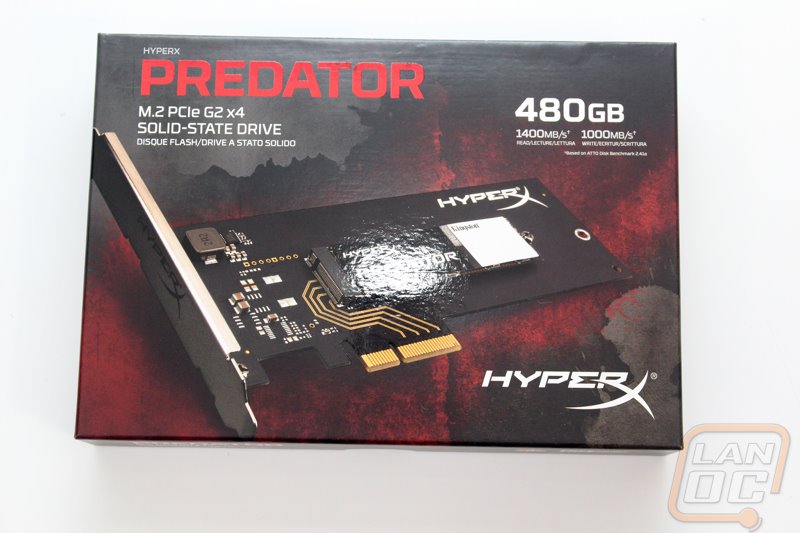
The packaging for the Predator is basically the same as all of the HyperX drives. The front of the box has a large photo of the drive on it. In the background we have a red haze or mist on an otherwise black box. Up in the top left corner we have the Predator branding as well as a little more information on the drive like it being an M.2 PCIe G2 x4 drive. In the top right corner they put the capacity as well as the expected read and write speeds. I love that they include these by the way, it makes picking out your drive much easier. Then down in the bottom right corner they have the HyperX branding.
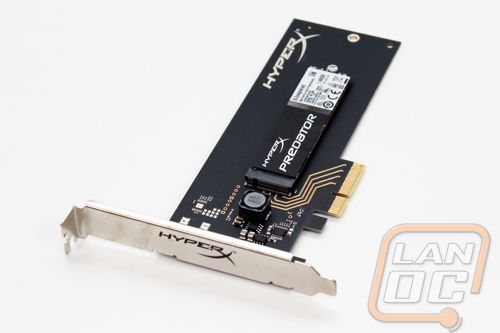
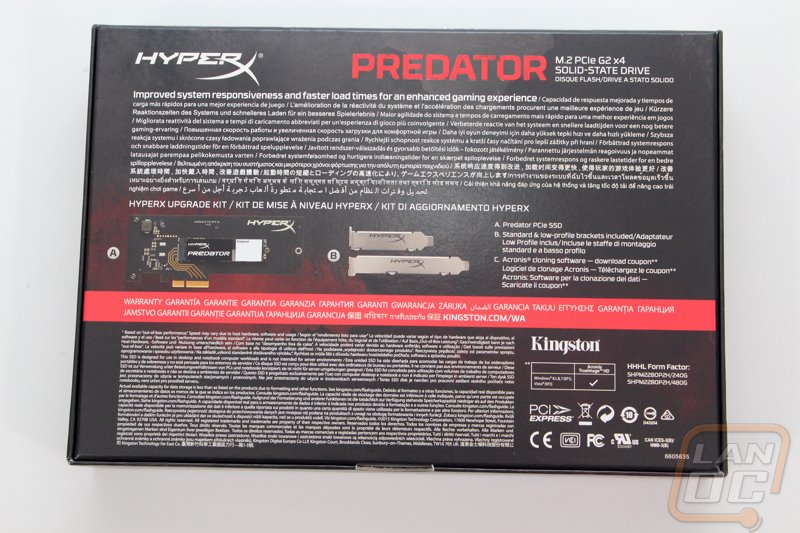
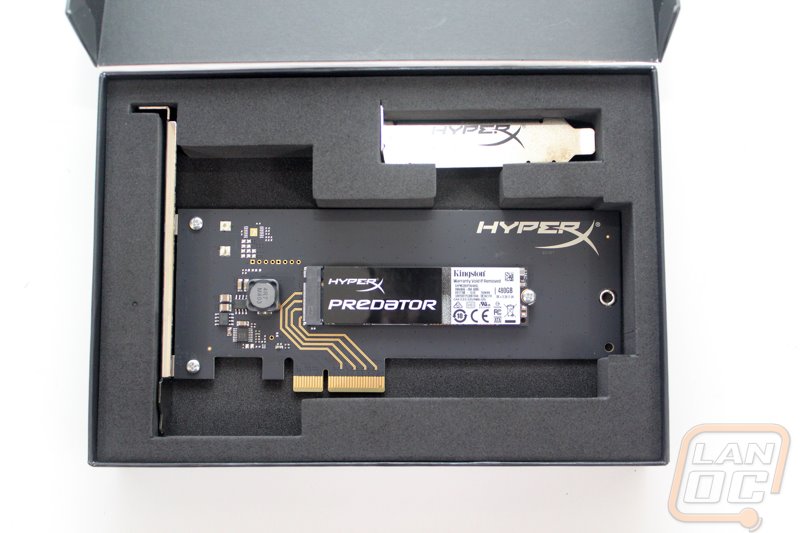
The back of the box is mostly covered in different languages but they do detail what you will find in the Upgrade Kit that we were provided. This is basically the PCIe adapter card, both height slot covers, and Acronis cloning software.
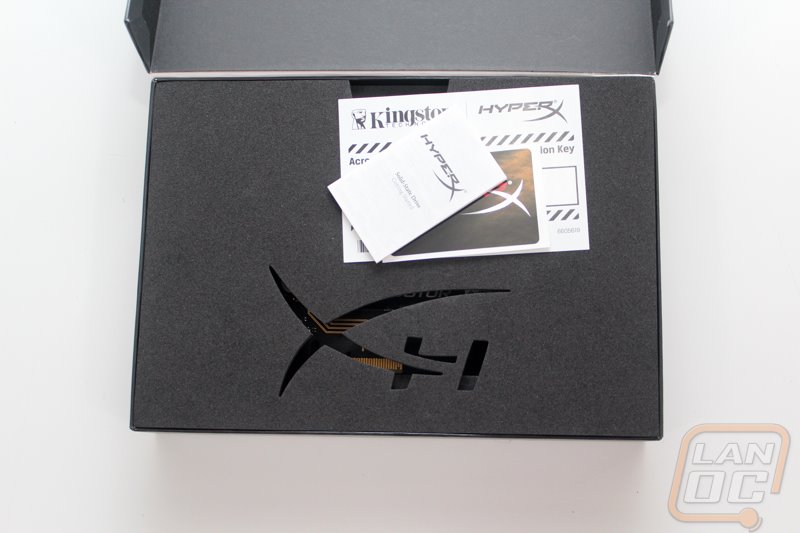
Inside when you open everything up there is a piece of foam covering everything but the foam does have part of the HyperX logo cut out of it. This is also where all of the documentation is but I will go over what you get later.
Inside the drive sits in its own cutout with the short PCIe slot cover also in its own little cutout.

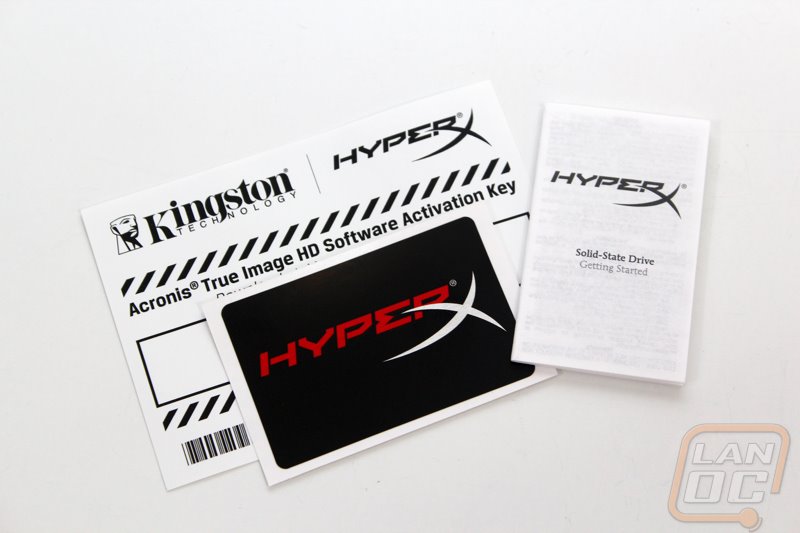
For documentation you get what has to be the smallest getting started guide ever, it is about the same size as the sticker even. Then you get a HyperX sticker and the key for Acronis True Image HD Software. It might seem like a small thing, but having a copy of this software can come in very handy. There really aren’t any good free alternatives out there and buying the software isn’t exactly cheap.