Photos and Features
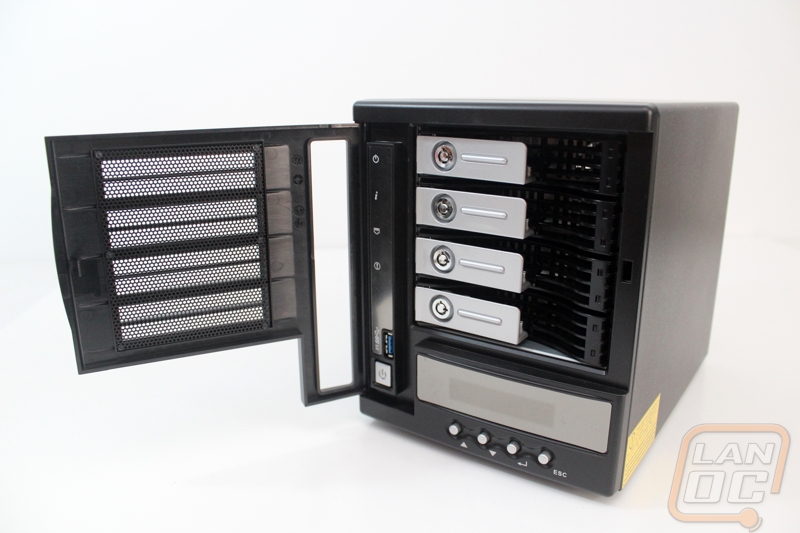
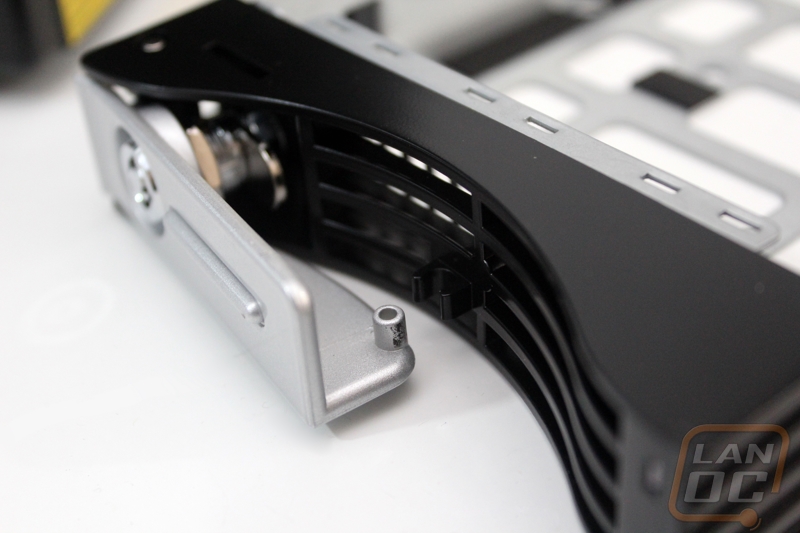
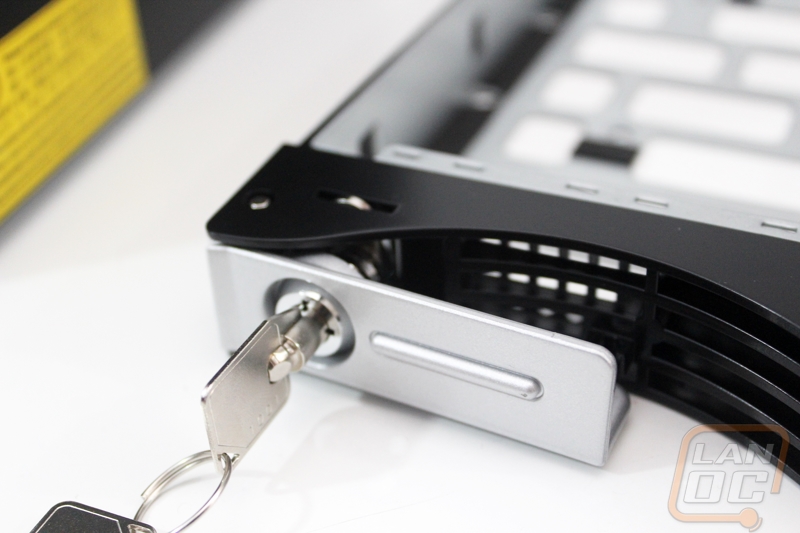
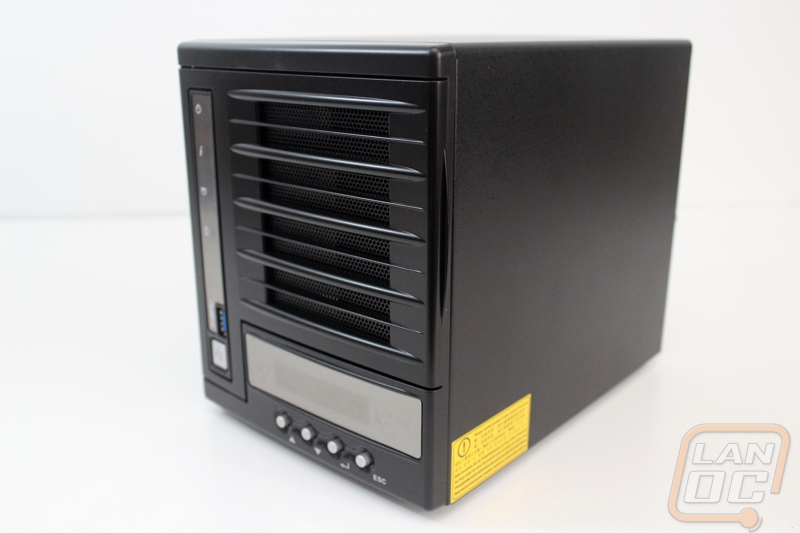
Unlike the N7510 we looked at earlier this year, the N4650 sports a full black chassis (save the LCM displays and buttons), and has brought back plastic as the material for the face of the unit. The N7510 is in a different class of NAS offerings as well as a different price point, and I think the lighter material will be fine for the intended purpose. I'm not a fan of the use of plastic for the tray handles, however. While locked in place, you can wiggle these handles a bit up and down, which doesn't promote a feeling of security. The handle participates in securing the tray in the unit with a tab that "locks" into the side of the chassis when you close it. The lock mechanism (which is metal) has a separate tab that extends into the top of the tray, preventing the handle from being pulled out and therefore released from the chassis. The plastic on the tray frame is much more solid than the handle, so it would be a tough to break that with brute force, but the tab that secures it to the chassis doesn't seem like it would take much abuse if someone really wanted to get the drive out while locked.
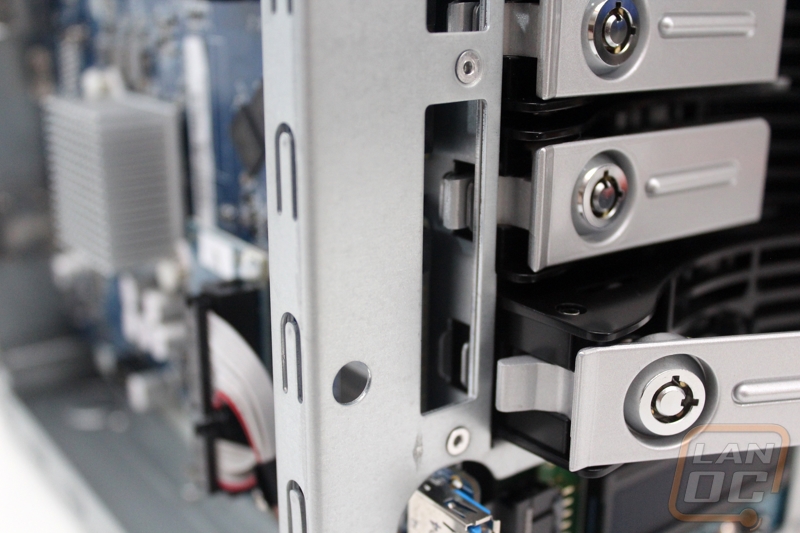
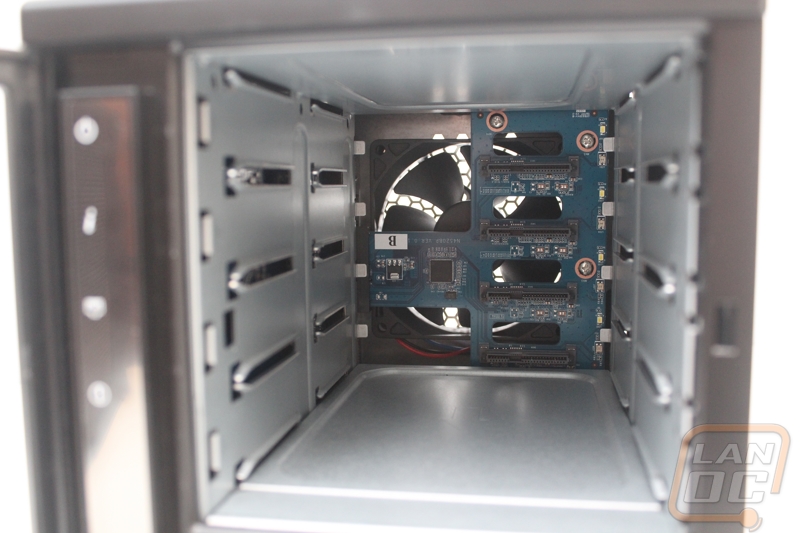
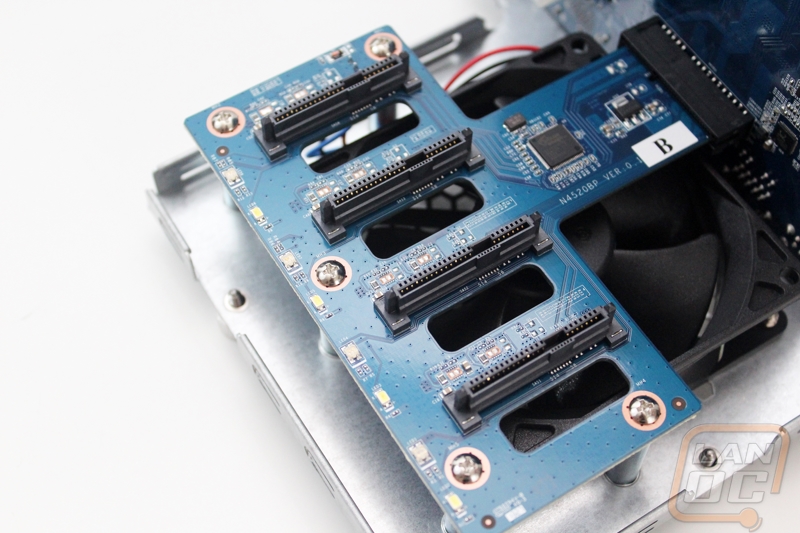
Removing all the trays will give a you good look at the PCB and SATA connections for the drives (though we'll get a much better angle later when we disassemble the unit). You can also see the rear exhaust fan behind, which will help to circulate air throughout the unit. Thecus hasn't published any specifics on this fan, but it does run fairly quiet. You'll probably hear the operation noise of mechanical drives before you notice it.
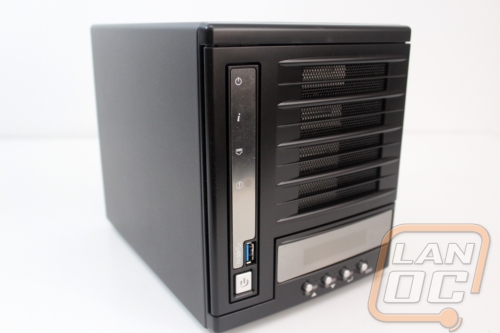
The front panel itself is meshed to help with ventilation. On the left a vertical status indication display runs serving information about (from the top) power, system status, LAN activity, and system failures. It also houses a USB 3.0 port for external drives or other devices such as digital cameras or printers (we'll touch more on that in a bit). A horizontal LCD display is featured near the bottom of the face displaying current status and any warning messages. The buttons underneath can be used to navigate options from this LCD panel.
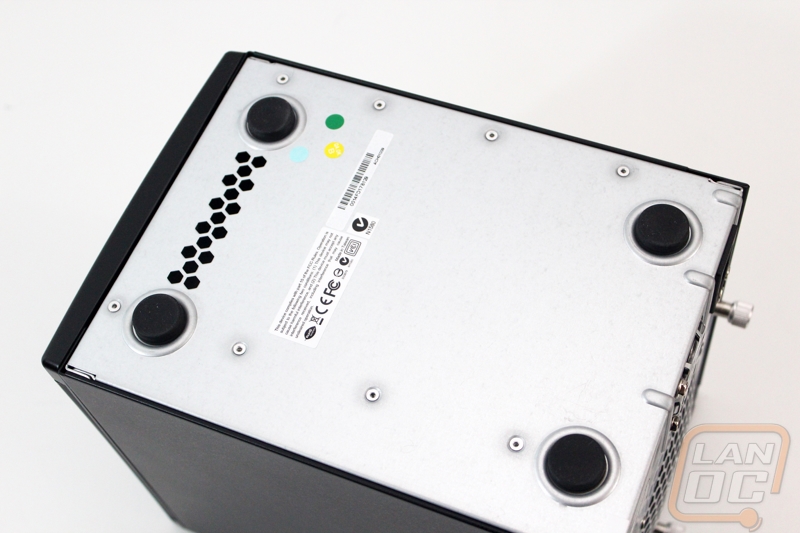
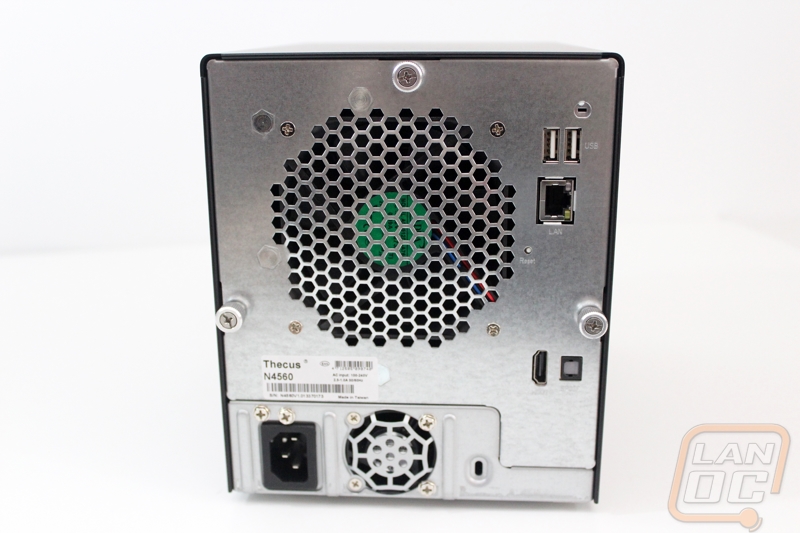
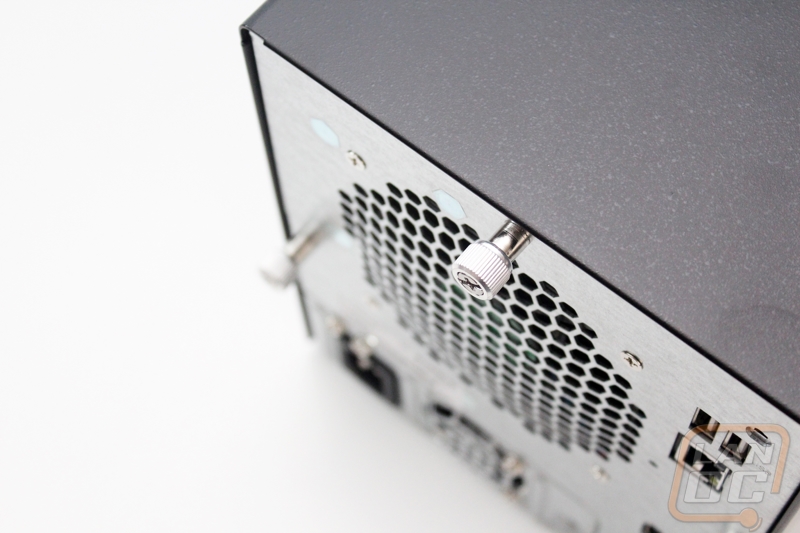
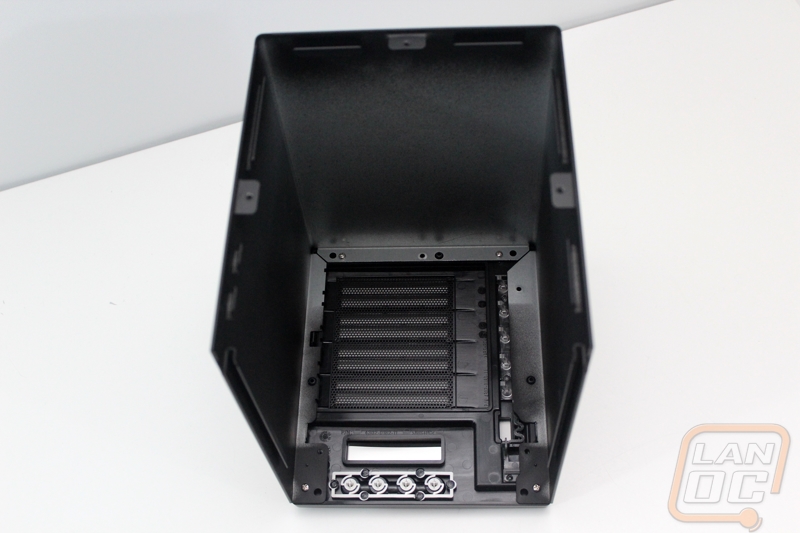
The bottom and the back of the unit are essentially exposed frames of the chassis, which will become apparent once we remove the black plating that covers the front, sides, and top. Aside from a small area of hexagonal vent punchouts and the rubber feeting located in each corner, there isn't a lot to visit on the underside. The rear of the unit is dominated by the aforementioned exhaust fan, but you will find a few extra I/O goodies here, such as the essential network port (RJ-45 10/100/1000 BASE-TX Auto), two additional USB 2.0 ports, an HDMI out port, and SPDIF audio out (again, we'll touch more on why these exist shortly). The power supply unit also makes its appearance here.
When you're ready to really tear into this NAS, Thecus has not only included thumbscrews to help get you there, but also the type that release from the threading but stay attached to the chassis. I can't express how much I appreciate this. If you've ever had the pleasure of working on something inside of a data center, whether a dedicated co-location or even in-office, you know how easy it is to lose screws. You often find yourself resting them on rack bars or other servers, and ultimately either losing track of them or knocking them under a heavy, expensive piece of equipment that may as well be an abyss. With the twist of three screws, you'll be able to remove the metal shroud from the unit.
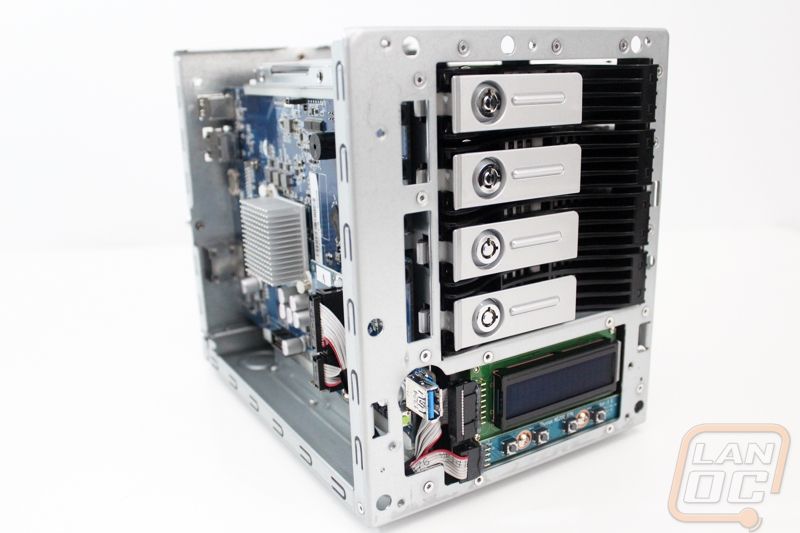
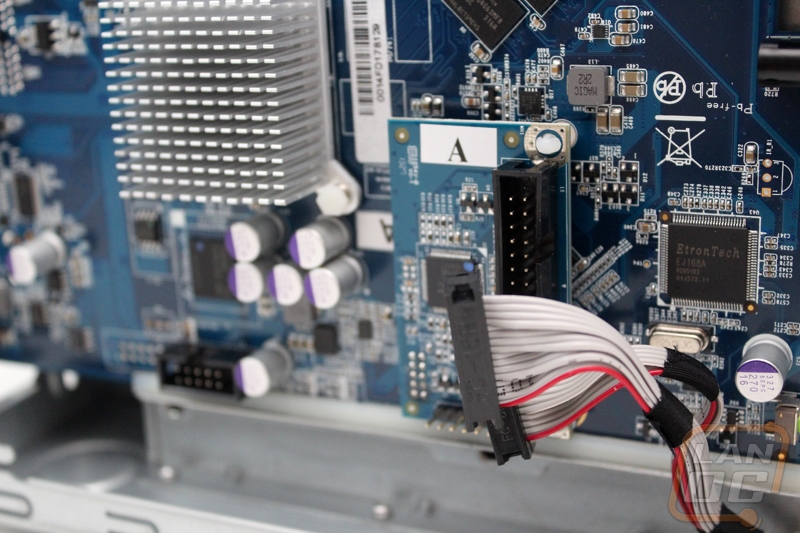
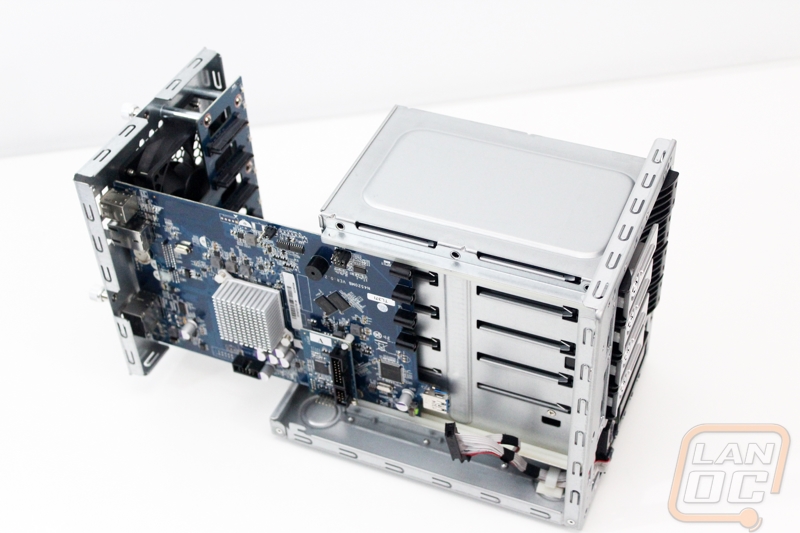
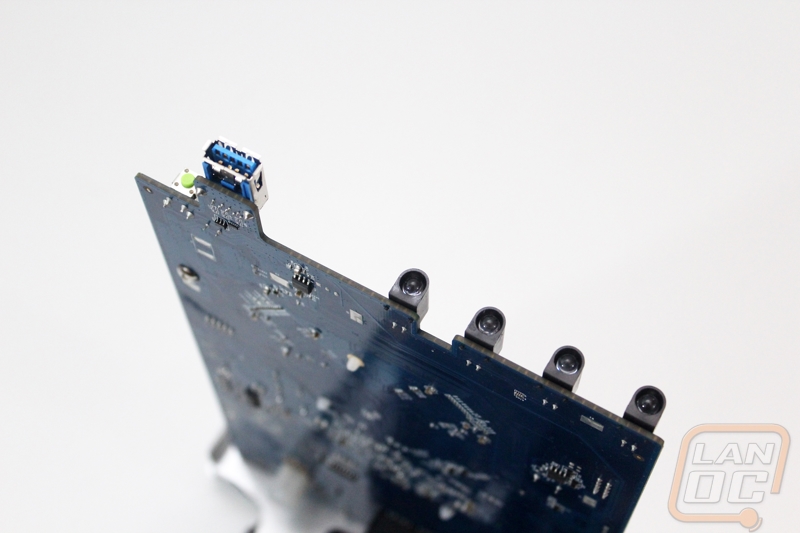
Here we get a nice look at the main PCB, you you'll notice an elevated PCB marked A. This is where the front panel terminates, since they went with a modular design here it helps service the unit if that part ever needs replaced. You can see the same thing around front with the button and LCD boards.
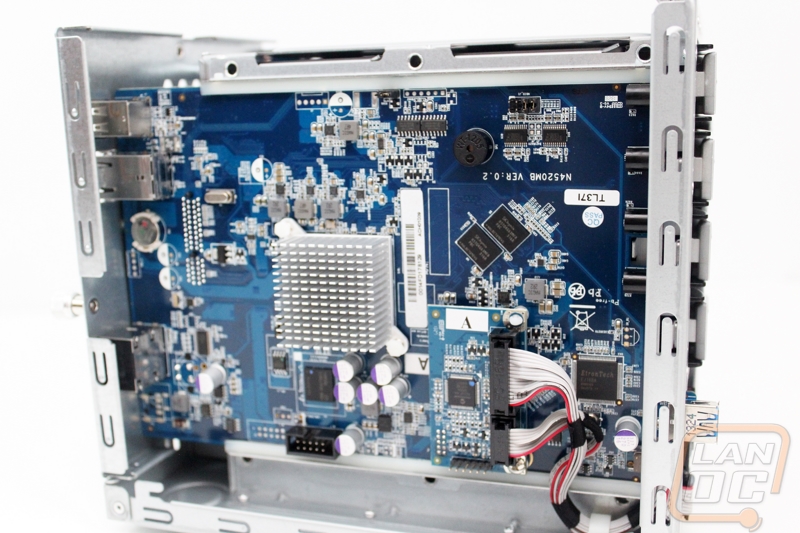
Labeling something 'A' implies that there should at least be a 'B', and the more observant readers may have already found it above in the photo looking at the SATA connections through the chassis. To get a better look at this, the entire chassis actually separates, a feature I discovered while trying to move the unit for pictures while the shroud was off. Make sure you disconnect the cables at the A point as well as the power before pulling too far.
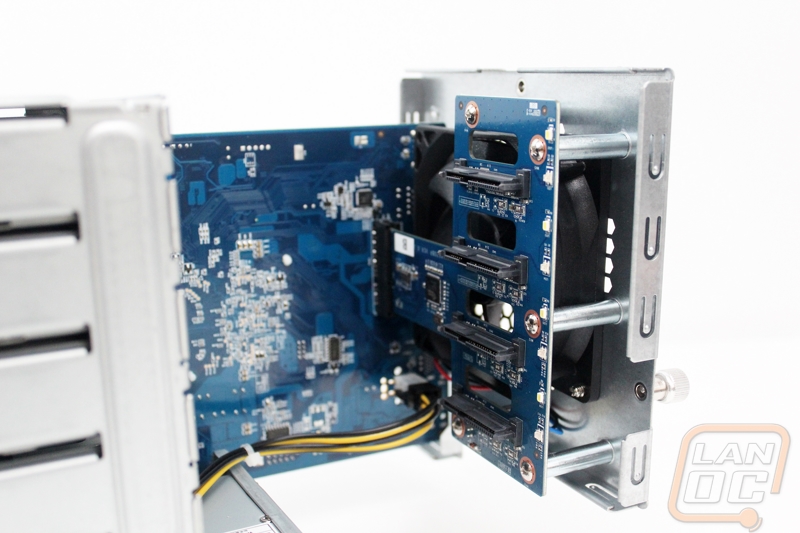
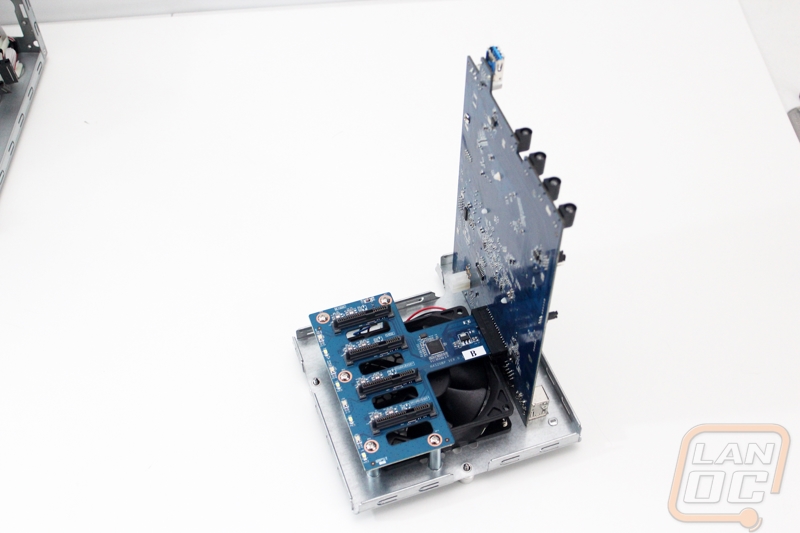
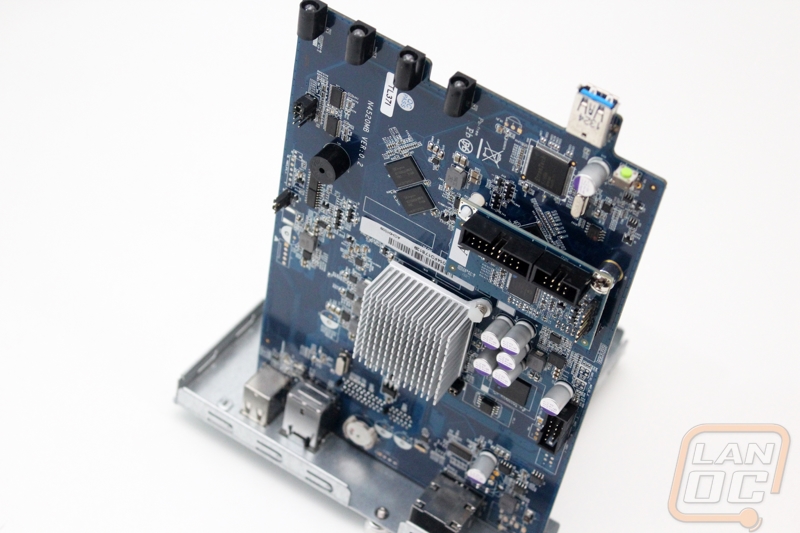
Now we can get a good look at the rear PCB as well. Again, this modularity makes it pretty easy to service if the need ever arises, or even to clean.
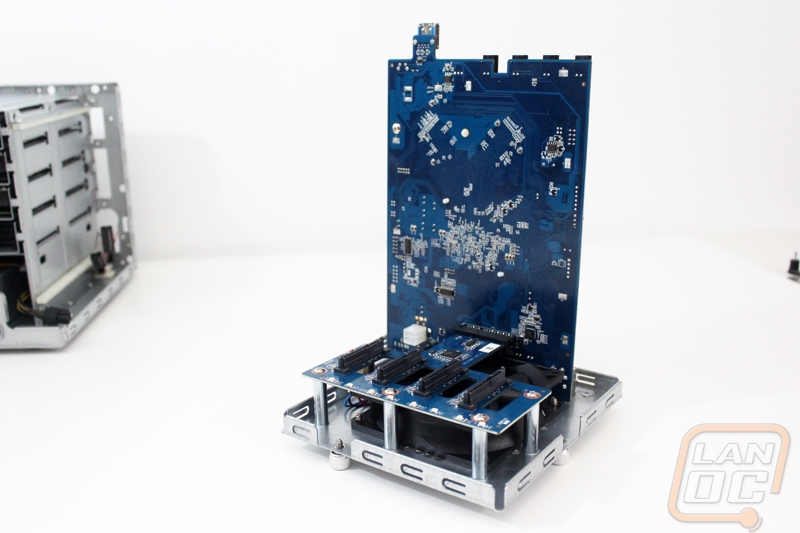
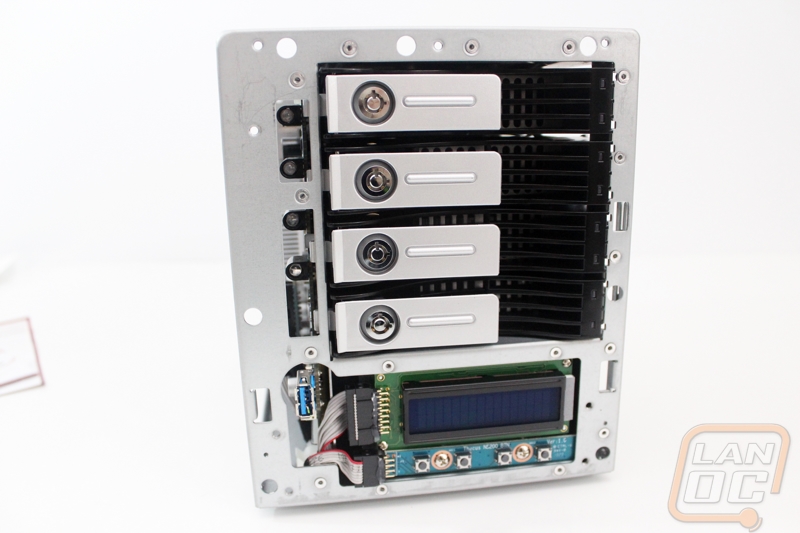
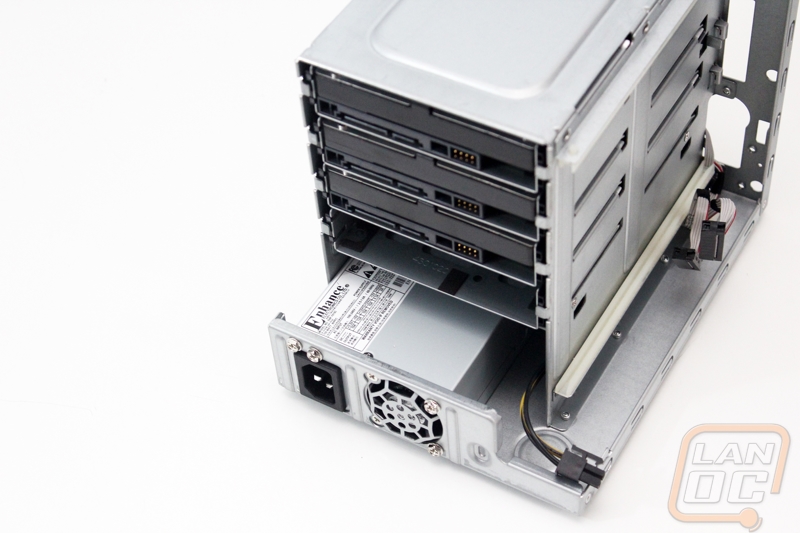
Also, the base chassis with much of the circuitry removed.

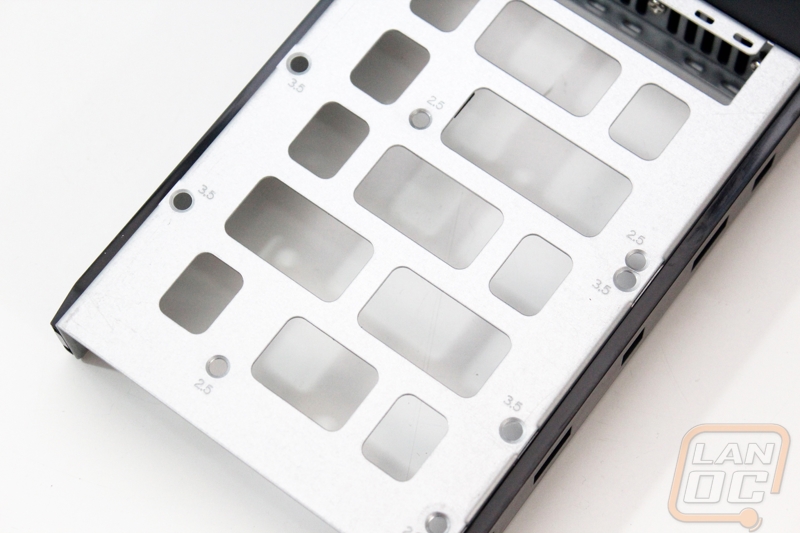
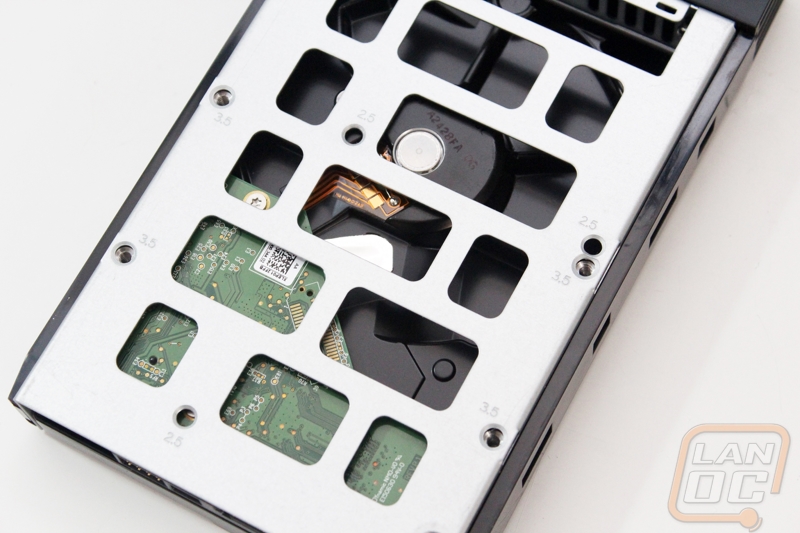
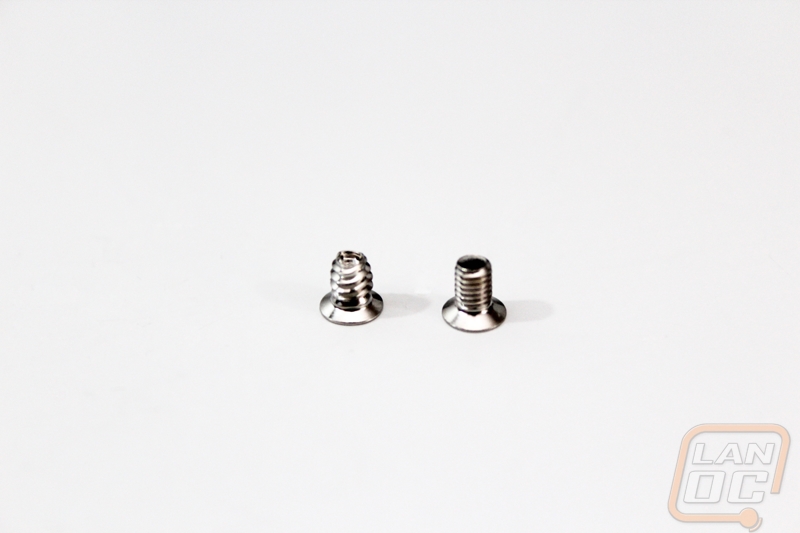
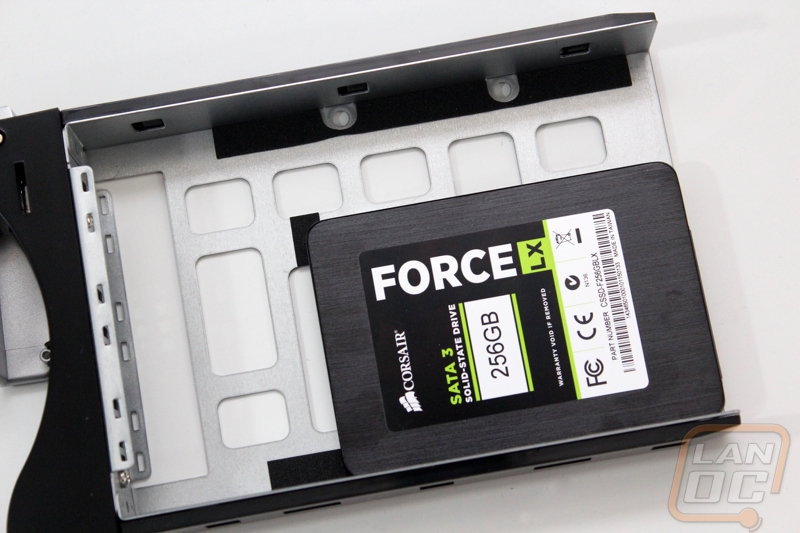
Let's put it all back together and install some drives. For our testing , we'll be using three Western Digital Red 1 TB drives to construct a RAID 5 design. I mentioned it earlier, but you'll find two types of screws included with the N4560, one with smaller threading for 2.5" drives. I installed an SSD to a tray for photo purposes, but it isn't used in our testing. If you've installed hard drives in a computer tower that features any sort of tray design, this process will be very familiar. Thecus has outfitted the tray with anti-vibration padding at strategic locations to help cut down on the operation noise of mechanical drives, both 2.5" and 3.5" alike. Mounting points for the two sizes are clearly marked on the tray.