Smaller, Cooler, more efficient, those are three things that I have been working on with both our LAN equipment and in my own office for a few years now. For years the enthusiast in me would get excited about adding a new server, more storage capacity, and new toys to play with. At some point you look back and realize that as much fun as the toys are, you could really get the same job done with one device when you were using two or three before. Not only are you wasting space, but you are also using substantially more electricity each month/year to power it all. On top of all of that when its summer time, you have all of this hardware putting out more and more heat, fighting against your air conditioning, or even worse its already hot and you are making it even hotter. Late last year I took at look at the hardware we use here in the LanOC office and decided to work on combining as much as I could. Today I’m going to tell you about that experience.
Product Name: Thecus N7510 7 Bay NAS
Review Sample Provided by: Thecus
Written by: Wes
Pictures by: Wes
Specifications
|
Thecus N7510 |
|
|
Processor |
Intel® Atom™ Processor (2.13GHz Dual Core) |
|
System Memory |
2GB DDR3 |
|
LAN Interface (PCI-e) |
RJ-45x2: 10/100/1000 BASE-TX Auto MDI/MDI-X |
|
USB Interface |
USB 2.0 host port x4 (back x4) |
|
LCM Module |
LCM display |
|
SATA DOM |
1GB |
|
HDMI Output |
HDMI port (back x1) |
|
VGA Output |
VGA port (back x1) |
|
Audio |
MIC input, Line input, Audio output |
|
Disk Interface |
7 x SATA for internal |
|
Power Supply |
300W Power Supply |
|
Thermal/Fan control |
Thermal sensor on processor temperature |
|
System Clock |
Battery-backed up system clock |
|
Power Management |
Auto power on after shutdown due to power loss |
|
Buzzer |
Adjustable frequency alarm |
|
Buttons |
Power button |
|
Environment |
Temperature: 5°C to 40°C |
|
Chassis |
Tower Metal Chassis |
|
Dimensions (HxWxD) |
320 x 210 x 270 (mm)/ 12.59 x8.27 x 10.62 (in) |
|
Weight |
10.42(Kgs)/22.97(lb) |
|
Certificates |
CE/FCC/C-Tick/VCCI/BSMI |
|
Seagate 4tb NAS |
|
|
Model Number |
ST4000VN000 |
|
Capacity |
4TB |
|
Interface |
SATA 6Gb/s |
|
Typical Weight |
610g |
|
Maximum Length |
146.99mm |
|
Maximum Height |
26.11mm |
|
Maximum Width |
101.60mm |
|
Cache |
64MB |
|
Maximum Operating Shock |
80Gs |
|
Operating Temperature |
70°C |
Old/New Hardware
Video and photos take up a crazy amount of space, especially when filming at high resolutions and taking photos in RAW sometimes with a DSLR. Add the pictures that never get used, edited originals, resized images, and all of the other supporting files, presentations, ect. On top of all of that I have to have redundancy, it really adds up quickly. Years ago when building our first networked storage drive I never thought I would ever be able to fill it up. After a little time and an upgraded camera that quickly led to adding another NAS and then later a server packed full of storage as well. In the end I had a Seagate NAS with 4 2tb drives, a QNAP NAS with two 3tb drives, and a small server with two 2tb drives and two 1tb drives. That’s 20 terabytes (10 after RAID) of storage spread out over multiple devices being used for PC backups, webserver backups, all file storage for the network (photos, videos, install files for test benches, steam backsup, ect). Although capacity was an issue, when looking at upgrading being able to condense our server closet down and save on electricity was paramount.
I started by revaluating everything running on the server and moving over what I still needed onto the LAN server that hosts Teamspeak on the LAN. Once the server was only doing file sharing duty I had to look into the idea NAS for our situation. Considering how well the Thecus N5550 has performed for my wife and I for personal use a Thecus NAS was only logical. I decided to go with the Thecus N7510 an Atom powered NAS like the N5550 but with a total of 7 drive bays.
To fill NAS I stuck with Seagate drives. I used them in all of my other NAS with only one failure during a storm. In the past I used server grade drives in our first NAS but with the server and NAS I went with cheaper consumer grade drives. Even though this didn’t end up biting me in the end, I wanted to make sure to stick with something that would perform best in a NAS environment. Because of that I went with Seagate’s new at the time, NAS hard drives, specifically the 4TB drives (Model number ST4000VN000).
At 4TB each this would give me the capacity needed to combine all three devices into the N7510 while still bumping me up from 20TB to 28TB to leave room for expansion an on the fly hot swap drive, but I will get into that more later. Being designed for NAS use, the drives are made to run 24x7. Seagate’s NASWorks also helps the drives handle all of the vibrations that 7 drives in a tight space can generate as well as ensures the drives comply with NAS system requirements. To keep vibration down Seagate dual-plane balance where a consumer drive is single pane, this is especially important when you combine so many drives together.
Now that we have covered what I was using previously and why I went with the products that I went with. Let’s dig in and see what the N7510 is all about and later find out how it has performed in the time that I have been using it.
Packaging
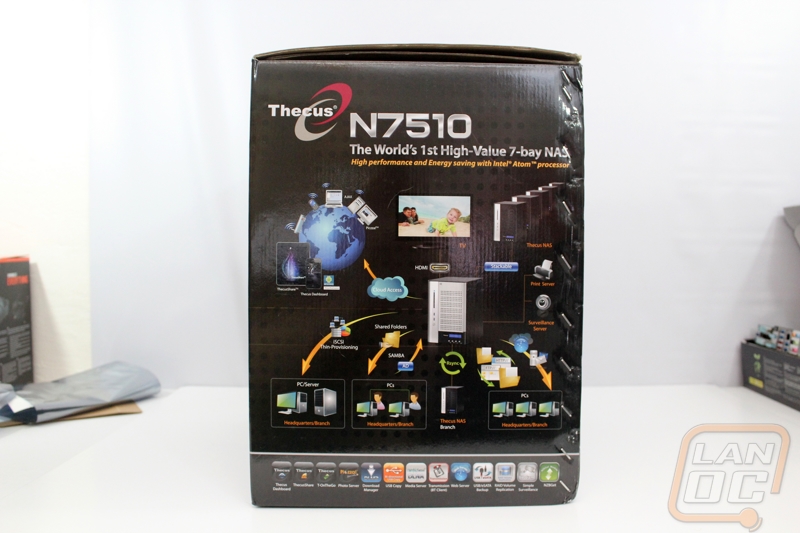
I love that right on the cover of the N7510’s packaging Thecus made sure to include a photo of the NAS itself. Sometimes companies get a into their theming and forget that people want to see what they are actually buying as well. Anyhow they keep things fairly simple, with a feature list over on the side of the photo, all of the applicable badges that they are required to show, and then the name up top. They did also include a note that the N7510 is the world’s 1st high value 7-bay NAS. This is because typically a 7 bay NAS wouldn’t run an Intel Atom CPU, going that route keeps costs down a little more.

Thecus used the sides of the packaging to pack in a little more information on the NAS itself. One side has its key features listed out with explanations. The other side is an image that shows how the N7510 can interact with the cloud, your PC’s, Printers, surveillance cameras, as well as syncing between other Thecus NAS’.

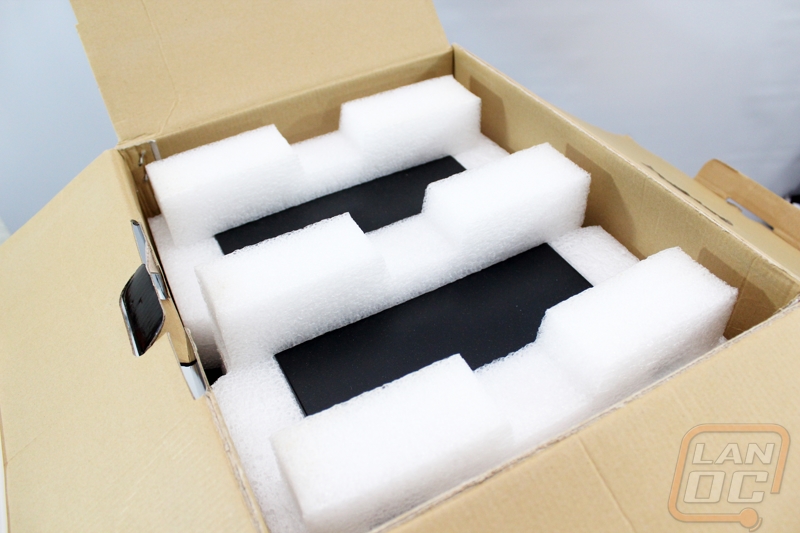
Inside the box the N7510 is protected by foam on the top and bottom and to keep it from moving around during shipping.
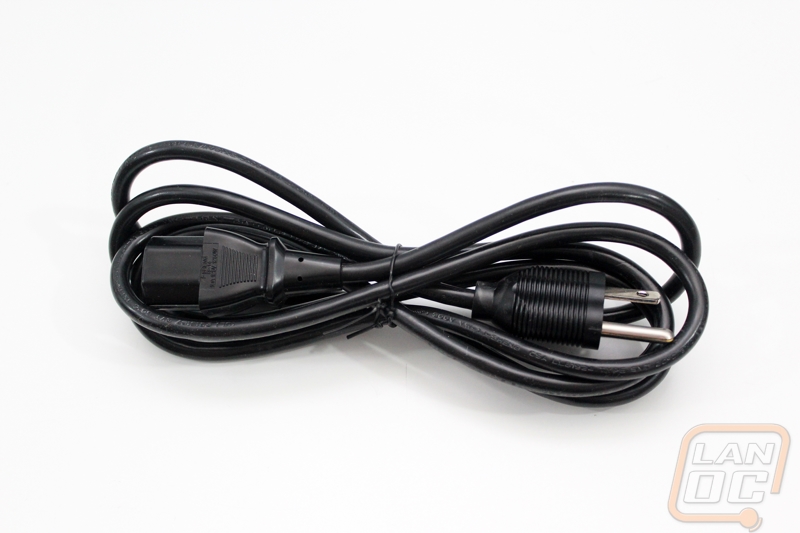
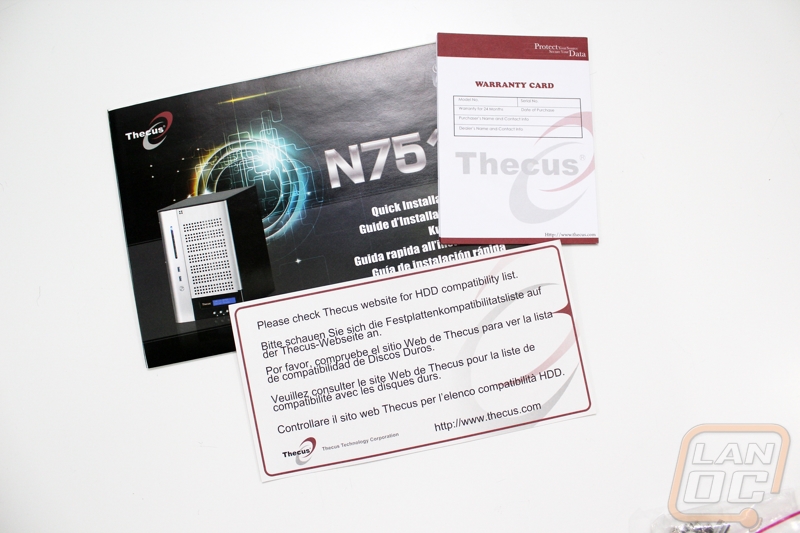
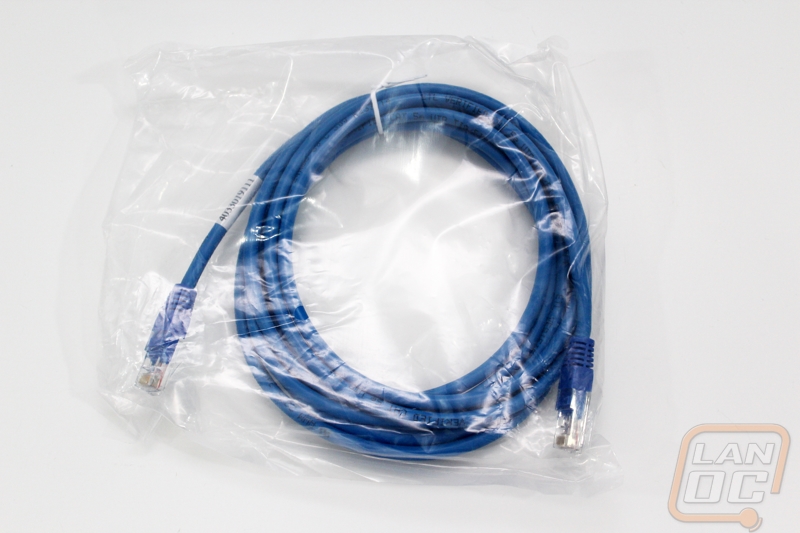
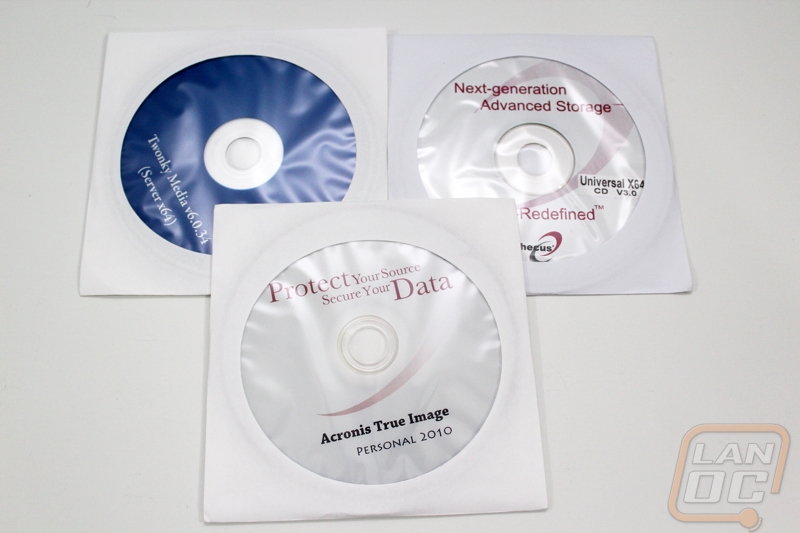
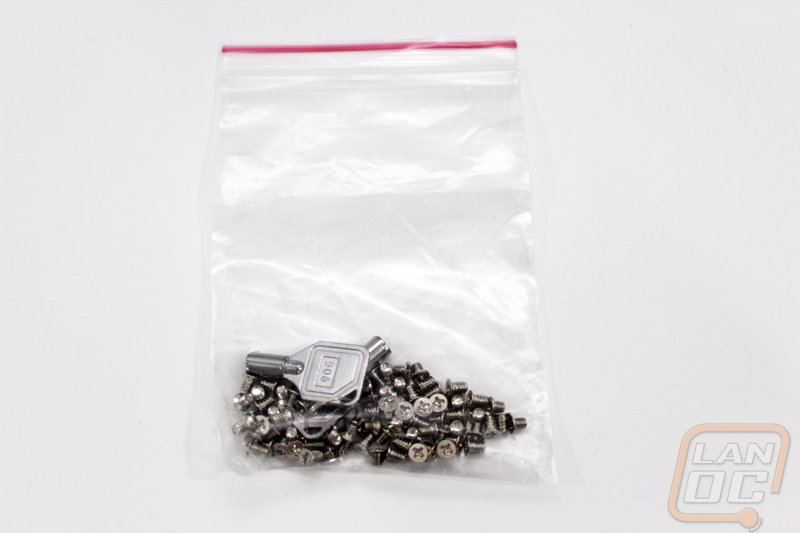
Inside the box, along with the NAS itself you get a whole pile of accessories. First off you get the power cord, of course. For documentation you get a quick installation guide, a warranty guide, and a note to check hard drive compatibility before starting. They bundled in a blue network cable on the off chance you need one as well. For software it comes with a copy of Acrinis True Image, Twonky Media Server, and their “universal” CD that you use for setting up some things. Last but not least you get a small baggy full of screws to install all seven of the hard drives into their trays.
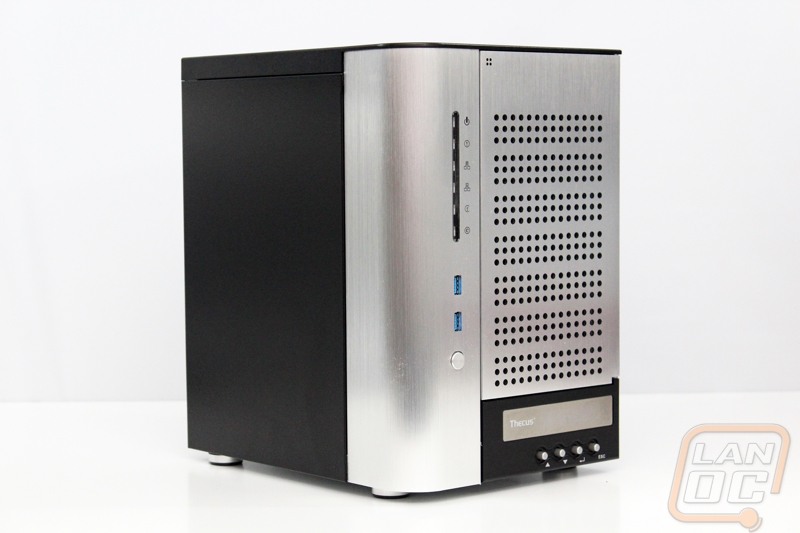
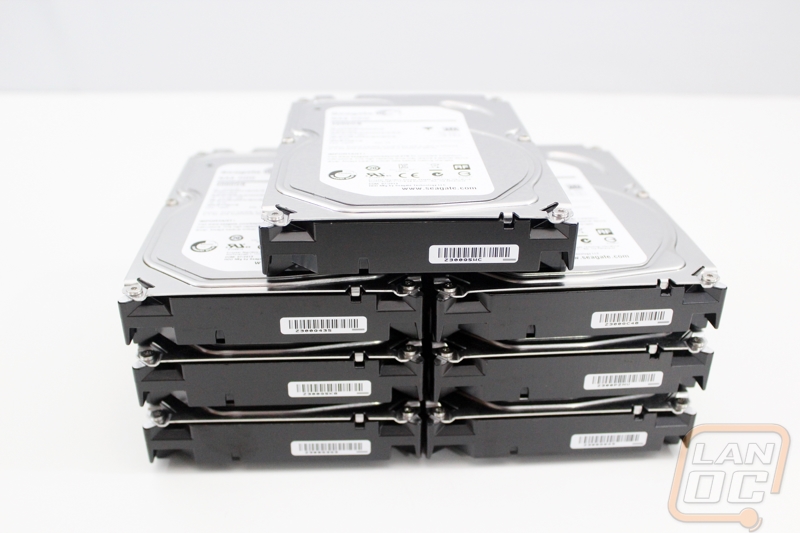
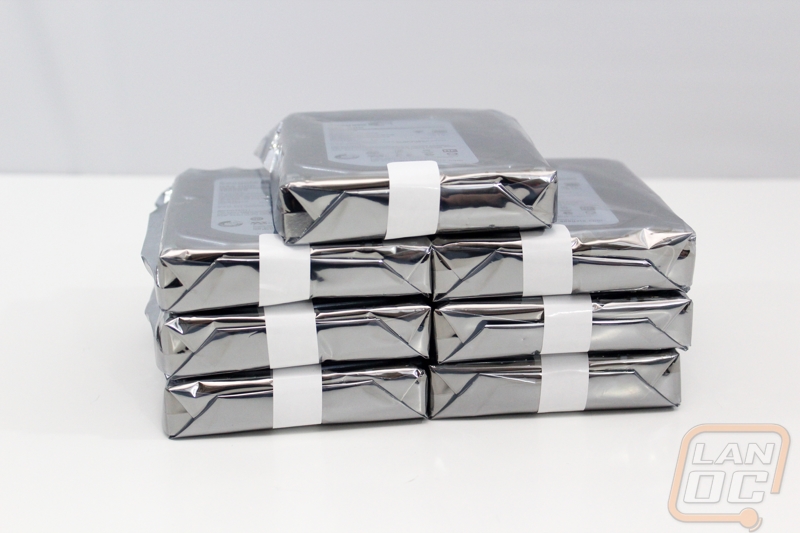
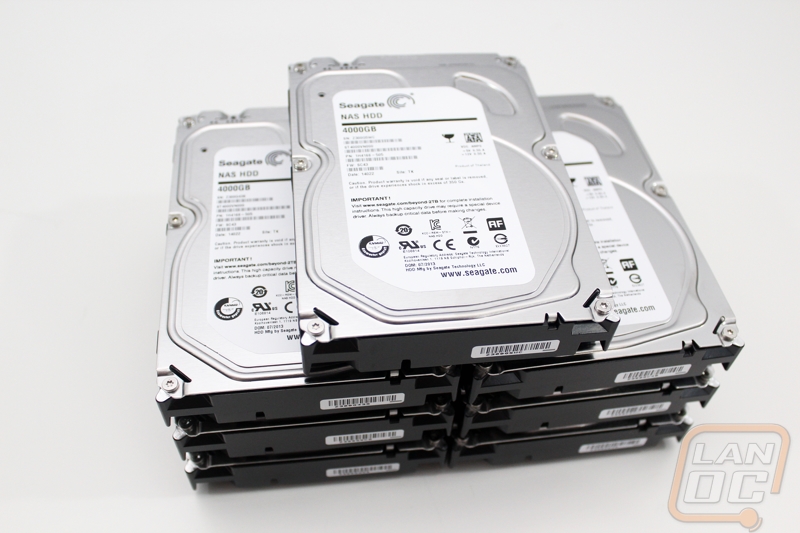
We can’t forget the hard drives that Seagate provided us as well. Being “bare” drives there isn’t anything exciting about their packaging though. Each comes in a static protective bag, like usual. It is exciting to see 28 terabytes sitting their though.
Photos and Features
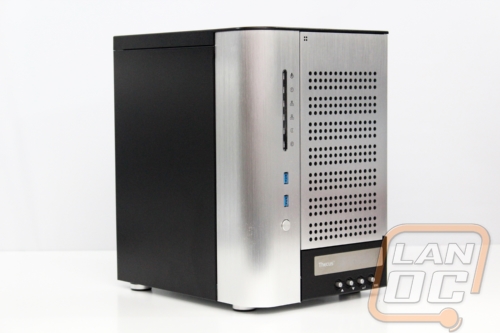
Unlike the N5550, the N7510 isn’t completely blacked out. They traded in some of the plastic for aluminum across the entire front of the NAS. In fact when you figure in the rest of the chassis being steel, the only plastic is around the display LCD down on the bottom. This makes the N7510 noticeably heavier than most other small business NAS’, but it also adds to the durability. It’s interesting that they stepped up the quality when the biggest selling point of the N7510 is that it is the best value in the 7 bay NAS market. I’m not going to complain about less plastic and more quality though! Beyond the finish, the only other styling point that needs mentioned is the round corner on the left side. It’s a small touch, but it does give the N7510 a unique look that sets it apart a little bit.
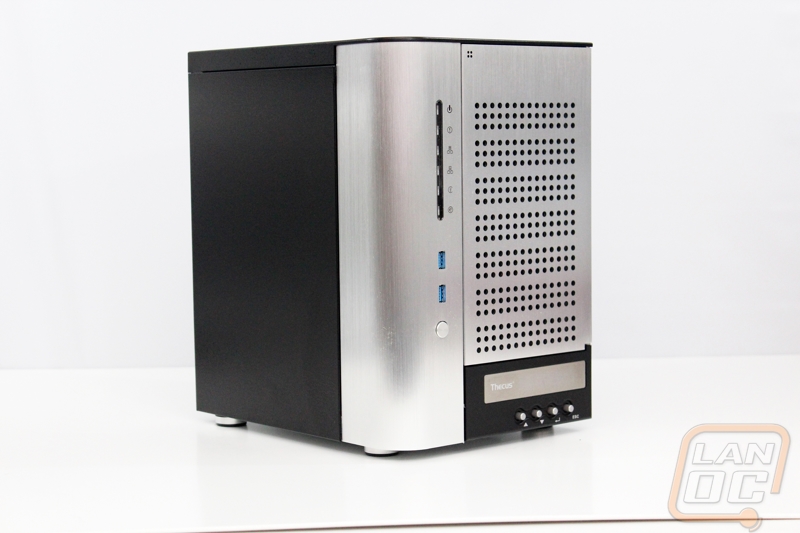
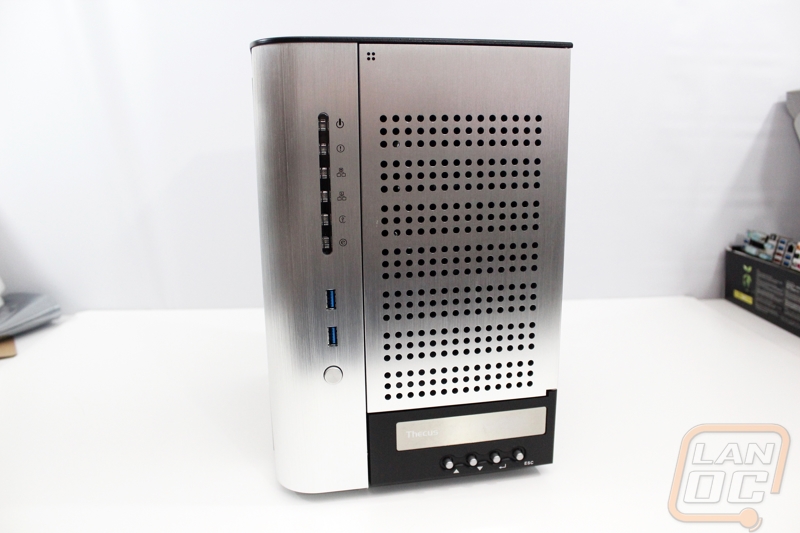
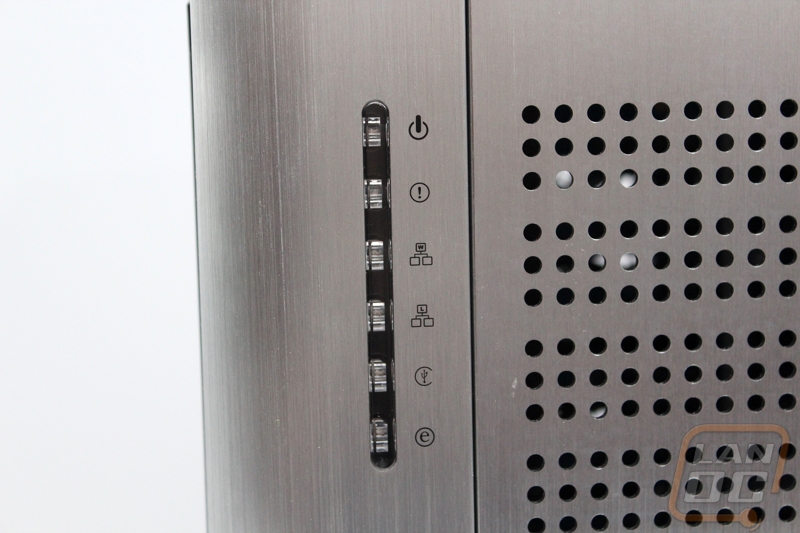
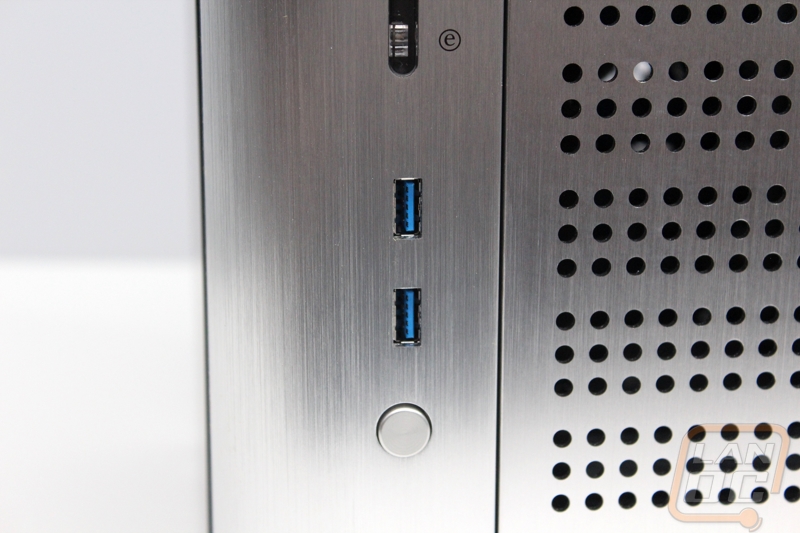
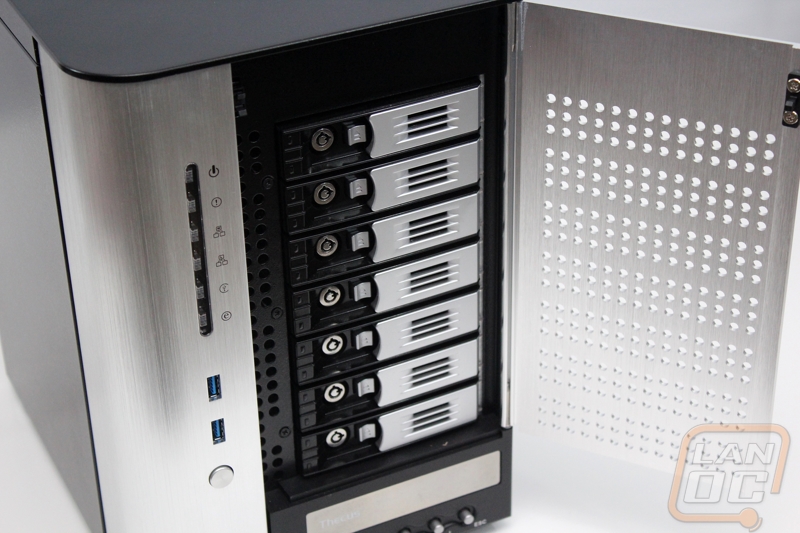
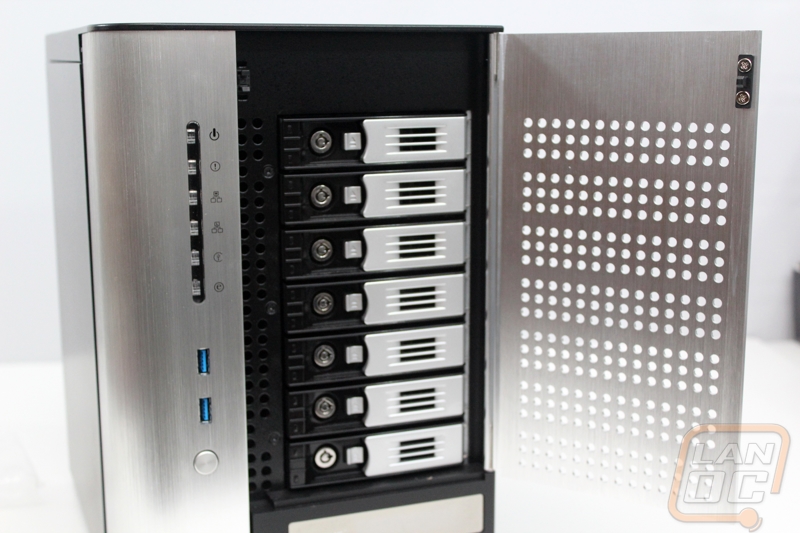
In order to make things easy, Thecus made sure to include nearly everything you need on the front of the N7510 to keep you from having to dig around to the rear I/O to hook things up. That means along next to the power button you have two USB 3.0 ports so you can hook up a hard drive to expand your storage or to backup or transfer files. Up a little higher up on the left side there is also an array of status LEDs. The top LED breakdown is as follows
|
Power LED |
Solid Blue: System is powered on |
|
System LED |
Solid Orange: System is being upgraded or data is currently inaccessible |
|
WEN/LAN1 LED |
Solid Green: Network link |
|
LAN2 LED |
Solid Green: Network link |
|
USB Copy LED |
Solid Blue: Files are being copied from USB storage device |
|
eSATA Link LED |
Solid Blue: External eSATA device has been connected |
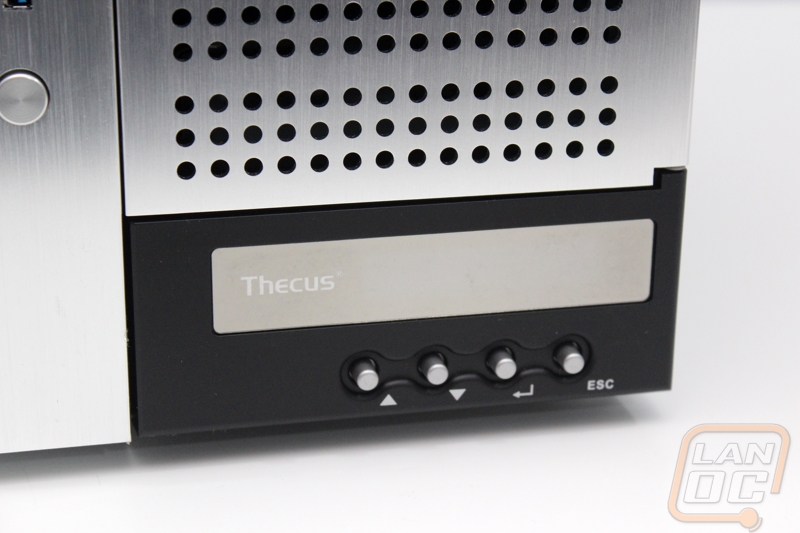
Down at the bottom the N7510 has a display screen so you can see the status of various things without having to go to a PC and log into the web interface. Navigation buttons allow you to flip through things like your current IP, hard drive conditions, ect.
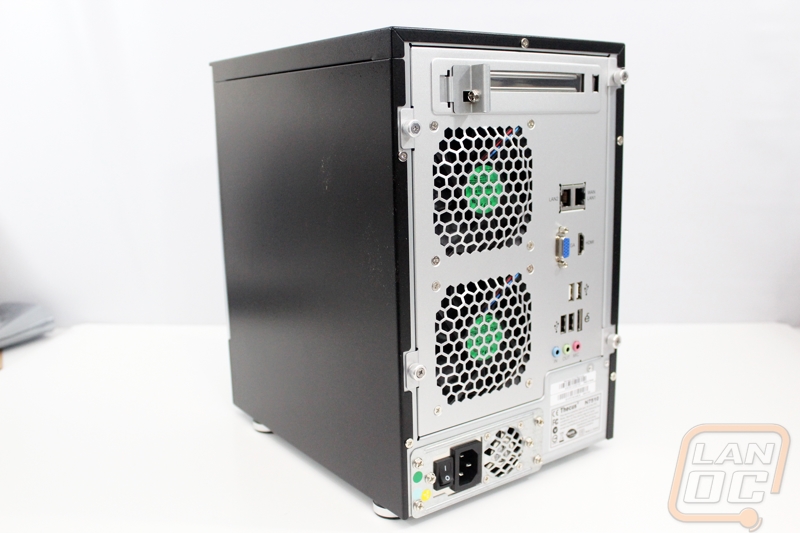
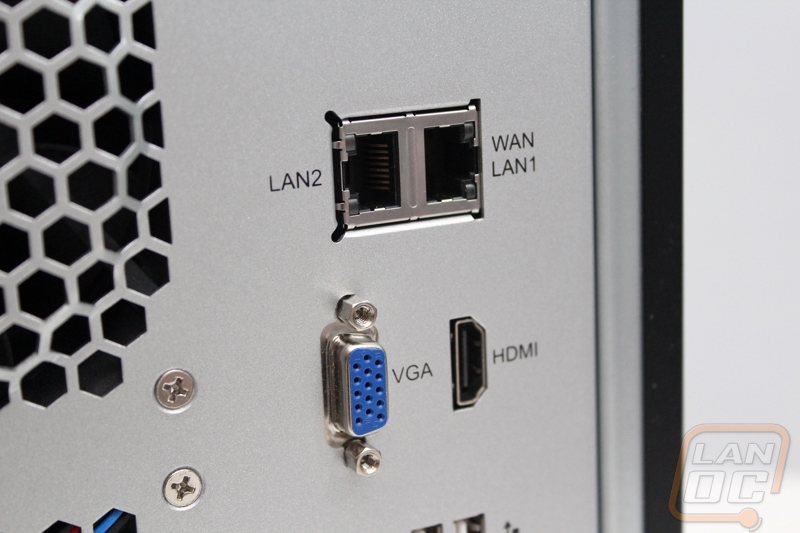
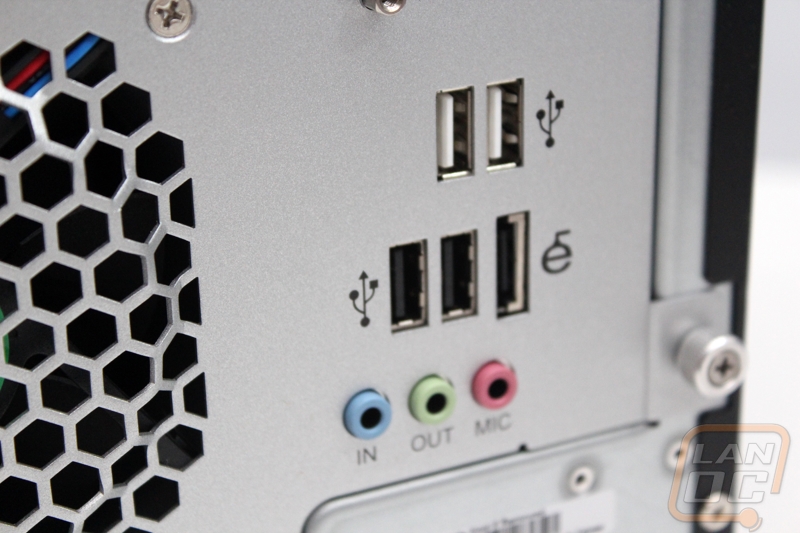
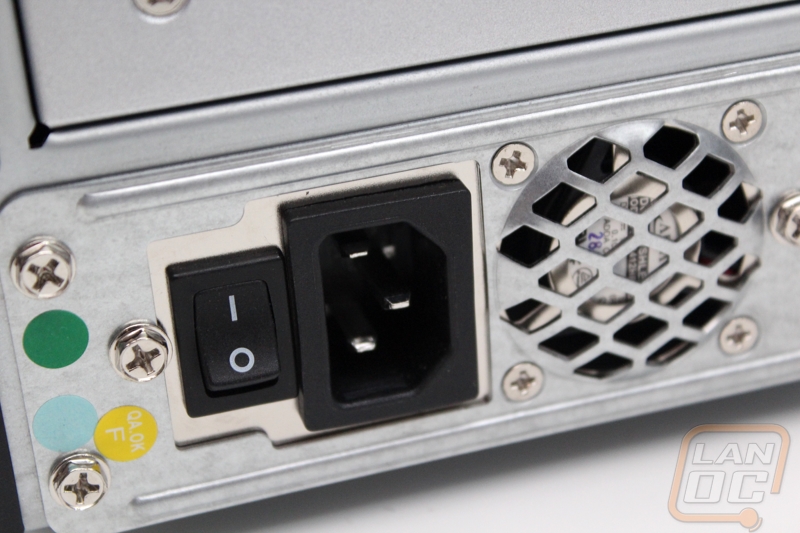
The back of the N7510 isn’t much different than a Mini-ITX build, there is even an expension slot up on the top. Thecus did include two fans where the N5550 had one, this should help keep the additional hard drives cool. The power supply is down in the bottom left corner with its own (small) fan. The PSU can be pulled out and replaced if there is ever an issue with it. For the rear I/O all of the connections blend into the back of the case. The N7510 does has a wide selection of hookups though. First off you have two Ethernet connections, one is labeled for WAN or LAN1 and then the other is a standard LAN. You can hook the N7510 up to its own internet connection used only for syncing between the NAS’ in multiple offices for example. There are four USB ports on the rear as well as an eSATA, all of them can be used to expand your storage or hook up a DVD drive or hard drive for backing up. Lastly are the multimedia connections, you get audio in and out and microphone hookups for audio and a VGA and HDMI for video.
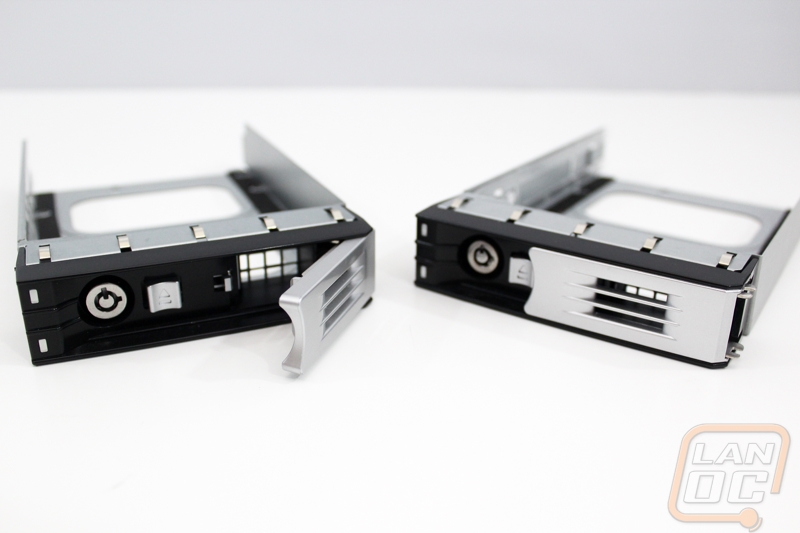
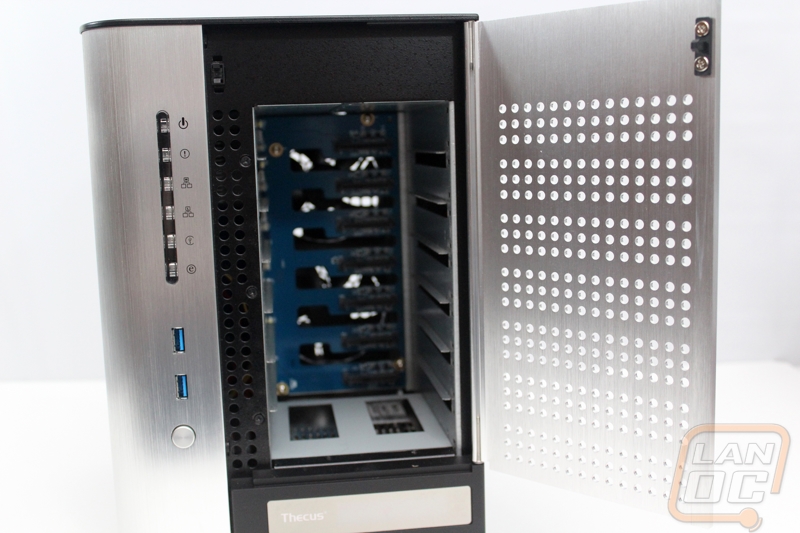
The hard drive trays for the N7510 are very similar to what I saw on the N5550, but they are flipped around with the latch on the right side not the left side. The lock is still on the left side though. Locks are important because the last thing you want to do is pull out the wrong hard drive and have to rebuild a raid. Basically when the tray is unlocked, there is a small clip that you slide over and the letch opens up and the tray slides out. The tray itself has rubber pads on the bottom to keep vibration down as well.
All seven of the trays hide behind the door that I showed earlier. Each of the trays has a small amount of ventilation as well as small holes to the left of the trays. All of this combined with the ventilation in the door itself and they are able to keep things cool.
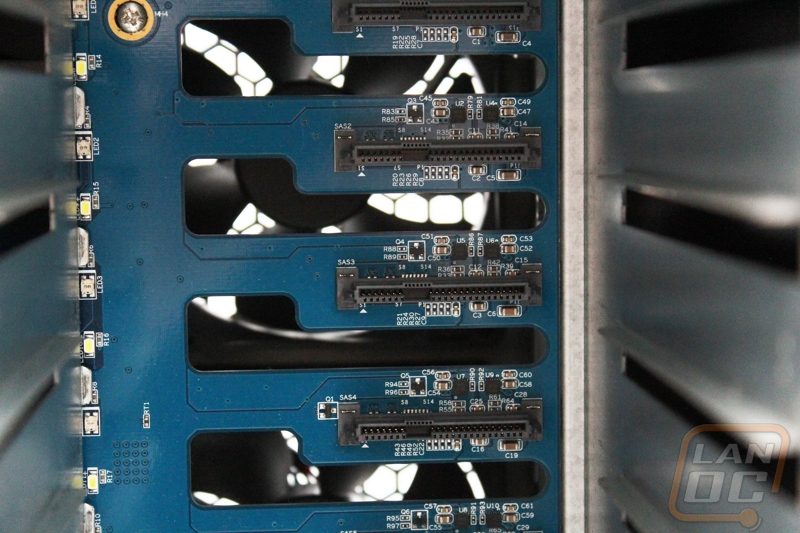
When we pull the trays out we can see all the way back to the hot swap PCB. Thecus made sure to include ventilation there as well for each hard drive. The PCB basically does what your power and SATA cables do in a normal case, but with it being hard mounted you don’t have to get in behind the hard drives to hook everything up. They plug right in when you slide the tray into place.
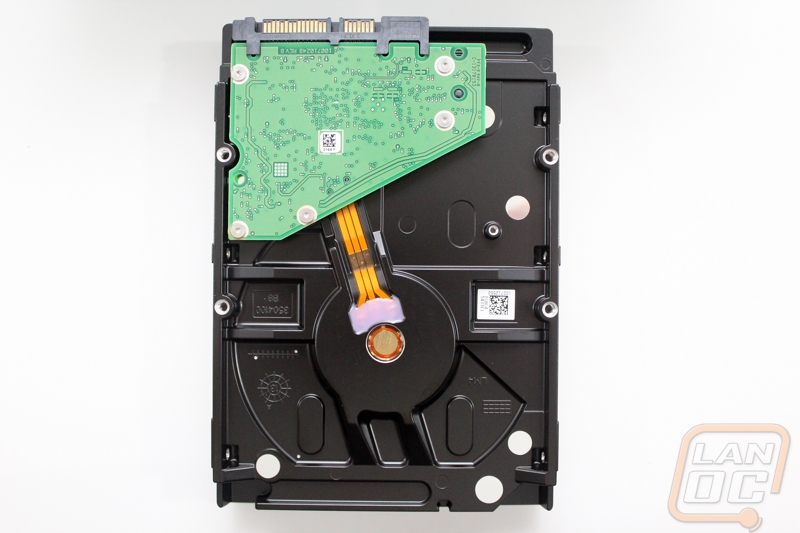
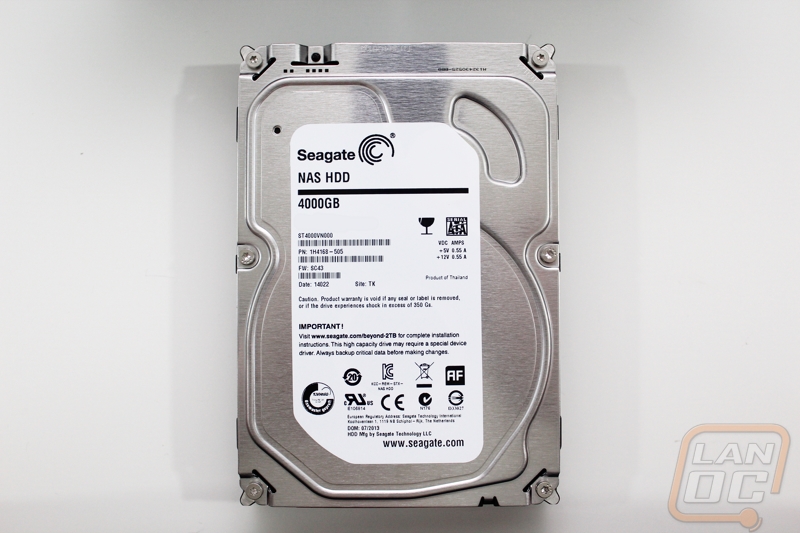
We also have photos of the Seagate 4TB NAS drives but to be honest their isn’t much going on here that you wouldn’t see with every hard drive. Seagate stuck with their basic labeling that gets right to the point with the name, brand, and capacity with all of the model and serial numbers down on the bottom half of the label. There isn’t any color coding or anything similar to that going on, not that you would ever see it once it is installed in your NAS anyhow.
Software
Once you have your NAS setup you will most likely rarely ever touch it, but when you do it will almost always be through the web interface. Because of that it is important for it to be easy to navigate and have all of the features that you need. I have worked with the Thecus OS in the past with the N5550, so I had a good idea what to expect but let’s recap and see what all you can do within it.
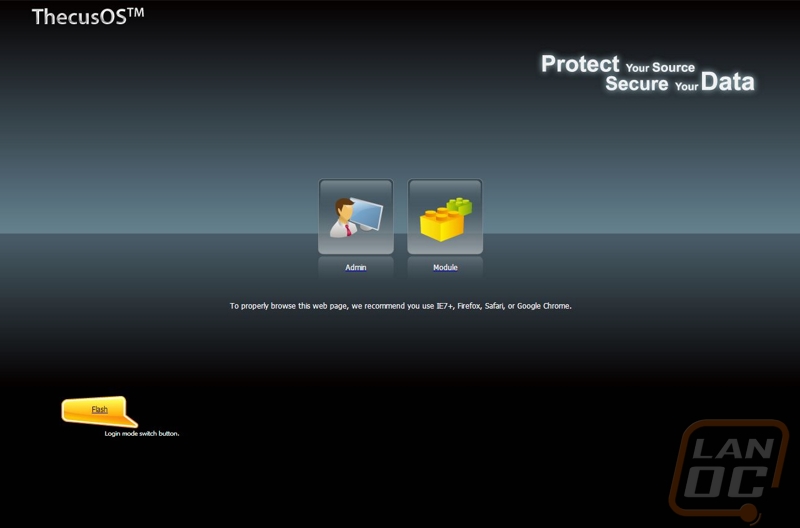
When you pull up the IP or NAS name you will first end up on a simple page with the option to log into the admin panel or your custom modules. The admin panel is what I will cover today but keep in mind that some of the add on modules that you can install actually run completely separate from the admin interface. Logging into the admin panel only requires a password. I would prefer that you have to put in a username and password, this would make it harder to hack and allow for the possibility of giving multiple people admin access without having to share a password.
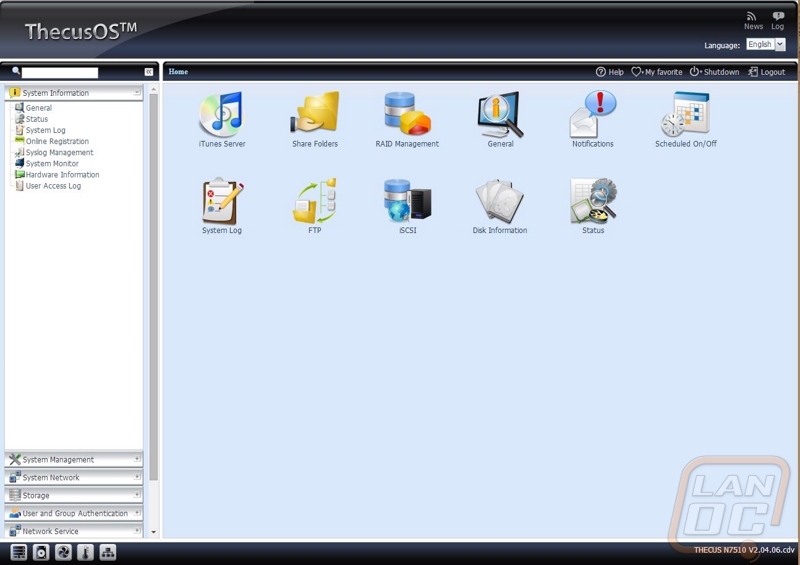
Once logged in you are dropped on the home page. Over on the left you have an accordion layout that splits up all of the detailed options to make it easier to find what you need. The home page does have a few highlighted icons on it and you can add other options. This lets you select just the most important admin pages that you will find yourself going back too.
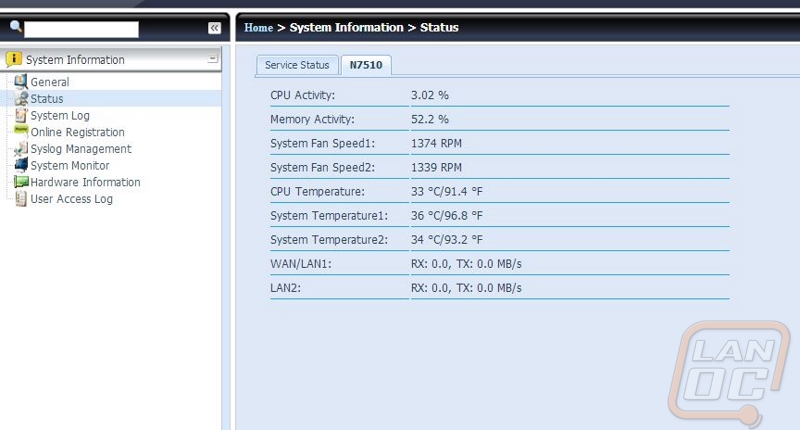
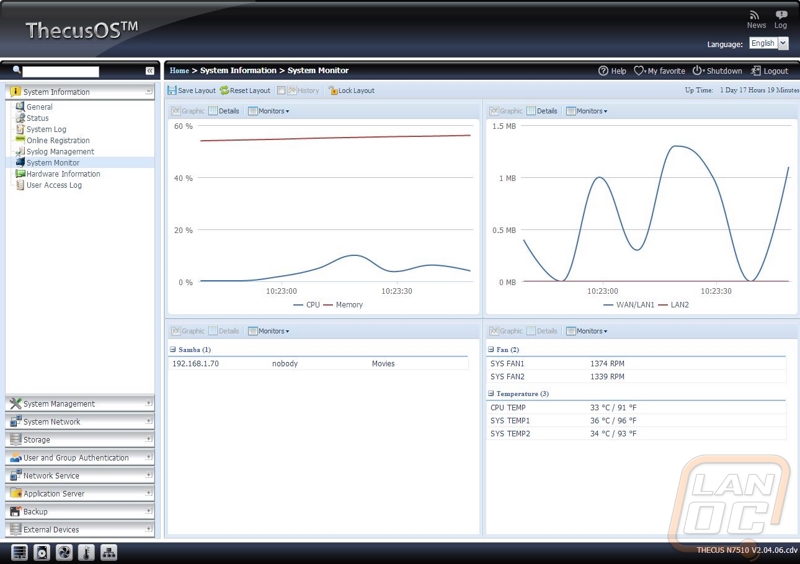
Starting in the system information tab you have a few options that give you access to system and user access logs. Additionally you can check out the N7510’s hardware information where you can see every component listed out for you. The two tabs I spend the most time on are the system status and system monitor tabs. They both share the same information for the most part, the status page lists out information about memory and CPU activity along with fans, temperatures, and network stats. The monitor page has the same information but graphed out so you can see trends over a longer period of time.
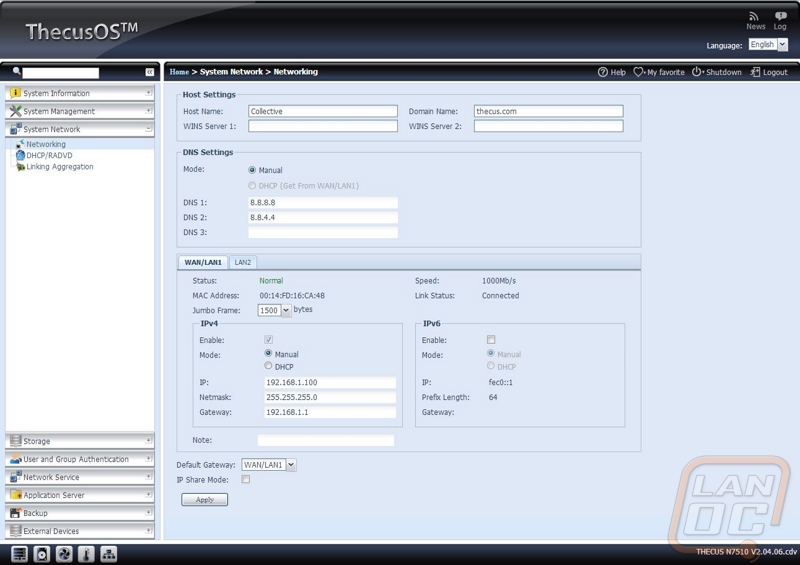
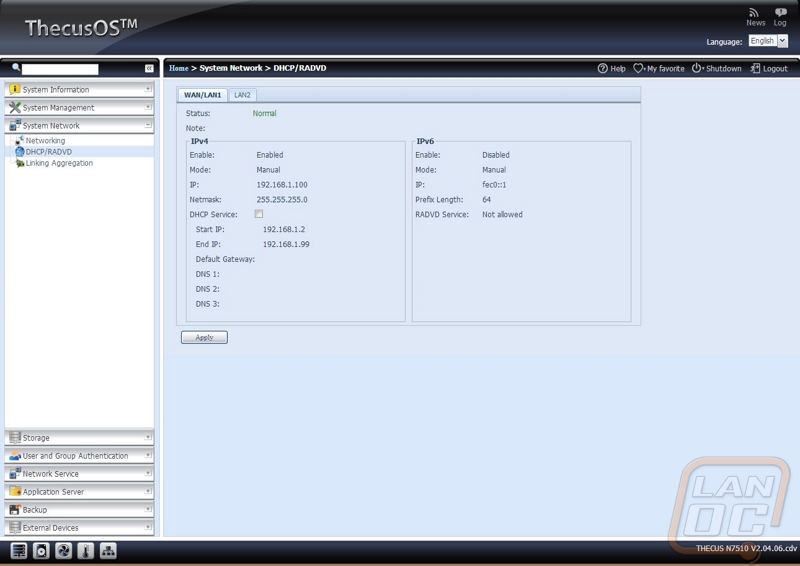
The system Management section is filled with general NAS configuration details like setting the date and time, notifications, updating the firmware, and setting the admin password. Because of that there really isn’t anything to cover in detail. Because of that I went right for the System Network section. Here you can check your DHCP settings or manually go in and configure everything from your IP, host name, and even set your jumbo frame size. You can do this for both Ethernet ports if you are using them both. There is also the option to setup link aggregation, here you can double the network bandwidth available by using both in combination.
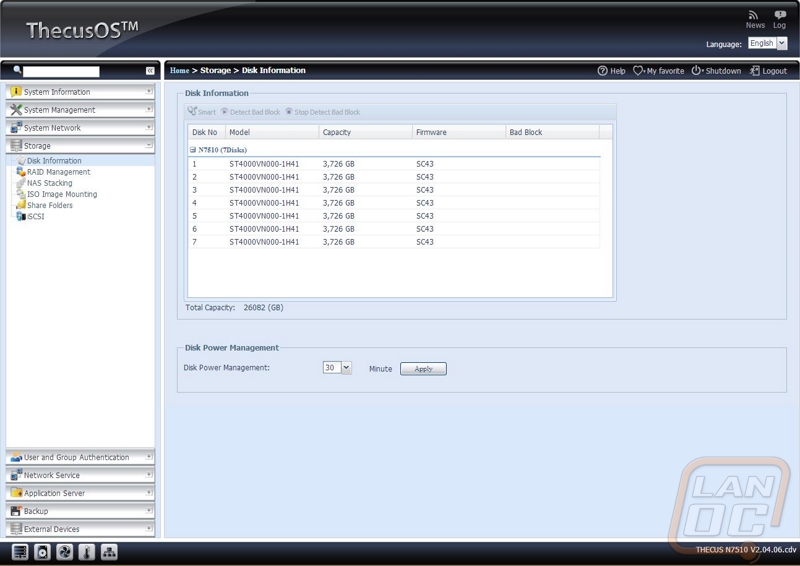
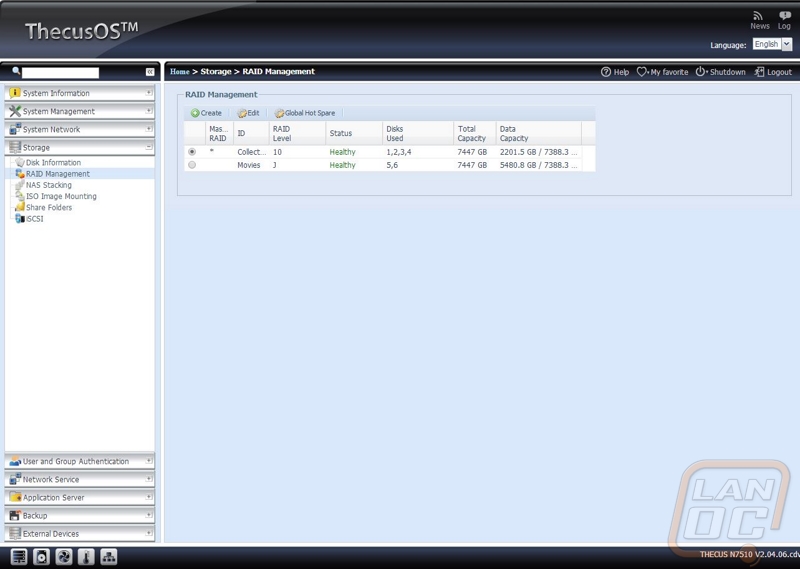
With the N7510 being a NAS, obviously the Storage section is the most important. Here on the first page you can see all of the disks you have installed including their model number, capacity, and even firmware. As you can see I have 7 of the 4tb Seagate NAS drives and they are all on the SC43 firmware. You can also setup how long in between activity should hard drives spool down to extend their life and save power.
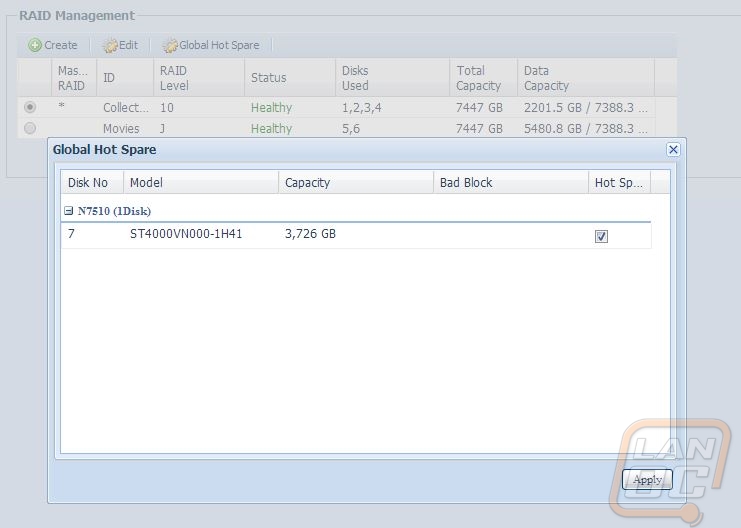
In order to get going, even if you don’t plan on running any redundancy, you have to setup your RAID. For me I split up the LanOC data onto a RAID 10 array that offers both redundancy as well as speed. For our movie backups there wasn’t a need for redundancy, so I just ran a J array. That is only 6 of the 7 drives though, I saved the last drive to be used as a global hot spare. That means one drive is always installed and if my RAID fails in any way it will automatically swap in the new drive and rebuild the array, one that is done the NAS will email me to let me know of the problem. This should keep downtime to a minimum and lower the risk of the RAID failing and then having something else happening after causing data loss.
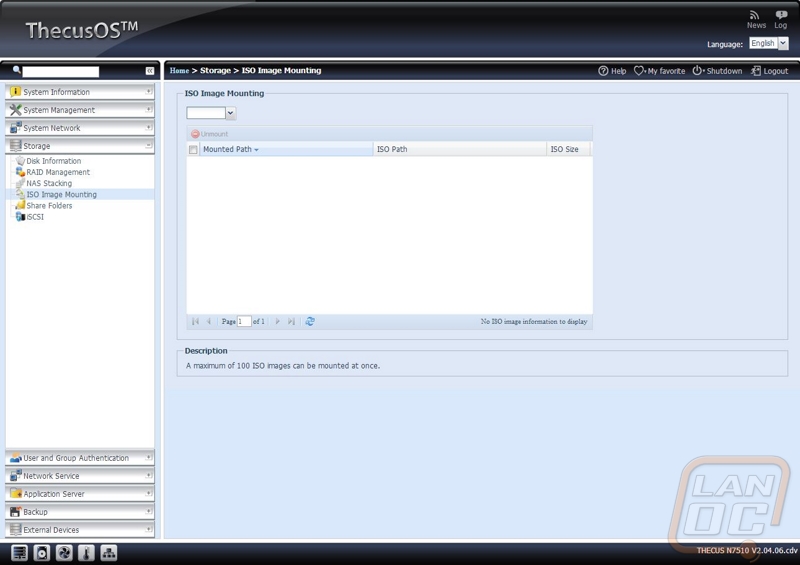
Another really cool feature is the ISO Image Mounting. Here you can load up to 100 ISO’s and treat them like they are a DVD/CD installed in a drive. If you are like me and install things over and over you can mount the ISO and just have access to it on the network rather than having to drag a stack of discs around with you.
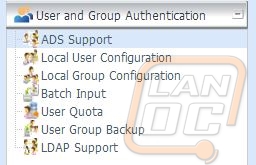
User and Group Authentication allows you to setup users and add them to user groups. Once you have this you can limit what folders they have access to and even set limits on how much data they can transfer. There is also a batch upload option for companies that already have an established user list than needs transferred over all at once.
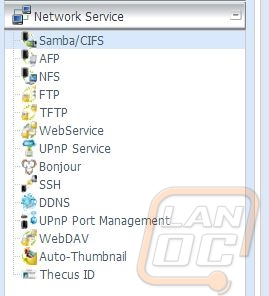
With the Network Services section, it isn’t any specific page that really shows what the N7510 is capable of. It is the list of different services that Thecus lets you handle that sets it apart. Of course you have Samba support and even FTP, but the list goes on all the way to Bonjour and even dynamic DNS support.
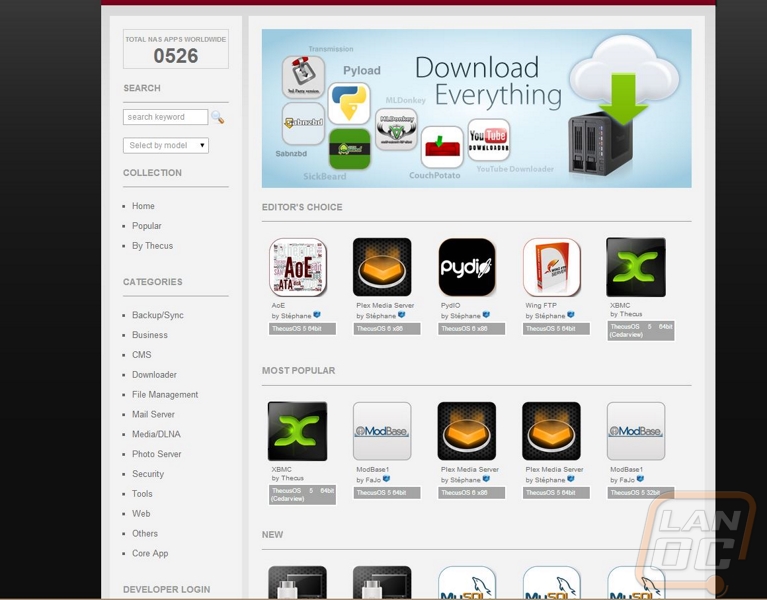
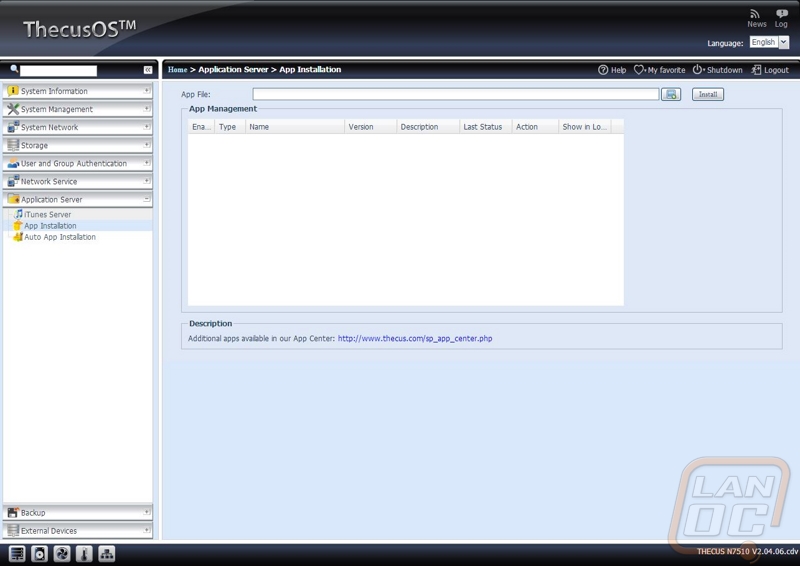
If you decide to build your own file server you can expand on the functionality by running other programs as well. Thecus allows the same thing with the ability to install apps. You can pick from a long list of apps on the Thecus website ranging from various media servers all the way to virus scanners. Installing them doesn’t require an intimate knowledge of Linux, all you have to do is download the file and upload it on the app installation page. For my use I didn’t have a need for any of the apps, but I know a lot of people run Plex Media Server for example, having it available is a major bonus. I still prefer how Qnap handles their apps, you click and automatically install it directly in the NAS, but I’m still happy as long as I have access to them in some way shape or form.
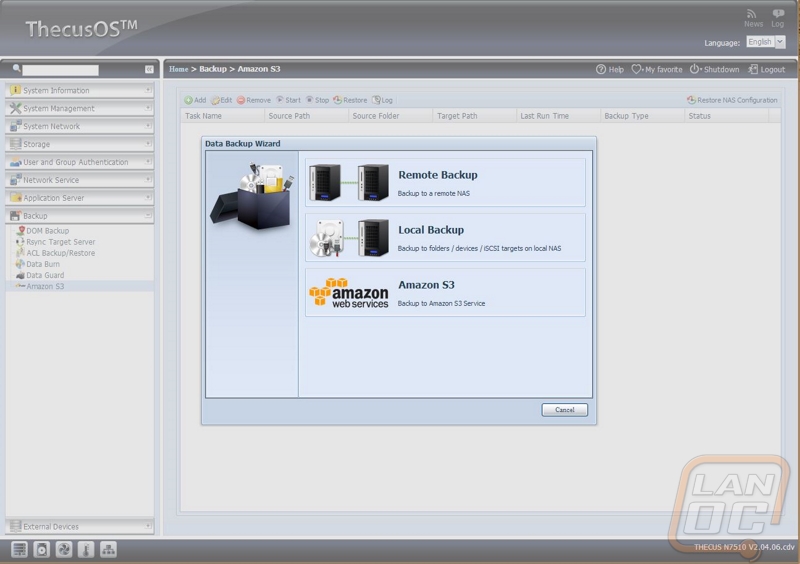
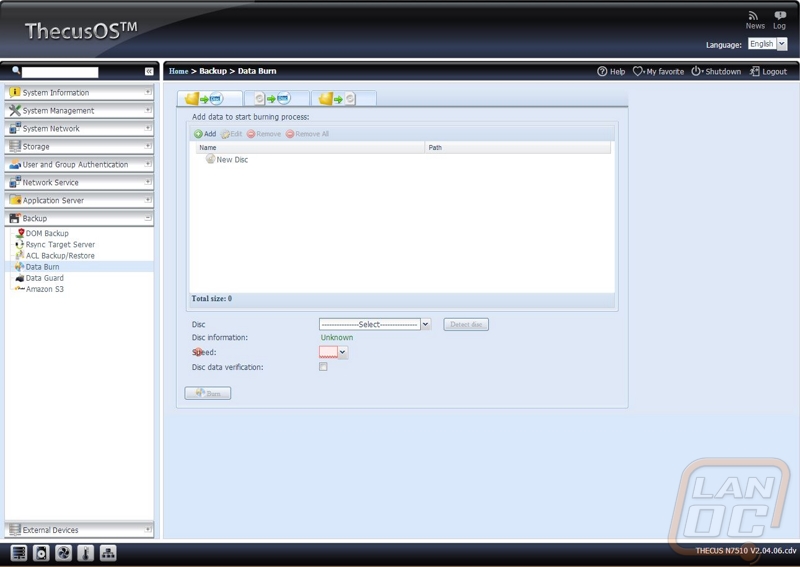
Thecus gives you multiple options when it comes to backing up the data that you save on the N7510. You might be wondering why you would want to backup the data on your backup? Well it’s a best practice to have an onsite backup as well as an offsite backup. If you have a fire or something unexpected happens you can always rely on the offsite storage. They have configuration options to backup to another local NAS, remote backup to a NAS at a different location, or even backup to amazon S3 servers. If you have a USB DVD drive you can also burn your data directly to disc, although considering how much data you can store on the N7510 when fully loaded you might want to have another option available because that will take a lot of DVDs and time.
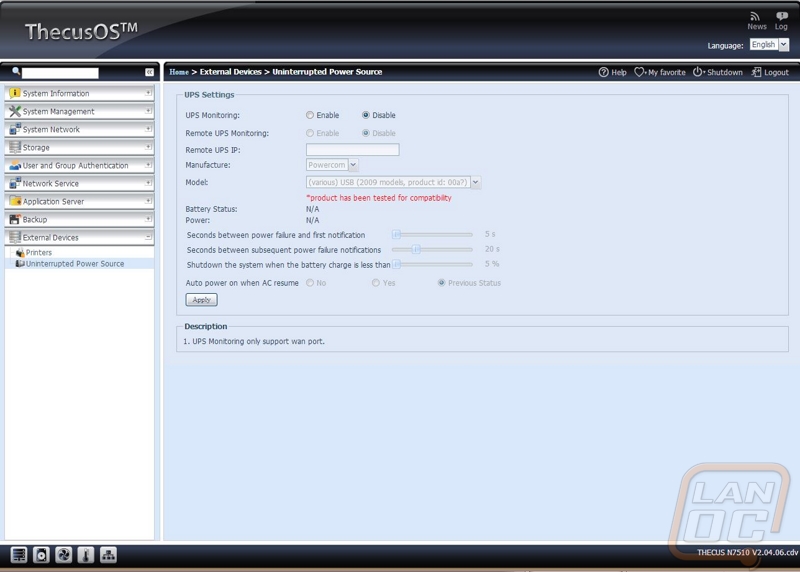
The N7510 also supports connecting printers and UPSs. They give you a configuration page to help configure your UPS settings. I love that they not only support USB connections but they also support remote UPS’ with network support. On the printer side of things you can turn a non-networked printer into a networked printer by hooking it up to the N7510, that should make life a little easier in a small office, not to mention save a little money when picking a printer.
Performance
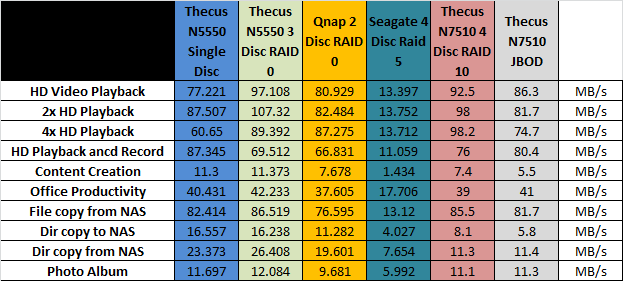
After covering the software, all that was left to do was actually put the N7510 to the test. The N7510 has actually been in use for months now so swapping out to our standard NAS benchmark hard drives wasn’t an option. Even so I was able to test both the RAID 10 and JBOD performance just by using the configuration I was already running. To benchmark both I used Intel’s NAS Performance Toolkit. Intel’s NPT benchmarks multiple situations that you would use your NAS for including HD video playback, file copying, and even office productivity.
So let’s take a look at the results, especially taking a look at the difference in performance between the RAID 10 and JBOD. Comparing our old RAID 5 to the new RAID 10 we can see just how big of a performance boost I saw when upgrading to the Thecus N7510. Going with a RAID 10 allowed for redundancy while also running the drives striped for better performance. We could have gone with a full RAID 0 like on the N5550 testing for even more performance, but the data is too important to take that kind of risk.
Overall and Final Verdict
After spending so much time with the N7510, I have really grown to love it. Typically, the sweet spot price wise for a small business or home NAS is around four bays. Thecus set out to make a cheaper 7 bay NAS and without a doubt that did that. That isn’t to say that it is perfect at all. Frankly, the Intel Atom processor that they put in it might be okay with a smaller NAS but at this size it is a little undersized. Day to day you will never notice this, but when you have to build a RAID array of that size it will take longer. That isn’t a bad tradeoff to save money and keep costs down, especially when you add in having to buy 7 hard drives to the overall cost.
Even with this being a budget NAS Thecus did still upgrade the build quality with its aluminum design. Thecus OS is also packed full of features and adjustability, you can do anything you want with the NAS. All of the app options that can be added on via Thecus’s website are great. My only complaint was that Qnap has something similar but you can click install on their NAS’ where on the N7510 you have to go to the website, download, then upload it to your NAS. Hopefully Thecus works on this in the future.
So how cheap is the N7510, well you can find it for around $640 currently. That might not sound cheap to some of you, but compared to the competition it is. Right now on Newegg the cheapest 6 bay NAS is $718 with the prices going up quickly from there, that is with one less drive bay even. Eight bay NAS’ start at an even higher price of $842 with the next cheapest being over a grand. Even with those models you get the same Atom processor as well. You really have to pony up even more to go with anything faster. If you are on the market for a NAS, you should really consider jumping up to the N7510 and giving yourself the expandability in the future, you know you will need it!