Installation and Performance
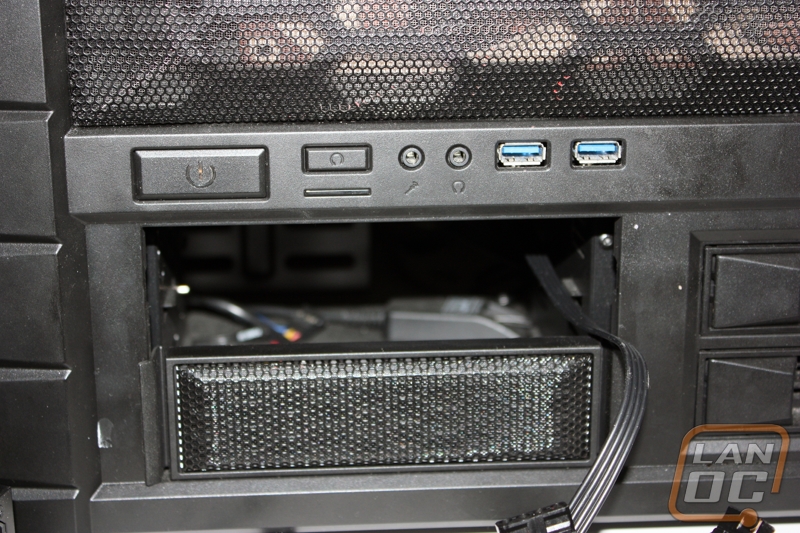
The three things you need to install the ToughArmor bay are power and SATA connections, and open 5.25” bay slot and the bay itself. The process is equally as simple, if you’ve ever installed an optical drive you should know the drill by now. We ran our own 4-pin Molex connections to the bay dock from out test benches power supply but you can use the included adapters if you wish. We then simply plug in the power.

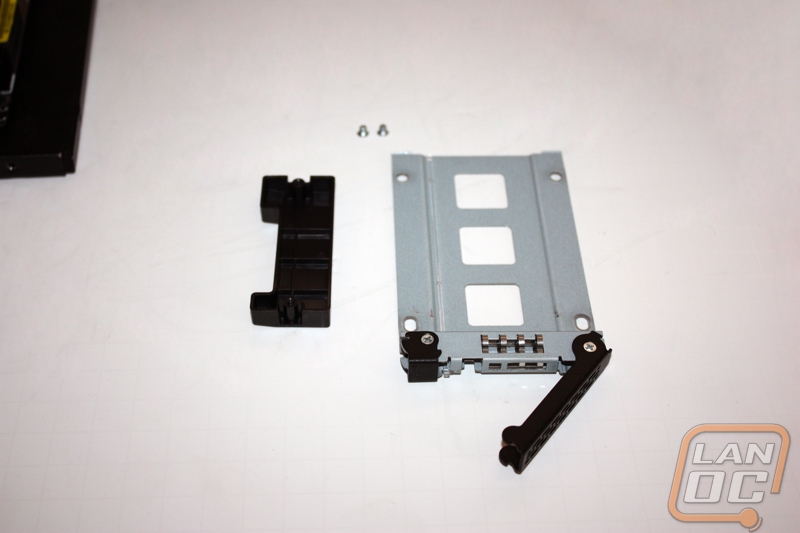
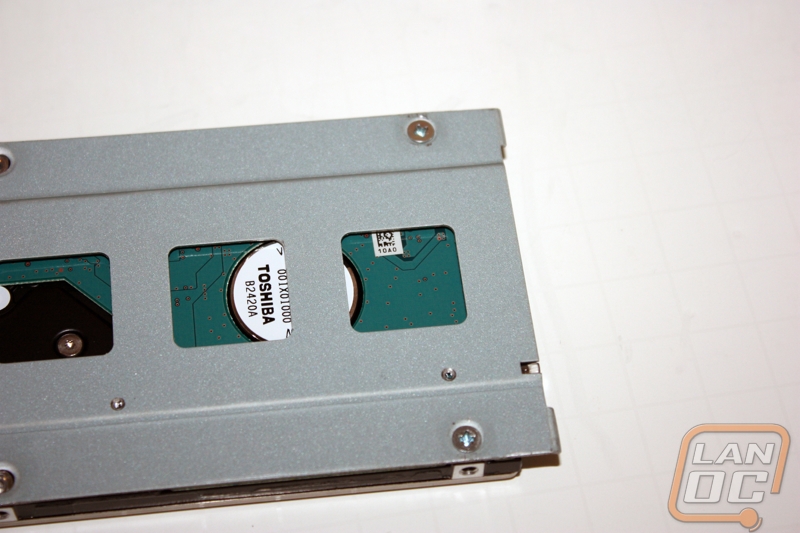
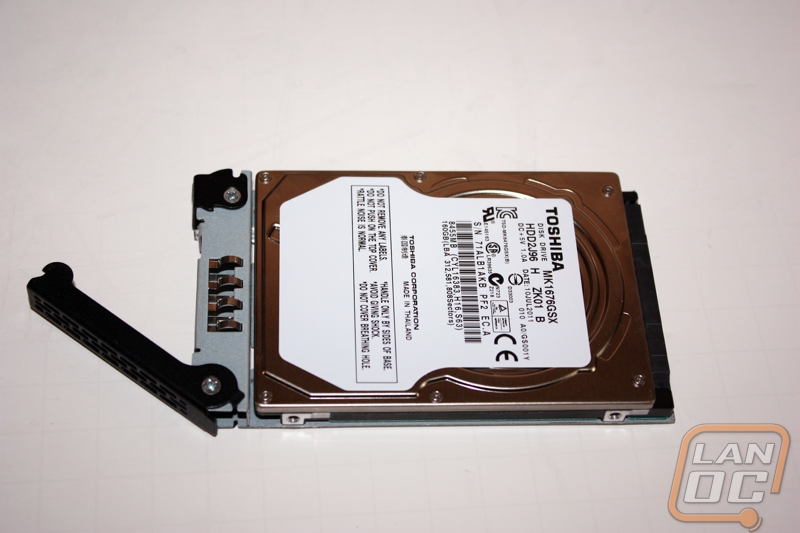
Next, it is time to install our drive onto a tray. We start by removing the connection guard and fastening our drive to the tray with the supplied screws. With that we are done and ready to go. The drive slides right into place without much fanfare and is ready to use. All in all the promise of a plug & play setup is true as there is probably more time spent with cable management than on the actual installation.
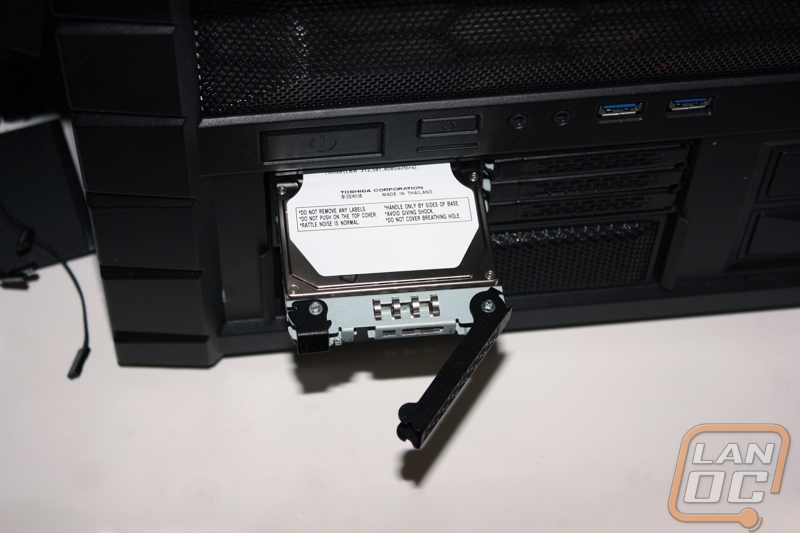
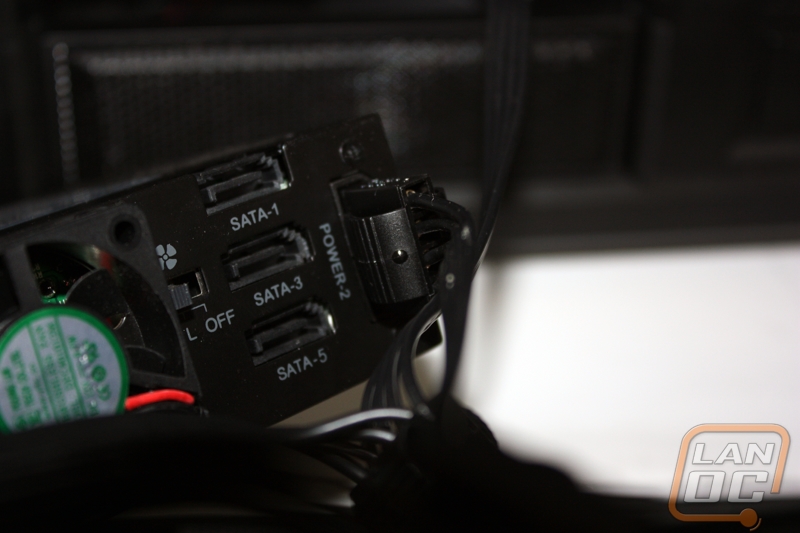
A few things to note on performance, the bay will only accept 9.5mm thickness drives, so be aware of that if you are rolling with larger SSDs or even laptop HDDs. With the fan set to high it does produce a mildly noticeable whine as you would expect from such a small size but on low setting it is almost noticeable and the fan will not operate at all without any drives connected. There is no sticking or hanging problems with the bays sliding mechanisms as long as the correct screws are used.
