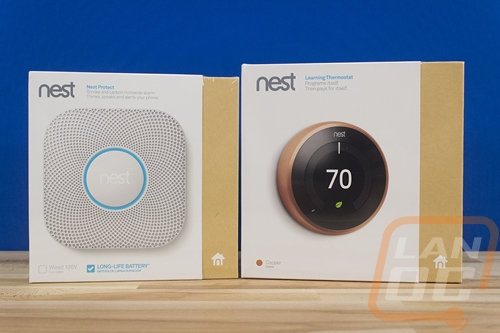
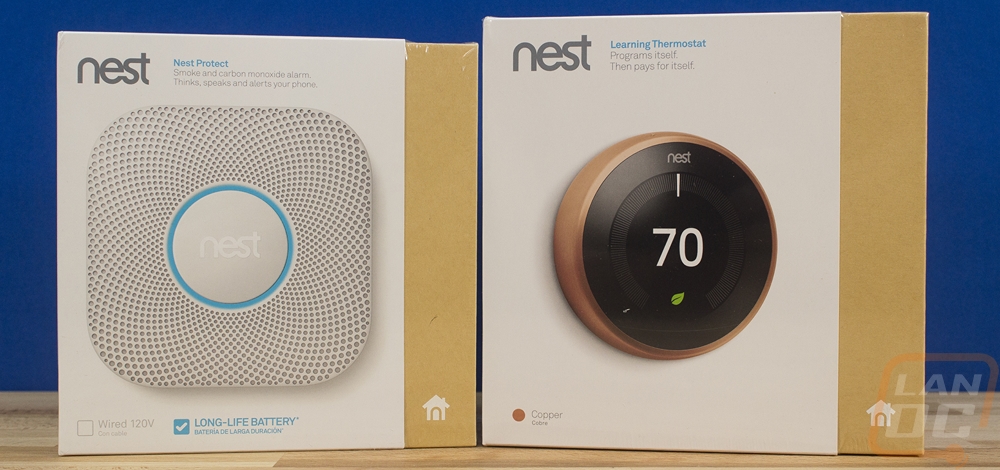
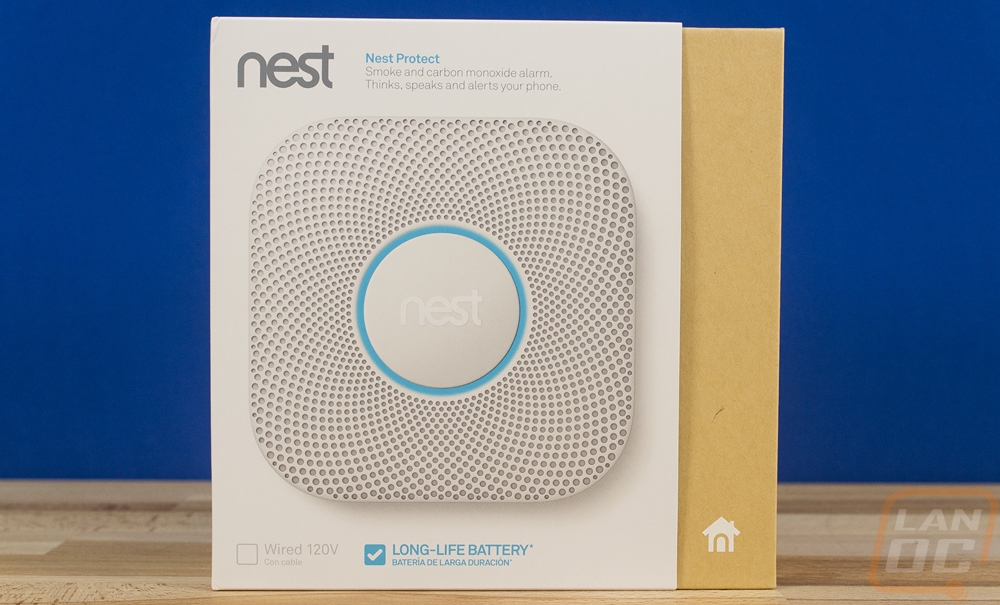
Packaging
The boxes for both the thermostat and the protect were both similar in size and styling. I dig a branded theme, it makes spotting other accessories in the store easier. Both have the product on the front with the Nest branding in the top left corner. From there the thermostat has a note in the bottom left corner showing that this is the copper model, the picture also matches that as well. Then for the protect there are two checkboxes down on the bottom, one for the wired model and the other for the battery powered model that I’m testing today.
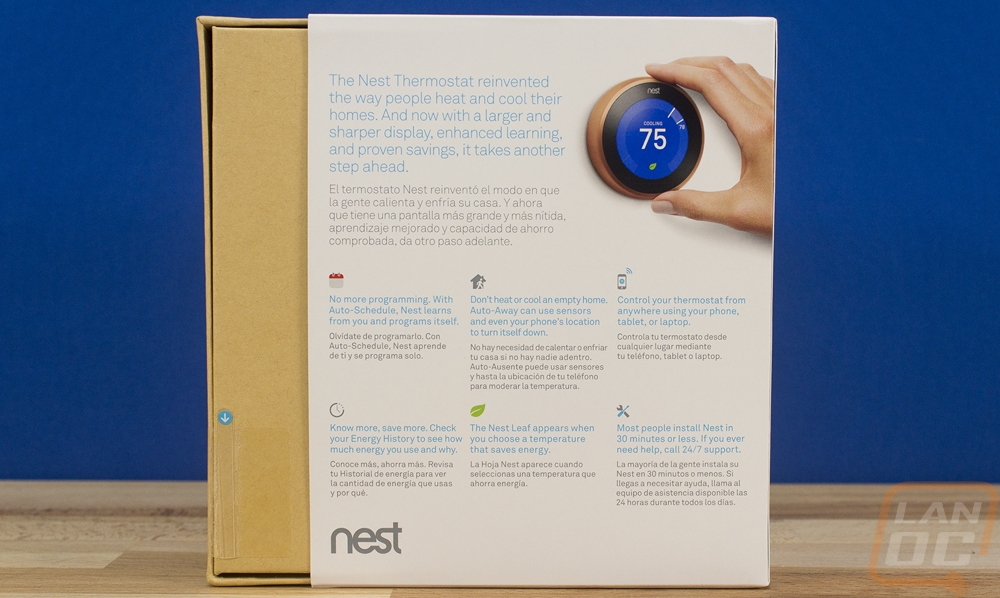
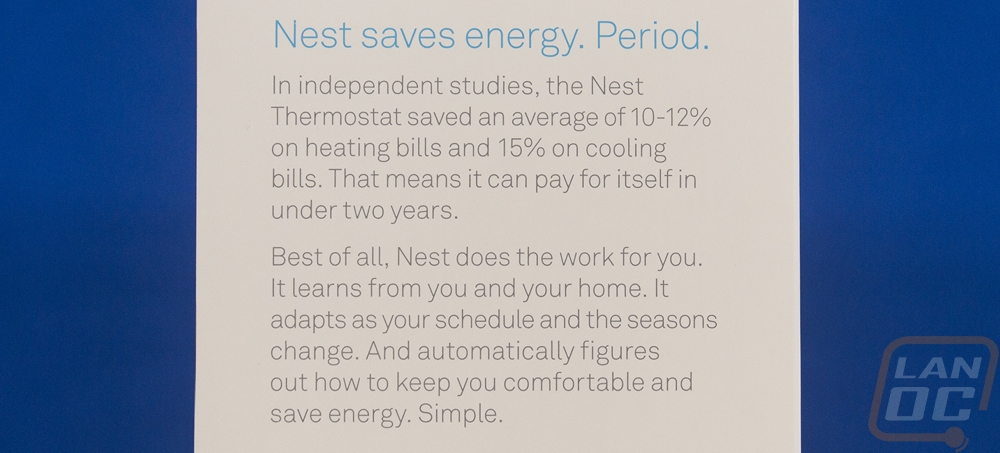
On the back of the Nest Thermostats box, they have a few notes on its key features. Namely the auto schedule and auto-away functions along with a few app features and its quick installation. The side of the box also points out that studies show it saving 10-12% on heating and 15% on cooling.

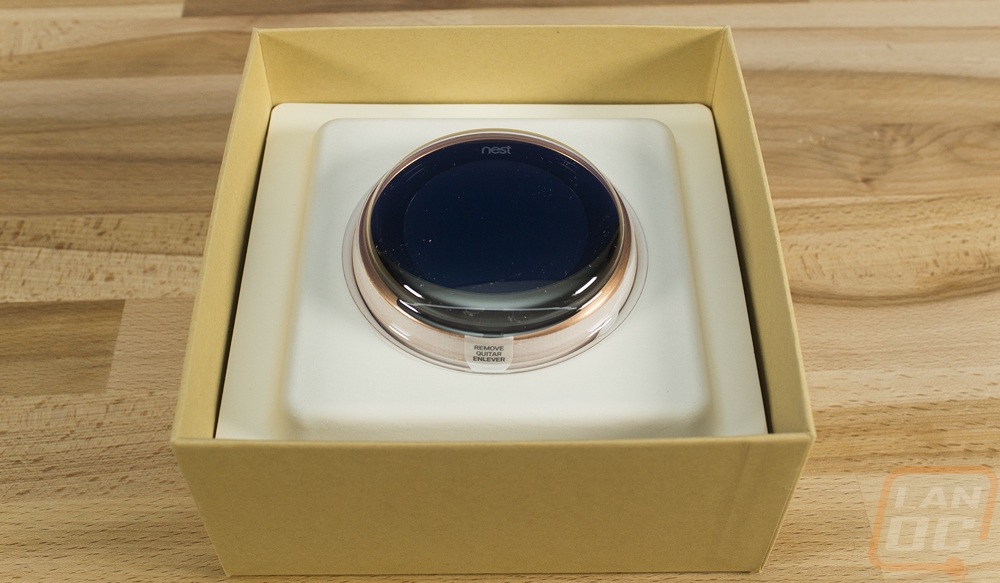
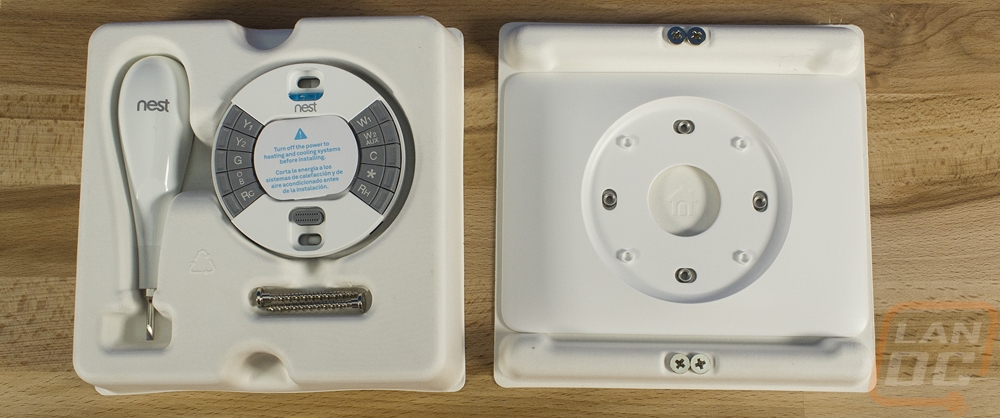
When you slide the cover off and pull the box top off you have the thermostat featured right up top with a plastic cover on it to keep it in place. From there you can pull that tray up and you will find two more layers. One with a mounting plate for people who need to cover a large hole and then in the other you have the mounting base and a nest branded screwdriver. The screwdriver is really nice and it is designed for dealing with the screws that hold cables down on your other thermostat.

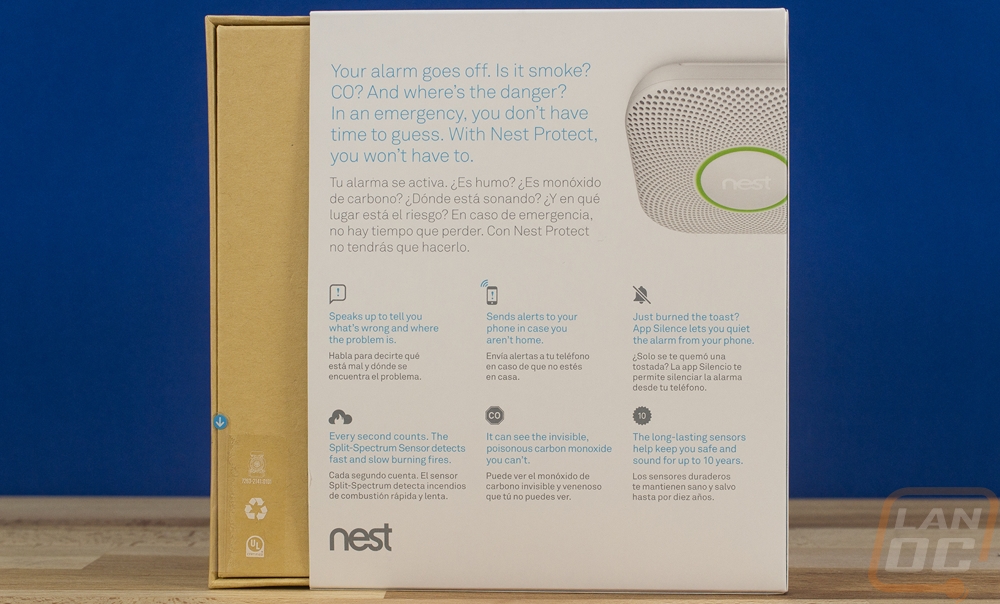
The Nest Protect’s box has the same look as the Thermostat only on the front it has a photo of the Protect. On the back, they point out a couple of its main features. They point out that it covers fast and slow burning fires as well as CO. It has a built-in voice that lets you know where the fire is and the app will notify you if you are away and even let you turn off the alarm if you set it off.
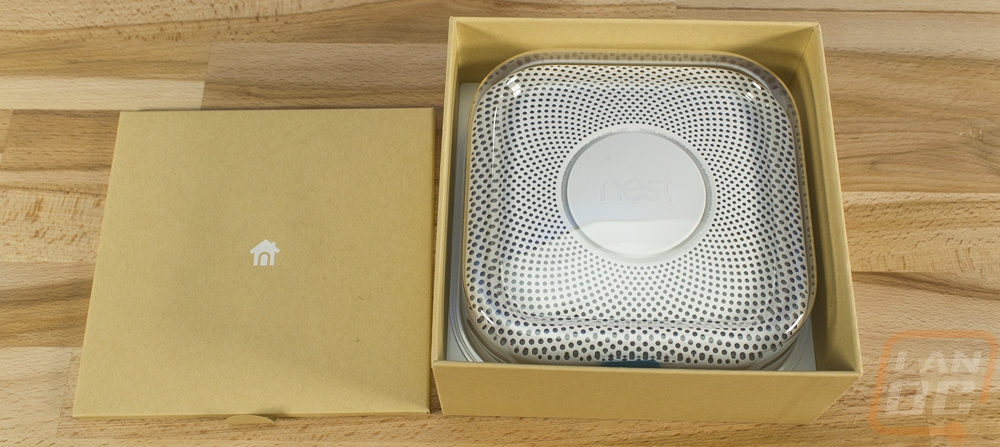
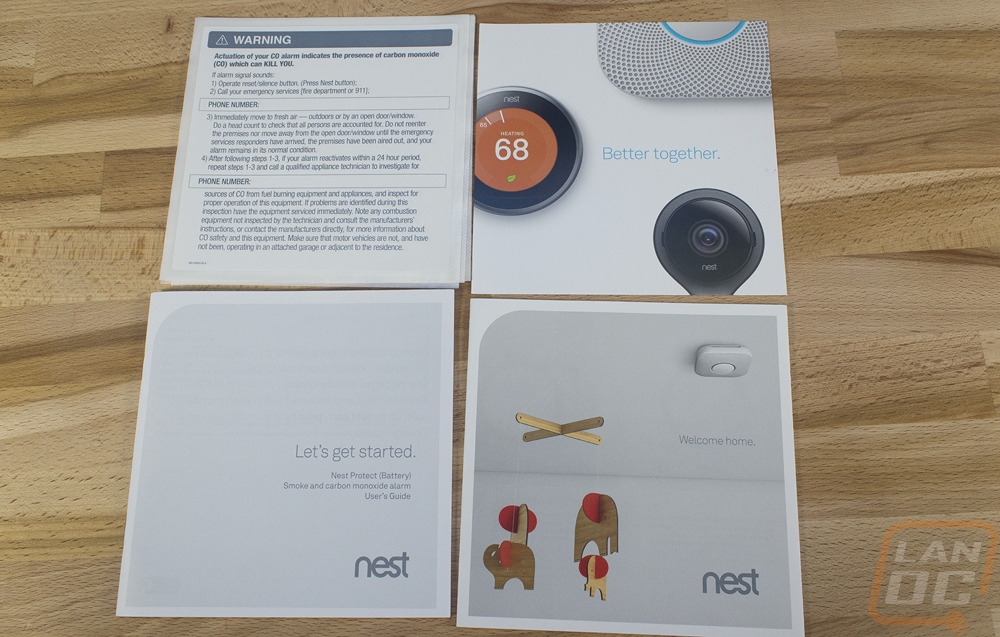
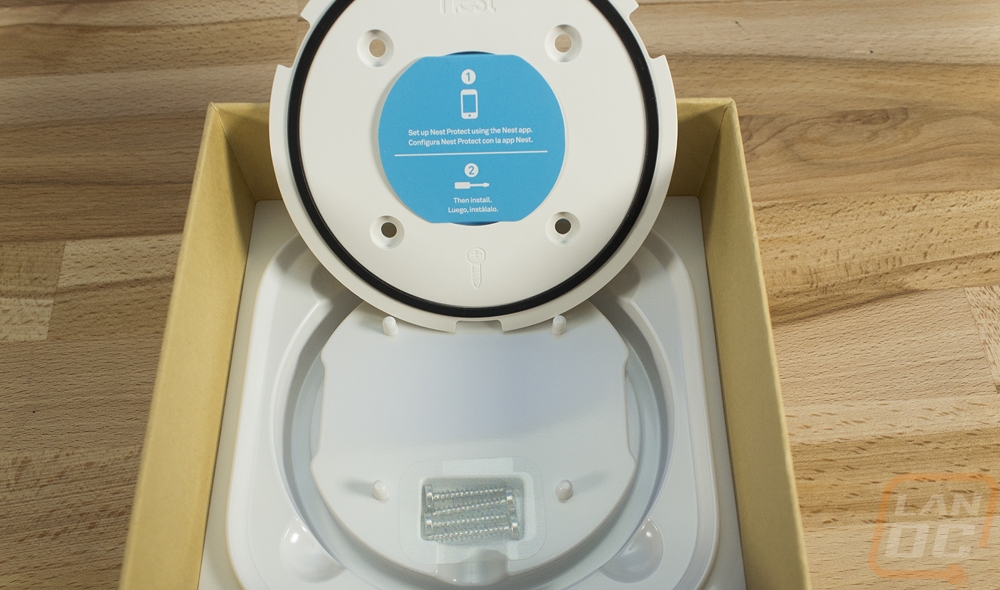
Inside the box, the Protec is featured under a plastic cover just like the Thermostat was. You get a small packet with information on the installation and the overall Nest lineup. Up under the Protect there is also another tray with the mounting bracket and the four mounting screws needed to install it.