Photos and Features
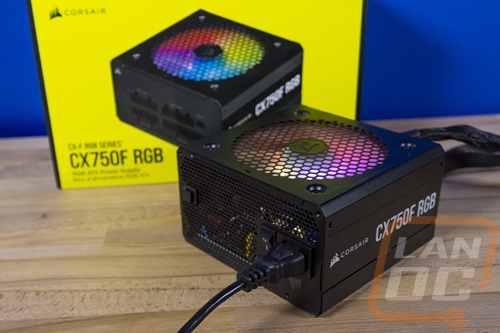
For the CX-F RGB series of power supplies, Corsair has options available in 550 watt, 650 watt, and 750 watt which is what I have on hand today. This along with the 80 Plus Bronze rating fits the budget-friendly focus, covering all of the wattages you might want. Even the new RTX 3080 only has a recommendation for an 850-watt power supply and I would consider that to be beyond budget range. The CX750F RGB and all of the CX-F RGB power supplies are fully modular and normal ATX sized. They do still get a step above the normal plain box for a power supply. Corsair gave the corners a nice angled edge just like their RX series.
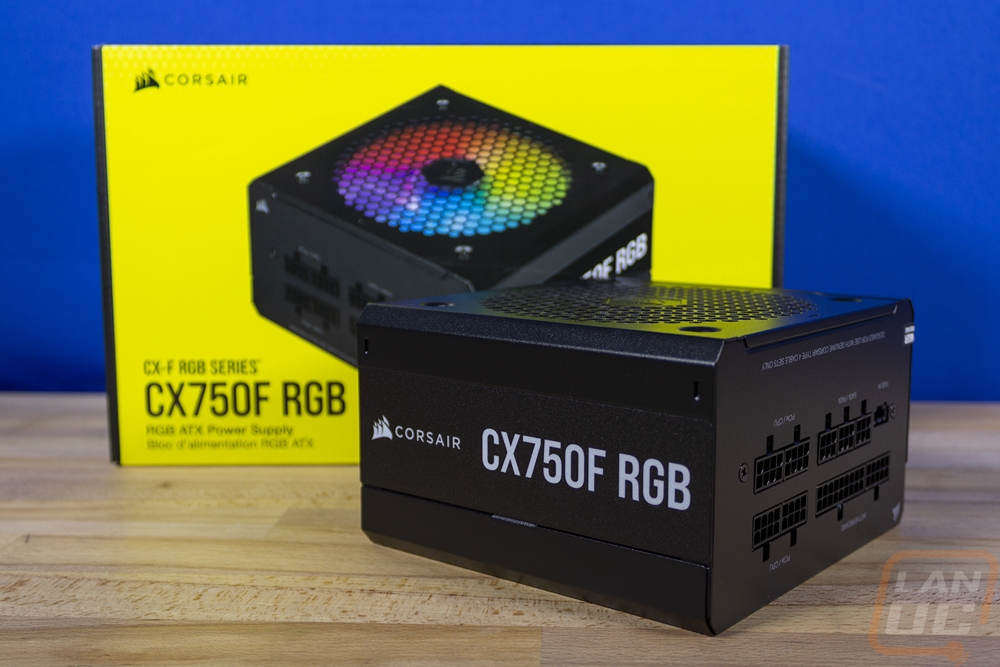
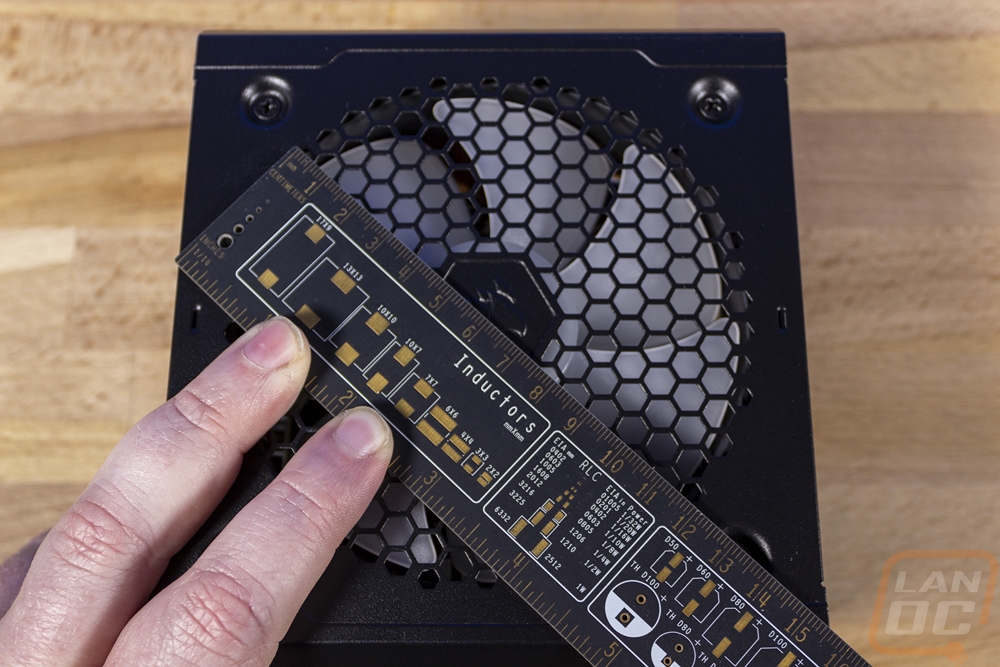
Being a normal ATX power supply the CX750F RGB comes in at 86mm tall 150mm wide, and 140mm deep. Being 10mm shorter than the width is a nice feature. This is an especially short ATX power supply, most only go down to 150mm at best.
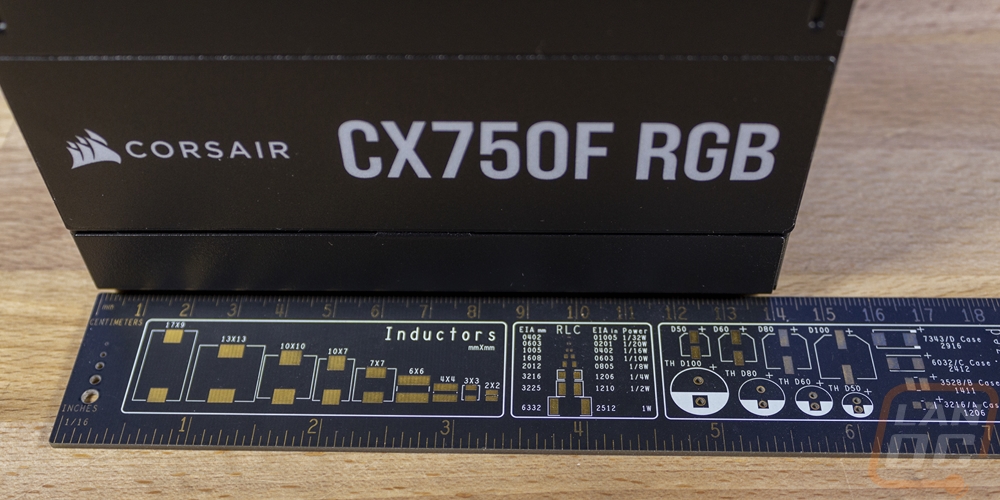

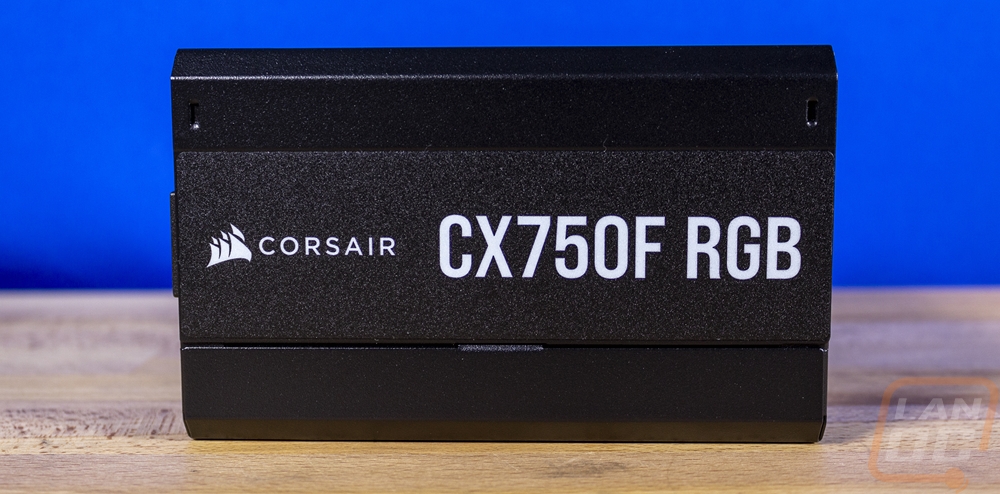
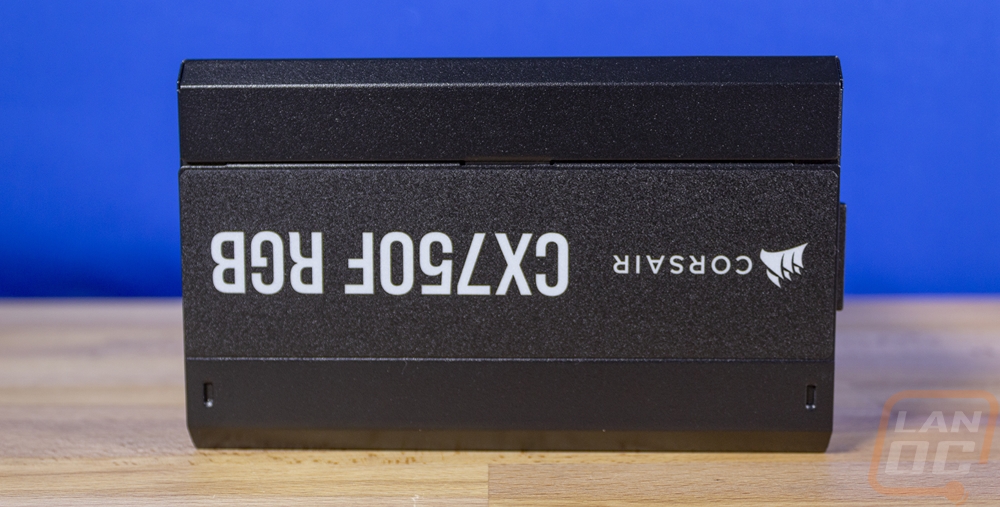
The side profile of the CX750F RGB gives you a good look at the top and bottom 45 degree angled edges. Beyond that, I love that Corsair didn’t use a color theme for the CX-F lineup on their side branding. The strip down the side is black which just ends up looking like a different texture on the already black housing. It has the Corsair logo on the left and then the CX750F RGB model name in a bold font. Around on the flip side, they have this same look, but they have it upside down for anyone who needs to install the PSU with the fan facing in.
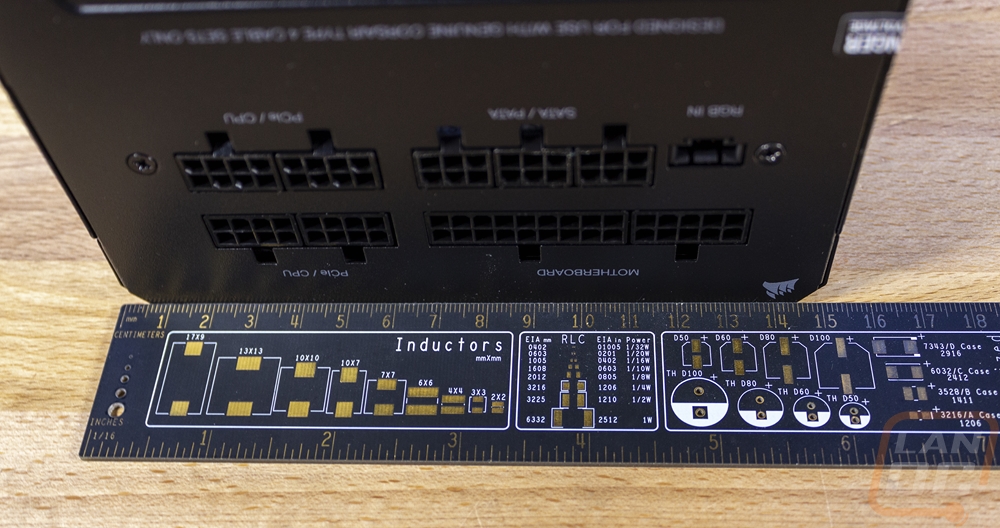
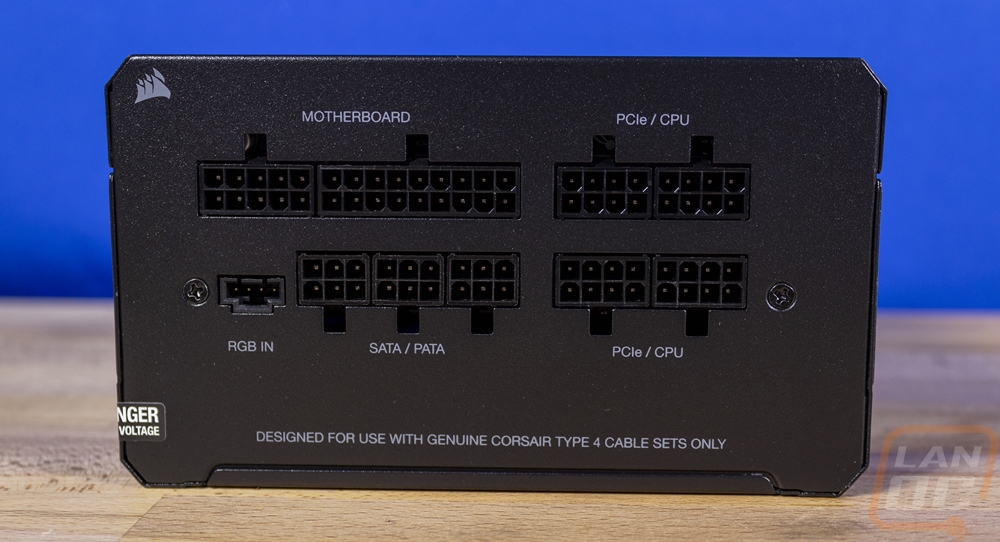
The inside end of the CX750F RGB is where you will find all of the modular cable connections. I like that Corsair also printed on here which type of cable set is needed for the CX750F RGB if you want to use their pre individually sleeved cable sets. For connections, you have the two large connections for the motherboard 24-pin on the top left. Then on the right, there are four 8-pin plugs for the CPU and PCIe power cables. The CX750F RGB has three 6-pin plugs under the motherboard power for the SATA and Molex cables. Then because this is an RGB power supply there is a four-pin RGB plugin. By default, it does a rainbow effect, but you have the option to hook up to your motherboard or Corsairs iCue software if you have a controller.
The outside facing end of the CX750F RGB has the 120v power plug of course and next to that a power switch. A majority of the end has tight together holes for ventilation, this is where the PSU’s fan blows out. Then where some power supplies have a button to turn on or off a zero RPM mode for the fan the CX750F RGB has a button for the RGB. This button lets you switch between different preprogrammed lighting modes. This means if you don’t want to hook it up to your motherboard or an RGB controller you do have some lighting options available.

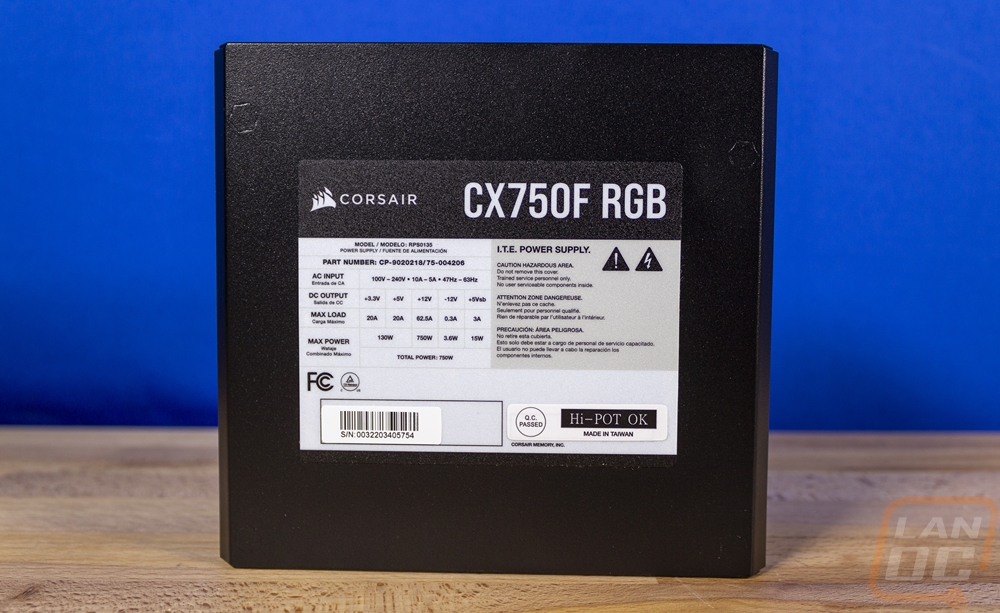
Depending on how you mount the power supply into your case this could be the top or bottom of the CX750F RGB. But on this side, they just have one large sticker. The top has the same branding as the side as well as the black strip. Then below that, they have a breakdown of the wattage and voltages. This sticker also has a spot for the serial number sticker and one for the QC check sticker as well.
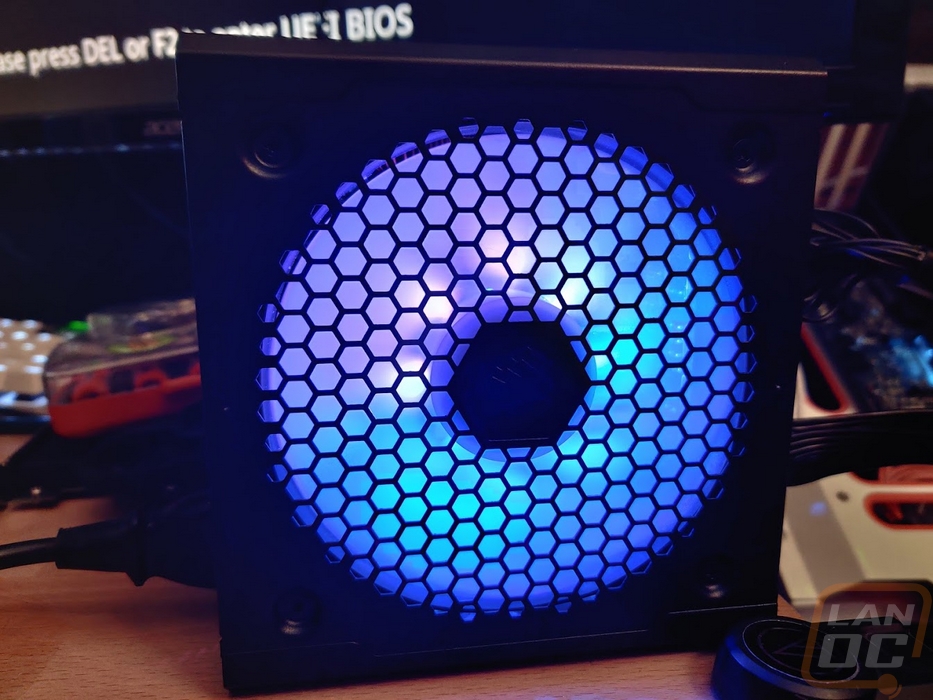
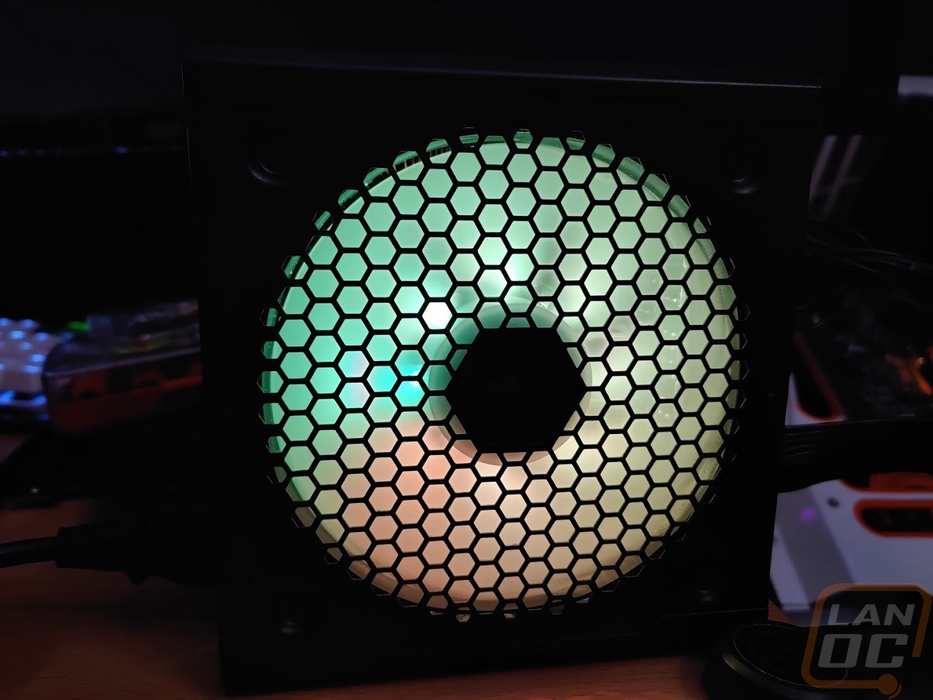
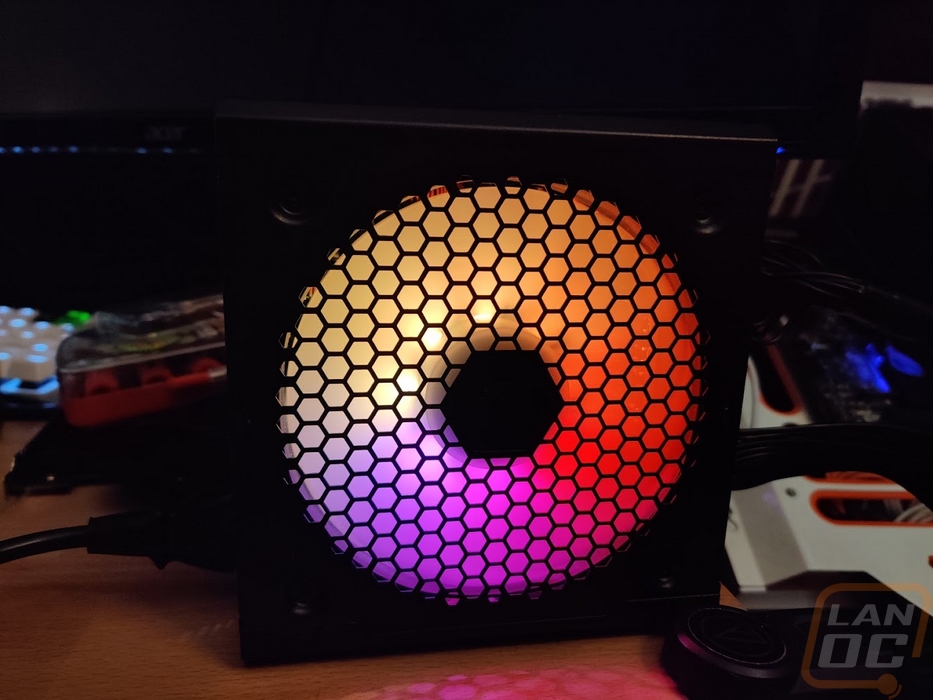
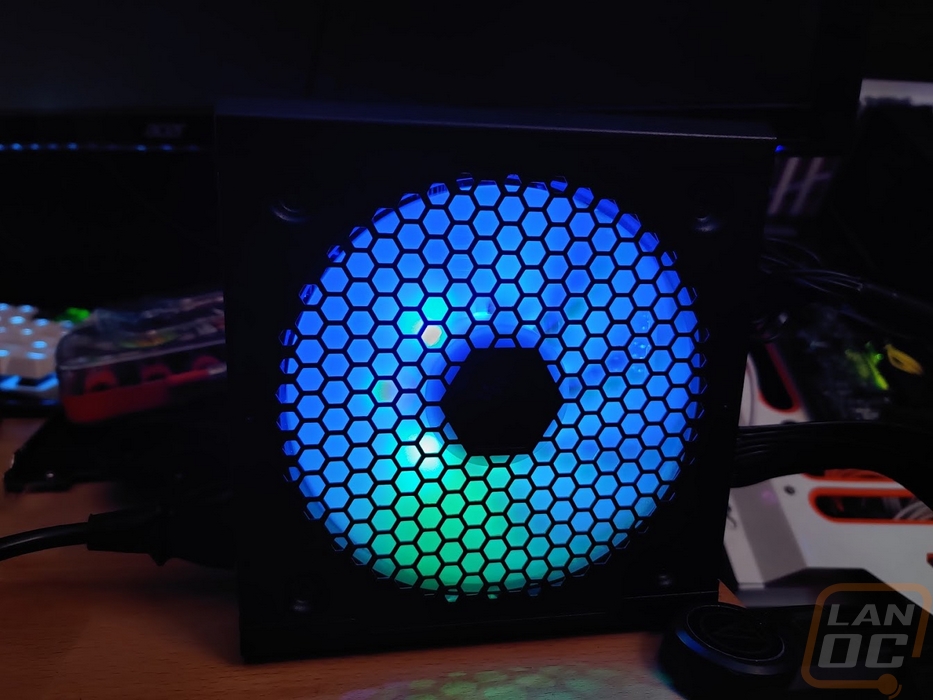
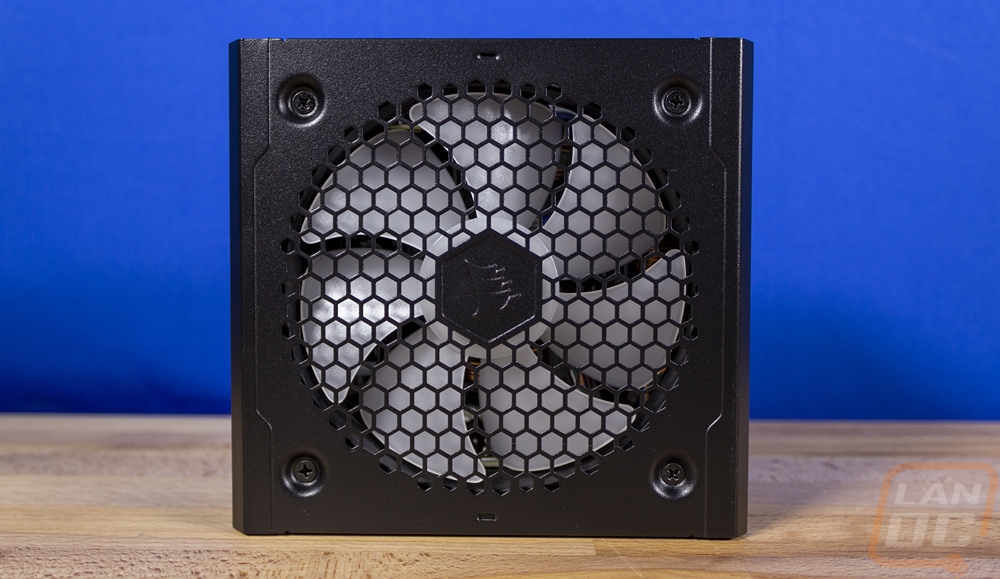
On the other side, this is where you have the intake fan which is also where you can see the RGB lighting that the CX750F RGB has available. This is because it uses a 120mm fan and inside of the honeycomb grill, we can see the translucent fan blades and the corsair logo in the center. The fan inside doesn’t look like a fan design that they sell individually, but with its 7 blades, it does look like their ML series of fans. Only we know from the specifications that this fan has a riffle bearing design so it isn’t their magnetic levitating fan. The fan is listed at 100,000 hours for the MTBF and they aren’t running a zero RPM design here, it Is on all of the time but does ramp up in speed as their noise graphs on the box suggest. It stays at its lowest speed from 0-150 watts and slowly ramps up until 225 watts where it ramps up at a higher rate from there on. This means that at idle or non-gaming usage it should stay quiet.
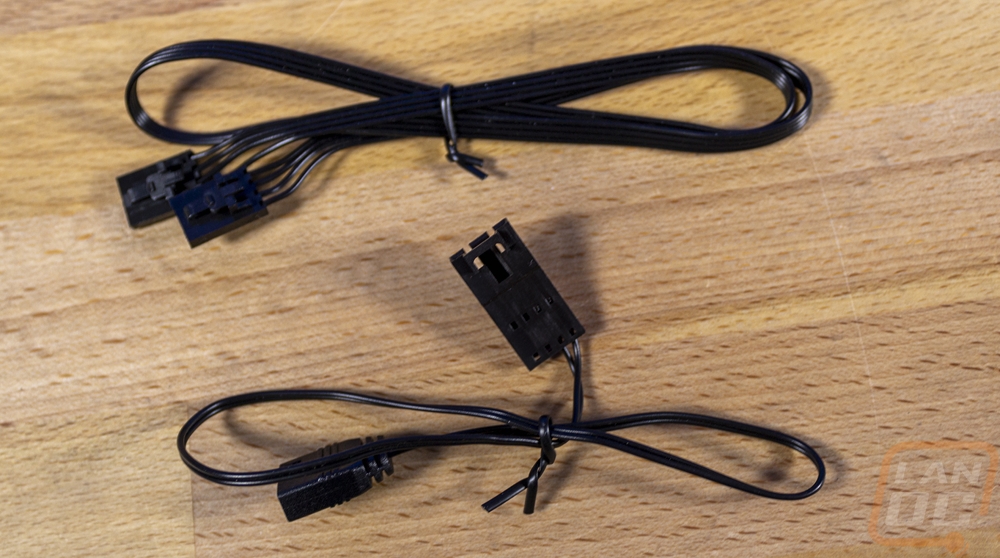
Before diving into all of the modular cables I did want to touch on the two RGB cables included. So the top cable is a standard Corsair iCue cable that plugs into the CX750F RGB and is the same plug that other Corsair products use. They then also include an adapter that goes from the Corsair style plug to a normal RGB plug for your motherboard.
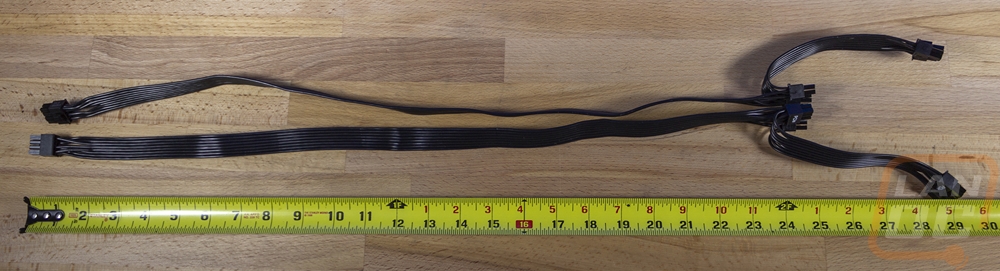
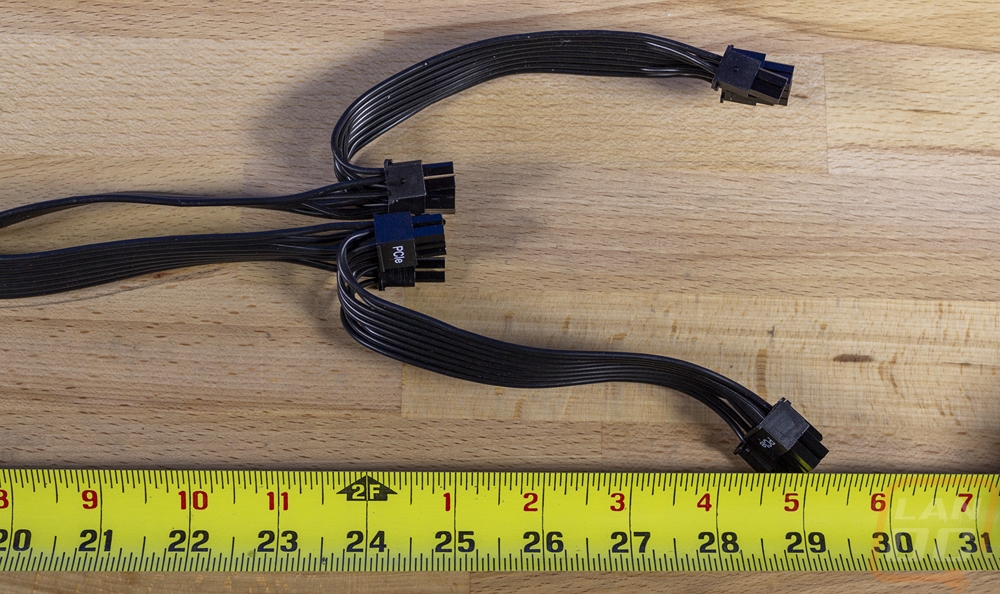
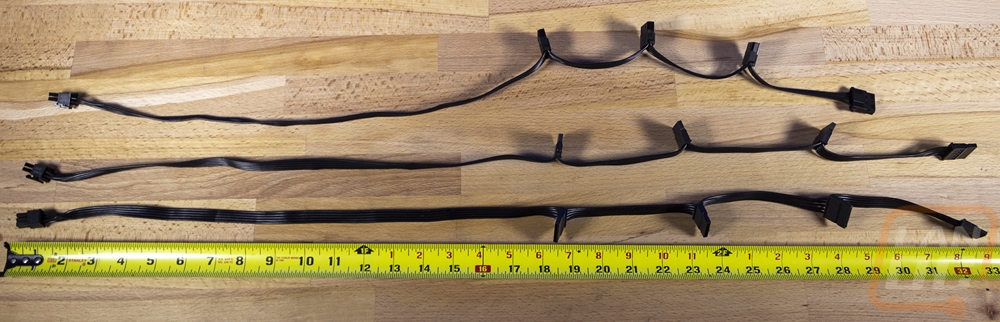
The cable layout for the CX750F RGB is fairly standard. All of the cables except for the 24-pin are black flat cables which are always nice and are easy to hide. You get two 8-pin CPU power cables and they are around 26 inches long. The motherboard 24-pin cable is a black flat cable at its core but for some reason, they sleeved it which I still think makes it harder to work with and doesn’t look as good and it comes in around 25 inches. There are two PCIe power cables which both have dual 6+2 plugs on them that cover most GPU power plugs or work with the adapters Nvidia is using on their Founders Edition cards. These cables are both 24 inches to the first plug and around 29 at the second plug. Then for accessory cables, you get two SATA cables and one Molex. The SATA power cables at long at 33 inches at the end. They have four power plugs, one at 18, one at 23, the third at 28, then the last at the end at 33 inches. These are different from Corsair's old SATA cables as well, for one we get four plugs now where we used to see three. But they also don’t have punch down connections anymore, they have direct cables running into each plug joined with the cable that goes to the next plug. The Molex cable is the same style but is shorter with the first plug at 18, second at 22, third at 25, and last at 29 inches.


So the RGB lighting is of course the main feature for the CX750F RGB so I did want to touch on what kind of control you have with the button on the back. In my testing what I found is that you switch between different lighting effects by pressing and holding the button on the rear. This gets you effects like the one pictured below which is the rainbow effect that slowly wraps around changing colors. They have another that is similar to that in iCue they would call sequential. There is a breathing style that changes the color on each breath and another similar to that flashes and changes the color. They also have static colors as well. Pressing the button quickly lets you flip between settings in that effect mode which for the static options lets you change the color or in some of the others it speeds things up or slows it down. I’m surprised that Corsair didn’t just put a USB port like they have with water cooling kits and past non-RGB power supplies. But I like the options the button provides while also having the option to tie it in with your motherboard or a Corsair controller if you have one. The lighting itself is basically like any of their RGB fans which is bright, especially in the dark.