 Hey guys and girls, if you have been around the site or at some events you may have picked up that I have a thing for small form factor PC builds aka LAN rigs. I’m sure a few of you are laughing thinking about how big of a monster our “Fridge” build is, but that is exactly why it is important to have a rig that you can just grab and go without breaking your back. Last year I put together a rig that we called Lunchbox 2 using a Lian Li PC-TU200. After almost a year I had a few things I was interested in swapping around that I think some of you might be interested in.
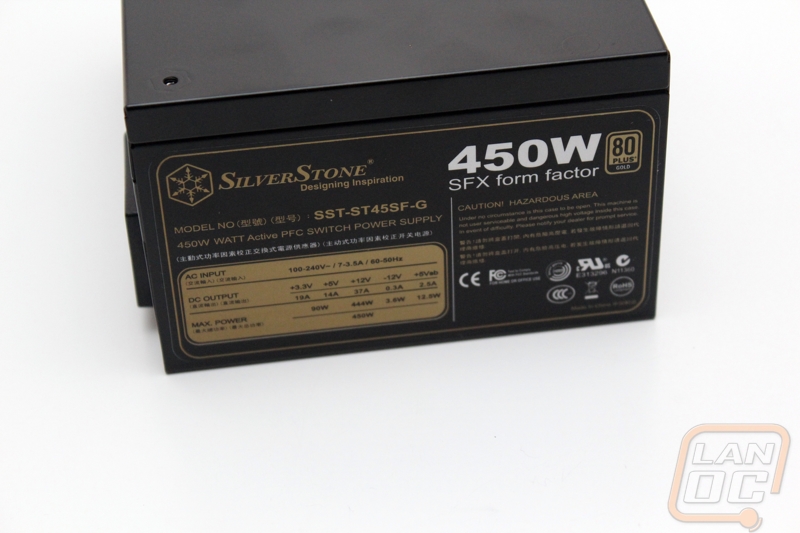
Product: Silverstone SFX Series Power Supply
Review Sample Provided by: Silverstone
Written by: Wes
Pictures by: Wes
PSU Specifications
|
Model No. |
SST-ST45SF-G |
|
PFC |
Active PFC?PF>0.90 at full load? |
|
Efficiency |
87%~90%?20% to 100% loading? |
|
MTBF |
100,000 hours at 25°C, full load |
|
Operating temperature |
0°C ~ 40°C |
|
Protection |
Over current protection Over power protection Over voltage protection Under voltage protection Short circuit protection No Load Operation |
|
Connectors |
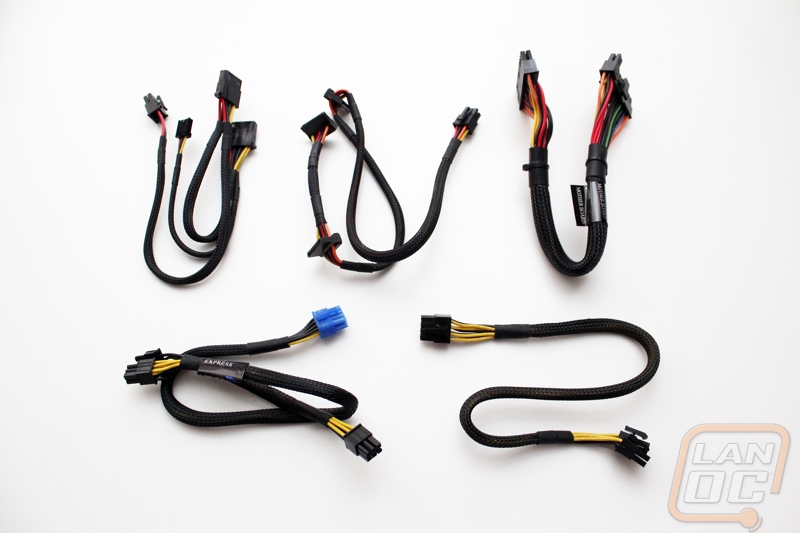
1 x 24 / 20-Pin motherboard connector?300mm? 1 x 8 / 4-Pin EPS / ATX 12V connector?400mm? 1 x 8/6-Pin PCIE connector?400mm? 1 x 6-Pin PCIE connector?400mm / 150mm? 3 x SATA connector?300mm / 200mm / 100mm? 2 x 4-Pin Peripheral connector ?300mm / 200mm? 1 x 4-Pin Floppy connector?300mm / 200mm / 200mm? |
|
Color |
Black?Lead-Free Paint? |
|
Cooling System |
Single 80mm silent fan |
|
Noise Level |
20dBA minimum |
|
Dimension |
125 mm (W) × 63.5 mm(H) × 100 mm(D) |
|
Weight |
1.45 Kg |
|
Form factor |
SFX |
|
Certification |
80 PLUS Gold |
|
Other |
Includes SFX to ATX bracket for use in ATX case |
|
Max. DC Output |
450W |
||||
|
Load Range |
|||||
|
+3.3V |
+5V |
+12V1 |
+5VSB |
-12V |
|
|
Max.(Amps) |
19A |
14A |
37A |
2.5A |
0.3A |
|
Peak (Amps) |
/ |
/ |
/ |
/ |
/ |
|
Min.(Amps) |
0A |
0A |
0A |
0A |
0A |
|
Range (%) |
±3% |
±3% |
±3% |
±5% |
±10% |
|
Line Reg.(%) |
±1% |
±1% |
±1% |
±1% |
±1% |
|
Ripple(mVp-p) |
50mA |
50mA |
120mA |
50mA |
120mA |
|
combined +3.3, +5V |
90W |
||||
|
combined +12V |
444W / 37A |
||||
|
Input Voltage |
90V ~ 264V |
||||
|
Input Frequency Range |
47Hz ~ 63Hz |
||||
Project Build Update
The last time I wrote about this build (lunchbox 2) was back in July of 2012. For the better part of the year I have put it to use at multiple LANs and as a backup PC for people to use at our own LANs as well. It has performed perfectly for me but those who know me know I’m not one to leave things alone. I’m planning on a replacement in the form of an even more powerful build soon, but until then I have performed a few upgrades to the Lunchbox 2 and will be documenting them here.
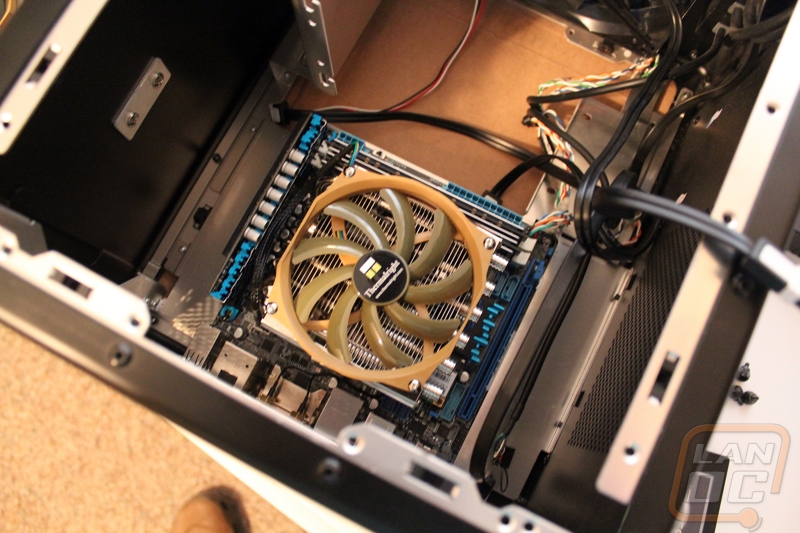
I left the GTX 670 in as it is, even almost a year later, a great card. I upgraded the CPU up from an i5-2500K to an i7-2700K, it is still Sandy Bridge but a nice little bump in speed (3.5Ghz or 3.9Ghz with turbo). Along with that I upgraded the heatsink from the stock cooler to a Thermalright AXP-100, we will actually be covering this heatsink very soon as well but I can tell you right now that it’s a nice little heatsink for someone who has very little room for cooling.
On the storage side of things I still have the Samsung 820 SSD as an OS drive that I had originally installed in the rig using double sided sticky tape. Because of the size of our power supply, our drive enclosure had to be removed causing me to get creative to mount the Samsung SSD. This time around I took the Samsung drive as well as a Seagate Momentous XT 750 Gb drive (new to this build) and I mounted them in the 5.25 inch bay. Because of their light weight I wasn’t worried about having to mount them from both sides, instead I mounted them both using two screws each on the one side. Attaching both screws on the one side making them float holds them up very well and also keeps them spaced out well, I would never do that with a 3.5 inch hard drive though!
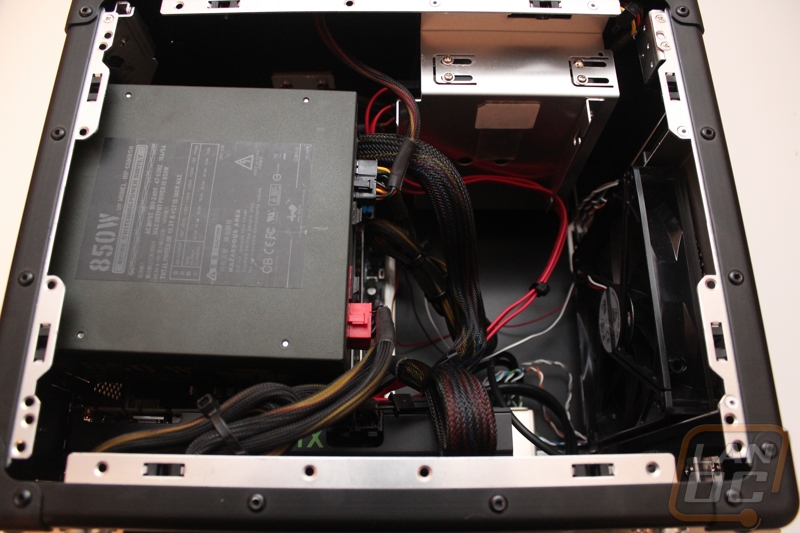
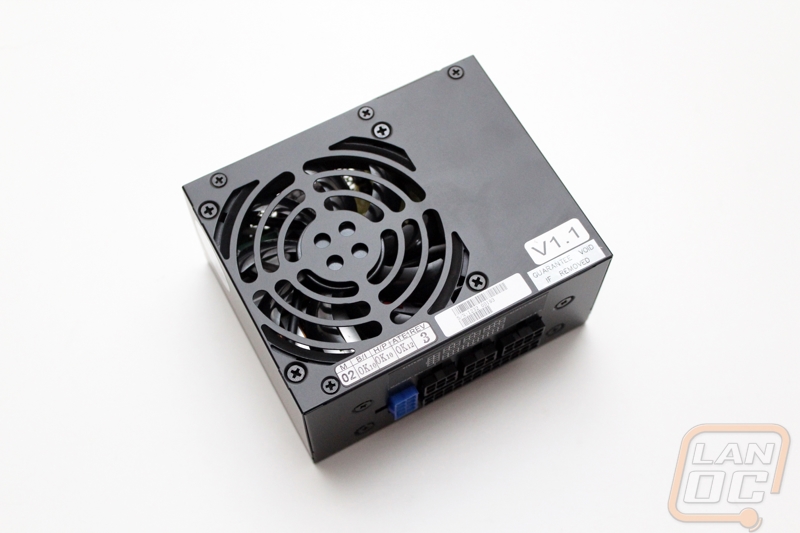
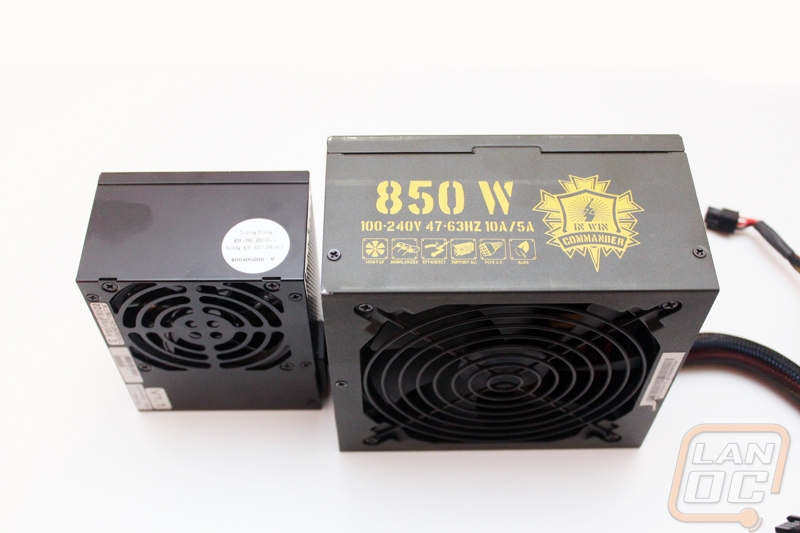
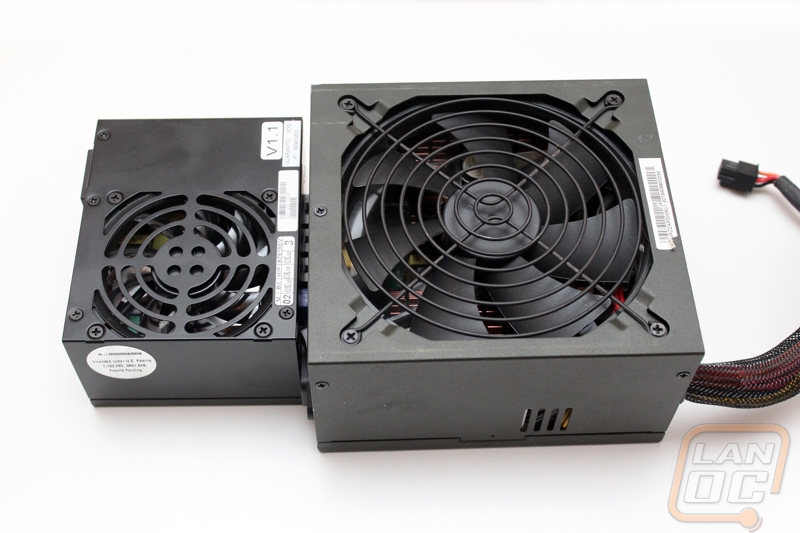
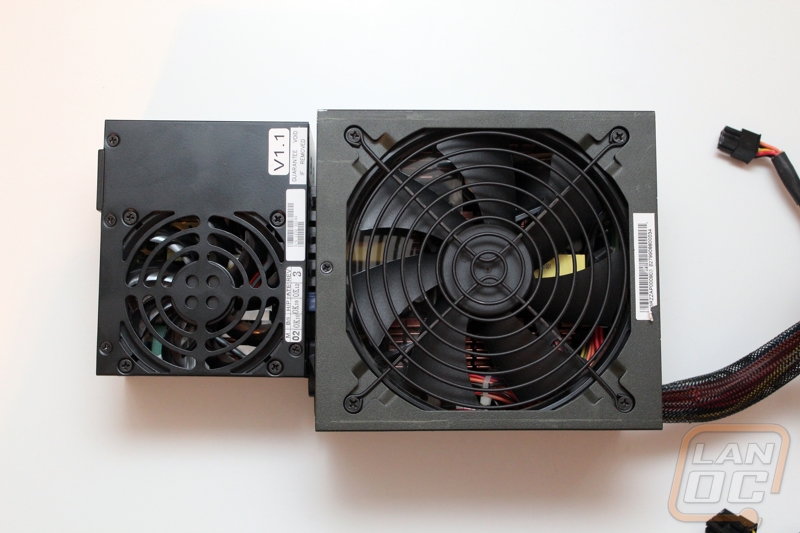
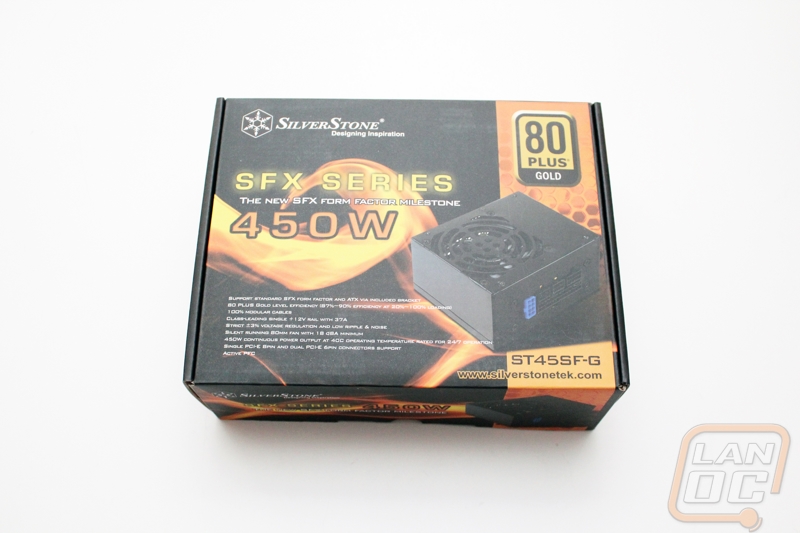
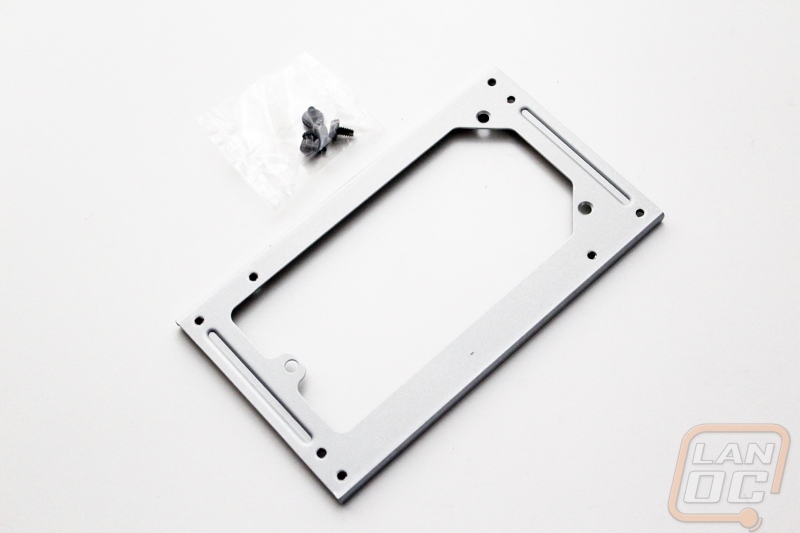
As I mentioned before, with this build originally I had to remove the hard drive cage because of the size of the power supply that we used. After making all of these changes it didn’t feel right just shoving that large power supply back into the case without rethinking that as well. I put a lot of thought into it because the smaller I went would mean more open space in the case overall aka more airflow. Silverstone had a few options and they gave us open range to pick whatever we needed for the build. I was tempted to go with one of their small ATX power supplies that have a depth of 140mm’s (smallest on the market). Rather than go with that, I found a small SFX power supply with an ATX to SFX adapter plate that would do the job as well and be even smaller. The ST45SF-G is what I went with, a 450 watt modular power supply in the SFX form factor.
Some of you may be wondering how we could go with such a small wattage. Just to be sure, I popped the GTX 670 on our big test bench with the monster 3860X CPU, SSD, HDD, motherboard, and even water cooling and we saw peak wattage of 378 watts leaving a nice buffer still as well as the difference in power consumption from the 6 core to the Sandy Bridge CPU.
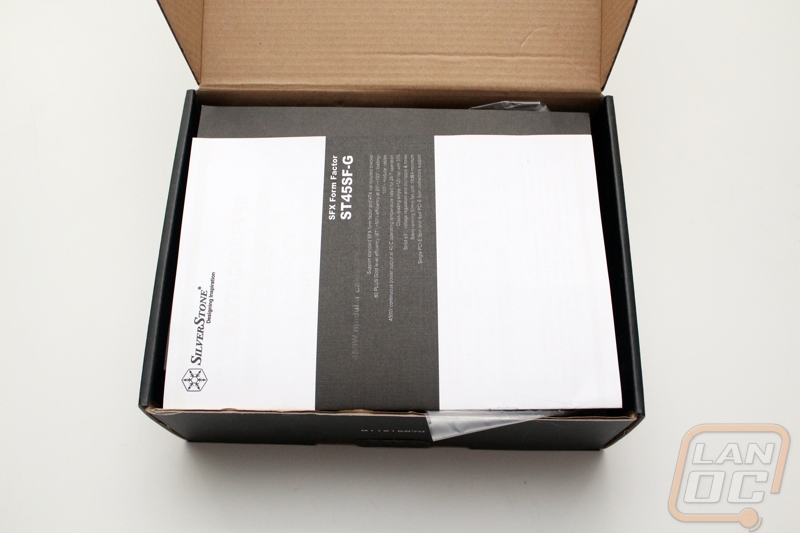
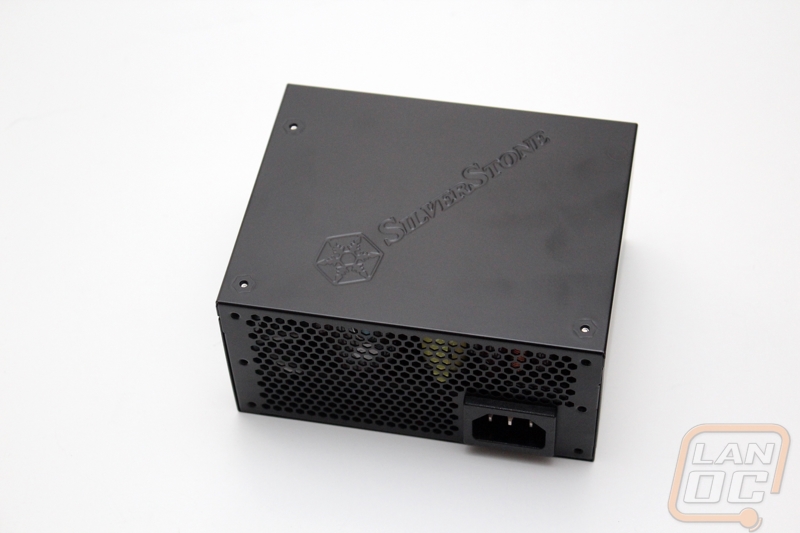
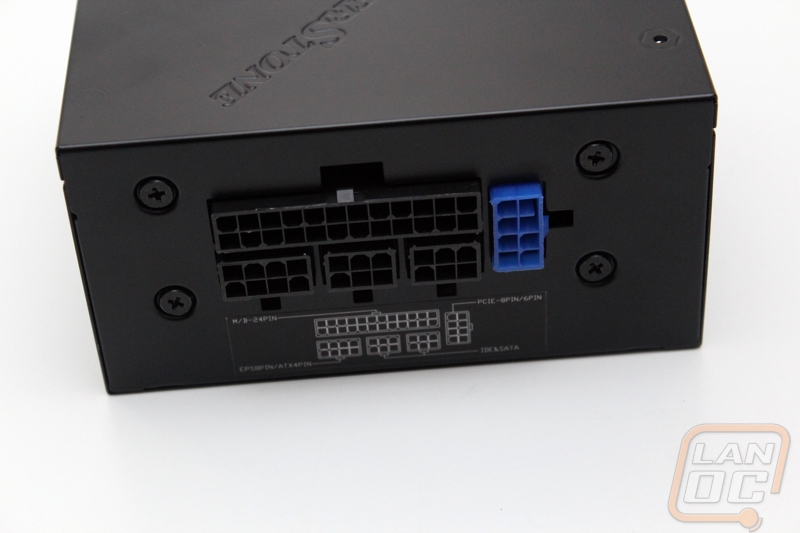
SFX Power Supply
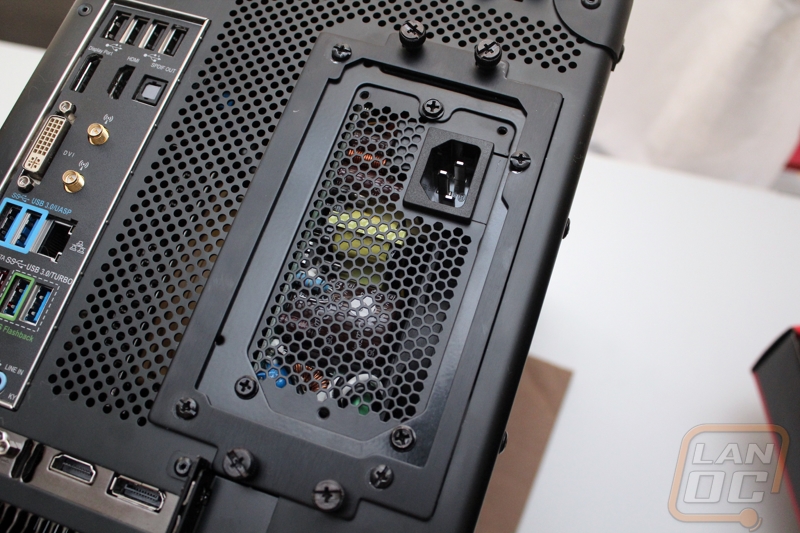
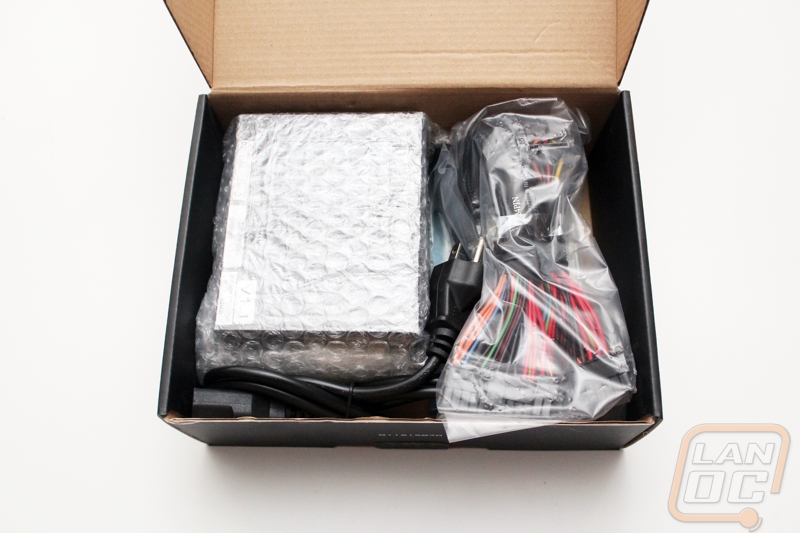
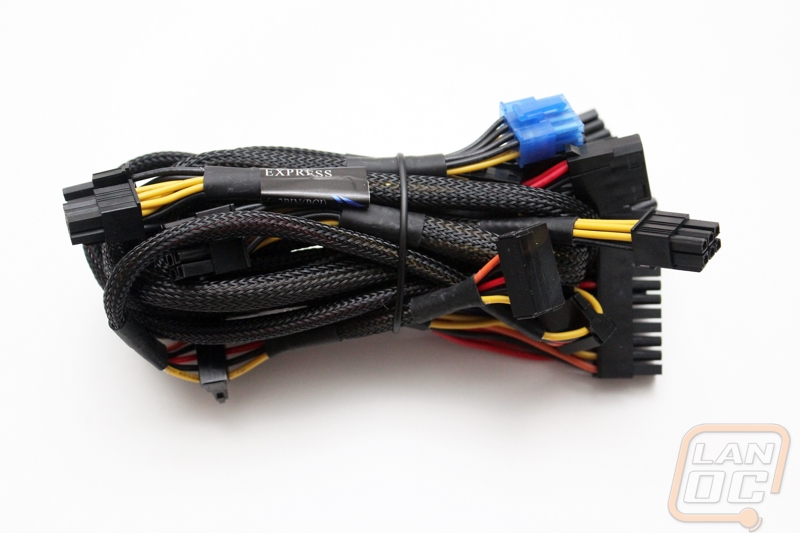
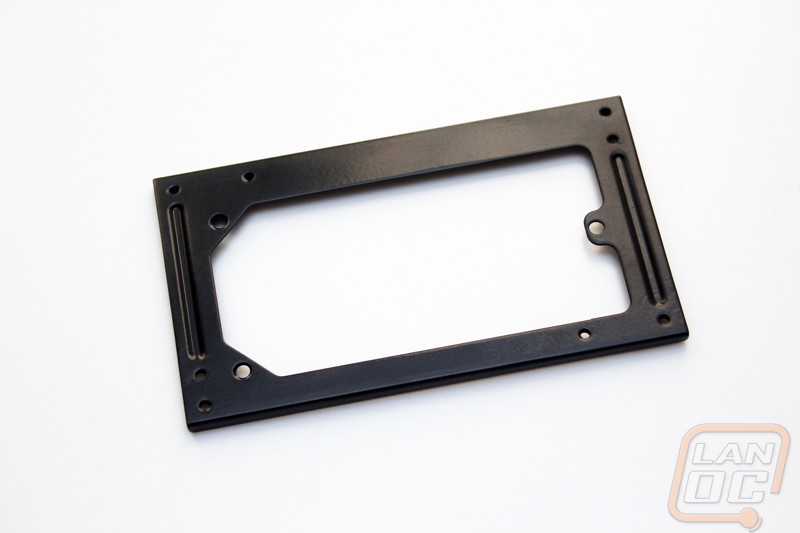
Once we got the power supply in from Silverstone I was impressed with the short length of some of the cabling included, especially the 24 pin. I was disappointed that the ATX to SFX adapter plate that came with it wasn’t black to match the power supply itself. This wasn’t going to fly on our build at all. I had planned on painting to get everything done quickly but in the end I wasn’t happy with my results. I sent the bracket over to our friend Speedbump and he powder coated the bracket for us and sent it back over.
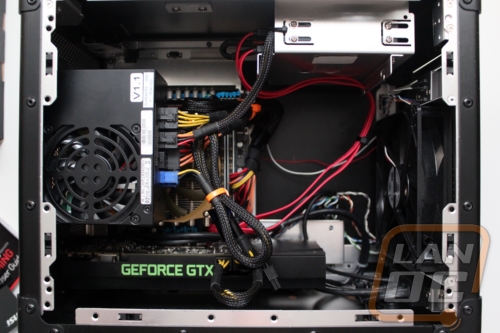
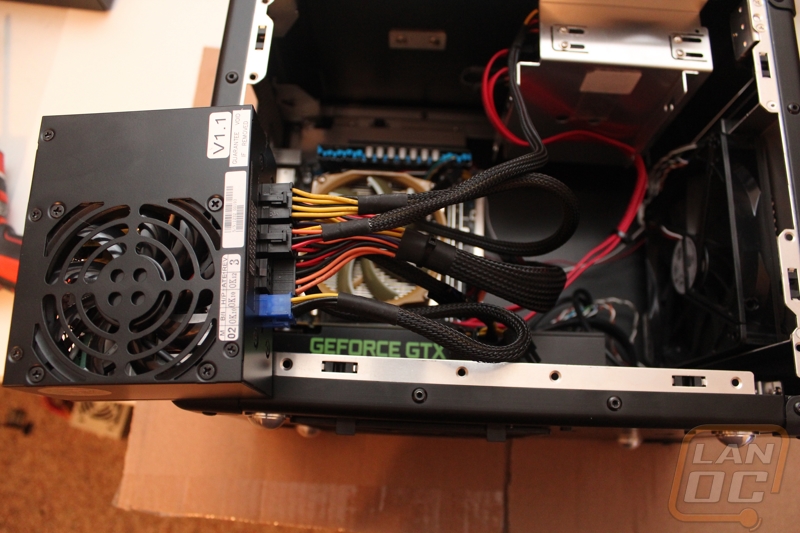
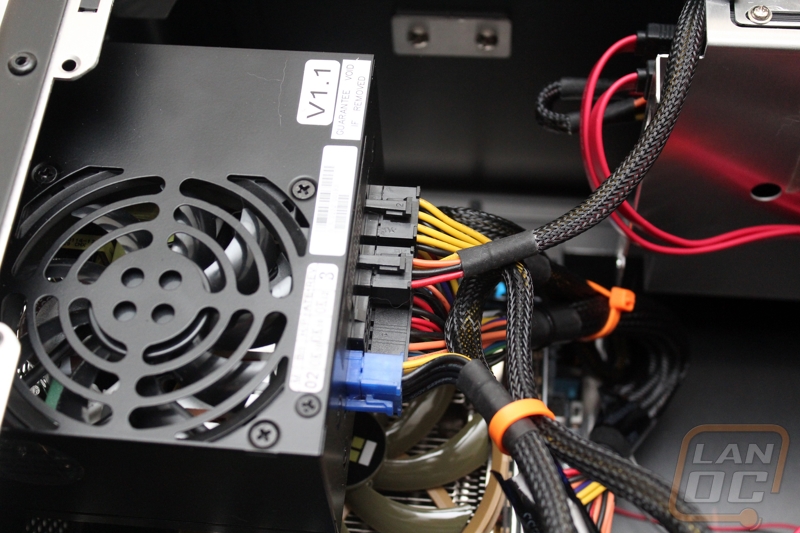
With everything powder coated I was able to put it all together and finally mount our new tiny power supply into the Lian Li PC-TU200. Hooking everything up with the smaller power supply was much easier than before. In the past I would have to slide the power supply almost all of the way out to deal with any wiring and this time I could do it all with the power supply in the case with room to spare. Even better, the smaller power supply also means more open space for air to move around in the case. Paired up with the new heatsink that I spoke about before and I saw a big drop in temperatures on the CPU, video card, and even on the motherboard. Opening up the space in the case has also stirred up thoughts about moving the build over to full custom water cooling but frankly as it sits we don’t really have any reason to jump into that.
All in all I am very happy with the changes. I’m sure the next time I take the cover off at a LAN people will be giving me funny looks because of the SFX power supply but the benefits including better air flow are well worth it. I wanted to write a little about my experience and open you guys up to a few new options on how to handle small form factor builds without compromising on the components that you pick on the build. Here we are with a high power rig, lots of storage, an SSD, and good cooling in a case that is about the size of two cereal boxes sitting next to each other. I can’t wait to see what everyone else can do when putting together a LAN box, don’t forget to post up your build before you buy everything to bounce ideas off of each other and of course post up pictures as you put it all together. See you guys in the “my rig” forum soon!