Performance
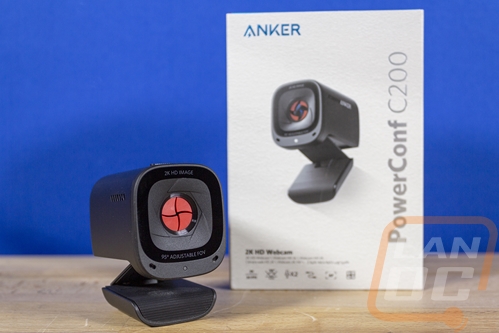
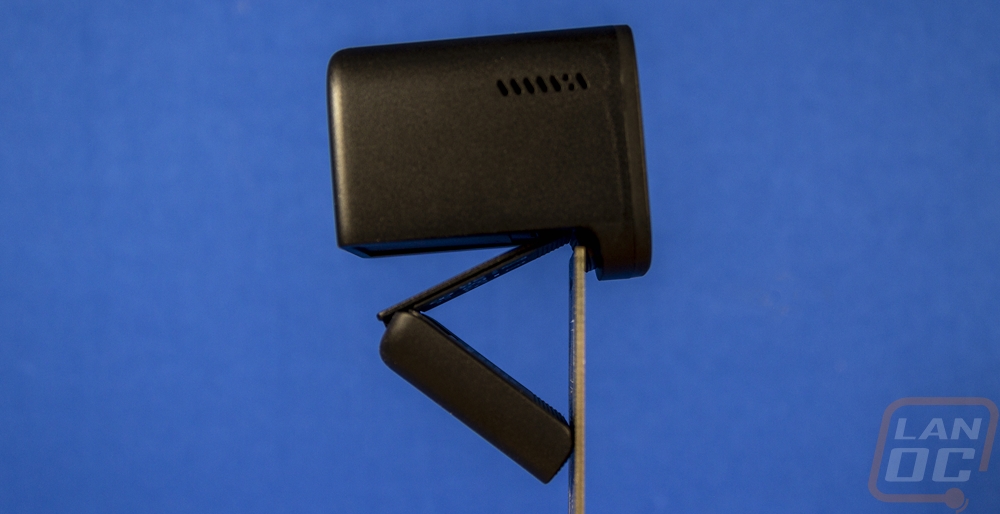
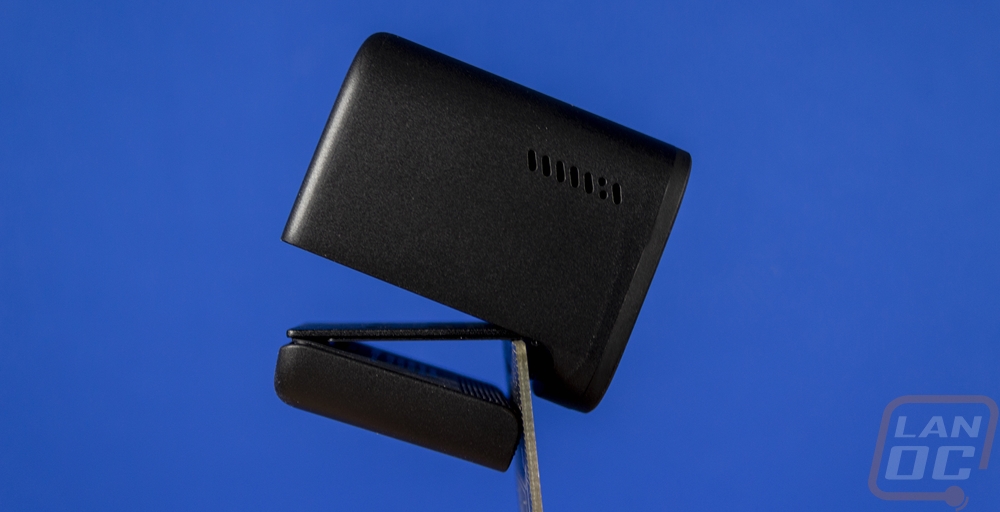
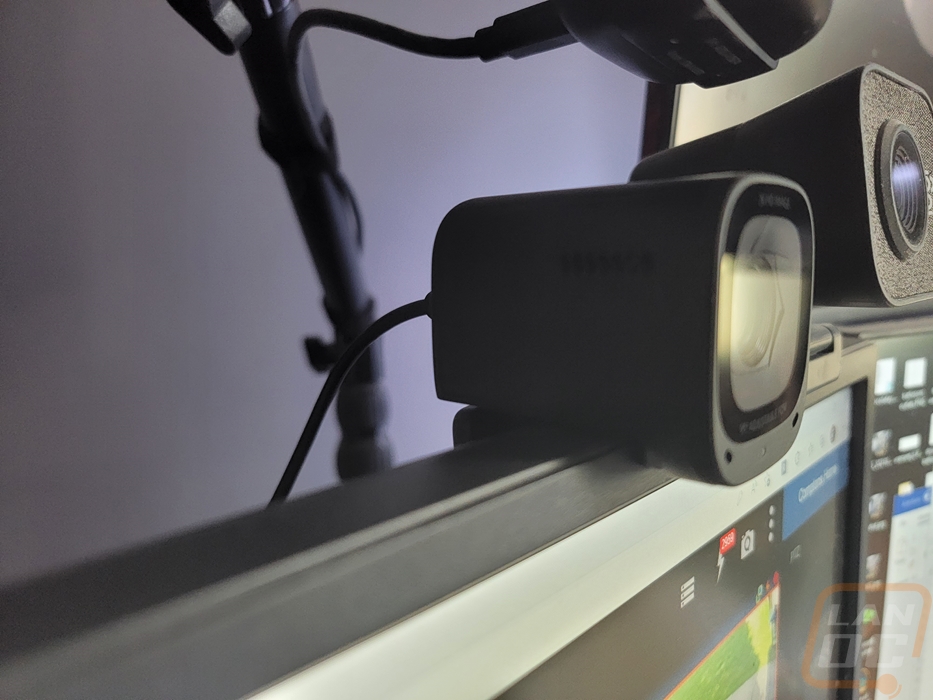
For a better idea on how the mount for the PowerConf C200 works I did get a few examples. The mount is designed for a thicker desktop monitor but the back flap can adjust to any thickness, even the thin PCB that I used here. The extra adjustment can then be used to tilt the camera down like in the second picture but if you use the mount like in the first picture you can also adjust it up if you are using a laptop and are sitting up over it.
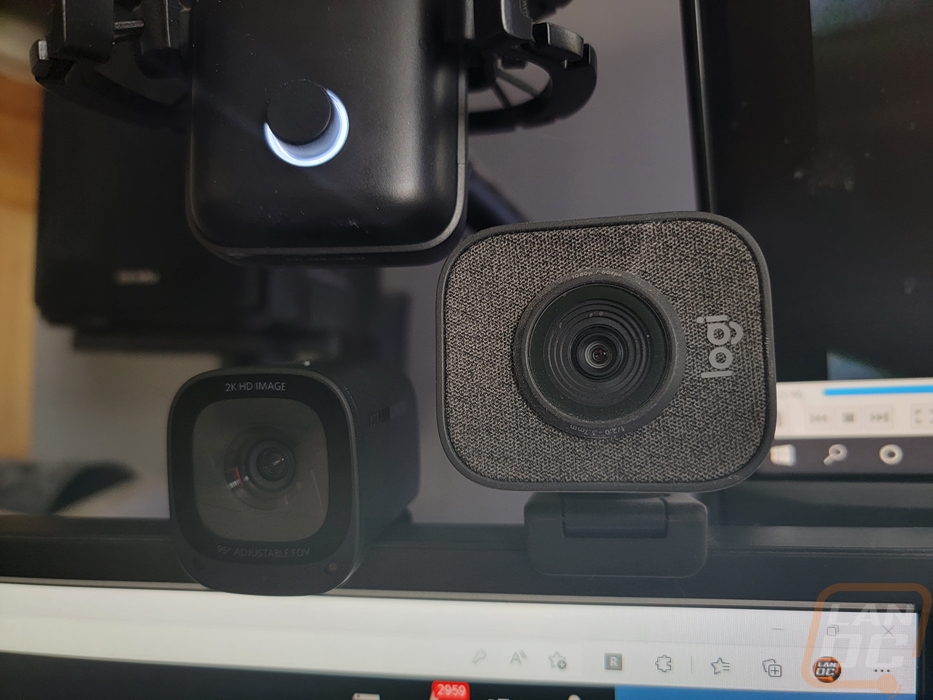
Here is a look at the PowerConf C200 installed on an actual monitor as well, the flat top of the monitor helps give the design even more stability. This also shows its size when compared to the always popular Logitech StreamCam which has a similar depth but is a lot wider on the front.
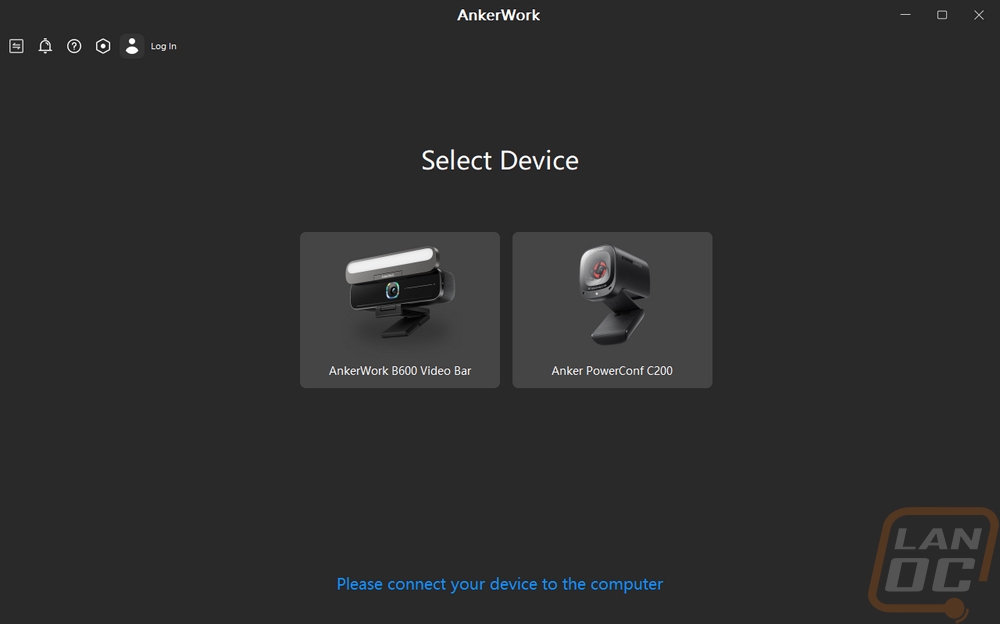
The next part of the performance for the PowerConf C200 is getting its software set up. When you get the AnkerWork software installed it will pick up any of your supported devices. You can see below that both the PowerConf C200 and the B600 both were picked up. From there you can click on the device you want to set up. The software-specific settings page doesn’t have too much going on. You can of course select your language. Beyond that, you can factory reset everything or change where any media files are saved at. The rest is mostly pages of legal info from the copyright information, the terms of use page, and the privacy policy. You can also see your software version here and click on that to check for an update.

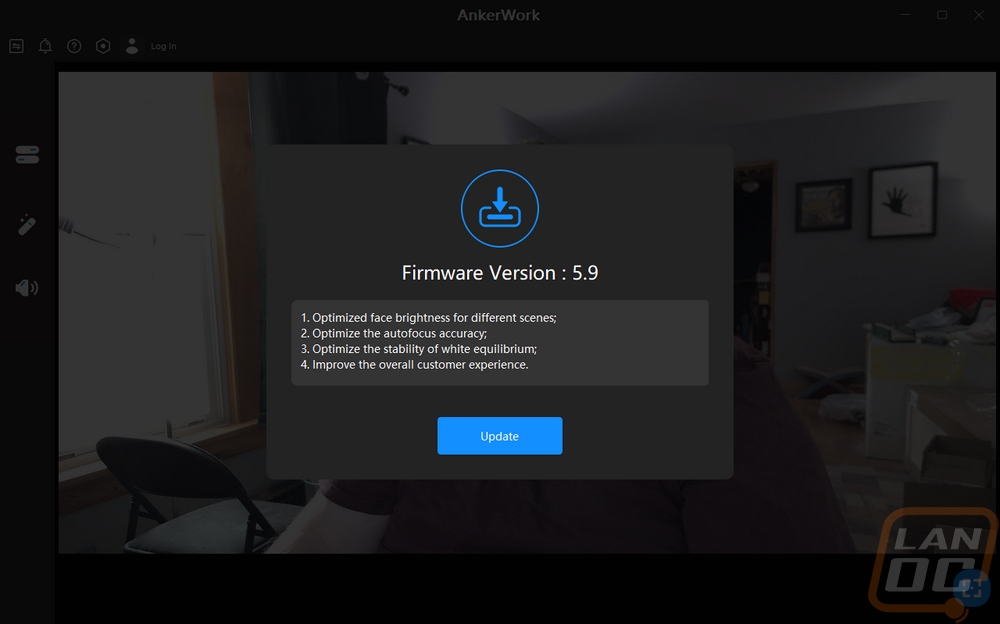
When you first open things up it will check to make sure the firmware on your device is up to date. The C200 had an update available when I first set things up and as I write this there was another as well. I like that AnkerWork does list out their change logs when you get the updates. Not enough companies do this and at least for me, it is nice to know what is getting fixed before updating.
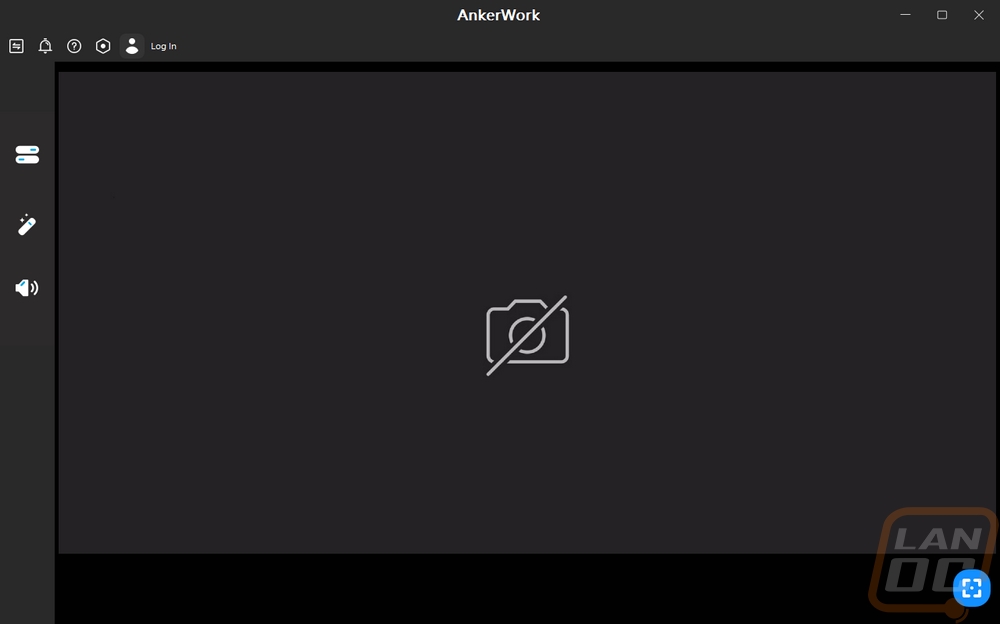
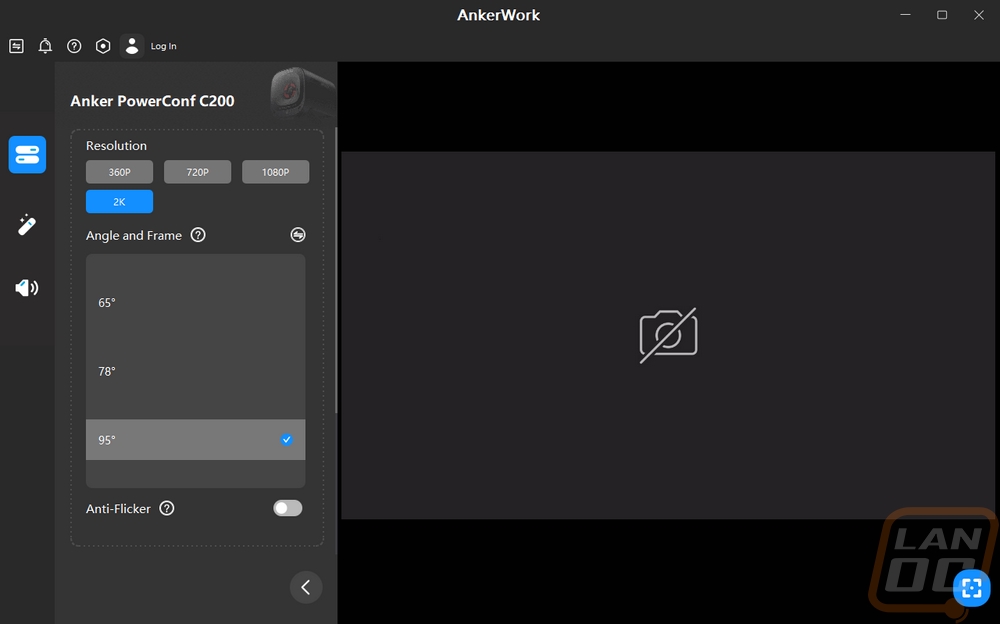
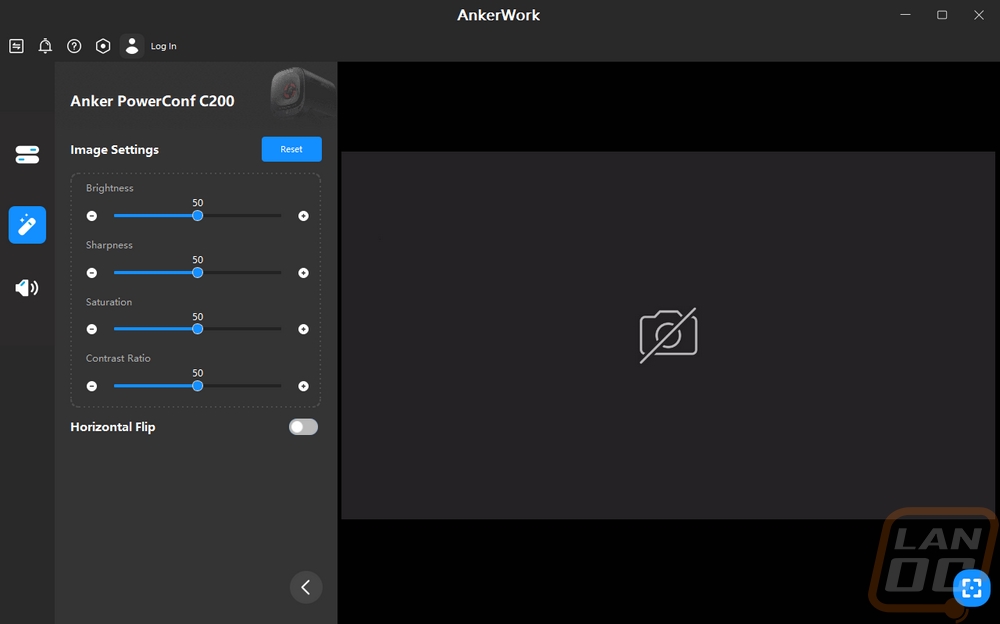
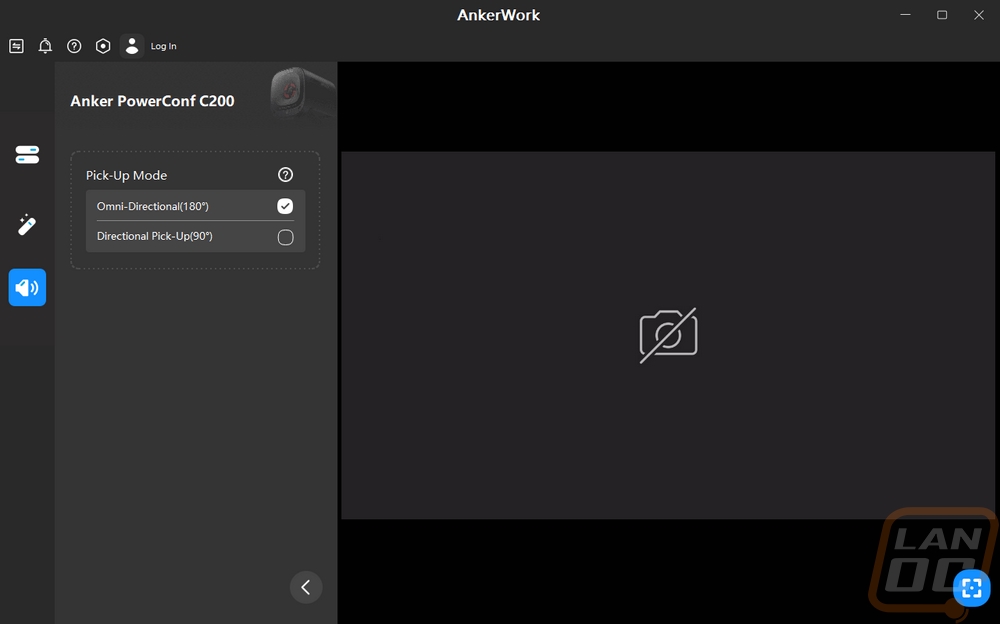
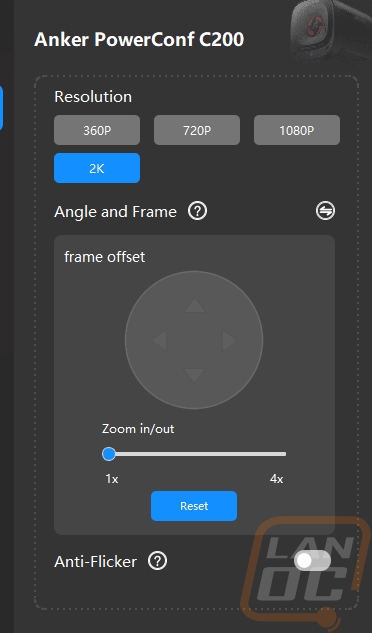
The software when you open it up for the PowerConf C200 displays your current view from the C200 or if you have the privacy guard closed you just get this no picture screen. On the left, there are three tabs that can open up. These are the three settings pages and when you click on them it opens up a 1/3 page menu where you can still see the camera output as you make changes. The top menu is the main display settings. Here you can pick from the four resolution outputs and the adjustable field of view options as well. The field of view options can also be changed to angle and frame which lets you zoom in and out and then move around rather than how the FOV settings by default just zoom into the center. Then at the bottom, you can turn anti-flicker on and off which just changes the Hz between 60Hz and 50Hz for compatibility with some lighting. The magic icon is for the image settings options. You have four bars to adjust settings for the brightness, sharpness, saturation, and contrast. You also have an option to horizontal flip the image, I’m surprised that there isn’t also a vertical flip option as well on the chance anyone uses the screw mount on a boom and have it upside down. The last page is the audio settings page which has just one option. You can change the pick-up mode with settings for Omni-directional or directional for 180-degree to 90-degree pickup. The C200 gets these options by having two stereo microphones built in.
Here is a look at the status LED when the C200 is up and running. It isn’t a huge indicator but it is something and is similar in size to the StreamCam as well. Personally, I think using the privacy guard when not in use is the best practice here. Not only does its bright red better show you that the camera can’t work, but it also protects you even if you aren’t looking for any indicator.

Starting with my testing I did some testing with the different field of view settings. As I mentioned before, using the default FOV settings will zoom in towards the center of the camera's view. If you need something different than that you can switch over and you then have the option to zoom in and move the zoomed-in spot around to focus on a smaller area which can be important if you aren’t trying to show too much of your background or in my case as a fat guy I can zoom in more to my face and not show as much belly.
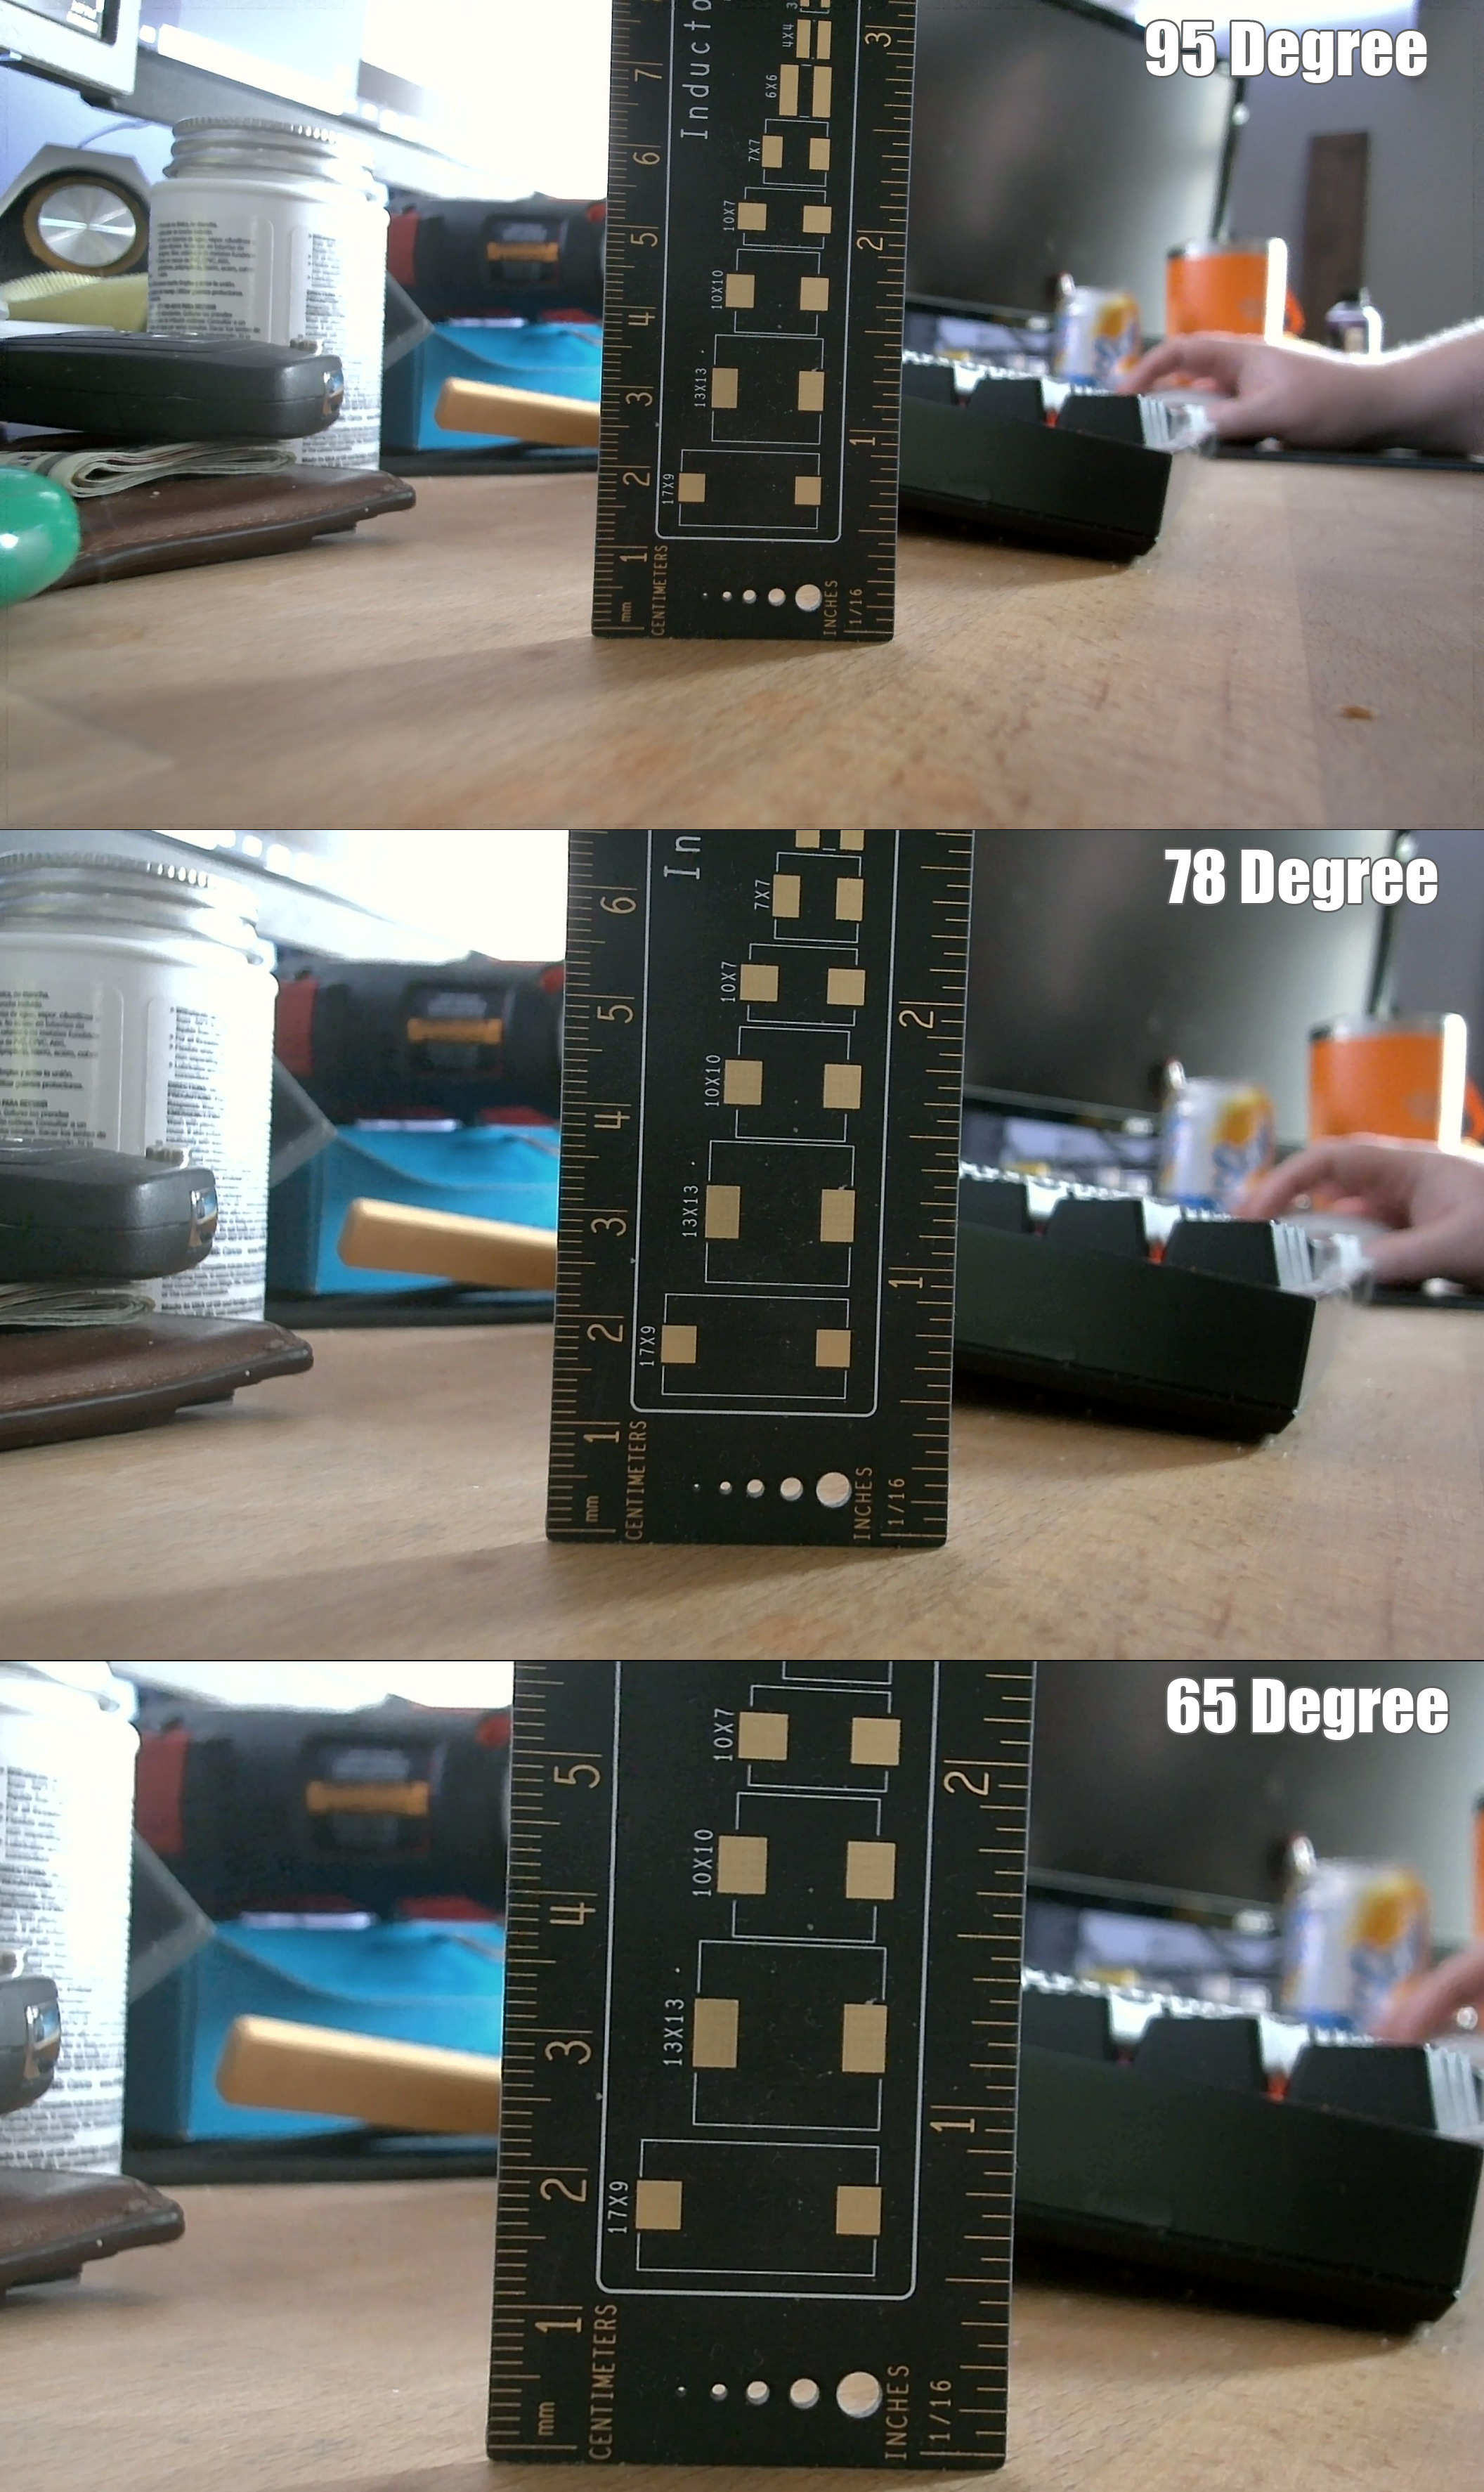
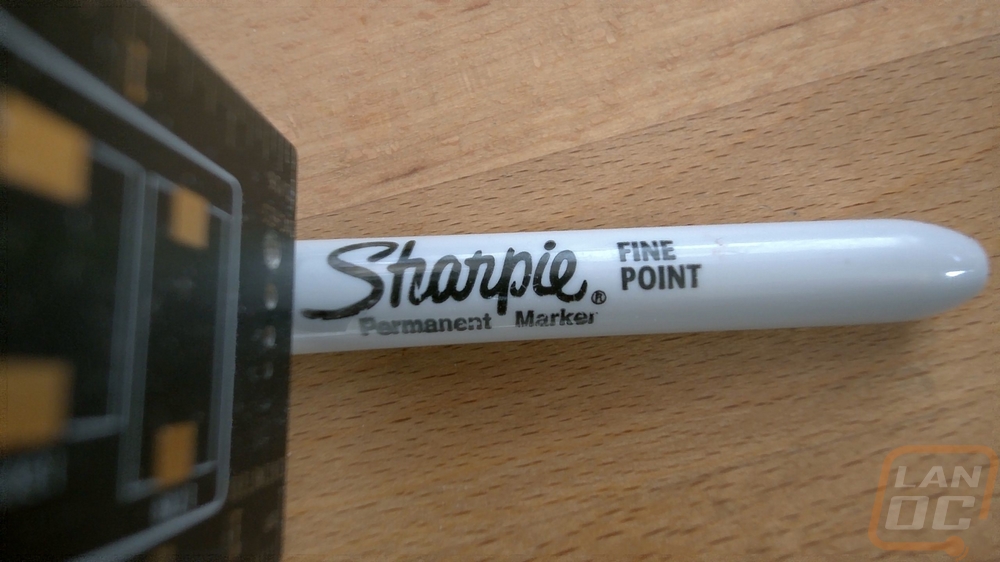
While the advertised focus range is 15cm to 3 meters. I found that the C200 could focus in closer than that at just 2 inches or around 5cm.
 Using the default
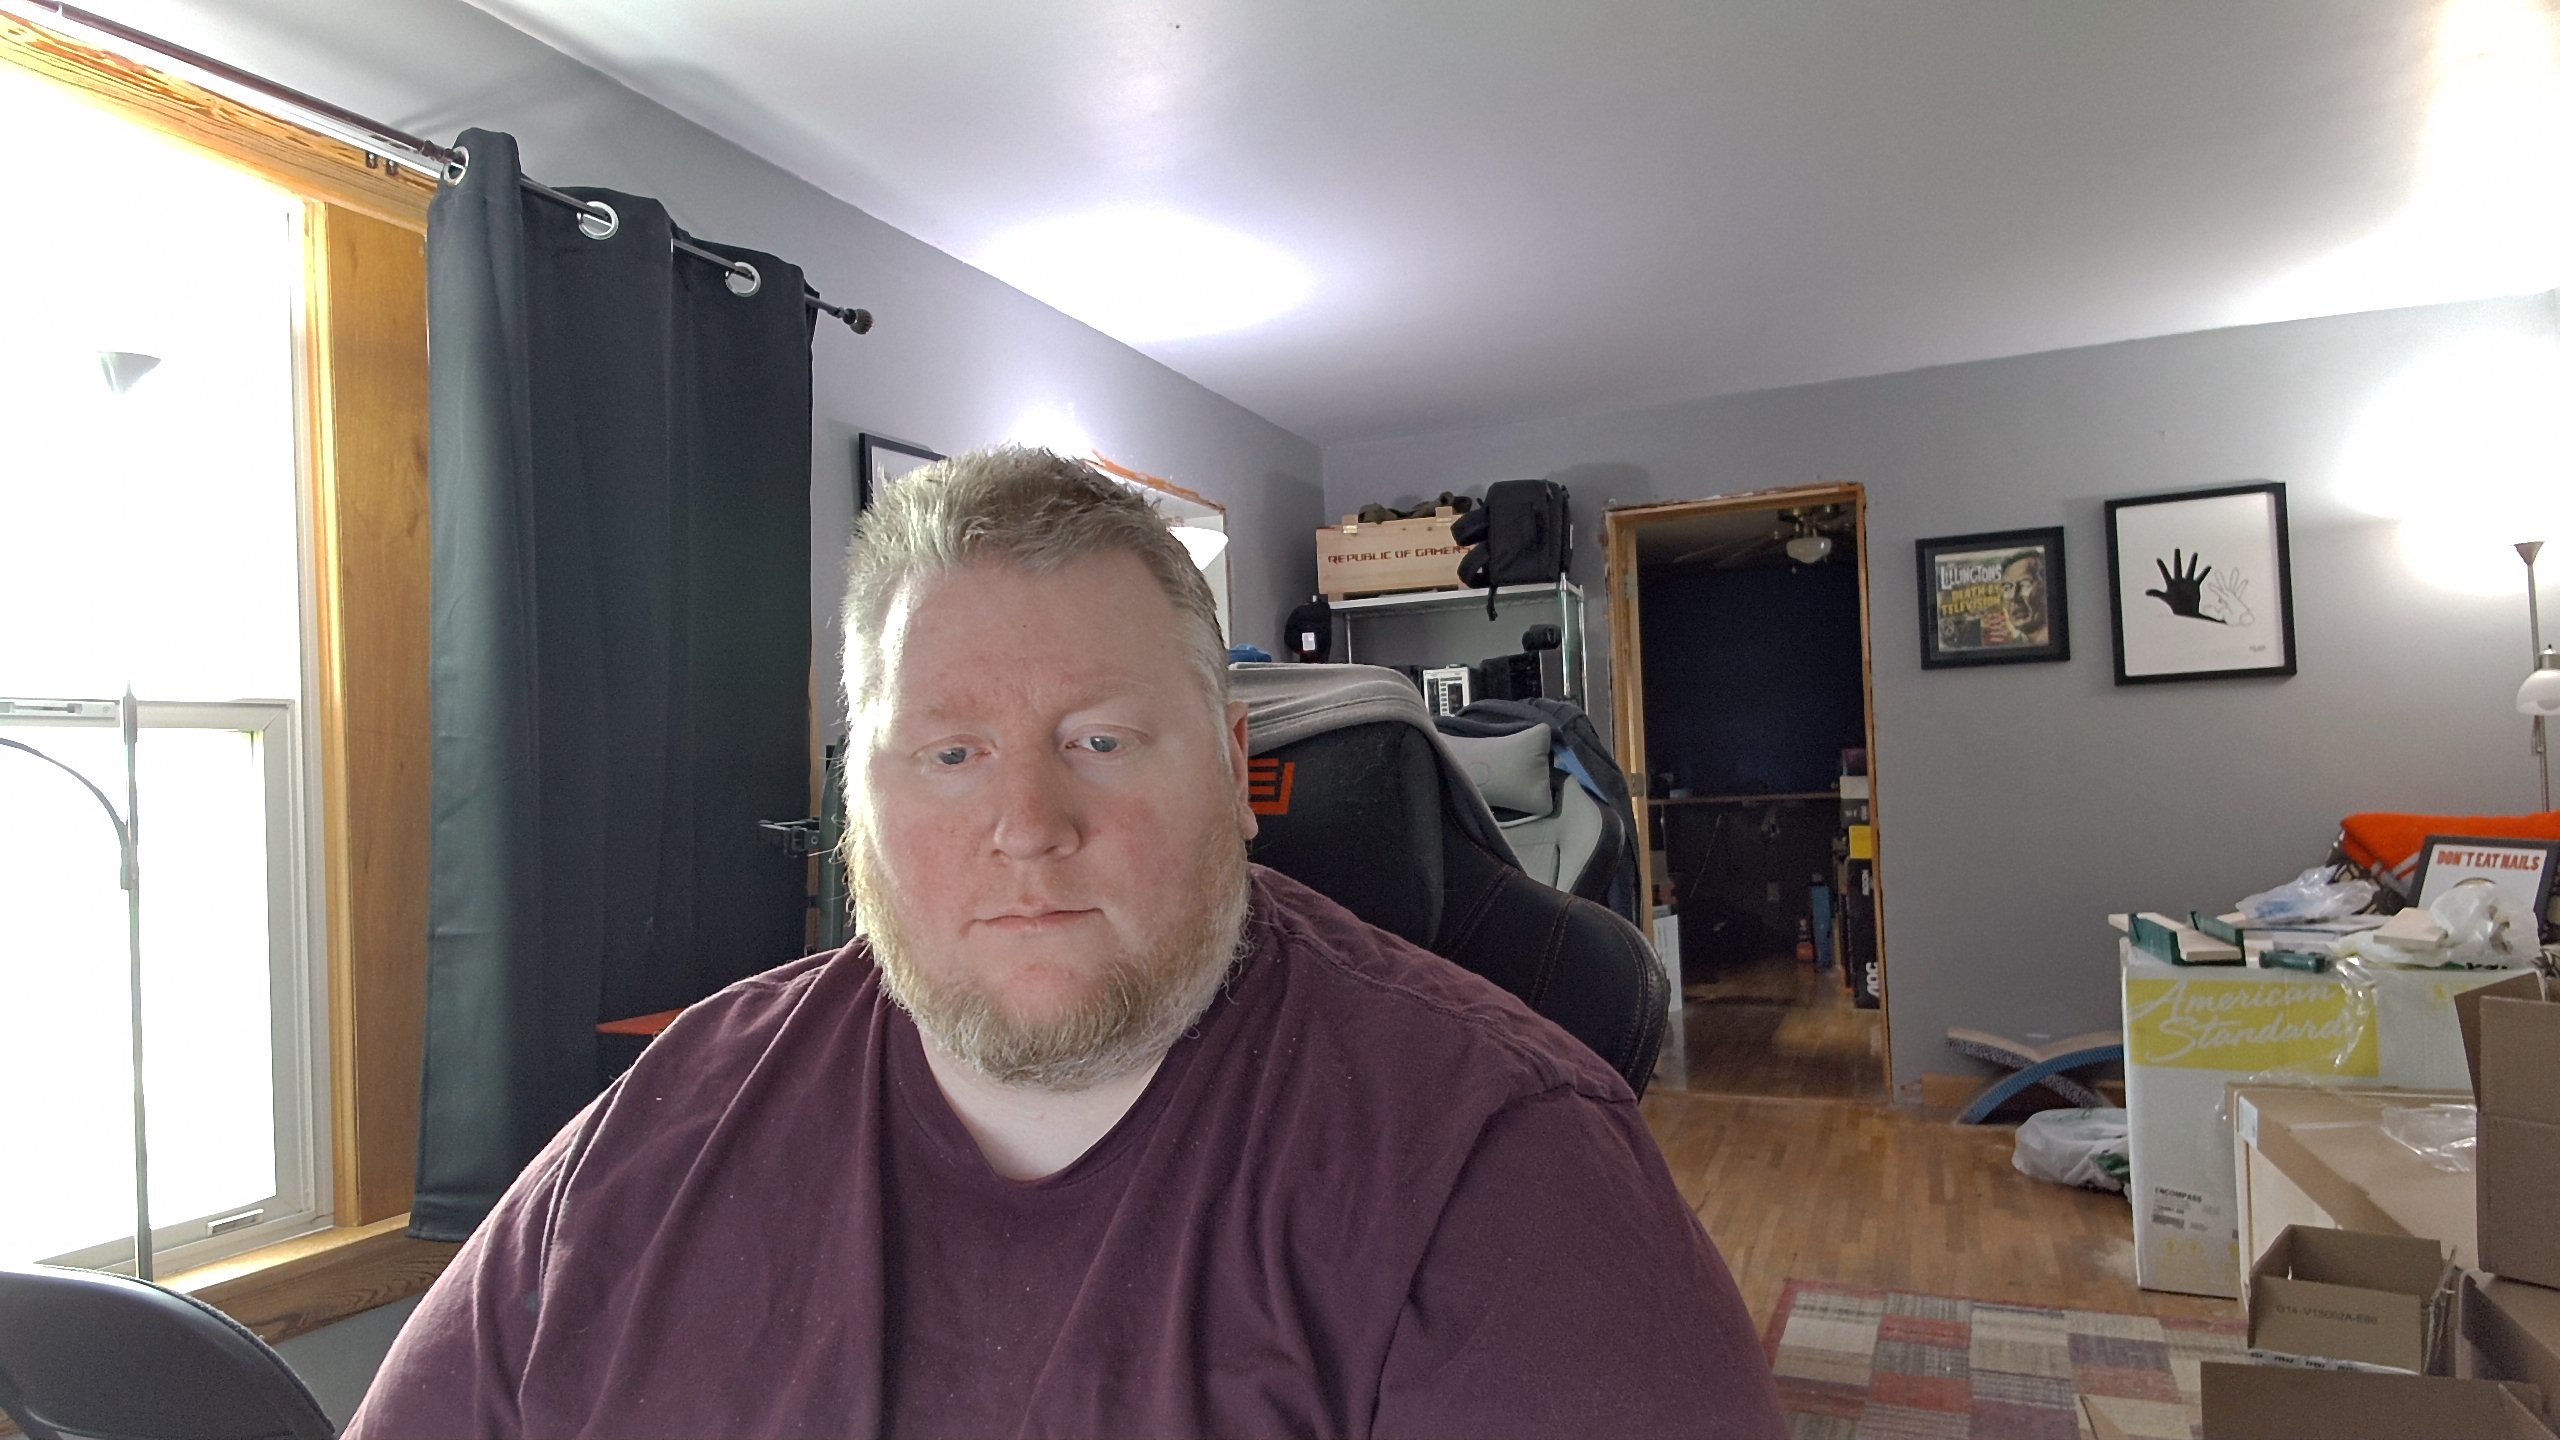
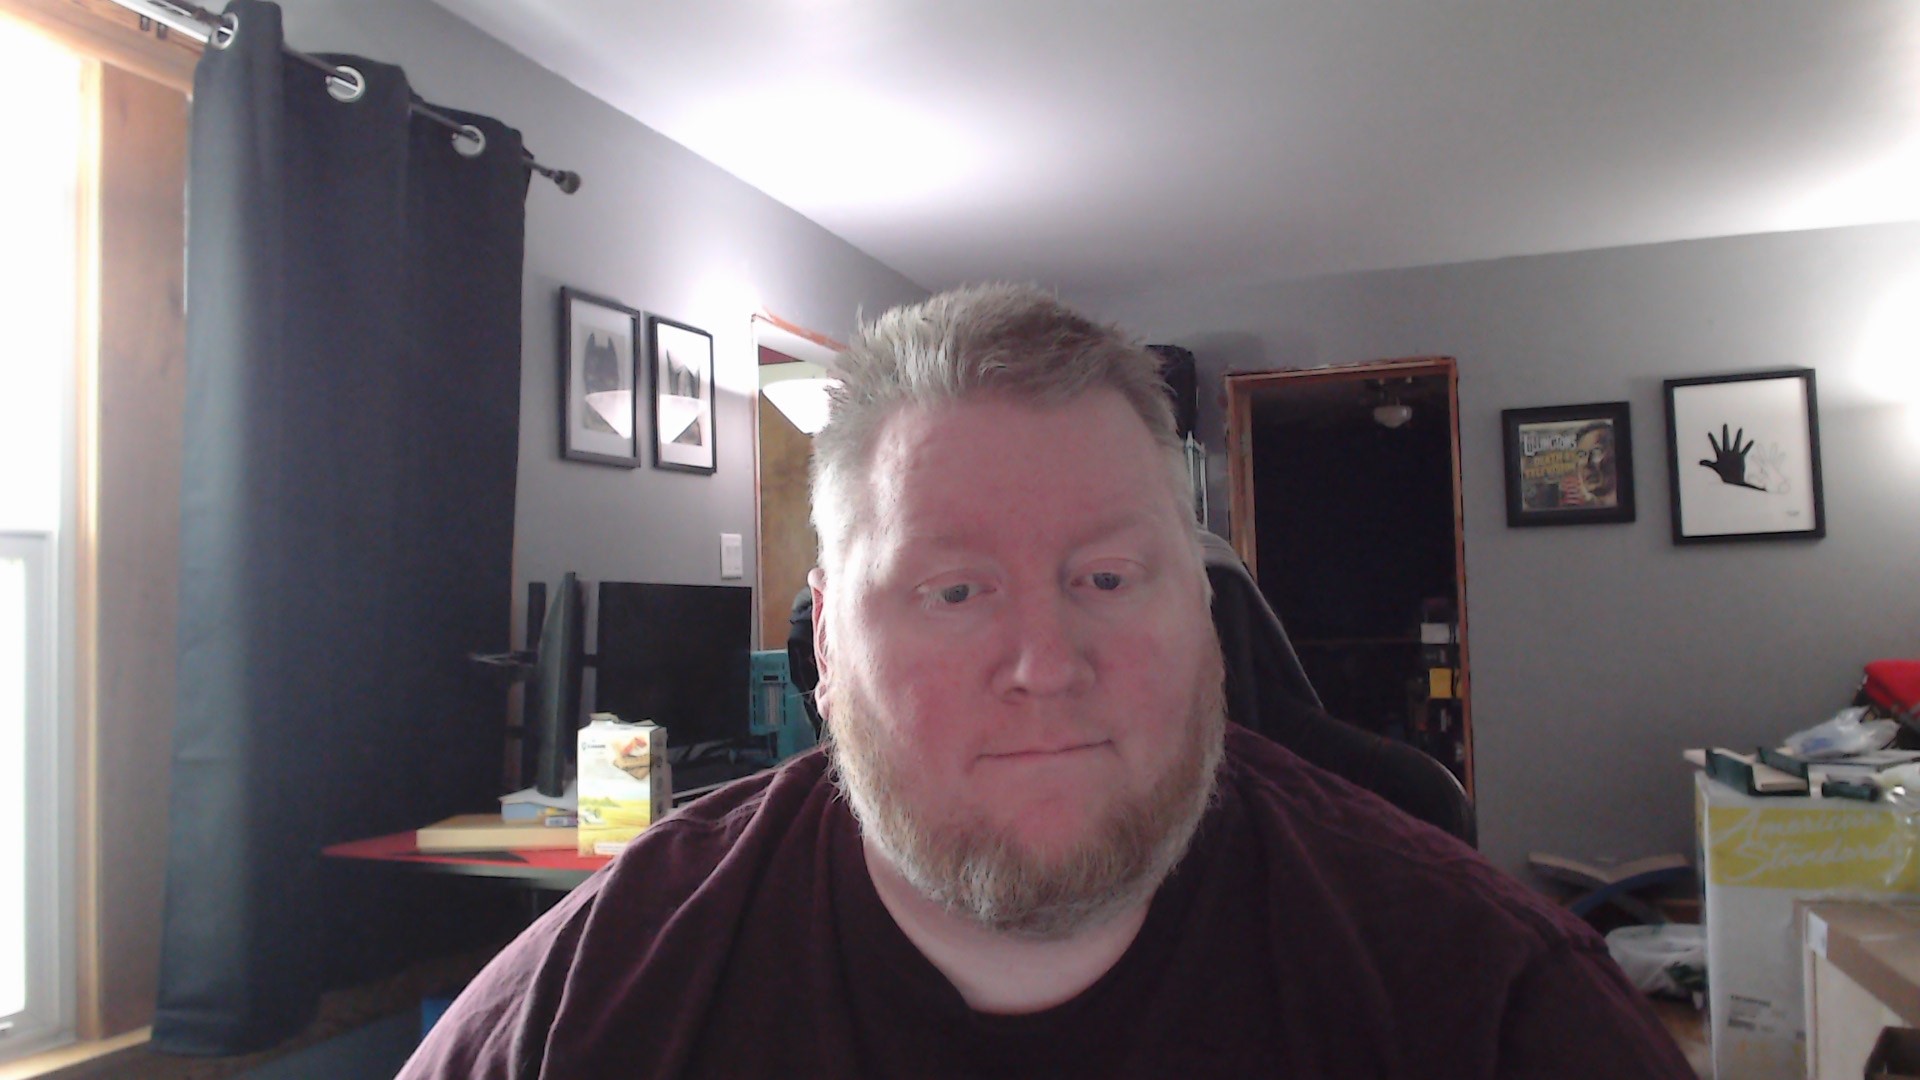
FOV I was curious how the C200 would compare in photos to the Logitech StreamCam using the camera software built into Windows. The StreamCam is a 1080p camera where the C200 is 2k or 1440p and that shows right away in the two pictures which were taken at the same time. The StreamCam also has a tighter field of view by default as well which I do think that a lot of people if using the C200 on a desktop PC may want to use a tighter FOV as well. The wider FOV setting on the other hand is a lot more helpful when you are closer to the camera or if you are doing a presentation where you need that extra space.
I also did a comparison of the video output of the C200 and the StreamCam and the resolution difference was noticeable right away even with it being dropped back down to 1080p for the edit. The FOV set to the default 98 degrees also makes a big difference here as you can see. I’m happy that the C200 does have the option to drop things back down to a lower FOV where the StreamCam defaults to the tighter FOV from the start so with the C200 you have the option to be able to show more if you need to display a product or if you want to have a full body view without being across the room.
For audio testing, I compared the C200 and the StreamCam alongside our past microphone tests which include a variety of gaming headphone microphones, condenser microphones, the BRIO, and the mic array on the Sound Blaster X7. I was also able to test out the difference between the C200’s 90-degree audio pickup and the 180-degree pickup. Overall the PowerConf C200 has about what you would expect for a webcam for a microphone. It is enough to get the job done but it isn’t going to replace a good headphone or condenser microphone. The omnidirectional audio picked up more of the mechanical keyboard sounds. For comparison, I think the StreamCam sounded a little better in that it didn’t sound like I was in a hallway but it also picked up even more on the ambient sounds like the keyboard and mouse clicks.
