This fall I set out to upgrade our now-aged security camera server which over the years we have tripled the number of cameras that we were running and at the same time started upgrading their resolution as well. The gradual expansion and upgrading has pushed our once powerful system to its limits and beyond and has needed an upgrade for a few years now. Over the last few articles I have gone over the specific limitations we found with our old system and our new system that we call Icyu is all together except for one very important aspect, storage. I have been trying to decide what I’m going to go with and my decision paralysis has delayed the already previously delayed build even longer. So today I’m going to talk about what I’m going with, at least for now so I can get the system up and running and finally let our old system have some rest.
Title: Project Icyu– Blue Iris Build Part 4
Written by: Wes Compton
Build Sponsors/Supporters: Silverstone, Intel, Noctua, Cooler Master, MSI, Kingston
Amazon Affiliate links:
Links to the rest of the project: Part 1 - Part 2 - Part 3 - Part 4
OS Drive and SSDs
One of the big issues that I ran into with our old Blue Iris configuration was that I was using the SSD for the operating system to also store our footage temporarily. This also means that the database and alerts are all stored on that same drive as well and together this puts a lot of usage on the drive each day. Amazingly, we haven’t had the drive itself die but even without including that risk, I found that if something goes wrong and Blue Iris doesn’t move the files at the end of the night and the SSD fills up it brings the entire system to a crawl. Not only can we no longer record, but even fixing the issue can take hours. This has happened more times than I would like to admit with the mSATA-based SSD being 500GB which these days isn’t too big.
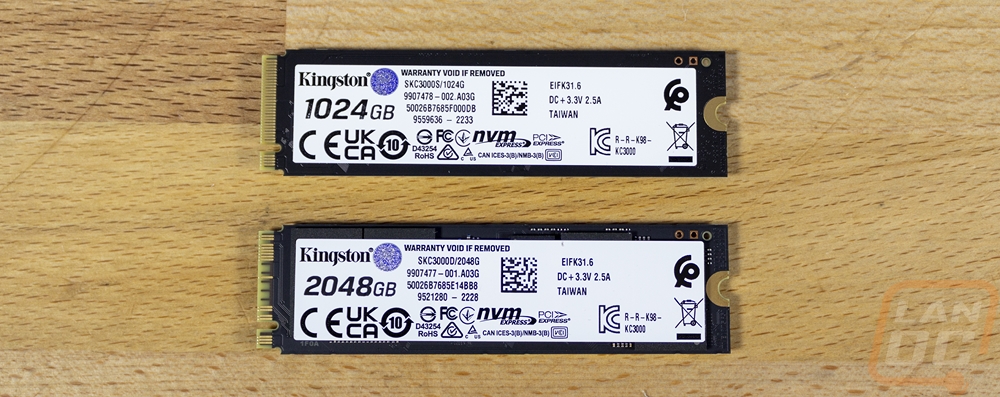
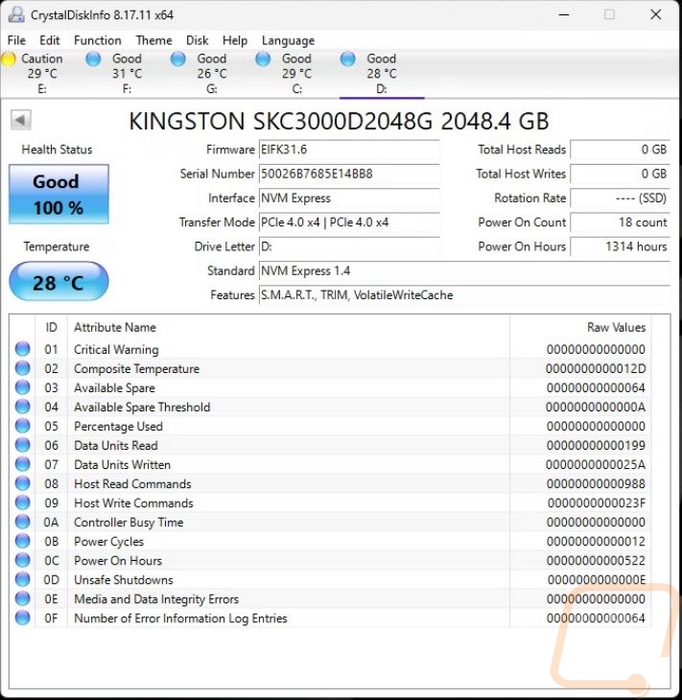
When I built the last system, the drive was big enough, I just didn’t consider how much wear I would be putting on that drive which if it dies all of our settings are lost. I also didn’t think about what would happen when full. So with our new system I wanted to upgrade to a new faster SSD, give a little more capacity just in case, and set things up in a way that I would never need to be saving directly to the save drive the operating system would be on. With our build being larger I wasn’t limited to just one SSD and no hard drives like the old SFF ITX system, so I went with two SSDs from Kingston. One 1TB KC3000 PCIe 4.0 NVMe SSD for the operating system and Blue Iris to be installed on and then a second KC3000 but 2TB to use as a scratch drive for our database, alerts, and depending on our hard drive configuration I would have the space needed to store footage on this drive as well. Some hard drives are ideal for direct streaming footage onto them, but because I wasn’t sure what drives I would end up going with I wanted the flexibility if needed and Kingston helped us out with these two drives that fit that perfectly. Not only that but with the potential for sequential read and writs of 7000 MB/s and up to 1,000,000 IOPS I am hoping they will keep accessing footage and alerts quickly which is an issue on our older drive, especially anything moved to the temporary turned permanent USB drive used to store most of our footage.
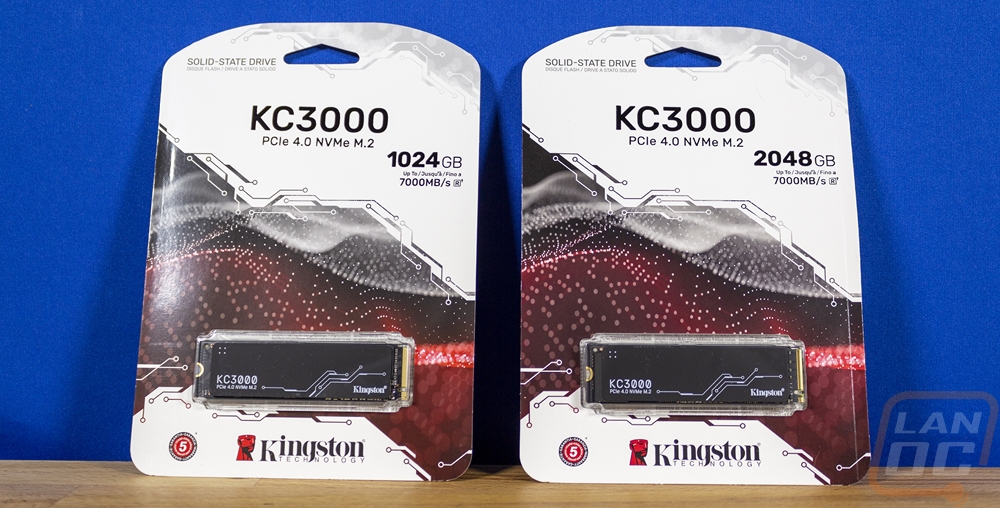
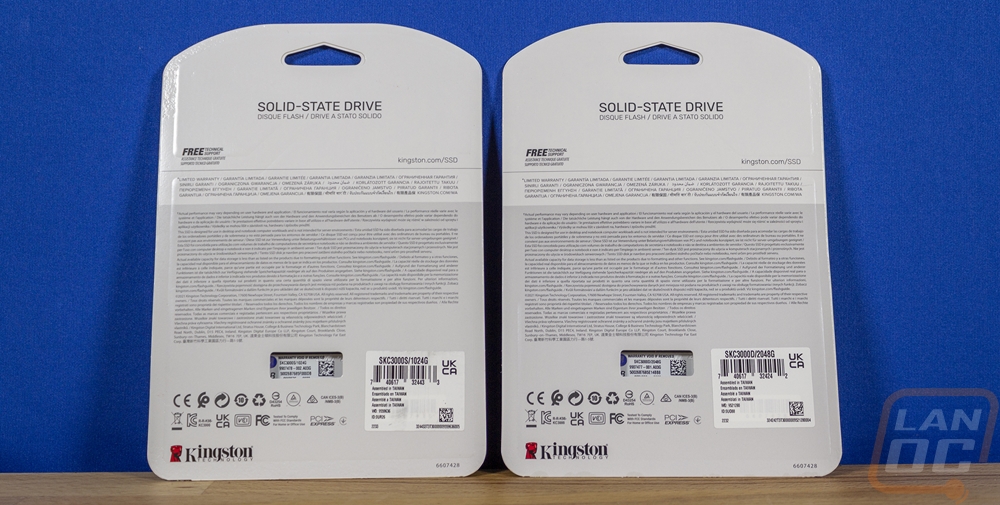
Both of the Kingston KC3000 drives come in the same hanging cardboard packaging with the drive in clear plastic exposed on the front. They have a white background and then a Kingston red accent behind the drives and Kingston has the model name in the biggest font right up at the top. The capacity is visible just below that as well as the estimated speeds with the capacity. The back of the packaging has a window in it so you can see the sticker on the drive which is how you can double-check that you have the correct drive and also scan the serial number with the small QR code as well.
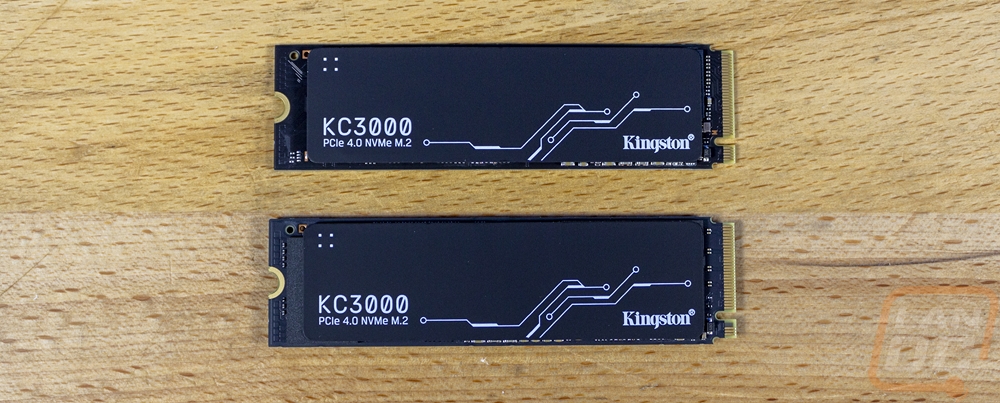
The Kingston KC3000 has a very similar setup to the Kingston Fury Renegade SSD that I previously reviewed. Not only are they running the same Phison E18 controller and 176L TLC from Micron. But the styling is similar with the blacked-out PCB and the black sticker on the front. The KC3000 doesn’t have as flashy of accents on the front but the simple circuit board design that they used on these looks great, not that I am too worried about that with our server build.
Hard Drives
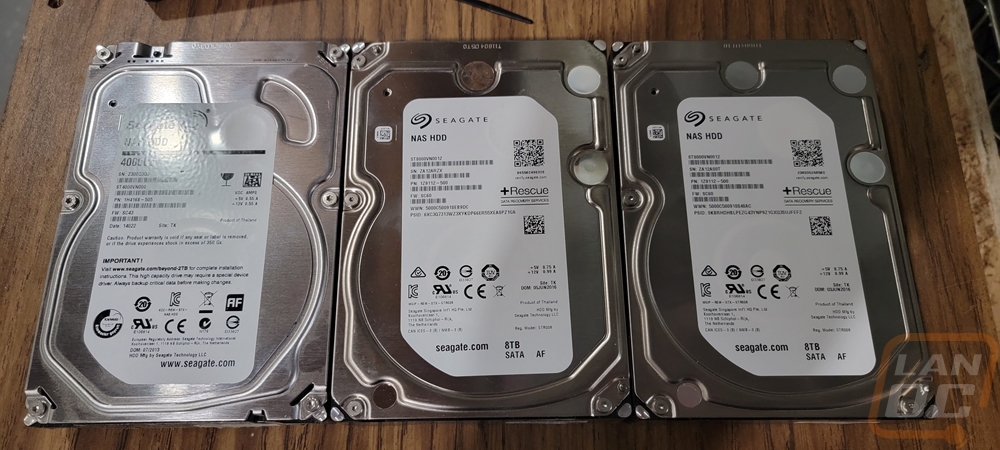
As I mentioned earlier, the holdup on this coverage has been me trying to decide what I want to do for hard drives and frankly, I still haven’t decided on the long-term solution. But after having this build together and running and not being able to use it for its main use I decided to go with a temporary setup for now. I will most likely be keeping an eye out for an 18+TB hard drive when I find one for the right price. So for now I am going to get some more life out of a few older drives from two of our old NAS. Two are 8TB Seagate drives that are coming out of the system that already had two of the four drives fail so I don’t have high expectations for these to live long-term. Then I have one 4TB drive as well. Together that puts us at 20TB which was the original goal. Hopefully by utilizing a scratch disc SSD for the day-to-day it will minimize the use on these other than when I need to look up older footage which is rare.
Installed and Performance
To get everything up and running I did need to get the SSDs installed relatively early on in this build. I could have waited and done it now but M.2 drives are always a lot easier to get at around the same time you install the CPU into the motherboard. MSI did make the installation of the first drive easy with the swivel clip that replaces the normal tiny screw. But for some reason they didn’t include one for the second M.2 slot so for that one, I did need to mess with the small screw. I put the 1TB drive intended for our OS in the top slot and the 2TB drive in the second slot both of which are PCIe 4.0 x4. With that, once I had everything installed in the system, I did install windows 11 as well to get it all up and running. I have been running the system for a while without Blue Iris on it. I haven’t mentioned it in the past but while the camera server is its main function, I use this same system to run our uTorrent to not need to keep any other PC up and running all of the time and a few other smaller functions as well. So I did get things running before my vacation but without the hard drives I didn’t want to move Blue Iris over nor did I want to do an important move like that right before leaving.

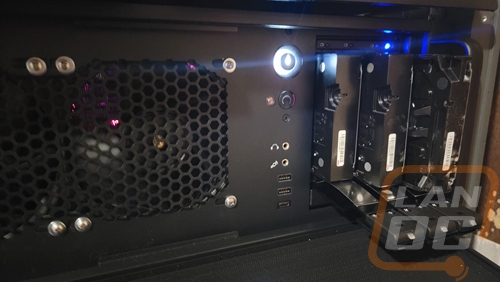
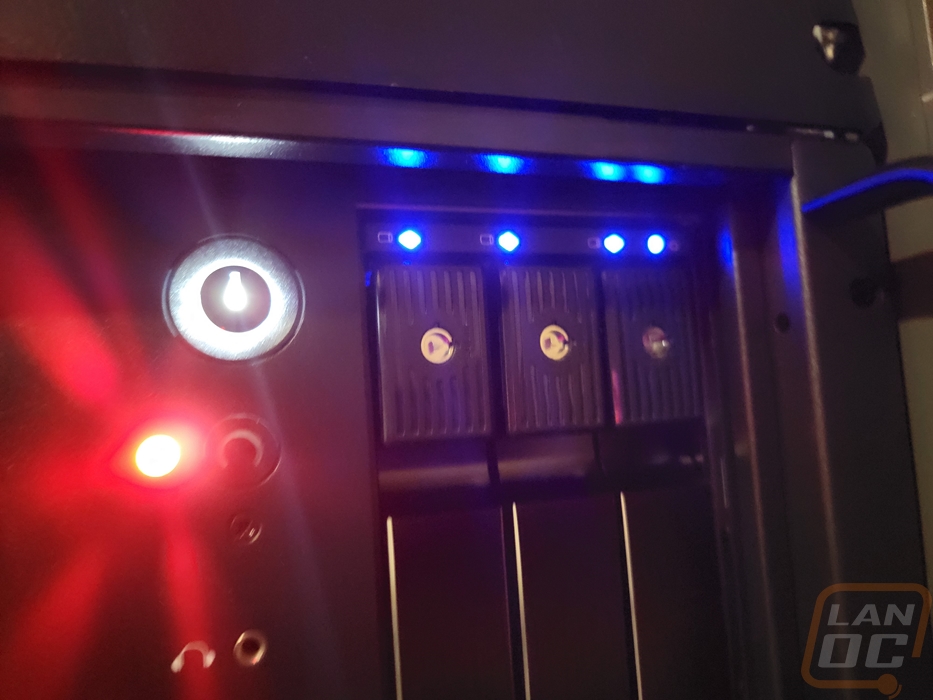
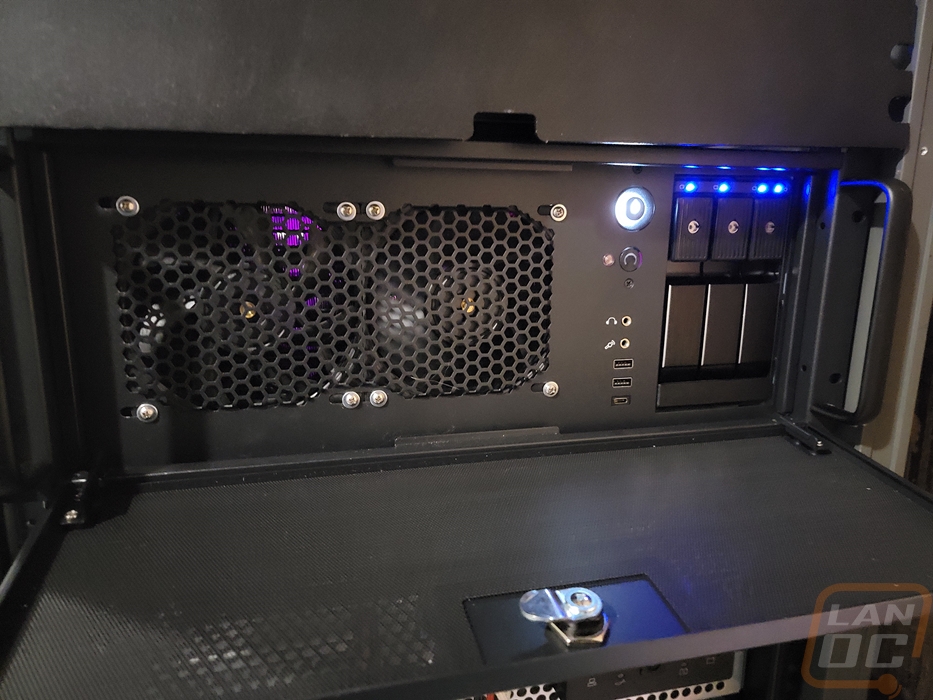
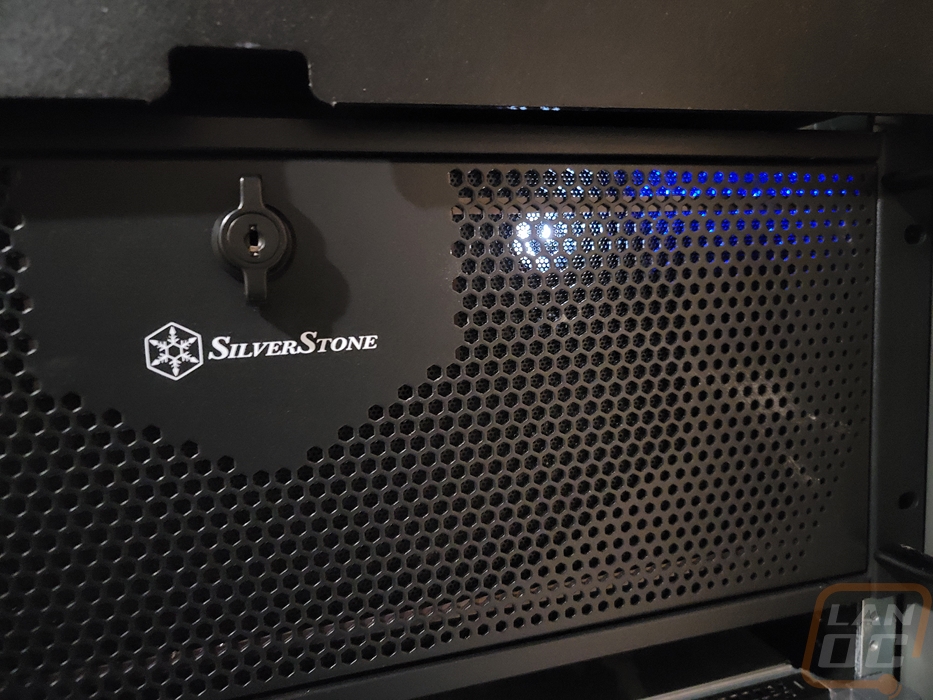
Because of the planning with this build, I wasn’t too worried about when I installed hard drives because I did have a toolless hard drive enclosure right on the front of the system. The reason for that was mainly to allow for expansion for hard drives in the future, but it did also mean I could just drop drives with everything up and running without having to pull it out of the rack and dig back into everything. The current three old used drives won’t be the long-term solution but for now, do fill up all three of the slots. Once installed each bay in the Silverstone hot-swap enclosure lights up at the top and they show activity as well. Because of the front door design on the case, we can still see those lights but thankfully it does cut down on their brightness because they were bright.

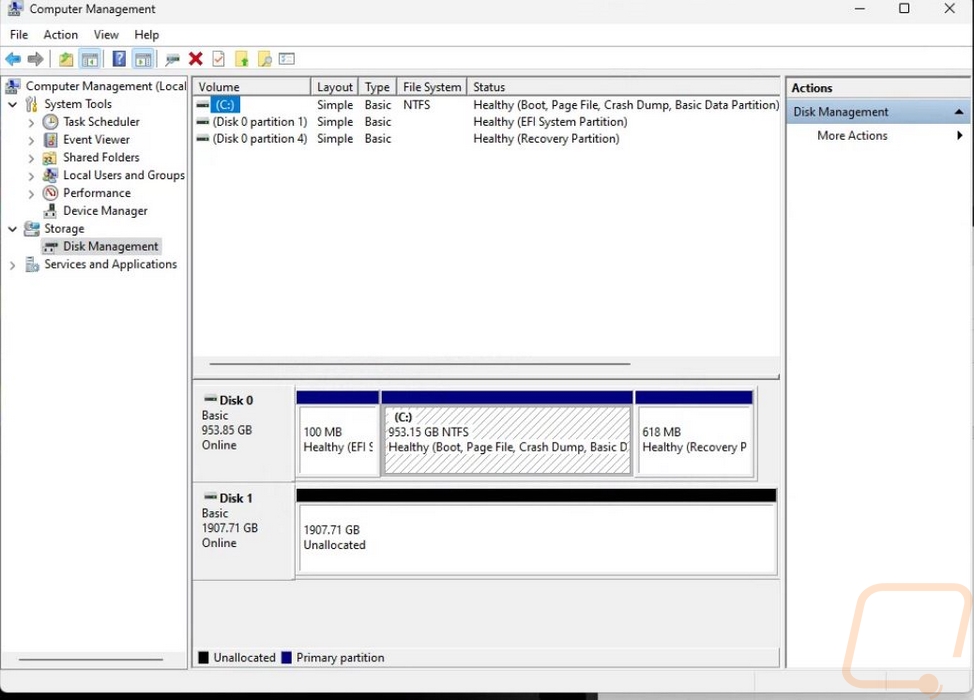
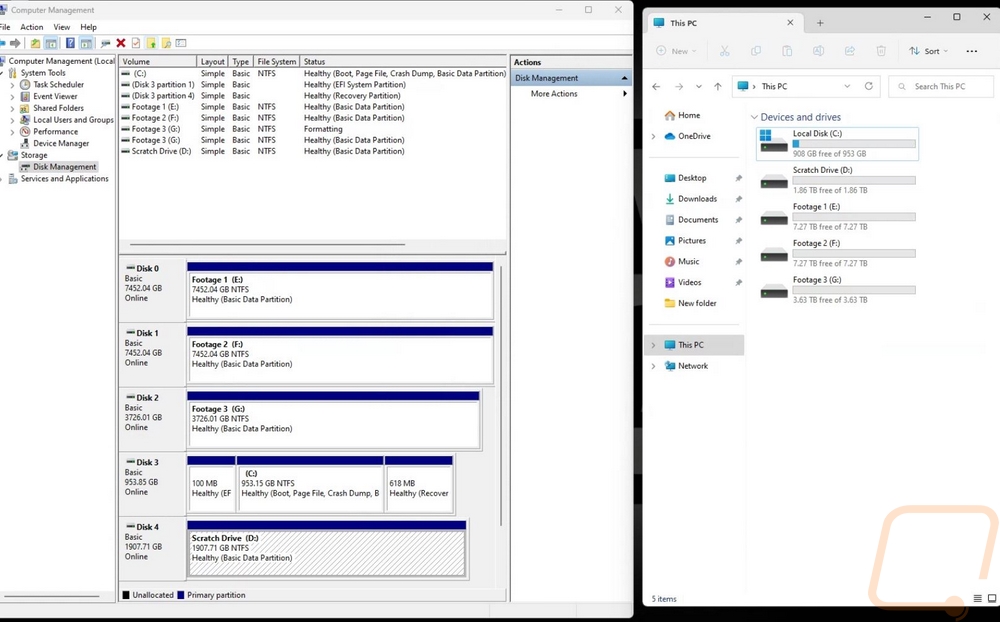
With everything installed I did need to go into computer management and set each drive up. For the hard drives, I also had to reboot the PC for it to see them.
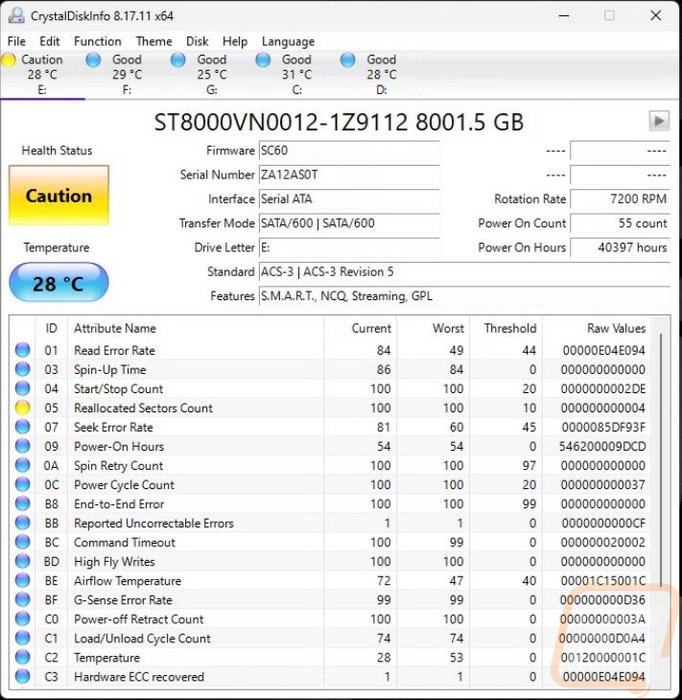
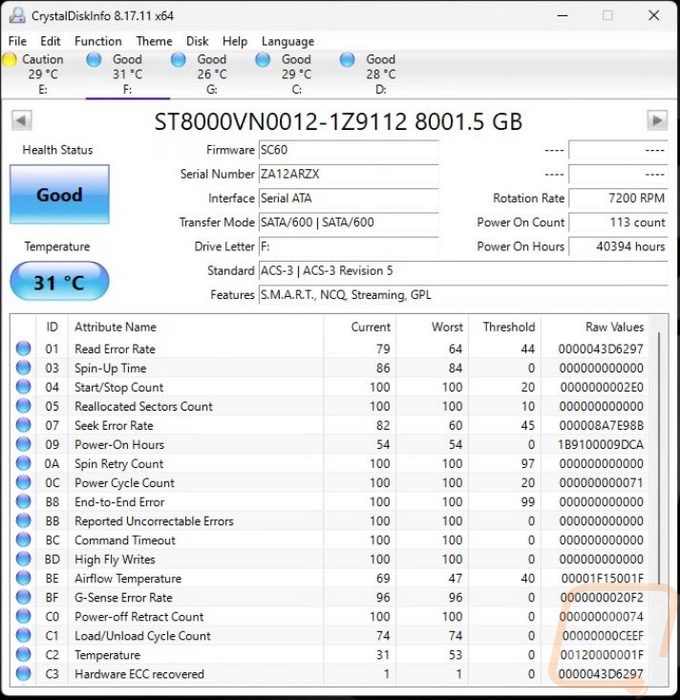
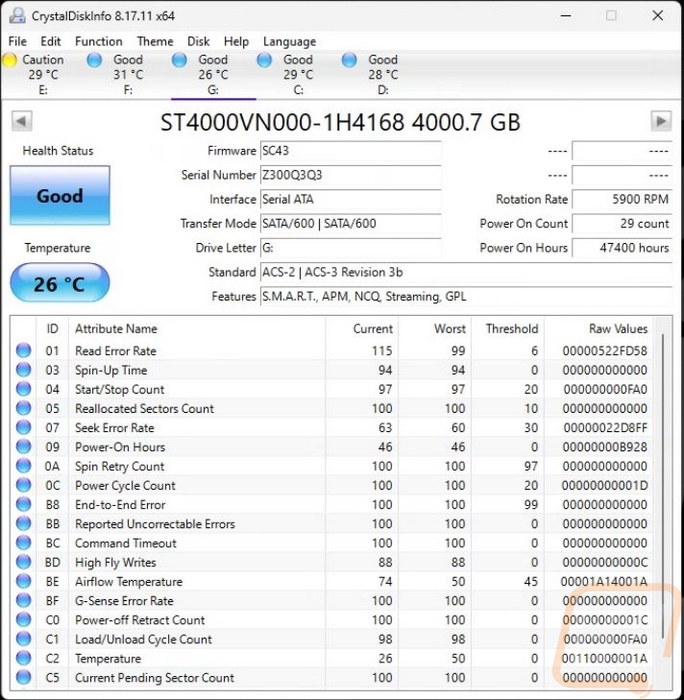
After everything was set up I took a look at them using CrystalDiskInfo. I was mostly just curious how many hours the used drives had and I found a few surprises when doing this. The biggest was that yellow caution warning on one of the two 8TB drives. Going in I knew that two of the other 8TB Seagate drives died one right after the other in our NAS so I’m not expecting these to last but I was surprised that one of them is already showing signs of it going back with a high reallocated sectors count in the S.M.A.R.T. data. Both of the 8TB drives were in the 40,400 hours on range which is impressive. That is 1683 days or 4.6 years. But the 4TB drive which came out of a different NAS had even more time sitting at 47,400 which is 1975 hours or 5.4 years being powered on. That is a 5900 RPM drive whereas the other two are 7200 RPM and it has a lower cache at 64GB whereas the 8TB NAS drives have 256GB. That said it goes to show the difference in durability, two out of the four 8TB drives died and one is on the way out where the 4TB drives I was running 7 of those and they lasted an additional year with none of the drives having issues.

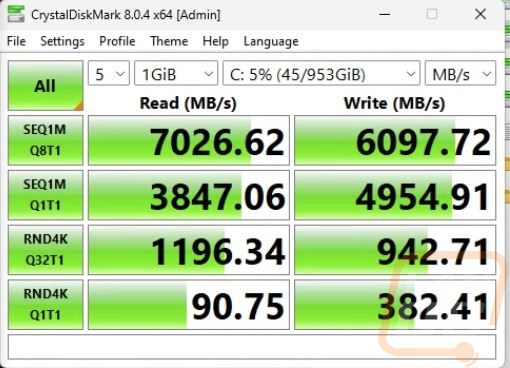
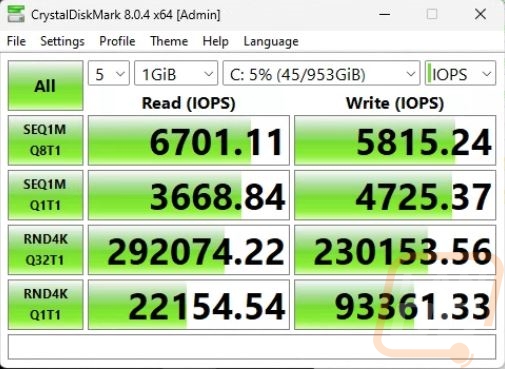
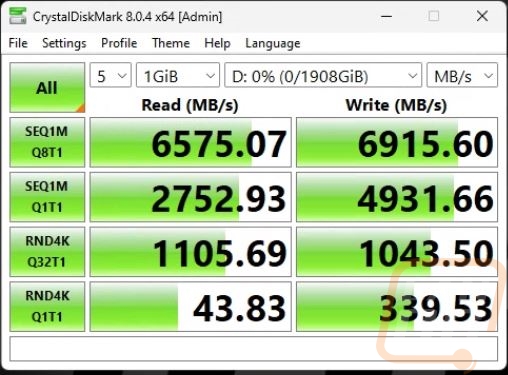
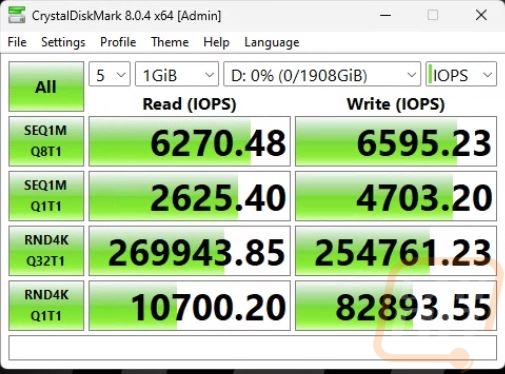
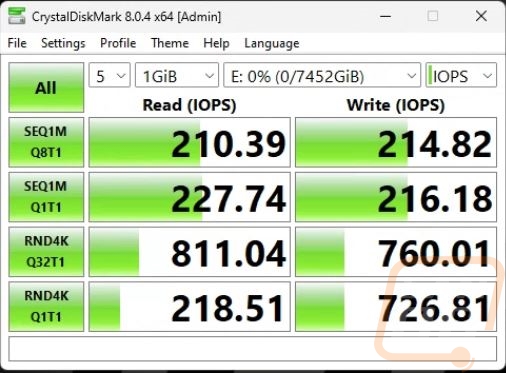
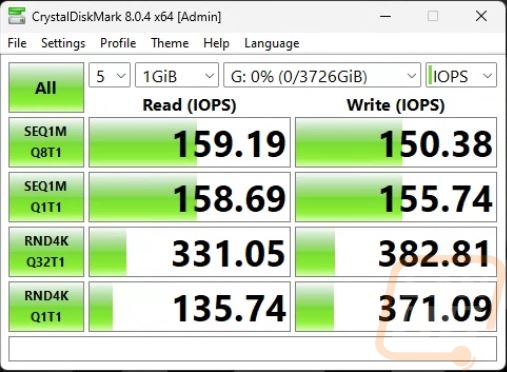
While I was in there I did also run CrystalDiskMark on all three hard drives and both of the Kingston KC3000 M.2 SSDs. I was mostly curious to see how fast the KC3000 SSDs were and they didn’t disappoint. The 1TB model was a little slower on the sequential read speeds but at 6097 MB/s was still very impressive and it reached the 7000 MB/s for the read speeds. The 2TB model was a little slower on the read speed test but nearly reached 7000 for the write speeds. Both are WAY more than needed but it will be interesting to see how that speed affects the performance in Blue Iris.
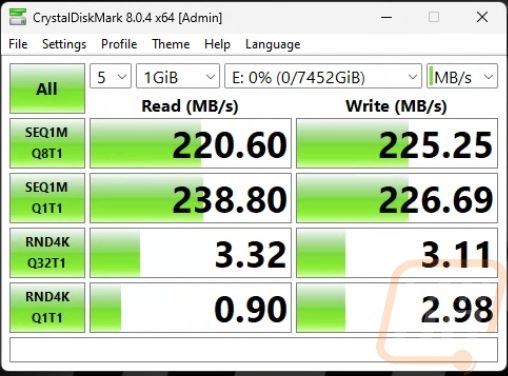
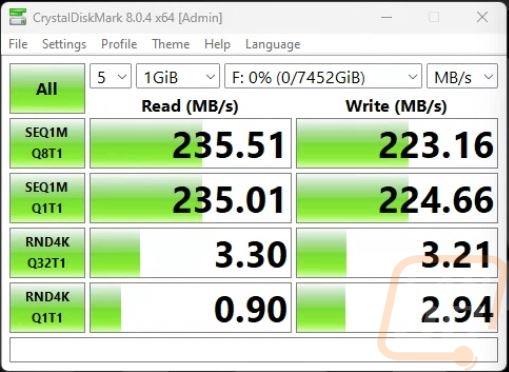
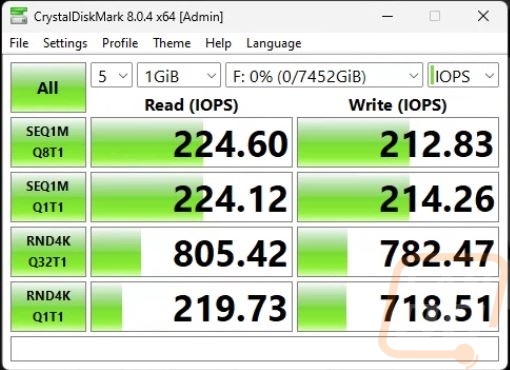
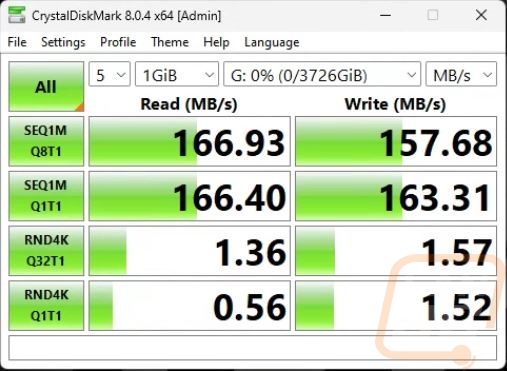
I did also test the hard drives as well and the two 7200 RPM 8TB drives weren’t bad at 220-230 MB/s. The slower 4TB 5900 RPM drive was affected a lot by its lower RPM with it only reaching 166 MB/s for read speeds and 157 MB/s for write speeds.
With all of this together I can finally get Blue Iris installed and see how the upgrades have helped the issues I was running into before. I’m also curious to see if a GPU will be worth it for AI processing and/or encoding videos. I’ve also been watching as Google Coral support is coming as well, maybe that is the better option.


