Installing everything in the system
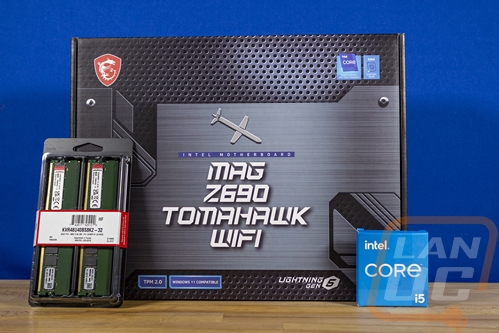
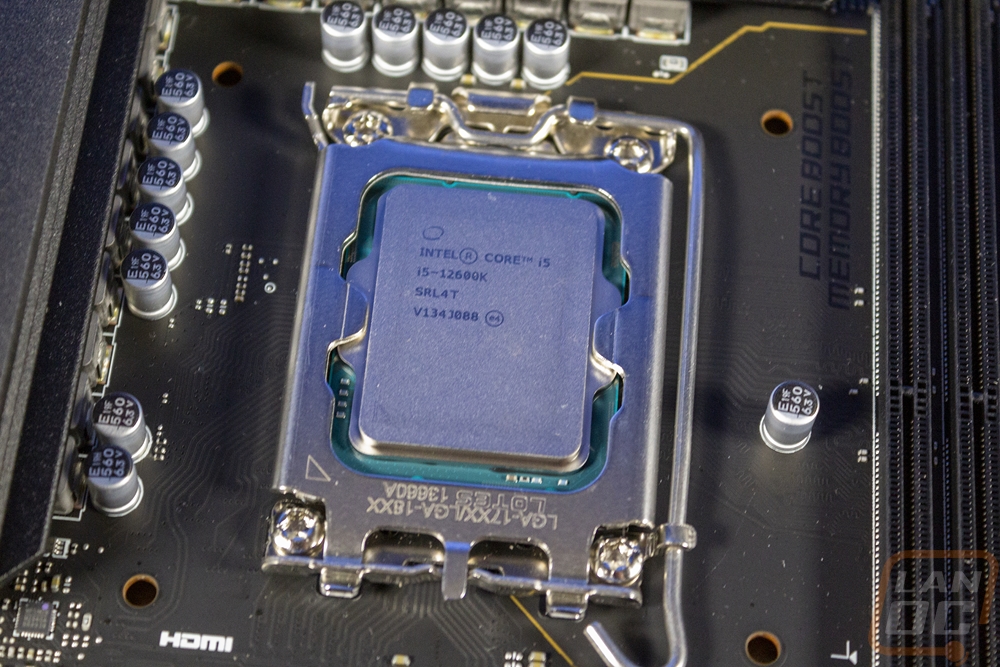
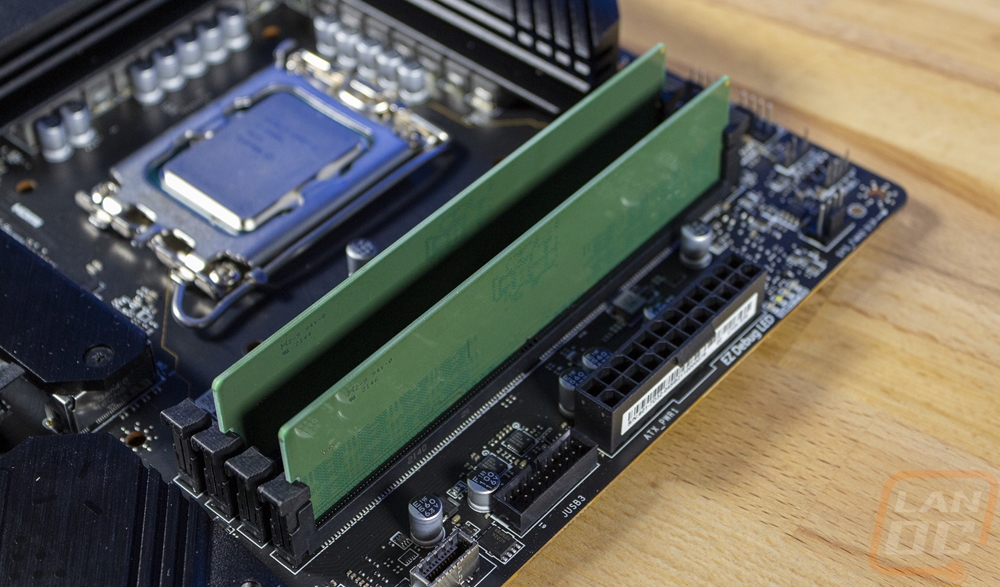
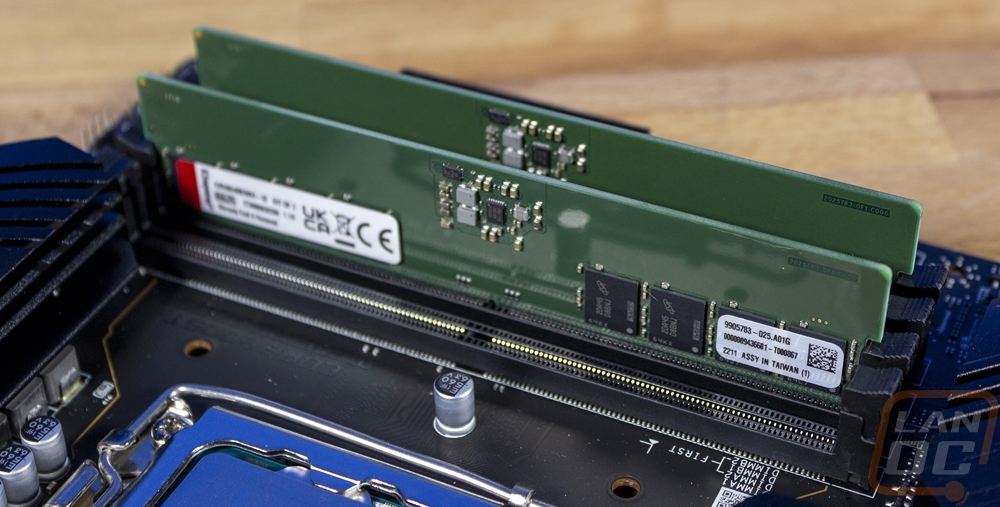
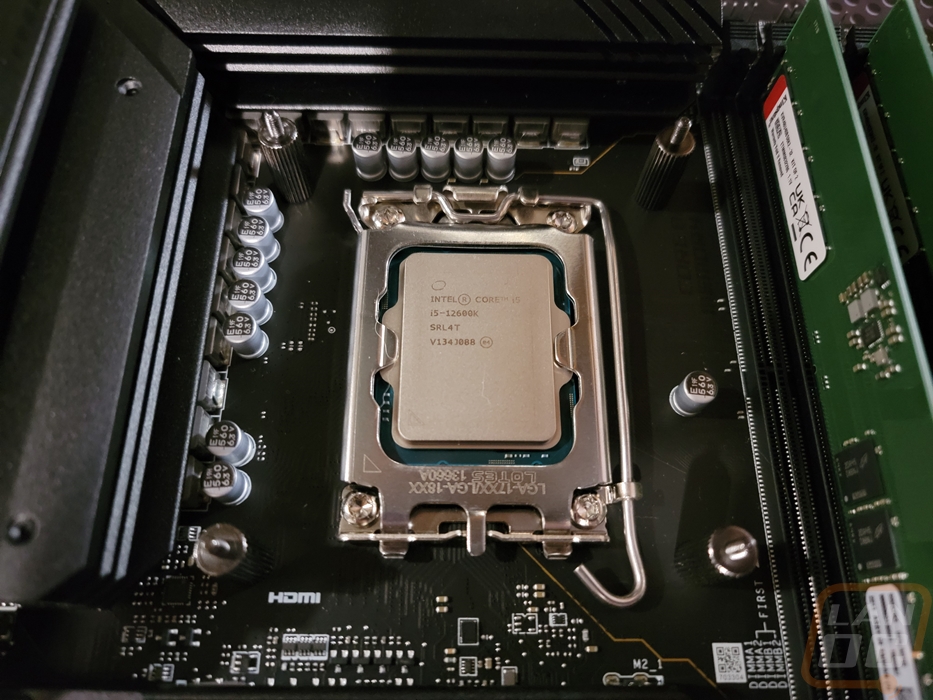
While we still need to get our storage setup, like with the previous components I wanted to get the motherboard, CPU, and ram all installed in the system. With the CPU and RAM that was simple, I was able to get those installed in the Tomahawk motherboard before moving things around. They dropped in with no issues and while the Kingston Valueram doesn’t exactly go with the blacked-out MSI Tomahawk, performance wise they are what we need and this is a server build where performance is the only concern.
With the motherboard all prepped I pulled the Silverstone RM42-502 back out of our rack and pulled the top cover off again so I could get things installed. In our first article, I installed the power supply and the hot swap cage in the RM42-502, and in part 2 all of the fans from Noctua were installed along with the and the Cooler Master MasterLiquid PL240 Flux AIO cooler were mounted and the Flux was prepped with the mounting bracket for Intel LGA 1700. I just needed to install the standoffs because the RM42-502 doesn’t come with those installed and get the motherboard in.
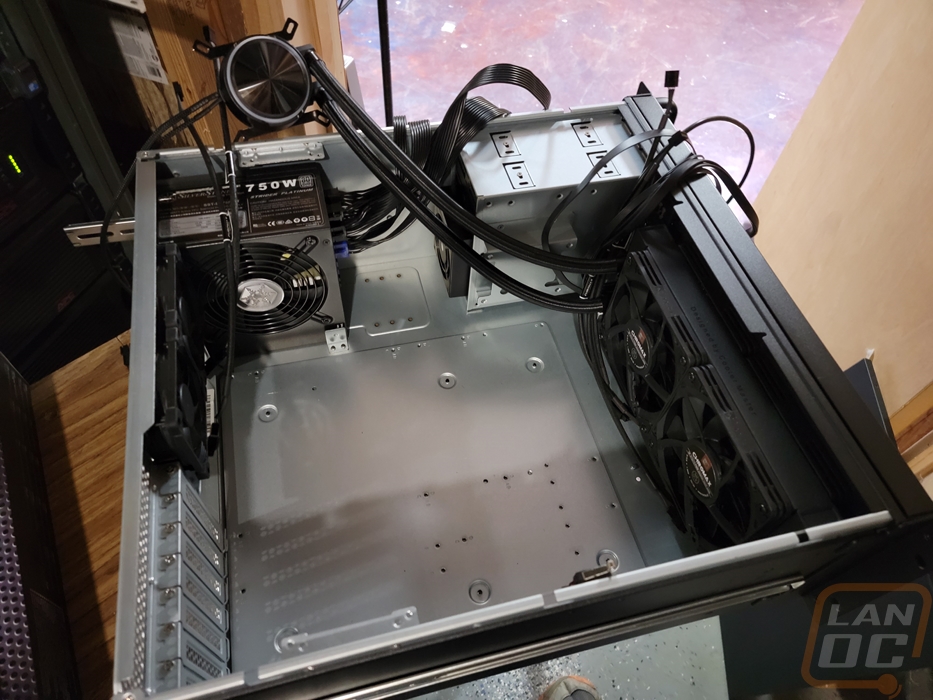
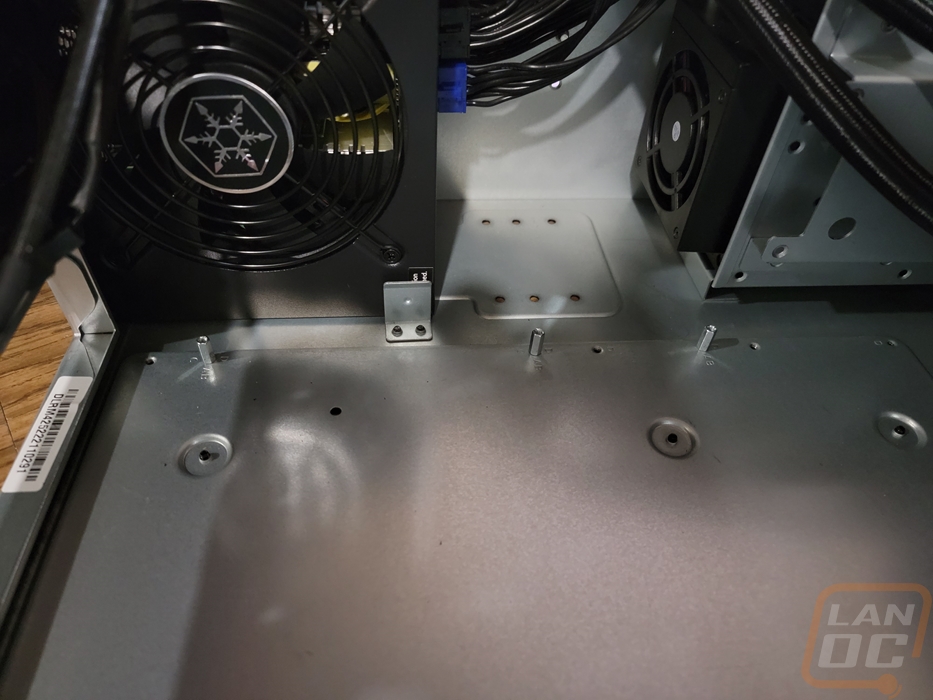
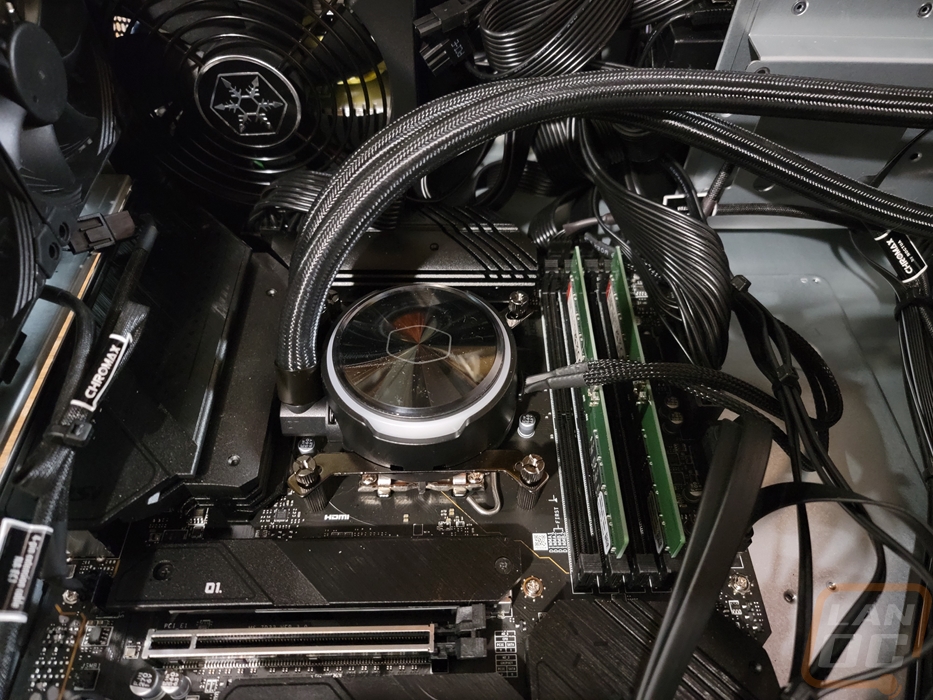
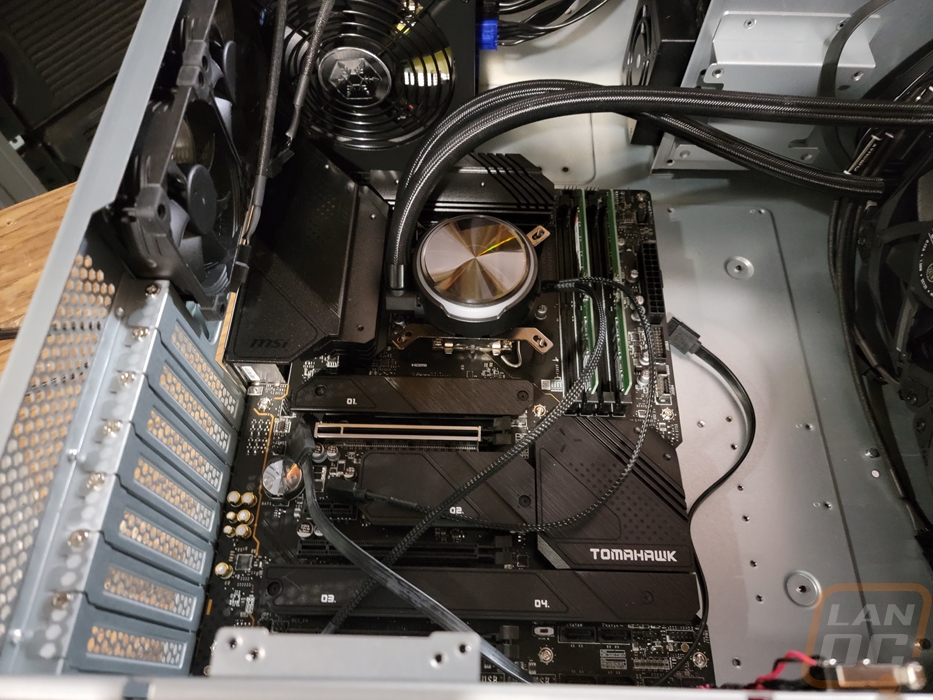
I did get everything situated and ended up forgetting to install the bracket for the Cooler Master AIO so I did have to pull it back out and put the backplate in. Cooler Master’s design just uses a backplate and four large standoffs that the pump/block mount to so it was easy to handle. At this point I didn’t mount the pump, I just put it on top of the CPU knowing that I would have to move things around when wiring.

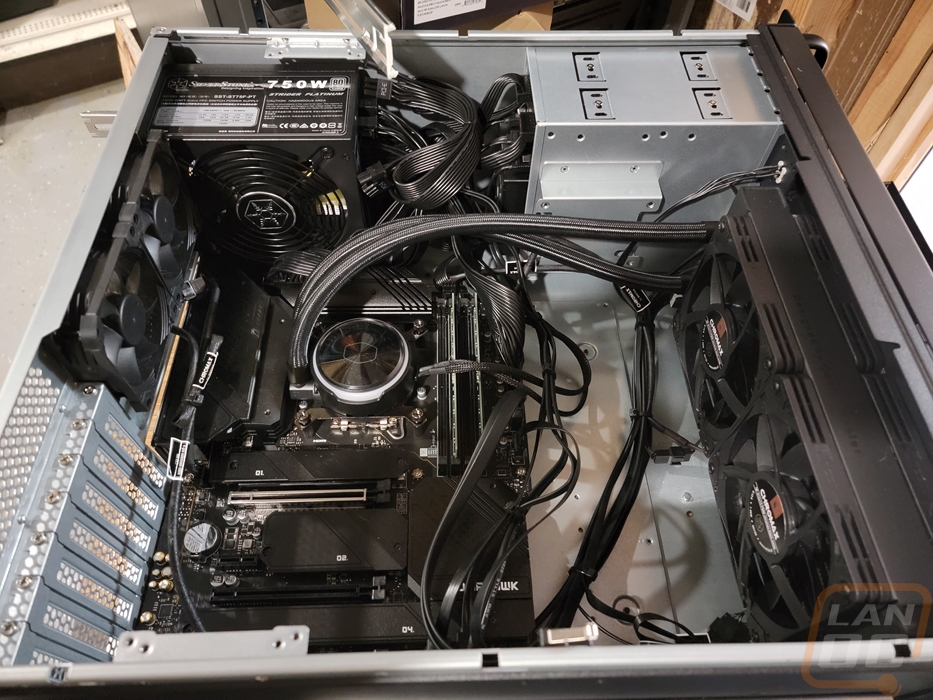
Starting with the cases front panel connections I started going through and running the wires where I thought they would work and hooking things up as I went. I wasn’t doing any wire management because with all of these wires you do need to move things around and rearrange. A few things to note, having the USB connections on the right side of the board meant that the long cables that the case has to reach the bottom of your motherboard left those wires with a lot of extra length. The same happened with the power supply cables, all of them are longer with the expectation that most power supplies are mounted at the bottom of the case these days so a majority of those cables were a huge mess of extra cable with all of those connections being right there at the top next to the power supply. Custom length cables aren’t worth it for a server build, but it would make a world of difference in this situation. With the four AIO mounted Noctua NF-A12x15 PWM chromax.black.swap fans and the Noctua NF-A8 PWM chromax.black.swap at the back of the case along with the pump wire for the AIO itself made things interesting when finding plugs for each of those connections. The MSI motherboard has 8 PWM headers so it did have it covered, but finding headers that could reach meant a few wires running in places I would have preferred they didn’t like the one wire that goes across the PCIe slots. If I do run a GPU for the AI processing in the future I should be able to run this under the card or I can use a splitter to pair it up with the other rear case fan. In total, I used 7 of the 8 fan headers.
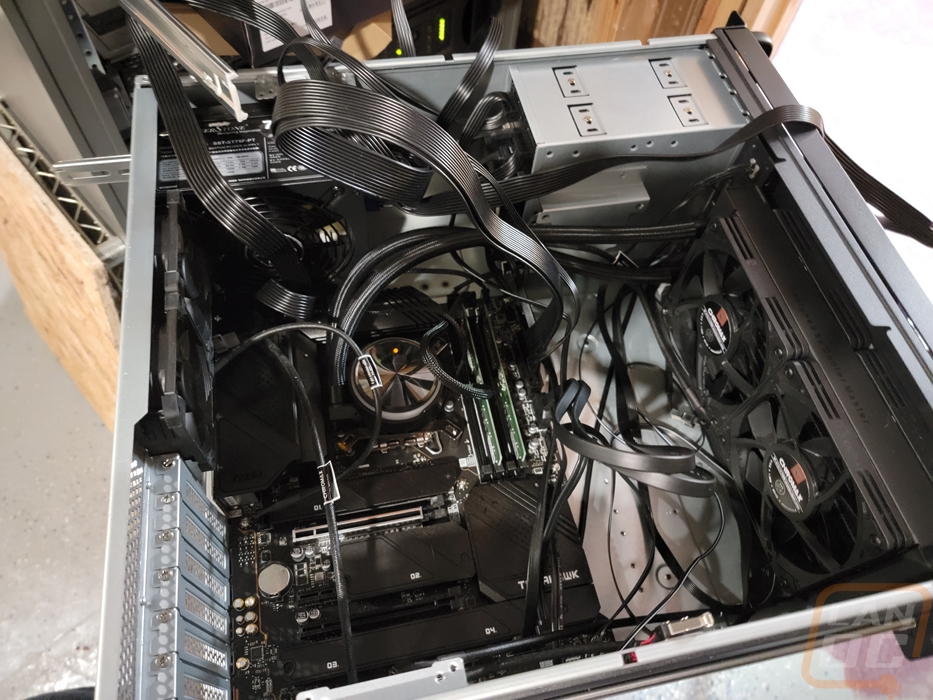
Once I had everything wired up I started cleaning up the wiring with zip ties which helped get rid of some of the mess. It did mean a huge bundle of cables were stuffed in between the power supply and the hot-swap to tuck away all of those power supply cables. I also would love to have longer SATA cables and to be able to clean up some of those front panel cables a little better. But my end goal was to make sure we would have good airflow and less about how things looked. I did notice that the rear I/O area on the RM42-502 could have lined up with the I/O better, you can see a gap between them when everything is installed. Thankfully we have the preinstalled rear I/O cover, but if you have one that you have to install this could make some of the rear I/O connections hard to plug in later on.
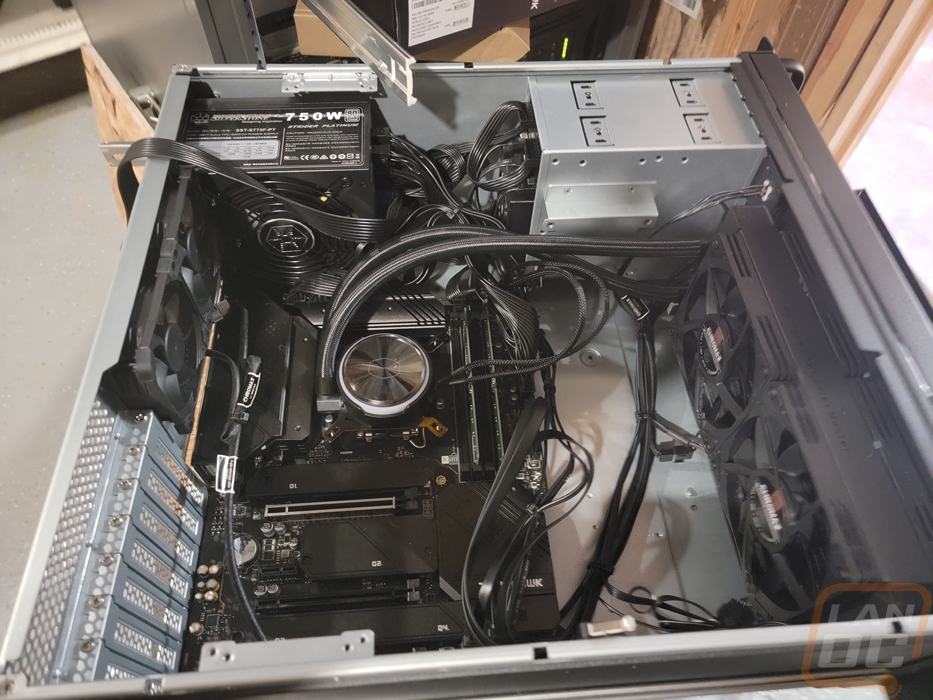
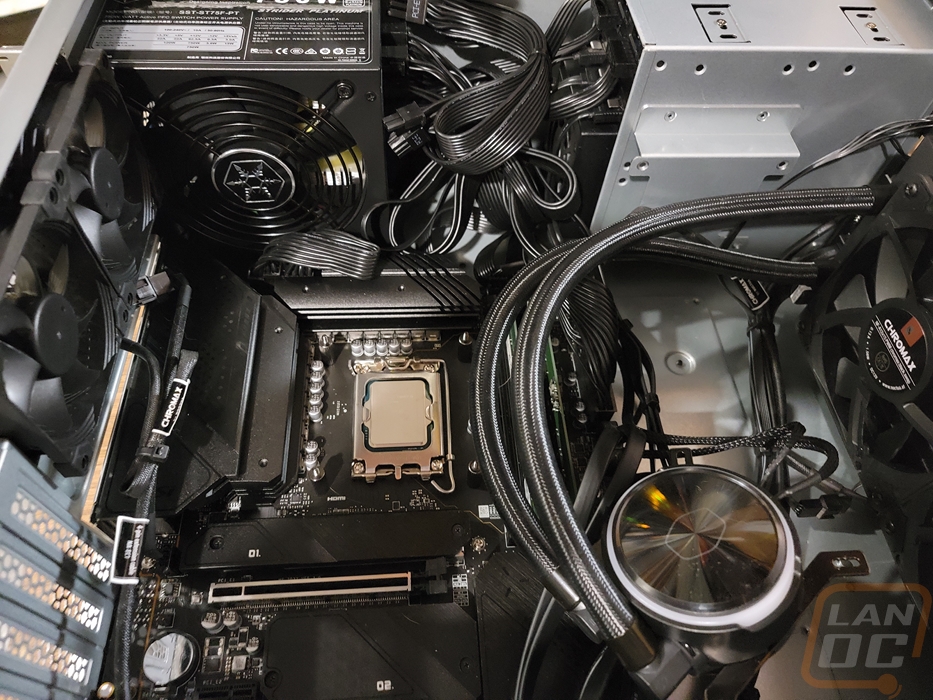
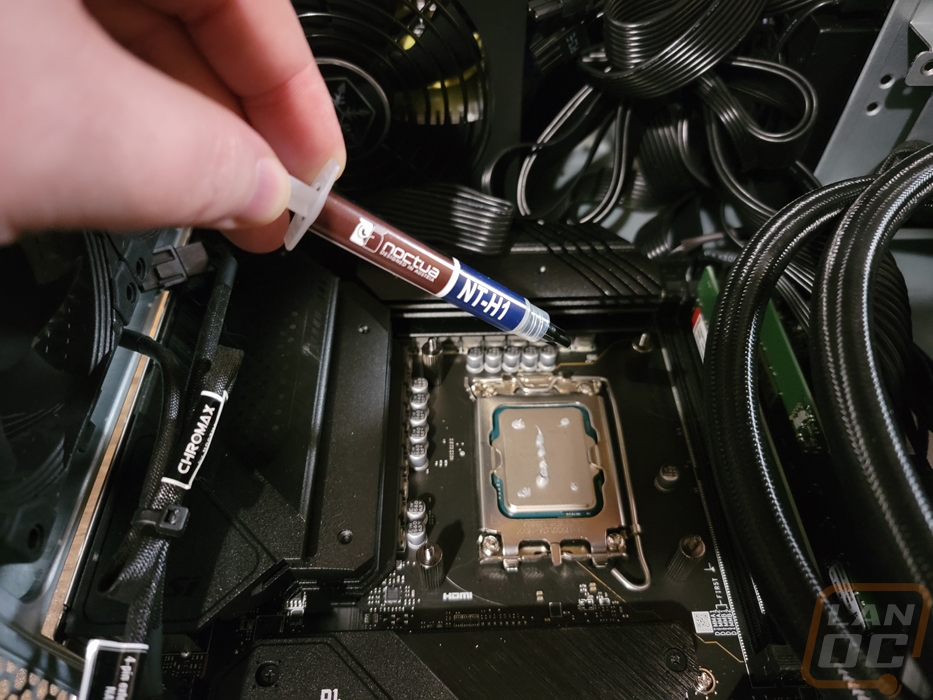
With the wiring handled I just needed to put thermal paste on the CPU which I used Noctua’s older NT-H1 paste and then I installed the Cooler Master Flux on top using the four thumbnuts to tighten it down to the standoffs I had previously installed. We still need to get the storage installed, but other than that the system is ready to boot up and get started!