Installing the cooling
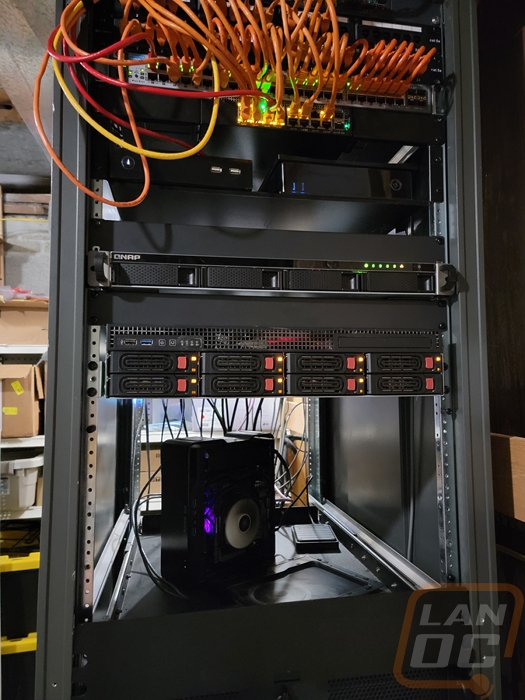
Before getting the cooling installed I did take a run at cleaning up more of the wiring on our network rack. I installed our new EnGenius ECS2512 into the back of the rack and connected it to our main backbone switch at 10G, this is hidden in the back just to wire up servers and devices that need 2.5G or 10G but don’t need POE. That cleaned up a few wires. Then I went through and replaced more of our longer cables with shorter patch cables to get those short connections out of the way and when doing that I cleaned up the routing on the longer cables as well. Overall it isn’t perfect but much cleaner. I also picked up a few 1u fill plates to clean up a few of the gaps.
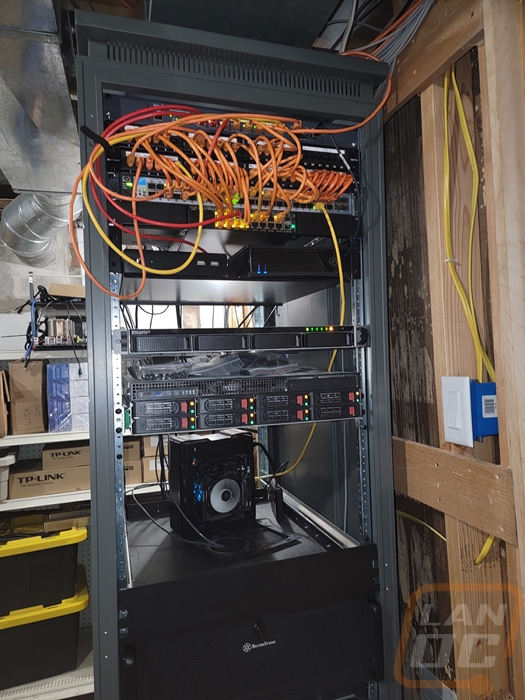
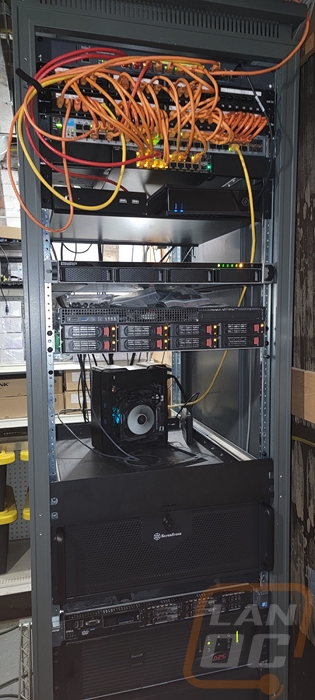
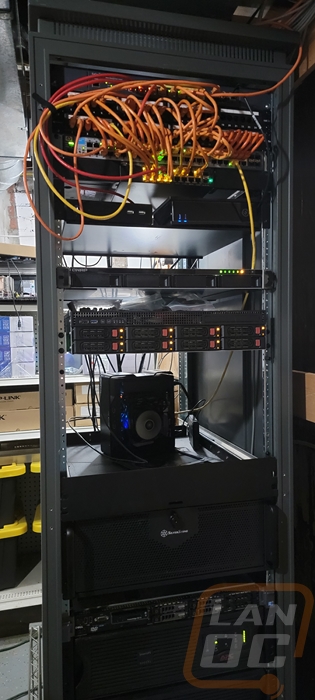

Once I’m able to get rid of our old server which is still running on that drawer things are going to look great.
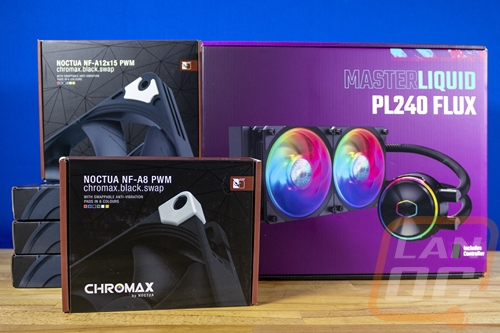
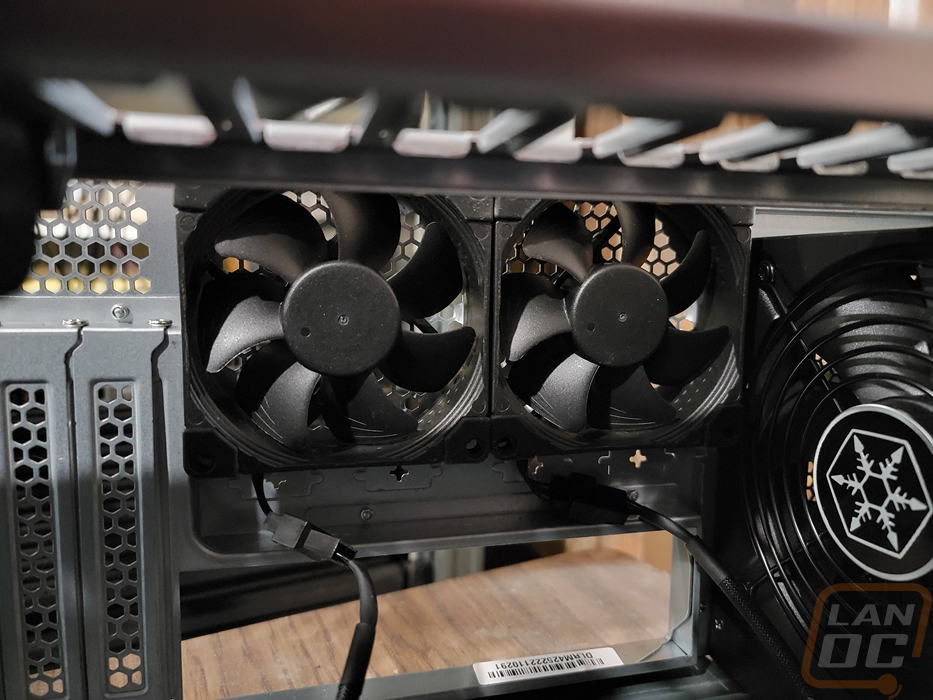
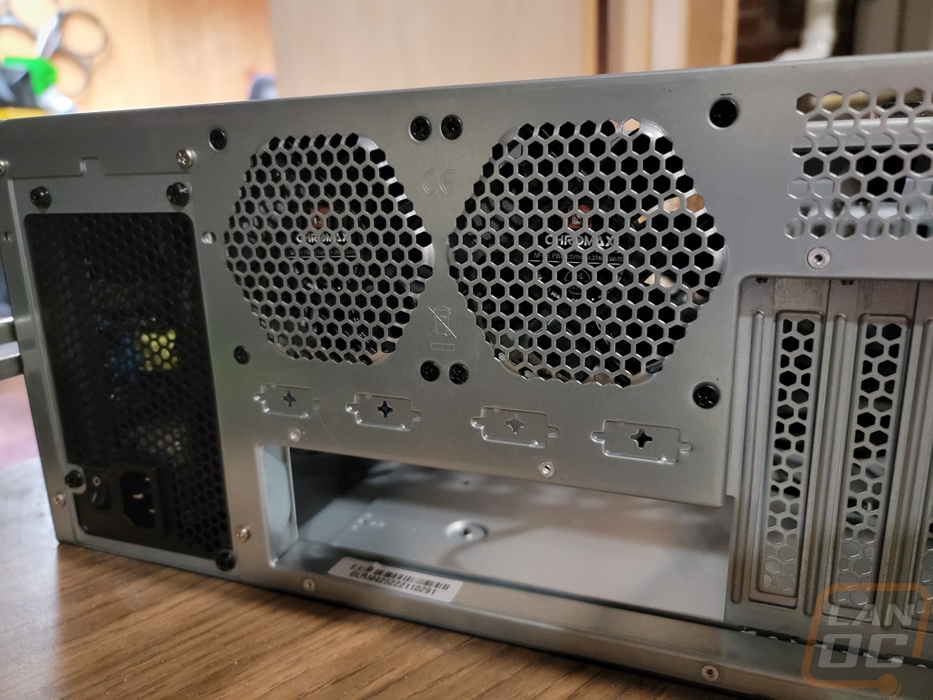
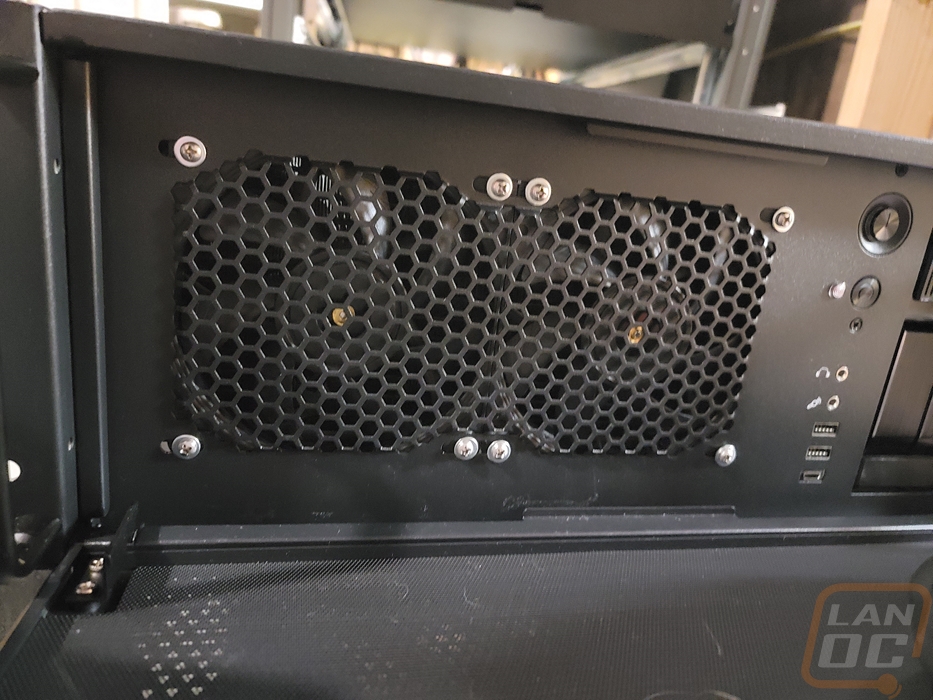
With our rack cleaned up, I pulled the Icyu server out and off of the rails so I could remove the top cover and work inside. First up I had to remove the 80mm fan that Silverstone preinstalled in the case and then with the included mounting screw I installed the two Noctua NF-A8 PWM chromax.black.swap fans. Both are set up in an exhaust configuration with them blowing out of the back of the case.
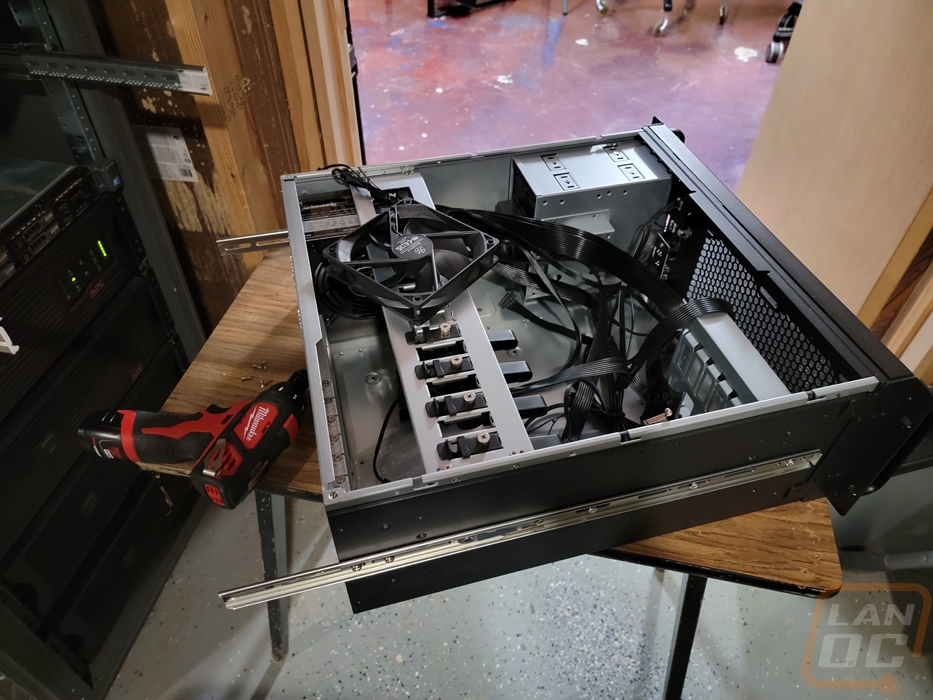
Next up I wanted to install both the Cooler Master MasterLiquid PL240 Flux and the Noctua NF-A12x15 PWM chromax.black.swap fans as well. I removed the preinstalled Silverstone fan from the front and went to install the front fans and the radiator when I realized that with the NF-A12x15 fans I would need shorter screws than the screws that came with the PL240 Flux. After doing some research I found 18mm 6-32 screws listed as the solution and I ordered a pack from Amazon. A few days later they came in and I went to get things finished up only to figure out that 18mm wasn’t long enough to go through the front of the case as well, not to mention our screws were a tiny bit short as well. Tired of waiting I ended up getting 6-32 1-inch screws from the hardware store along with washers to deal with any extra length. I wanted to have black screws to match everything but that wasn’t an option locally and after a week of waiting I wasn’t going to wait any longer.
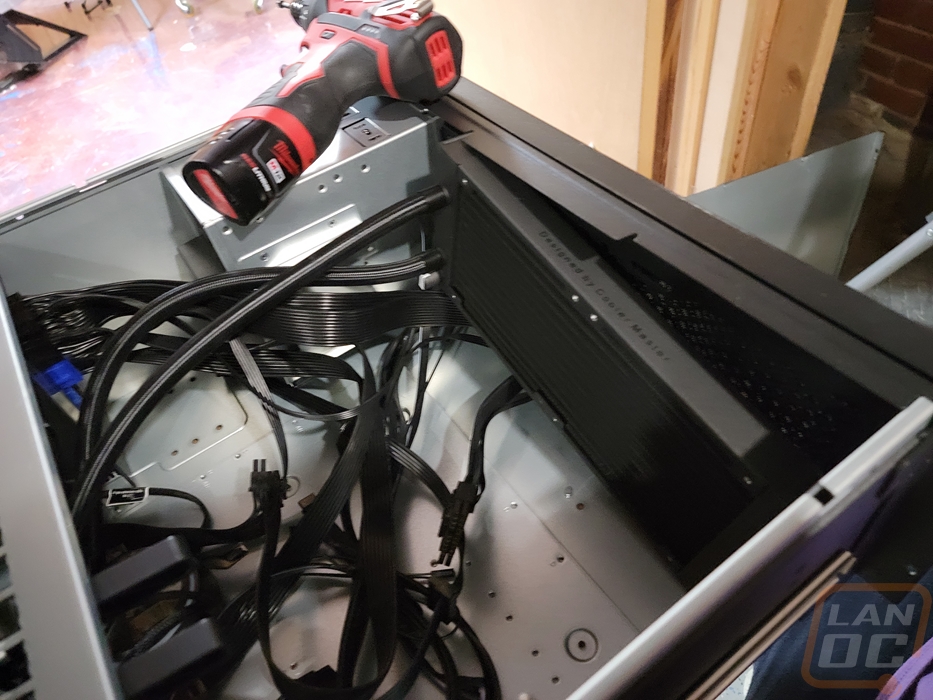
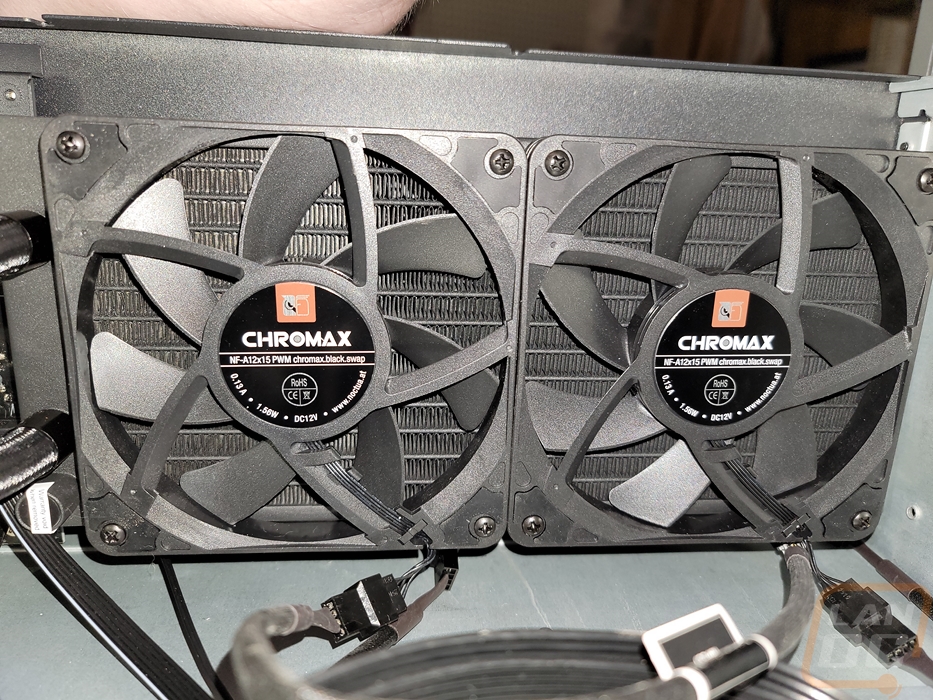
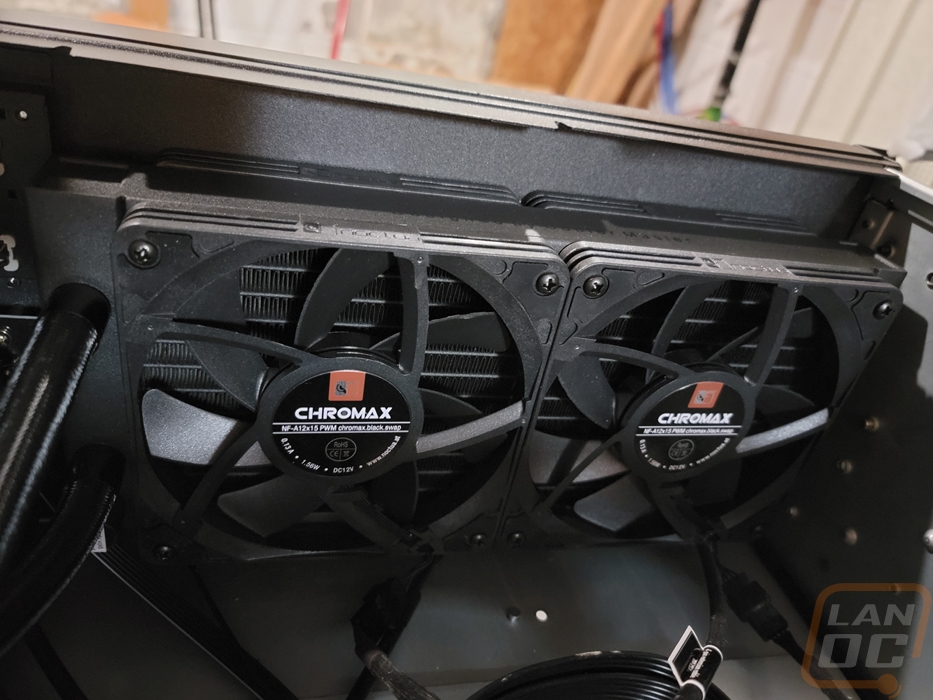
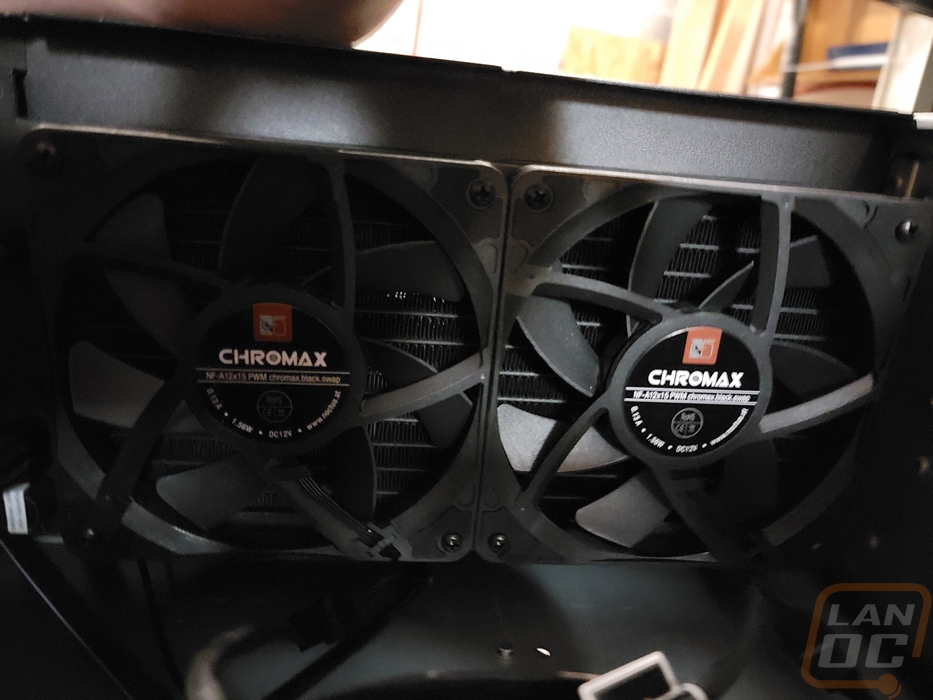
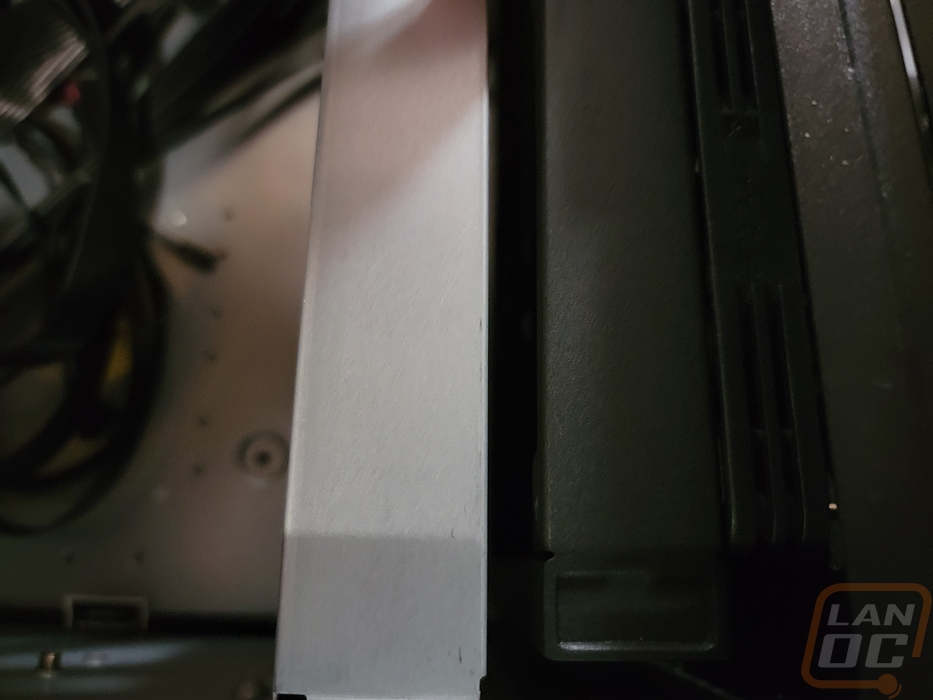
If you were curious how the shorter 15mm fans fit in the Silverstone RM42-502 with a front-mounted radiator you can see that they do leave a small gap between the radiator and the GPU support bracket. I was hoping I would be able to fit the push-pull fans with the 15mm fans while still keeping that bracket and I was close but I ended up deciding to get rid of the support bracket, mostly so it wouldn’t block airflow.
Installing the rear fans wasn’t an issue though I do recommend that you install them to the radiator before you mount it and the front fans just so you don’t have to fight with getting at the screws on the bottom. I did go ahead and get the mounting brackets for our CPU socket ready on the PL240 Flux which I will talk about next time about those components once our motherboard comes in which is the main hold up. I ended up being able to use the shorter 18mm long screws for these rear fans because I didn’t have the added thickness of the case but they just barely were long enough.