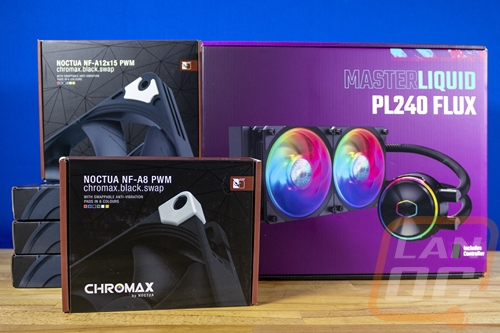
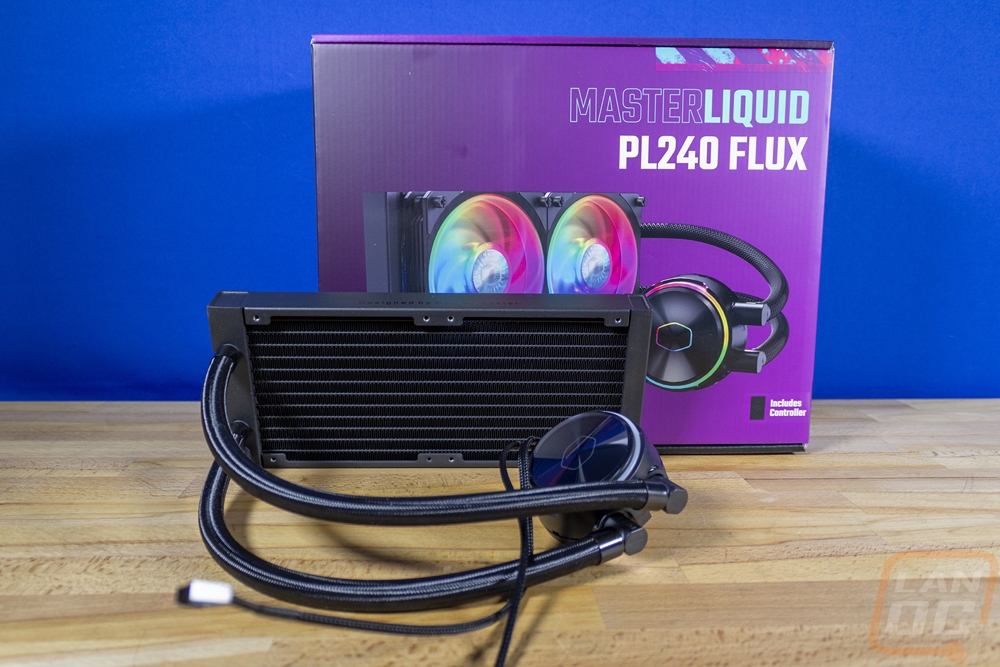
Our AIO Cooler
Our previous system held up surprisingly well over the years given that it was a 7700K running at nearly full CPU usage 24 hours a day in a small form factor case with a thin SFF CPU cooler. This time around I wanted to avoid that and keep things cool which is why I went with the Silverstone RM42-502 for our case which has a lot of space and can support a full 240 mm All-In-One cooler which is good because even before locking down what CPU or even what socket we would be running I didn’t have to worry about not having enough cooling if we went with something especially hot. I just needed to focus on the water cooler itself and with plans to also swap out the fans, my main goals were to make sure the cooler was 240 mm, was simple, didn’t need a controller or have a built-in screen, and would be reliable. I also needed to make sure that it would support any socket including Intel’s newer LGA 1700. I reached out to Cooler Master because I have always had good luck with their coolers, I’m running one in my own PC right now even and they sent over the MasterLiquid PL240 Flux which I reviewed earlier this year. When I tested it previously it performed well and was quiet and even though it has RGB in the pump housing it doesn’t require a controller unless you don’t have RGB headers on your motherboard or in our case I could keep the RGB unhooked if I want.
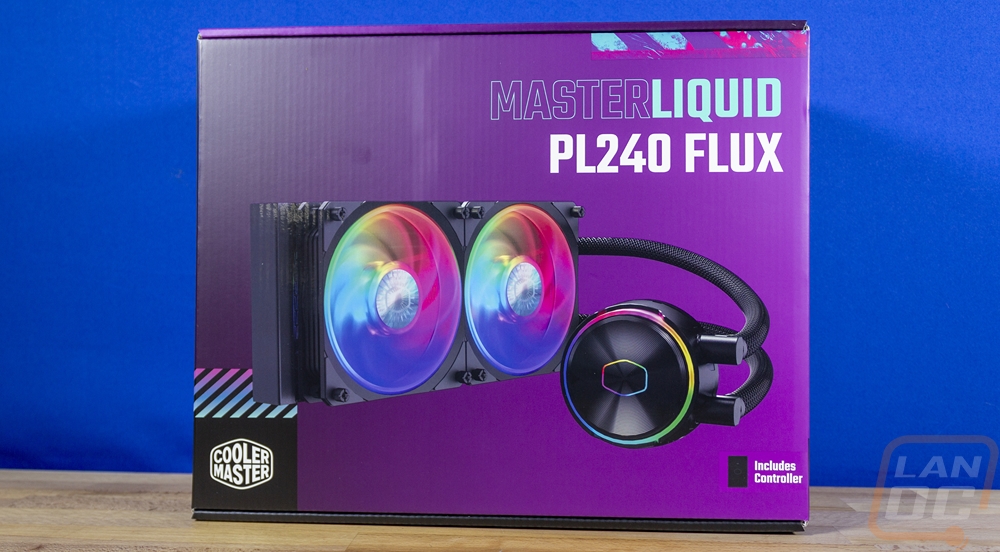
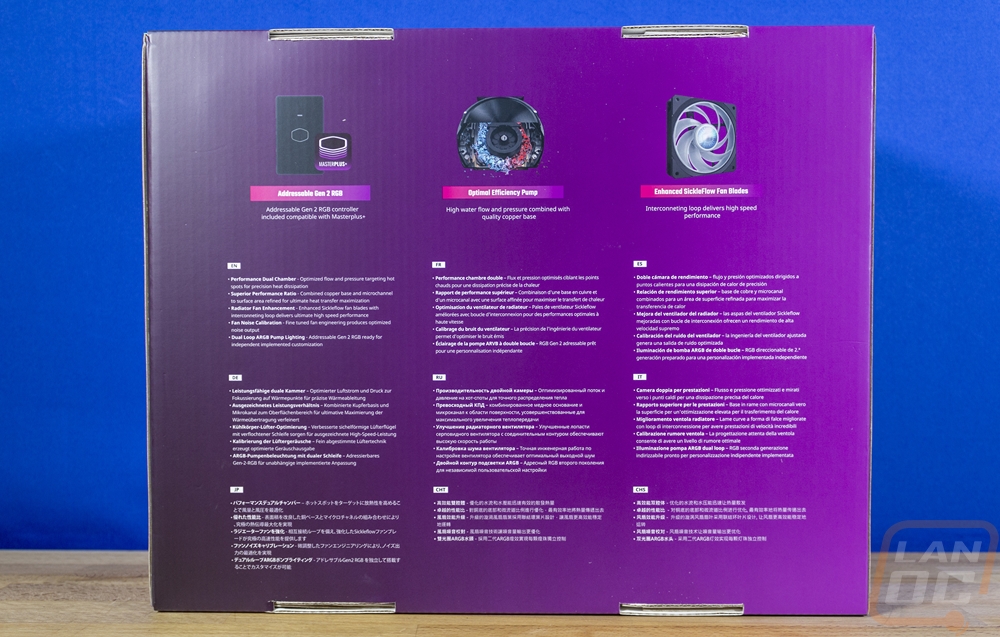
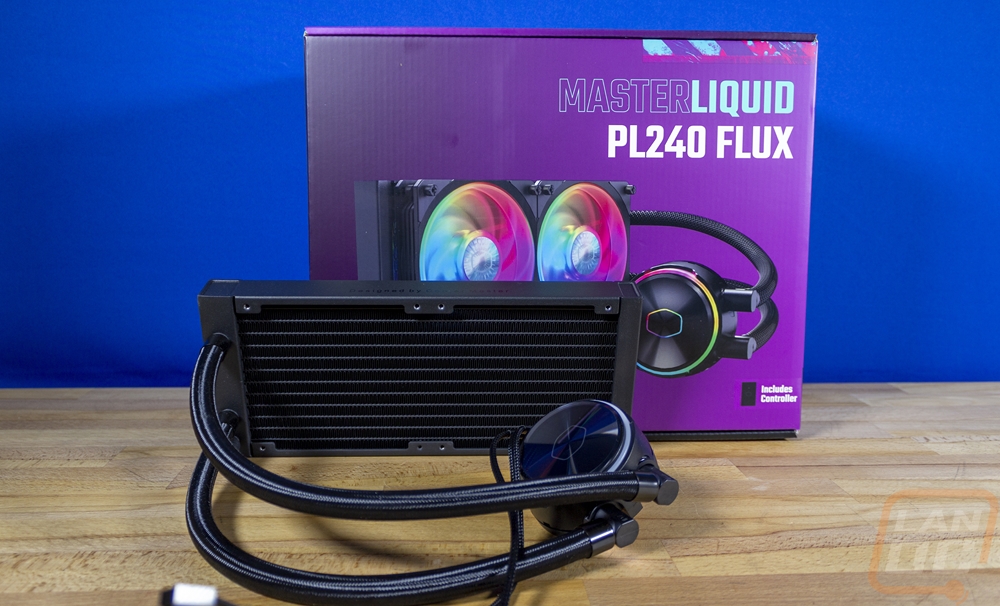
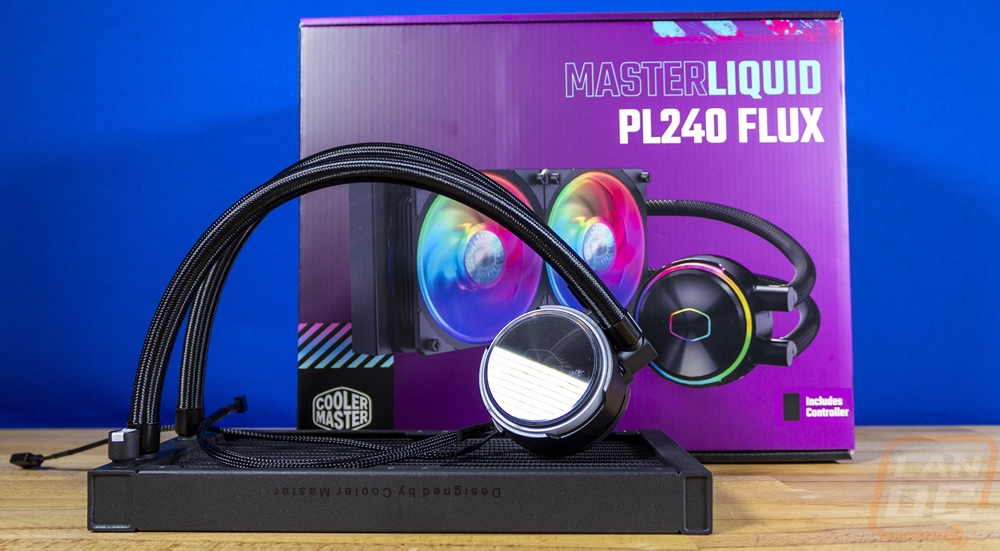
The Cooler Master MasterLiquid PL240 Flux box has a bright purple fading into the black for its background, which isn’t too big of a surprise given that Cooler Master uses that purple often on their lineup. The front of the box is simple, but I like everything they have going on. There is a picture of the cooler in the center which also has the fans and the pump lit up with their addressable RGB lighting. Then in the top right corner, they have the model name in a large and easy-to-read font. Then the Cooler Master logo is small and down in the bottom left corner. For the model name and for a few accents on the box they use turquoise which is bright and goes perfectly with the purple. They have the AIO cooler’s specifications on the side of the box. Then for the back, they break down the controller included, the pump, and the fan to talk a little about each of their features which are then repeated multiple times in other languages.

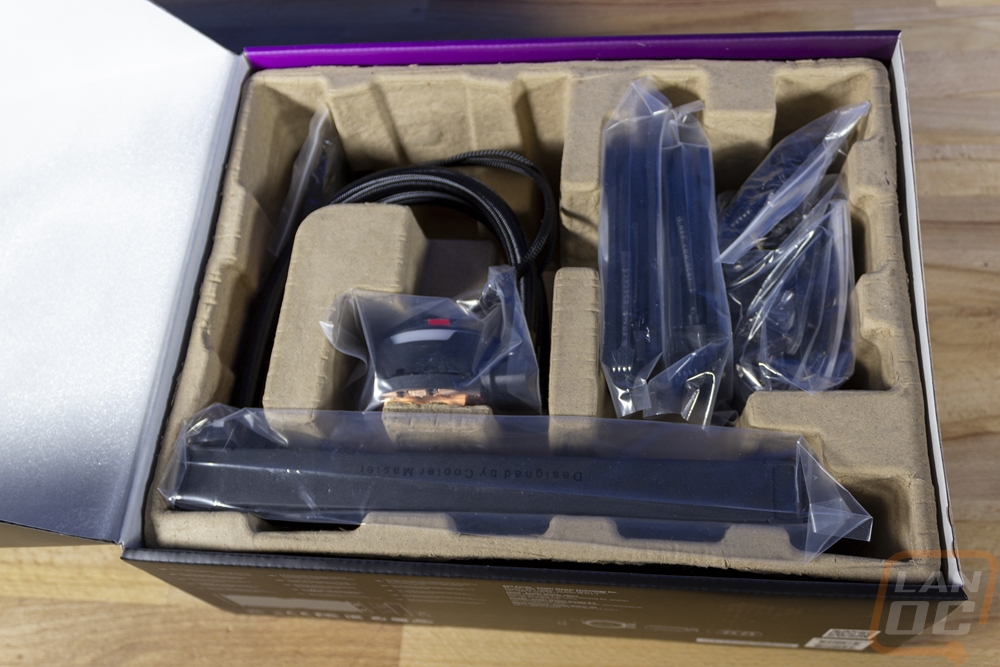
Once you get inside the box, there is a sheet of foam that sits across the top of everything. Then under that, a cardboard tray was formed to fit each component individually. Everything is wrapped up in plastic other than the accessories which are all in a cardboard box.
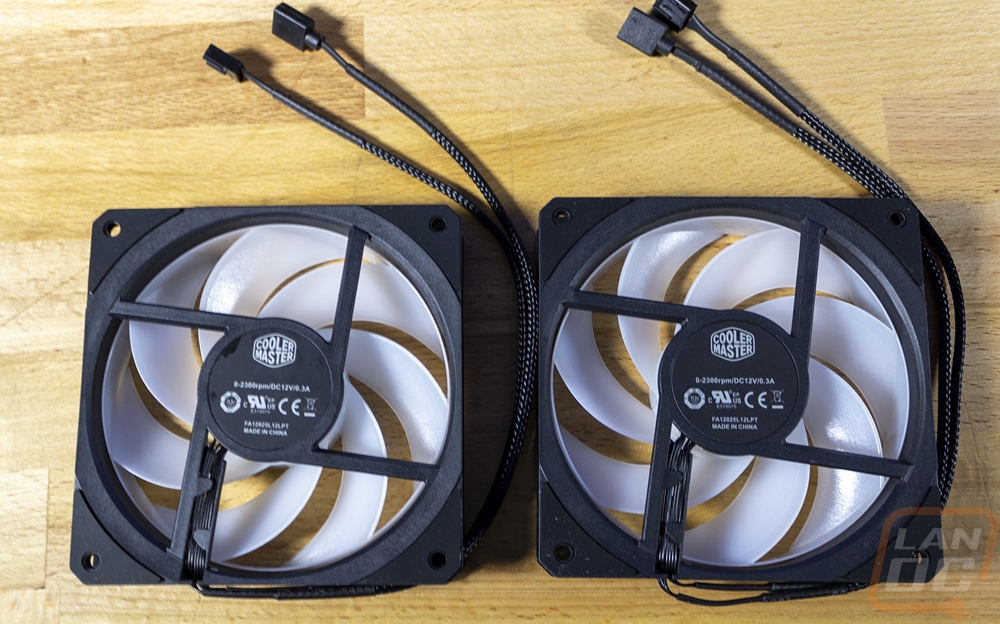
So the MasterLiquid Flux kit is available in the PL240 that we are using here (and that I reviewed previously) and a PL360 kit, both are 120mm fan kits with one having two fans and the other three fans. The includes fans are a new PL-Flux fan series which have been redesigned now with a new interconnected blade design that helps add more structure and strength to give the blades more stability at high speeds. I was surprised with the overall quality feel of these fans. The housing feels more solid than your average AIO cooler kit fan. They have rubber anti-vibration mounts on each corner on both sides. They run from zero to 2300 RPM with a max airflow according to Cooler Master specs at 72.37 CFM and a max pressure of 2.96 mmH20. They have a life expectancy of 160,000 or more hours and use loop dynamic bearings which are the same bearings that Cooler Master used on their Silencio fans. The blades are translucent white which helps transmit the addressable RGB lighting that they have built in the center section. They have the standard two cables, one for the 4-pin PWM fan control and the other for the 3-pin addressable RGB lighting cable, and both cables have a black sleeving on the outside. The side profile of the fans is interesting as well because the housing has a ribbed design.

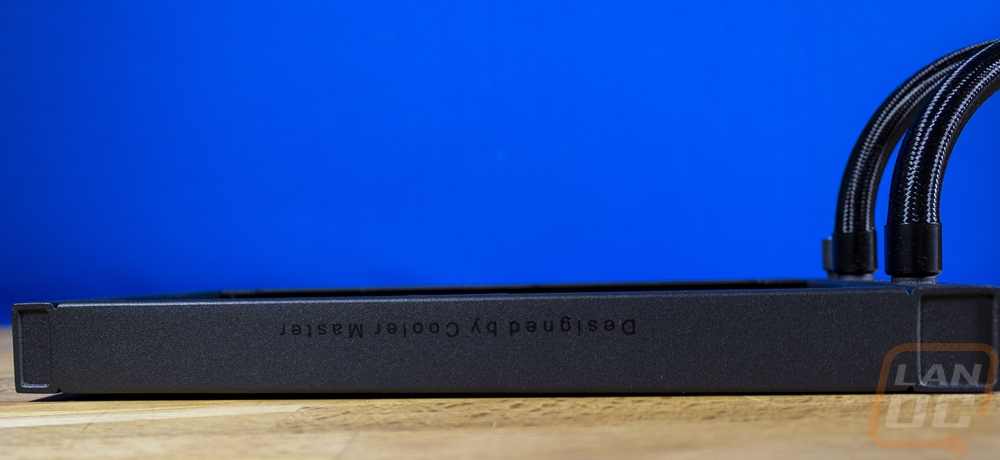
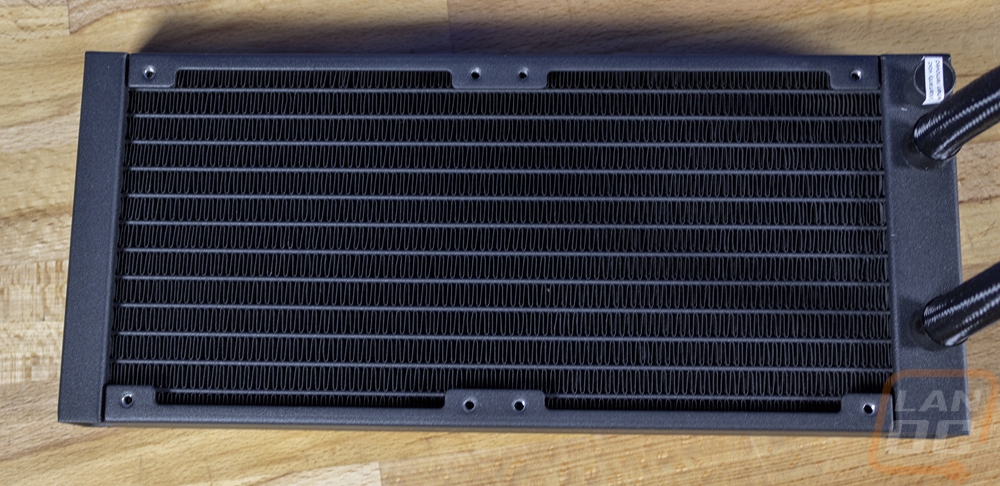
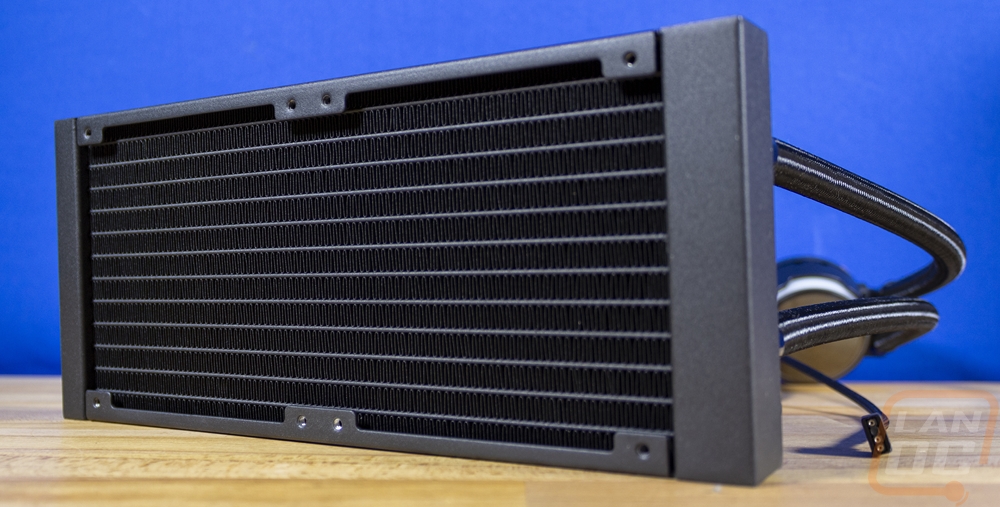
The radiator for the MasterLiquid PL240 Flux is the standard boxy AIO radiator that we have been seeing on a lot of kits recently. I think these look a lot better than the older rounded end radiators but performance wise there isn’t anything that makes these stand out. Ours did come with a few dings and dents in the fins, but it also was a prelaunch kit. I like the textured black finish and on the edges, they are also printed in a gloss black “designed by Cooler Master” which not a lot of companies can even say given that most stick with the standard AIO OEM. Overall it is 27.2mm thick and 277mm long and 119.6mm tall to fit the 120mm fans.
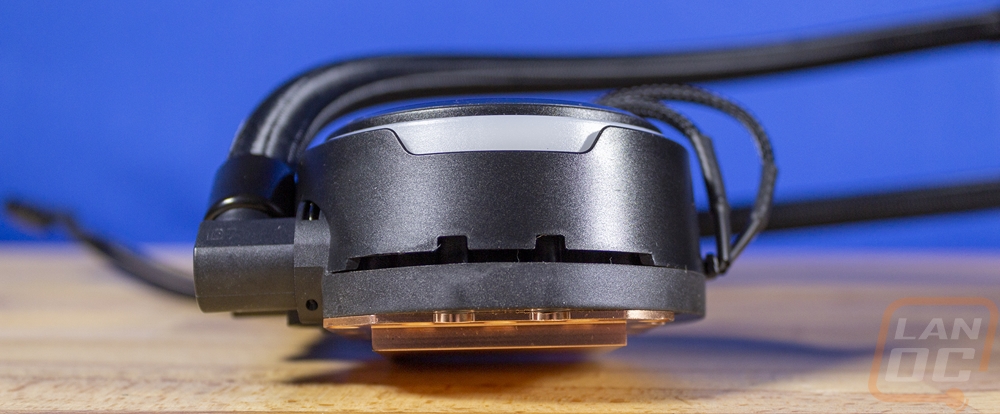
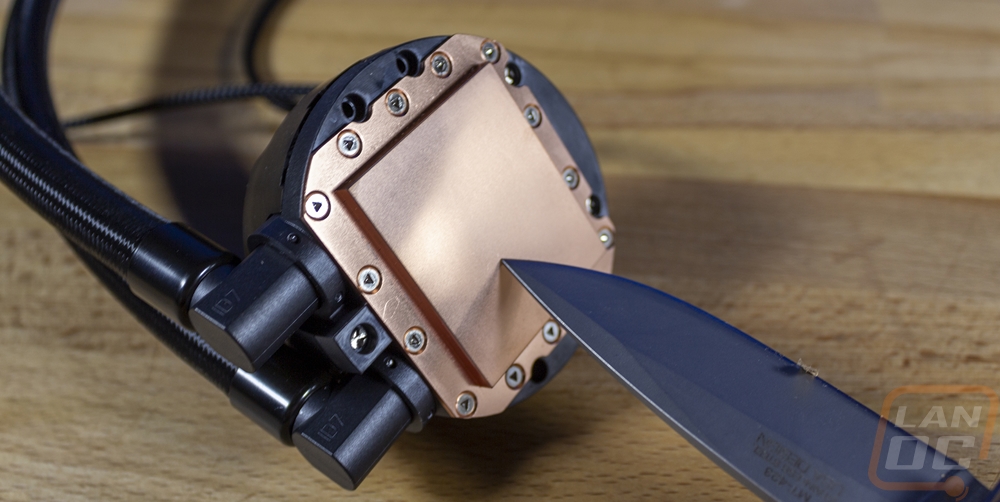
Then for what drives everything, the MasterLiquid PL240 Flux has a pump and water block combo. They use a dual-chamber design like all of the Cooler Master AIO kits. The pump itself has ceramic bearings which give it an MTTF of over 210,000 hours. This helps with the MasterLiquid PL240 Flux’s overall warranty which is a healthy 5 years. The Cooler Master specs have the pump height at 40mm but our measurement looked closer to 39mm which isn’t low profile like some Asetek designs but isn’t bad at all considering that they do have to stick with dual-chamber designs and that includes leaving room for the built-in addressable RGB lighting. The RGB lighting is integrated into the mirrored top finish with the Cooler Master logo outline as well as a ring around the outside that is also visible on the sides. So I say the top of the pump has a mirror finish, but it is a machined metal finish that you can still see the circular machine marks in, and the finish is tinted for a cool style. The pump, like the fans, has two cables coming from it as well. One is a PWM fan header that powers the pump and controls its speed then the other is a 3-pin addressable RGB plug for the lighting.


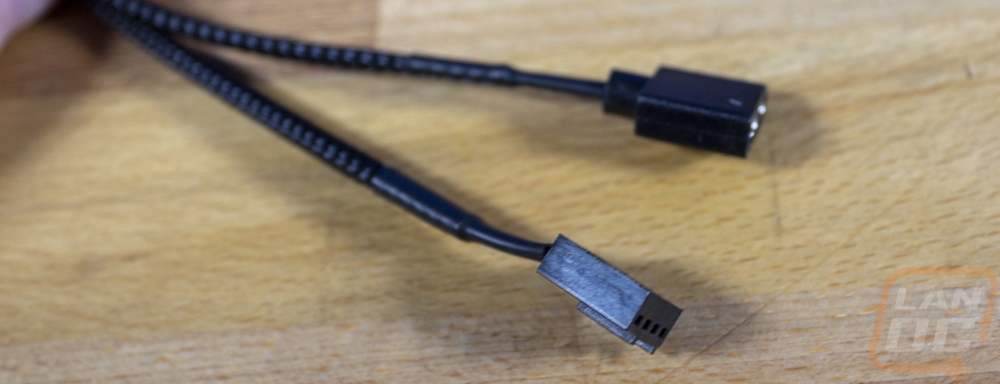
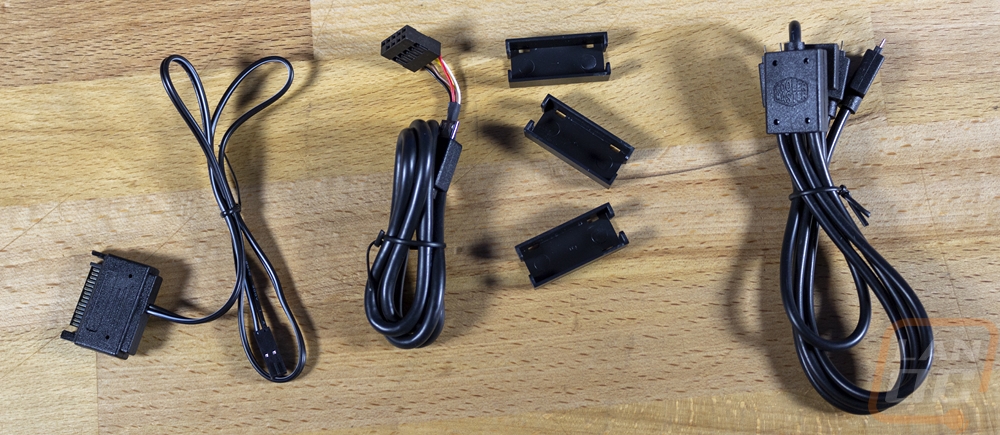
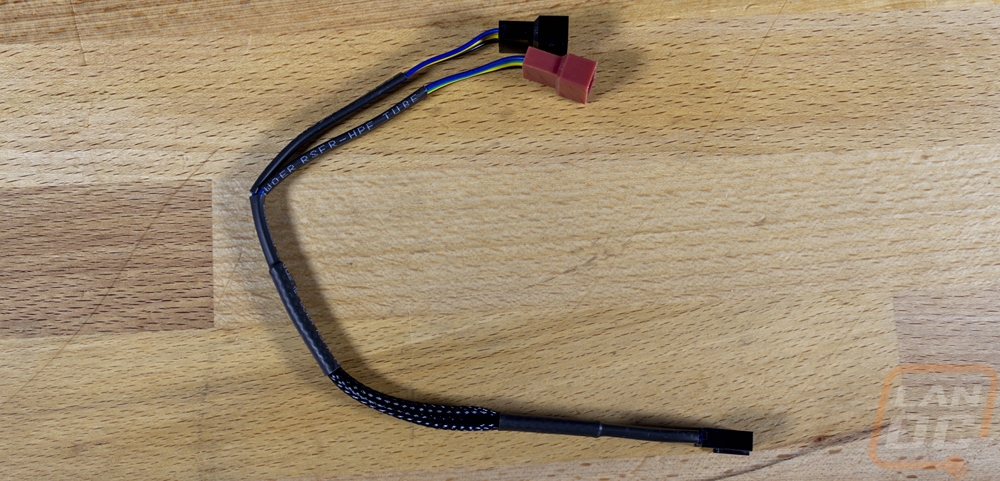
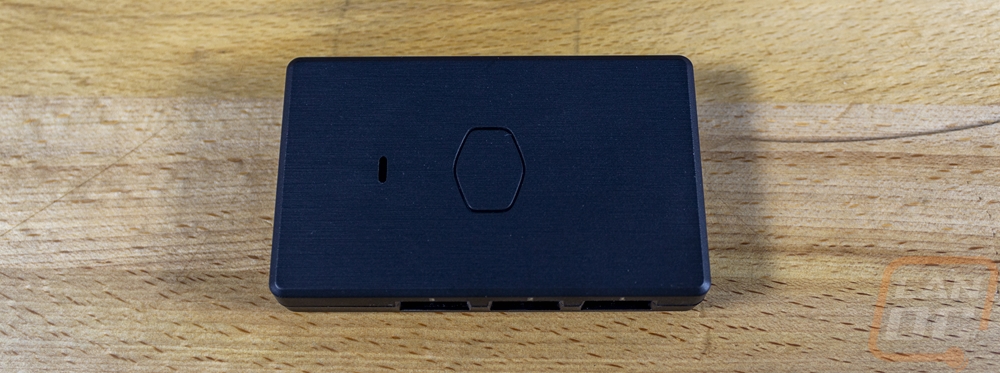
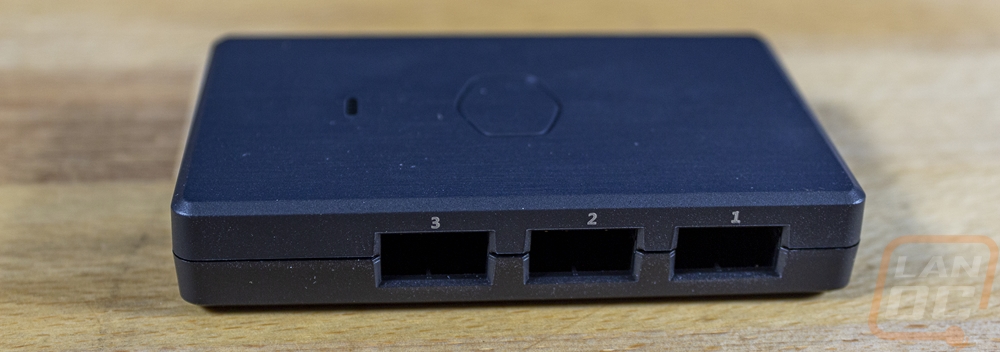
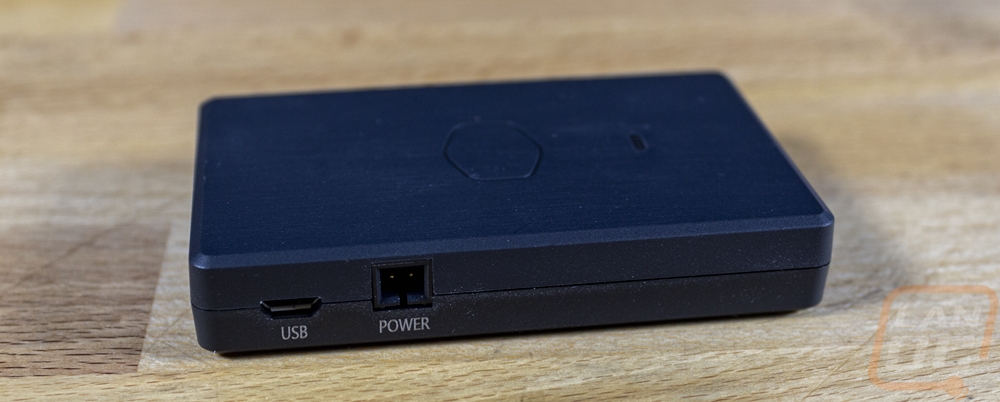
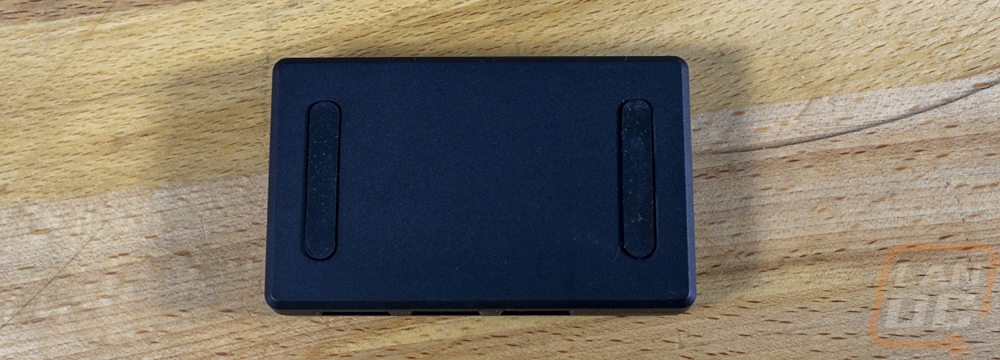
So the MasterLiquid PL240 Flux does come with its own controller even though I won’t be using it for this build. I know some of the kits I have been seeing recently skip out on including their own lighting controller and I don’t blame them. They add complications and most importantly also mean you need to maintain software. Cooler Master was able to tie the MasterLiquid PL240 Flux in with their Masterplus software which they already use for peripherals. This controller is only for the RGB lighting however, I know some other kits like from Corsair that like to bring the control of everything all together. You will still need to hook the fan and pump plugs into your motherboard. But for the lighting, you can plug everything in here. The controller has three RGB headers but they also include an adapter so that you can string the two fans and pump for the MasterLiquid PL240 Flux all together and only take up one of these plugs. They aren’t CM-specific as well, so you can use the extra plugs to handle anything with a 3-pin addressable RGB connection. On the other side, the controller has a micro USB plug and a 2-pin power connection. The cables included give you power from a SATA plug and the USB runs on a USB 2.0 internal header. It has a light on top to let you know it is working as well as the Cooler Master logo outline. Then on the bottom, it has two rubber feet and room for double-sided sticky tape which you would think would be included but I didn’t see in our kit at all.
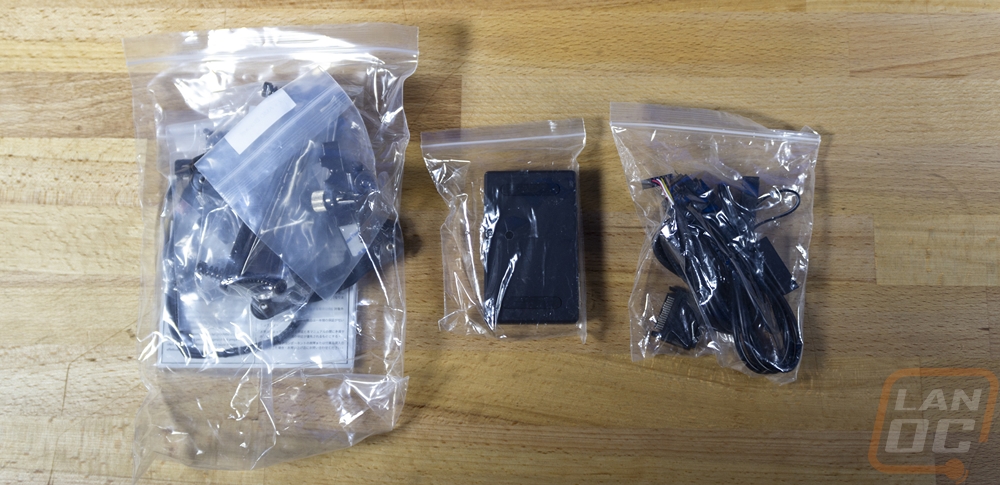
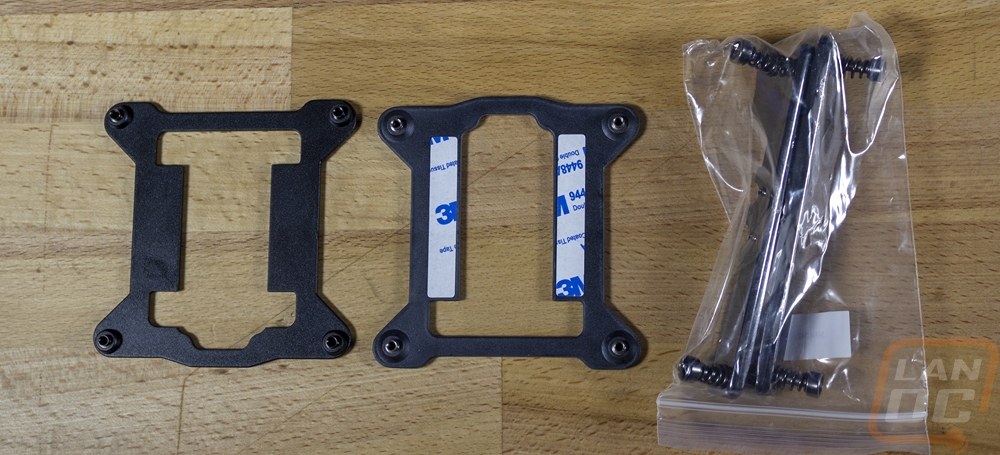
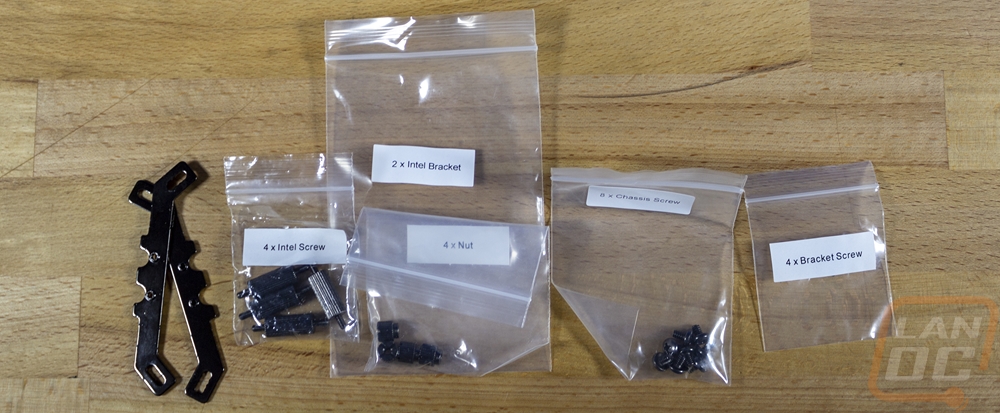
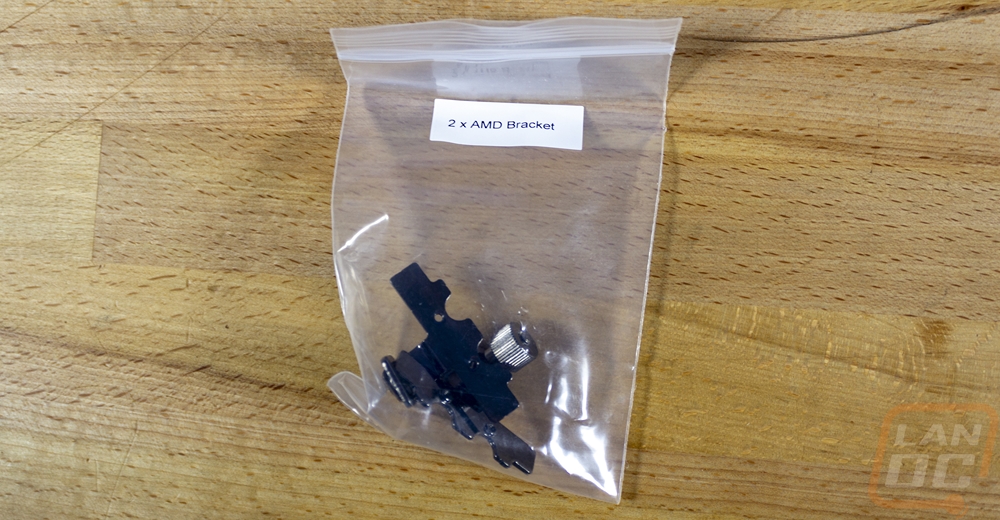
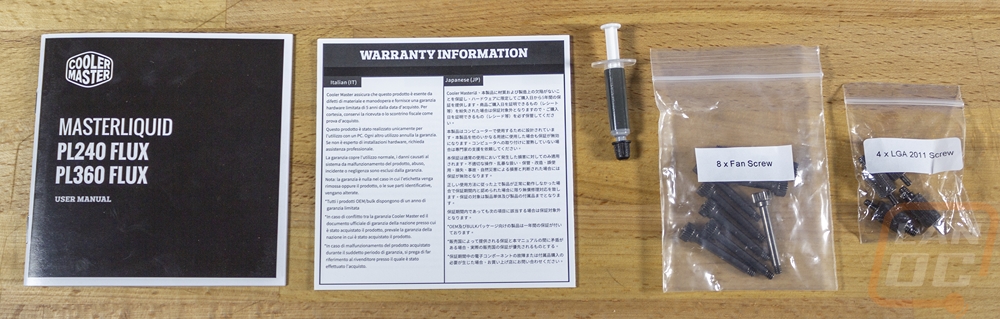
For accessories included with the MasterLiquid PL240 Flux kit. You start with three bags of hardware for the installation with one of those having multiple bags inside. I like that each is labeled and you can see that you have bags for the Threadripper bracket and the AMD bracket. There are two back brackets, one for the older Intel sockets and then the other is for the new LGA 1700 Intel bracket. For documentation, there is a user manual and one warranty book. There is a bag of fan screws and even standoffs for the LGA 2011 socket. They include a very small tube of thermal paste and a fan cable splitter. I mentioned the power and USB cables for the controller earlier and the RGB cable that ties all of the RGB lighting onto one loop. That cable comes with one extra plug for the larger 3 fan model as well. The small black clips in that same picture are unique in that they help lock those RGB connections together to prevent problems in the future.