A few years back I ended up putting our Crush build aside for a new PC. This was a Threadripper based build but sticking with the Case Labs theme, like Crush this build also had a Bullet case, only it used the taller and more water cooling friendly BH8 in an amazing looking blue. This was actually going to be a project build at the time but I ended up not having time to get things out before the first generation Threadripper was outdated (it came long after the launch). It has been a reliable PC but recently I have been seeing slowdowns and issues. Especially when playing Microsoft Flight Sim 2020, which in a lot of ways brought this system to its knees. This has had me thinking about updates, especially with the 10TB hard drive inside which came from the original Crush build that has been making noise. So today I’m going to start things off with a few small changes before I look at bigger changes soon.
Article Title: Project Build Crushed Update - Part 1
Project Sampling provided by: Western Digital
Written by: Wes Compton
Amazon Affiliate Link: HERE
Links to the rest of the project: Part 1 – Part 2
Link to our original Crush Project Build
Backstory
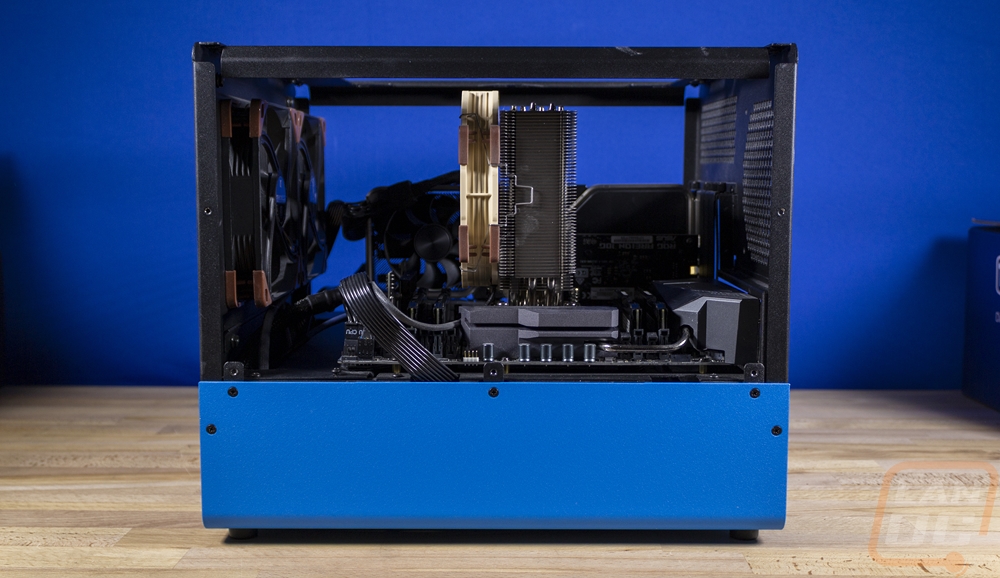
Before diving into updates I thought it might be best to do a breakdown of what components are inside of this build and the history as well because I have changed things around a few times. So the story behind the build, in general, was that I was going to do a counter build to our original Crush build using the almost matching Case Labs Bullet BH8 case, only rather than going with X299 I would do X399 and Threadripper. With Crush being named as a play on the orange theme and its performance at the time. This one was going to be Crushed with its black and blue theme. After getting this one together it started off with a matching Asus GTX 1070 Ti and the Threadripper specific Wraithripper cooler with plans to water cool it all with a custom loop. The problem came when the motherboard in Crush died and I was out a PC to use for work. I swapped the 10TB Seagate hard drive and the Toshiba RD400 to not lose any of my work and kept going. It was so quick that I didn’t even end up putting the top/side panel on and even still it doesn’t have it on.
I eventually did get Crush back up and running with a new motherboard, upgraded to X299 with a new CPU as well. But because this was my main PC I never ended up swapping it back in. Frankly, I only restart when I have to, taking my main PC down is a BIG production. So I have only taken things down for short periods of time to install things as needed and to swap out video cards as things have gotten faster. It had the RTX 2080 Ti Founders Edition basically from launch other than when I had to test that and after the recent RTX 3080 launch, it went in. The Elgato 4K60 Pro MK2 was added when my USB based Razer Ripsaw stopped working and the 10G card was added in when I started testing NICs above 1GbE. The cooler was eventually changed to the Noctua NH-U14S TR4-SP3 my Threadripper cooler roundup.
Here is a full part list
Case
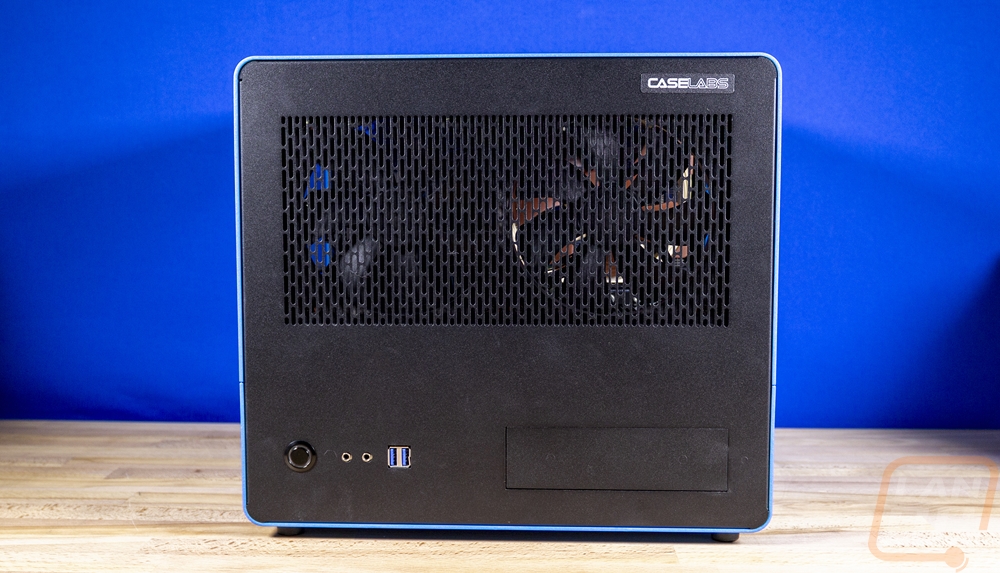
Case Labs Bullet BH8 Matt Blue
Motherboard
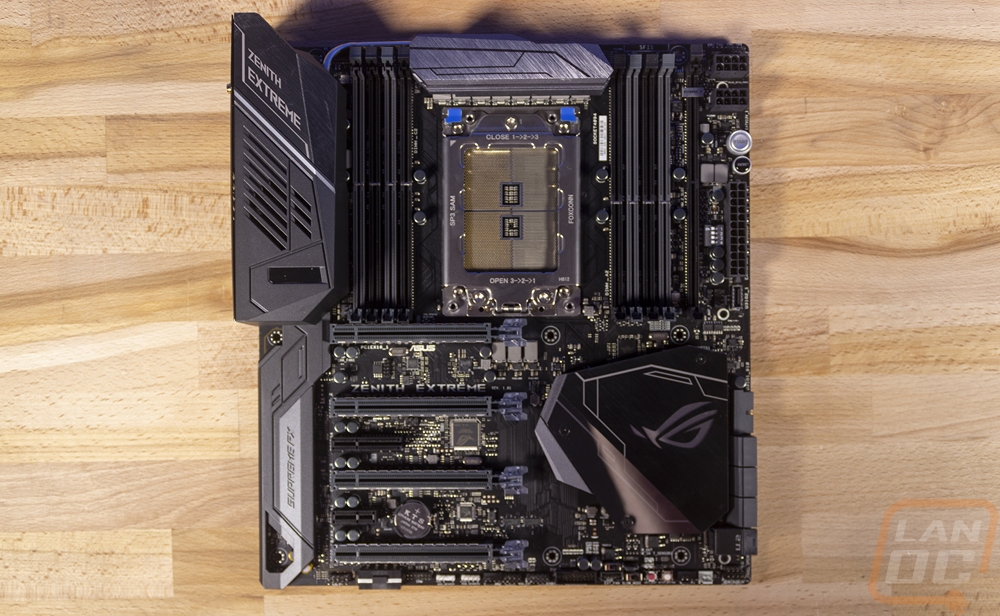
Asus ROG Zenith Extreme
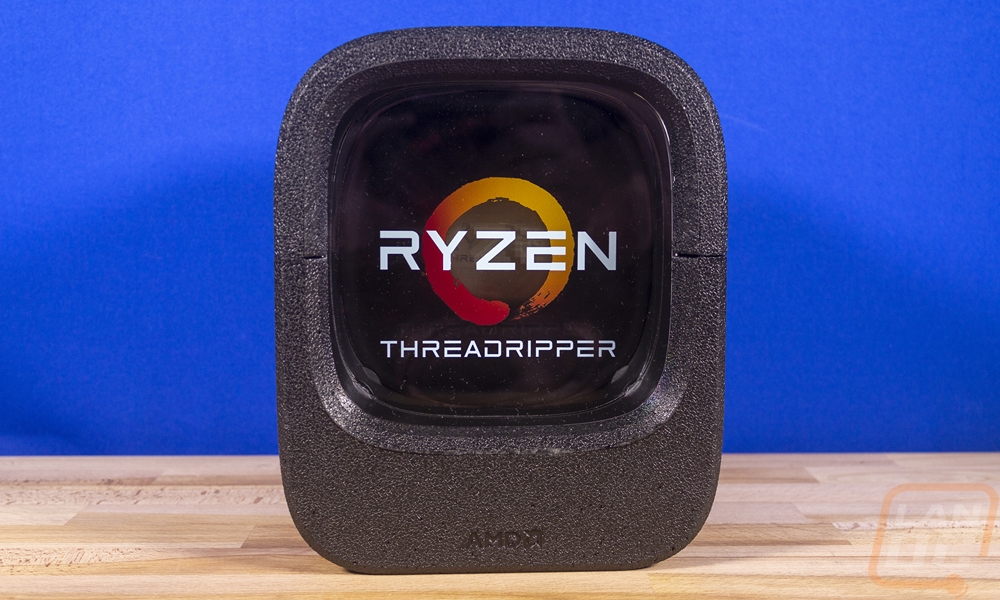
CPU
AMD Ryzen Threadripper 1920X 12 Core
RAM
HyperX Savage 4x8GB 32GB 2800MHz CL14
Storage
Seagate Exos 10TB ST10000NM0086
Toshiba RD400 512GB
Video Card
RTX 3080 Founders Edition
Cooling
Noctua NH-U14S TR4-SP3
2x Noctua NF-A14 industrialPPC-3000 PWM
Power Supply
Cooler Master V750
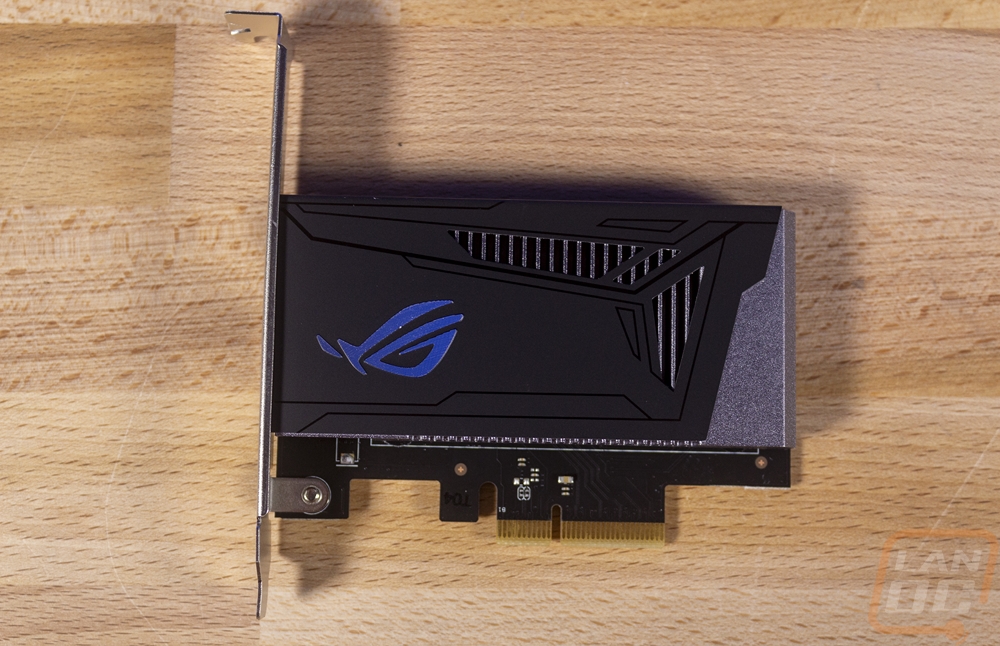
Add-in cards
ROG Areion 10G card
Elgato 4K60 Pro MK2
Problems and potential solutions
Well if you took a look at the part list in the previous section, you might be wondering why I’m looking to update things. As a whole, this is still a solid build. It is a little out of date, but as the saying goes. I wouldn’t kick it out of bed for eating cookies. But even so, there are a few big issues that have been causing me issues, a few small issues that are annoying that I would love to fix, and frankly, if I’m in there making changes I might as well update a few other things. So here is a breakdown of what I’ve run into.
Storage issues across the board!
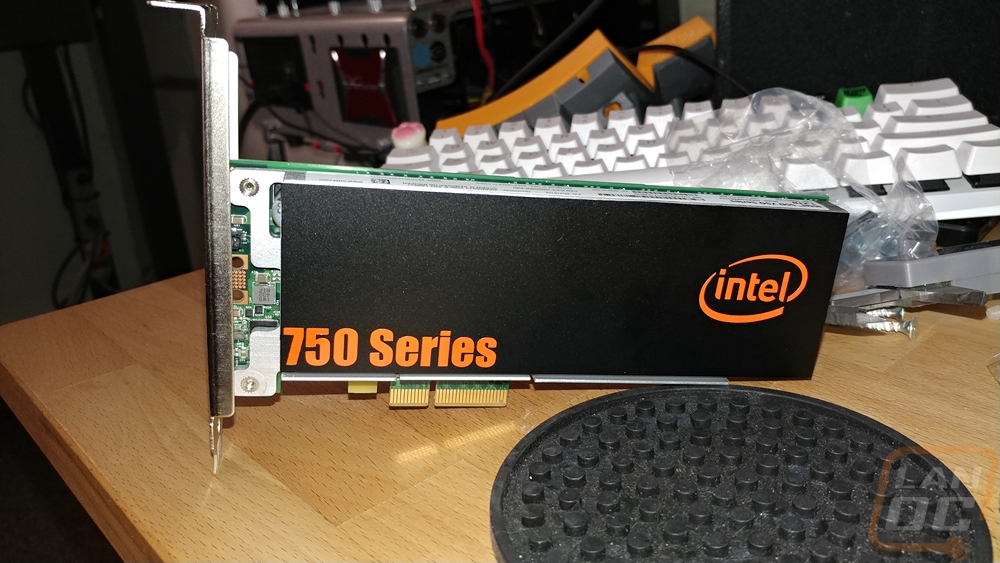
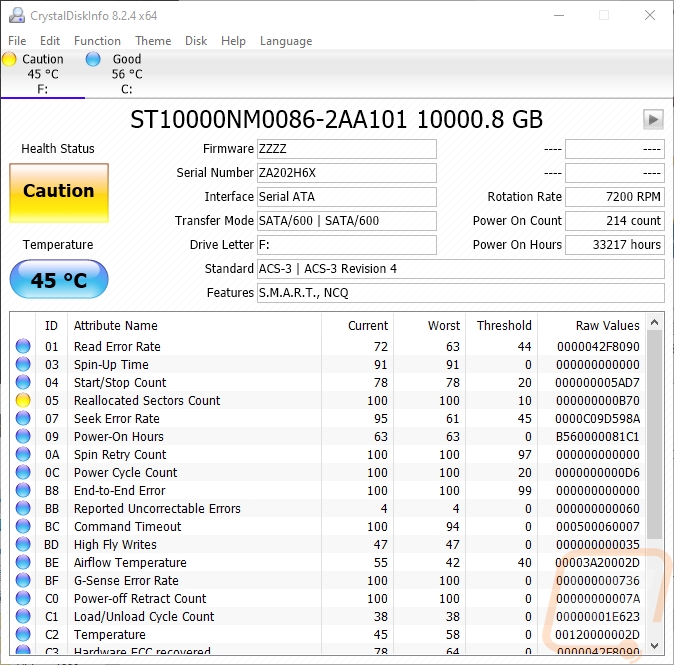
This isn’t the biggest surprise, I pulled all of the storage right out of the original Crush build so these are the oldest components and they are all wear items. Back before I even swapped these over into this PC my Intel 750 Series drive died, which I used to install frequently used games and as a scratch drive when working due to the OS SSD being 500 gigs. That drive was never replaced and I’ve just been using the big hard drive for games. The OS SSD has been a fight to keep under capacity and frankly, at this point, the Toshiba RD400 512GB is slow compared to modern SSDs, it was one of the early NVMe drives. The capacity is also smaller than I would like as well. But it is the Seagate Exos 10TB hard drive which has been giving me problems for a long time now. It is extremely noisy when it shouldn’t be and didn’t used to be and CrystalDiskInfo has been warning me of its reallocated sectors count for at least a year. I’m very fortunate that it hasn’t died frankly. It has 33217 hours on it which is 1384 days or 3.79 years of total power on time. Like I said before, this system is ALWAYS on. The SSD isn’t that far behind at 27078 hours as well which is 1128 days. So those issues need to be addressed. The idea is to of course replace the hard drive, which frankly anything that doesn’t make noise would do the job. I am also hoping to add in a gaming-specific NVMe drive to replace the long dead 750 Series which should help a lot with load times on a few important titles and help take some load off of the OS drive. Then assuming I do bigger upgrades I will also replace the OS drive with a newer larger capacity drive.
Noise
When I am doing testing I often need to test noise levels and this build has driven me crazy with noise. Even outside of that, I have had issues with fan noise ramping up and down. Switching to the Noctua cooler helped with this a lot. But it was only part of the problem. I have two Noctua NF-A14 industrialPPC-3000 PWM fans mounted to the front of the case and while amazing fans. They don’t know how to be quiet. The motherboard won’t let me run them below 50% fan speed which is loud enough to get annoying. So I have my fan profiles set up to keep them off as much as I can, which isn’t the best for the overall cooling. Having the top panel off isn’t helping things as well.
The plan for helping with noise has a few parts to it. Replacing the 3000 RPM case fans with something quieter is the most obvious. Beyond that though, I do have a full custom loop ready for this system as well. So if given some planned downtime, getting some of that installed, when paired with quieter fans would help keep temperatures down a lot more and noise with it. Lastly, I need to finally get the top panel back on as well, lets hope I can find the screws!
USB Performance issues
I ran into this one recently. I noticed that the USB drive performance was down significantly. I’m completely unsure what caused this one. It could be the motherboard, the windows installation, or maybe just a side effect of how many USB devices I have hooked up. Without knowing exactly what caused this the best solution would be to start with a reinstall. But a CPU/motherboard upgrade is being considered which combined with a fresh install on a new SSD should help things.
Network issues
A few times now I’ve randomly had everything come grinding to a halt. Internet speeds dropped to almost nothing with Twitch streams only being able to be watched at 240p while our overall internet and network speeds were fine. This eventually leads to me resetting the network connection and then my pc struggles to even be able to get an IP. It happens using the onboard NIC, the add-in card NIC, and the built-in wireless and isn’t an issue with the cable or anything else on the network. My initial thought is this is a motherboard or power supply issue. One consistent has been it has come up when the hard drive is being slammed. I’m sure whatever is causing this could also be related to the USB performance issues as well. Rebooting doesn’t help and resetting IP tables doesn’t as well. It just stops and starts working again. I could throw a power supply, reinstall windows, or even a new motherboard and any could be the fix. I will most likely wait on this to see if it comes up again as I address other issues, like seeing if it happens after replacing the hard drive.
Chrome pls...
The 32GB of memory shouldn’t be a problem, but with how I use my system which includes keeping at least 15 Chrome tabs open at all times I have been running into memory issues. The real issue here is Chrome just slowly sucks up all of the memory available, but a lot of this goes to a window dedicated to our security cameras as well as YouTube and Twitch which are all open all of the time. Multiple Gmail tabs do it as well. This itself has been an issue for me at times, but add in games like Microsoft Flight Sim 2020 which I have been playing and I start running into issues. On top of that, the memory is early DDR4 which is clocked low at 2800 MHz and the CAS latency of 14 isn’t helping things as well. A bump in capacity would be nice, as would faster memory.
Microsoft Flight Sim 2020 performance
The Threadripper 1920X isn’t a bad CPU, but even at its launch, it was never really ideal for gaming. It has a base clock speed of 3.8 GHz and a boost clock of 4.0. Altogether though, the 1920X has been a significant contributor to the lower performance that I see in Flight Sim 2020. We know it isn’t the RTX 3080 lol. Other areas that I have already talked about like the memory clock speeds and the slow drive speeds also help. But an actual gaming-focused CPU would help the most. This is where the big changes start to be considered. Again the 1920X is still a solid CPU and I don’t NEED to upgrade. But upgrading to a gaming-focused CPU as well as a motherboard to match would go a long way in helping with a few of the other issues as well which is why I have been considering this.
Getting started, addressing storage issues
Well, the first item on my list of issues were the storage issues. The main one here is the noise that the 10TB hard drive has been making for at least a year. But once I started looking into things, looking at the numbers on CrystalDiskInfo I was also surprised at the number of hours that the SSD and the hard drive had on them. Not to mention the Intel 750 Series drive that died in this system long ago that I never replaced. So addressing the ticking time bomb that is the noisy hard drive was first, but while I’m in the system I did also want to replace the SSDs as well.
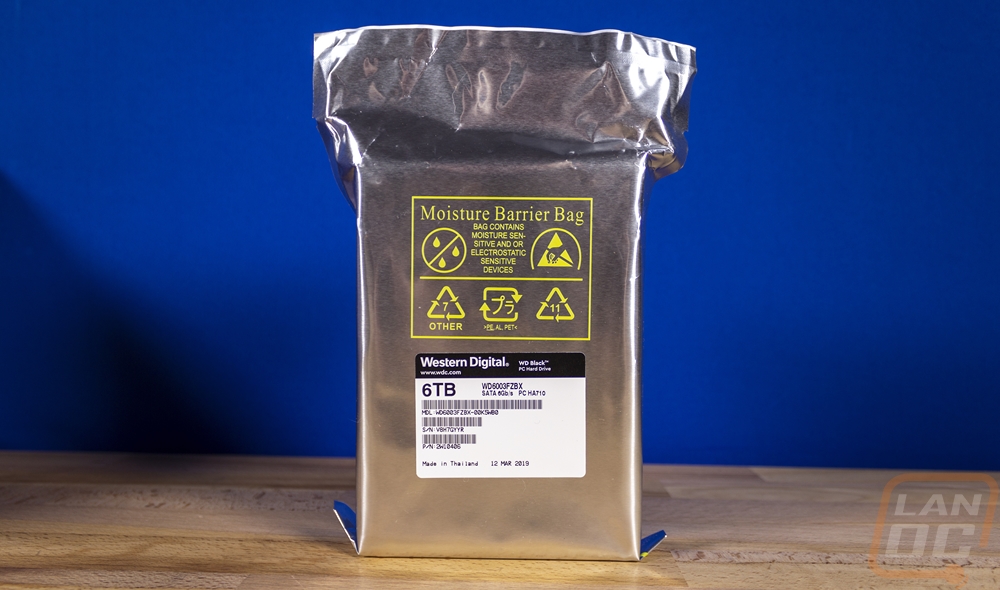
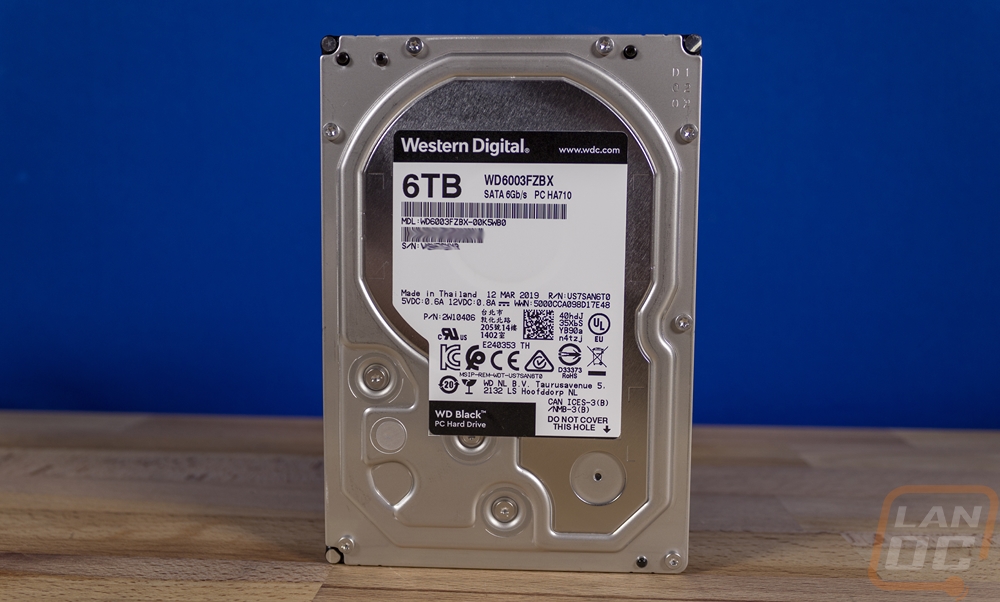
For that I reached out to Western Digital which sent over a WD Black 6TB hard drive, this was a downgrade in capacity but the reality is the 10TB drive is way WAY overkill for how I use the storage in the first place. I use my spinning storage to allow me the room to never have to worry about what games I have installed. I just install anything I’m going to play and leave it there ready to go for the next time I play. I don’t store photos, videos, or any other important data on my PC. Especially long term. All of that is kept on our network on our NAS where I can have redundancy and it is easier to access from all PCs on the network.
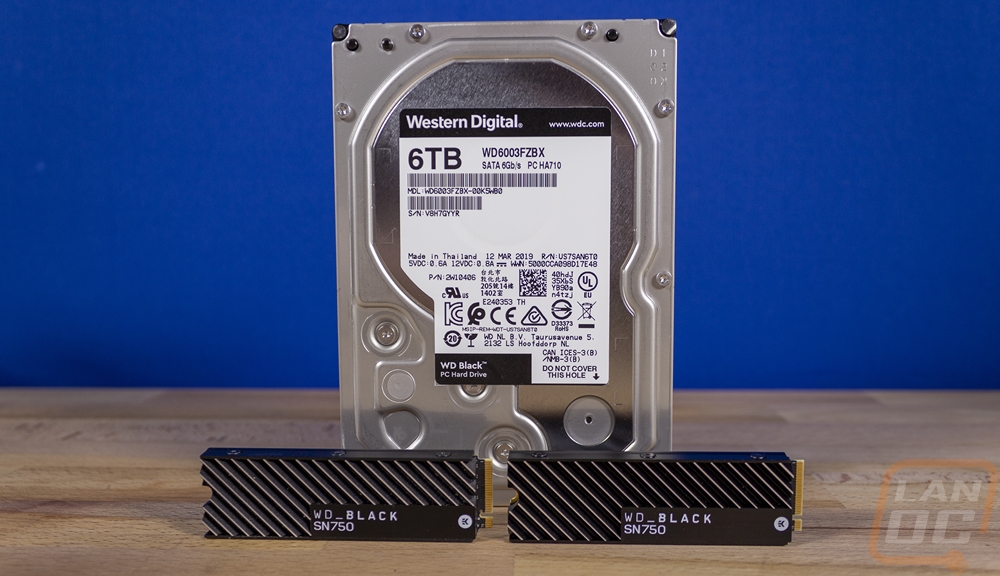
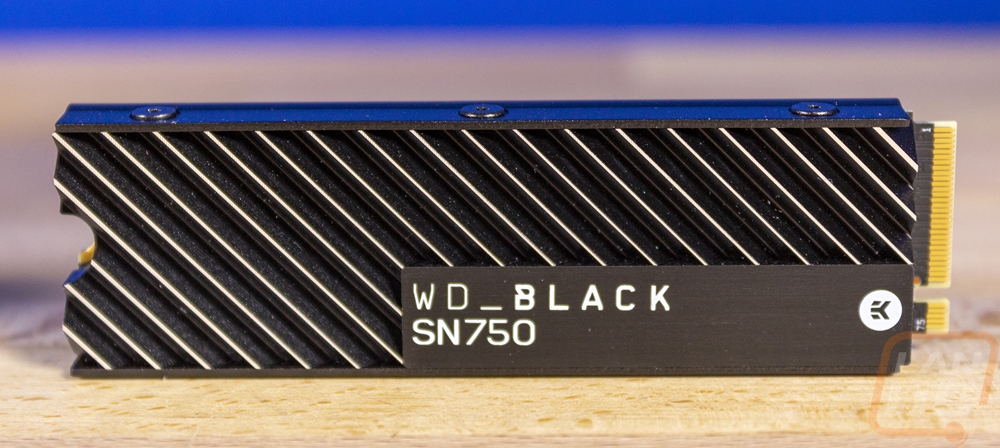
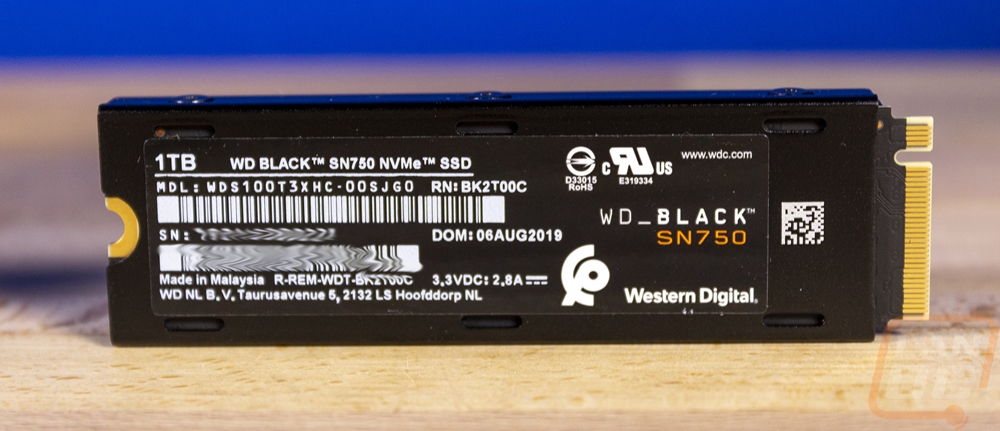
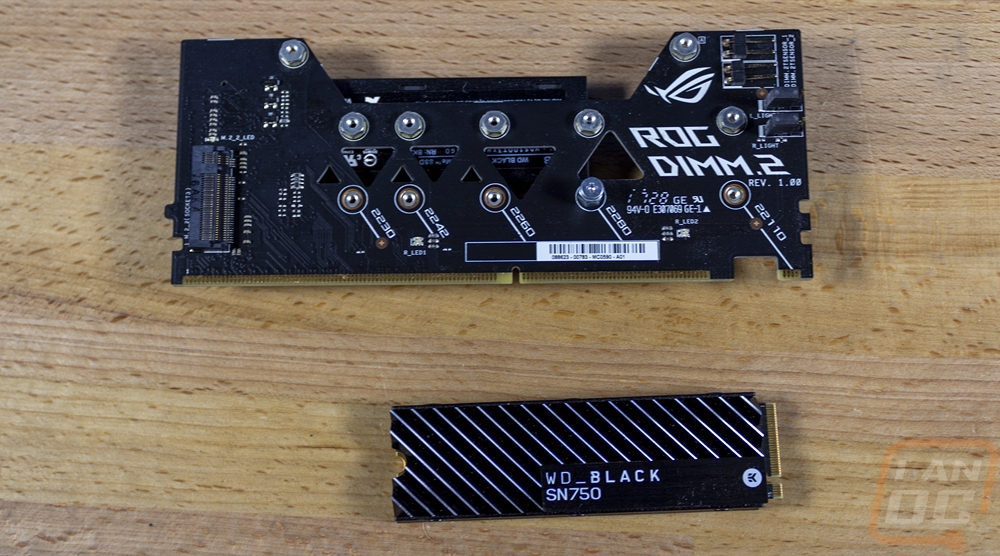
They didn’t include SSDs this time around, but Western Digital has sent drives over for testing in the past and I just happened to have two matching SN750’s with the EK designed heatsinks which look amazing. The SN750 fit the bill for what I needed perfectly because the drives are fast, the run cool with the heatsink on them (which in the past I had added heatsinks to our RD400 because it ran hot), and they have a TBW of 600TB with our 1TB capacity. The extra room that a 1TB drive offers isn’t bad as well! The second drive is adding back in a fast storage drive that I can use as a scratch drive when editing videos and photos to speed things up and a place where I can install games that I play more often or that extra speed will help like Microsoft Flight Sim 2020.
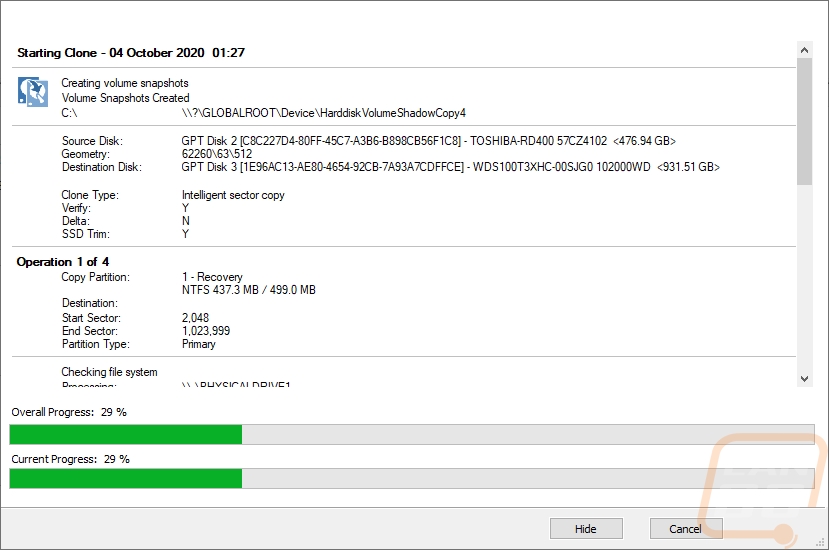
So with a plan figured out I finally pulled the system out of its small cubby in my office to swap things out. Before doing that I took this as a chance to clean things out a little better than normal with our DataVac. Then I installed the first of the two SN750’s. This drive, being the OS drive needed to have the old SSD cloned over to it before I would have room to install the second SSD. For this, I used Macrium Reflect 7 which can be used for free. Cloning using Macrium is quick and easy, you pick the drive you are pulling from then the drive it is going to. Once I was done, I did have to expand the partition size out to use the full 1TB. A clean installation would be the better way to go about this given the issues I have had. But with a motherboard/CPU upgrade potentially in the future, I’m going to wait until after that to start fresh. Especially with how disrupting that can be.
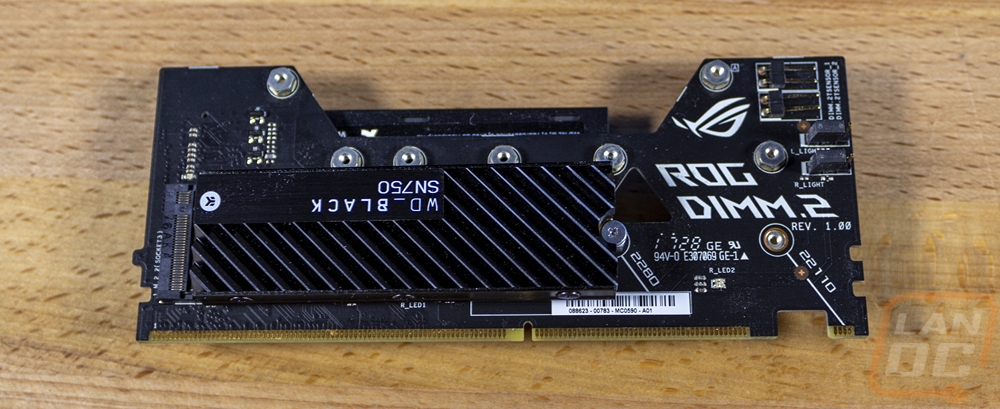
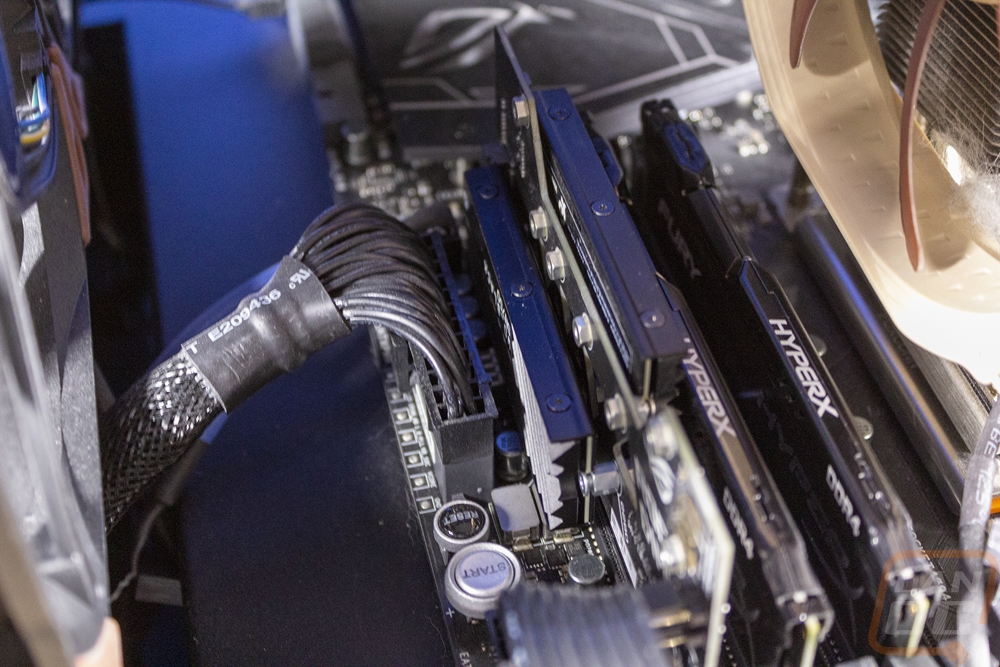
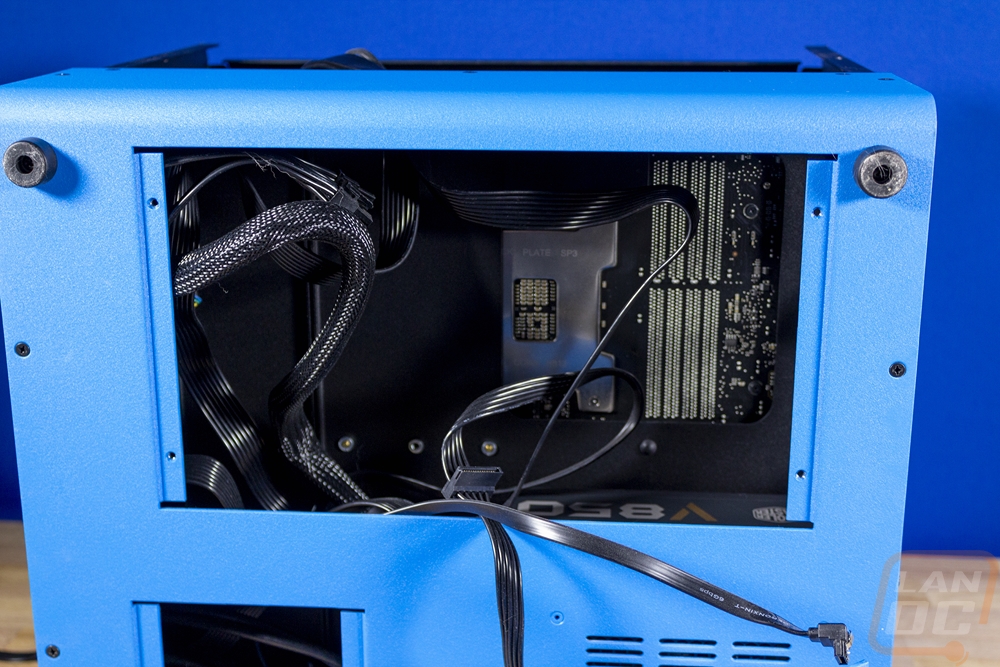
Once the clone was done, I could take the system back down and install our second SSD. Asus makes this very easy with their DIMM.2 system which is a riser card with M.2 mounts on both sides. The Zenith Extreme motherboard does have traditional M.2 locations as well, but those are up under the PCIe cards which add a lot of unneeded heat on to the M.2 drive. Not to mention being on a riser like this, the SN750’s get airflow on their heatsinks.

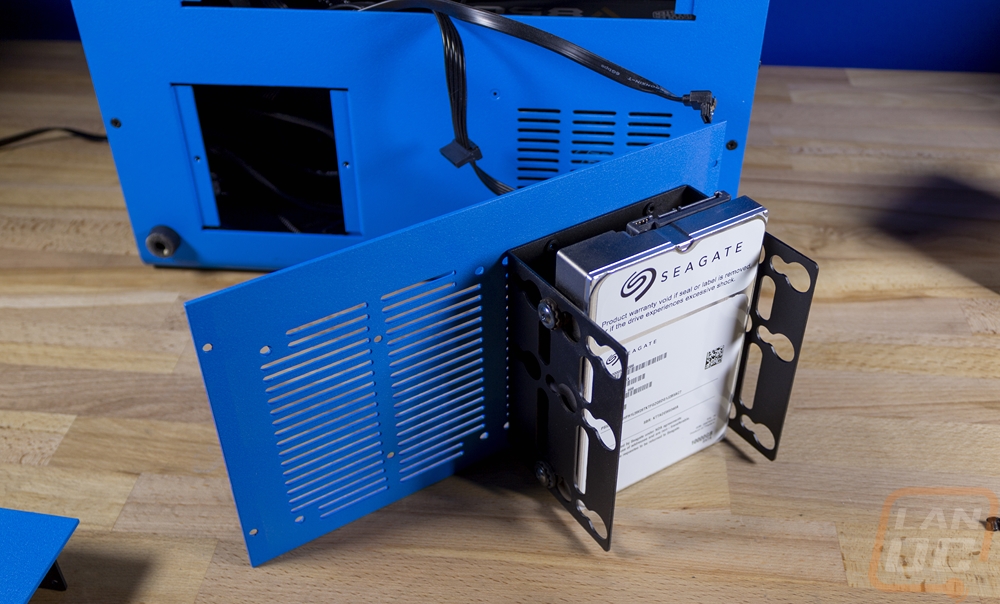
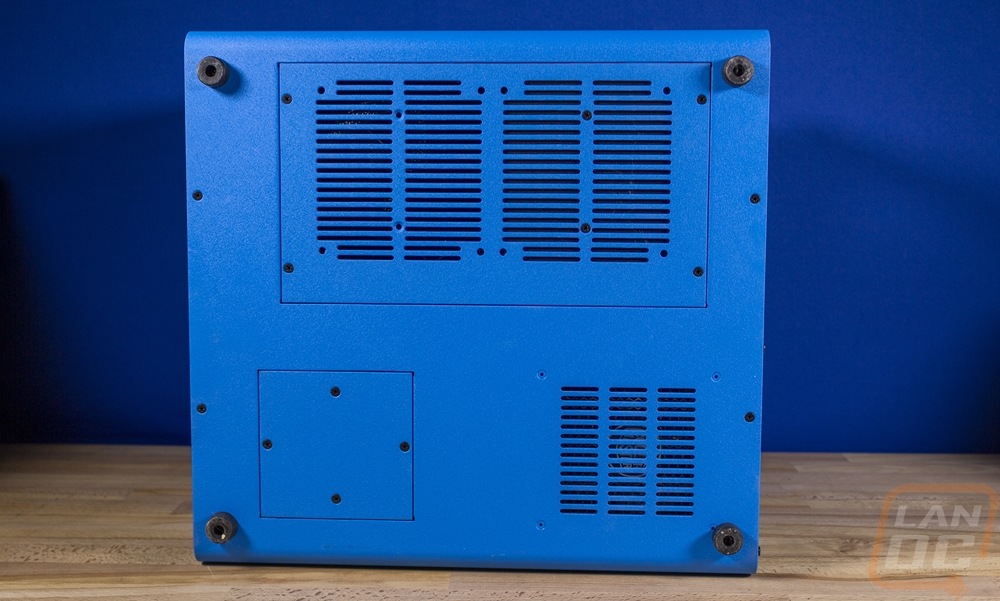
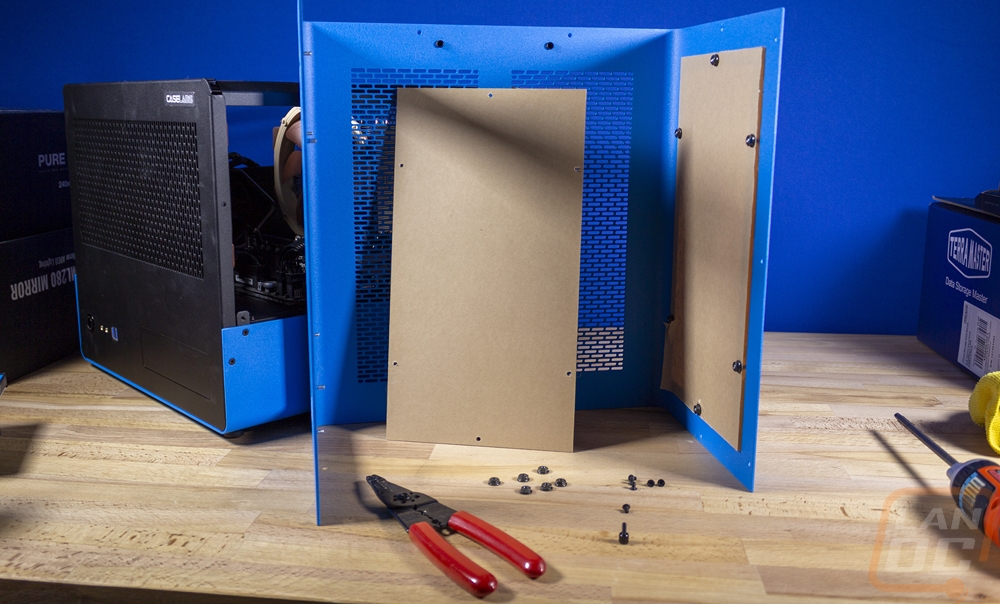
Next, I needed to install the WD Black 6TB drive. The Case Labs BH8 makes this easy with the drive mount being installed on a removable panel on the bottom of the case. The drives have rubber mounts, but I did spot a little surprise. The Seagate 10TB that has been making all of the noise has clearly been getting extremely hot as three of the four rubber mounts had burnt onto the side of the drive slightly. This tells me that when I get into the cooling changes and that I need to look at the airflow in the bottom half of this case. Well, if I want the new hard drive to last at least. I did cheat a little here because I know I’m diving back in later I installed our new drive but also kept the old drive installed so I could transfer the data over.
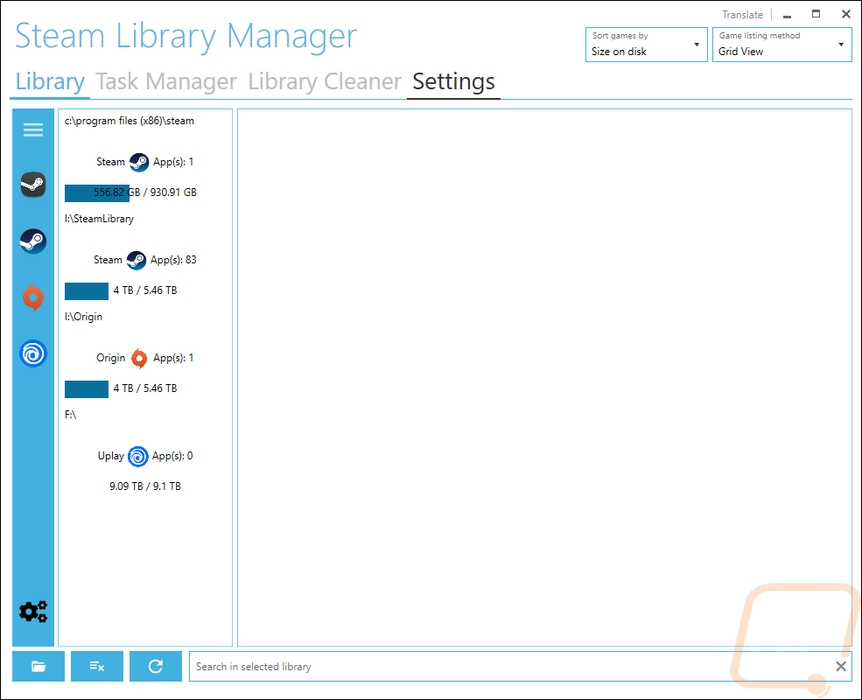
Speaking of transferring the data, this was a nightmare which given the condition of the 10TB drive it isn’t a huge surprise. For one, copying data from a spinning disk takes a LOT longer than from SSD to SSD like I did for the OS drive. But on top of that, there is also a lot more data to move. I initially tried to do the clone, but because the drive was going back the clone failed twice 5+ hours in. From there I needed to manually move things. Frankly, I would have been better off just looking for anything important and redownloading all of the games because we do have fast internet. But in my stubbornness, I started to manually move things. For steam, I found a tool called Steam Library Manager (LINK) which helps at least automate transferring more than one at a time. But I still had games from my Epic account, GOG, Origin, Rockstar, Uplay, and Battle.net all also on the drive. SLM (Steam Library Manager) does support Uplay and Origin as well so it can help with those. But the rest had to be moved manually which includes moving the files then pointing things to the new location. As it turns out when doing these file transfers some of the network and other issues started to pop up more. I ended up spending days moving things slowly in what in the past was an easy task.
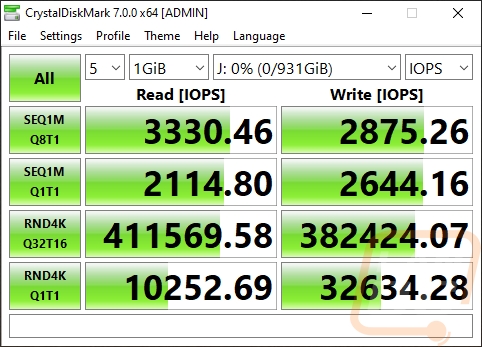
Once transferred, I did run a few speed tests on things. I wasn’t expecting to see any performance improvement going from the old hard drive to the new one, but the WD Black drive was a touch faster on the reads. The old drive’s write performance was horrible as you can see. Jumping from 57.67 MB/s up to 220.82 MB/s should be nice.
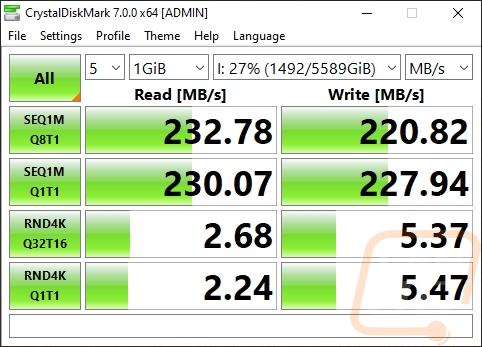
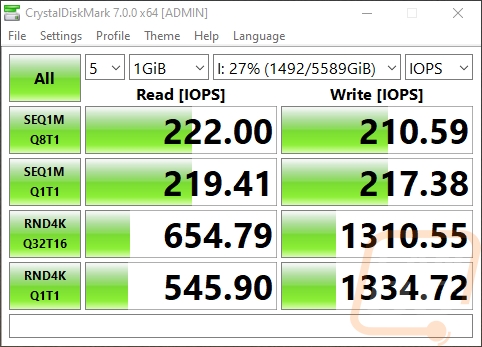
WD Black 6TB
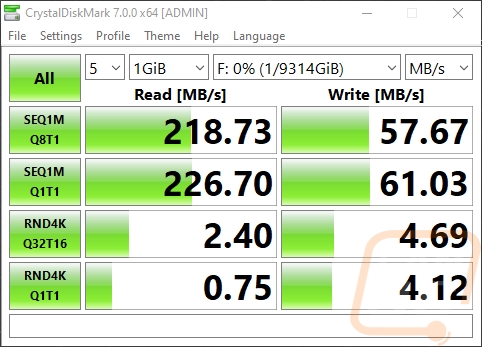

Old Drive (Seagate Exos 10TB)
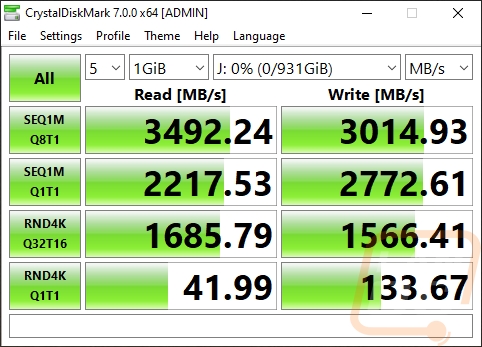
For comparison, I did also test the SN750 to show what the OS drive does, as well as the new fast storage drive. If you haven’t experienced an NVMe drive, just compare what a hard drive does in the tests above to the NVMe SN750. It’s just night and day!
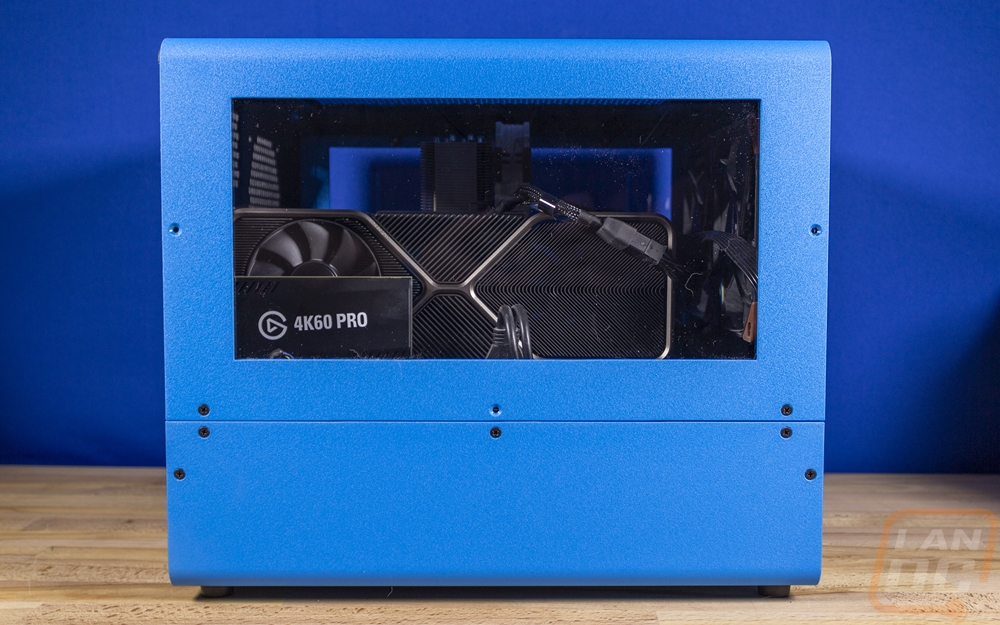
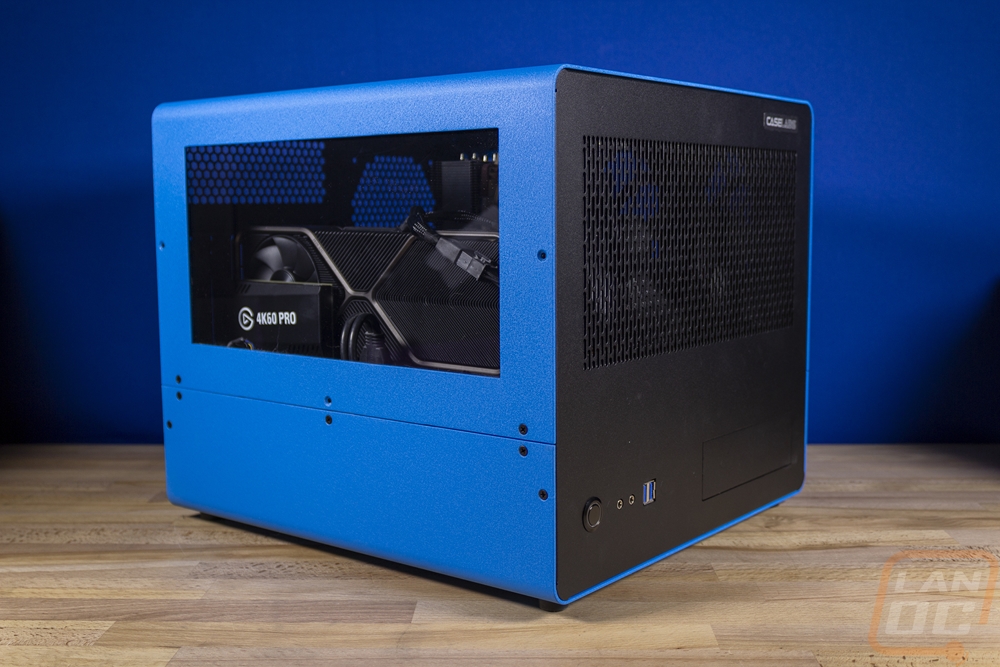
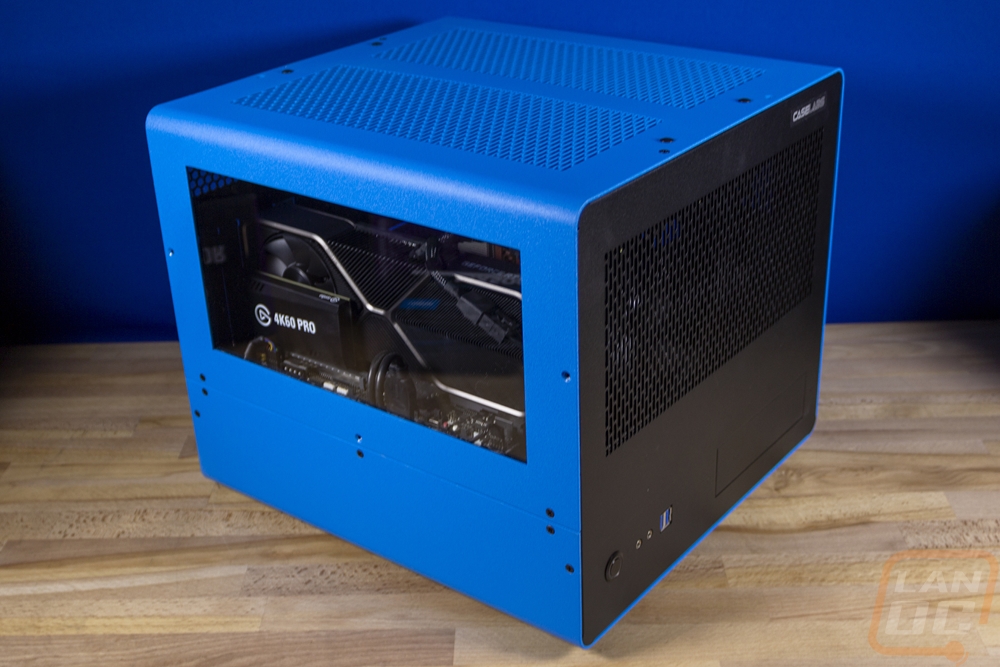
The last thing I wanted to do was get the top of the case installed. I’ve been running it open air for a long time and because of how the build normally sits in a wire rack that just barely fits it I can’t take the cover on and off without unhooking everything and pulling it out. Given the noise issues I have dealt with, I wanted to see how much putting the cover back on could lower noise levels. I also wanted to get a better look at cooling with things buttoned up. That way I would know what I would need for the next upgrades!
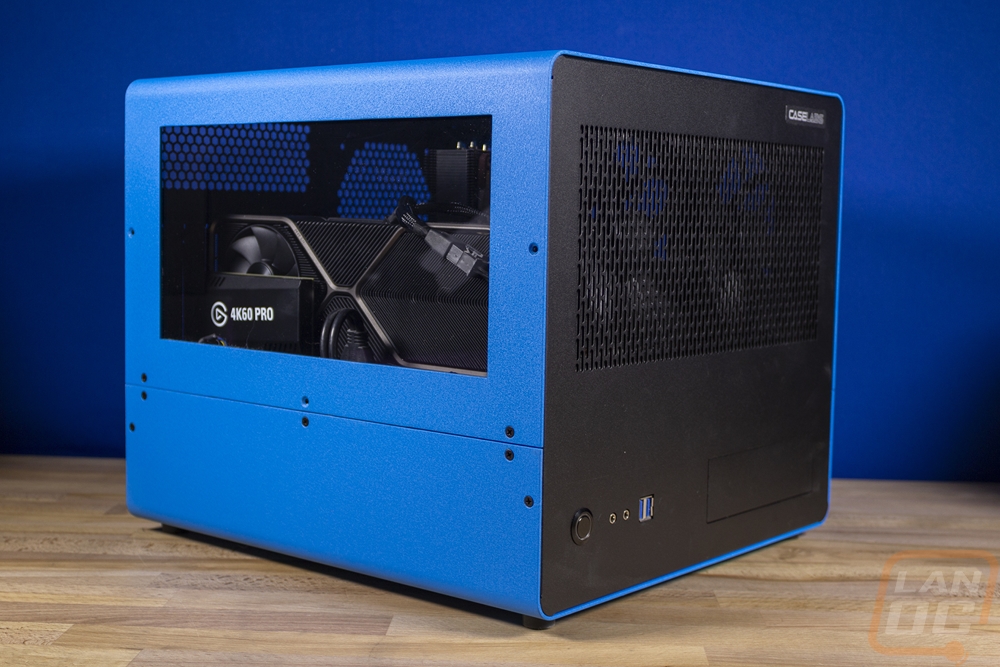
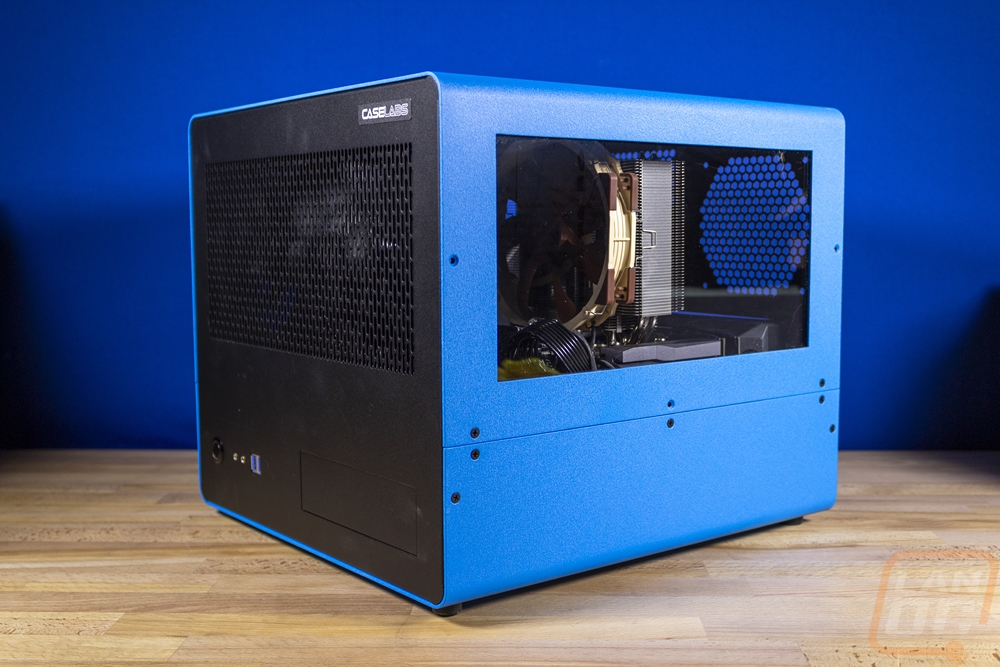
I just have to mention, that I still love the way this case looks and it’s still a huge shame that Case Labs is no longer. The RTX 3080 FE hiding in there looks amazing as well. All that is needed aesthetically is an all black cooler or some form of water cooling to match the blacked out look. But I have a few other things planned and more that I’m working on. So keep an eye for another update on the Crushed build here soon!