Photos and Features
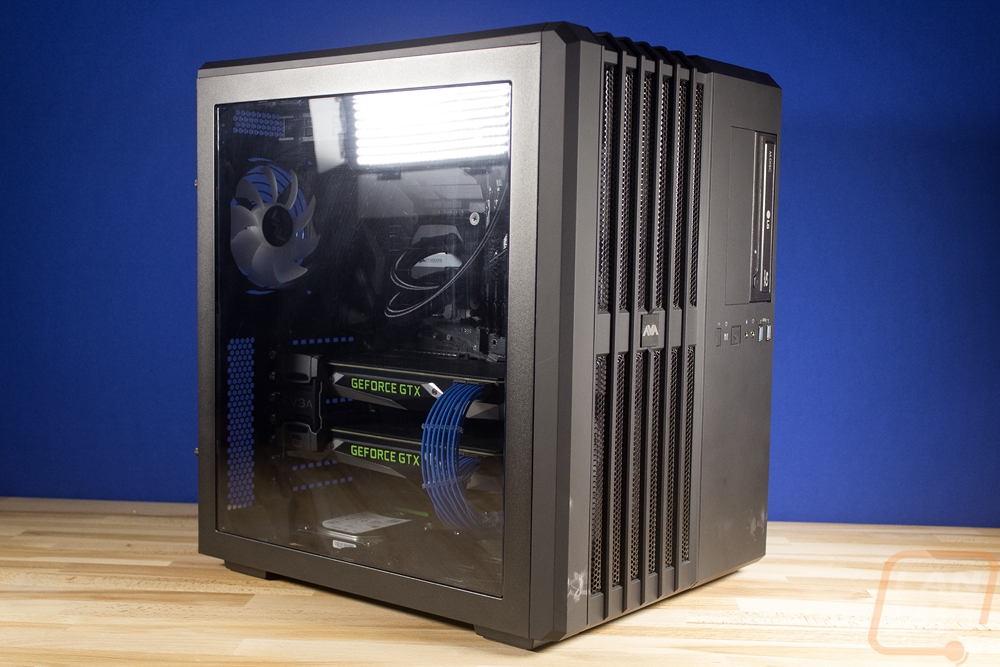
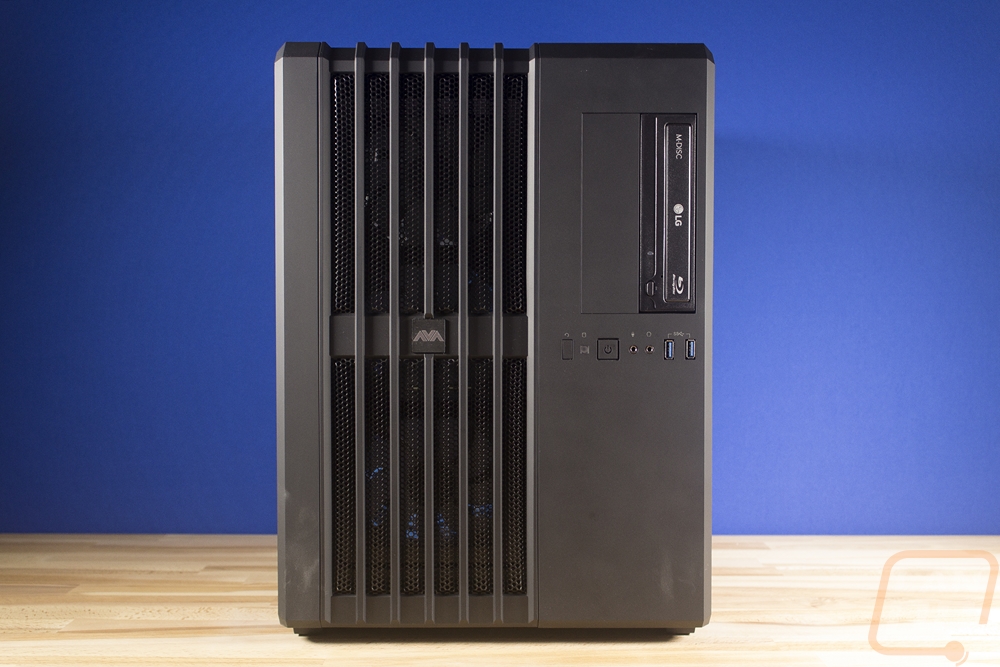
With the Avant pulled out of the box and inspected, before getting it hooked up I did want to check out the build quality and see what our specific build had inside. They call this the Avant Mid-Sized and compared to a few of the huge cases that is true, but I do consider the Corsair Air 540 that they used for this build to be rather large. It is a little shorter, but the extra width gives it a bigger footprint on your desk. It is a great looking case but it is starting to look a little dated with everything else moving to tempered glass for the side panel. You do get the standard front panel connections including two USB 3.0 ports and AVA has included an LG Blu-Ray player as well. Personally, I think the disc drive might be unneeded, most enthusiasts have moved to just using thumb drives when needed but the option to watch a few Blu-rays isn’t bad as well.
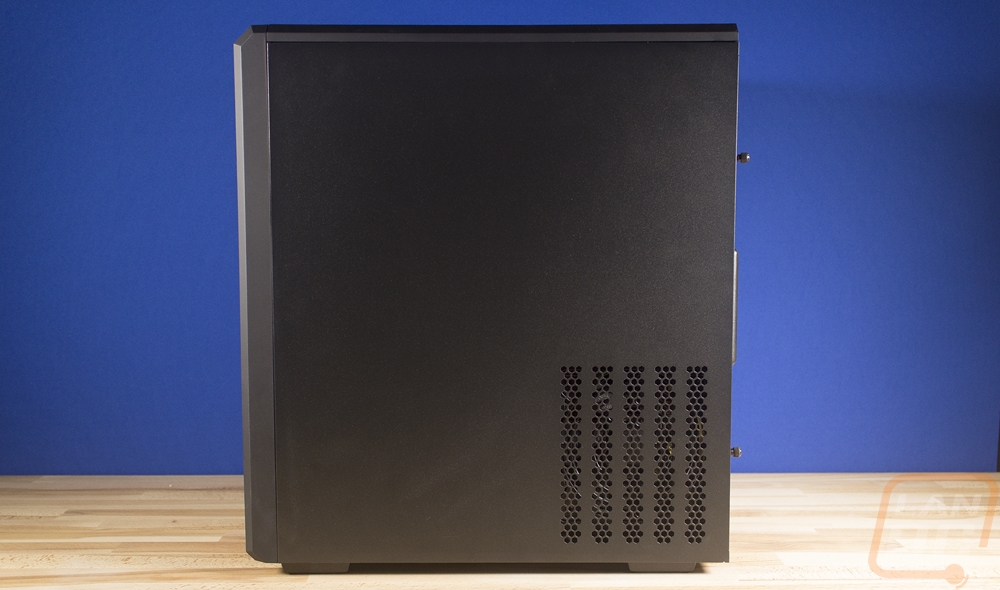
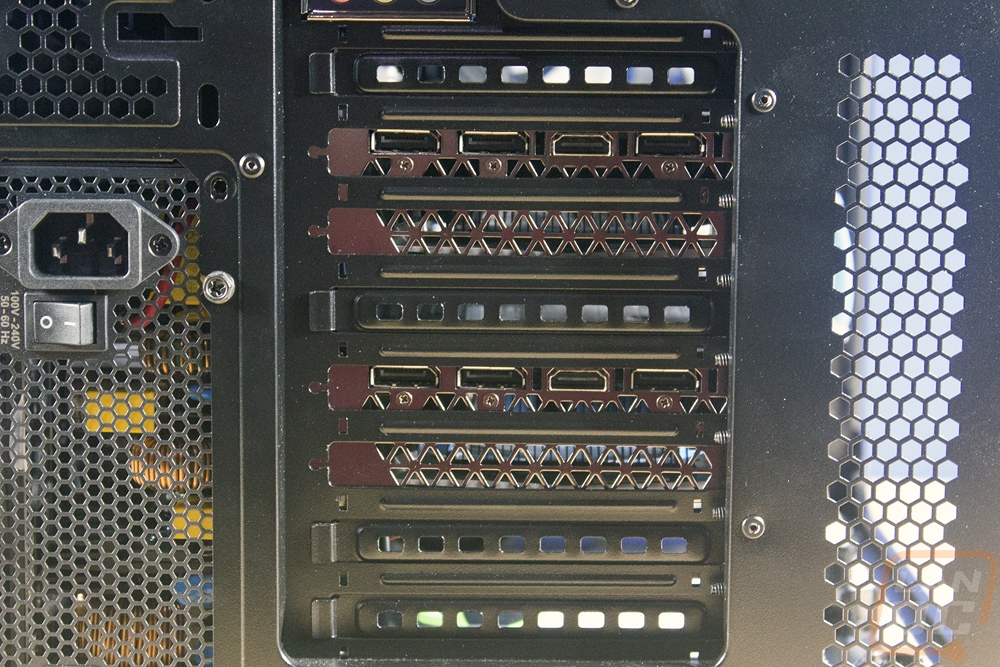
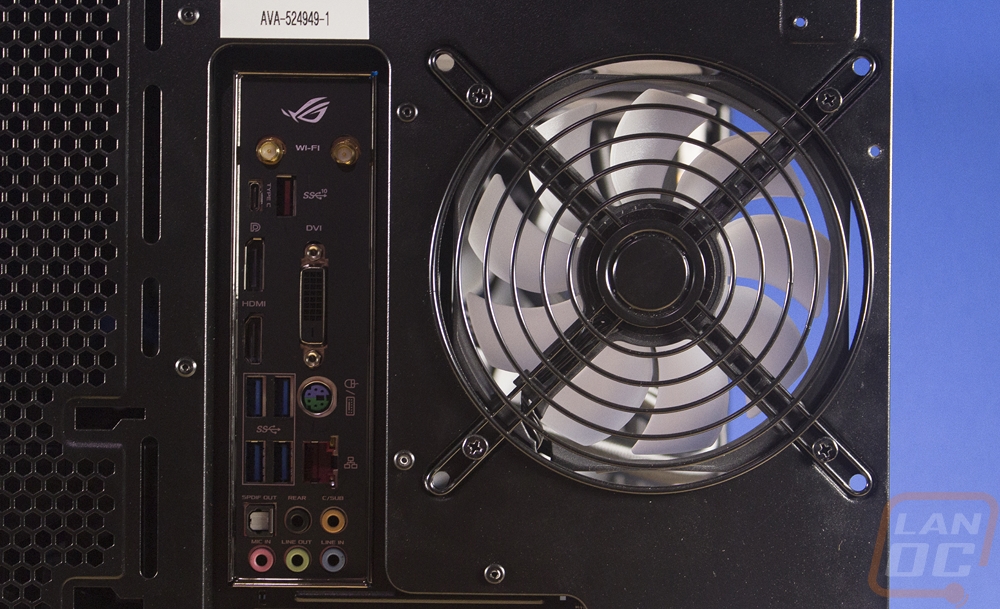
Around on the back, the number of connection options on this build is a little crazy. The two GTX 1080 Ti’s give you a total of six DisplayPort and two HDMI. You will need to use the included DVI adapters to hook up to older DVI capable displays. Then the Asus motherboard has HDMI, DisplayPort, and DVI for the onboard video, not that you should use that. You get four more USB 3.0 plugs and two Gen 2 USB 3.1 plugs up top. One of those is even a Type-C. There is the normal 5+optical out for audio and a PS2 port for those who use older keyboards. Then for network you have Wireless antennas that get you wireless AC and a gigabyte network port as well. The entire back of the case is packed with ventilation holes. There is a single exhaust fan next to the motherboard with a 120mm RGB fan in it. Then on the left, the PSU is flipped to sit on its side and vent out the back as well.

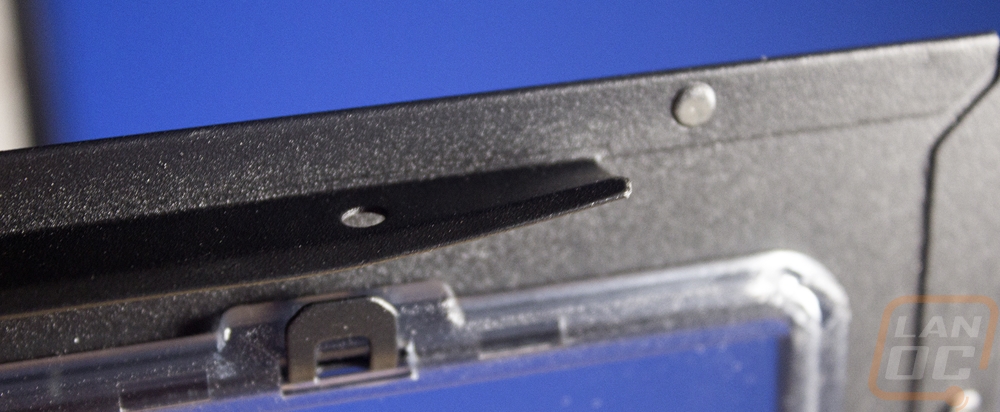
When pulling the side panel off I did notice it was a little bent. I don’t know if this happened during shipping or if it happened when the PC was built.
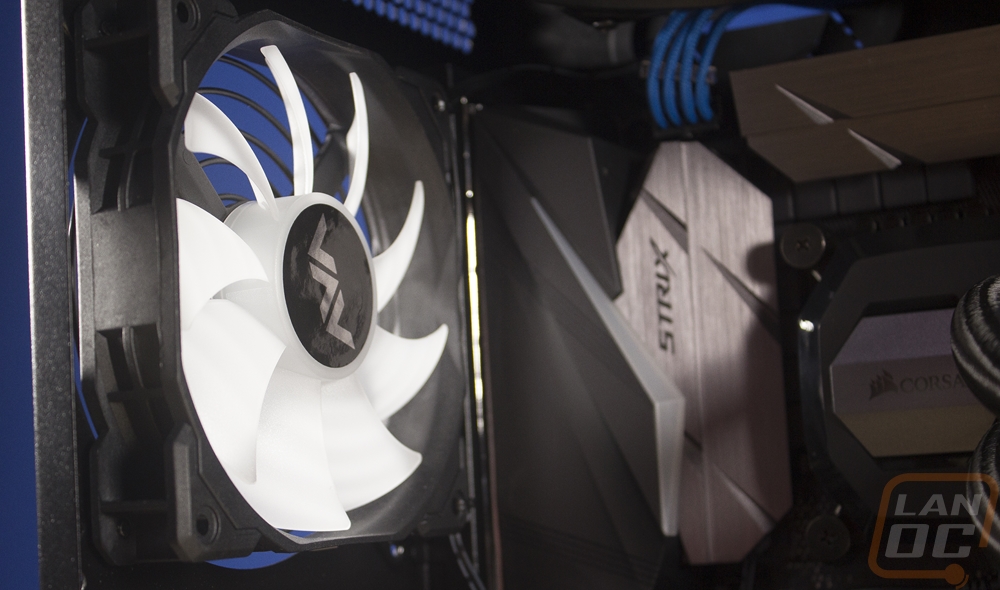
With the case opened up, I love the overall look of this build. Part of it is the high-end components but AVA did a great job with the wire management. They also left nothing untouched. All of the stock fans have been pulled out and replaced with 6 Corsair RGB fans. This includes three intake fans on the front that help blow fresh air in for those two GTX 1080 Ti’s. Then for exhaust fans, the rear fan is facing out and the two fans on the radiator up top blow up and out as well giving the build equal air pressure and a good airflow.

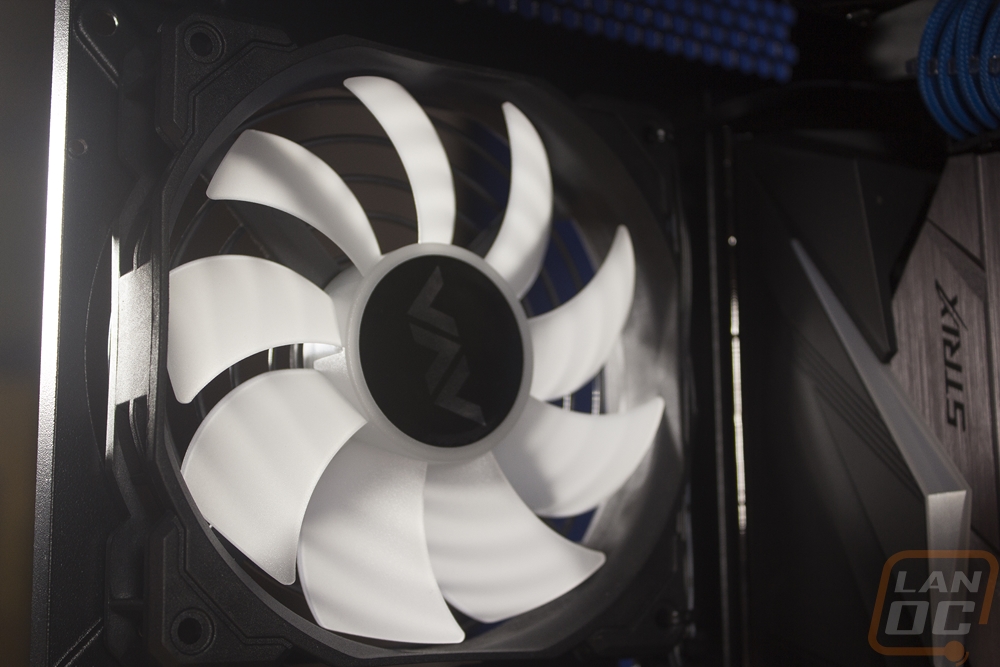
It’s a small touch but I love that they even went through the trouble of adding their own AVA stickers on to each of the fans.
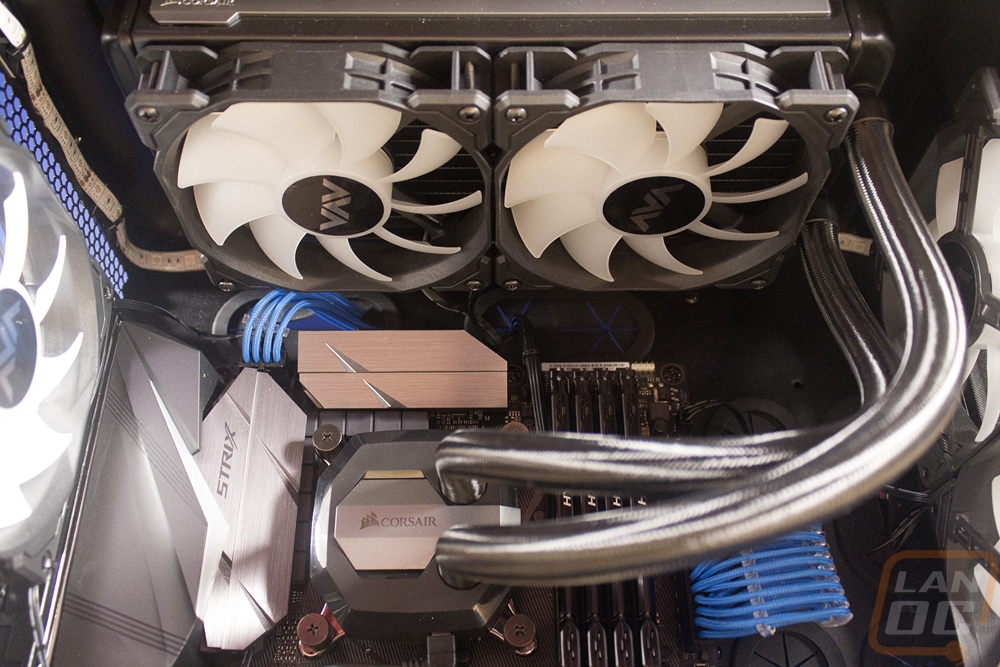
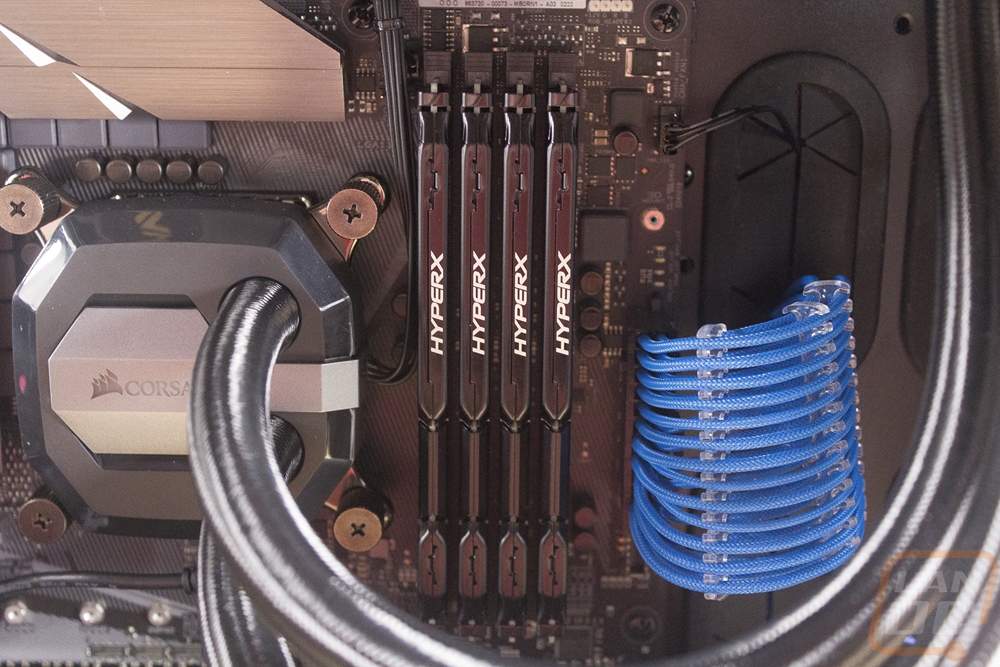
For memory, they went with the same HyperX Fury sticks in black that I use in a lot of our own builds. All four DIMM slots are full giving a total of 64 gigs. Then for the CPU, this build has a 7700K. I think all things being equal a Ryzen 1700 would have been a better pick but the 7700K is still a very solid CPU. They also shipped it overclocked. The order form lists it as a 10-20% overclock, I will find out later what it is actually running at. The overclock also automatically bundles the Corsair H100i water cooling kit with it as well for better cooling.
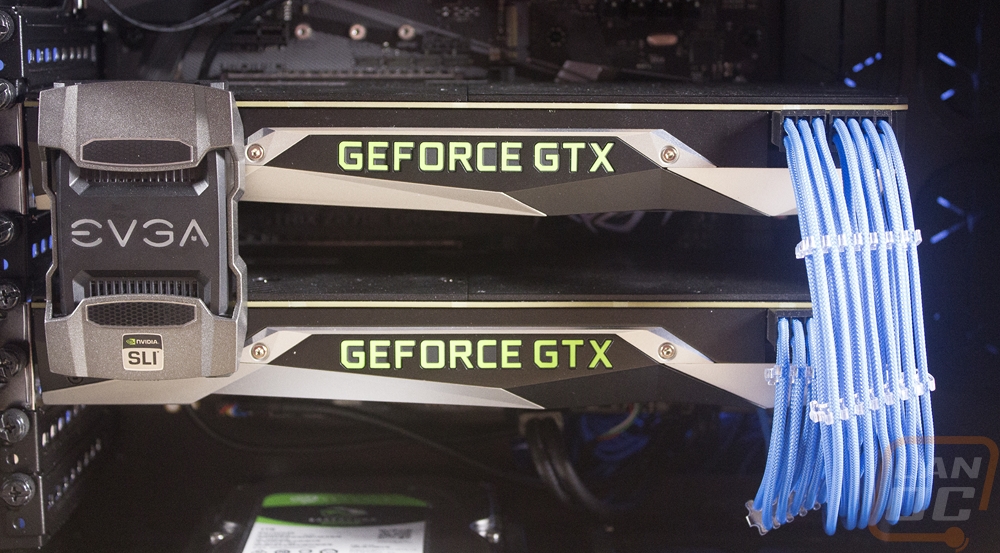
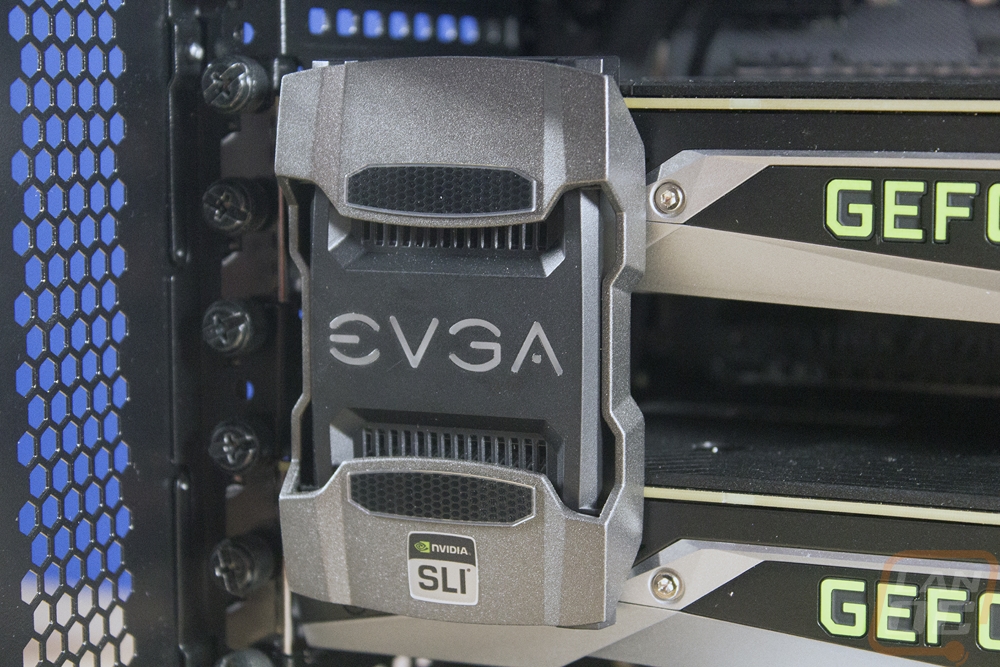
It’s the two GTX 1080 Ti’s that really make this build a monster though. Our build specifically has Founders Edition cards but I did notice you can’t currently order them. The Ti’s available now are EVGA cards so you can actually expect better performance and cooling than the Founders Editions we have here. They used the EVGA HB SLI bridge as well, not the one that comes free with the Asus motherboard but you have to admit the EVGA one looks a lot better. If they were still selling the Founders Editions cards as well I would push for an Nvidia branded bridge though, it matches the cards better. Short of going with a Titan Xp the two GTX 1080 Ti’s is as powerful as you can get currently.
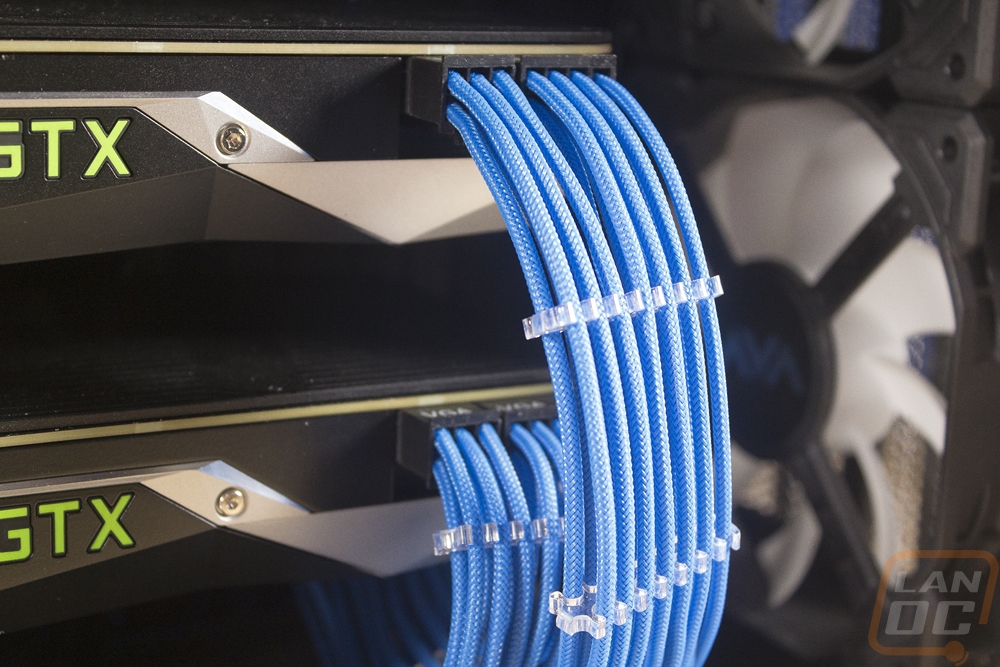
I mentioned the wiring looking good but seriously check this out! They swapped the stock cables with a sleeved cable kit from Corsair. The blue cables look great though if it was me I would go white and use all of the RGB lightings to set the theme. Customers get to pick their cable color though. AVA did a great job of keeping all of the blue cabling looking good with transparent sleeves and giving them a nice arch to not have sharp bends.
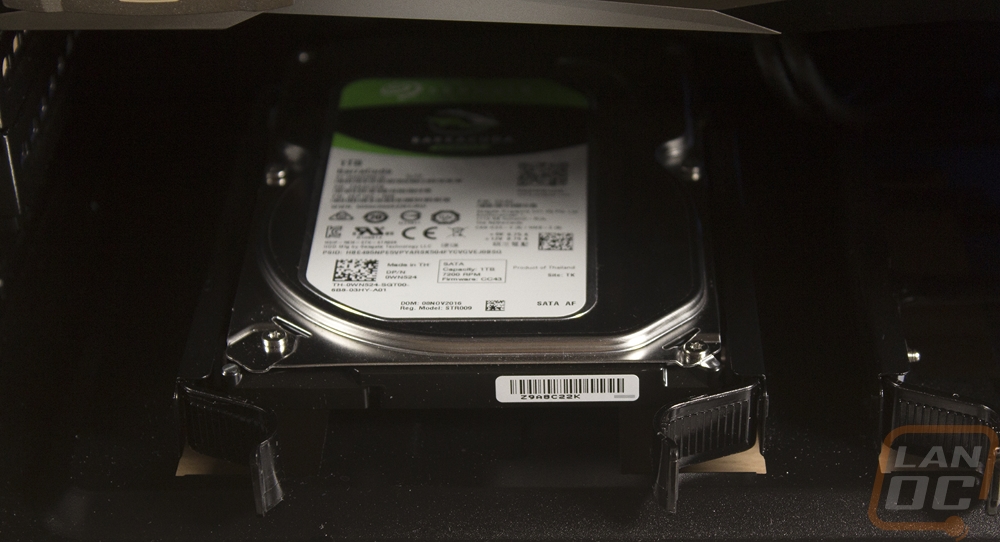
For storage, AVADirect went with a basic 1TB hard drive on this specific build for the main capacity and a 250 GB Samsung 960 Evo M.2 drive for the OS drive. For our testing this was more than enough, but if I were building this system out with the dual GPUs and everything else I would want to go a touch higher on the capacity of both. The Samsung drive is extremely fast so I doubt we are going to have any issues with speed. The Seagate hard drive is mounted to the bottom of the case and the wiring is completely hidden.
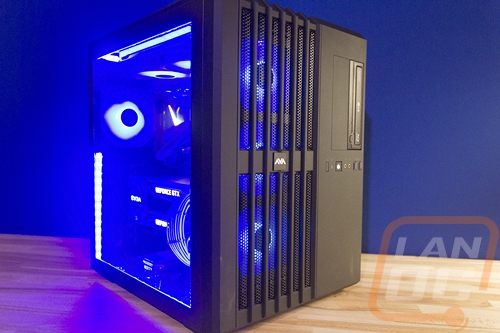
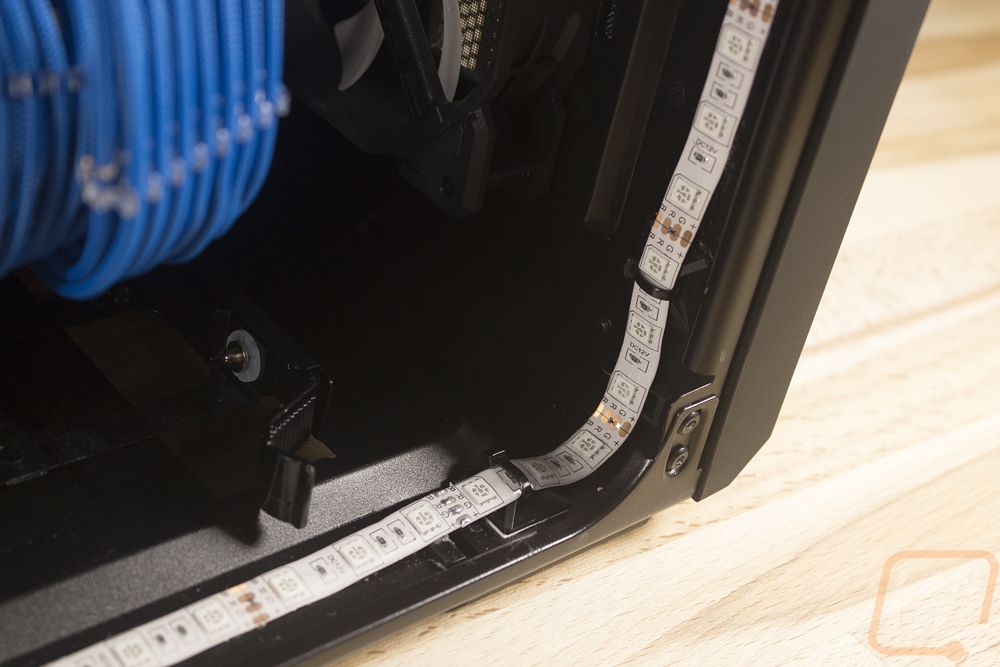
In addition to the fans and the lighting built into the motherboard, they also decked the whole main portion of the case out in RGB lighting. The installation was especially interesting though. So it goes all the way around the case right behind the window so you can't see the light strips with the door installed. These are normal double sided sticky tape backed lights but they also used clips and zip ties. I’ve had lighting fall before so I can only assume they went this direction to prevent it from falling during shipping. Sometimes the lighting strips don’t stick when standing still, I can only imagine how often it is an issue when the PC gets banged around a little.
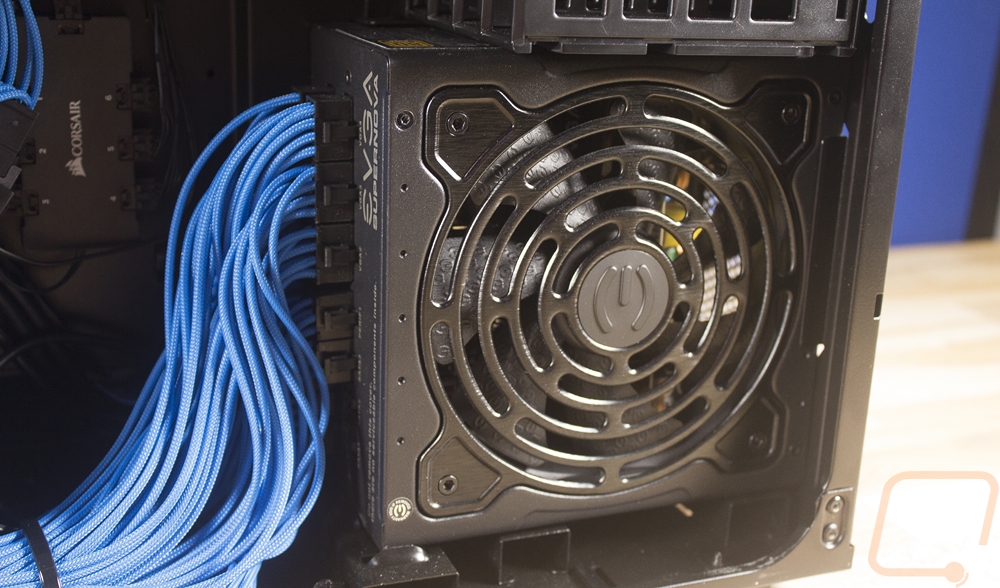
The awesome part about the Corsair 540 Air is its split design. All of the good looking components hang out in the “cool” area with a window and then all of the real work gets done behind the scenes. This is where the 750-watt power supply from EVGA was hiding. Back here you can see that AVA made sure to use the blue sleeved cables for every cable. I’ve been known to sometimes skimp on the sleeved cables on stuff like a hard drive that isn’t visible. The wiring job looks great back here as well with lots of room for extra airflow.
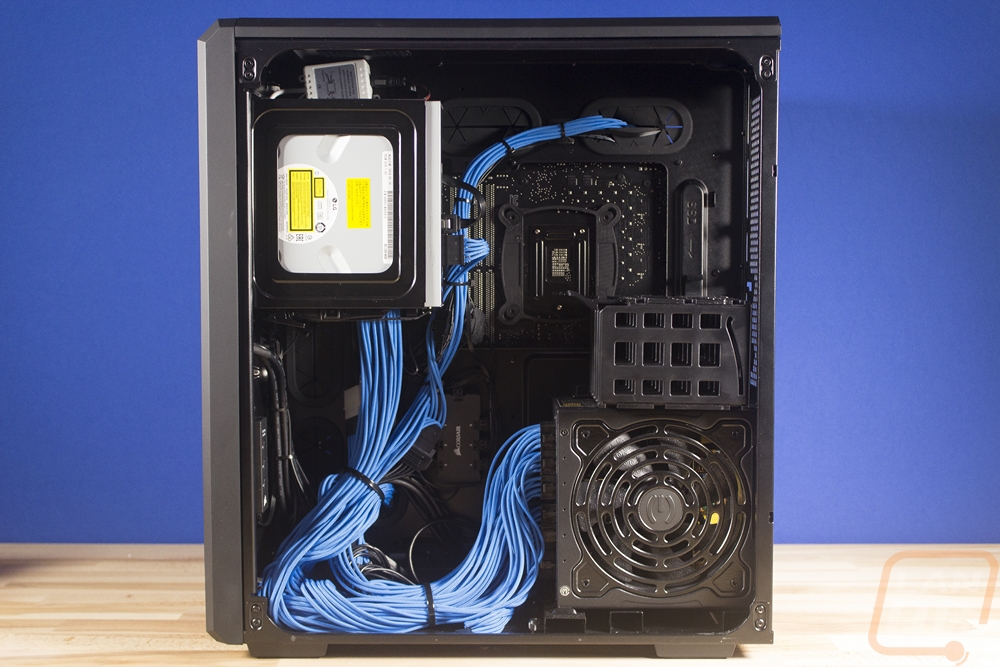
Also back here we can see the BluRay player that they decided to slip in for some reason. Personally, I would drop this and go with a little larger hard drive but I’m sure some people still use their disc drives often.

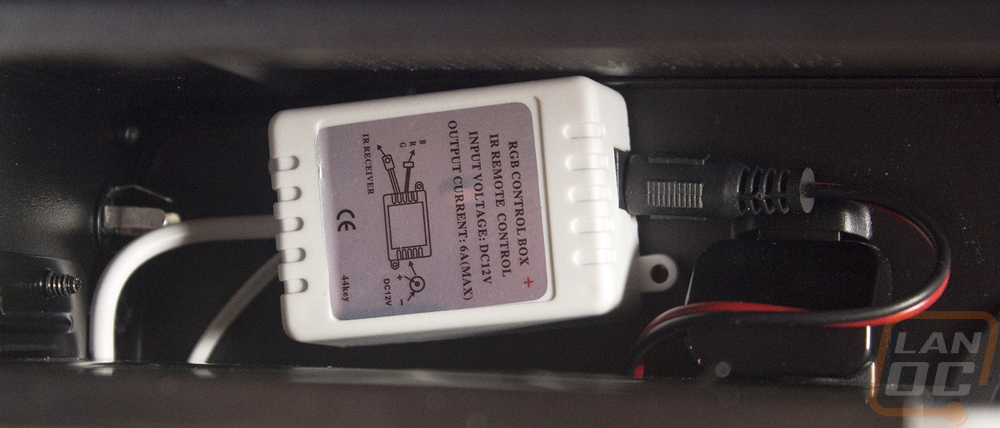
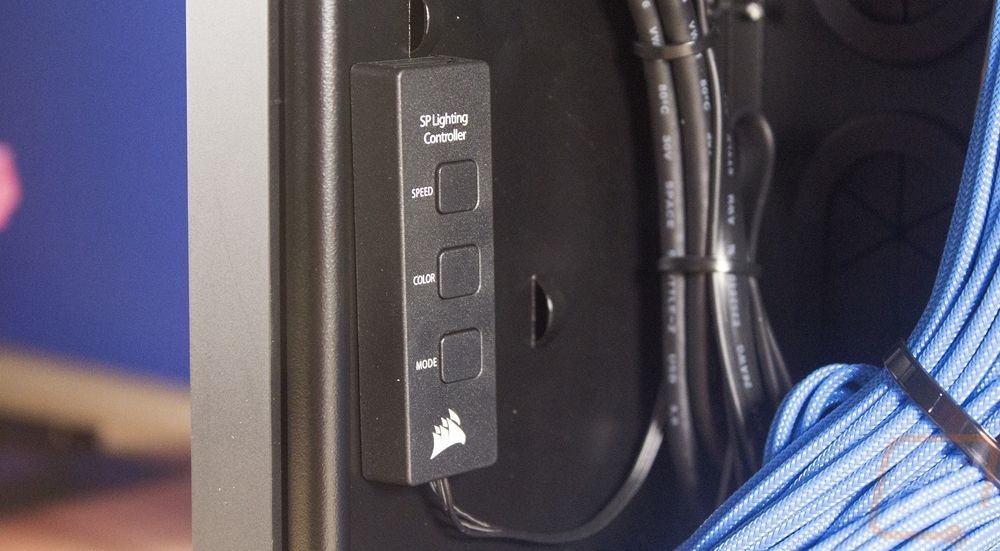
Then tucked away in the corners you will find the white control box for the RGB lighting. There is also a lighting controller with buttons back here for the fans. You can control their speed, color, and the lighting mode with this small box.