So 5-6 years ago I had a crazy custom painted build in the office and my wife came in and snatched it up. I like to tease her about it but the fact is she gets more gaming time in than I ever do so that build has been put to good use over the years. It’s had its video card upgraded a little but overall it has been extremely long in the tooth and as I was writing this is actually died on her. So a while back I started putting together plans to build something specifically for her, something more fitting than the rig she snatched up. So my base idea was something in your face, flashy, with lots of bright colors. This is just her style, always picking the crazy colors. She picked up her nickname (Koolaid) back when we were dating because her hair was never the same color. Anyhow with this project, I kind of set off with a theme best described as unicorn vomit, but she picked out the name Iris. In Greek mythology, Iris is the personification of the rainbow and messenger of the gods. I think that sums up what I was going for with this build. Anyhow! Today I’m going to just start things off by touching on a few of the base components and then we will come back later to talk about the go fast parts and what we are going with to get those crazy colors.
Article Name: Project Build Iris: – Part 1
Build Supported by: Asus, Intel, Thermaltake, Primochill
Written by: Wes Compton
Pictures by: Wes Compton
Amazon Affiliate Link: HERE
Links to the rest of the project: Part 1 - Part 2 - Part 3 - Part 4
Case
So picking out a case was huge and I spent a lot of time pining over this one. I needed something that would be open enough that we could see the crazy colors but her desk setup is completely covered in things so I wanted to keep it small. On top of that, I wanted to water cool with a custom loop so I had to keep that in mind as well. Back at CES Thermaltake introduced the Core P1 and I knew right away that it was perfect for this build. I had looked at the P3 and P5 options a few times but they were just too big. I reached out to Thermaltake immediately and they promised to send over the case when they got them in.
Flash forward a few months and my wife actually got my attention to show me this case on Facebook that she thought would be perfect for her new computer. Well as it turns out it was a Thermaltake post showing off the Core P1, score! This reminded me to reach out again and they had just gotten the case in and sent it right over.
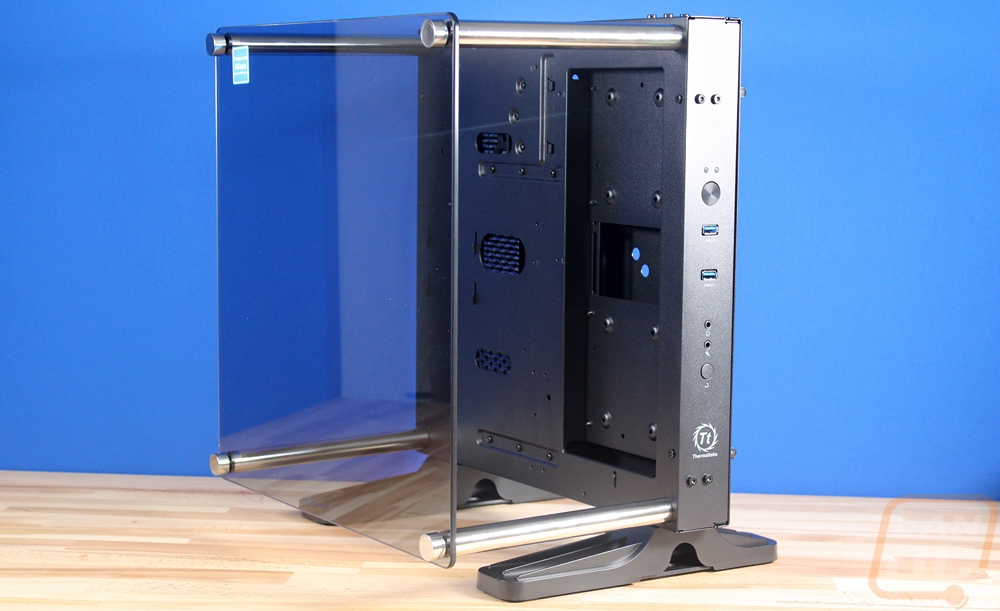
I didn’t really have anything else planned out for the build but getting the case in really set things off and helped me get a much better idea of what I wanted to do. The whole case is basically in the open, but the tempered glass front panel helps protect everything a little and at least pretends to enclose it all. We don’t have any kids but we do have cats and the front is enough to prevent most issues. Though we do still have to worry about the fans on the side with one of our cats who has in the past managed to put his tail right in a candle fire… So yeah.
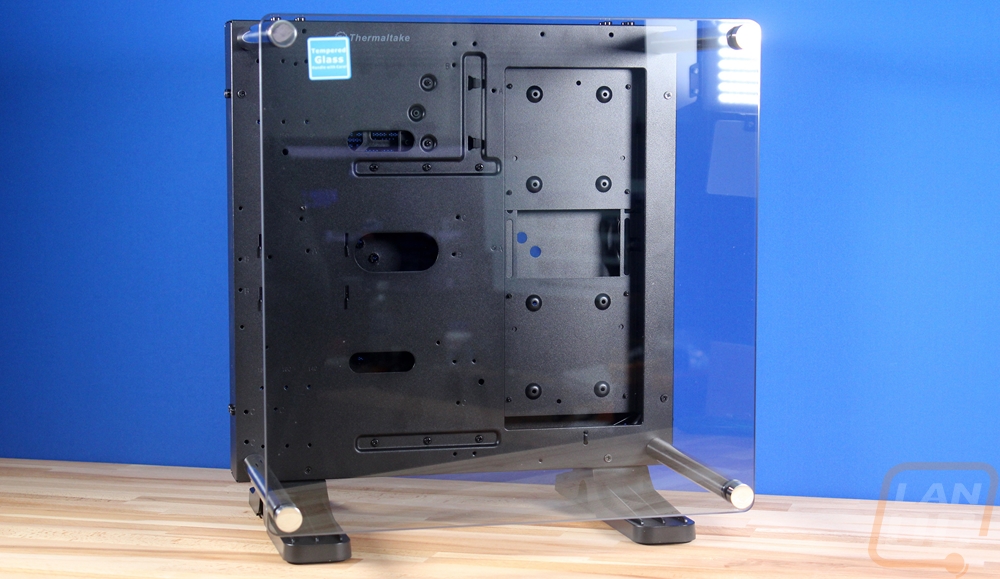
Basically, everything is attached to a thin main compartment. In the back you have room for a hard drive and an SSD, all my wife would need, and room to hide wiring. The “inside” of the case supports an ITX motherboard and has a few different mounting options for your video card. I really like the vertical option that lets you really see it. Then over on the right, we have room for two 120mm fans and a radiator. They also included a pump mount as well. I did a full multi-page article on the case back in June, I suggest you check it out. But I will say that while everything fits what I need. Even still today my mind is always wondering if I could do something better than those plastic feet. If anyone has a way to machine something nicer looking, I’m open to working with you.
Here is a link to my full review
Power Supply
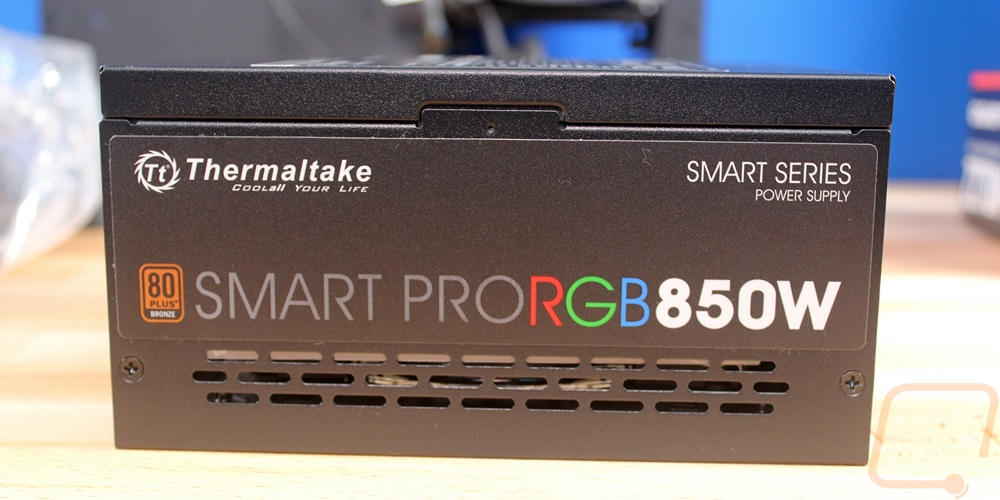
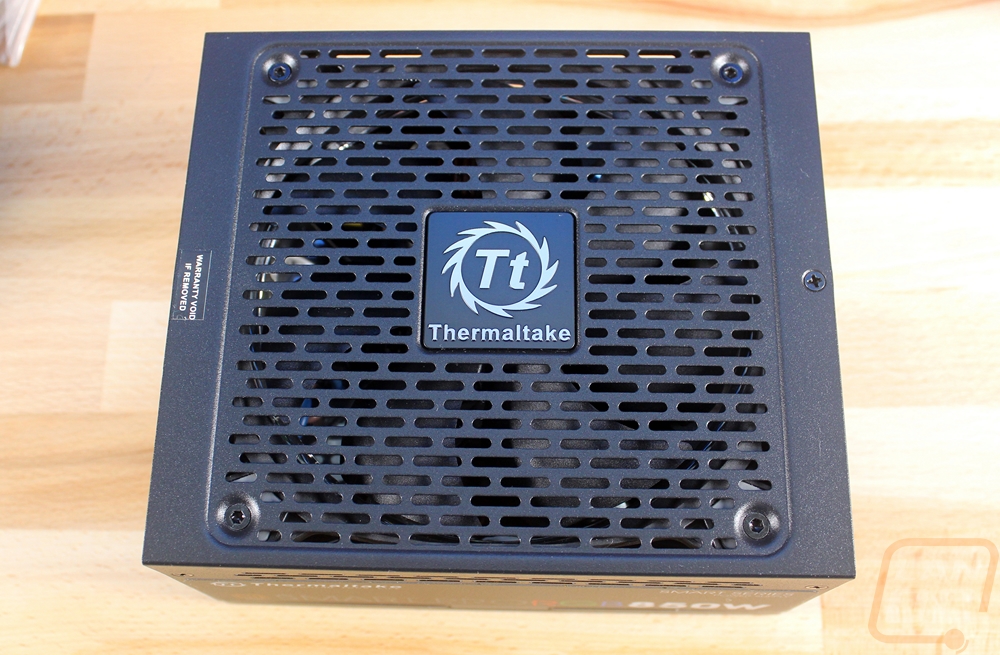
So for a power supply, I was considering going one of two directions. The basic black looking power supply that would hide and let the other components stand out or RGB. For RGB power supplies, Thermaltake just happened to be the only option out there. So when they sent the Core P1 I talked to them about the build and what I was looking to do and they just happened to have a new power supply just coming out. The Thermaltake Smart Pro RGB 850W. They included one when sending out the goods. Honestly, if I were buying one outright for the build I would have gone with something a little more efficient, this new model is 80 Plus Bronze rated, but the opportunity was there and otherwise, it fits the build.
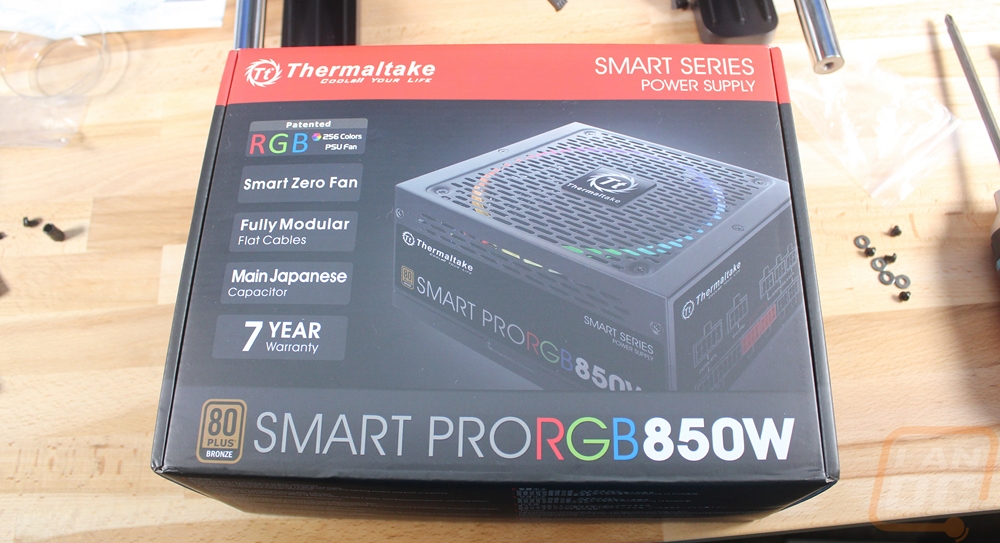
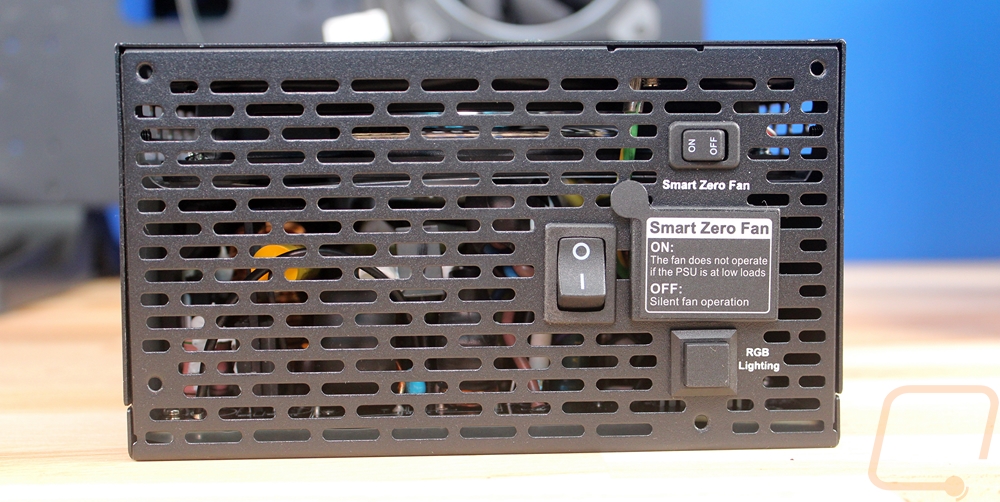
Ignoring the sticker on the side, it is actually a simple looking power supply like I was originally looking for. But at the same time, they did include an RGB fan inside. This specific model doesn’t actually hook up via USB or require software for the lighting. They went with a single push button to change the RGB lighting. Lucky for us we aren’t looking to do any really special colors that might need to be matched perfectly. We were looking at basic bright colors. It also had a smart Zero Fan option to keep the noise down when it isn’t under load and the 850 Watt wattage would handle anything I could throw at it in the ITX form factor. In fact, when we originally planned this out, 850 watts would actually be MUCH more than needed for any single GPU build. Vega, X299, and Threadripper all have changed that now though.
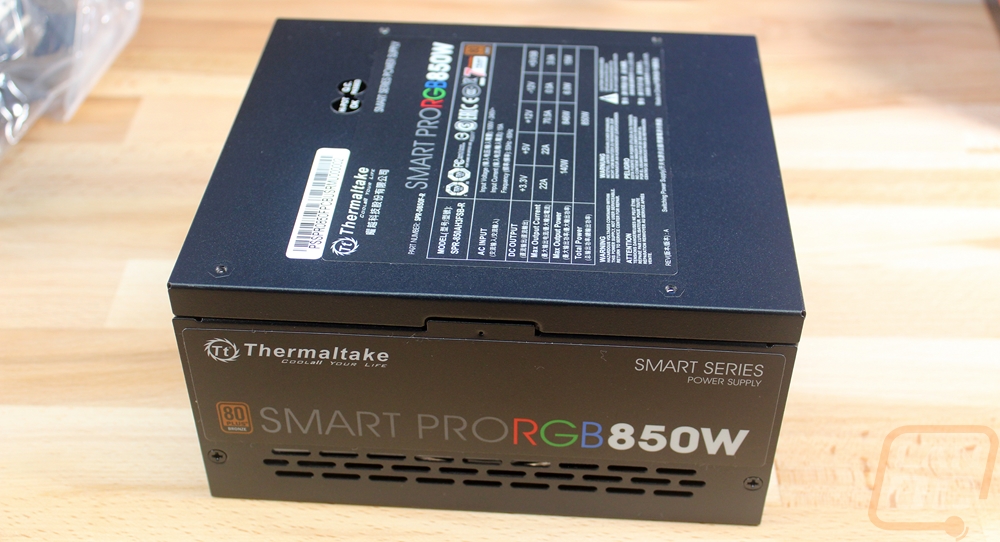
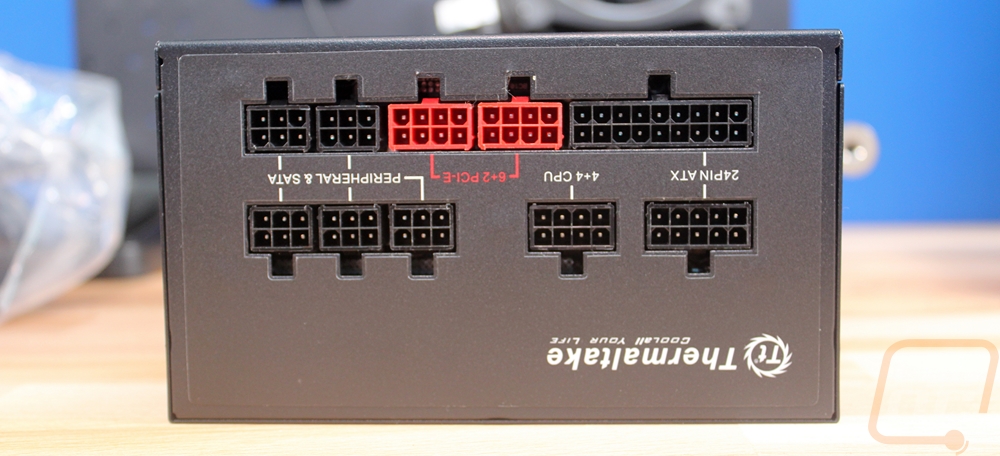
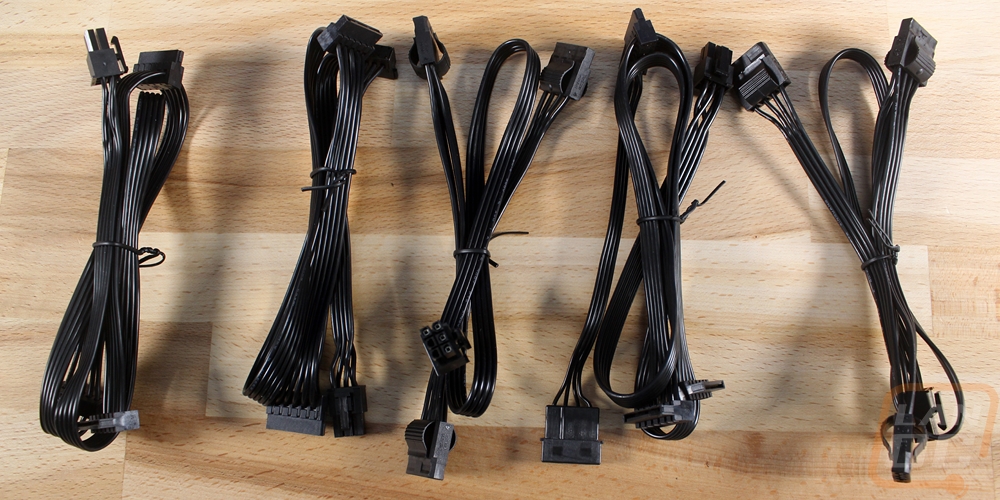
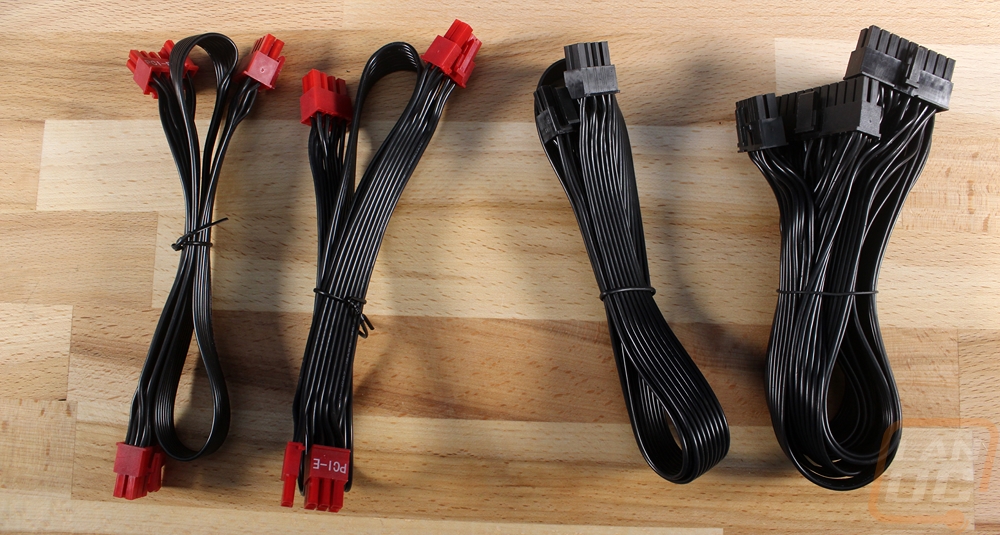
While being a more budget friendly power supply for an RGB model, the Smart Pro RGB 850W is modular. This was important because I was (and still am, not everything is figured out yet) considering going with custom cables for the build. You get two PCI connections and when you look at the cables each actually has a dual connection on it, but for custom cables I would need both so that may work out in our single GPU setup. All of the cabling including the 24pin are all wired in the all black thin flexible cables so routing them around would be much easier. Given the open configuration that was really good to see.
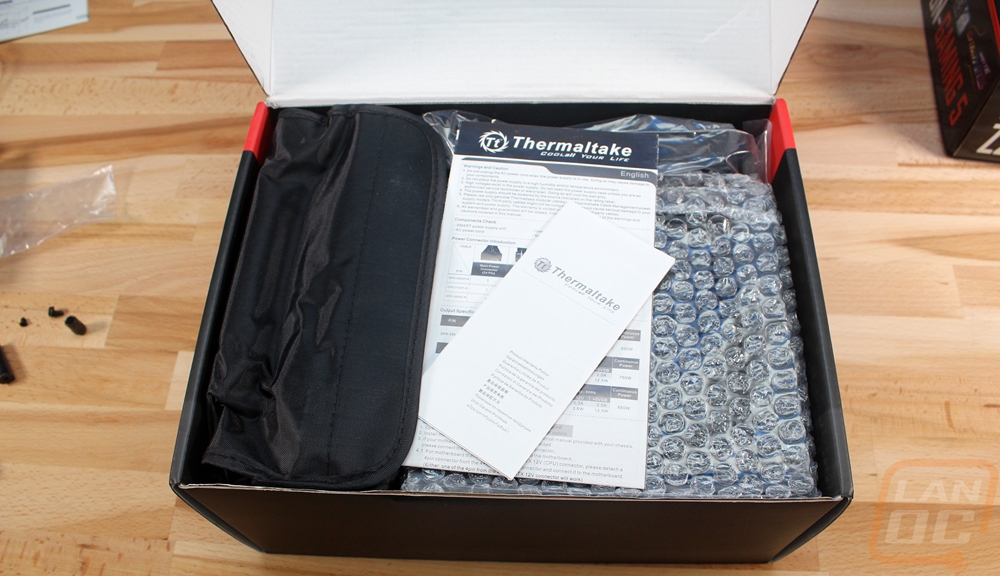
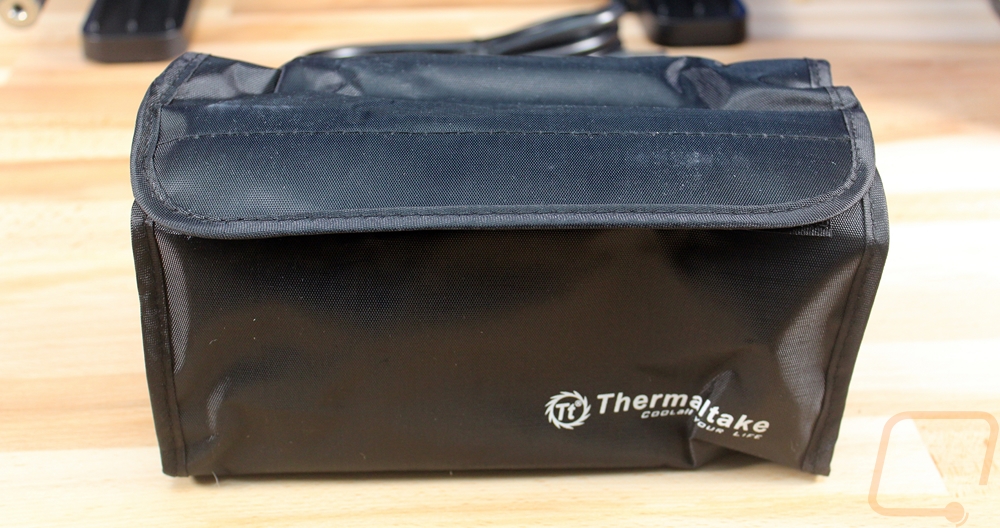
As always, Thermaltake also includes a carrying bag for all of the extra cables. I personally also find them nice to put all of my spare parts in these bags after a build is finished. That is if I don’t plan on keeping all of the boxes.
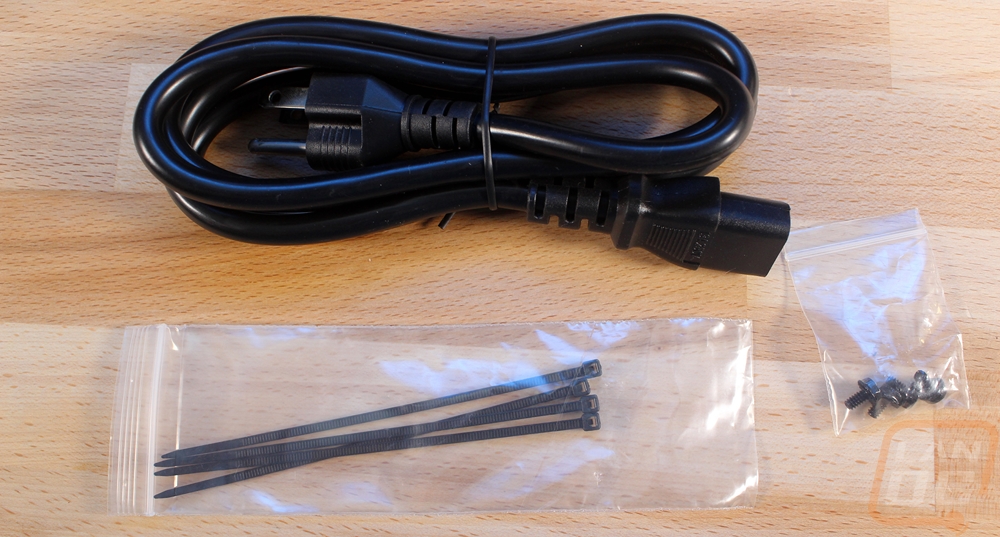
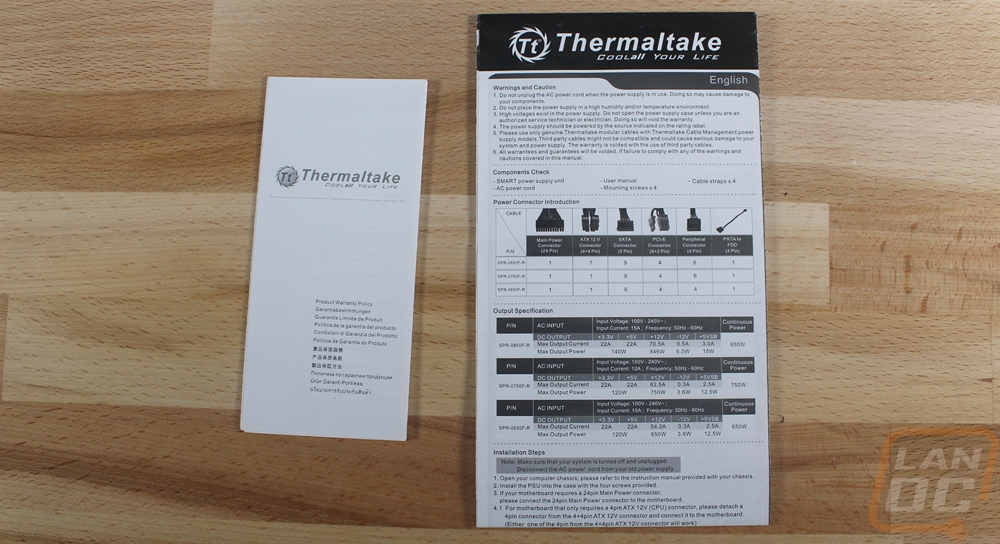
Also in the box with the power supply was a small bag with four black mounting screws, a few zip ties, and a thick power cable. There was also some documentation. I think Thermaltake needs to include more zip ties, sometimes I use more than four ties just on one cable.
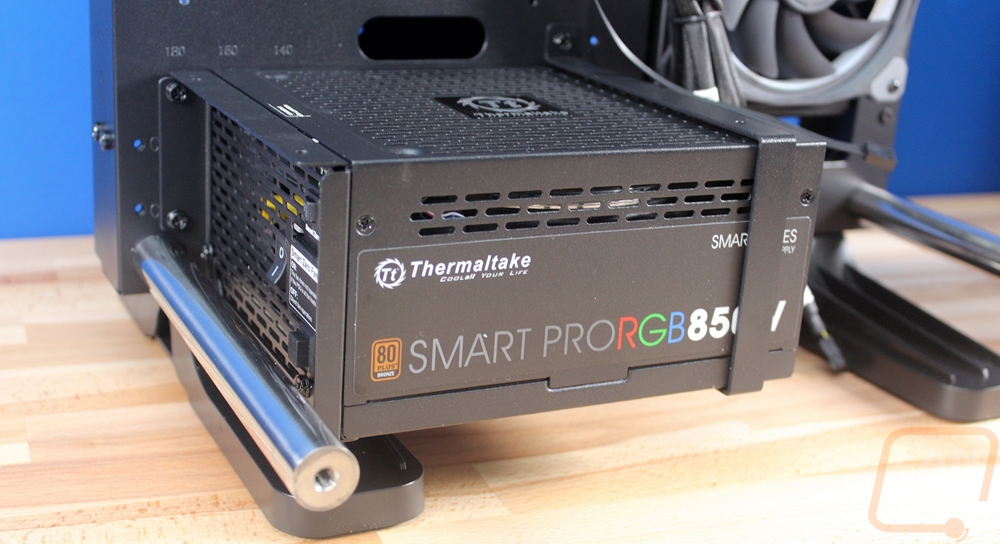
So here is a shot of the power supply installed in the Core P1. I debated a lot on which way to orientate it in the case. For now, I have the fan facing up where you can see the lighting. This may change in the future though
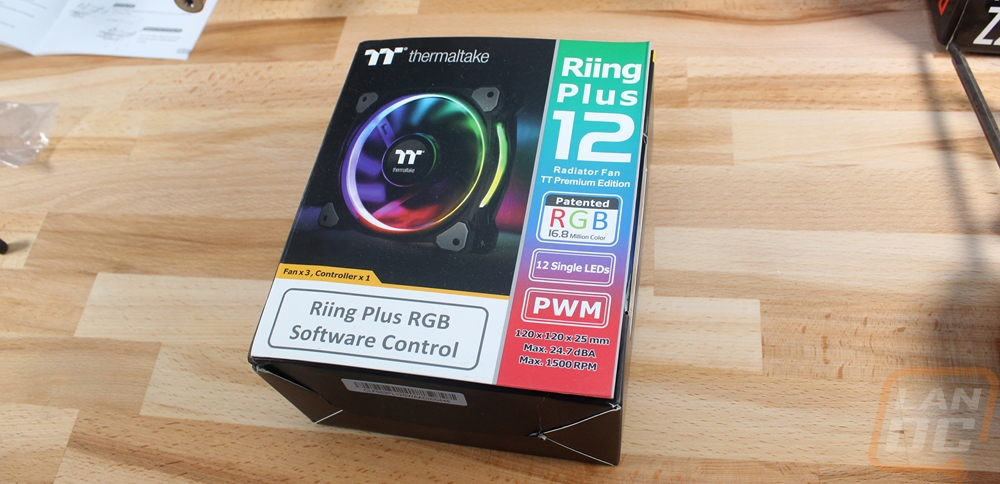
Fans
Okay, you might be wondering why I have a section dedicated to just the fans. Typically I talk about the fans later when we dive into all of the cooling details. Well for one, Thermaltake jumped up to support us on this one as well and I figured if I’m going to talk about the Case and power supply today I might as well talk about the fans they sent as well. Thermaltake all the things apparently!
So remember the plan has always been to do something crazy and colorful like a rainbow. So while early on I didn’t have the exact colors locked down. I knew if I went with RGB fans we could set the lighting to match whatever color scheme we went with. Now there are a few RGB fan options out there and really most are great. I think I would have a hard time picking between NZXT, Corsair, and Thermaltake normally but these match the case and Thermaltake was quick to support this build so I decided to support them by including them in the build. Not to mention my wife saw them up and running and fell in love with them, before any programming.
So they sent over a 3 pack but for this build, we only need two. You get the fans and then a small control box. We have to mount the control box around in the back of the case, then both fans plug into that. The box requires power to run and if we want to make changes it also needs to be plugged into USB. They support full 16.8 million color RGB so finding the exact colors we need when it is time to do that should be fine as well.

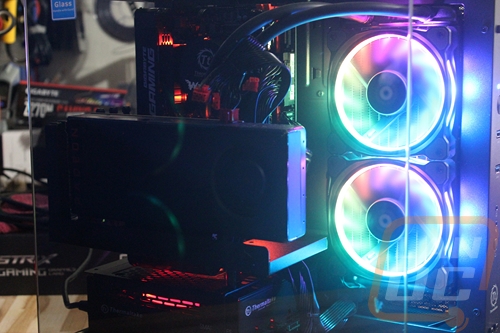
So here is a look at the fans up and running in the Core P1 with an AIO water cooler. Talk about bright and colorful. I think that is a perfect fit for Iris. I can’t wait to get them color matched with everything else we have planned in the near future.
If you are still reading all the way down here you might be wondering what is next. Well, here in a few weeks I’m going to get into what I call the go fast parts. That would be things like the motherboard, CPU, video card, memory, and storage. My wife gets a fair amount of gaming in when she can so it needs to be fast enough that she isn’t hunting me down saying things are slow. Plus she is the best!
(is she still looking? Help I’ve been held hostage and forced to build this amazing rig)


