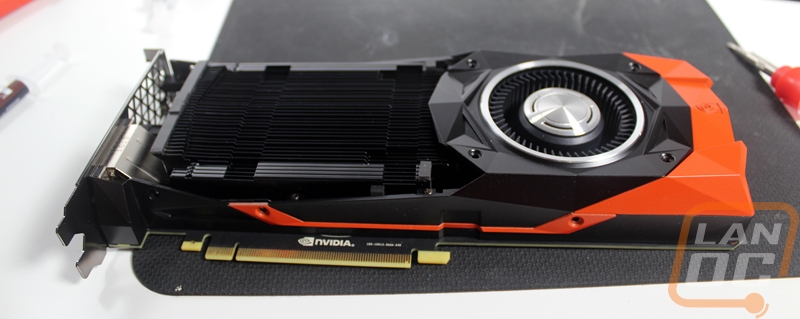
Painting and Assembly
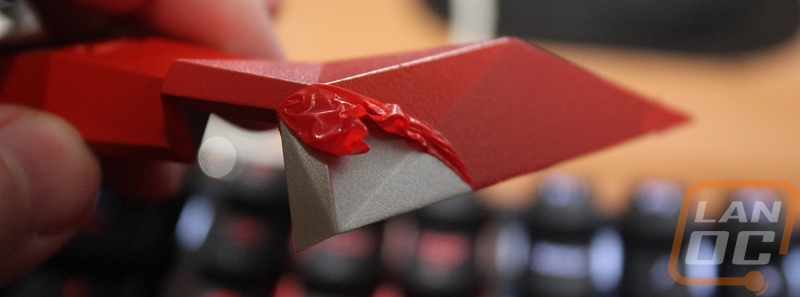
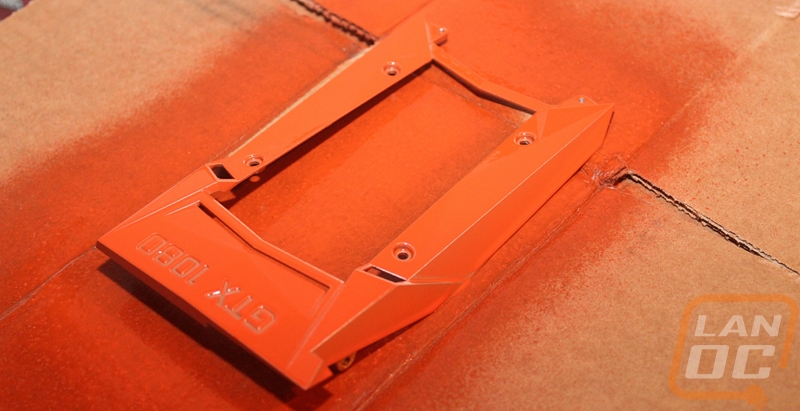
So this section is going to depend on the type of finish you are planning on doing. You could take the four pieces and send them off for powder coat for the best possible finish. You can sand them down, prime, then paint with a traditional paint. For me, though I wanted to do something a little less permanent. With rumors of GTX 1080 Ti’s, AMDs Vega cards, and even talk of GTX 2000 series cards I wasn’t really trying to lock myself into the two GTX 1080’s forever even though they do perform really well. I went with Plasti-Dip because it is rated for the temperatures and it can be peeled off later on. Check this panel out that I had a small problem with and decided to repaint. I pulled most of the finish off in one piece.
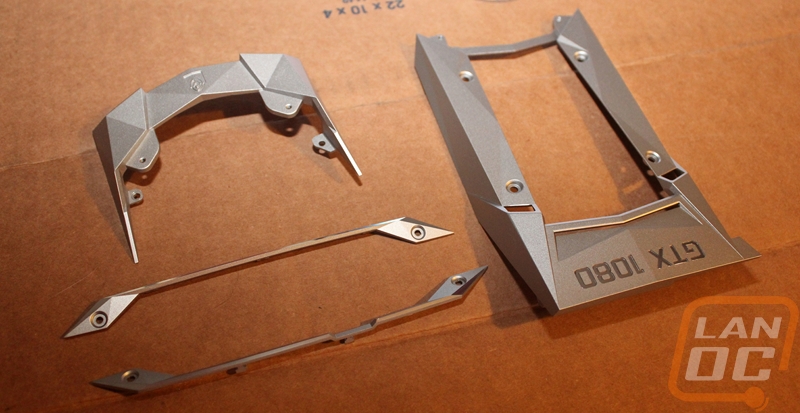
So to start painting you need to prep the panels. I made sure they were all clean then used rubbing alcohol on them to get any oil from my hands off.
Make sure you are painting in a vented area and also painting in low humidity and decent temperatures. For someone in Ohio in the middle of winter this was really hard, it was actually snowing when I painted one of the two cards. I ended up painting in my breezeway and then bringing the painted parts into the house in between coats. This isn’t ideal but did help cut down on the smell. You want to give the card a good four coats, waiting 30 minutes between each coat. Then at the end, you have to wait 4 hours before you can do anything with them.
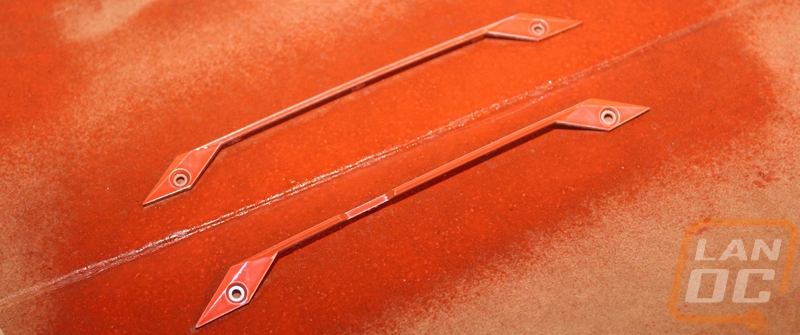
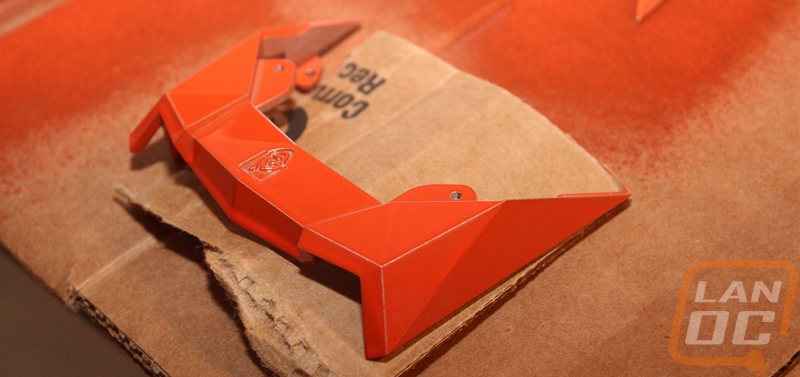
That back panel you have to be especially careful when painting. The pointy ends will collect the most paint and they like to stick to the surface you are painting. I experienced this on both cards and this is why I had to repaint one of them. It stuck and then started to peel up when I picked the panel up. To fix this I would paint it then lift it up onto a piece of cardboard to keep the corners up in between coats. Also with the back panel, remember that you need to get a few coats at an up angle on the back edge because that area is visible with the card back together as well.
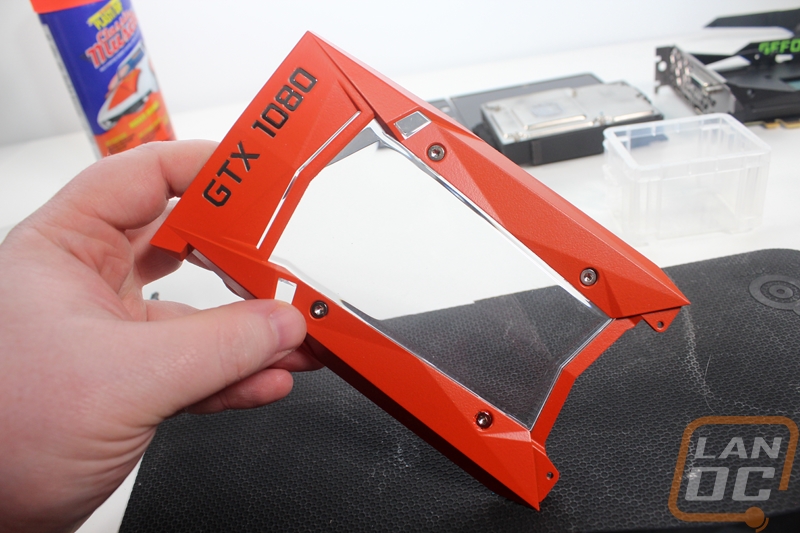
Once everything is dry you can start to put everything back together but be careful when handling the new parts. They were still a little sticky and on one of our cards I scuffed up the front edge when I had the card flipped over to attach the backplate. Before putting it all back together though you should be considering what you want to do with the GTX 1080 or GTX 1070 logos on the side of the card. I was planning on painting them but decided to try to clean them up first and see how they look. I used a new Exacto knife and carefully cut around the edges on each letter then using the tip scrubbed the finish off the top of the chrome. This is REALLY hard to do and risky as well. If you don’t do it right you can end up peeling up the finish up the top of the card and have to repaint the whole thing. If you are worried about this you can leave it painted in or hand paint the letters in another color. The end result was well worth it, though.
Putting your card back together is mostly just putting everything back together the way it came apart. In other words, you can follow my previous instructions starting at the bottom and get it all back together. I do have a few tips, though. For starters, dump out your screws and take the time to sort them all out by style, length, and color, this helps make sure you get everything back in the correct locations. For example, the two screws on the PCI slot have a different finish than the other similarly sized screws. Take your time when putting everything back together and make sure you don’t over-tighten anything. This is especially true with the tiny screws that hold the backplate on, they will strip out with almost no force at all. To prevent that I held my screwdriver by the stem, not the handle to keep the torque to a minimum.