Last week I went through the main components in the Crush build, this week I want to touch on a few of the areas that people sometimes skimp on. The power supply is at the top of that list, but some people skimp on their cooling so I want to talk about what my original plans were, how they changed after I started the build, and what we ended up with. Then after all of that, we can finally dive into a few of the small changes I made to fine tune the build and make it exactly what I wanted. That LanOC style if you will.
Title: Project Build: Crush – Part 3
Written by: Wes
Pictures by: Wes
Build Sponsors/Supporters: Nvidia - Gigabyte - Caselabs - Noctua - Kingston - Seagate - OCZ - Asus - Corsair - CableMods
Amazon Affiliate link: HERE
Links to other Parts: Part 1 – Part 2 – Part 3 – Part 4 - Part 5 - Part 6
Power Supply
It’s crazy that people can spend sometimes thousands of dollars on a computer and put it all back together with the old no-name power supply that they went with for their old budget build. For a lot of people they only think about the wattage and if we are lucky they might also be worried about getting modular cables. Those are of course both important, but most people don’t even know about 80Plus ratings and how they help sort out all of the power supply options. From the beginning, I wanted to get a power supply that would get the job done without going completely overkill. I mean The Fridge had two 1200 watt power supplies!
So for Crush, I first had to get an idea of what wattage I would need. While I did my own testing of the GTX 1080 and a similar motherboard and CPU in our GTX 1080 review, I went to the Cooler Master PSU Calculator that I have always trusted. With everything inputted it put the load wattage at 547 and recommends a 597-watt power supply for the build. Well, I wanted to plan for future expansion, especially taking into account that if I went with a pair of crazier cards in the future that might pull a lot more wattage. So I bumped up my wattage range for 750-850 and set out to find the ideal power supply.
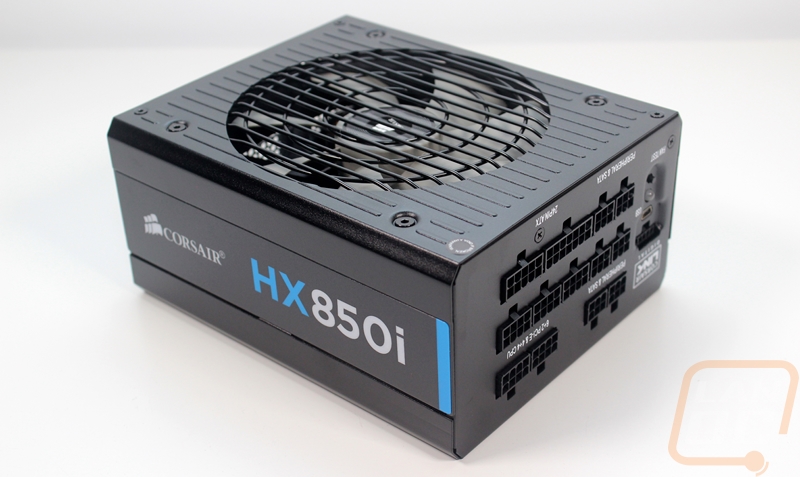
I had to also take into account the small form factor of the build. The Bullet BH7 might support an ATX motherboard, but only barely. With that in mind, I was seriously considering going with one of the new Silverstone SFX power supplies with their high wattages. But I also wanted to upgrade to CableMod cables and with those being brand new I was a little worried about compatibility. So when I ended up with the Corsair HX850i for review and after I had a chance to check out its features I knew it was what I wanted to go with. Corsair has been rock solid for me in the past, including the PSUs in The Fridge. But on top of that, I really liked the Corsair Link software that let me keep an eye on the power supplies performance along with the rest of my PC.
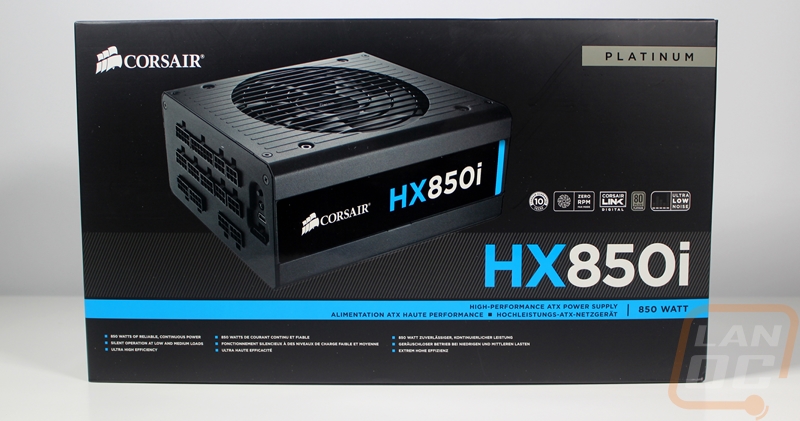
In addition to that, with this PC running 24 hours a day the HX850i fit the bill for efficiency as well. Being Platinum rated in 80 Plus means it has an efficiency rating of 92% at the 50% load that I expect the build to be at when it is in use. This translates to lower power usage and trust me that is a big deal at our house, we already use twice as much power as an average household and our usage always seems to go up, even when moving to power efficient bulbs and taking other steps.
You can also check out my coverage of the power supply at THIS link.
Cooling
The biggest challenge in building this PC was figuring out the plan for the cooling system. Going in I knew that the small case would make things difficult, but I had every intention of going with water cooling for the CPU and using hard lines with a pastel orange coolant. After using the pastel red in our D-Frame Mini build I really wanted to check out the orange. But once the case came in, that plan started to fall apart. Fitting everything in at best would mean having a thick radiator and fans directly above the CPU and the hard lines and orange coolant would end up being hardly visible. So I put that idea aside, though I am still considering ways to make it work. From there I had to find something that would fit with our orange and black theme, fit in the Bullet BH7 with its low CPU cooler height, keep the 6900K cool, and run quiet. That’s a big list of things to have to keep in mind.
So I started off by digging through my box of coolers and I came across the Noctua NH-C14S. It had the cooling and noise covered but the looks didn’t really fit so I ordered in two of Noctua’s black IndustrialPPC fans and went with that plan for the initial build. When I got it installed it all looked good as far as the height goes but when I installed a video card the cooler ended up running into the back of the card.
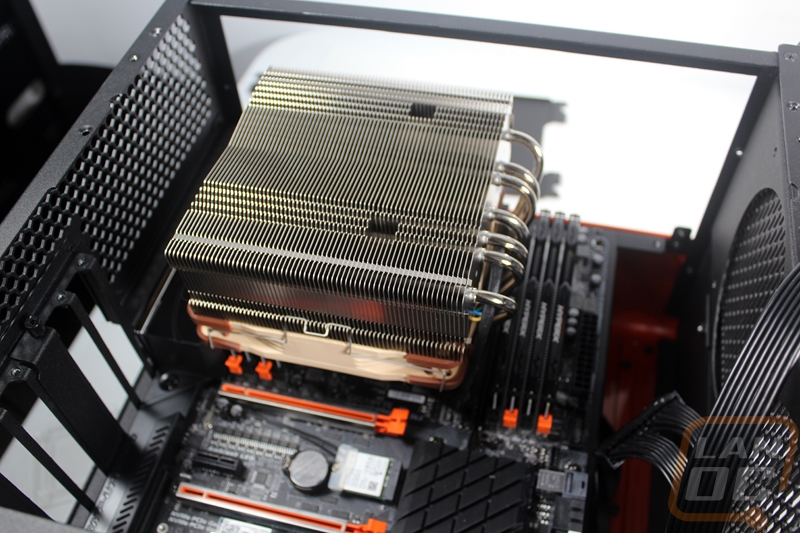

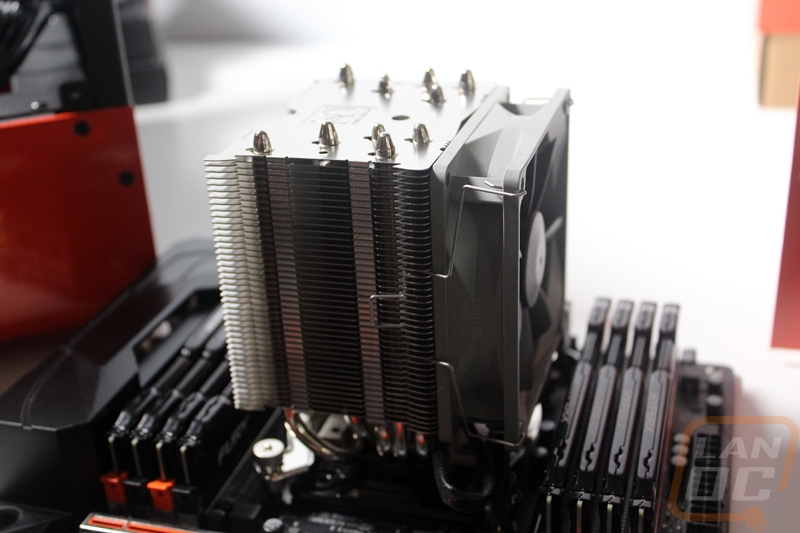
So I switched over to NH-U9S from Noctua. Being a tower cooler I knew the clearance wouldn’t be an issue on the ram or around the video card and the smaller fan size helped with the height. I was concerned with the cooling capabilities but Noctua had it listed as being capable. The new cooler fits much better but I was still stuck with that brown that didn’t fit the build at all. The NH-U9S uses 92mm fans and let me tell you, there aren’t any good options for fans in that size in black. I ended up asking Noctua to send over a 92mm Redux fan with the gray theme. It’s not the black I wanted, but it is at least an improvement. The cooler looks good in the build and it’s a Noctua so I know it's going to run quietly.
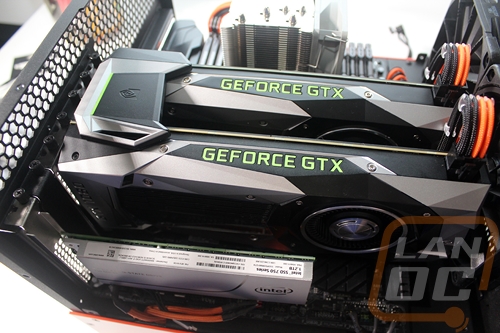
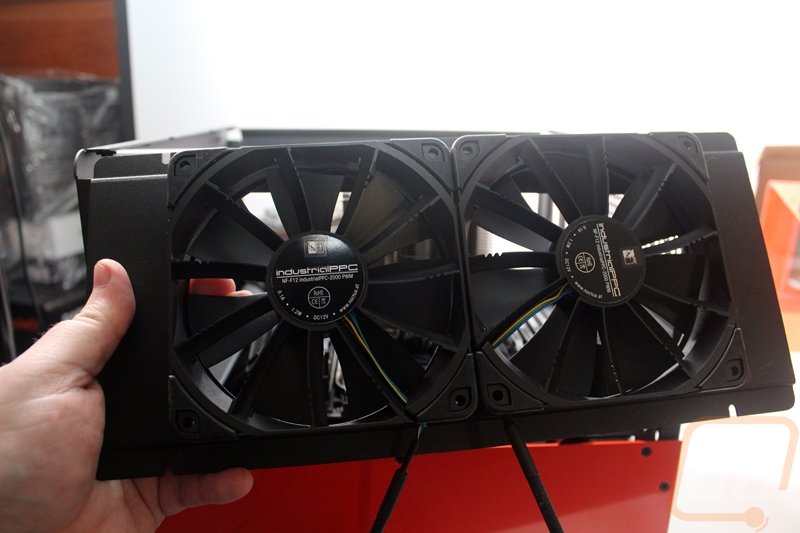
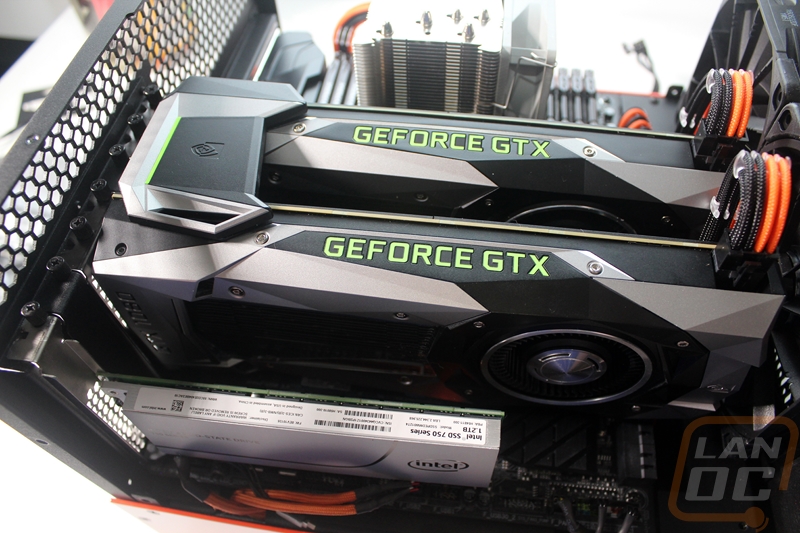
The CPU cooler doesn’t matter at all if I can’t get any cool air into the case, especially with those two GTX 1080’s in there. I wasn’t worried at all about the bottom of the case, the power supply has its own cooling and the hard drive should be okay but I will be checking on it when everything is up and running. I mostly just needed to get two fans up in the top half. The Bullet is designed with a dual fan mount on the front and one up top. The top mount wouldn’t fit fans with the heatsink installed so I removed it altogether, but the front mount still hard room, well kind of. With the two video cards right there, there is only a little room. I pulled the mounting plate out and installed two Noctua NF-F12 industrialPPC-2000 PWM fans. The black color fits the theme obviously, but I have had good experiences with the iPPC fans and their heavy duty construction. I also removed the brown dampener pads and replaced them with black Chromax pads to complete the all blacked out look and they do look amazing.

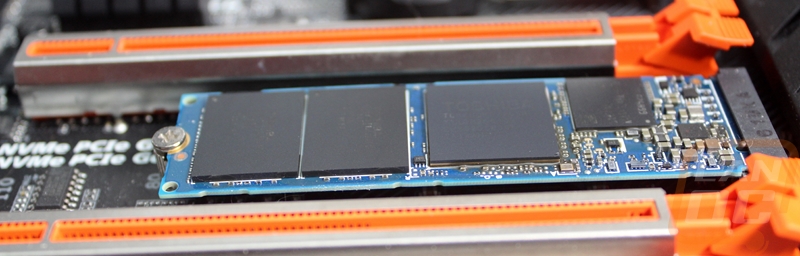
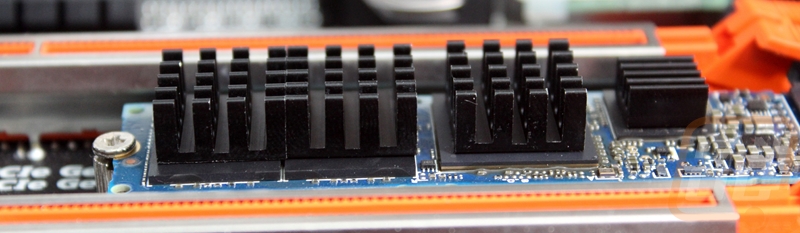
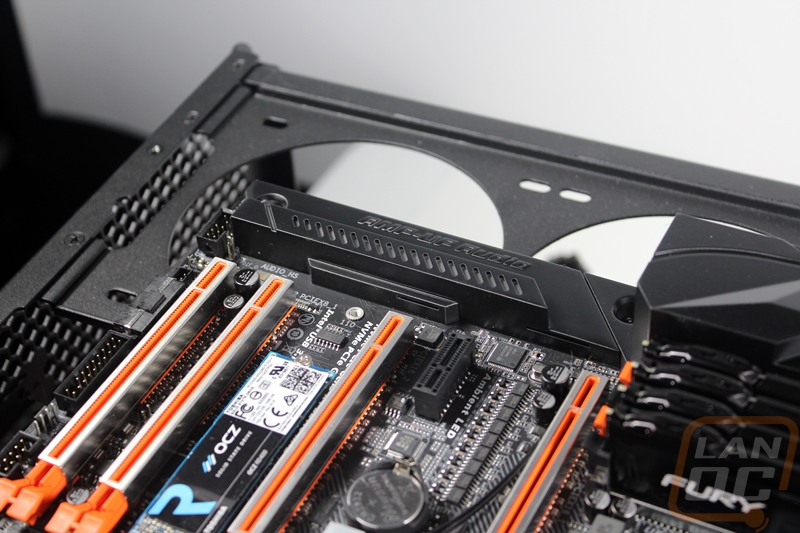
That was going to be it for my cooling but after getting the build up and running I did end up making one last change. The Corsair Link software and OCZs software for their RD400 drive warned me that the RD400 when sitting up under the two video cards was running a lot warmer than it should. When I say that I mean it was running up in the 70-degree range in Celsius. This was well above anything else in the entire PC. This happened in December and I had put tiny stick on heatsinks on my wishlist and my LanOC Secret Santa actually included them along with my main gift. So when I pulled apart the Crush build for a few changes I took the time to get them installed on the drive.
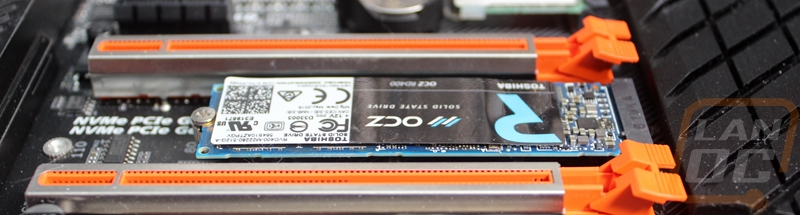
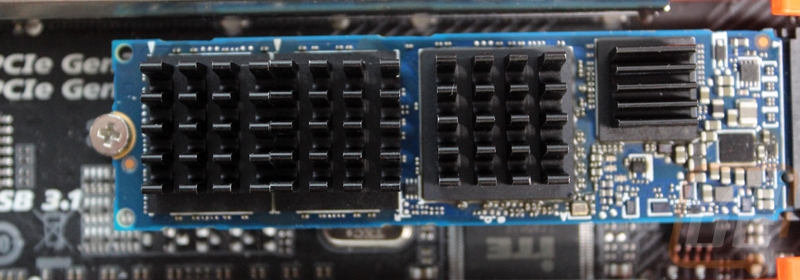
I had to pull off the drive information sticker, I may have been able to stick them onto the sticker but it wouldn’t be the move efficient way to do this. I made sure to line the fins up to match the airflow coming from the two Noctua fans and I placed three larger heatsinks on the two NAND and controller and a smaller heatsink on the tiny DDR3 cache. It will never be visible to anyone looking at the computer, but I think they came out alright. More importantly, this dropped the idle temps down to 59 degrees Celsius. That’s still warm, but an improvement over the previous numbers.
Customization: Motherboard and Power Switch
When I covered the X99 Phoenix motherboard last week the one issue I had with the board was the bright white accents on the heatsinks and the cover for the rear I/O. It wasn’t a deal breaker but the bright white did take away from the black interior that I had planned on doing. To fix this I wanted to dive in and see what I could remove and if I couldn’t remove them paint. I started off with the plastic cover over the I/O all the way down to the sound card. It is split into two pieces and held in place with screws on the backside of the motherboard. I pulled both off then starting sanding over the entire part to make sure our paint would stick to the plastic surface. I spent a little extra time sanding off some of the raised letters as well.
Once sanded I cleaned both parts to make sure all of the dust and oil from my fingerprints were gone and I used a satin black spray paint to get the look I was going for. I should have primed the surface first, but because of the good surface prep that I did the finish came out good even without a primer. Once the paint dried I reinstalled both panels. I was careful of course to use tape to cover up the LED lights built into the panel and prior to painting, I removed the light diffuser as well so I could reinstall it later without paint on it. The whole job didn’t take long but ended up coming out really good, I don’t know why Gigabyte didn’t do this themselves.
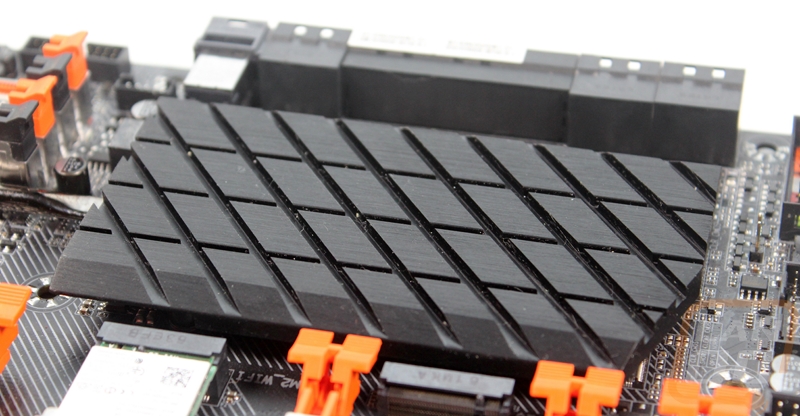
The heatsinks on the board also had white on them. Gigabyte installed thin aluminum covers on both of the heatsinks. Originally I was thinking about painting just the white areas but I decided to just remove the three panels. They are held on with a glue and don’t expect the panels to be in good shape after you remove them. You can pull them up, but it is best to use a heatgun when doing it to loosen up the adhesive and help prevent any damage to the motherboard. After you are done pulling them off there will be a lot of residue, I rubbed some of it off with my thumb and then used rubbing alcohol and a rag to clean the rest up.
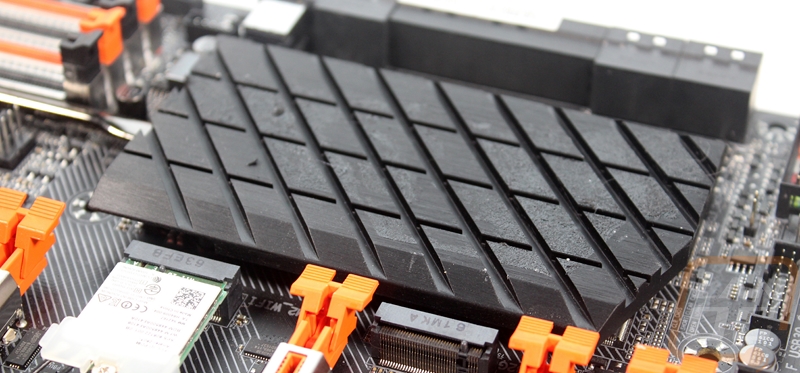
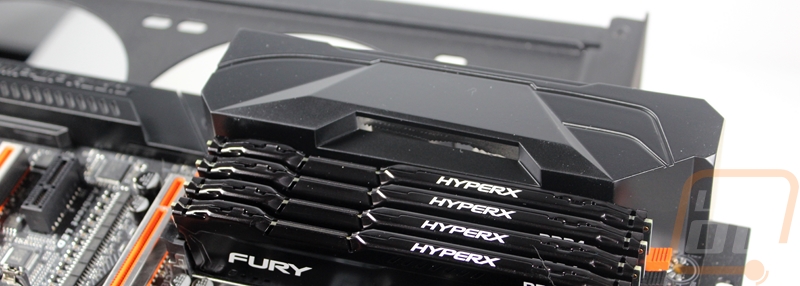
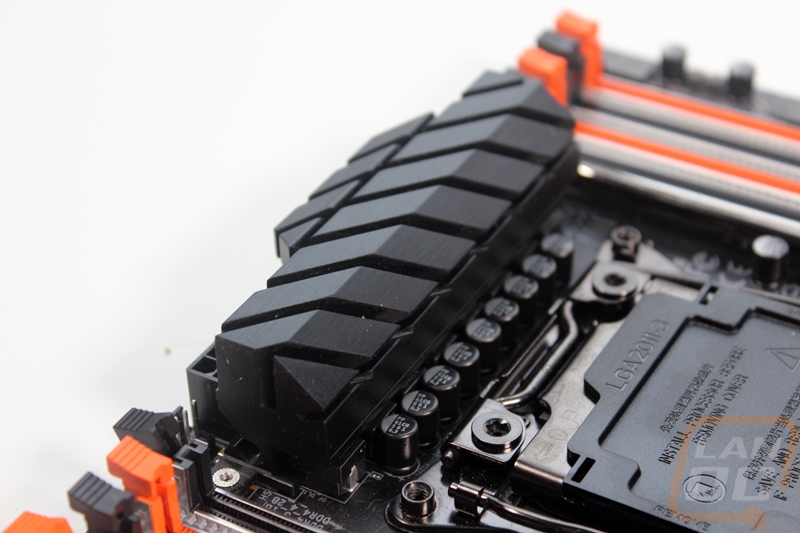
With the panels off I was really impressed with just how good the heatsinks look. The chipset cooler looks a little like a car tire and the heatsink above the CPU has a striped look. Both are a satin black finish up under the panels so they perfectly matched the I/O cover I painted as well.
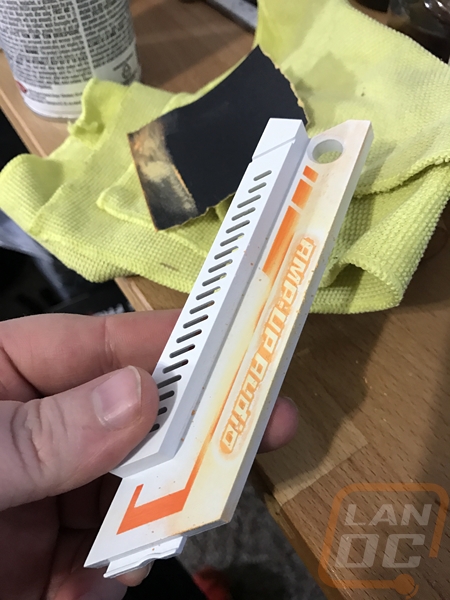
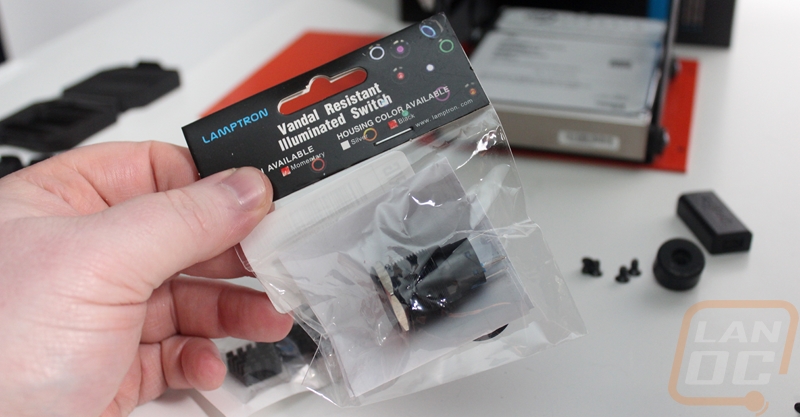
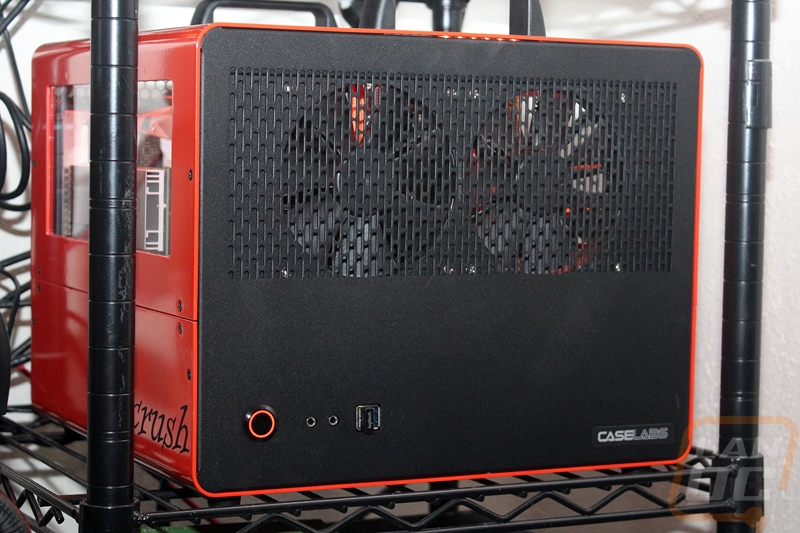
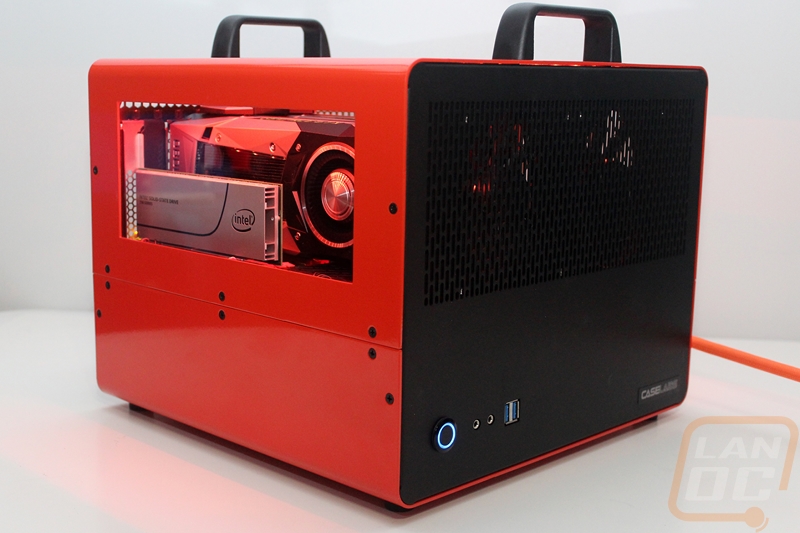
To fix one of the small complaints I had with the CaseLabs Bullet BH7 I just had to get rid of that blue LED on the power button. It would look great on a black or a white case but it didn’t really fit with the orange and black. This part of the build ended up taking me a long time. When I first started the build I ordered an orange vandal switch to replace this one from PerformancePCs. The switch that came through ended up being really cheap and the LED color even on the box wasn’t orange it was amber. Now that is close, but with an orange case and orange lighting inside, an amber power switch was going to look really out of place. I spoke with ModOne, a former CaseLabs employee about what switch would be comparable in quality to the switch in the Buller because I was impressed with its quality and he suggested I look at Lamptron. Well, long story short, I ended up ordering the wrong size, then later I forgot to order a Momentary switch. After weeks of trying to get the correct switch in, I ended up with this switch. I tested it and it looked perfect, so I just had to get it installed.
To do that, because I already had the PC build, I had to pull the bottom off the Bullet case. From there installing the switch isn’t too hard. You unscrew the nut on the back of the original and pull the switch out. You then transfer all of the connections over to the new switch and reinstall.
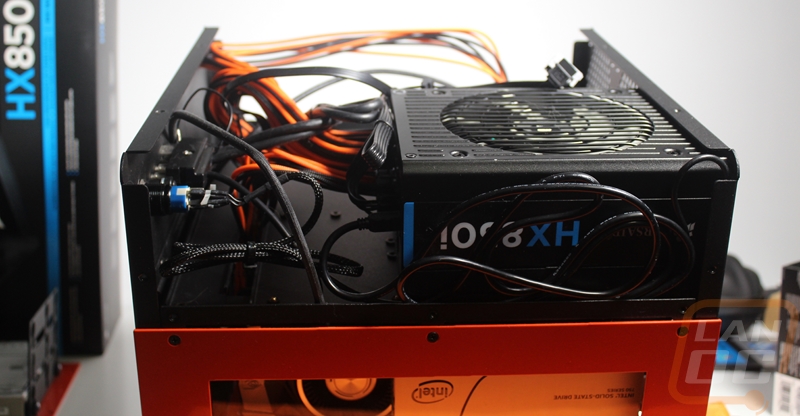
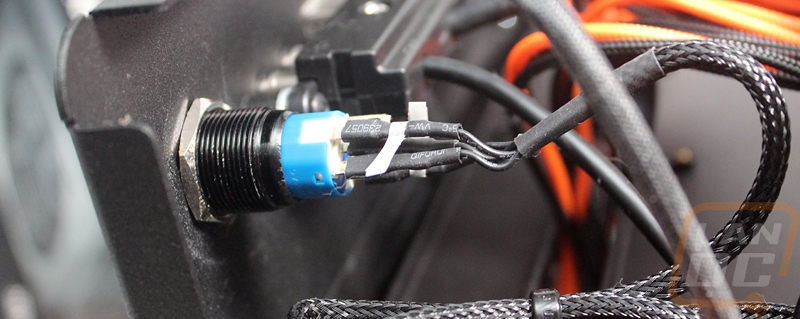
Even with all of the trouble I had trying to get the proper switch, the result was well worth it. The new switch had the same quality feel of the original and the orange matched the build perfectly.
Customization: Cables and Lighting
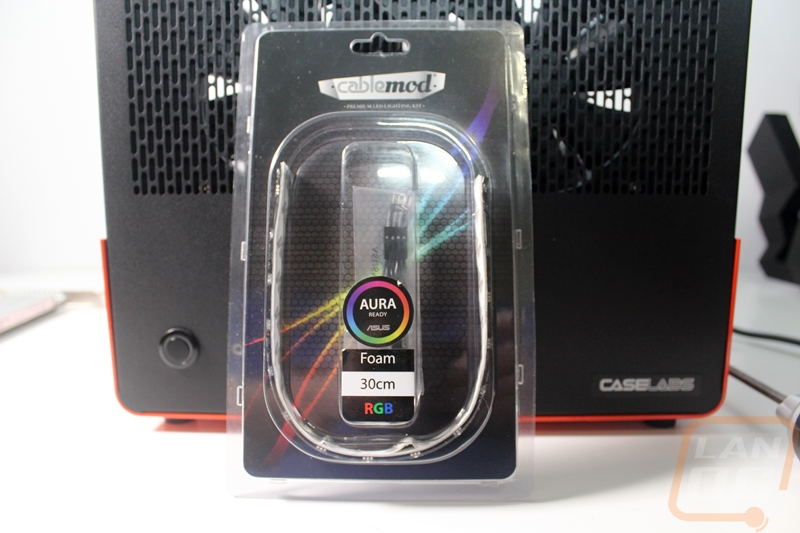
Continuing with the customization theme, one of the big features of the X99 Phoenix motherboard is the RGB lighting on the board and the one RGB header that you can link case lighting with. To take advantage of this CableMod offered to send over their lighting strips. I made a mistake when putting in the CableMod order and only ended up with one so I did have to pick up the second one on Newegg, but I went with 30cm long strips and because the CaseLabs Bullet case is made of aluminum I had to get the foam sticky tape versions over the easier to use magnetic model. The double sided sticky tape that CableMod uses is unique in being the older foam style rather than the thin tape kind, but this is by design. I know I have had lighting fall down over time, the foam tape sticks better and should prevent that.
When we got the CaseLabs case we also added the two lighting rails to the order and this is where they finally come in handy. The rails are the perfect length to hold the 30cm length strips so I knew where my lighting would go, I just had to get it all wired up. The motherboard comes with an adapter cable so I hooked that up and then from there I needed extension cables to run from the motherboard up to the first RGB strip and then across the case to the other strip. I ended up ordering THESE 30cm cables because they were the length I needed and they were the only option out there in black. They worked perfectly from one side to the other. I did have to take a male to male LED adapter from an older lighting kit in the office, but that was all hooked up. The longer cable then ran down and into the bottom of the case right next to the RGB connection on the motherboard and back up and out again to hide the extra length there.
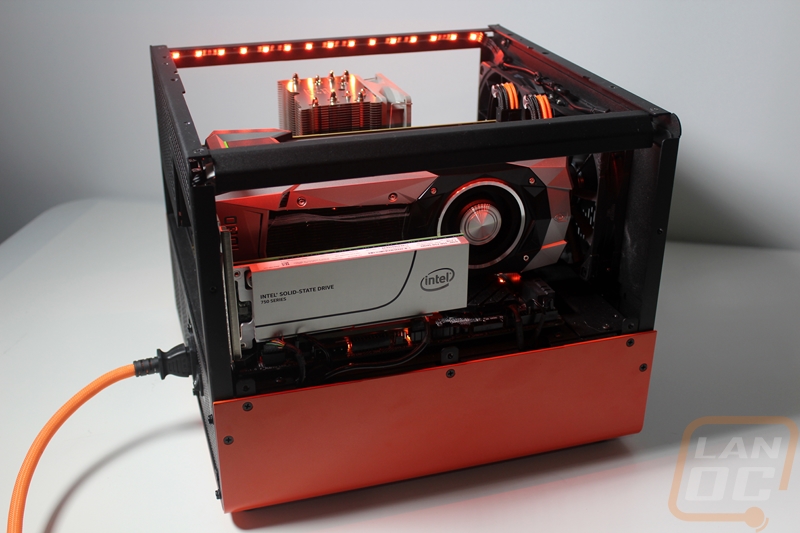
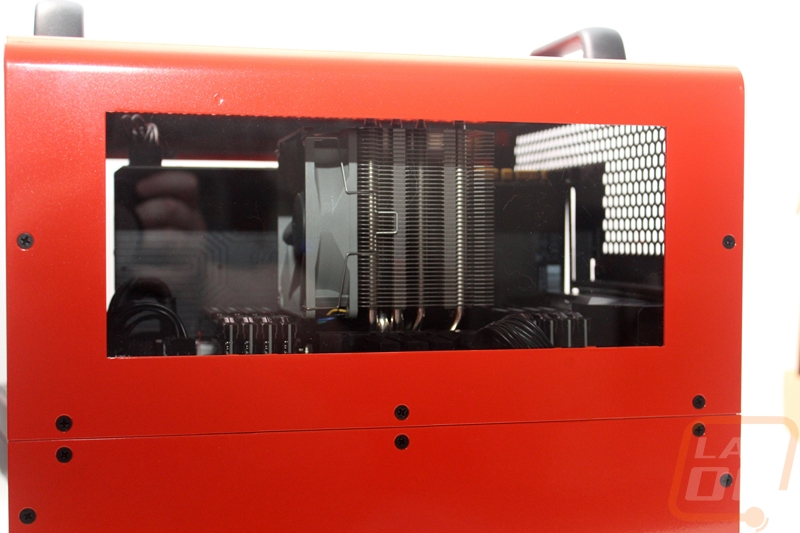
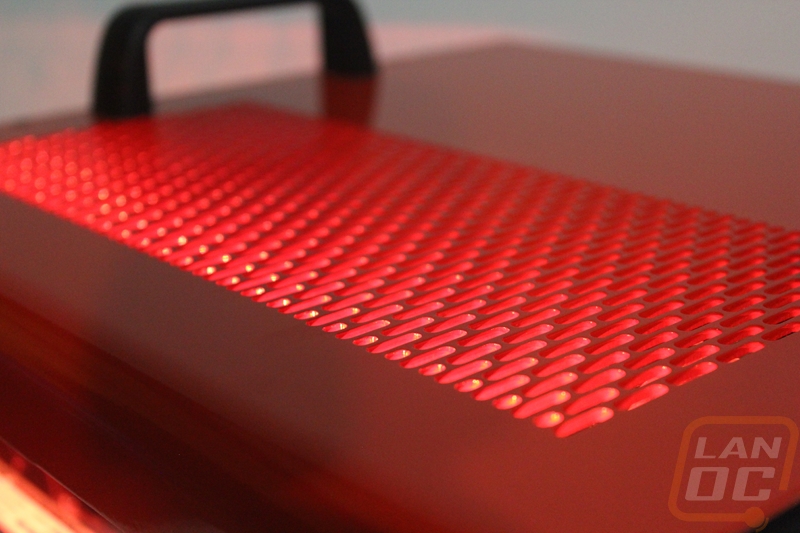
So I set the lighting to orange to fit the build, I’m not a big fan of the rotating color modes most of the time. Gigabytes software let me pick the exact color I wanted and this was helpful because I had to add more red to get the lighting to perfectly match what I was looking for. In the end, the lighting lit up the entire top of the case really well. I flipped the top cover of the case around to have the vent above the two video cards and the top vent ends up having a really cool glow coming from it.
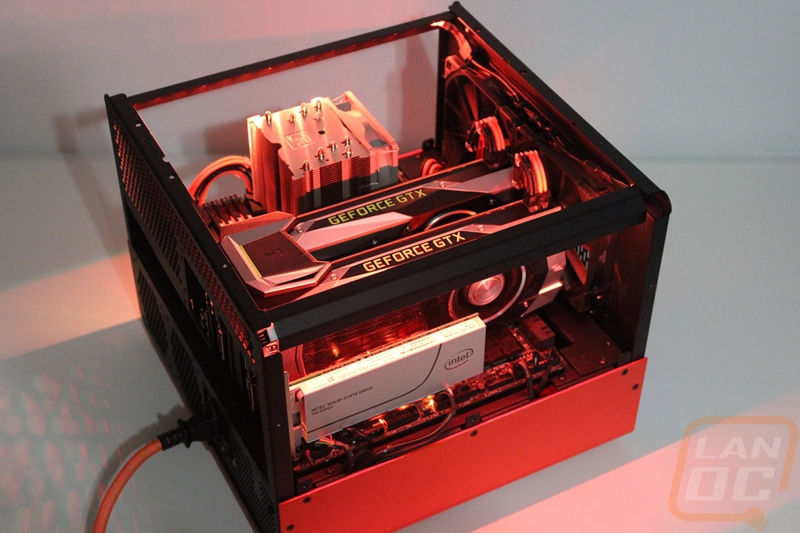
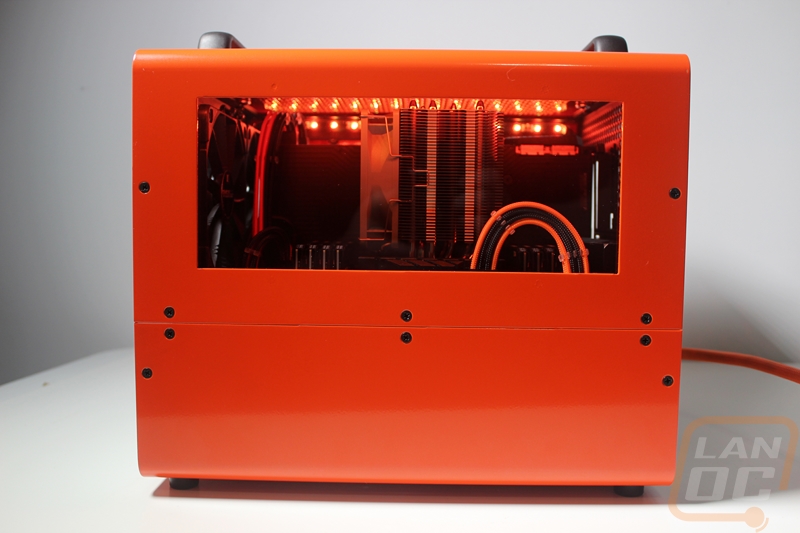
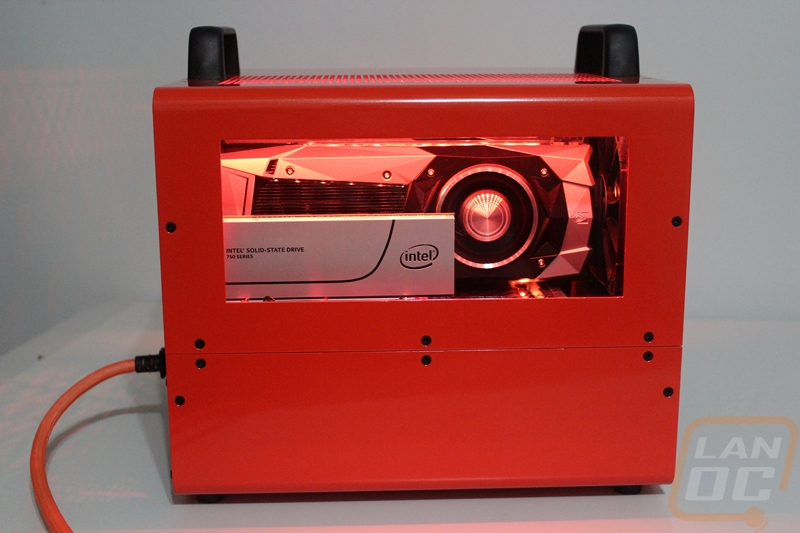
With the lighting on and the top cover on the view in both side windows is good as well. The orange glow is enough to tint the video cards orange a little. This actually reminds of one of my original plans for the Crush build that I may still do. I knew there wouldn’t be room for water cooling the two cards and that I would be sticking with the air cooling on them but I wanted to paint the founder's edition coolers orange to match the case. As of writing this though I haven’t done it. I was originally going to use plasti dip but the paint I ordered that matched was the wrong type when it came in and they no longer sold the specific color I wanted. So I’m still looking at options there.
For the final touch, I wanted to customize the wiring on the build as well. I went with CableMod on our D-Frame Mini build and loved them so I reached back out to them here and they were happy to help. You could go with cable extensions to get the same look considering the power supply is hidden up under everything but I did go with custom length cables. To do this I actually installed the original cables for the build and then measured the length I really needed using a string to avoid having big bunches of cables in the bottom section. The hope was this extra room might open up water cooling options when it was all together but this didn’t really happen.
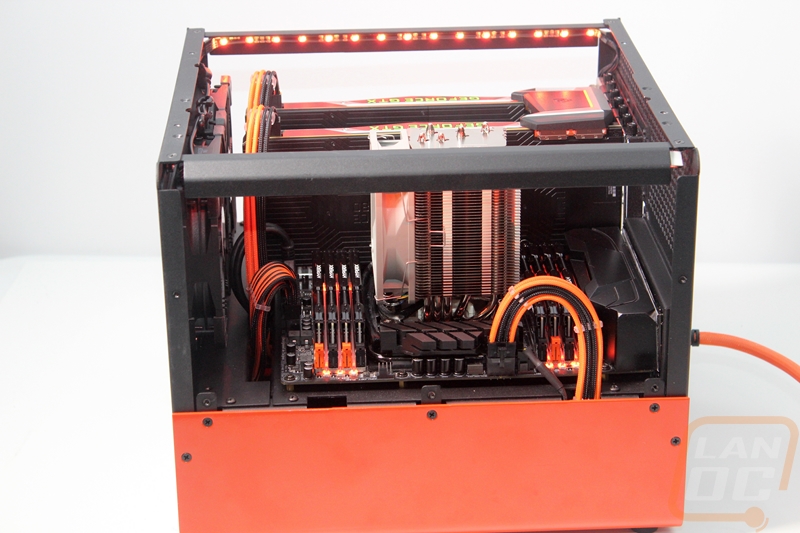
I had a bunch of photos of the cables when they came in but I can’t find them at all now. So let's jump right into the installed photos. I spent a lot of time routing the video card cables up into a loop for each card even though they aren’t really visible much when you get the top panel back on.
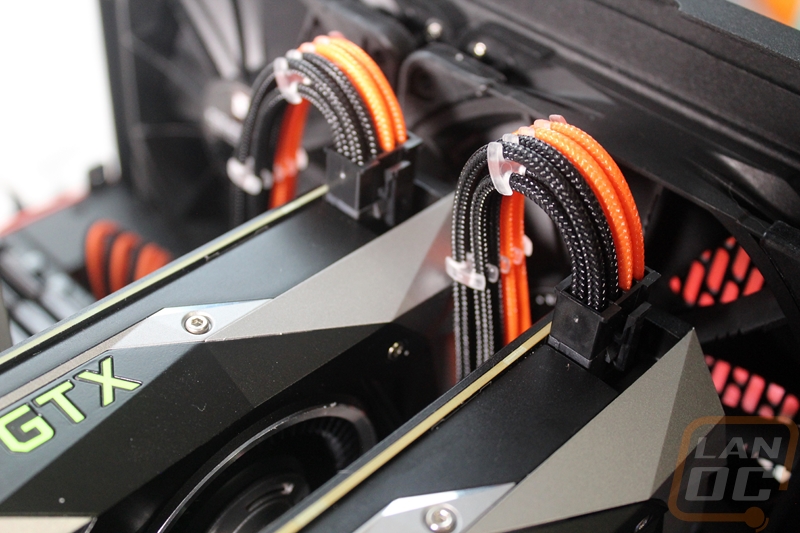
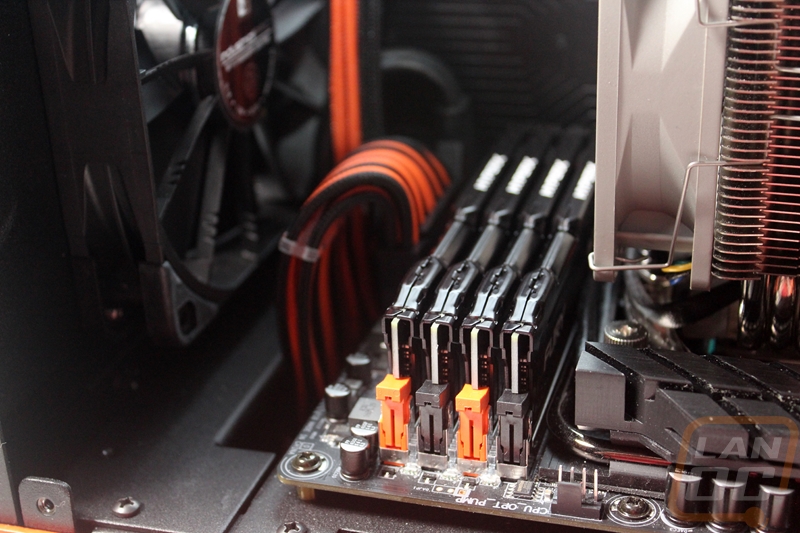
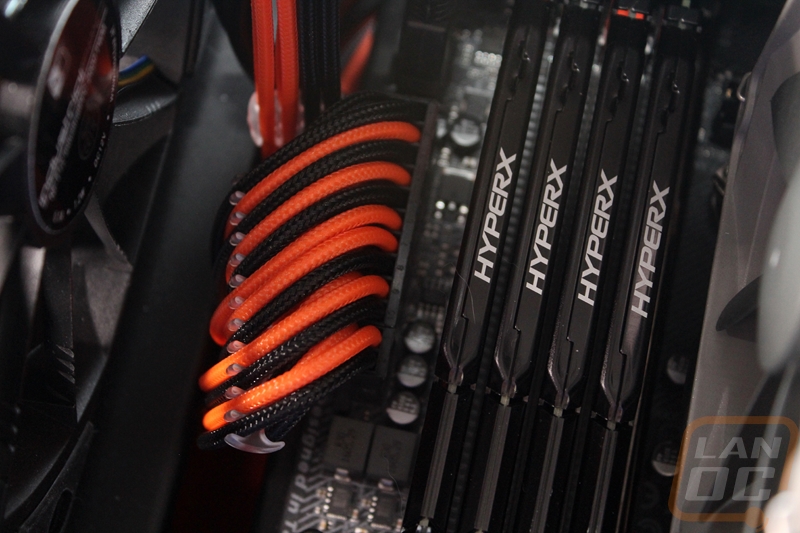
The CPU power ends up being the most visible of all of the cables, this is a little ironic because normally this is a cable that is hidden behind your motherboard and tucked up at the top of the case but our Bullet BH7 has windows on both sides and this cable is right in the window. It looks great too. I went with an orange and black layout using CableMods ModMesh sleeving. This is a plastic based sleeving where most people use a fabric paracord sleeving. This makes the colors pop a little more and gives a little more protection but it is harder to work with. To keep everything lined up I also used clear plastic cable combs, they hold everything but I didn’t want them to be super visible.
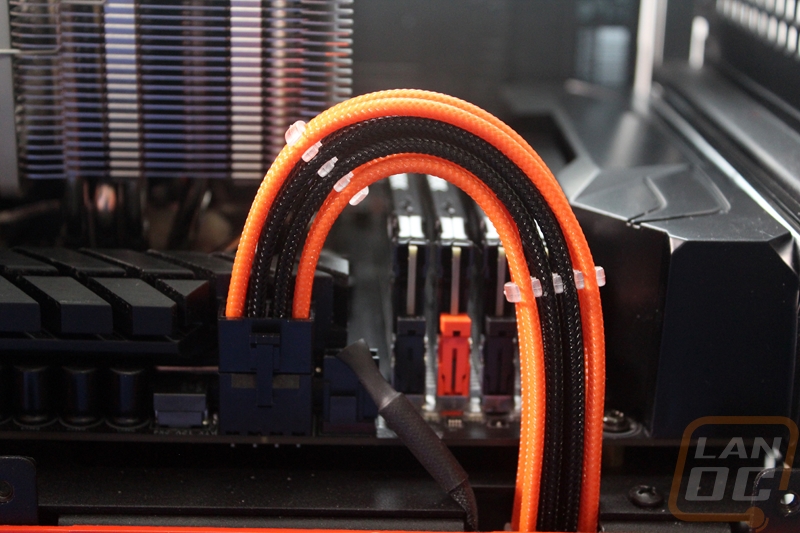
The last cable in the case was the 24 pin motherboard power. This is the hardest of all of the cables to work with both because of the location in the middle of the case and also because of the number of cables. I worked on it for a while to get things lined up but it didn’t come out as good as I would like. I plan on revisiting this one in the future to get it cleaned up. There seemed to be a twist up under the case in the bottom of this cable, preventing it from looping up and down like I had wanted.
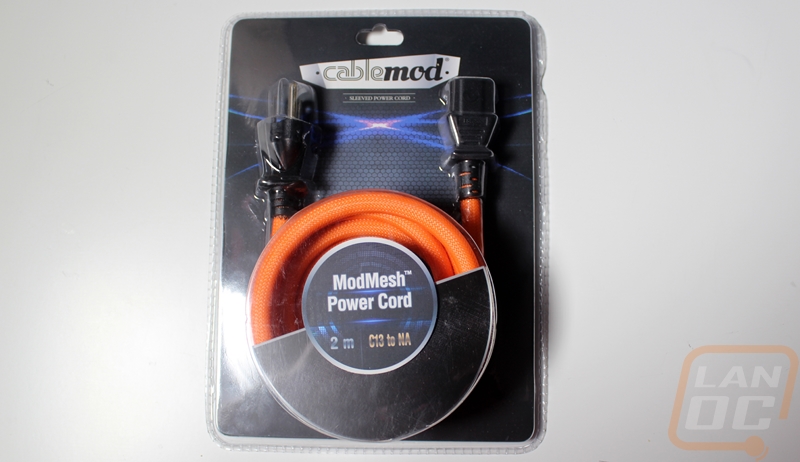
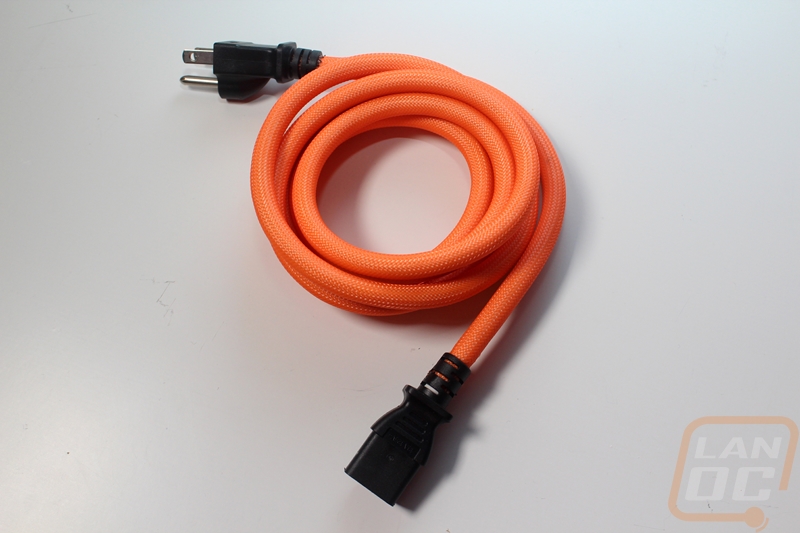
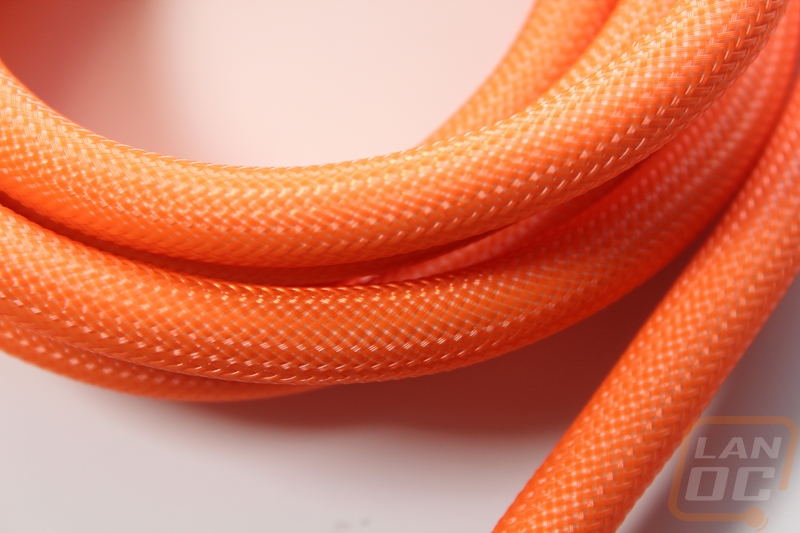
CableMod also sent over one of their newly introduced sleeved power cables with the same bright orange ModMesh sleeving on it and I must say the cable looks amazing. They now also have Ethernet cables as well. I might have to order an Ethernet and power cable to match my LAN rig so it will be easy to spot which cable is mine at events! The sleeving is tight on the cable and you can’t see through it at all. The sleeving then slips up under the connections on both ends so there is no need for heat shrink tubing or anything like that.
Stay tuned for more coverage, now that the build is all together it is time to see how it performs.


