Talk about a long time coming, not only has it been almost three years from our last Lunchbox build, but I’ve been planning and working on this build for a good portion of the year. If you follow our coverage, you will see breadcrumbs of comments all the way back to January of me mentioning potentially using components in Lunchbox 4. The problem is how exactly do you follow up our last build, it fit the bill perfectly, was easy to take to events, and had more than enough power for everything we tossed at it. I mean I could do the same thing again but with a few upgraded components but we have always tried to go smaller and faster with every Lunchbox build and frankly going much smaller has a few major limitations. So today I’m going to sit down and run through our new build. A lot of the components have been covered in their own reviews but today I’m going to go over why I picked each part. Then tomorrow I will dive into a few of the customizations I did to the build, benchmark everything, and then talk about how the build turned out.
Project Name: Lunchbox 4
Review Samples Provided by: Raijintek, Noctua, Silverstone, Gigabyte, Crucial, Intel, Corsair, NZXT, and Zotac
Written by: Wes
Pictures by: Wes
| Components Used | Live Pricing | |
| Case | Raijintek Metis | Live Pricing |
| Motherboard | Gigabyte Z170N-Gaming 5 | Live Pricing |
| CPU | Intel i7-6700K | Live Pricing |
| Video Card | Zotac GTX 1060 AMP! Edition | Live Pricing |
| RAM | Corsair Vengeance LPX 32GB (2x16B) | Live Pricing |
| Heatsink | Noctua NH-L9x65 | Live Pricing |
| Case Fan | NF-F12 industrialPPC-3000 PWM | Live Pricing |
| Power Supply | Silverstone SFX Series 600W SST-SX600-G | Live Pricing |
| Lighting | NZXT Hue+ | Live Pricing |
| Storage |
Crucial MX200 1TB SSD Crucial MX200 M.2 500GB SSD |
|
| Handle | MNPCTech Black Billet Grooved Handle | Live Pricing |
Picking A Case
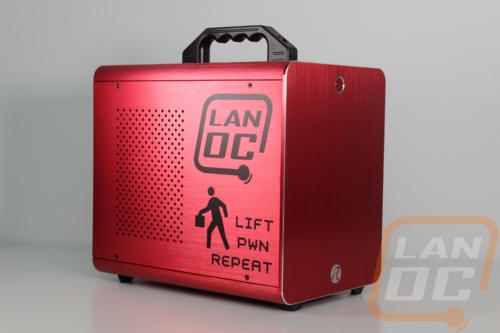
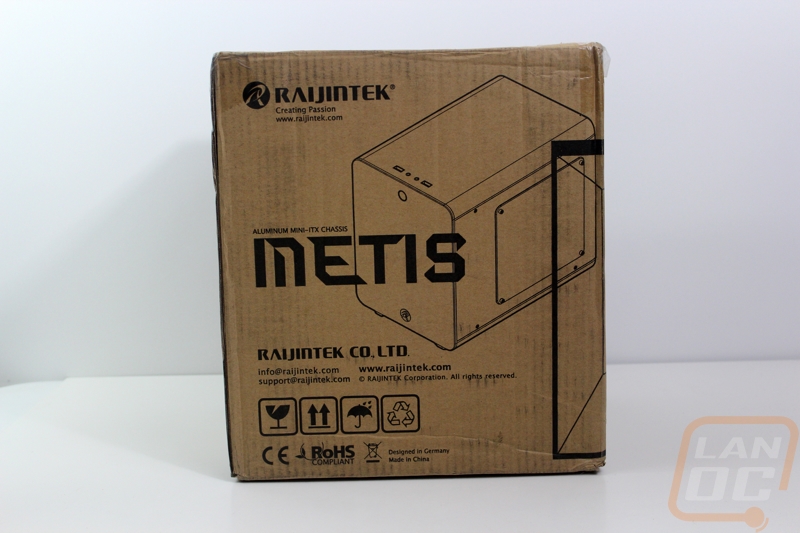
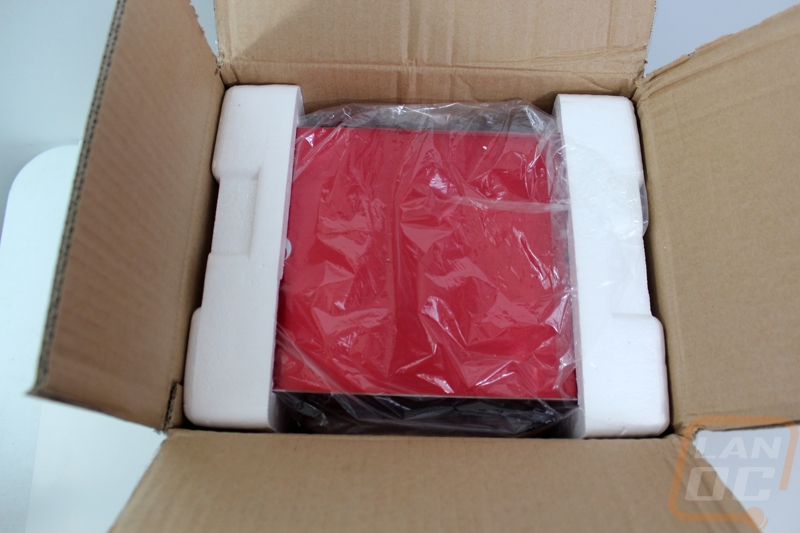
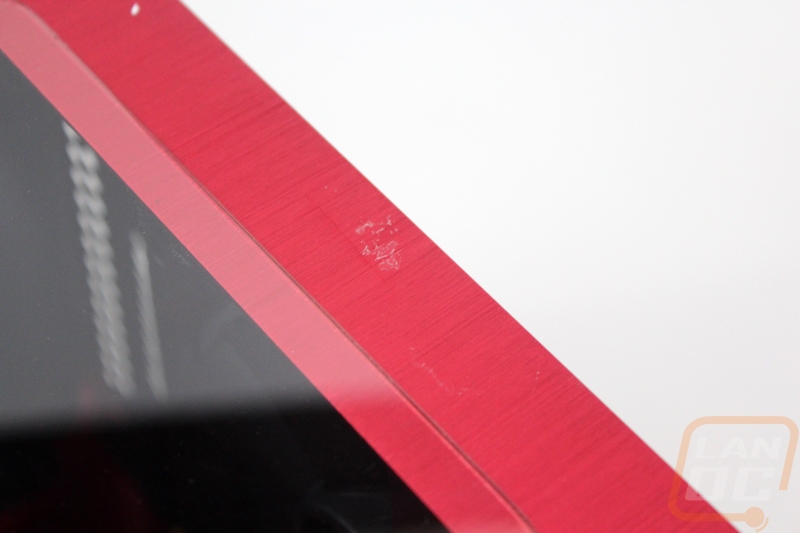
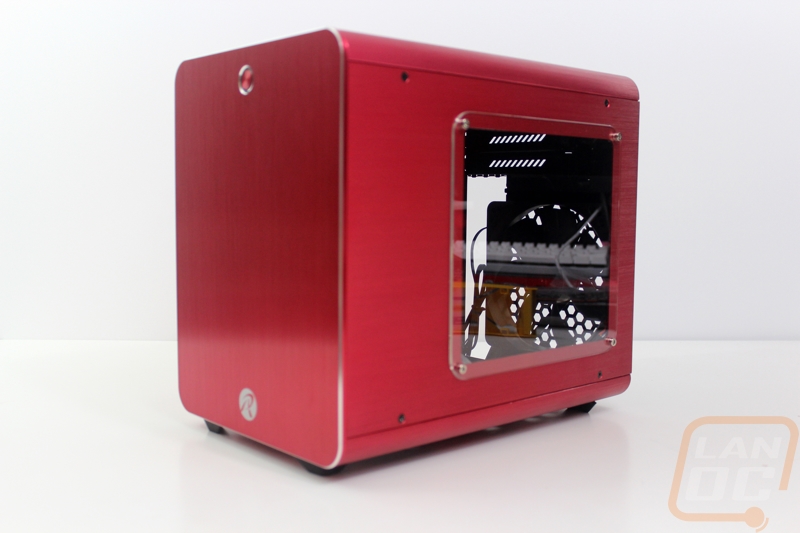
The Lian Li case that I went with for the Lunchbox 3 build was perfect for what we needed. It was small, had a built in handle, and had just enough room for me to pack a few high-end components into it. For the past three years we have been using it faithfully. The problem I ran into though is as much as I loved the build, it really flew under the radar. Even with the custom Star Wars artwork on the side, almost no one noticed it at events with the exception of right after I published out coverage and a few people wanting to check it out. I’m not saying being flashy is a requirement, but I did learn that it is fun to have people walk by and say how much they love your PC and Lunchbox 3 didn’t do that. At all. So when picking out a new case I was really aiming to find something that would fit everything but would at least catch your eye a little. I came across the Raijintek Metis and with its color options, It fit the bill. Its all-aluminum design was anodized red and with a window, people could actually take a look inside of the build without me having to run with the side panel off at all. So let’s take a quick look around the case. Our Metis came in this tiny box with a basic line drawing of the case on the outside. The box ended up getting banged up in shipping really good but the foam around the case on the inside kept everything safe. My one issue though was the tape Raijintek used to keep everything together in shipping, when pulling it up it left a lot of residue on the case that took a lot of time to clean off.
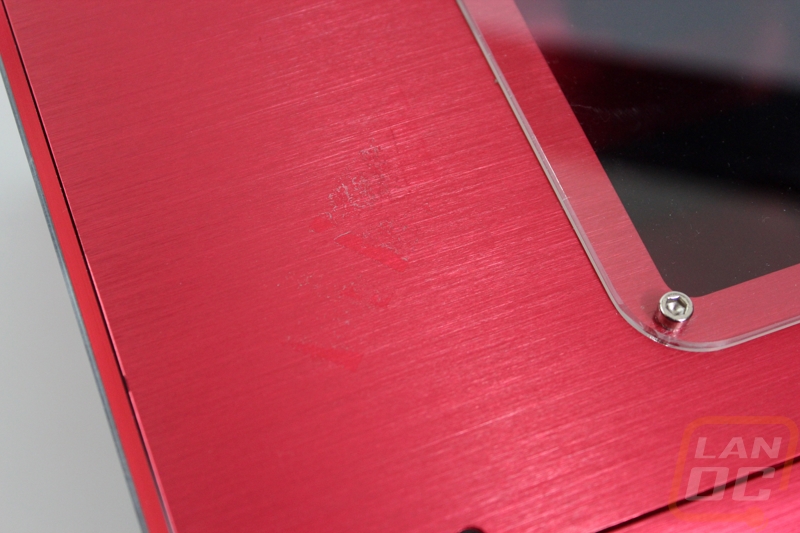
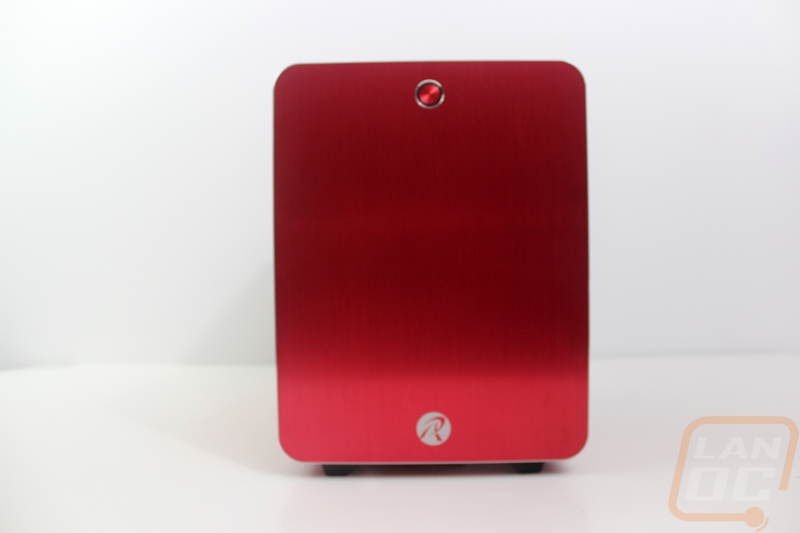
The Metis is bright red but has a silver machined edge around the front of the case. The front panel is actually just a thick aluminum panel but they did slip the Raijintek R logo down at the bottom and up top it has a Vander style power button that is also aluminum. The right side panel has an acrylic window installed in it. The window is a little unusual, it is actually mounted to the outside of the case where most are mounted from the inside these days. You can also see the thick socket head bolts that it is installed with as well because they are chrome and sticking out.
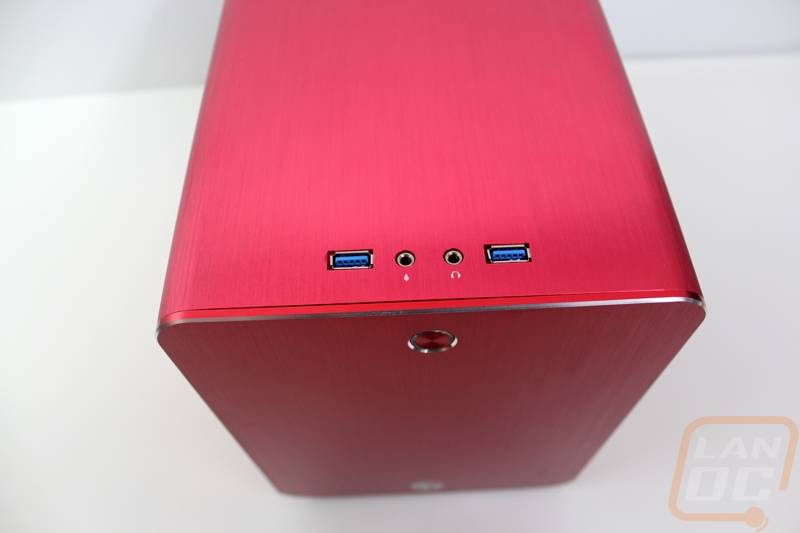
The top of the Metis wraps around the sides with its rounded corners, matching the rounded corners on the front of the case. The front I/O panel is up at the front edge keeping it near the front power button. You get two USB 3.0 ports with microphone and headphone jacks in between. The split design is a great way to make sure there is more than enough room around the USB connections for thick thumb drives.
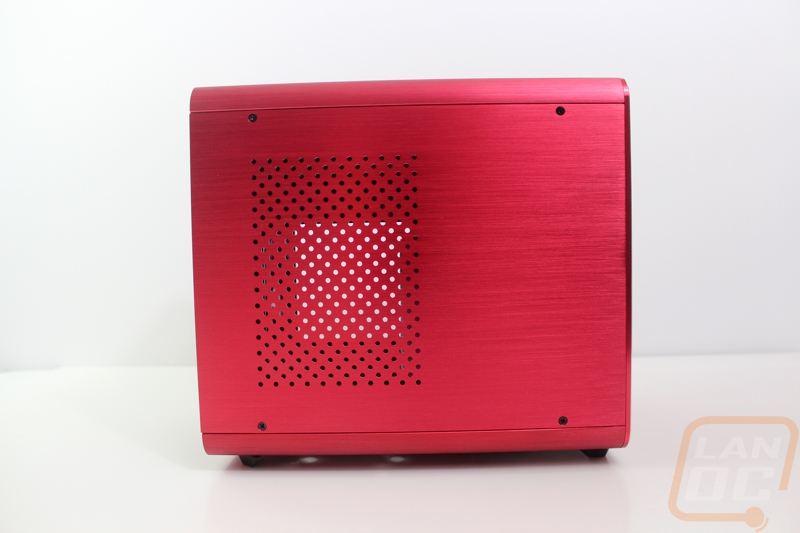
The left side panel would be considered the back side panel because it is behind the motherboard tray. The side panel is held on with four screws so don’t expect easy to use thumb screws to get in and out of the Metis. The side panel is covered half way with drilled holes for ventilation. Considering the lack of airflow on the front, top, and other side this vent is a good portion of the cases airflow.
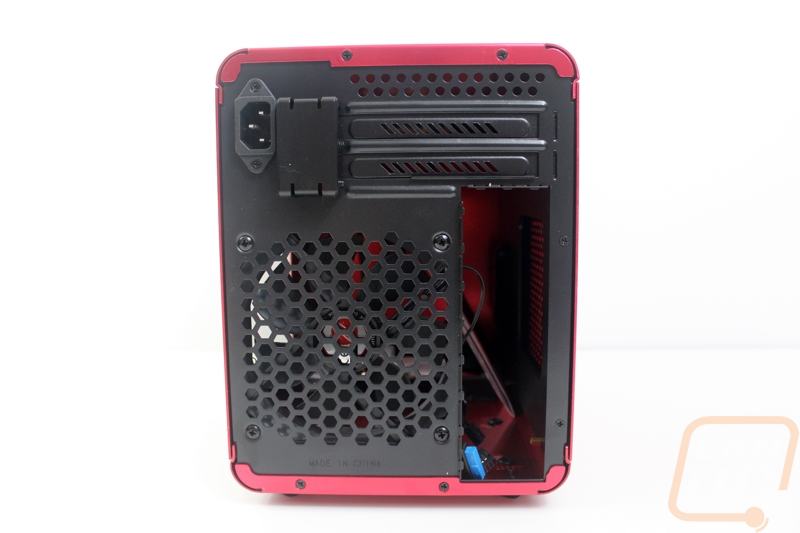
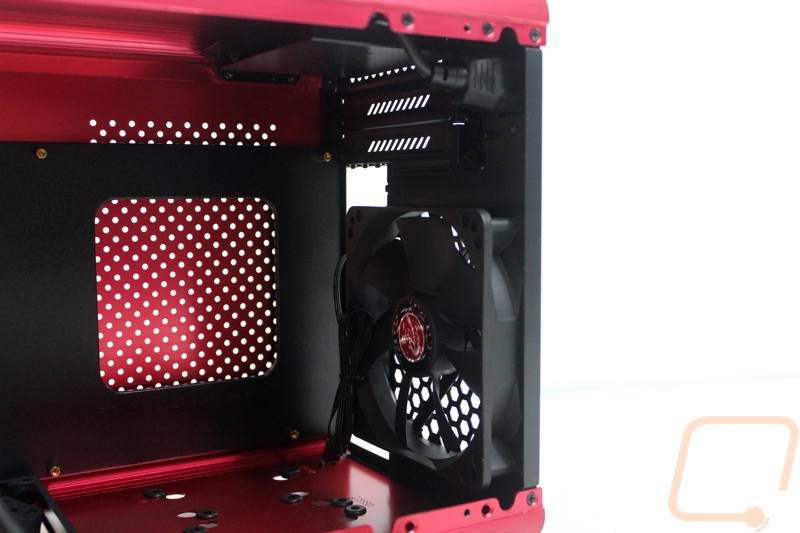
In the back, we get our first look at a panel that isn’t bright red. The back is made out of a thin wall steel and is finished in a flat black that looks great with the red. The rear I/O hole takes up a large portion of the back. Then the cases only fan sits above it as a rear exhaust fan, the fan is 120mm. The two PCI slots have a plastic box covering the top, I’m not a huge fan of this but it does cover the gap on top of the PCI slots. Normally cases will have a sliding panel to cover those gaps but the Metis doesn’t have that space because right next to that space is a rear mounted power cable connection. This allows for a non-rear mounted power supply, something that is needed to fit everything in such a small space.
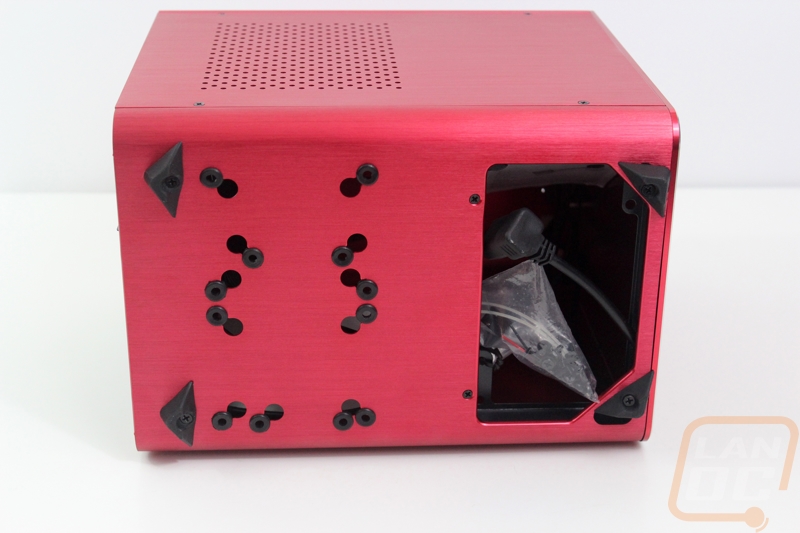
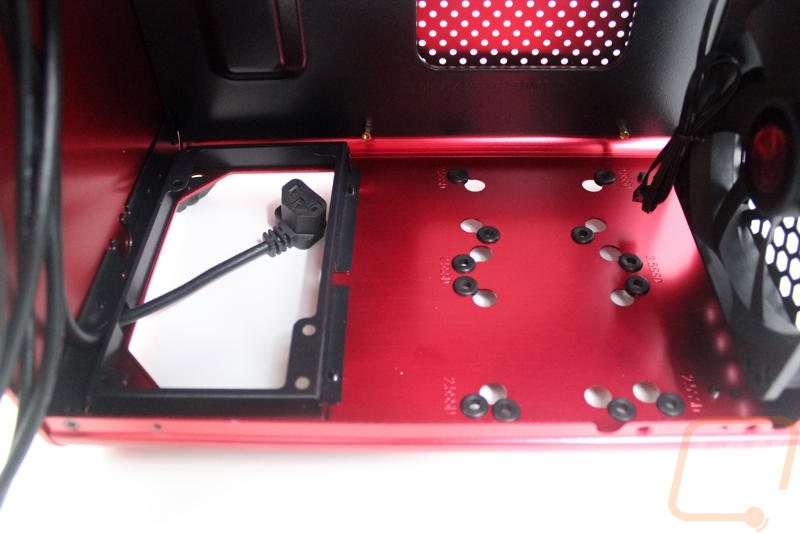
On the bottom of the Metis, we can see where the power supply mounts with its large hole. In addition to that, there are a few holes over on the left for the two SSD mounting locations. For feet, the Metis uses a weird triangle shaped rubber feet on each corner. They lift the case up high enough for the PSU to be able to blow air out the bottom of the case.
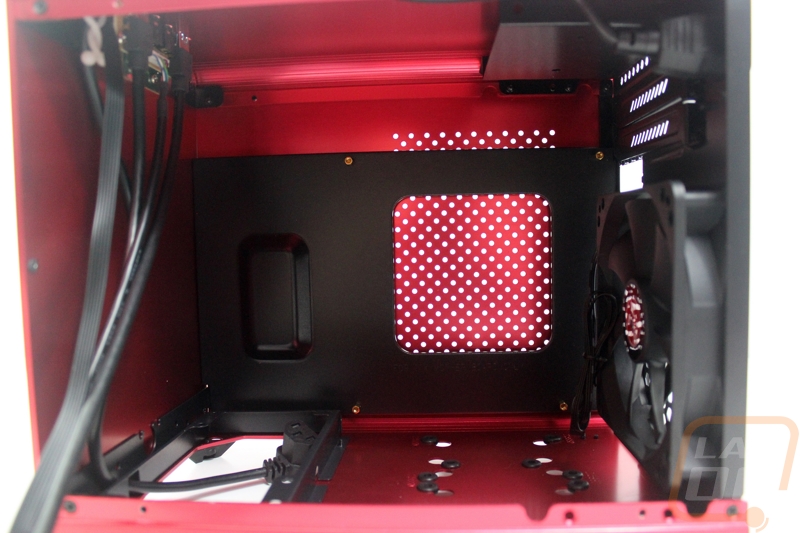
The inside layout of the Metis really can’t get much simpler. Being a small Mini-ITX case most of the case is actually the motherboard. The motherboard tray just has the four mounting points and a large hole in the middle to get access to the back of the CPU though most cases are going with a slightly larger hole these days. With ITX boards the CPU moves around a lot more depending on the manufacturer. Beyond that, the rest of the case is taken up by the full ATX power supply that sits vertically up front.
The bottom of the case has two 2.5 inch mounting points. The mounts all have rubber grommets to help keep the vibration down. The power supply mount is over on the left and sits up slightly to fit the right angled power cable that runs the power plug back to the back of the case.
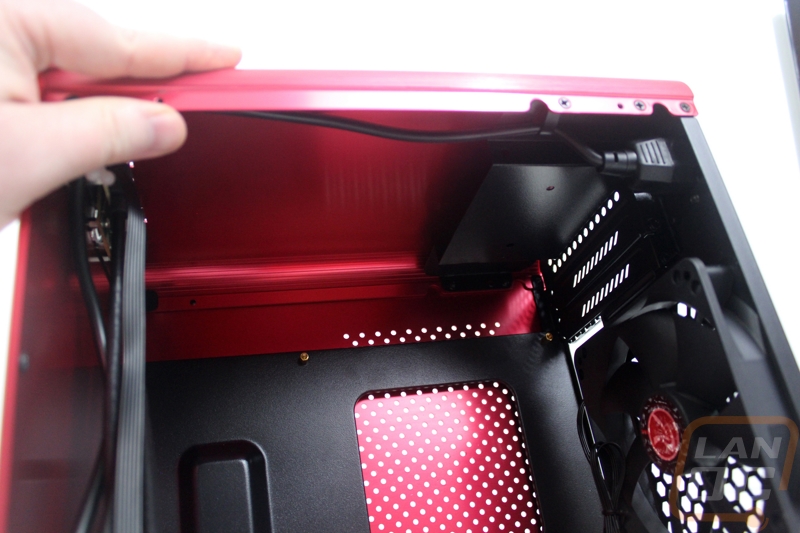
Up on top Raijintek also slipped in a bracket up above the two PCI slots up top for a 3.5-inch drive if you need one.
For cooling the Metis only has the 120mm exhaust fan pushing out the back and the holes drilled in the left side panel behind the motherboard tray for intake vents.
Motherboard CPU and RAM
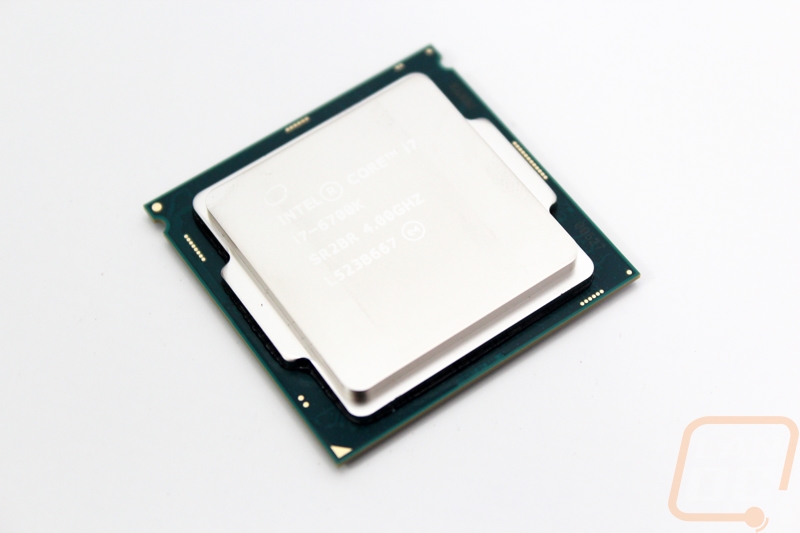
Before picking out any of the other components for the Lunchbox 4 build I knew that for the CPU I would be using the i7-6700k from Intel. AMDs AM3 based CPUs didn’t have any ITX options and their APUs just didn’t fit the pack the biggest and fastest components into the smallest form factor mindset of our Lunchbox builds. So that left me with the Intel i7-5775C that we covered last July that wasn’t the fastest thing on the market even at that time or I could go with the Skylake based Intel i7-6700K that I covered in August. The 6700k gave me some concern because even on our open air test bench with a large cooler it ran a lot warmer than I would like, but it was the fastest option I could go with. Plus, I didn’t really want to build another Z97 build. So I bit the bullet and went with the i7-6700k knowing I would just have to fight with the thermal issues later. But hey, it’s a small form factor build, thermals are always a challenge.
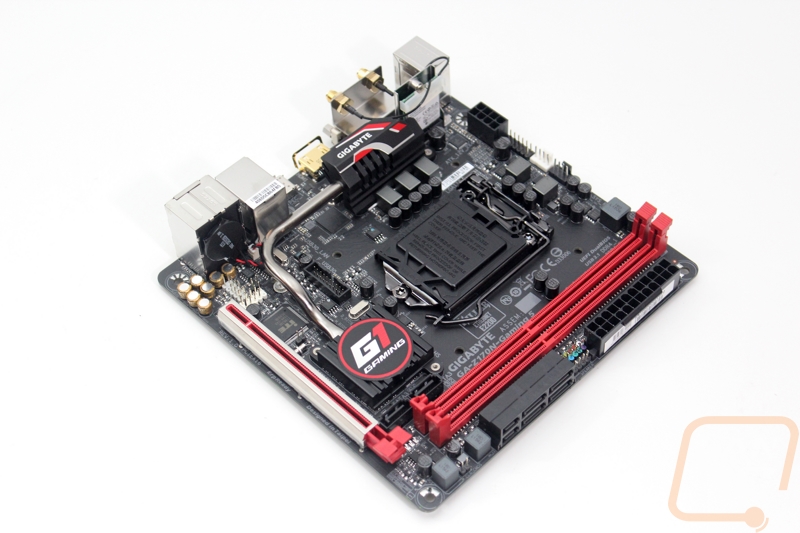
Once I had my CPU picked out I reached out to a few companies. Going with a red build opens up a lot of options and just about everyone has a red and black mini-ITX Z170 board. I ended up reviewing both the Gigabyte Z170N-Gaming 5 and the MSI Z170iGaming Pro AC. Going in I wanted to make sure I got a board with a good audio card, the black and red theme, an M.2 socket, and built-in wireless AC. Frankly, the feature sets from both boards were nearly the same so I had to dive into a few of the small issues I ran into in my reviews. In the end, the MSI board had a few network performance issues when using the same Trendnet switches that we use at our events and the Gigabyte didn’t have those issues. The Gigabyte board also had a USB 3.1 Type-c connection and I knew that would be helpful in the future. So that’s the board I ended up going with.
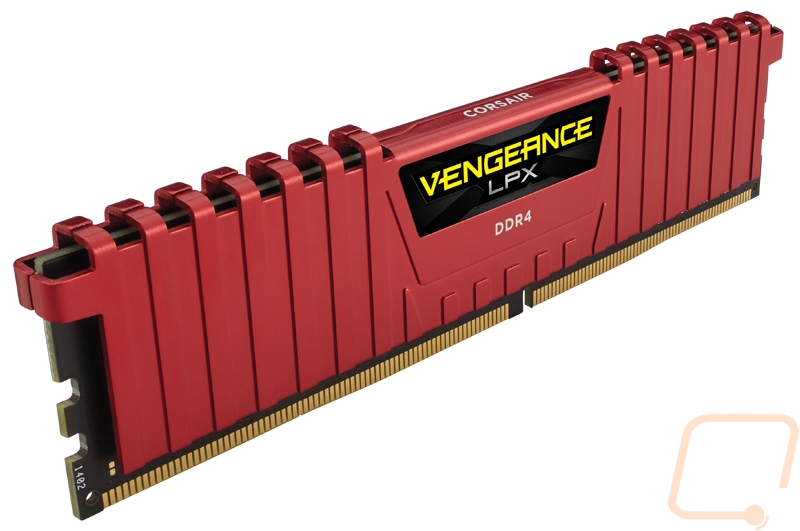
To go with the crazy fast i7-6700K and the Gigabyte Z170N-Gaming 5 I also needed to pick up two sticks of ram. For my initial testing, I used two of the lower capacity sticks that I use on our X99 test bench, these were Corsair Vengeance LPX sticks in red. Given past experiences with various manufacturers, when I set out to pick out the ram for the build I was mainly focusing on Kingston and Corsair, I use both on our Test Benches and in all of our previous project builds without any issues at all. Considering the abuse that LAN rigs get I didn’t want to go with anything that I couldn’t trust. So what I needed to get was a pair of high capacity sticks. Being an ITX build I could only fit two sticks and I didn’t really want to only have 16 gigs all together in an otherwise crazy build so I was looking at dual channel 32 gig sets. Both Kingston and Corsair had kits that fit perfectly, but in that time I really started to like the look of the red Vengeance LPX sticks I borrowed from our test bench. Not only that but, but at that time Kingston only had a set in black that had the capacity I needed. I reached out to Corsair and they sent out their red Vengeance LPX 32GB (2x16GB) kit, model number CMK32GX4M2A2666C16R. The low profile heatspreaders were a perfect fit for the tiny build and the red helped add a little more red to a mostly black motherboard.
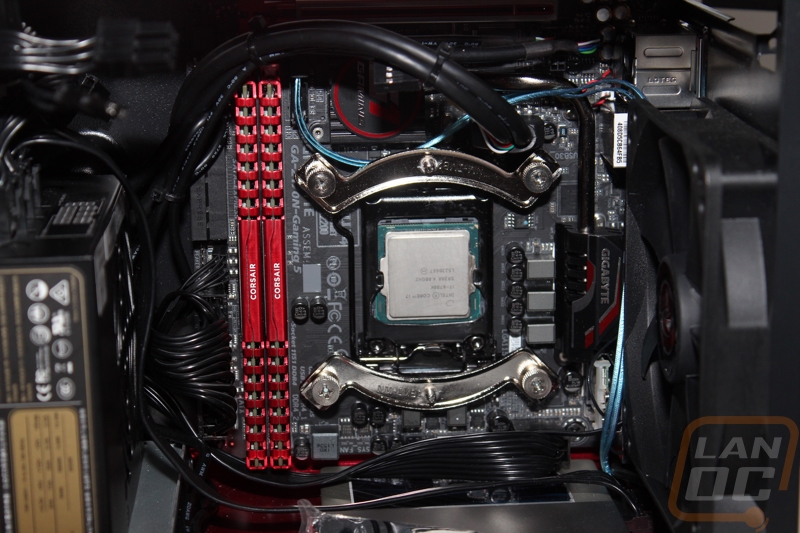
The red ram looks amazing when installed, check out the photo below!
Storage and Power
Anyone who has come out to a LanOC LAN event knows we are all about the storage. So when planning out the Lunchbox 4 build I wanted to make sure that I didn’t skimp out in that area. Partially because hey this is LanOC, but mostly because when you are building a LAN rig the last thing you want to do when getting your PC ready to go to an event is worry about deleting files or games so you have room for the games you plan on playing that weekend. The problem I ran into though was to fit into our tiny case I couldn’t just toss an SSD and a few hard drives into the build. I actually wanted to avoid a mechanical hard drive altogether. With my last two Lunchbox builds that both saw heavy use the spinning drive was the first to have issues. Being transported over and over can quickly cause issues with them, plus mechanical drives add a lot of weight and I wanted to keep the build easy to carry.
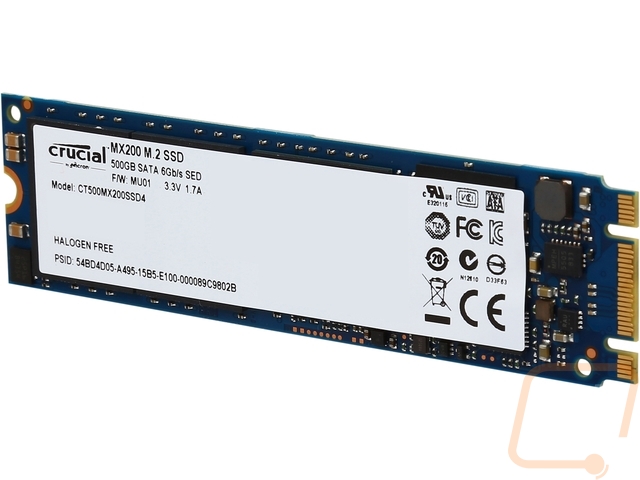
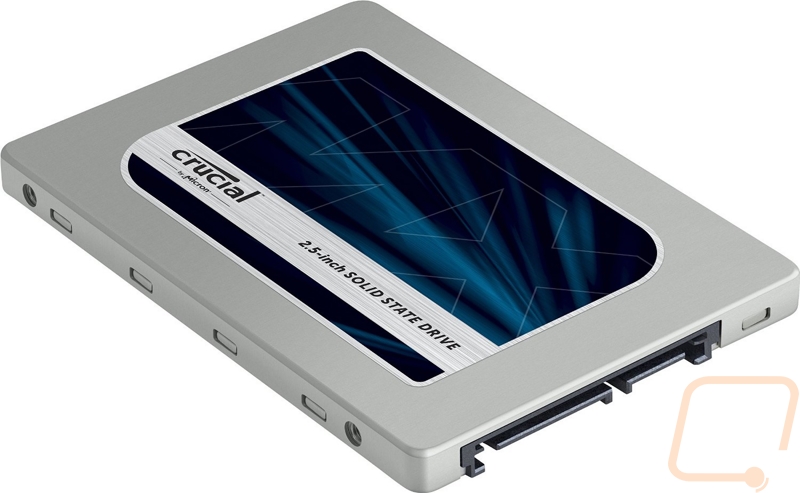
Well it just so happened when looking around the LanOC office I actually had gotten in two SSDs from Crucial and they had gotten slipped up under a few other things and missed. They ended up being perfect for this build. One was the Crucial MX200 M.2 500GB SSD, going with an M.2 drive was perfect because it didn’t take up any space at all and was a perfect pick for an OS drive and the 500GB capacity was more than enough for Windows 10 and any programs I might install and any files I might download.
The second drive was the Crucial MX200 1TB SSD. Once again perfect, we avoid any potential issues with a mechanical drive but still have enough capacity for our dedicated games drive. The bonus here was running two SSDs also fits the over the top performance of our Lunchbox builds. The MX200 1TB was an ultra-thin drive and I didn’t know it when I picked it, but the 2.5-inch drive mount in the Metis closest to the motherboard was so close to the motherboard that if I had gone with a normal thickness SSD I don’t think it would have fit.
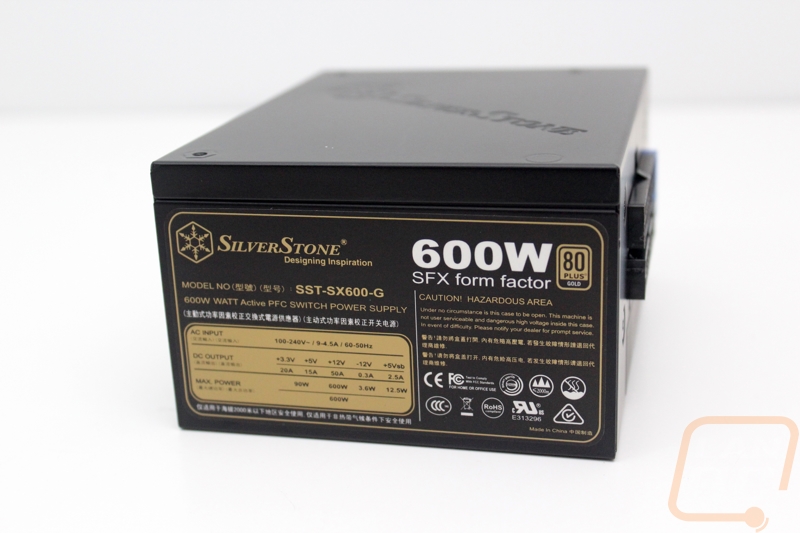
To power everything in the Lunchbox 4 build I also needed to get a power supply capable of pushing a high-end video card as well as our i7-6700k and everything else. The Metis case that I had picked out is actually designed to work with an ATX power supply, but I knew from the start that I would be going with an SFX power supply. Hell, I used one in Lunchbox 2 and Lunchbox 3, there is no way I was going back to a larger power supply. Plus, in the time between Lunchbox 3 and this build, they had made a few improvements in wattages. At the time, keep in mind that this project has been going on for about 7 months now, Silverstone was really the only good option in SFX. So I went with the Silverstone SST-SX600-G that I had at the time just reviewed. It fit our power requirements and had the thin and flexible modular cables that I love.
Here is a shot showing just how tight the SSD is up under the installed motherboard.
Video Card
I mentioned it earlier, but this build has been a long time coming. Not only was it a little overdue, but I actually started the Lunchbox 4 build all the way back in January with planning even before that. Think about how much has changed in that time in PC hardware, hell even in just the past two months the GPU market has been completely changed with new models from both AMD and Nvidia. I was originally going to go with the Sapphire R9 380 ITX Compact that I covered back in February. I loved the card and it was a small upgrade over the R9 285 ITX from Sapphire in Lunchbox 3. As I mentioned in my review that card ran a little warm, even on our test bench. So when I originally built Lunchbox 4 I fought with thermal issues. I will go into more detail in the cooling section about this, but the 380 running a little warm combined with an overheating CPU and a case that was completely under cooled. The ITX 380 just wasn’t going to work for me. So I was working on getting in a Nano Fury that would be considerably faster but for multiple months I was in shipping hell. It originally ended up delivered to a completely different state and lost. Then the second one was returned and FedEx didn’t think my house existed. Well in that time the new cards came out and with that new opportunities.
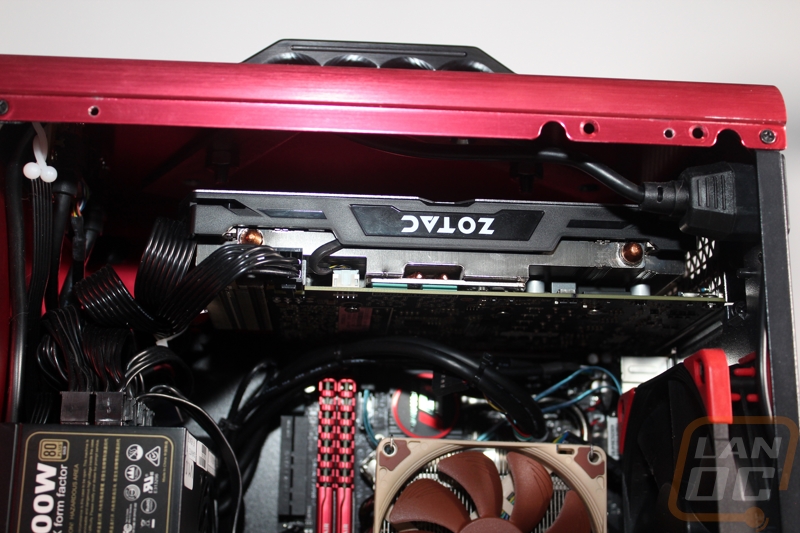
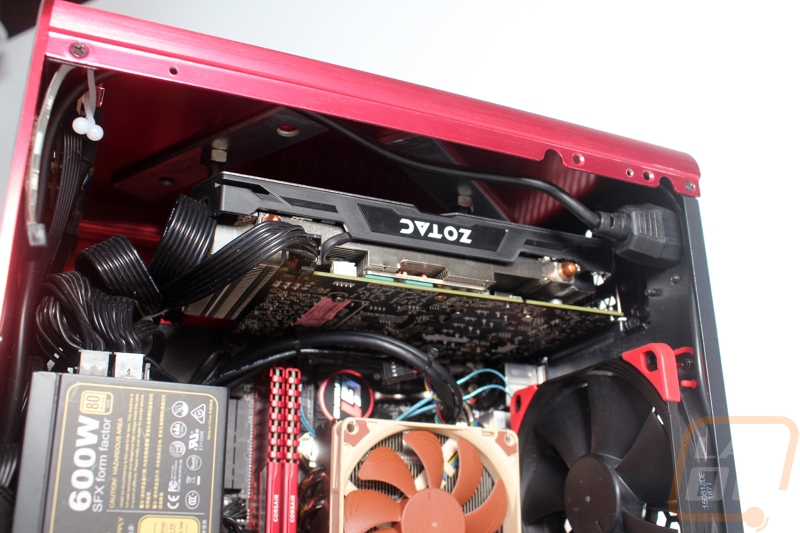
That leads me to my review of the Zotac GTX 1060 AMP! Edition from last week. It wasn’t an ITX form factor card, but as it turns out it fit into the Metis because I went with the smaller SFX power supply and the low wattage usage of the GTX 1060 is perfect for small form factor builds. Not only that but the top notch 1080p performance was a great fit with the 1080p monitor that I keep in my LAN bag. I went into a LOT more detail on the Zotac GTX 1060 AMP! Edition in my review last week, so if you are interested in checking it out. Here is a link to the coverage.
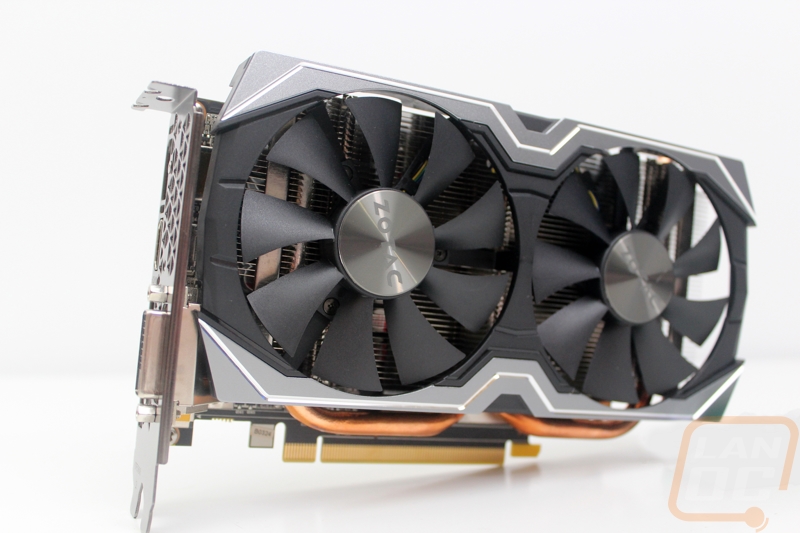
I actually think I could fit the longer Founders Edition GTX 1060 if we wanted, check out all of that extra room!
Cooling
Picking out parts that fit in a small form factor build is typically not that difficult. What is hard though is making all of the components work together. Specifically, when you get it all together keeping the temperatures under control are always an issue. I fought with it back with our first Lunchbox build when we packed a big video card into a Shuttle PC, finding a custom made AIO cooler specifically designed for the shuttle helped that build. With Lunchbox 2 I had issues with the CPU running warm and to fix that we went with a low profile Thermalright heatsink and moved to the SFX power supply to open up airflow. For lunchbox 3 it was even harder, I had trouble with our ITX GPU from Asus and I later moved to the R9 280 ITX from Sapphire when they introduced that and I had to change out the cooling fan as well.
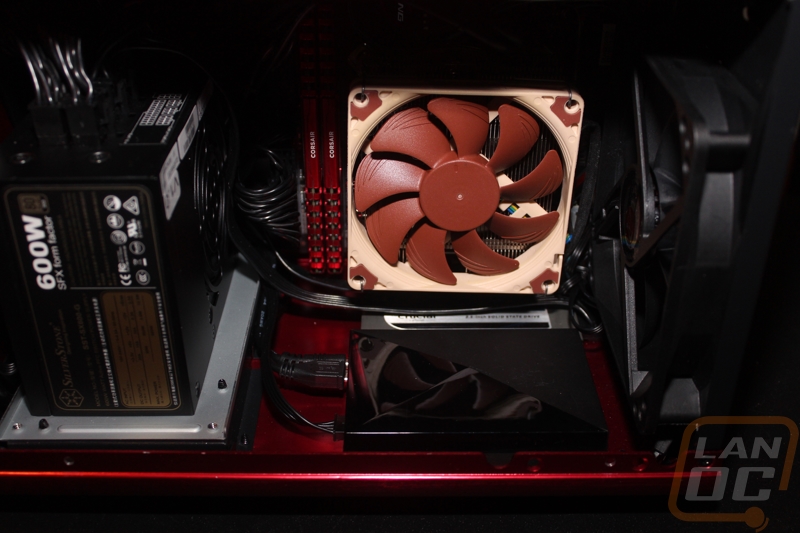
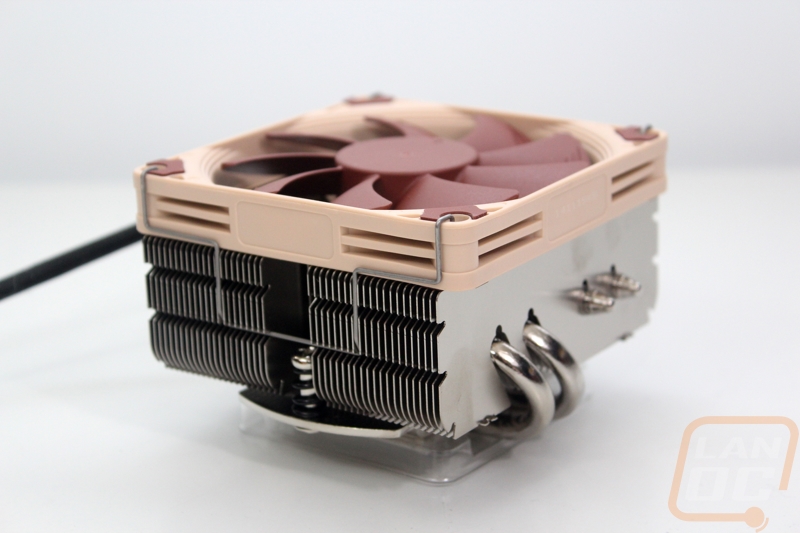
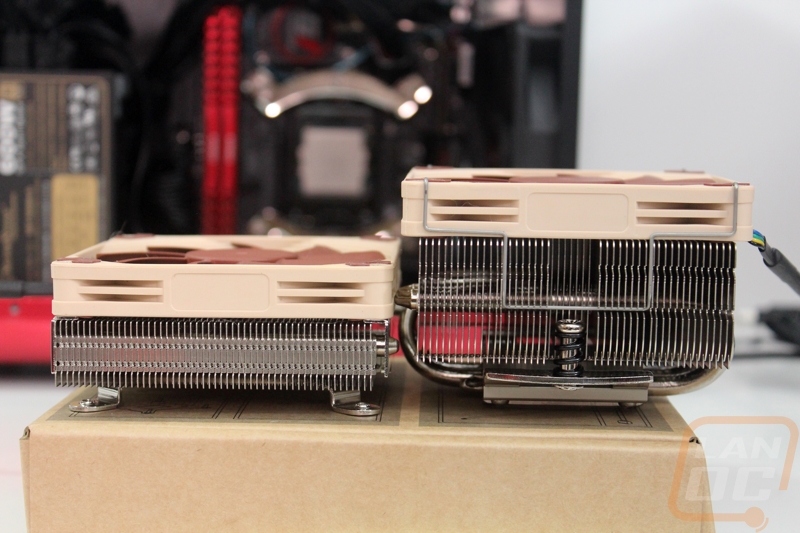
Because of all of that, I knew going in I would have trouble once again but even then I had no idea how long it would end up taking me to get it all worked out. Like I mentioned earlier when talking about our video card decision, I had heat issues right out of the hole with our video card choice. What I didn’t mention though was at the same time I had issues with the i7-6700k overheating as well. I originally went with the Noctua NH-L9i, a low profile cooler that I had used in a few i7-4770k builds and even on our i7-4790k Devils Canyon CPU before moving to water cooling. The low profile typically saves room for airflow and the cooler did the job. Well with the 6700k it couldn’t handle the heat. I ended up going with the Noctua NH-L9x65 and I wrote all about the differences between the two in my review of the cooler that I incidentally did all of my testing in the Lunchbox 4 build. The NH-L9x65 had the same footprint as the NH-L9i but is a little taller and with that it's actually designed to handle the extra heat from the i7-6700k.
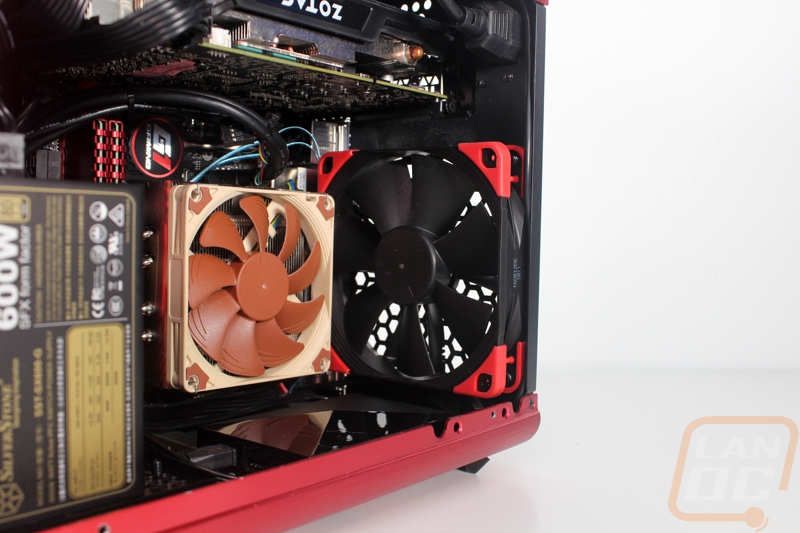
The new cooler was enough to get the CPU under control but I did also have to address the fact that our case was completely under performing in the airflow department. I spent a lot of time toying with the orientation of the vented side panel while documenting the temperatures of both the CPU and the video card as well as trying the fan in exhaust and intake orientations but when I cooled off the CPU the GPU would get warmer and vice versa. So I contacted Noctua and they sent over a fan to replace the single 120mm cooling fan in the Metis. I went with Noctua because they have been extremely reliable for me and they also do a good job of running quietly. To make completely sure that we wouldn’t overheat in the future I actually went with their NF-F12 IndustrialPPC 3000 PWM fan. It’s 120mm like I needed but it also can spool up to 3000 RPM if needed and when doing that pushed more air than any other fan I could find. I didn’t have any intention to run the fan at those speeds day to day, but having that headroom would mean at a hot LAN Lunchbox 4 would purge all of its heat rather than melting down.
The NF-F12 IndustrialPPC also fit the theme perfectly once I added a set of Noctua’s Chromax red anti-vibration pads. Sadly, doing this just reinforces just how much the NF-A9x14 PWM fan on top of our cooler clashes with the red and black theme. Hopefully, soon I will find a fan that fits what I want there, but until then it will have to do. But that NF-F12 looks amazing up front doesn’t it!
While I was working on everything, I also pulled the entire case apart and removed the top-mounted hard drive bracket. It was just on top of the GPU and I wanted as much room for airflow in that area as possible. I didn’t see big returns with that change, but it did make me feel more comfortable packing a relatively high powered card up in there.


") I am planing to do something similar as a dedicated LAN build with a Fractal Design Nano S ^_^
I am planing to do something similar as a dedicated LAN build with a Fractal Design Nano S ^_^ 