Almost 20 years ago after I bought my first PC (at least the first one I bought myself) I did my first few upgrades which included more memory, a large hard drive (I think it was close to 20GB), and a video card so I could play all of the games that I wanted to play. I also tied my PC into what was my “entertainment center” in my bedroom which meant being able to output sound to my obnoxiously large stereo and being able to receive signal from devices like my DVD player and game consoles to watch things on my PC with a really poor quality USB capture device. Well, things have improved drastically from there as has the need for capture devices as well now with streaming and YouTube video production. I’ve gone through what is now a large collection of them myself from using them to stream our Old School tournament at LANs and needing one to capture motherboard BIOS’ for motherboard reviews. My most recent one was the Razer Ripsaw which while still functional only works on a few devices after windows updates broke it. So I was excited to see Elgato introduce their latest and greatest, the 4K60 Pro MK2 last fall. Today I’m going to check their new device out and also talk a little more about what sets this apart from the original 4K60 Pro which shares the same name.
Product Name: Elgato 4K60 Pro MK2
Review Sampled Provided by: Elgato
Written by: Wes Compton
Amazon Affiliate Link: HERE
Photos and Features
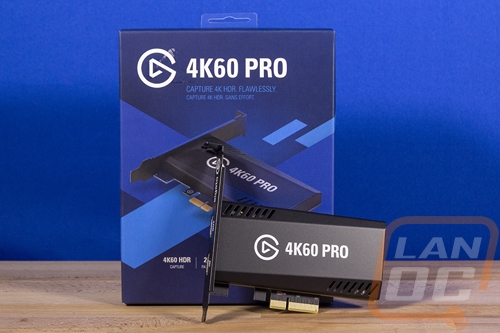
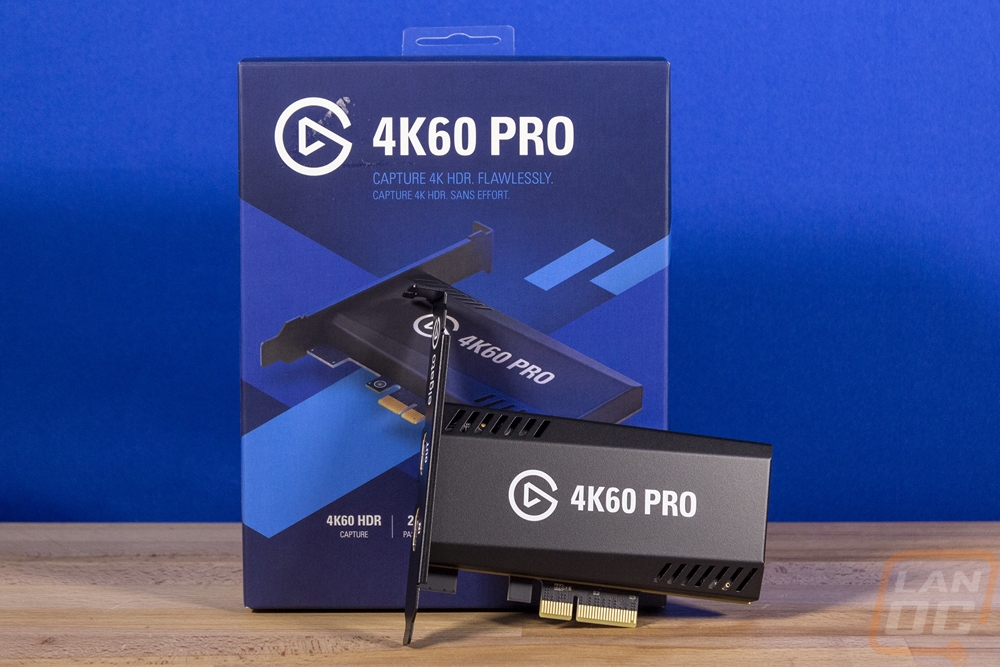
Okay before jumping completely into this I did want to address one thing I don’t like that they did with this new model. Elgato has had a 4K60 Pro available for a while now previous to the MK2 version. We have to use the MK2 designation because they did change the card significantly both with hardware and features but officially the name is still the same which is why the packaging doesn’t say MK2 at all. If you are shopping for this one, you want to look for the 4K60 HDR which is mentioned below the model name up top and down on the bottom where they have the card features listed. You can also tell even without the box just by the size of the card, the older model was full height and longer, this thing is tiny in comparison. But please keep that in mind.
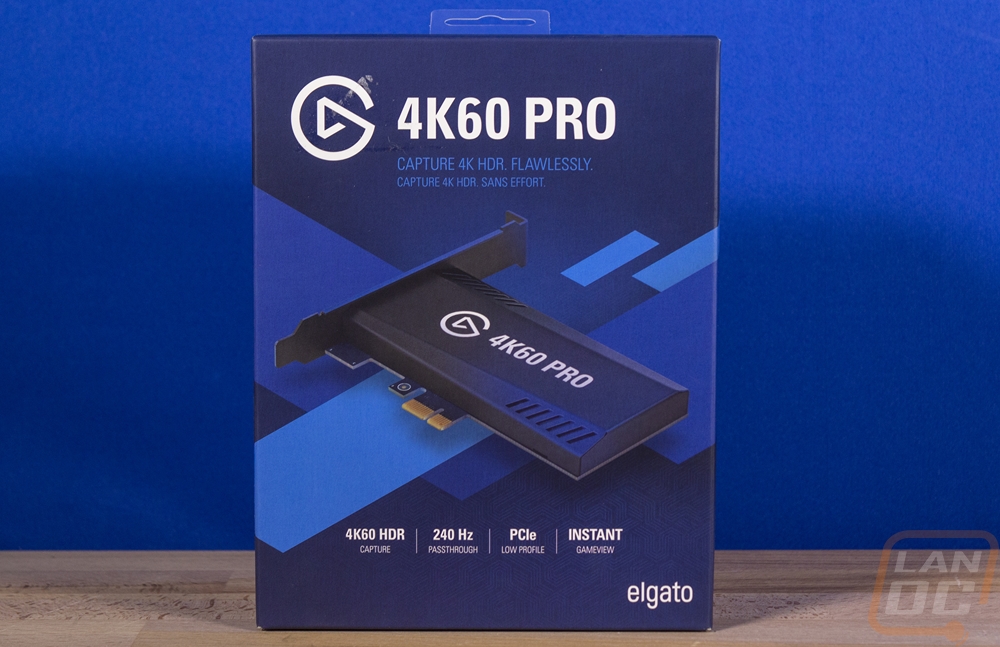
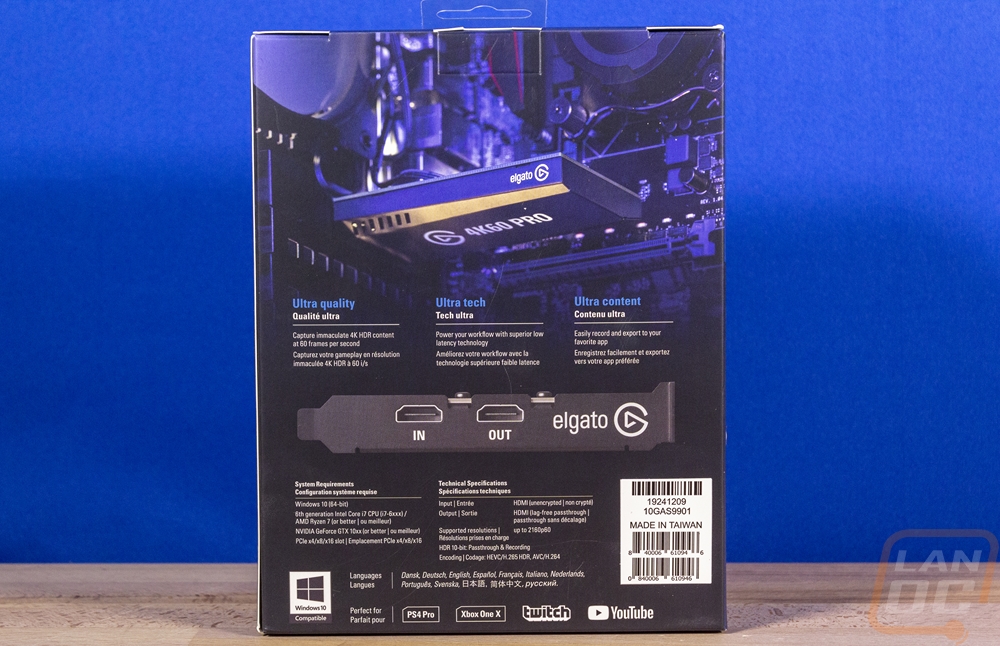
Beyond that, the packaging, like the new card isn’t that big. It has that signature blue theme with a few different blues all used in the background with a picture of the capture card on the front which I always love. The model name is easy to find in the bright white, even if it should maybe have HDR at the end or 2 to show this is a new model. Around on the back of the box, they use a picture of it installed in a PC as the background and they include a photo of the bracket which shows the HDMI in and out. That is also helpful in showing exactly what you are getting for connection options which is great. I personally would have also liked a third option with a dongle for old game consoles as well but I will talk more about that later.
The box slides out of the main box and you have the Elgato logo up on top with more of their blue color. Then when you move the top flap you have the card featured nicely in the formed tray. The card does come wrapped in a static protective bag, but you can see the Elgato logo and 4K60 Pro so clearly through the bag that I thought at first that they may have printed it on the bag.
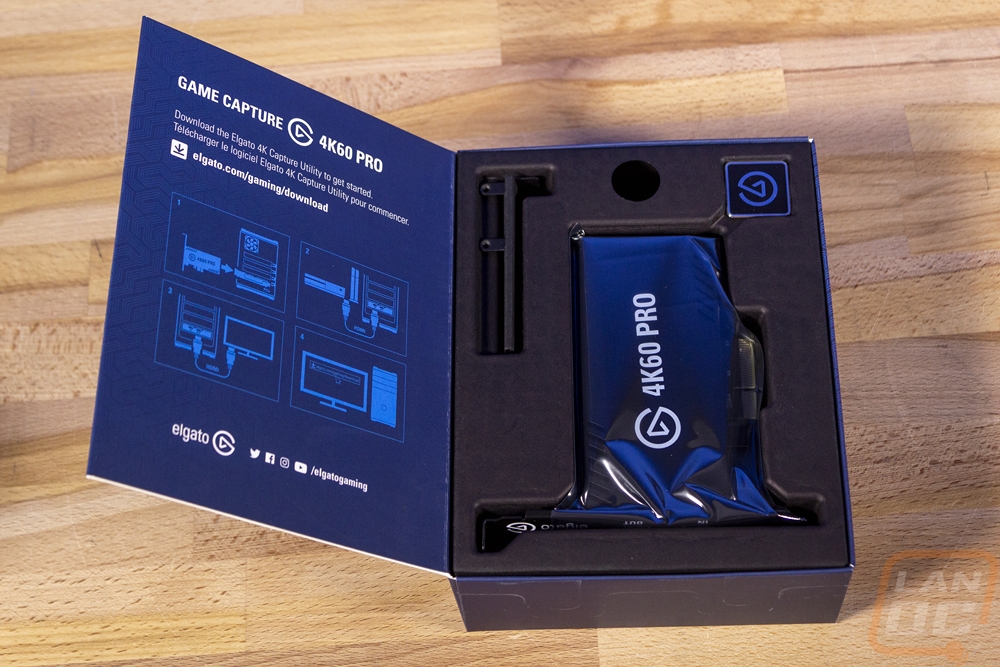
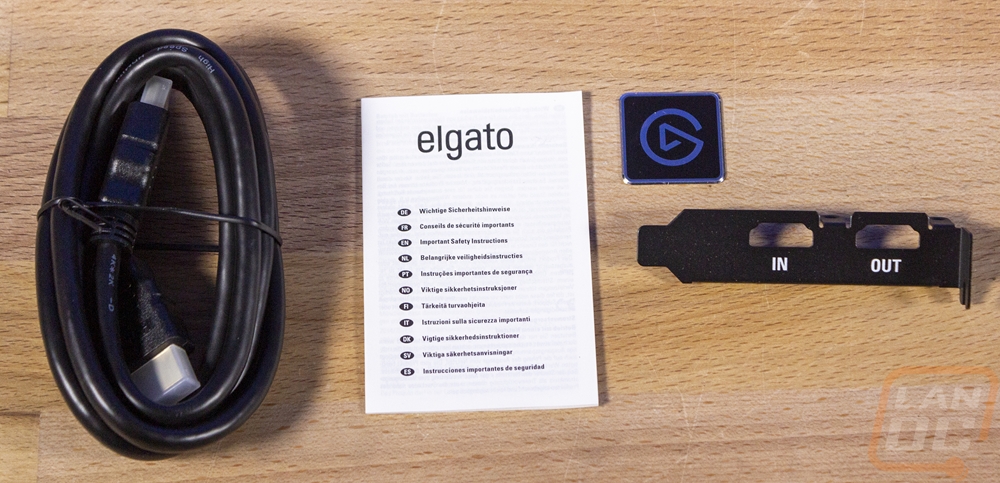
For accessories, in addition to the card itself, you get a few things. You get a very small instruction manual. Then you get an Elgato case badge which is really nice with its thick metal design. They include a shorter PCI bracket if you want to use the card in a half-height system/server which is cool, I should also point out that bracket is black and has the same labels as the full height bracket. Then you get an HDMI cable, which most people won’t need but is a nice touch!
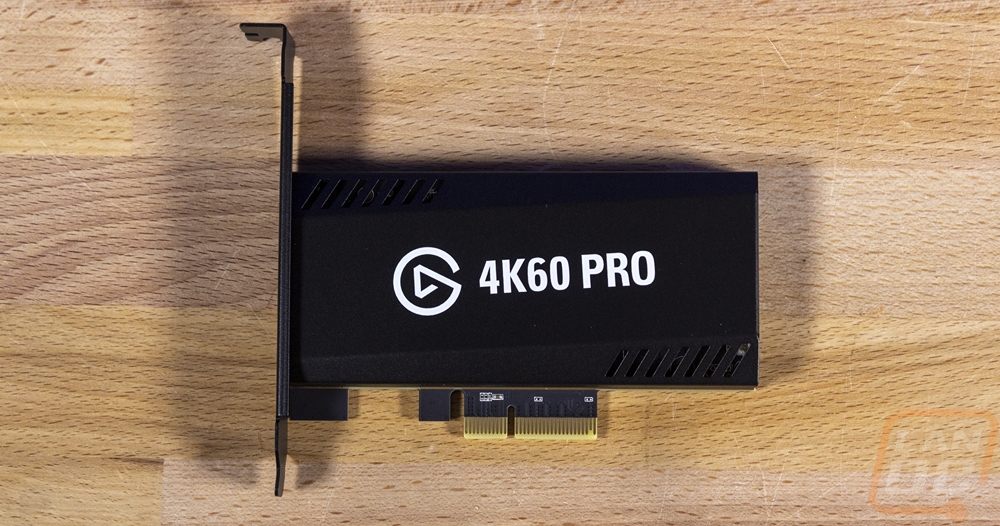
The 4K60 Pro itself is great looking and like I mentioned earlier the new MK2 model is tiny. The card is half-height and has a metal cover over the entire front. It wraps around on the end to shield the PCB and has slits cut into it along the top left and the bottom right for cooling. Then the model name is across the cover as well in that bright white.
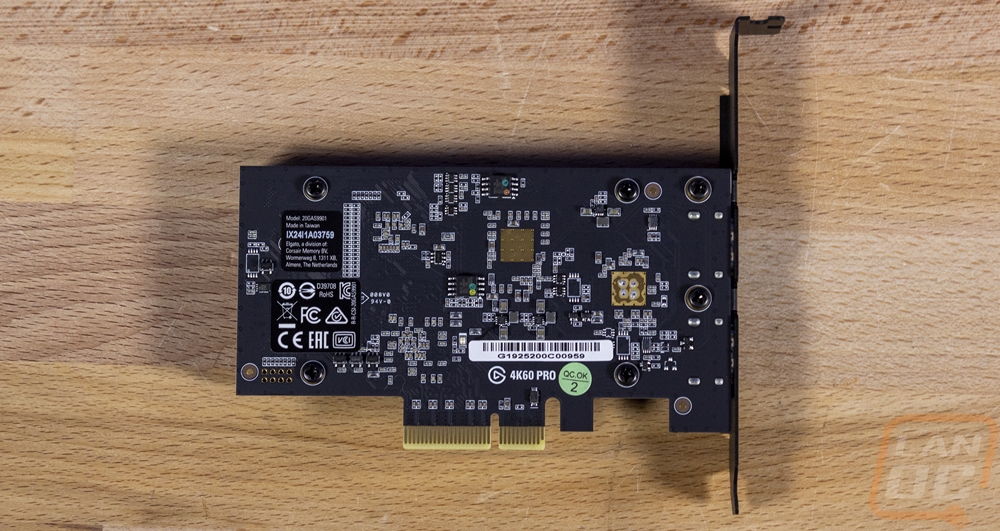
The back of the PCB lets us see that they did go with a black PCB which is a nice touch. You can also see that the PCIe slot down at the bottom is a PCIe x4 which is longer than the x1 slots a lot of boards have but shorter than the x16/x8 slots that your video card will use. Asus does have some PCIe x1 slots that have an open end, but you should be aiming to use this in an x4 or longer slot. Also on the back, you can see that the front cover is held in with 6 screws.
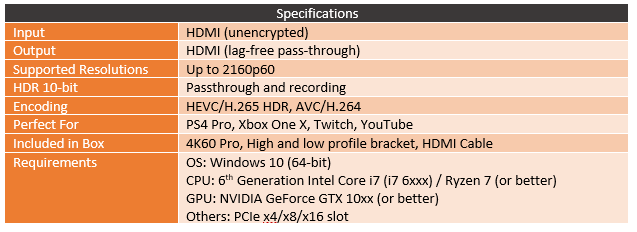
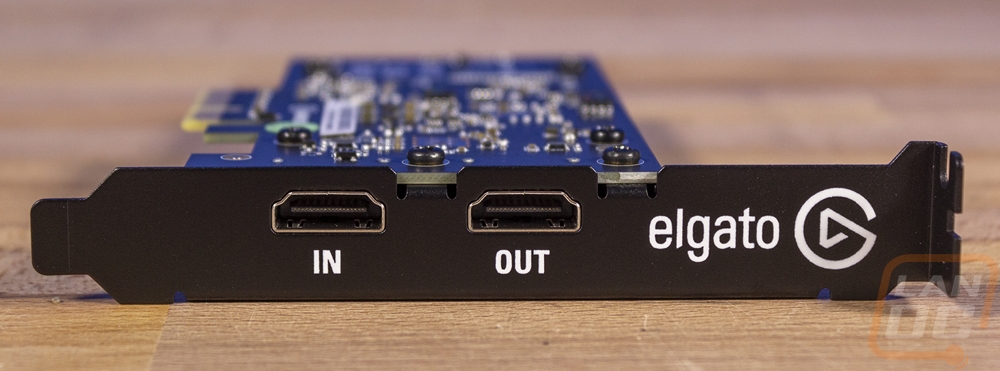
So it comes with the full height PCI bracket installed which is what most people will need because that is what most PCs require but you do get the half-height bracket as well. Both have the In and Out labels and are powder coated in a nice textured black finish which honestly every PCI device anymore should have a similar finish to match most cases. The 4K60 Pro MK2 has both the In and Out HDMI ports here because the card has HDMI passthrough. This is similar to how a home stereo receiver works, basically, you hook this up inline between your game console and your TV and you get a lag-free experience on the TV and are able to record. The specifications don’t actually tell us what HDMI version Elgato has used. But the fact that the card is designed for 4K60 tells us it is HEMI 2.0 or higher and then the HDR10 support means HDMI 2.0a at minimum. Without VRR we also know it isn’t HDMI 2.1 which honestly is a shame considering future game consoles will be using that without a doubt, especially with Xbox One X already supporting it.
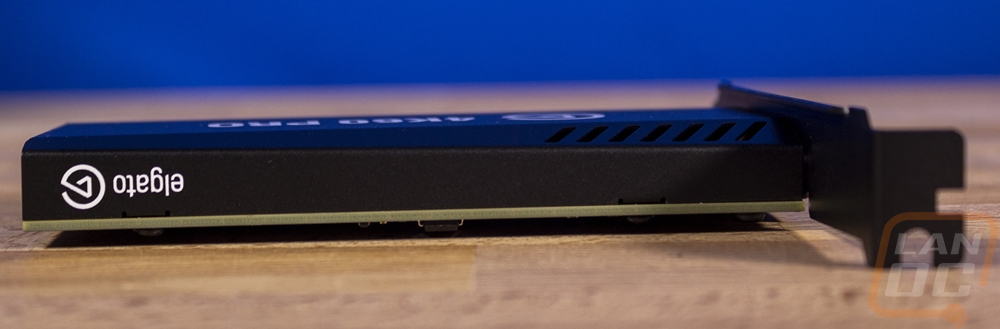
Most cases will only have the card visible from the top edge so they did make sure to slip in the Elgato branding there as well. It isn’t backlit thankfully, but I would have preferred this say 4K60 Pro than having even more branding, there is an Elgato logo on the front, back, top, and end…
Performance and Software
For testing, my biggest focus was on the software that the 4K60 Pro uses. My past experiences with capture cards haven’t been the best over the years. I wish I could say it was just my Razer Ripsaw that gave me issues, but AVermedia capture cards in the past also had me fighting with software issues as well. So no matter what features Elgato have to offer with the 4K60 Pro, if the software is problematic then nothing else matters. Lucky for me I have been playing with some Elgato software recently with our Stream Deck XL (check out the review) and with the Corsair K95 RGB Platinum XT launch as well. At least with the Stream Deck, I was extremely impressed with the software so while I wouldn’t say I had high hopes, the previous capture cards ruined that, but I did have medium hopes lol.
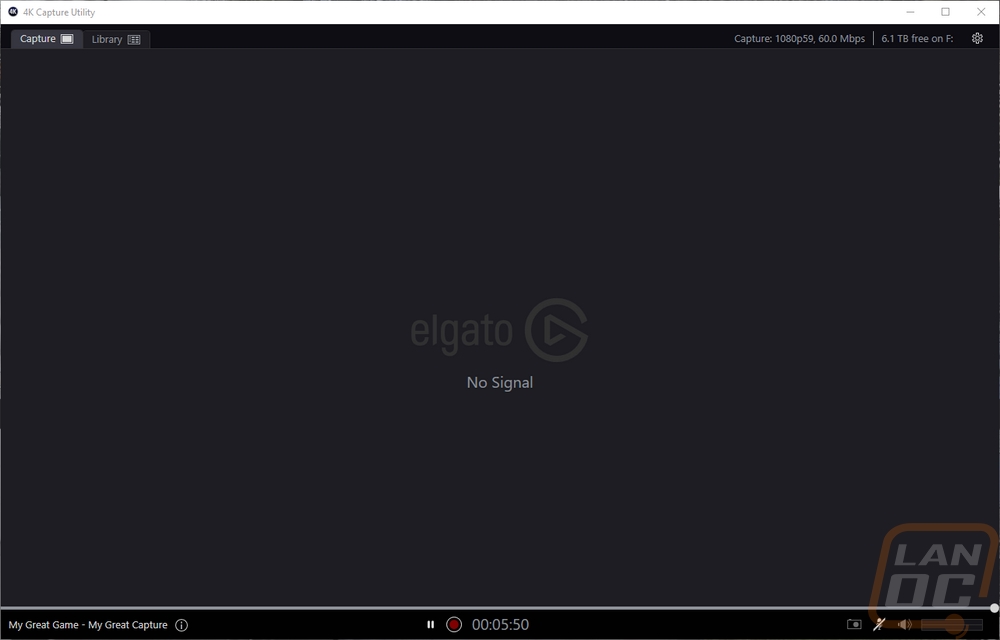
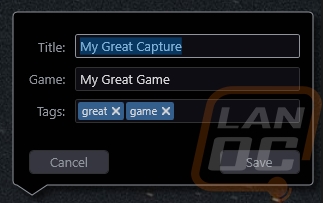
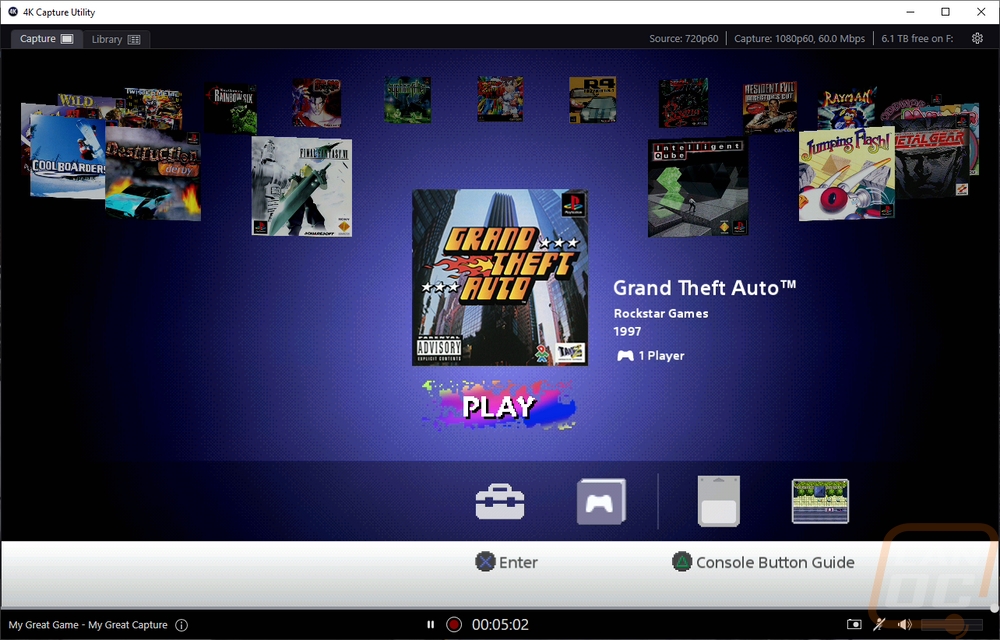
So when you install the software and the card, this is what you start with when you get going. An extremely simple setup which I like. Up top, you have two tabs one for the capture page which we are looking at and then a second for the library. Up along the top right you can see what capture rate you are at when it is running as well as the bitrate and next to that is the capacity of the drive you have set up to record to. Next to that is the settings gear icon which I will dive into in a minute. Along the bottom, you have the name of what your capture will be logged as in the software. Then in the middle, you have the pause and record buttons along with a timer showing how long you have been running. Then on the bottom right corner, you have a screenshot button, a microphone mute icon that you can click on and turn on your microphone and then a volume indicator. That will show both left and right audio channel volumes when you have something playing with audio. Clicking on that bottom left name also lets you change the title of your current file and to set different tags as well as put the game name in.
The library tab up on top changes you to a different screen. Here you can see all of the files you have recorded. By default, they are listed by date and you can see by day, week, etc. You can also sort by title, game, length, size, etc all up on the top edge with one or two clicks depending on descending or ascending. You can also search for something specific in the top right corner and change the view from this icon view to a list. On the left, you can dive into tags that you can give each of your files to help sort them as well as the smart folders. The smart folders get interesting because you can auto sort things depending on a list of variables that can all be combined for one folder. So as an example you can sort all of your favorite files from X game into a folder or anything from X game that is longer than x minutes. This could be a quick way to keep track of clips to use later in a video.


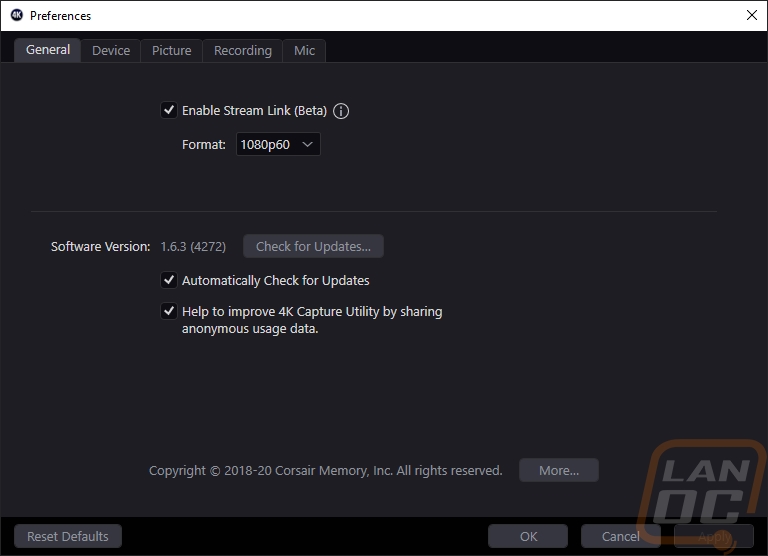
From there you have the settings gear icon which opens up a smaller window with 5 tabs on it. The first page is simple with the option to turn auto-updates on or off and to check for updates. You can also sign up for stream link beta. In short, this is a way to be able to record using the Elgato 4K Capture utility while still streaming to OBS or XSplit.
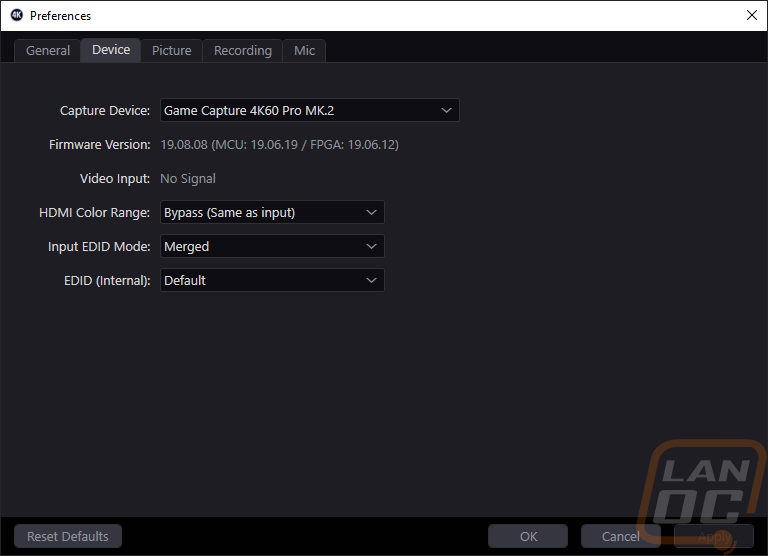
The next page is the Device page. Here you can select which capture device the software is using, which is important if you have more than one Elgato capture device which a lot of streamers might when they also capture their camera feed using something like the cam link 4K. You can see the firmware version and your video input settings. You can also change a few things like the HDMI color range and EDID settings. The Input EDID setting, for example, is what you are telling the device hooked up to the capture card. AKA you can tell it hey this is the 4K60 Pro or spoof that and call it a standard TV. By default, it merges these together, but you can change it if you have a connection issue.
The picture tab is simple and easy to figure out. Here you can dive into the brightness, contrast, saturation, and hue just like if this were your TV.

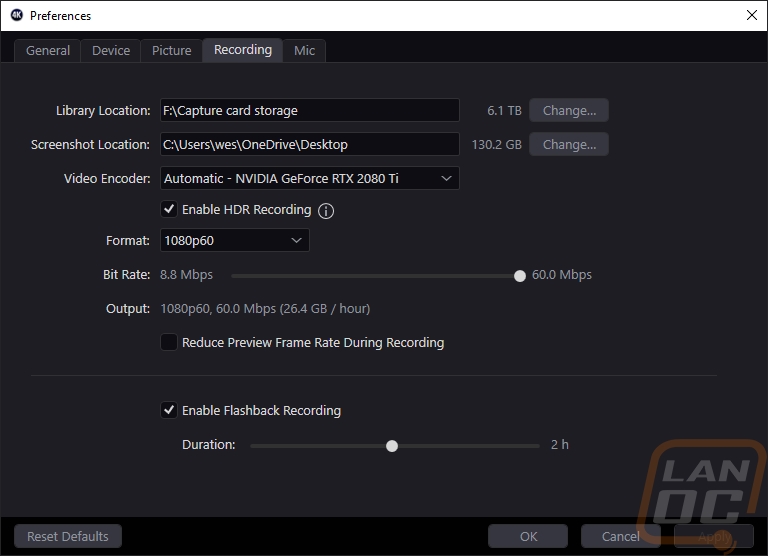
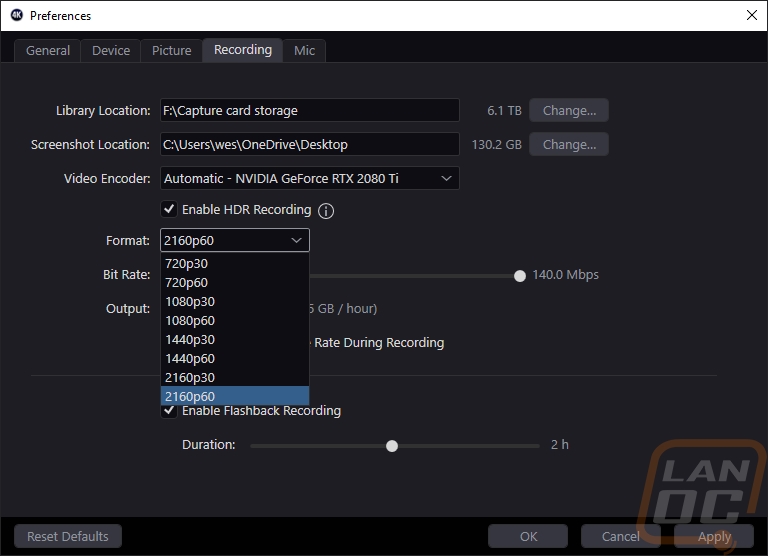
The next tab is the recording tab and this is where you get into important settings. You set the recording location as well as the screenshot location for the software. You also select what device you will be using as an encoder, you can see by default it picked the 2080 Ti in my system. Below that is the MK2 specific setting where you can turn on recording HDR and below that, you set the resolution and frame rate. It goes up to 4K60 as the device name does indicate. Below that, you set the bit rate for the recording as well. Then down at the bottom, you can turn flashback recording on or off which is basically a DVR recording a set amount of time back that you can rewind back to.
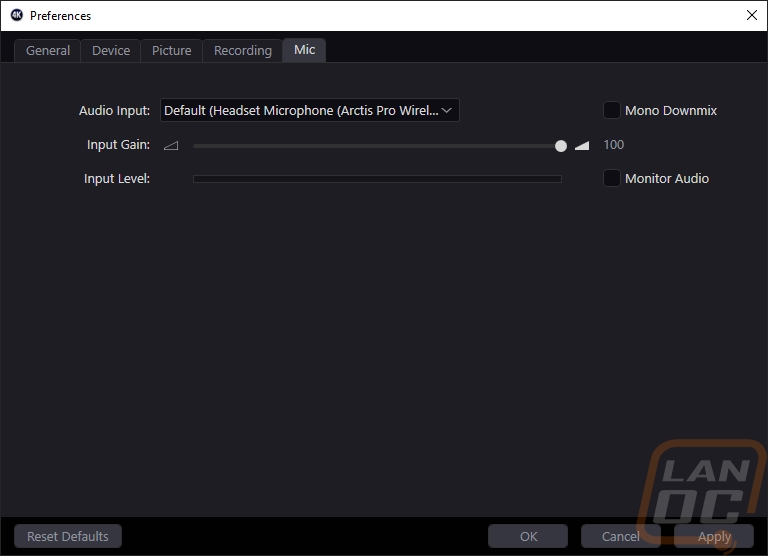
The last settings page is the microphone setting page. Here you can select what device the software will use for a microphone. The point here is the 4K Capture Utility allows you to be able to record and do voice overlays at the same time. You can select the device, volume, and turn it down to mono if you want as well as turn on audio monitoring as well if you want to listen to yourself. The only thing missing here, in my opinion, is an option to be able to turn down the overall volume of the software or to tweak your input volume.
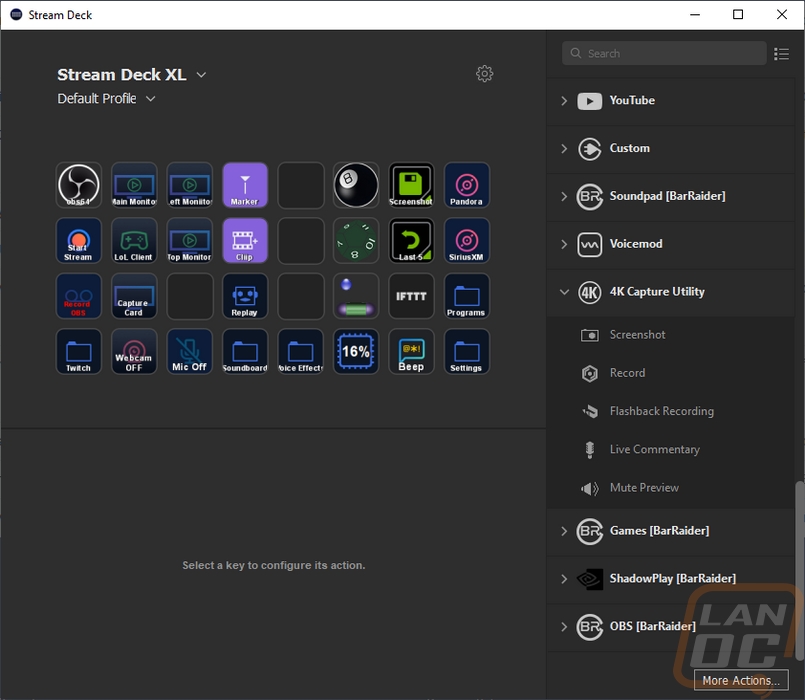
Elgato also integrates the 4K Capture Utility in with their Stream Deck software as well. You have to download the plugin, but once installed you get can set up a few different buttons on your stream deck to help. For example, you can turn your recording on or off, take screenshots, turn your microphone on or off, turn off the audio preview, and turn off the flashback recording as well.
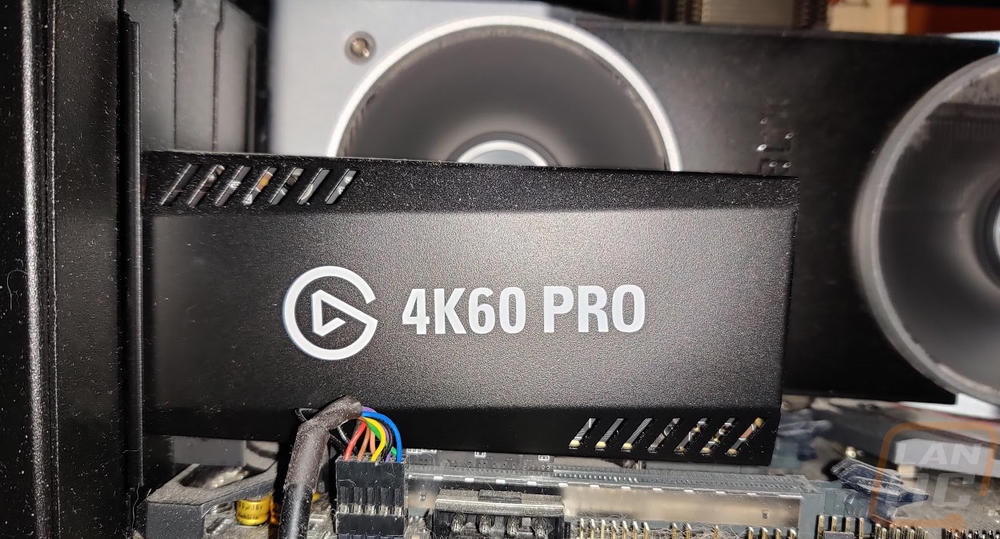
I did get a picture of the 4K60 Pro MK2 installed as well. It mostly served as a reminder of how dust my system keeps getting while doing drywall work in my house though. But you can see how small it is compared to the 2080 Ti. It is about half as long and being a half-height card, it is, of course, half the height as well.
So I, of course, couldn’t just look at the software and let that be it. I have been testing the card out including testing it out while streaming a few classic games on the PlayStation Classic. I tested doing two different things because I was very curious. I wanted to find out how well you could play games without using the HDMI passthrough at all and then tested with the passthrough as well. To be honest, I was hoping that streaming while not having to use the passthrough would be possible just for simplicity on my system. Not having to take down a PC monitor to switch over to the full HDMI signal and just full screening the game when I play would be easier. This did work and it was a lot better than my previous experiences with this. But trying to play through the preview window does introduce some input lag. This was completely unplayable for me on all of the games I played initially because timing was important in games like ridge racer 4 and the other racing games I played, if it was something slower like Final Fantasy 7 it wouldn’t have been a problem. I later figured out however that a lot of that input lag came from having the flashback feature turned on, turning it off fixed most of it and the racing games were then playable. There was still a touch of input lag, but not enough to be unplayable. That said playing using the HDMI passthrough was much better, it had zero input lag.
The biggest issue I ran into in testing was just unhooking my modern game consoles from their home in the living room and getting them close to my PC to test out the higher resolutions. This also brought out another thing to keep in mind. You can record at any resolution that you want, but if you are using the passthrough you need a 4K TV to record at 4K.
Overall and Final Verdict
Even though my previous experiences with capture cards, haven’t always been the best. My experience with the Elgato 4K60 Pro MK2 hasn’t been just a repeat. With most of those, I had major software issues or even cutting in and out issues and I didn’t have either of those with the 4K60 Pro. Really that is all I needed, so anything beyond that is really a bonus. It’s sad that functional and reliable has to be a concern, but that is where we are. The 4K60 Pro goes above and beyond with its software. Not only does it work well, but it is also simple and easy to use. My only complaint was that I wish it had a volume control for the signal coming in as well as for the preview view. Adding in support for the 4K60 Pro with the Stream Deck as well only helps even more with keeping things easy to use. The 4K60 Pro is also going to handle any HDMI signal you throw at it. As the name implies it can handle 4K resolution at 60 FPS which in itself is huge and with the Xbox One X and PS4 Pro outputting to 4K it is useful, but it is also great for streamers using a dual PC setup. You can output the high resolution and still get the 60 FPS that people like for videos and streams. But the big addition was support for HDR and with HDR finally becoming a lot more standard on TV and more recently some monitors as well it is a nice feature to be able to capture in HDR.
The HDMI passthrough is a requirement for consoles and I was a little concerned that at those resolutions it might add some input lag but It didn’t. I do however wish that Elgato would have included a legacy dongle connection to be able to also use this one card on your older non-HDMI systems as well. Anyone who maybe wants to capture across new and old systems will still need to have another capture card. It isn’t a feature on a lot of modern capture cards, but I know when I’m shopping for one I really do want to be able to hook up my old systems as well.
The 4K60 Pro MK2 does get a little confusing when you are shopping, especially in retail. This is a new model with the addition of HDR and a completely new design that is shorter and now half-height as well. But in most ways that matter the model name is still the same, the MK2 designation isn’t used on the packaging. To make things even more confusing the older models are still for sale in some places for more because this new model also introduced a much better price with the old MSRP being $399 and the new one is $249. On Amazon, for example, you can get the MK2 for $238 right now and the original is $249.
Now the new price is much nicer than the old model. Especially with this one being more compact and adding HDR support. But the AVerMedia Live Gamer 4K is still selling for a little less and it has the same 4K60 with HDR support. You do pay a bit of a premium for the Elgato brand which at this point has proven itself to be reliable in this market, not to mention being able to tie it right in with a lot of your other streaming gear like your Stream Deck and Key Lights. But for someone who doesn’t know or care that is shopping by the specs alone the price is still a little high. That said, this is also the card I would still recommend, simply because it works and it works well. Elgato is also good with software updates, which makes me a lot less worried that a future Windows update will break something without any fix like another capture card I owned…


Live Pricing: HERE


