Packaging and Assembly
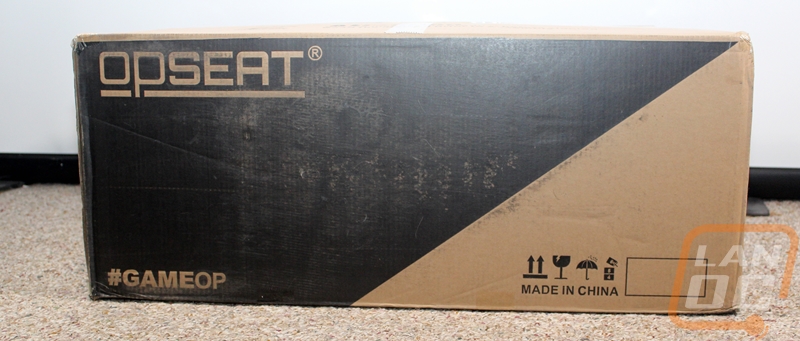
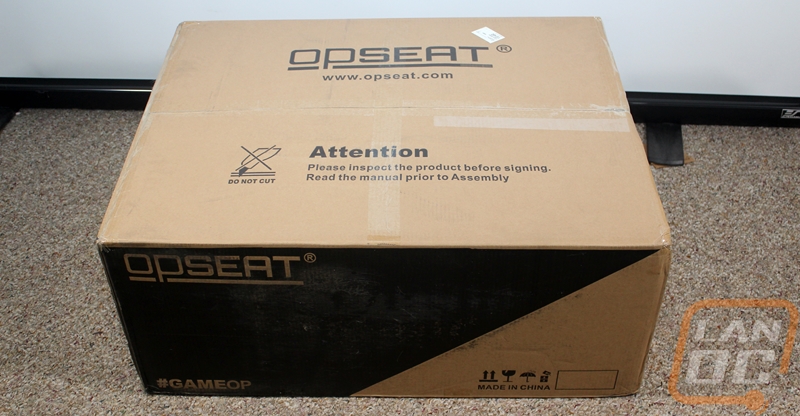
As always, before I can test out the new chair, I do have to get it built. BUT before I can do that we have to get it all out of the box. The OPSEAT wasn’t any different than the other chairs in the fact that its box is huge and your delivery driver isn’t going to like you when it comes in. The box doesn’t have anything crazy for artwork and it is just a brown box with black art on it but they do make sure it stands out with a big black area with OPSEAT and #GAMEOP right on the side.
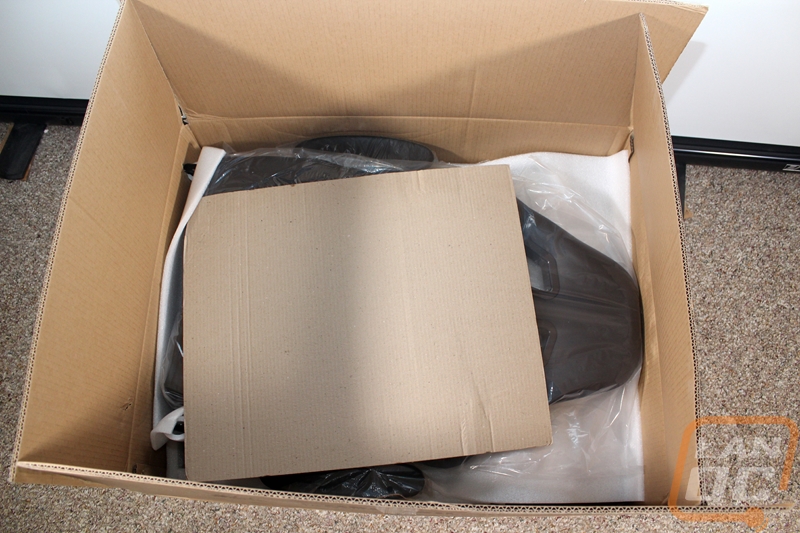
Inside when you first open it up there is a piece of cardboard across the top to help prevent someone from cutting the chair when opening the box after you ignore the do not cut right on the top. The chair back it up on to then there is foam before you get to the main assembly where they have the armrests and the chair base altogether. Then there is a lot more thick foam protecting everything with plastic on every component.
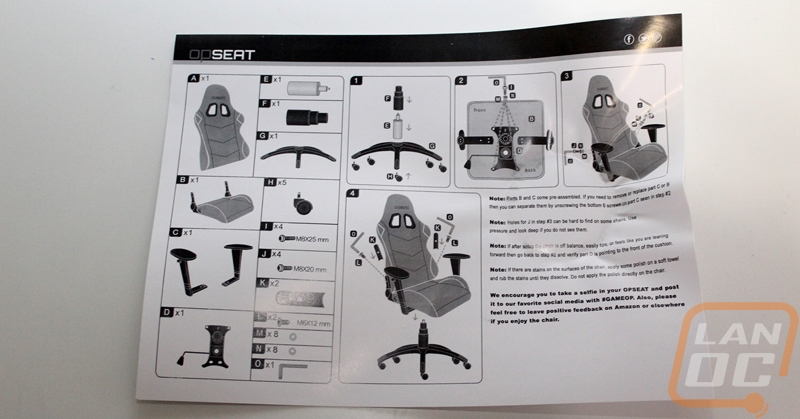
Next, I got the instructions out, they are a single page with diagrams for each step. I also pulled all of the parts out and took the plastic off to make sure I wasn’t missing anything.
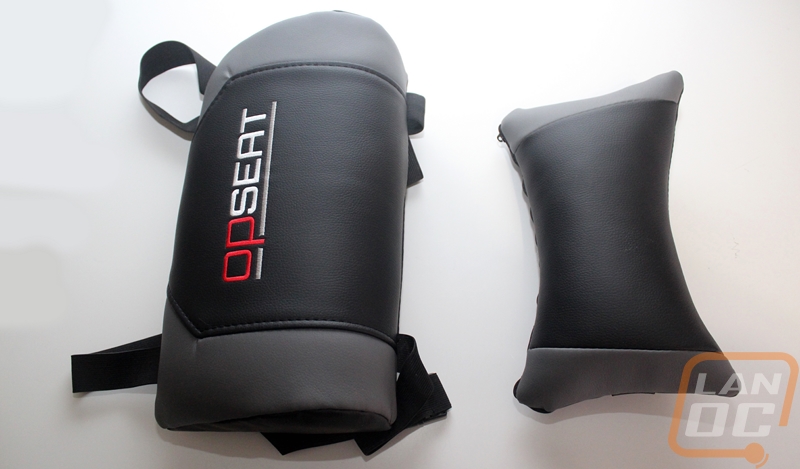
You won’t need the pillows until the end so set them aside.
Along with the big parts, you also need all of the smaller parts including the bolt bag where they include an Allen wrench to help you get everything put together.
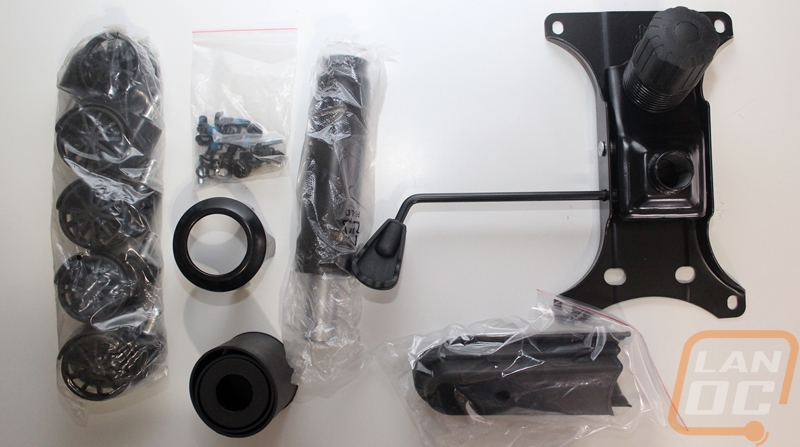
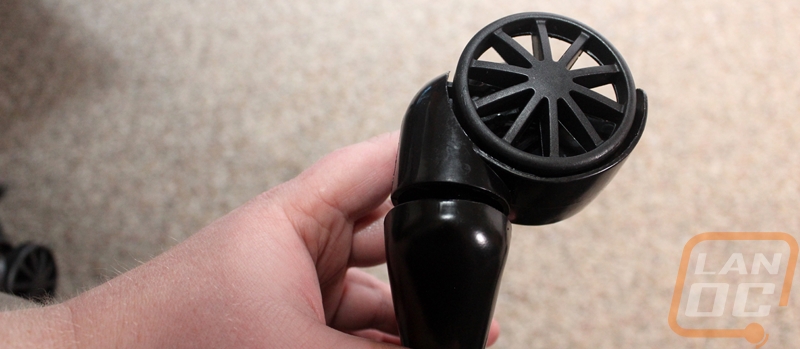
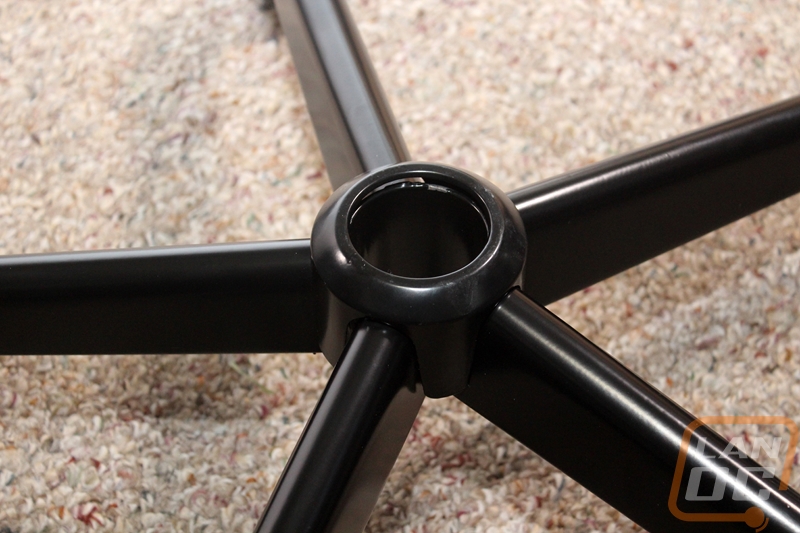
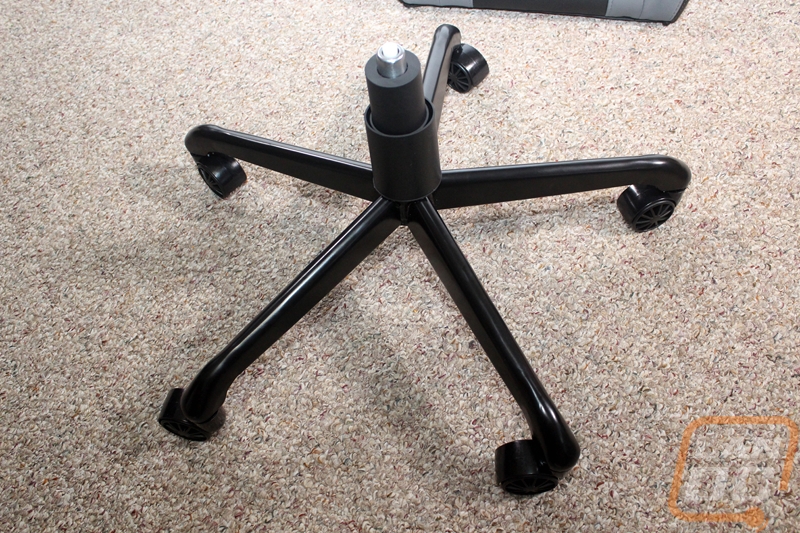
I like to get the base done first to get it out of the way. You have to press each of the wheels into the base one at a time. They go in really easy and lock in once you get them all the way in. Then normally you then put the hydraulic cylinder and I did that but I had to go back because I missed the cover for the center of the base. Most other chairs don’t have the cover, so many sure you don’t forget it. It slides right on with fingers that slide down between each leg. Then from there you put the hydraulic cylinder into the base and put the plastic cover on over it.
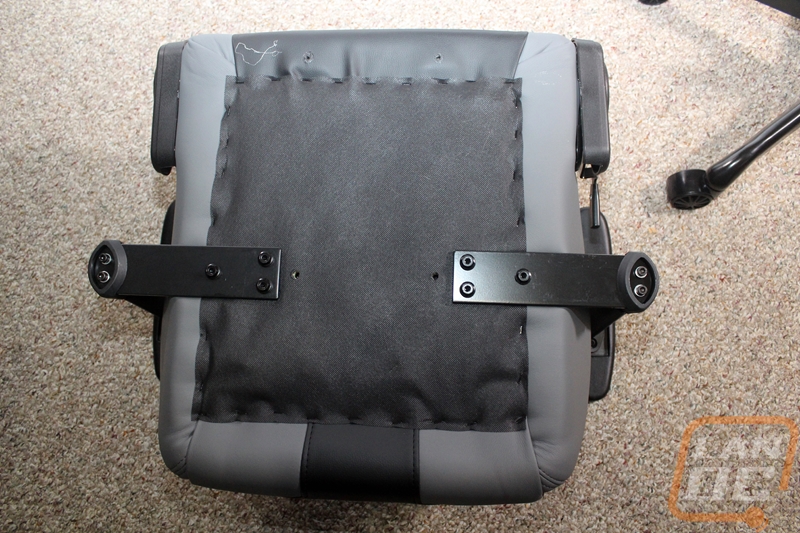
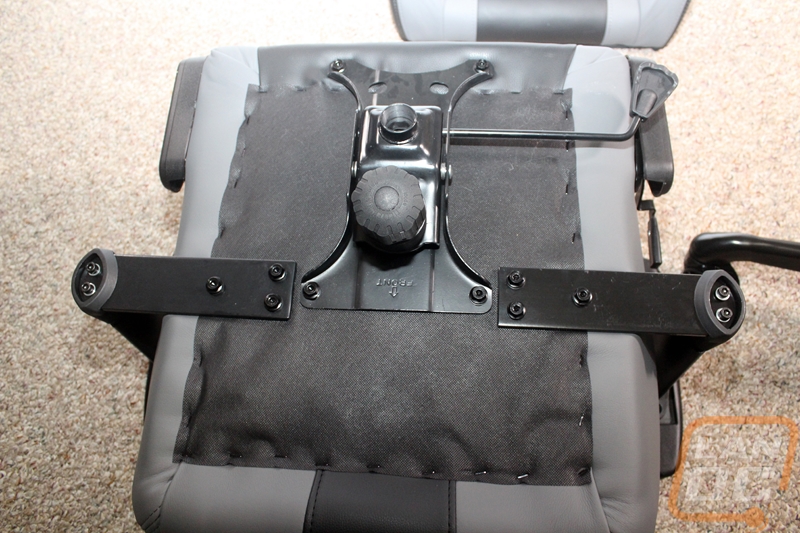
Next is getting the tilt assembly attached to the chair. This is really the first time you have to attach any bolts. The wrench and bolts are both in the small tool bag. You use the bolt, a locking O-ring, then a regular O-ring on each of the four corners of the assembly. You also need to make sure the big round adjuster is facing the front of the case. I had a little trouble at first getting the bolts in here. The bolt holes are cutout of the material but the material flaps back into the way so you will need to get each started y hand carefully to make sure they are in correctly. Then crank them down.
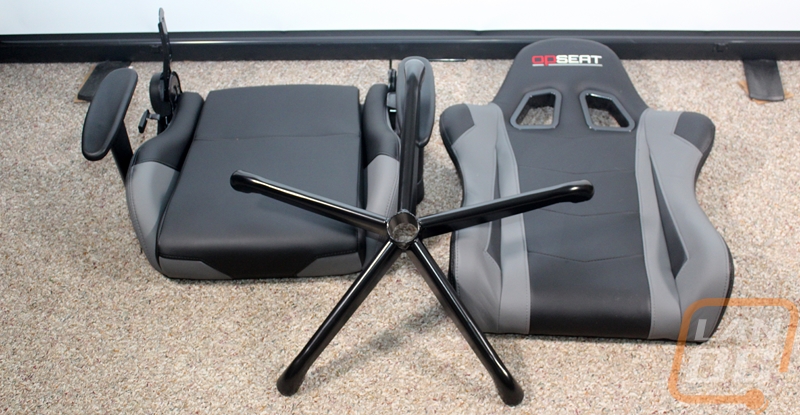
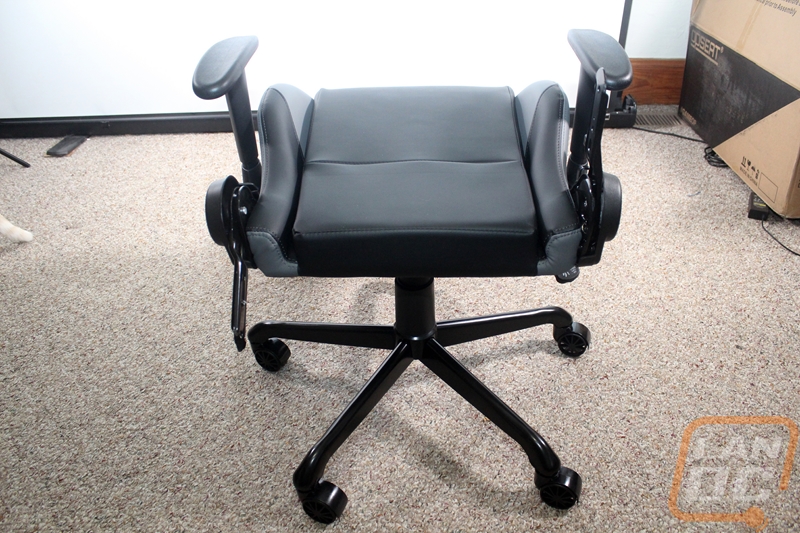
Next, you need to take the chair base with the installed lean assembly and drop it on top of the base we put together first. This is just press fit so you line the hole in the bottom of the chair with the top of the hydraulic cylinder. Once in place, the pressure of you sitting in the chair locks it into place.
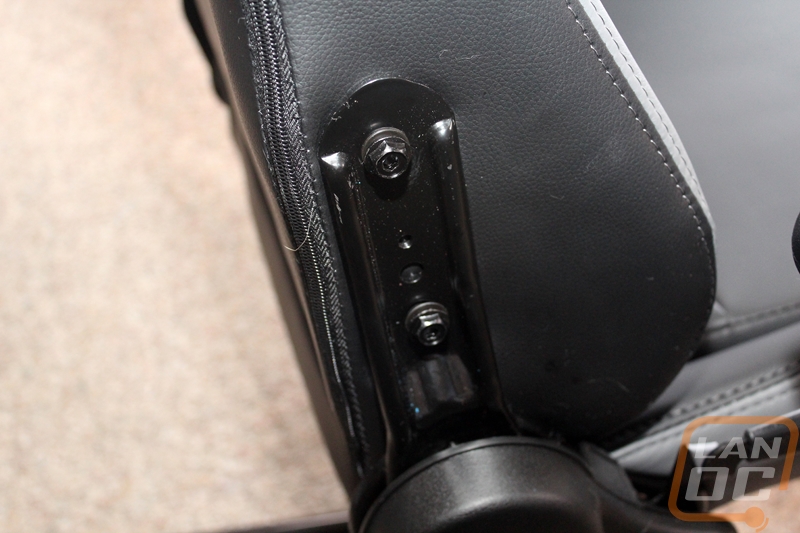
The last part to add is the chair back. This is best with a second set of hands but one person can do it alone as well. You have to line up the two holes on each side with the two brackets sticking out of the bottom. It is best to attach the bolts to the right side of the chair because this is the bracket that holds the chair back up. Like the bottom, you need the bolts, lock washers, and regular washers. The bolts are cool because they support the included Allen wrench with the hex hole in the middle or you can use a socket on the outside. Like the bottom bolts, you do have to get them started first because the fake leather covering the seat gets in the way and likes to keep you from getting the bolt in the hole. Once you have both sides together you then just have to screw the plastic cover on each side and you are done building the chair.