Performance
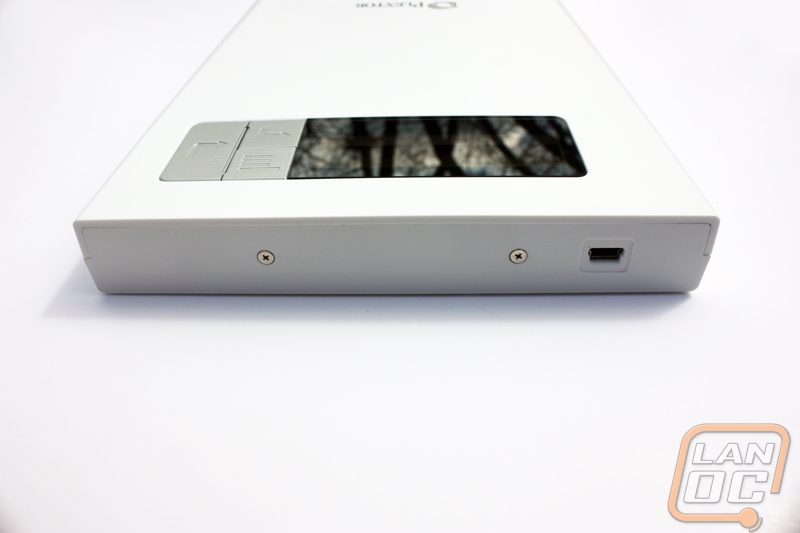
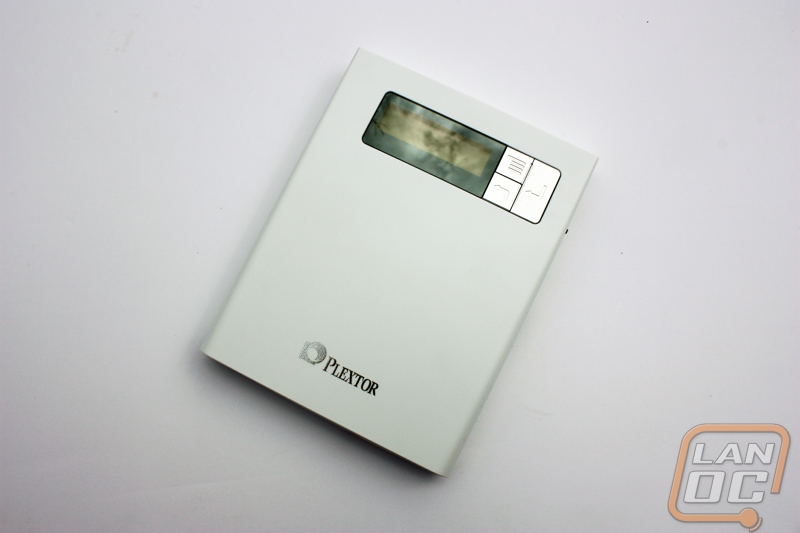
The first thing I want to touch on is a very minor detail but something that is nice to see added. Right away we can notice that the front LCD screen is backlit, which like I mentioned isn’t very major, but can be incredibly helpful when you are using the PlexEasy in the dark. It isn’t something you would normally think about and something that can certainly be taken for granted but it is a great addition to the device.
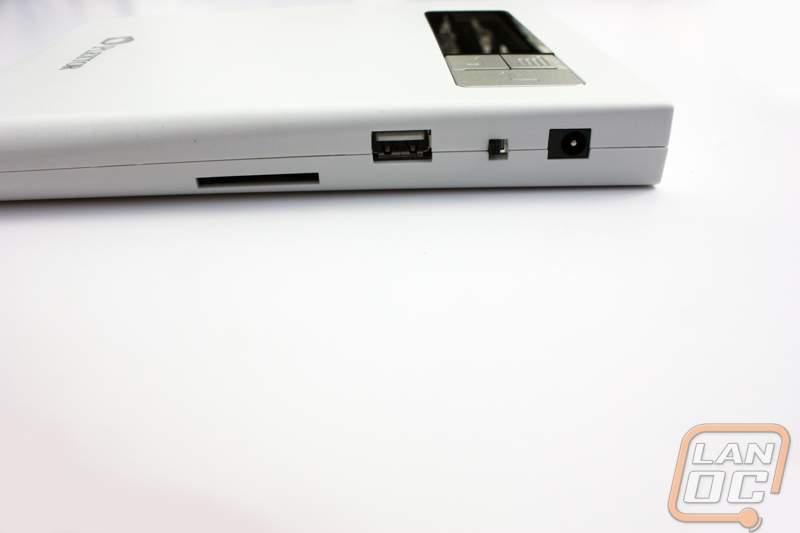
The first thing I tested with the PlexEasy was its ability to be used as a DVD drive. This is a feature that I really didn’t think about when I first got the product. I honestly wouldn’t have even considered it at all if Wes hadn’t said anything to me. It is pretty simple to use the device as a disk drive. Simply hook up the USB to mini USB cable to your computer and flip on the power and you are good to go. The device should automatically detect that it is hooked up to a PC and go into PC mode. It will then install any drivers needed to work on your computer and from there it is easy sailing. All disks inserted to the PlexEasy while it is in PC mode will try to auto play on your PC just like any other disk drive would. While in PC mode you can also use the drive to burn DVD and CD’s as long as you have some sort of burning software installed. It is important to note that while in PC mode, the USB and SD ports will not function.
The copy modes all worked well that I was able to test. Going from SD to USB was seamless and quick once I found a USB stick that wasn’t a bootable drive, oops. Copying about 115mb of data took only a minute or two and everything was stored neatly on the SD card. The root folder was called “sdcard1” and inside that, the rest of the data appeared just as it had on the SD card, using the same folder structure and names.
Copying from SD to a disc was also as seamless. It took a little bit longer to copy, presumably because it also had to burn the data. The data that appeared on the disk followed many of the same examples the data on the USB showed. Everything is stored in a root folder, this time labeled Sess#0000, presumably standing for session number that should grow as the number of burns grows. Everything burned perfectly and none of the data was corrupted.
I also decided to test the audio ripping ability of the device. I popped in a CD, Bon Jovi (don’t judge me, I didn’t have any actual CD’s and had to borrow one of my father’s.) and I got to testing. I selected the rip CD option and was off immediately. The data started transferring to the USB stick I had put in immediately. It took a bit longer than the other things I tested, but there was a bunch more data than previous tests as well as it being a more in depth process.
Unfortunately the device leaves a lot to be desired as far as USB transfer. You can burn data to a disc from USB, and you can move data to the USB from either disc or SD, but you cannot take data from USB to SD. In order to move data from the USB to an SD card, you would have to copy it to a disc first, and unless you want to have a disc copy of this data it is going to be a waste of a DVD or CD. I also experienced issues with copying data from my smart phone, though on the front of the package it says it supports ipad and iphone, and not specifically the Nexus 4 that I own. But I would still think that most smart devices should easily be supported. I thought maybe I was doing something wrong, but according to the very basic instructions I was doing everything as I should have.
Finally I decided to test the disc to disc copying capability. In order to go disc to disc you must have a USB stick plugged in, which makes sense because the data needs a place to be stored between mediums. The copy process was again surprisingly quick, it only took a little bit longer than any of the previous forms of data transfer we tried, and again the data was entirely intact when we put the disc in for testing.
