Setup
Setup was the step in the process that I was most fearful of going into the review, and one of the main reasons that I hadn’t owned a capture card to date. The thought of an external capture card was one that I was able to get on board with a lot quicker than an internal. I assemble all my PCs myself, and often do work for some people, but I am in constant fear that I might do something wrong or mess something up. With the Game Capture HD there was no fear of that, it was all done outside of my PC, and I never had to worry about messing anything up. At first the instruction manual was a bit intimidating because of its size. I was worried that the set up process might be more complicated than I initially thought. It turns out that most of the manual was just the same instructions in a few different languages.
The first step is dependent on whether you are using a USB hard drive or an internal Sata hard drive. It is important to note that the recording quality is better on an internal drive than a USB equivalent.
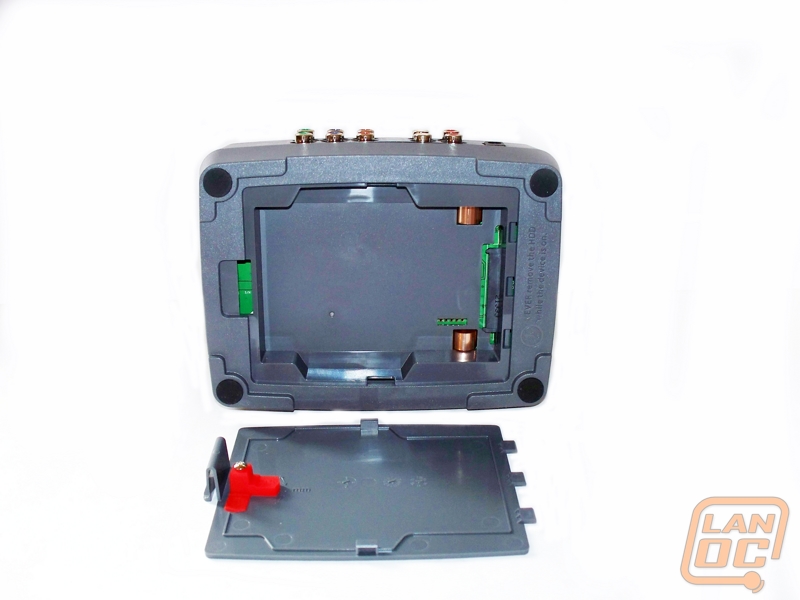
If using an internal drive, the first thing you need to do is install it. The device supports 2.5” internal drives with either a 9.5mm or 12.5mm thickness.
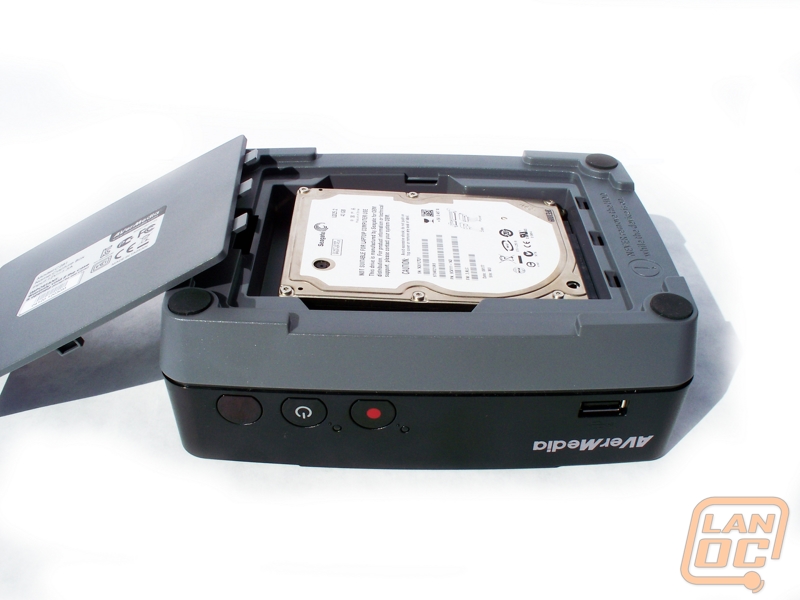
The hard drive must be formatted to either NTFS or FAT32 for it to be supported by the capture device. NTFS is suggested for smoother recording quality and the device will format your drive to NTFS by default if you select the format option in the menu.
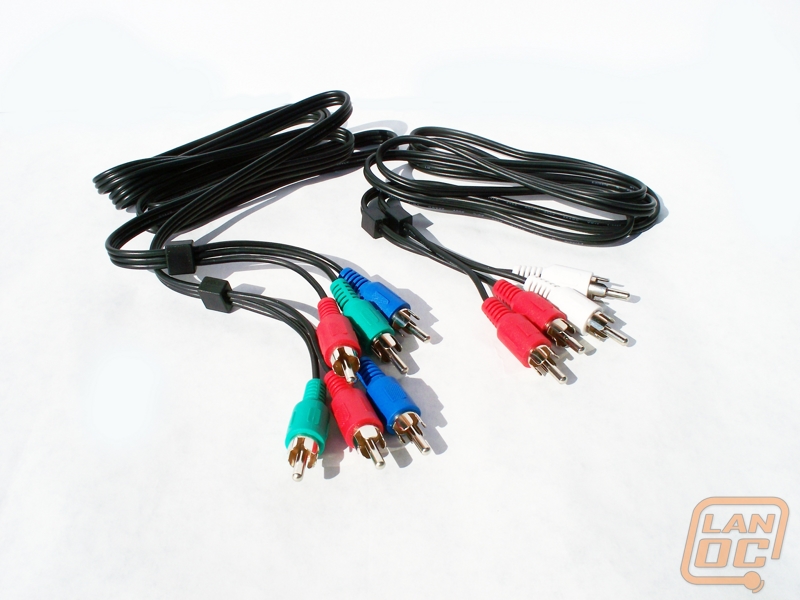
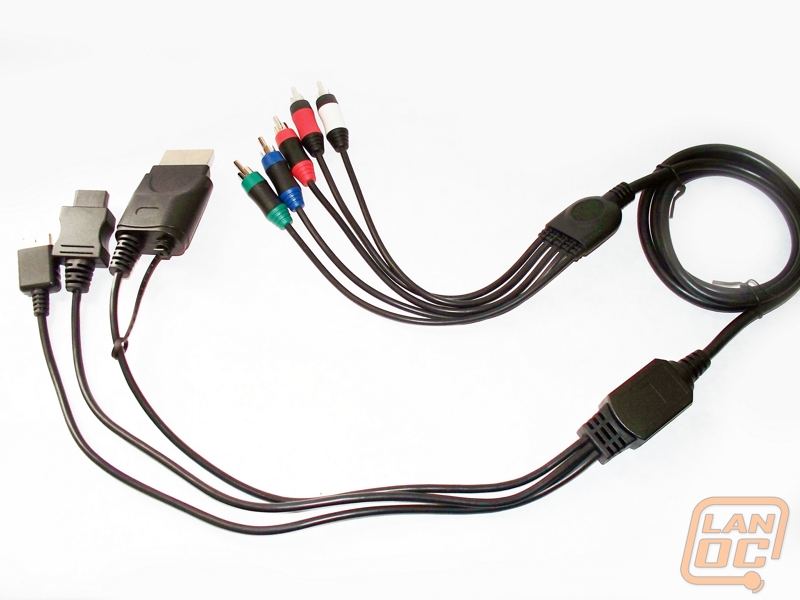
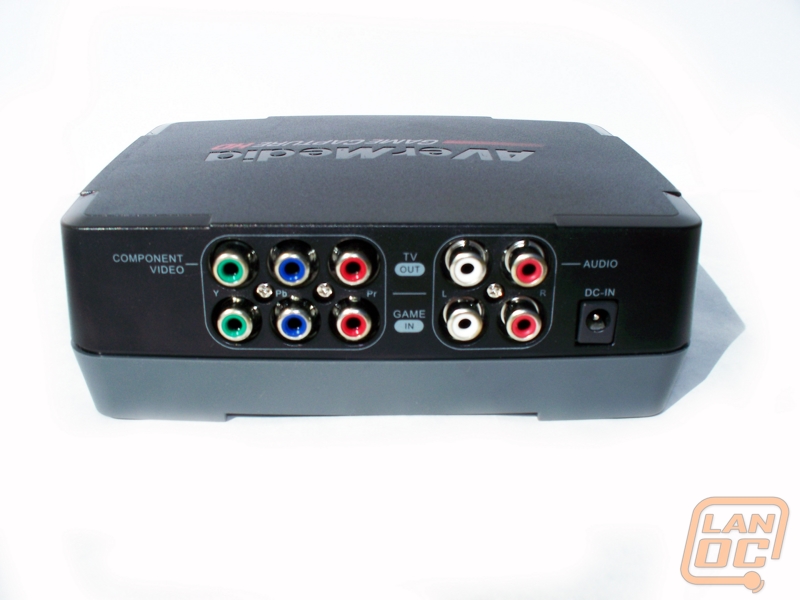
Once the drive is installed, the next step is to hook up all the wires properly. First we must run the set of component video cables and stereo audio cables from the output on the Game Capture HD to the television. Once that is done you need to plug in the universal component cable that came with the device into the input ports on the back. From there you will hook the universal cable up to whichever device you want to use. It is very important to note that you should not have more than one device hooked up at a time or it will cause errors in the recording, and even in some situations for the device not to record at all.
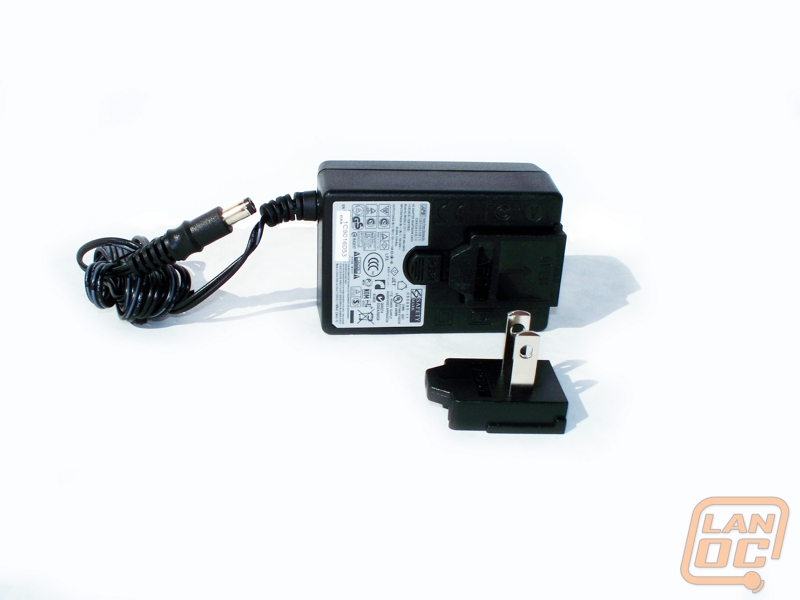
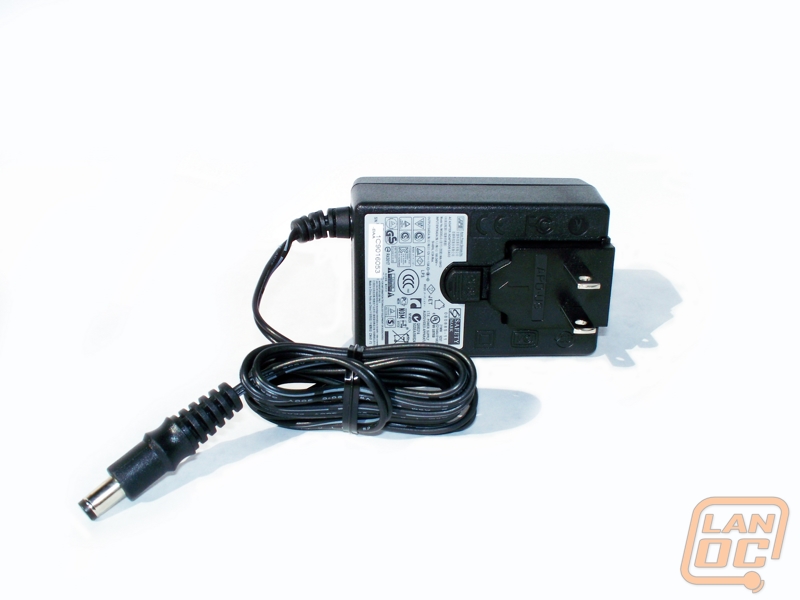
We have to get power to the device, and this is done with a simple AC jack with an interesting twist. As packaged the device will not plug into a power jack. You must first remove the protective cover and slide on the prongs so that the power will be transferred to the device. I imagine that this is done for packaging reasons, but it was the first time I had seen something like this so I felt like it should be addressed.
The next step is setting up the video output on whatever your device you are going to use. This is fairly simple and the user manual explains how to do this on all consoles. Once your device is in the correct video format then you need to update the firmware on the Game Capture HD. This is also fairly easy as the update files are downloaded directly from AverMedia’s website. Installing the firmware update is as easy as putting it on the root of an SD card and inserting it into the USB port on the front of the capture device. Once this is done you must find the option to update firmware in the menu and the firmware update will execute, the device will restart and you will be good to start using it.
