There have been moments in time where I have performed the impossible. Moments when I have slayed entire hordes of enemies with no health or mana, moments when I have scored the last second touchdown to win the Super Bowl, and moments when I have done silly things not meant for the eyes of minors. These moments have all been lost in time and no one seems to believe that they actually happened. With the Game Capture HD from AverMedia this will never happen again. The Game Capture HD looks to be an easy to use capture card for console gamers. It requires no internal installation and is incredibly easy to set up. This capture device is an alternative to cards that go into your PC, and while you may not be able to get 1080p quality videos, it is certainly much less daunting to set up and use.
Product Name: AverMedia Game Capture HD
Review Sample Provided by: AverMedia
Written By: Brennon
Picture and Screenshots By: Brennon
Product Specifications
|
Supported Systems |
PS3, Xbox 360, and Wii |
|
Dimensions |
Product Weight: 335g Product Length: 164mm Product Width: 124mm Product Height: 57mm |
|
Included In Box |
Game Capture HD User Manual Universal Component Cable for Game Consoles Component Cable RCA Audio Cable Power Adapter (12V/1.5A) Remote Control (Batteries Included) |
|
Input Signal |
Component Video and Stereo Audio |
|
Output Signal |
Component Video and Stereo Audio |
|
Storage |
Internal 2.5” SATA Hard Driver (9.5mm or 12.5mm) External USB 2.0 Hard Drive NTFS or FAT32 file systems are supported, but NTFS is suggested for better quality |
|
Recording Format |
AVI (H.264 and MP3 Codecs) |
|
Supported Resolutions |
480i, 480p, 576i, 576p, 720p, 1080i (50/60 Hz) |
Packaging
Prior to receiving the review sample from AverMedia I looked the product up on their website to see what to expect. The first that struck me about the packaging was twofold, it was much larger than I had expected, but also much lighter.
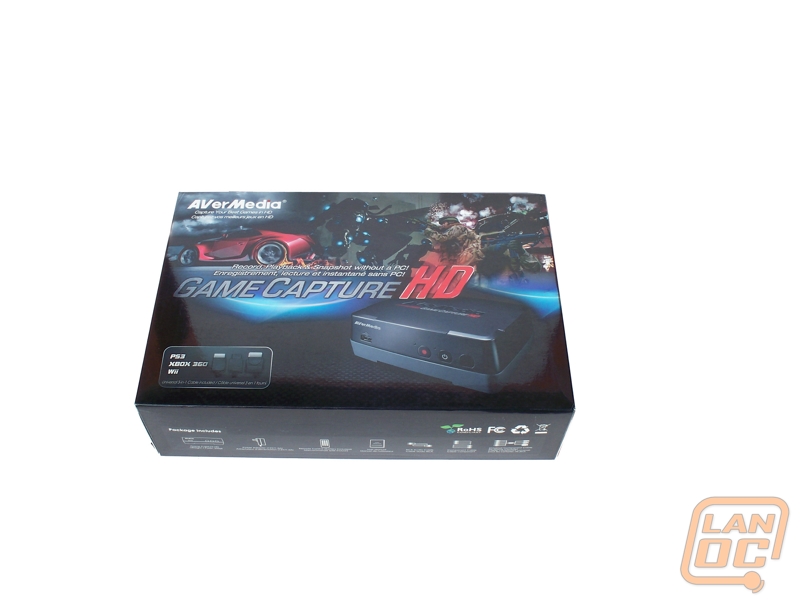
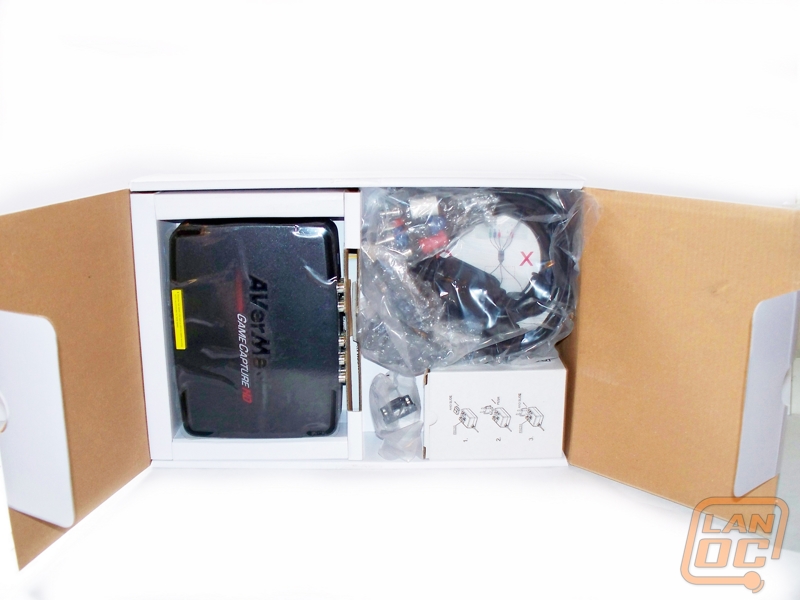
The package is much larger than expected because the device was settled into a smaller more secure package that fit snugly inside the larger outer box. This seems to be so that the device, which is much lighter than I expected for a capture device, is not moving around too much seeing as how it has working parts inside. All the cables and wires were separated in their own plastic wrap on one side, with the device itself on the other side alone. The packaging itself was simple yet efficient.
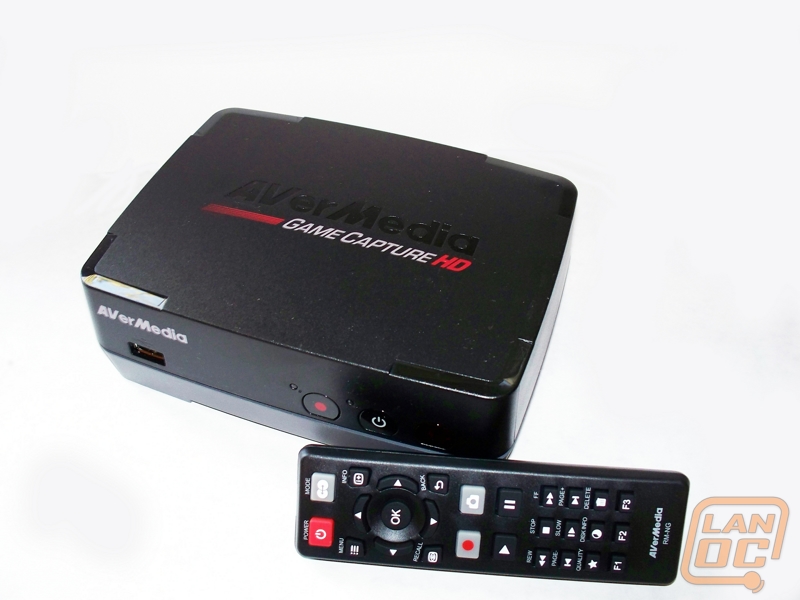
One thing that is worth noting is that along with the buttons on the front of the device itself for powering the machine on and off and starting and stopping recording. It also comes with a remote control for more complex access of the menu and its options as well as an easier time starting and stopping recordings, as well as taking screenshots. One minor complaint I have about the remote is that it is incredibly small, some of the buttons are tiny, and you have to look closely to see what you are hitting, and be extra careful not to fat finger two buttons at once.
One thing I cannot stand with a package is digging through multiple pamphlets and ads that seem to be a waste in my product. The Game Capture HD seemed to have an excessive amount of paper products at first glance, but upon further inspection, each piece actually contained very useful information and served a vital role. While some of the information was outdated as it seems their websites have changed since the printing of the literature, it seemed like others were put there after the product was packaged to keep the user informed on things that may have changed.
Setup
Setup was the step in the process that I was most fearful of going into the review, and one of the main reasons that I hadn’t owned a capture card to date. The thought of an external capture card was one that I was able to get on board with a lot quicker than an internal. I assemble all my PCs myself, and often do work for some people, but I am in constant fear that I might do something wrong or mess something up. With the Game Capture HD there was no fear of that, it was all done outside of my PC, and I never had to worry about messing anything up. At first the instruction manual was a bit intimidating because of its size. I was worried that the set up process might be more complicated than I initially thought. It turns out that most of the manual was just the same instructions in a few different languages.
The first step is dependent on whether you are using a USB hard drive or an internal Sata hard drive. It is important to note that the recording quality is better on an internal drive than a USB equivalent.
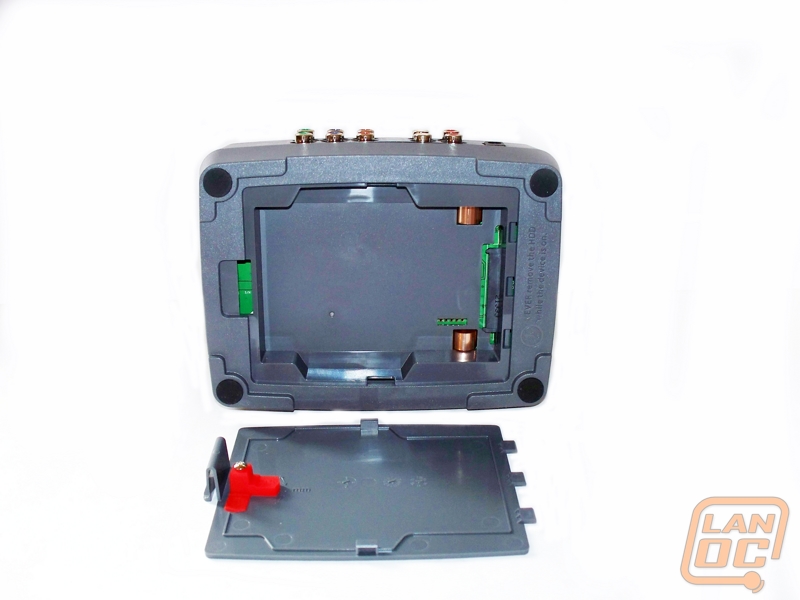
If using an internal drive, the first thing you need to do is install it. The device supports 2.5” internal drives with either a 9.5mm or 12.5mm thickness.
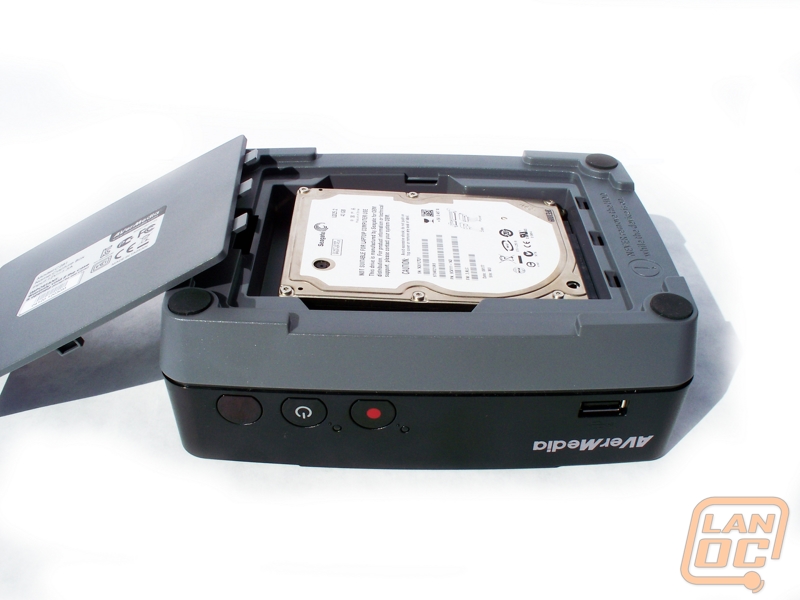
The hard drive must be formatted to either NTFS or FAT32 for it to be supported by the capture device. NTFS is suggested for smoother recording quality and the device will format your drive to NTFS by default if you select the format option in the menu.
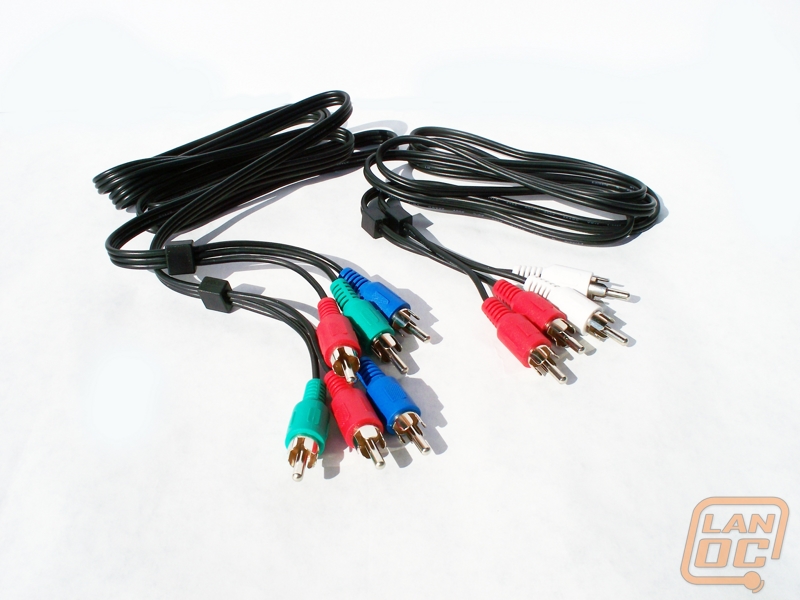
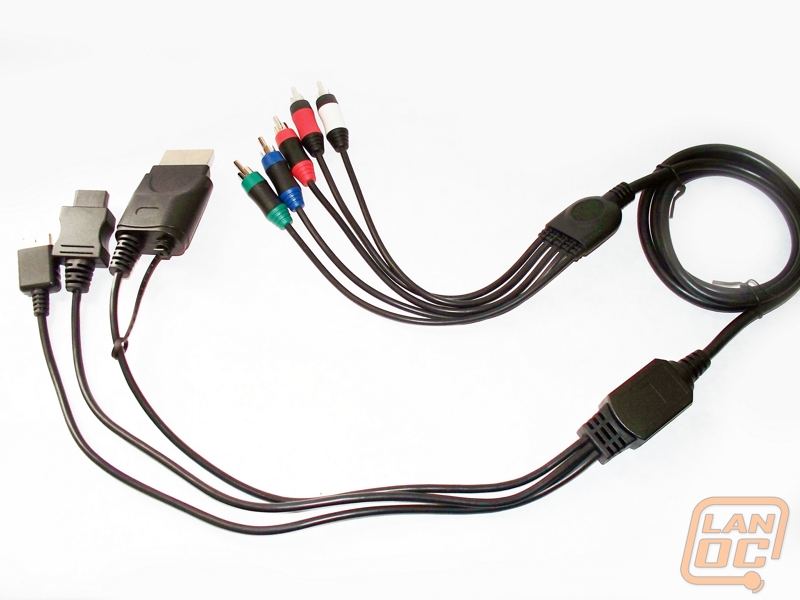
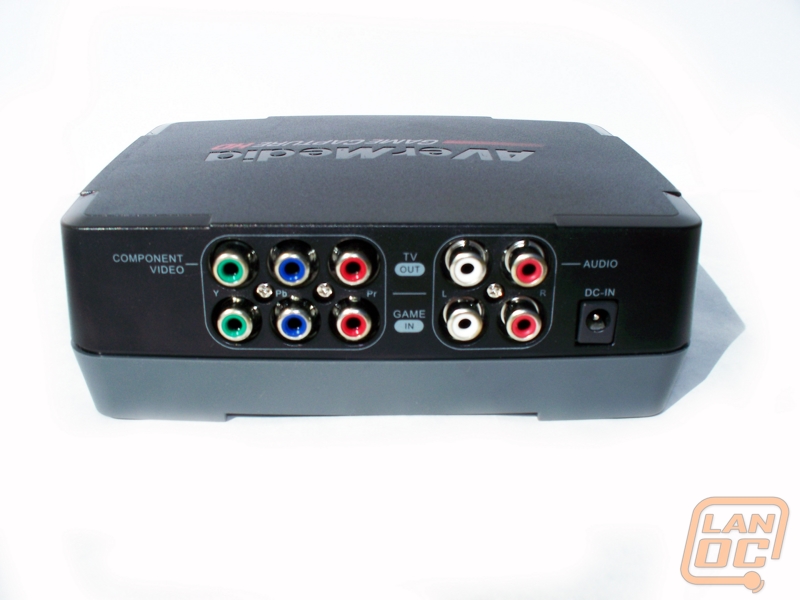
Once the drive is installed, the next step is to hook up all the wires properly. First we must run the set of component video cables and stereo audio cables from the output on the Game Capture HD to the television. Once that is done you need to plug in the universal component cable that came with the device into the input ports on the back. From there you will hook the universal cable up to whichever device you want to use. It is very important to note that you should not have more than one device hooked up at a time or it will cause errors in the recording, and even in some situations for the device not to record at all.
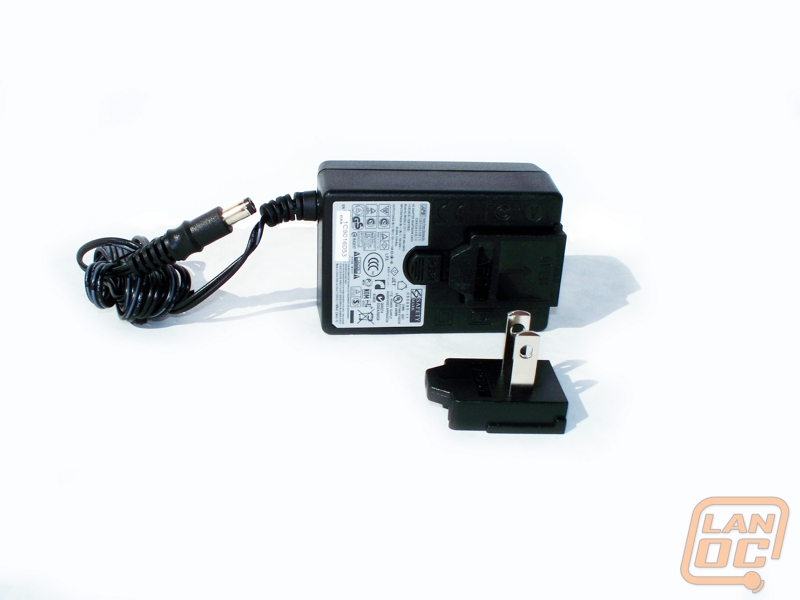
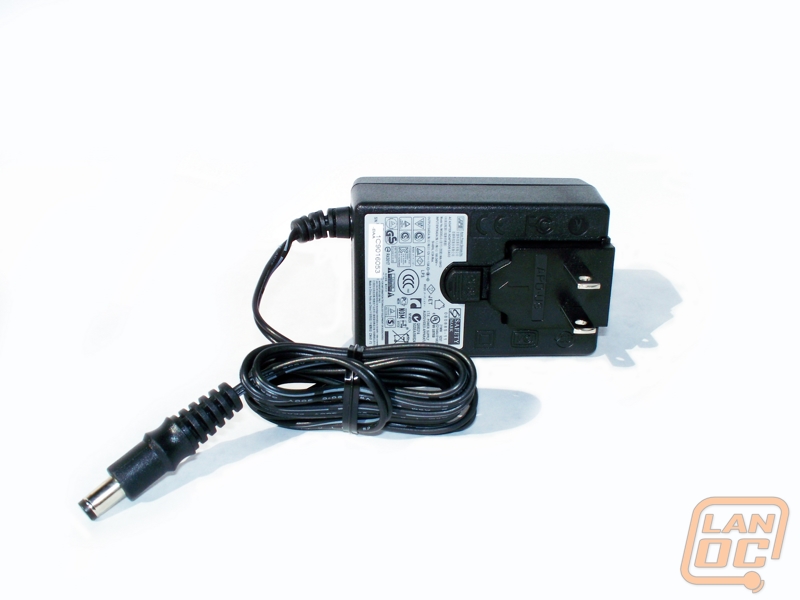
We have to get power to the device, and this is done with a simple AC jack with an interesting twist. As packaged the device will not plug into a power jack. You must first remove the protective cover and slide on the prongs so that the power will be transferred to the device. I imagine that this is done for packaging reasons, but it was the first time I had seen something like this so I felt like it should be addressed.
The next step is setting up the video output on whatever your device you are going to use. This is fairly simple and the user manual explains how to do this on all consoles. Once your device is in the correct video format then you need to update the firmware on the Game Capture HD. This is also fairly easy as the update files are downloaded directly from AverMedia’s website. Installing the firmware update is as easy as putting it on the root of an SD card and inserting it into the USB port on the front of the capture device. Once this is done you must find the option to update firmware in the menu and the firmware update will execute, the device will restart and you will be good to start using it.
Performance
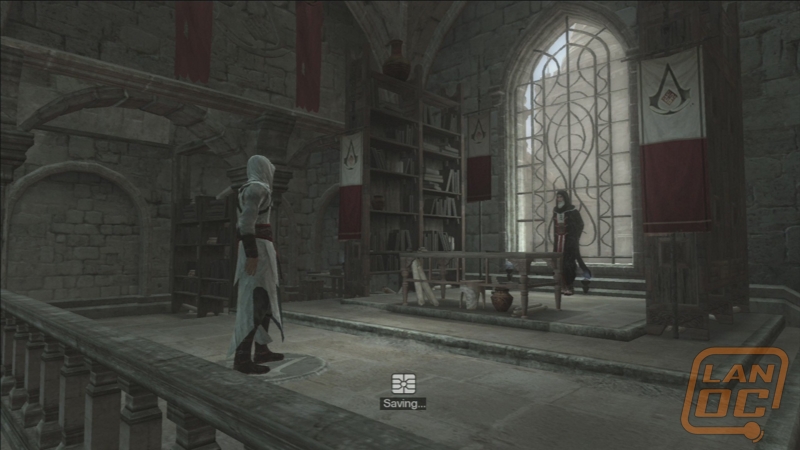
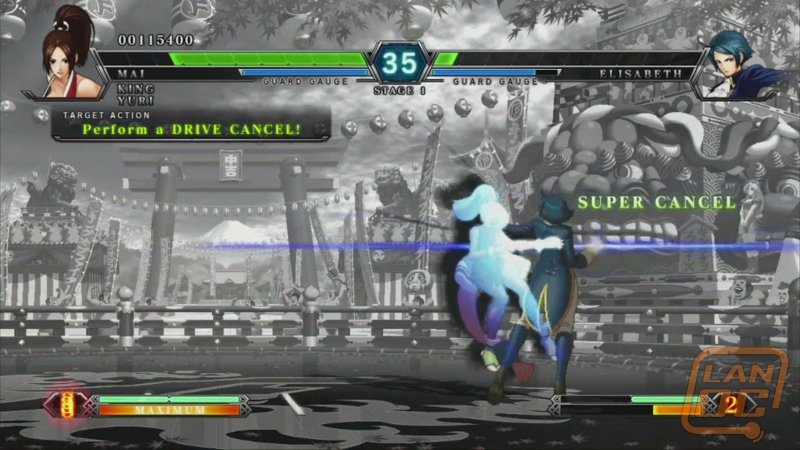
Once the device is completely set up, the process of recording and getting screenshots is relatively easy. One minor hurdle I had right away was getting used to the new resolution. I am used to playing through HDMI and while the video quality isn’t much of a difference in component video on the PS3, there is definitely a noticeable difference in the “crispness” of the game.
This issue was easily moved past however, as I began playing I was pulled right into the story as am almost any time I play a game, and I quickly forgot about the difference in video quality.
The device supports two different recording modes. The first is standard mode and what that means is that you are able to use the device and all it’s fixin’s. Full menu and functions are available as well as certain overlay features such as time remaining and time recorded. The second mode is Real Time Mode and it allows for recording and screenshots, but that is it. No menu or overlay options are available. This is so that the player is able to focus on their game without other distractions.
Both video recording and screenshots are very easy to accomplish. For videos you can either hit the recording button on the front of the device or the remote to start recording, and again to stop recording, and for screenshots you hit the camera button the remote only for a quick snapshot. One really cool feature of the Game Capture HD is the instant playback. After I have recorded a video or taken a screenshot I can instantly go back and view them, while my game is paused underneath the overlay. This is only able to be done in Standard Mode obviously, but is very helpful as you will know right away if the video or picture is usable. The video playback was awesome on both the device and on PC. The videos were all very smooth, and the only time I noticed any hiccups or glitches were when the console itself glitches or hiccupped while I was playing the game.
Another interesting feature is the ability to take screenshots from the playback of your videos. This is especially helpful for me, because I never know when I am going to do something that would make for a good screenshot, and I certainly lack the coordination to both continue playing my game and pick up the remote to hit the camera button to snap a picture.
The device also has the nifty feature of auto detecting the resolution of whatever you are playing and recording or taking screenshots in that resolution. This allowed for me to play a PS3 game and record a video or take screenshots and then switch to a 480p regular DVD without so much as a setting change. This is especially nifty because I was thinking it would not support DVDs at all, but it did let me take snapshots from the movie I was watching. I didn’t test recording for obvious reasons, but it does seem feasible.

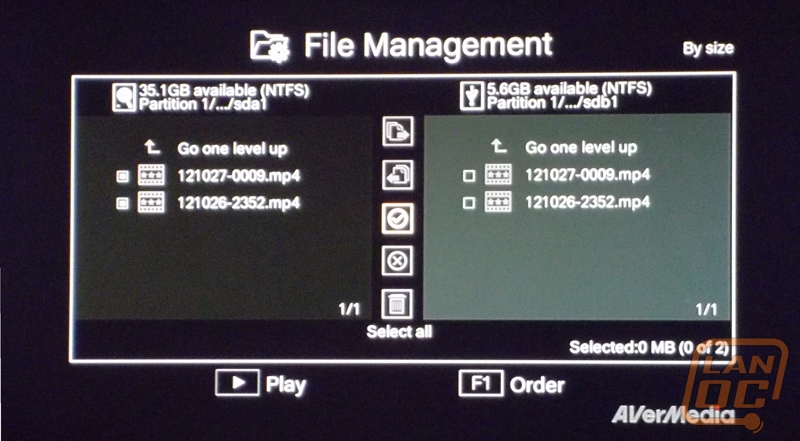
Files are also very easy to manage after they have saved onto the storage device. The Game Capture HD has a built in file management system and it allows for easy transfer between the stored Sata drive and any USB drive you may attach to the system. The firmware also allows for users to easily switch up which device they want to record onto. If I wanted to save some snapshots or videos directly onto my USB drive to save myself a few minutes in the transferring process, this option is just a few quick menu clicks away.
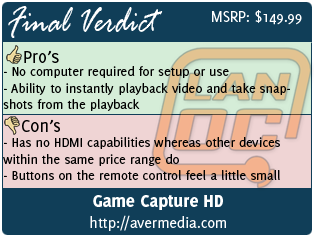
Overall and Final Verdict
Overall I really liked the Game Capture HD from AverMedia. As my first foray into capture devices, this one certainly made it simple. The fact that the device does not need a computer to run at all is a huge plus. This means you can take the device with you anywhere and record relatively easy. It was incredibly easy to set it up and get it working with the help of the user manual. Once set up the device was also very easy to manage, videos were recorded seamlessly, screenshots have never been easier with the ability to take screenshots from the playback feature, and file management was awesome with the ability built in to transfer from Sata to USB. I had a couple of minor issues with the device, but nothing that made me cringe. The first complaint I had was the buttons on the remote felt much too small. I realize this is a personal opinion, and that the buttons may be fine for most people, but I feel that for anyone with big fingers like me, the remote could be bothersome at times. The other issue I had was the lack of HDMI support. It’s not just that the device didn’t support HDMI, but also that other similar devices in the same price range DO support HDMI. With that being said, there was only a small difference in the quality of the video and it’s nothing to write home about. The Game Capture HD from AverMedia is a wonderful device and I look forward to making my life much easier in future reviews.