Photos and Features
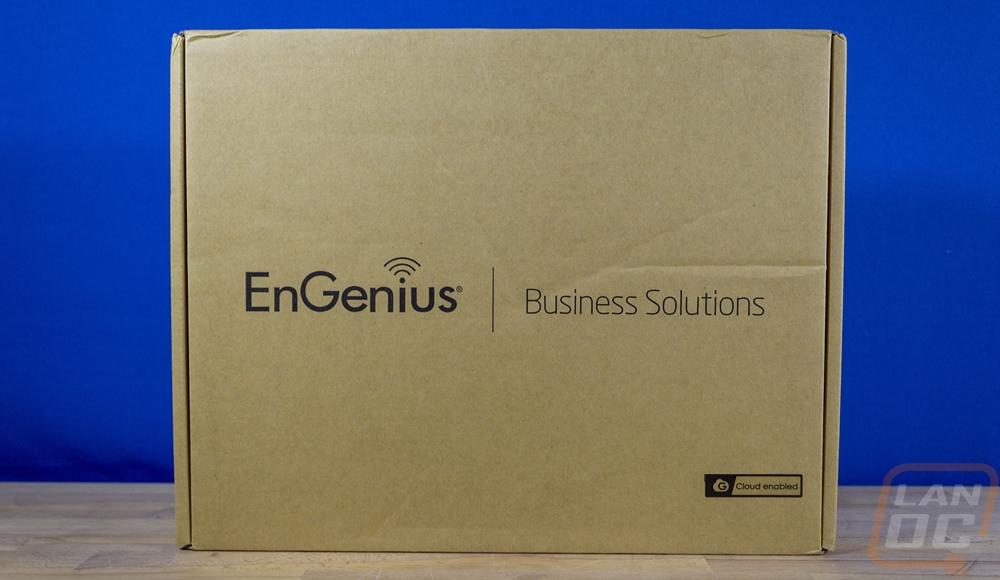
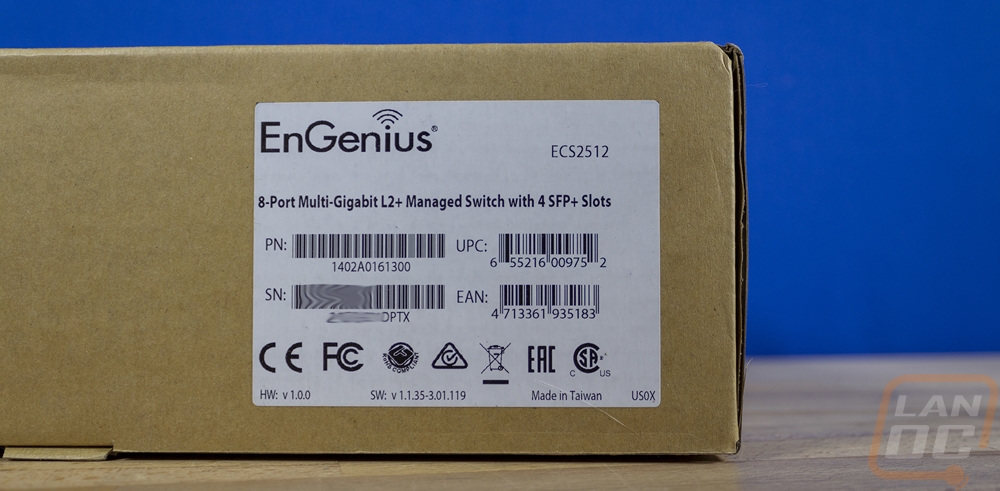
Like with the ECS2512FP, the ECS2512 comes in your standard brown box just like any other commercial IT product would. They have the EnGenius logo across the top showing that this is a Business Solution and there is a sticker added in the bottom right corner that lets you know this is an EnGenius Cloud product. On the front edge, there is a white sticker that has the model number as well as the full description of the ECS2512 which is an 8-port Multi-Gigabit L2+ Managed Switch with 4 SFP+ Slots. Below that they have the part number, UPC, EAN, and Serial numbers all listed out with barcodes as well. Then it has the normal required certification logos as well as the revision number and manufacture location. There is a second white sticker that lists out some of the features of the ECS2512 and also lets you know what all you will find inside as well.

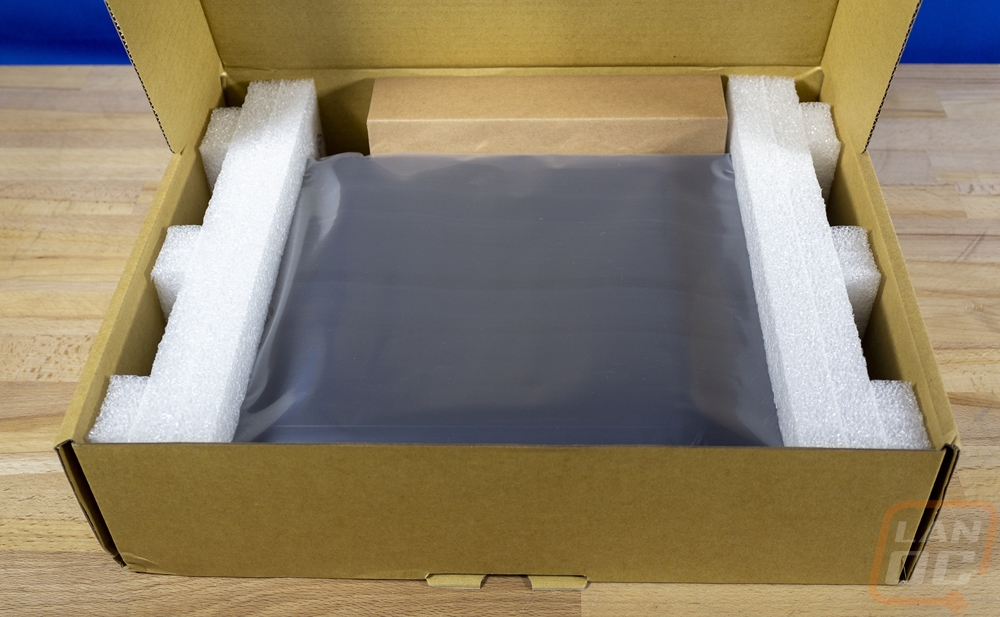
When you open the ECS2512’s box up the switch comes wrapped in a thick plastic bag and then sits in the box with foam protection on both ends to keep it from moving around and also to absorb any drops or impacts. There is a box tucked in along the top edge with the accessories and there is also the quick installation guide sitting up under the ECS2512 when you pull it out.
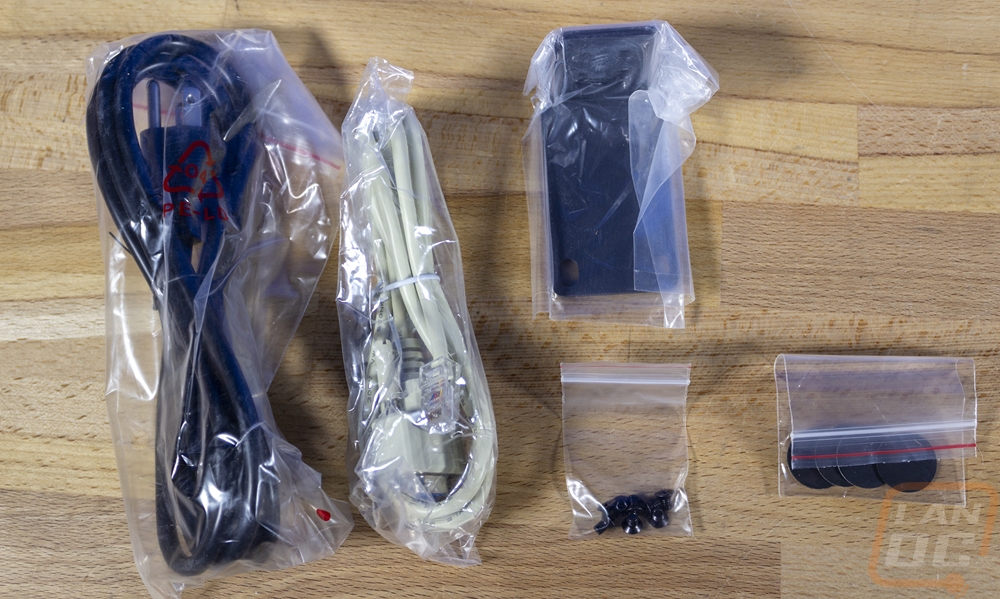
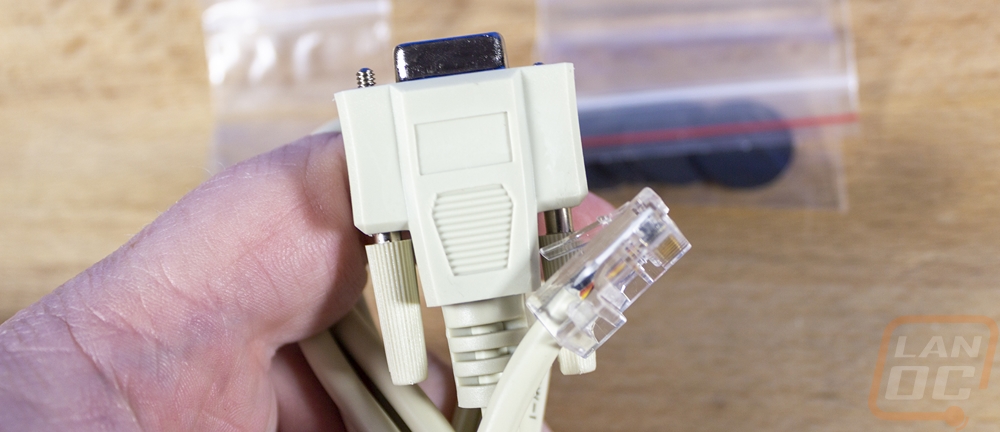
For accessories, everything in the box comes in its own plastic bag as well. You get two rack mount ears as well as a set of screws for installing them. There is a small baggie that has four rubber feet, these are for if you aren’t planning on rack mounting you can use the feet to keep the ECS2512 from getting scratched up or moving around. On the left, you have the power cable which is your standard NEMA 5-15 to C13 power cord. Lastly, the off-white cord is the console cable which is RJ45 on one end and serial on the other end.
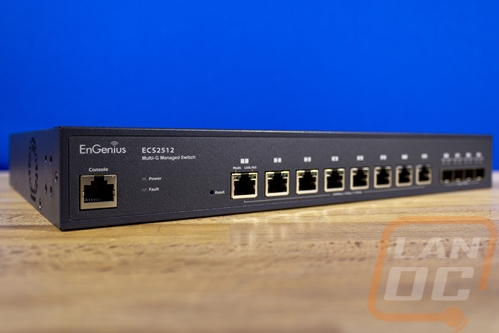
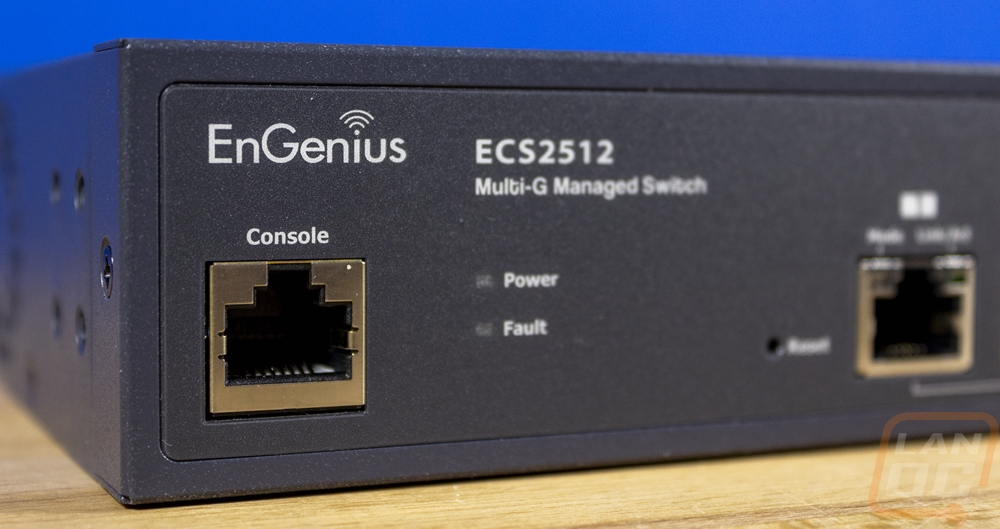
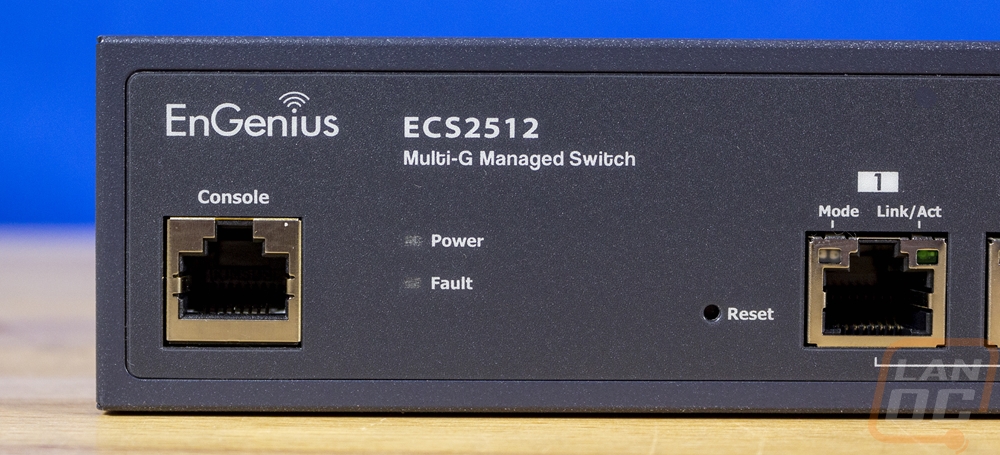
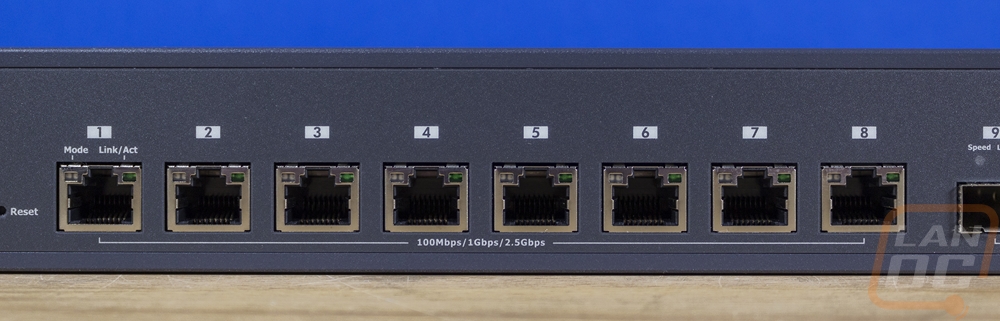
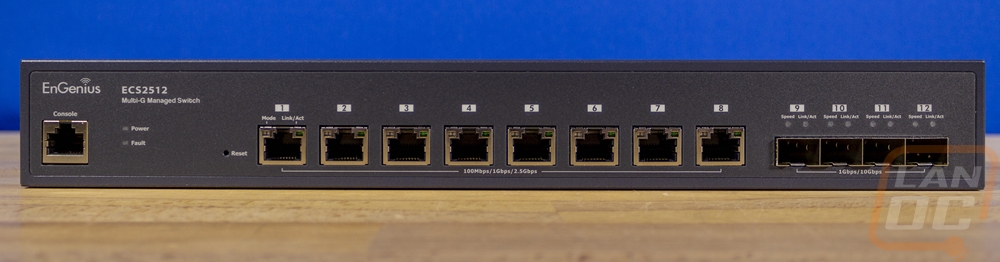
The front of the ECS2512 is of course where most of the action is and in most ways, the ECS2512 is exactly like the ECS2512FP. The difference between the two was the ECS2512FP has POE ports and with that, the strip of 8 RJ45 jacks had a yellow stripe above them. The ECS2512 has those same 8 jacks but the yellow stripe is gone. All 8 ports support up to 2.5Gbps and of course, also support 1 Gbps and 100 Mbps if your devices need that. To the left of the RJ45 jacks, you have the model name printed and LED status indicators for power and fault. The ECS2512FP had more indicators to let you know the POE was maxed out and a button to switch between LAN and PoE mode but those aren’t needed here. There is also a pinhole reset button however which is on both. Then on the far left is the RJ45 console jack
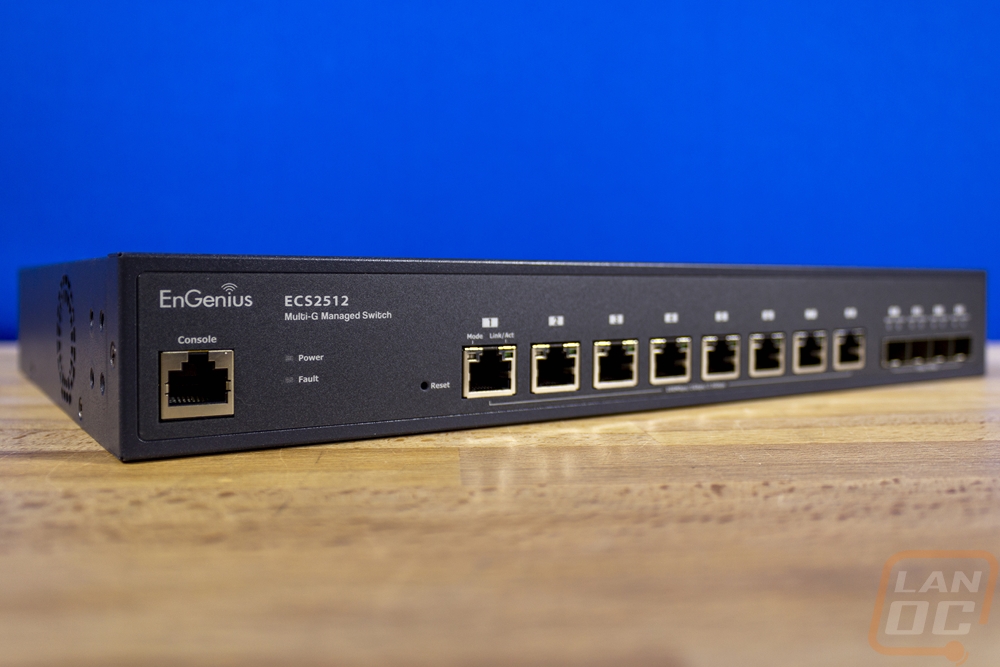
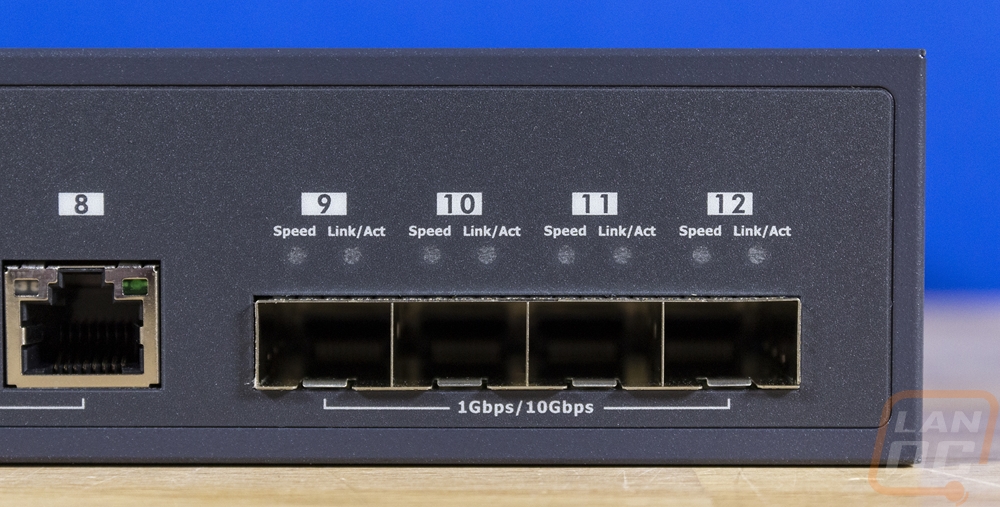
On the far right end of the ECS2512 are the SFP+ ports which stands for small form factor pluggable transceiver. The plus means that they support up to 10Gbps. These can be used with different transceivers to support 10Gbps fiber or copper. You can also use Twinaxial cabling in a DAC setup that gives you a cable with SFP+ connections on both ends. These can be active or passive cables. They are limited in length but are great for going from switch to switch or switch to a server if you have an SFP+ NIC as well. This is how our TrueNAS server is hooked up and I’m planning on hooking the ECS2512 to the ECS2512FP in the same way as well. Each of the four ports are labeled up top and has speed and link/activity LEDs above them.
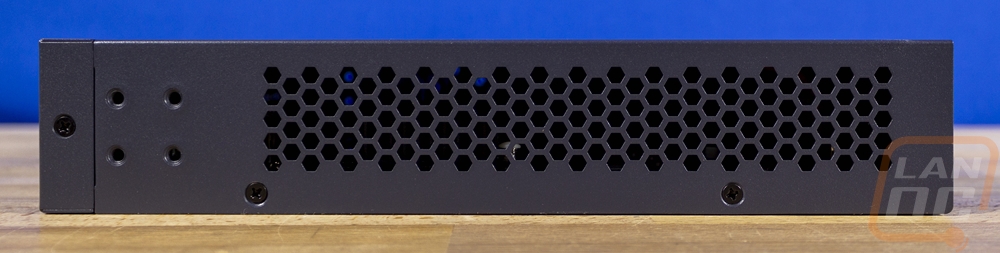
Like most rack-mounted switches the ECS2512 has all of its cooling on the sides. If you are facing the front of the ECS2512, the left side has one fan and then the right side has ventilation across the entire side. This is one area that is different from the ECS2512FP. Without the need for the same power that the POE uses the ECS2512 only has one side fan whereas the ECS2512FP has two.
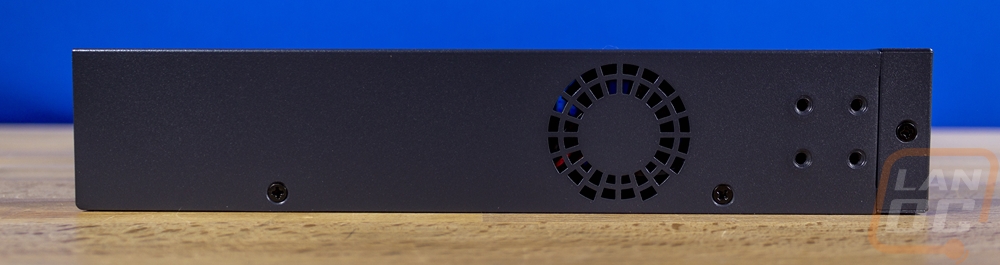
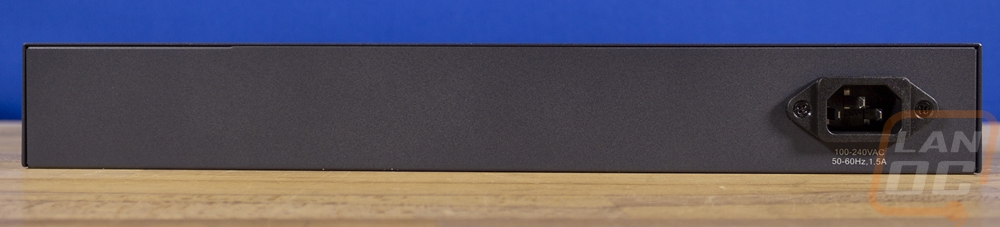
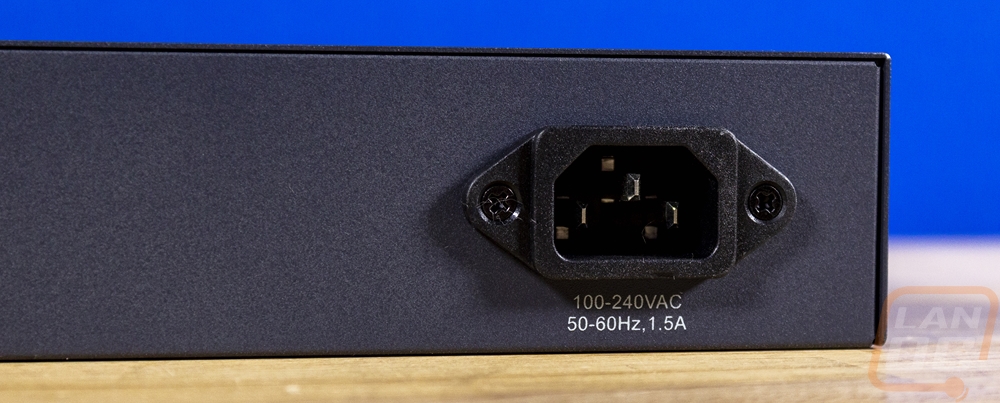
The back of the ECS2512 just has the C13 power plug which below it has the 100-240 voltage rating and that it uses up to 1.5A. Nothing else is going on back here, all of the ventilation was on the sides.
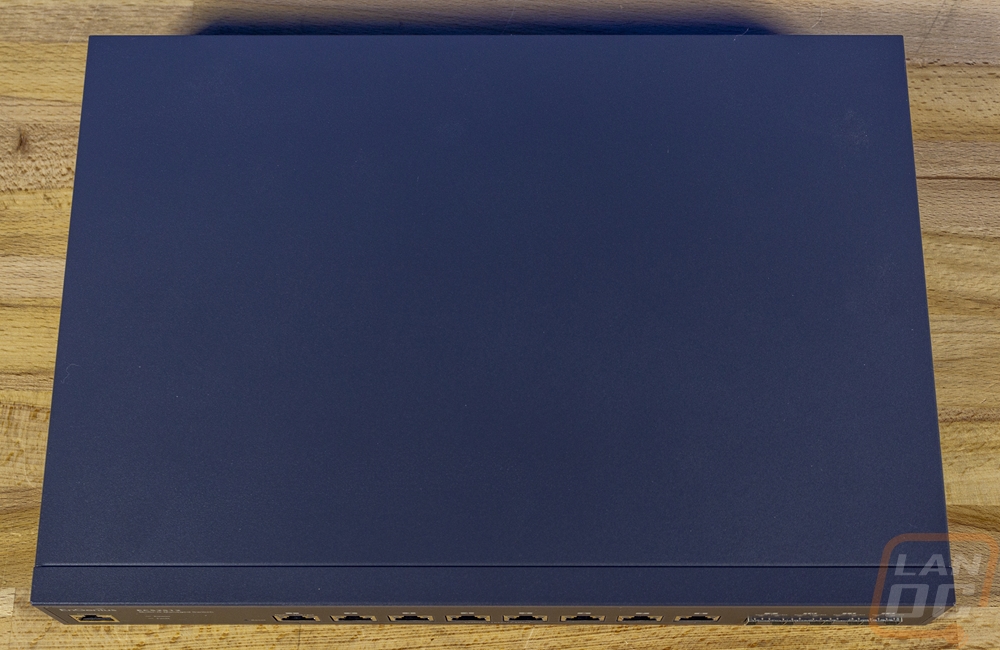
The top of the ECS2512 doesn’t have anything going on at all other than that dark blue textured finish on the housing.
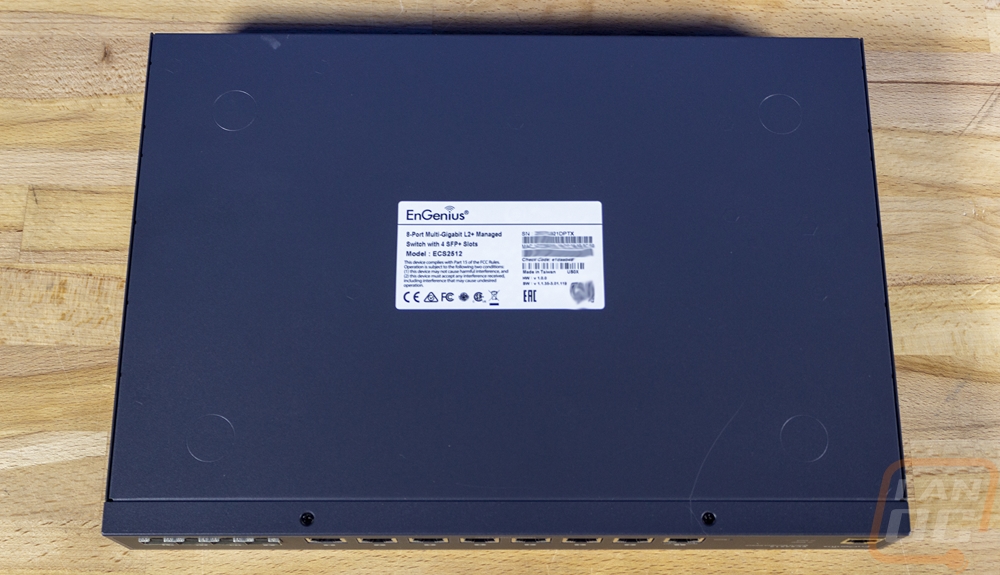
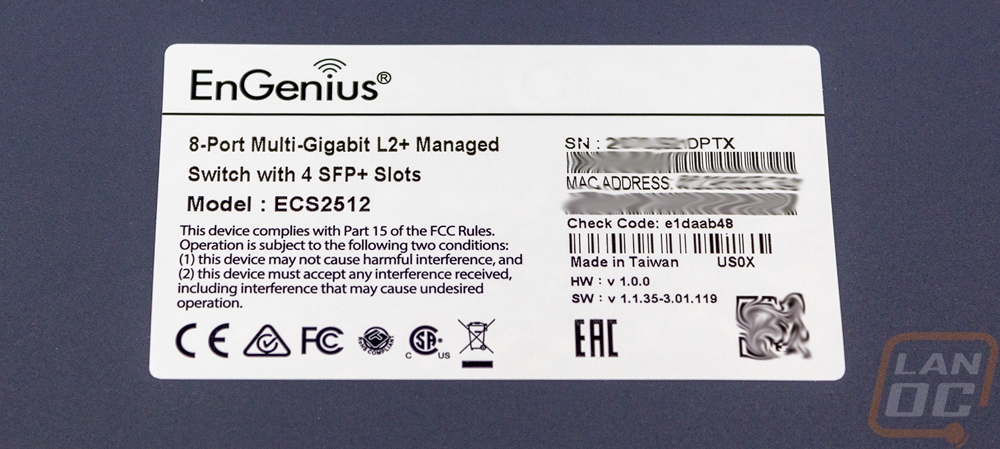
The bottom of the ECS2512 has four indents in the corners for the included rubber feet if you aren’t planning on racking mounting the switch. Then in the middle, there is a white sticker that has the model information, the normal required certification logos, manufacturing location, and of course your serial number and mac address. There is also a QR code which is what you use for quick setup using EnGenius Cloud.