
With the new 12th Gen Intel CPUs and the Z690 chipset that Intel launched with them being released. It also means that we get to check out the latest motherboard designs. This time around Intel only focused on the high performance focused CPUs so most of the options that came out were gaming, overclocking, or high-end workstation focused. The first board that came in was from MSI which was one of their gaming focused boards, the MPG Z690 Carbon WiFi. Today I’m going to check out what features they have included with this board and check out how the Z690 Carbon WiFi performs with the new i9-12900K as well. I’m also going to take a look at the MAG Coreliquid C280 AIO cooler that MSI sent over as well for LGA1700 testing. Let’s dive in!
Product Name: MSI MPG Z690 Carbon WiFi
Review Sample Provided by: MSI
Written by: Wes Compton
Amazon Affiliate Link: HERE
|
Specifications |
|
|
Processor |
Supports 12th Gen Intel® Core™, Pentium® Gold and Celeron® Processors 1 Processor socket LGA1700 |
|
Chipset |
Intel® Z690 Chipset |
|
Memory |
4x DDR5 memory slots, support up to 128GB1 Supports 1R 4800 MHz (by JEDEC & POR) Max. overclocking frequency: 1DPC 1R Max speed up to 6666+ MHz 1DPC 2R Max speed up to 5600+ MHz 2DPC 1R Max speed up to 4000+ MHz 2DPC 2R Max speed up to 4000+ MHz Supports Intel® XMP 3.0 OC Supports Dual Controller Dual-Channel mode Supports non-ECC, un-buffered memory |
|
Expansion Slots |
3x PCIe x16 slots -PCI_E1 & PCI_E2 slots (From CPU) -Support PCIe 5.0 -Support x16/ x0, x8/ x8 -PCI_E3 slot (From Z690 Chipset) -Supports PCIe 3.0 x4 |
|
Onboard Graphics |
1x HDMI 2.1 with HDR port, supports a maximum resolution of 4K 60Hz1/ 2 1x DisplayPort 1.4 port with HBR3, supports a maximum resolution of 4K 60Hz1/ 2 Available only on processors featuring integrated graphics.Graphics specifications may vary depending on the CPU installed. |
|
Multi-GPU |
Supports AMD® CrossFire™ Technology |
|
Storage |
4x SATA 6Gb/s ports - SATA5~8* (From Z690 Chipset)1 2 x SATA 6Gb/s ports - SATAA & SATAB (From ASMedia ASM1061) 5x M.2 slots (Key M) M2_1 slot (From CPU) Supports PCIe 4.0 x4 Supports 2260/ 2280/ 22110 storage devices M2_2 slot (From Z690 Chipset) Supports PCIe 4.0 x4 Supports 2260/ 2280 storage devices M2_3 slot (From Z690 Chipset) Supports PCIe 4.0 x4 Supports 2242/ 2260/ 2280/ 22110 storage devices M2_4 slot (From Z690 Chipset)1 Supports PCIe 3.0 x4 Supports SATA 6Gb/s Supports 2242/ 2260/ 2280 storage devices M2_5 slot (From Z690 Chipset) Supports PCIe 4.0 x4 Supports SATA 6Gb/s Supports 2260/ 2280 storage devices M2_2~5 support Intel® Optane™ Memory Supports Intel® Smart Response Technology for Intel Core™ processors SATA7 will be unavailable when installing M.2 SATA SSD in the M2_4 slot. |
|
Raid |
Supports RAID 0, RAID 1 and RAID 10 for SATA storage devices Supports RAID 0, RAID 1 , RAID 5 and RAID 10 for M.2 NVMe storage devices |
|
USB |
Intel® Z690 Chipset
USB Hub-GL850G
|
|
Audio |
Realtek® ALC4080 Codec
|
|
Lan |
1x Intel® I225V 2.5Gbps LAN controller |
|
WiFi & Bluetooth |
Intel® Wi-Fi 6E module
|
|
Internal Connectors |
1x 24-pin ATX main power connector 2x 8-pin ATX 12V power connectors 6x SATA 6Gb/s connectors 5x M.2 slots (M-Key) 1x USB 3.2 Gen 2 10Gbps Type-C connector 1x USB 3.2 Gen 1 5Gbps connector (supports additional 2 USB 3.2 Gen 1 5Gbps ports) 2x USB 2.0 Type-A connectors (supports additional 4 USB 2.0 ports) 1x 4-pin CPU fan connector 1x 4-pin water-pump fan connector 6x 4-pin system fan connectors 1x Front panel audio connector 2x System panel connectors 1x Chassis Intrusion connector 1x Clear CMOS jumper 1x TPM module connector 1x TBT connector (supports RTD3) 1x Tuning Controller connector |
|
LED Feature |
1x EZ LED Control switch 4x EZ Debug LED 1x 2-Digit Debug Code LED 1x 4-pin RGB LED connector 2x 3-pin RAINBOW LED connectors 1x 3-pin CORSAIR LED connector |
|
Back Panel Ports |
USB 2.0 DisplayPort 2.5G LAN Wi-Fi/Bluetooth Audio Connectors Flash BIOS Button HDMI USB 3.2 Gen 2 10Gbps Type-A USB 3.2 Gen 2x2 20Gbps Type-C Optical S/PDIF Out |
|
Dimensions |
ATX Form Factor 12 in. x 9.6 in. (30.5 cm x 24.4 cm) |
|
Mounting |
9 mounting holes |
|
Operating System |
Support for Windows® 11 64-bit, Windows® 10 64-bit |
|
Box Content |
Motherboard Wi-Fi Antenna |
Packaging and Accessories
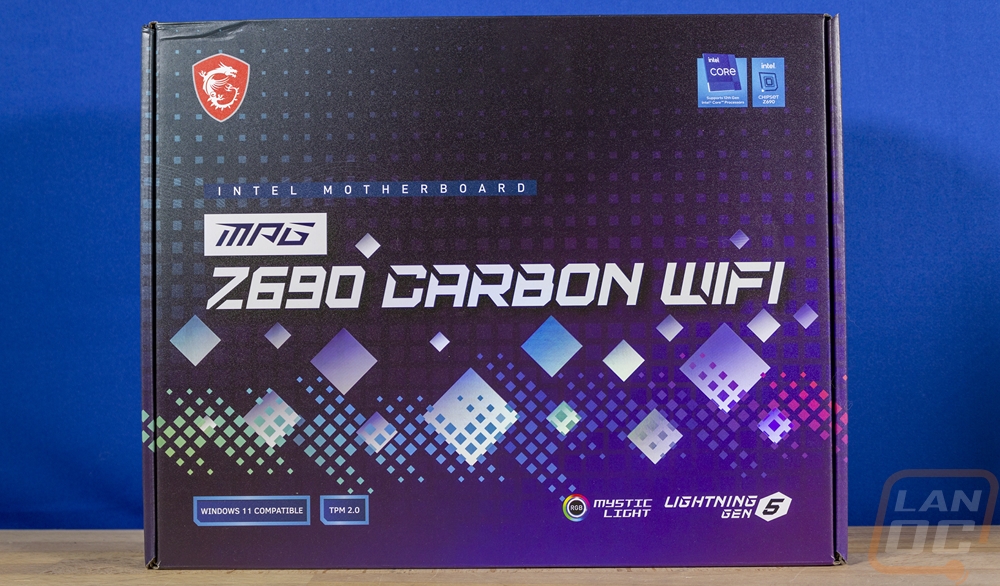
The box for the MSI MPG Z690 Carbon WiFi has a black background that is only visible up at the top with a purple and pink fade starting from the bottom. It also has multiple square designs in the blue/pink/purple range as well that fade up from the bottom. MSI has the model name in the middle of the front in the largest font so it is easy to see and that does include the chipset in the name which helps a lot as well. They also have “Intel Motherboard” above all of that to help set it apart from AMD boards as well which can get a little confusing for people who aren’t in the know with AMD and Intel chipsets having similar naming other than the Z and X designations. Down at the bottom they mention that the board is Windows 11 compatible and supports TPM 2.0 which is important for Windows 11. On the bottom right corner, they have the mystic lighting logo and lighting gen 5 branding. Then in the top right corner, they do at least let you know that this is a board for 12th gen CPUs as well.
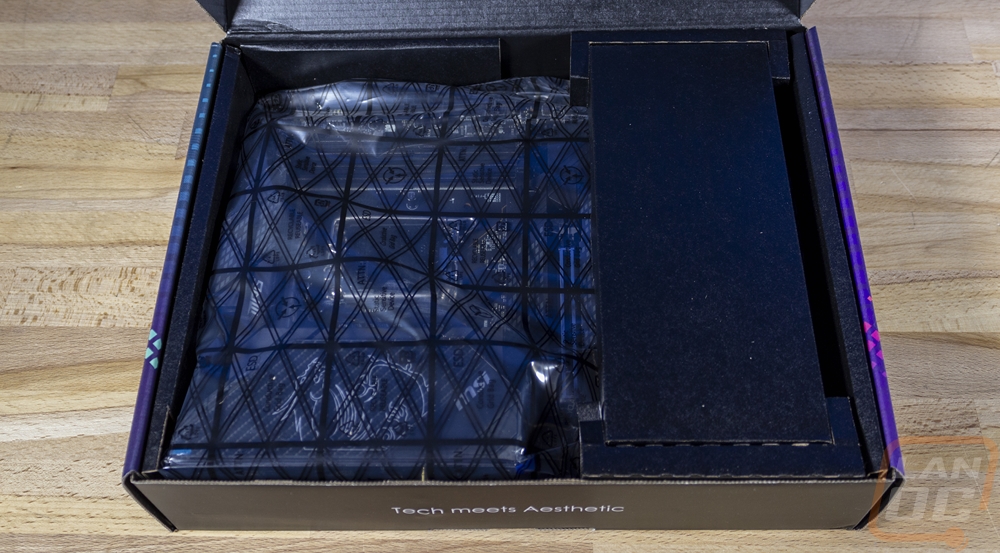
When you get inside, MSI has the board inside of a static protective bag and then sitting in its own cardboard tray. To keep things from moving around there is also a cardboard bridge across the top.
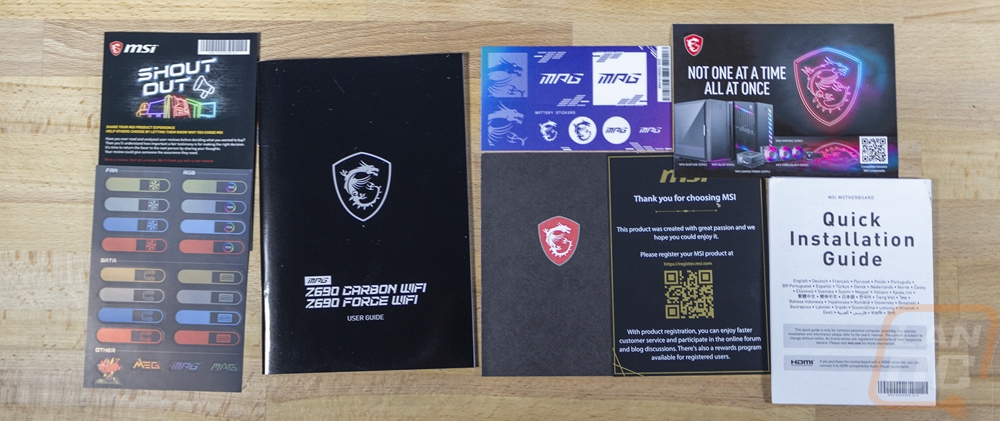
The Z690 Carbon WiFi has a huge stack of documentation with it starting with the white quick installation guide and the black user guide. There are two sets of stickers, one with labels for SATA cables and another with MSI Gaming and MPG logos. There is also a black card that has a red metal MSI gaming case badge on it. Beyond that, there are cards with MSI advertisements on them.
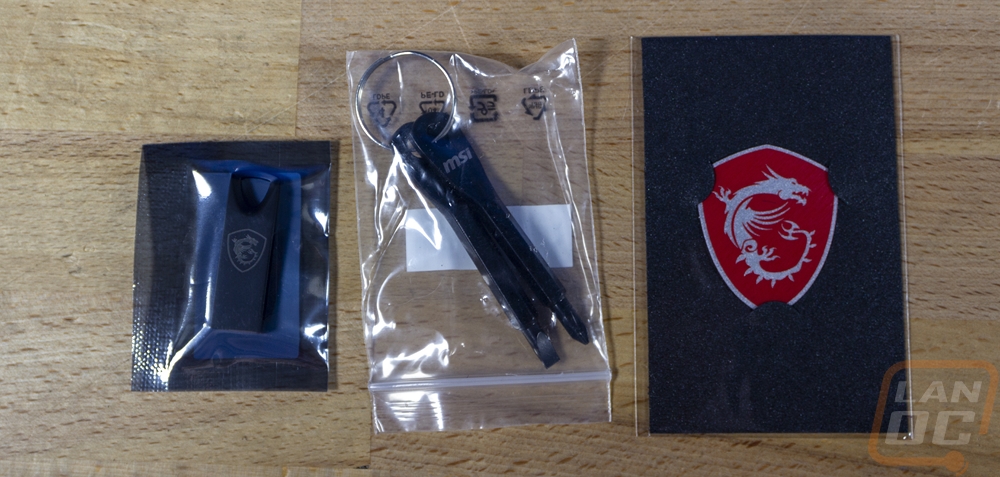
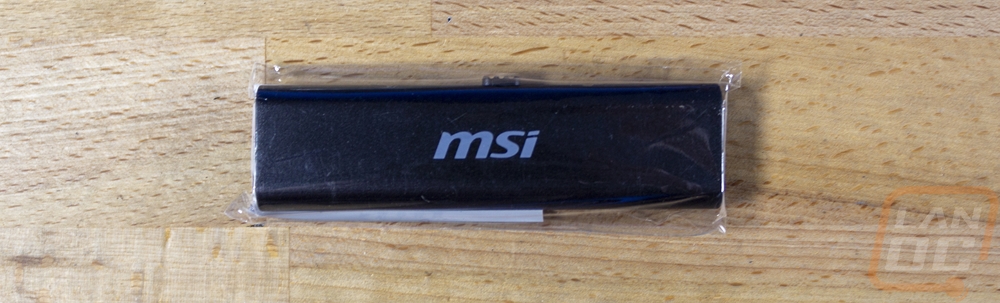
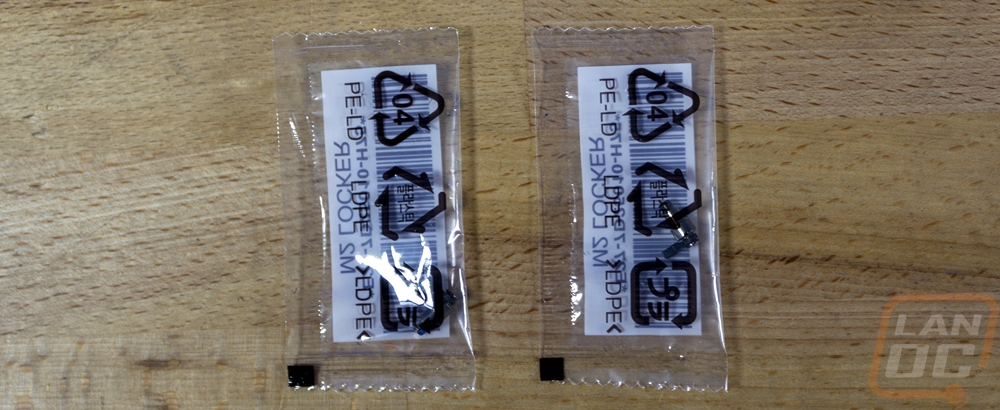
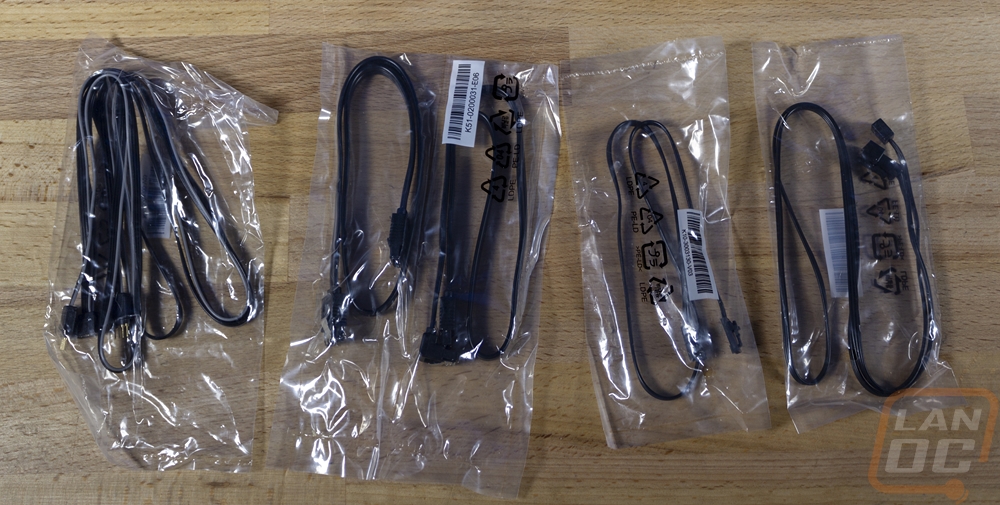
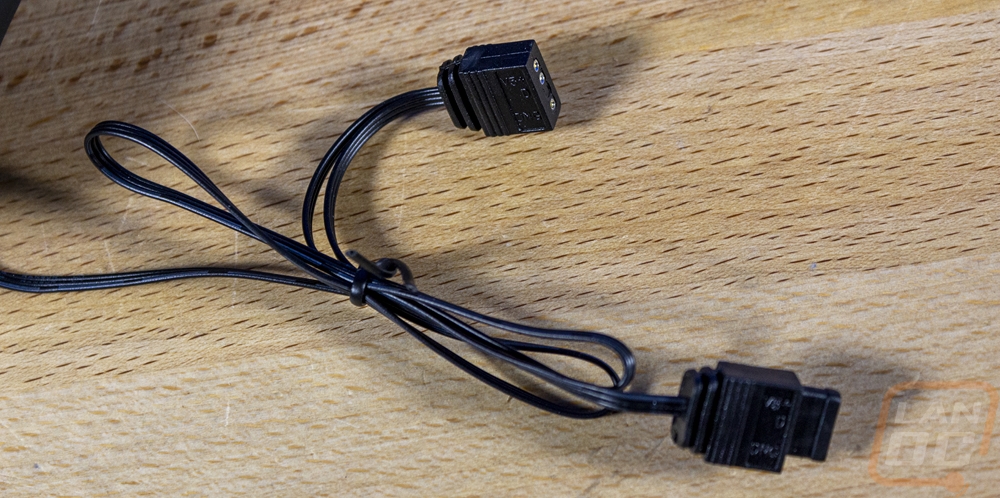
In the past, MSIs Carbon motherboard have had a few accessories but not anything like what their highest-end boards have included. This time around the MPG Z690 Carbon WiFi is loaded with accessories and swag. You get a metal case badge along with a set of metal keys with Phillips and flat head screwdriver ends on them. There is also a small USB drive with the MSI Gaming branding on it which also comes with the drivers/software installed on it. There is also an MSI branded keyboard duster which I’ve had a few of these from other brands and they are always great to keep around your desk to keep your keyboard cleaned out. There were two small baggies with the locking mounts for the M.2 slots. Then there was a whole pile of bags with cables inside. One is a Y for RGB lighting and there is one extension cable for RGB lighting as well. There is a Corsair-specific adapter cable to help tie in with your corsair lighting if you use that. Then there were a few SATA cables as well, all of the cables are black of course.
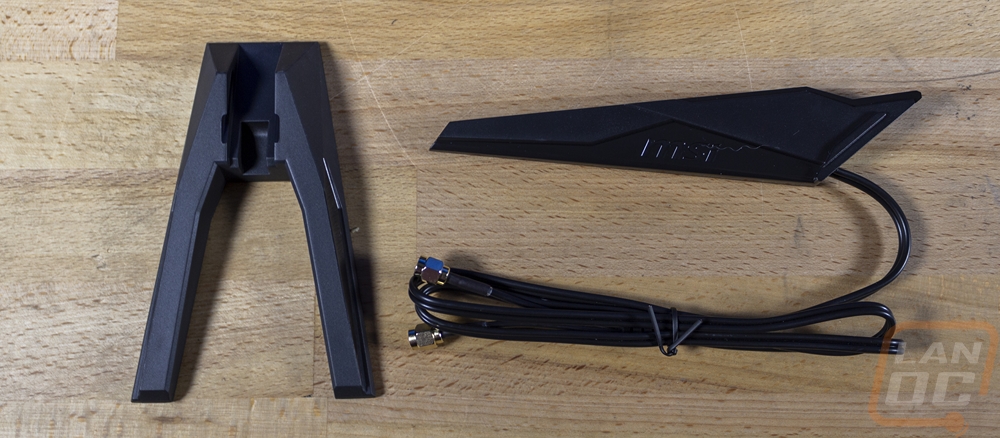
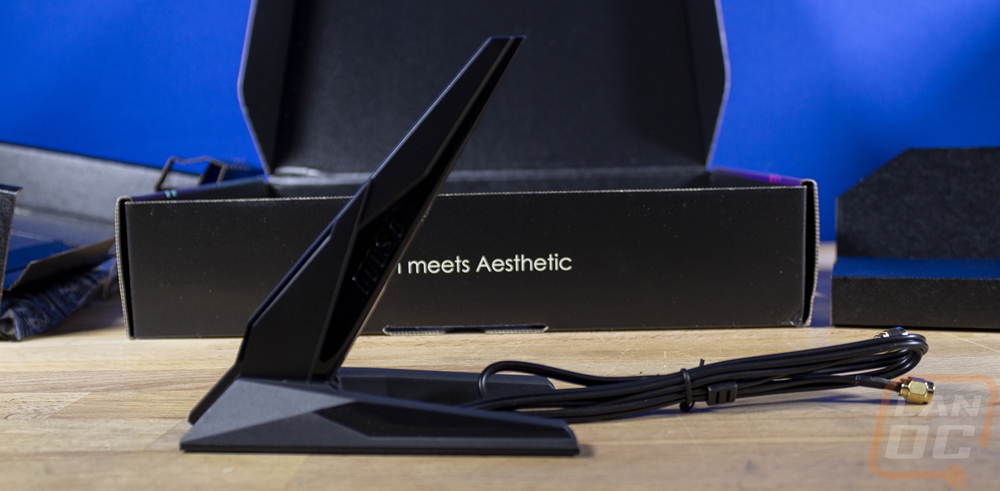
Then the MPG Z690 Carbon WiFi like the name would imply comes with a WiFi antenna as well. It comes in two pieces and you have to slide them together. The base is a Y shape for stability and then you have a 3+ foot long cord. Unlike some other brands, this antenna doesn’t have a magnetic base from what I saw and once it is together it doesn’t adjust or flip out but simplicity is often best.
Board Layout and Pictures
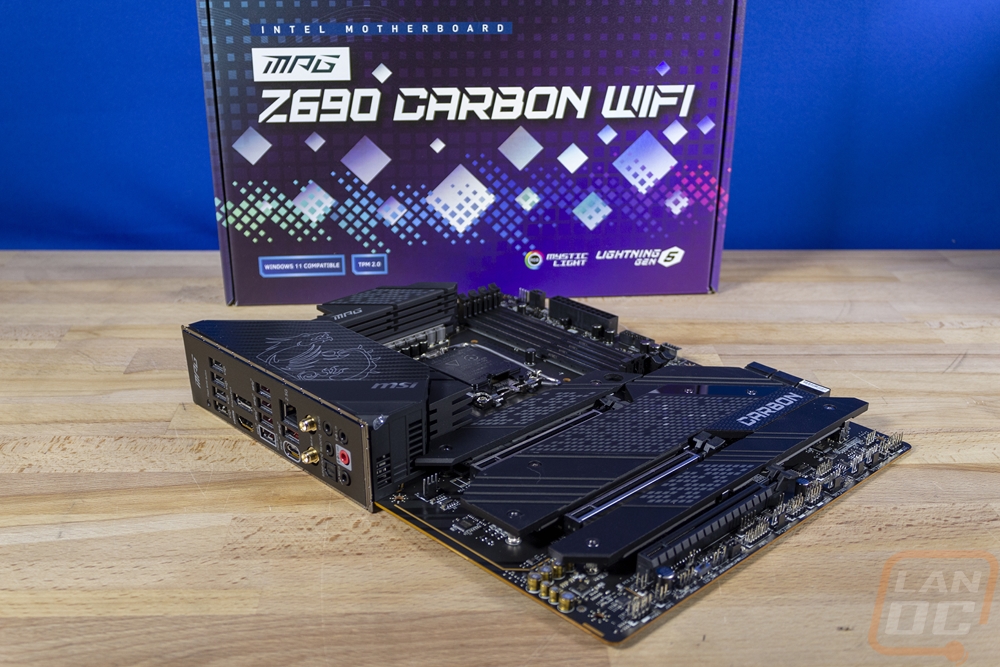
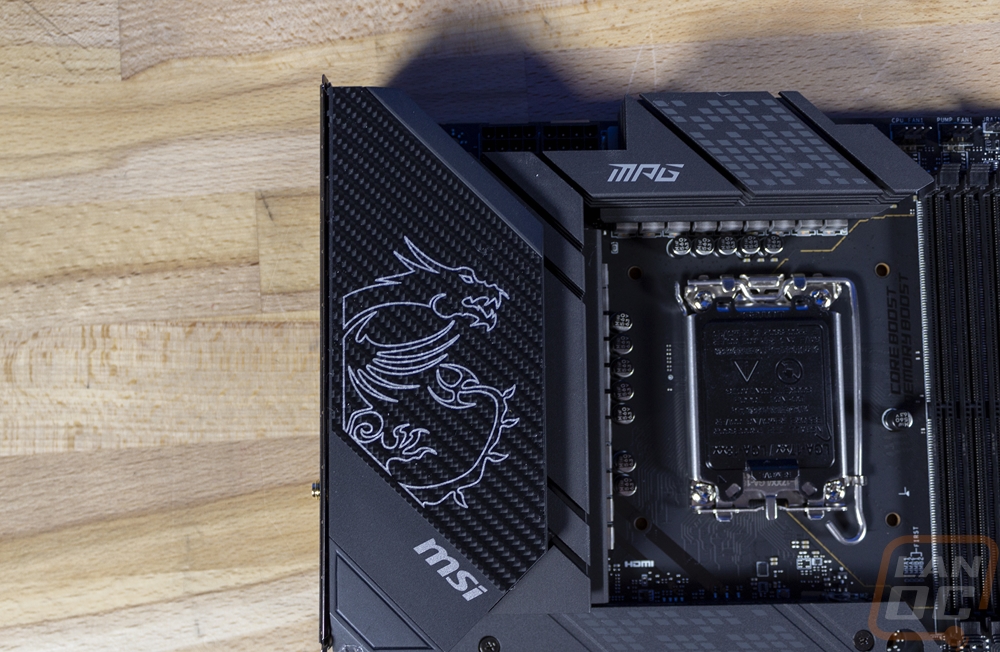
My initial impression of the MAG Z690 Carbon WiFi is that when looking back at some of the older original Carbon boards they have changed things up significantly for the better. The original Carbon designs relied heavily on fake carbon fiber always looked weird and too over the top. The Z690 Carbon WiFi on the other hand is a good looking board. At its base, the board is very blacked out with the black PCB and all of the heatsinks and plastic components being all black. But that isn’t to say there isn’t any styling, they do have the MSI Gaming dragon logo by the rear I/O and an angled checkerboard look printed across most of the heatsinks. Beyond the dragon logo, the branding isn’t too in your face as well, at least not without any lighting turned on.

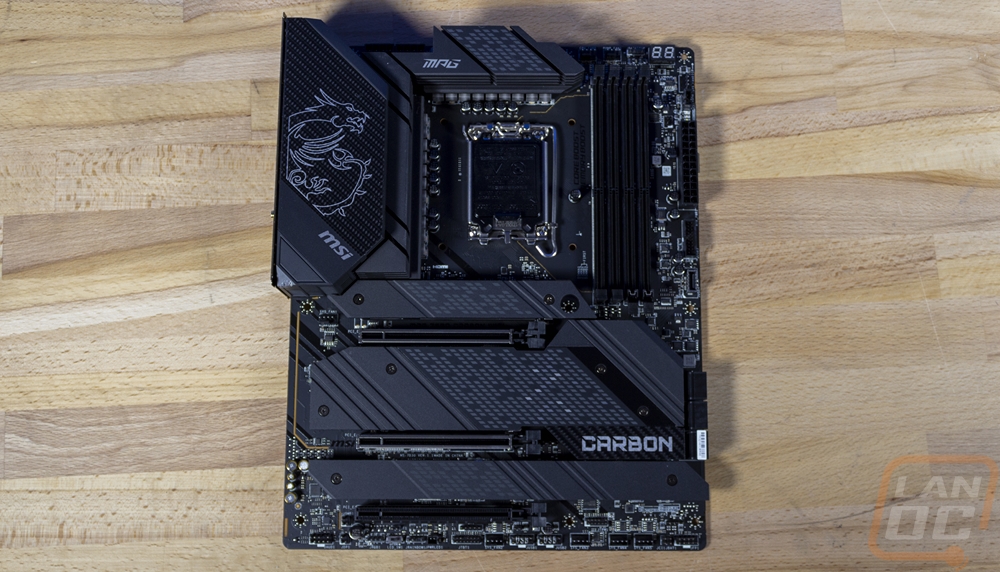
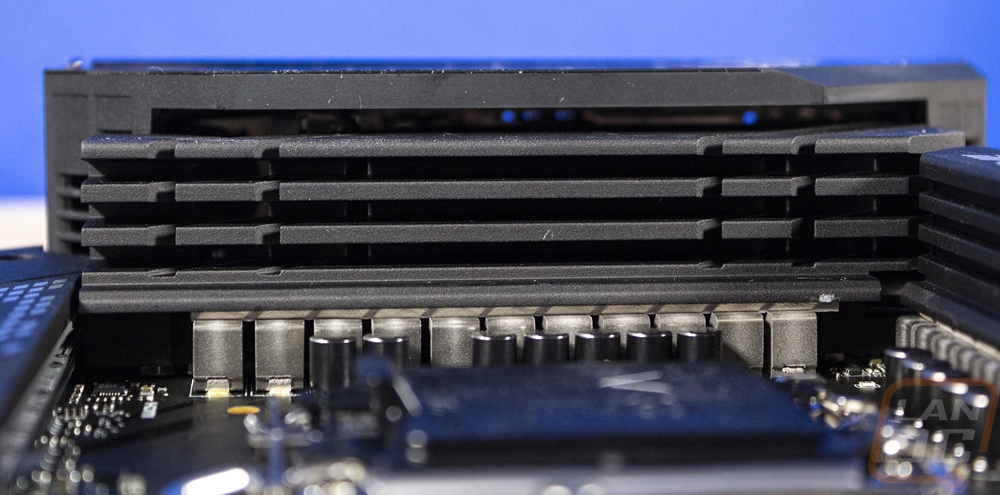
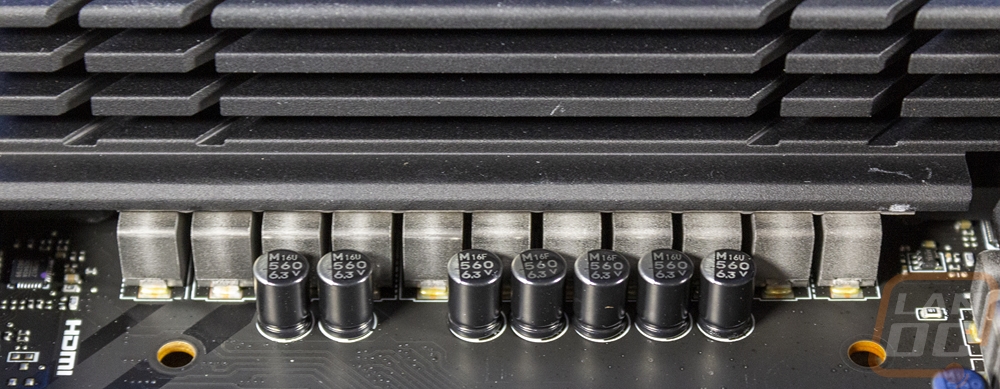
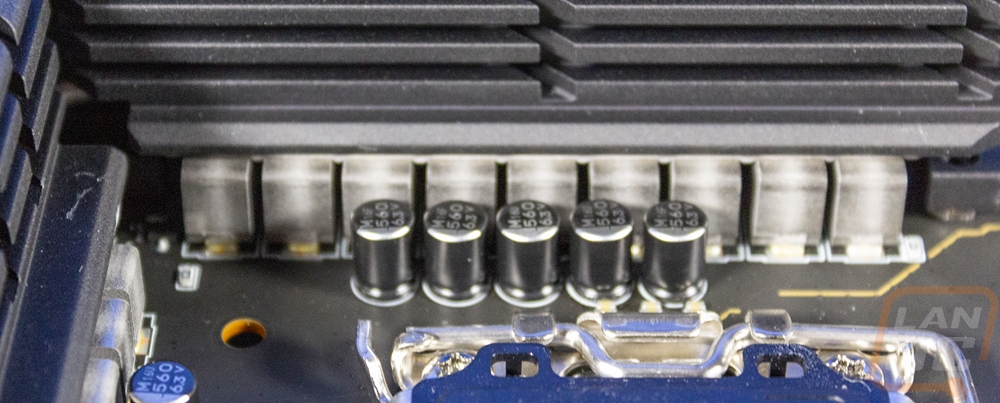
Around the CPU socket, MSI has the Z690 Carbon WiFi loaded up with VRMs along with flat black heatsinks on both the top and side. Those heatsinks are tied together with a heatpipe to spread the heat around for better cooling. The Z690 Carbon WiFi has 18 phases for the vcore, each handling 75 amps each, and then there is one for the iGPU as well.

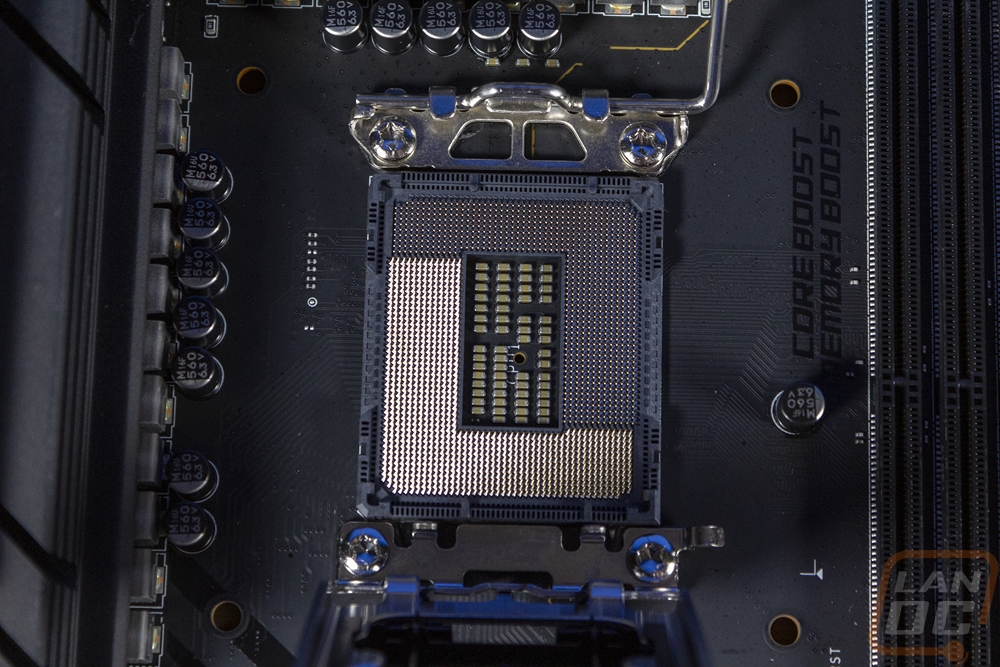
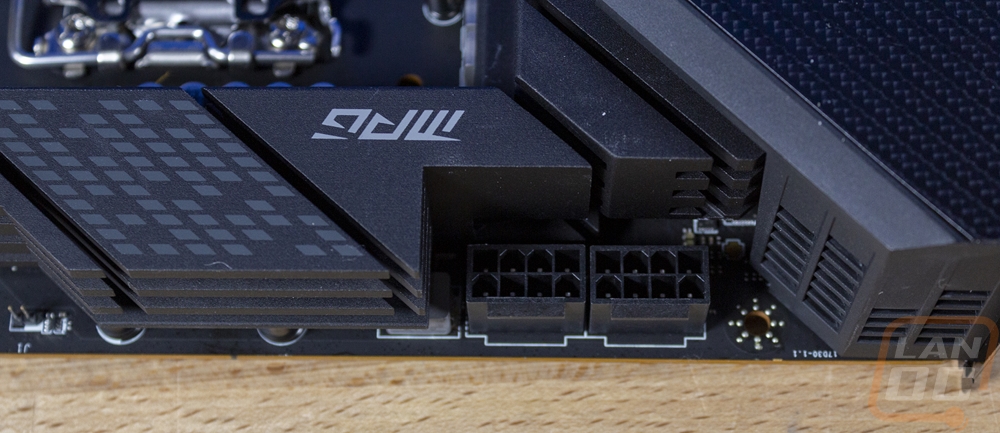
Starting in the top left corner. A majority of this area is filled with the CPU socket and the heatsinks for the vrm. But to the left of that is the rear I/O and that has a large cover which does have a second of weaved carbon fiber and then the dragon logo. Up on the top edge, they have the heatsink notched around the two 8-pin CPU power connections. Also if you look closely you can see that the cover over the rear I/O does have vents here to help let some heat out of that area.
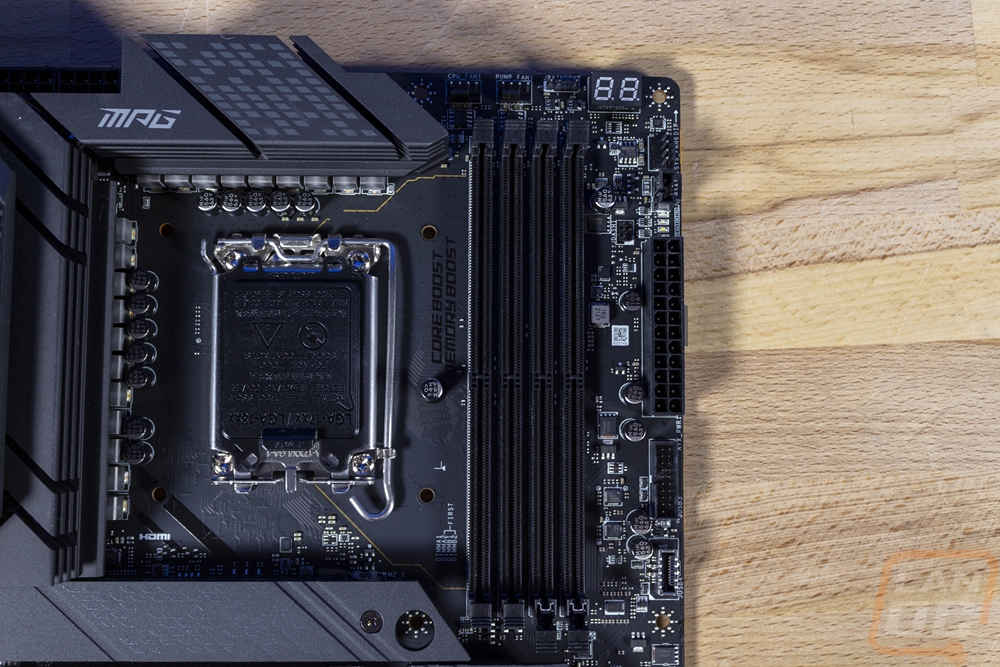
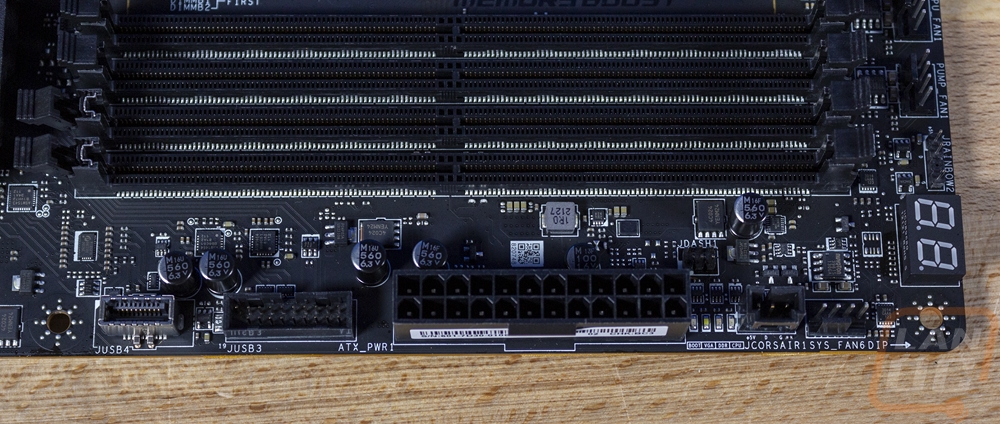
For the top right corner, there is a lot more going on. Starting with the four DDR5 DIMM slots which are next to the CPU socket. Then above those up on the top edge, they have two PWM fan headers for a CPU fan and a pump then next to them is the JRainbow header which is for addressable RGB lighting. The Z690 Carbon WiFi then has a two-digit post status readout in the corner. Moving down the right side edge there is another system fan PWM header then a Corsair plug for plugging in Corsair branded products. Below that but on top of the 24-pin motherboard power, there are four small LEDs that are also used for post diagnostics that will lock to which area of the boot to help find issues. Then below the 24-pin power, the Z690 Carbon WiFi has one original style USB 3.2 header and then one of the new plugs for type-c connections.
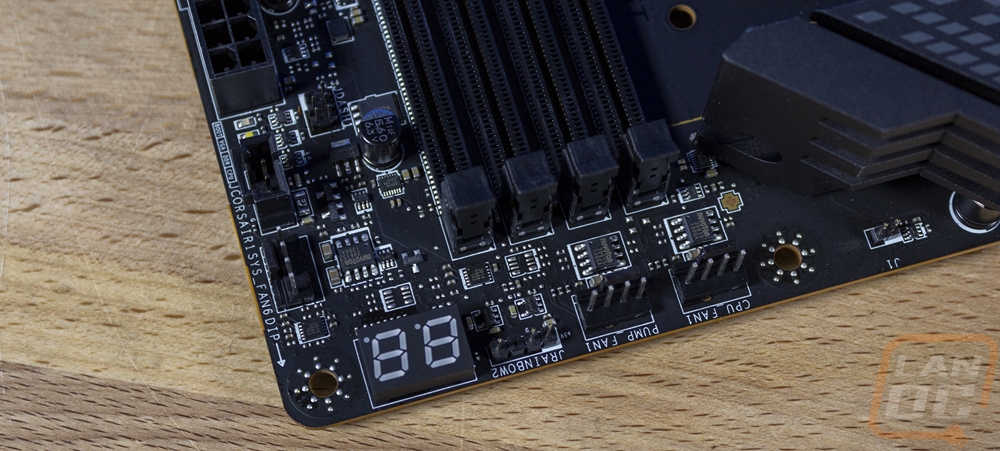
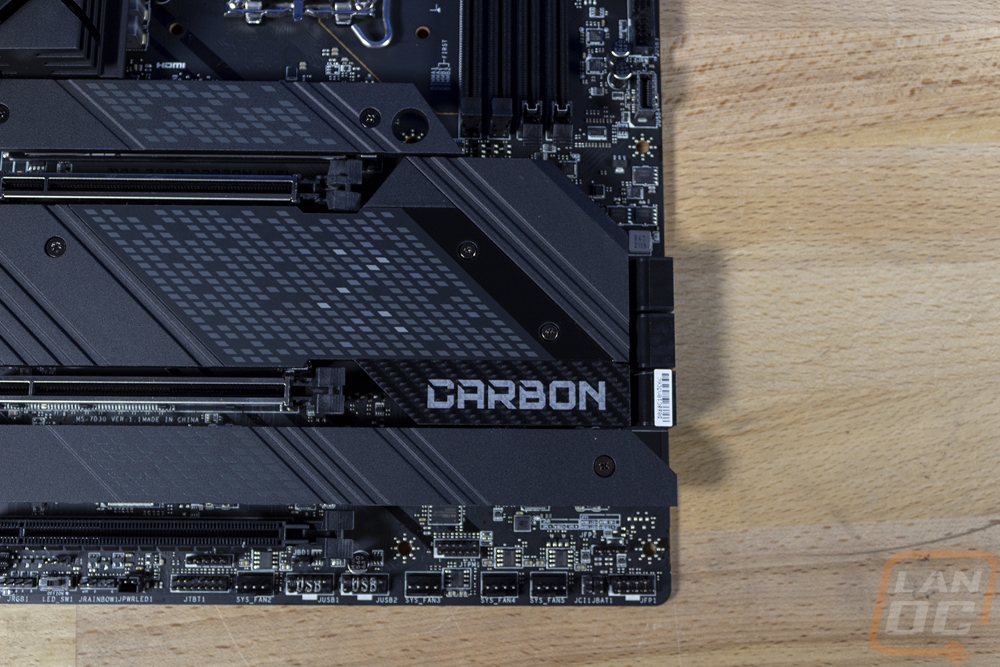
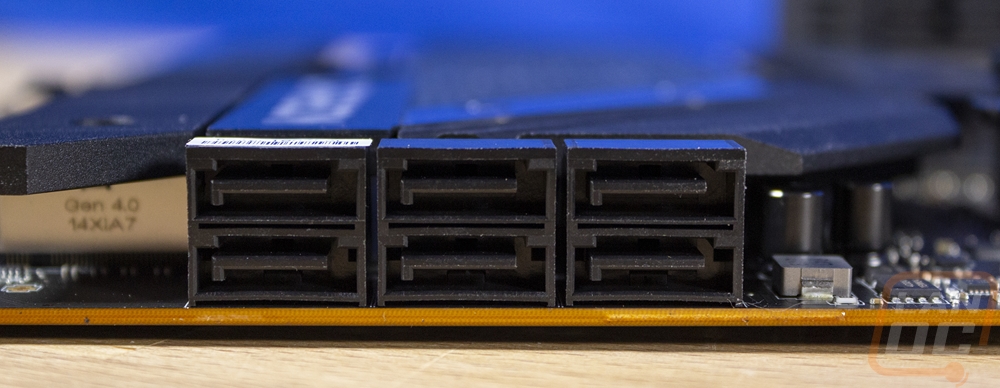
Down in the bottom right quarter of the Z690 Carbon WiFi, the chipset heatsink covers a majority of the board here. MSI also has the M.2 heatsinks running down next to that heatsink so that they tie all together. On the right edge next to the chipset cooler they have a set of six SATA plugs at a right angle. Then along the bottom, they have a row of connections lined up. Starting on the far right in the corner they have the front panel connection along with the speaker hookup above it. The JBAT1 header is for an intrusion beeper. Then there are three PWM fan headers altogether. Above those, they have a trusted platform plug. Then two USB 2.0 headers as well as another PWM fan plug.
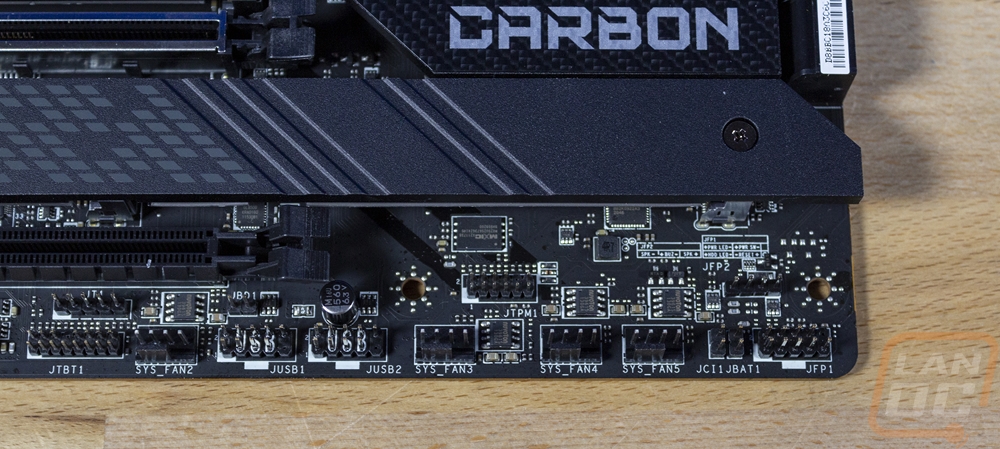
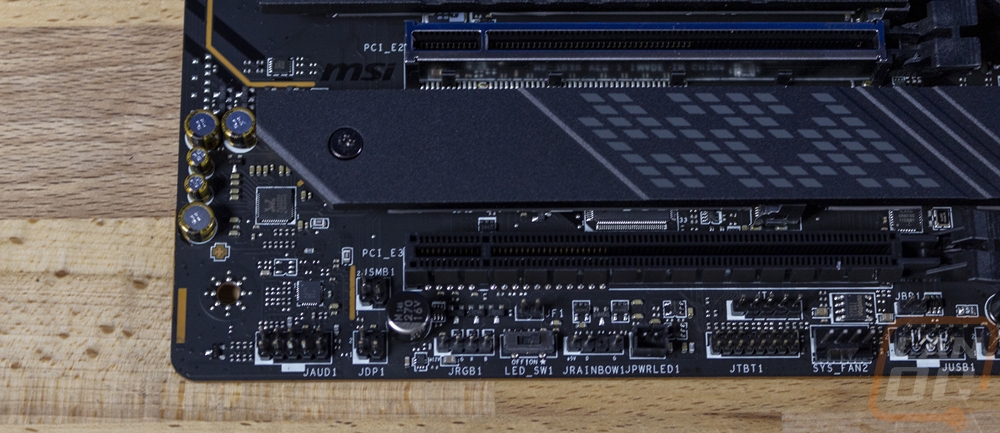
The bottom left ¼ of the Z690 Carbon WiFi has the PCIe slots as well as the M.2 slots which I will get into in just a minute. Then along the bottom, they continue the row of header connections along the bottom that runs from one side to the other. Starting from where we were before on the right the JTBT1 header is a thunderbolt 3 plug. The JPWRLED1 plug is for powering the RGB lighting when displaying the motherboard. Then next to that the JRAINBOW1 header is a season addressable RGB plug for addressable RGB lighting, this one also has a switch next to it that allows you to turn off the onboard lighting as well. Next to that is a standard four-pin RGB header for normal RGB lighting. Then on the far left, they have the front panel audio header.
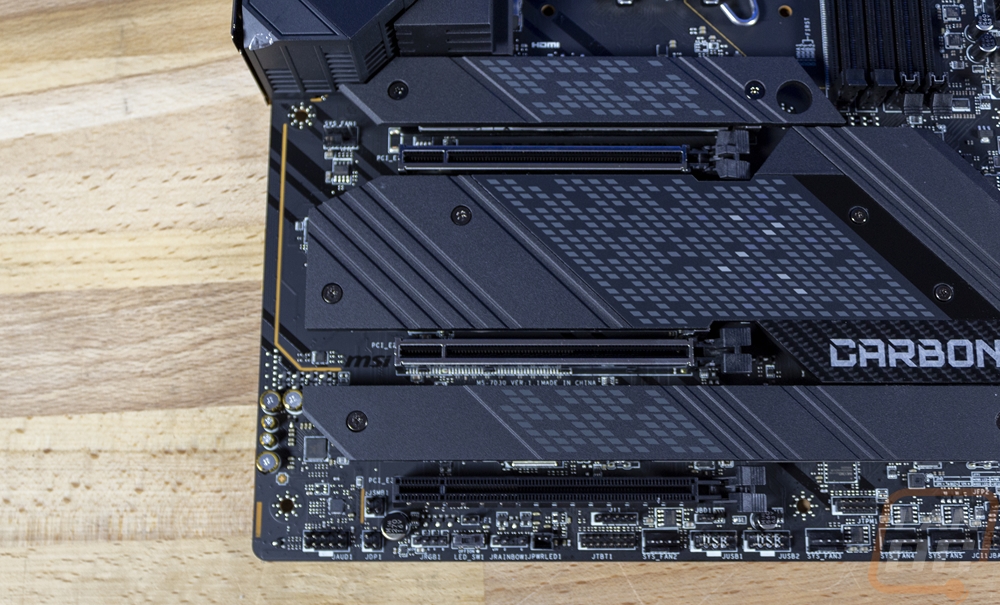
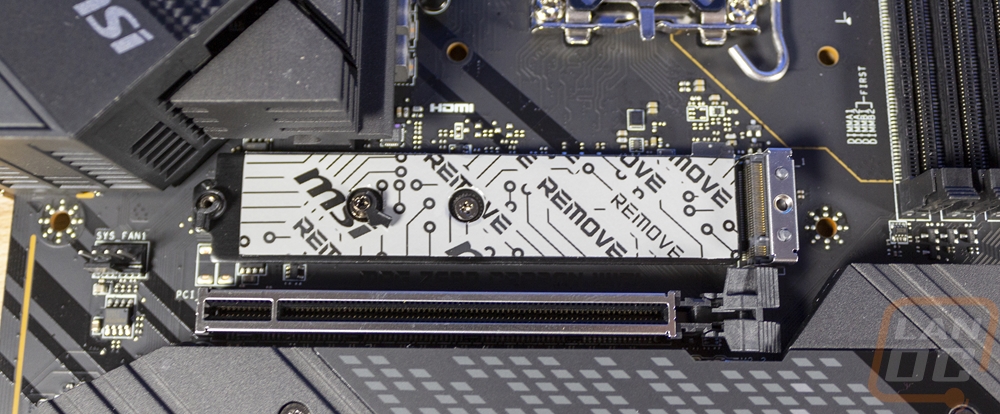
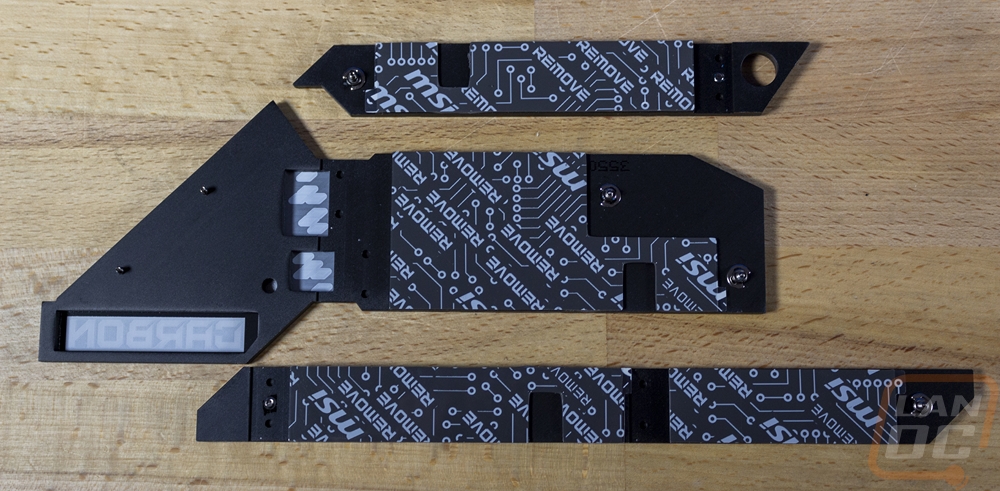
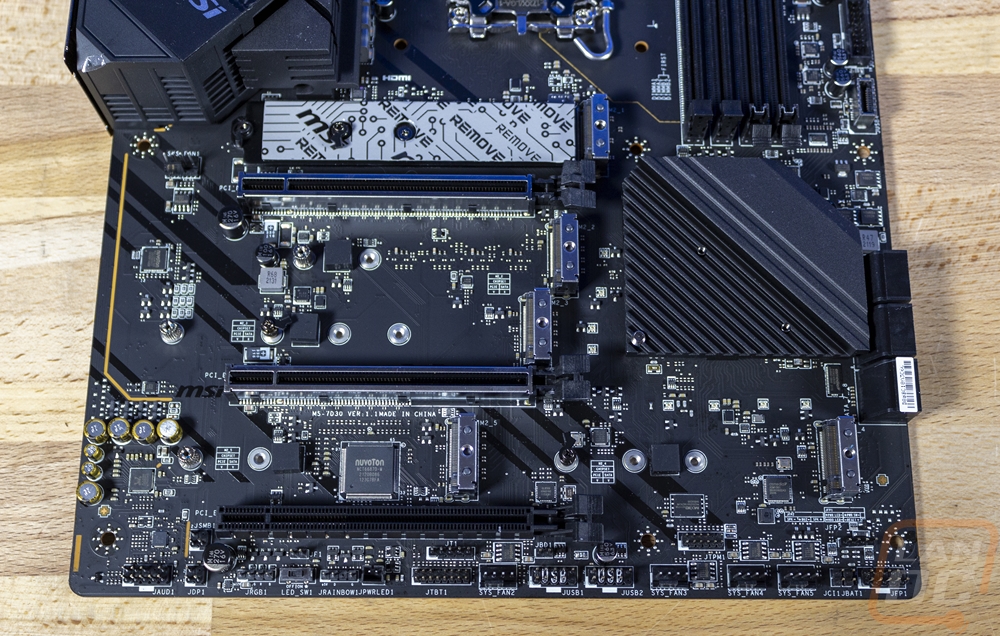
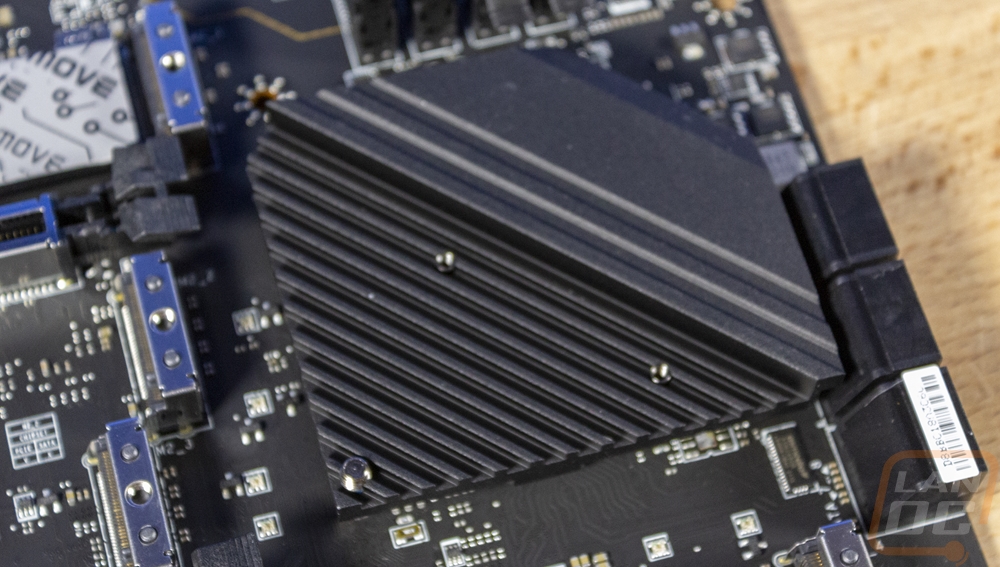
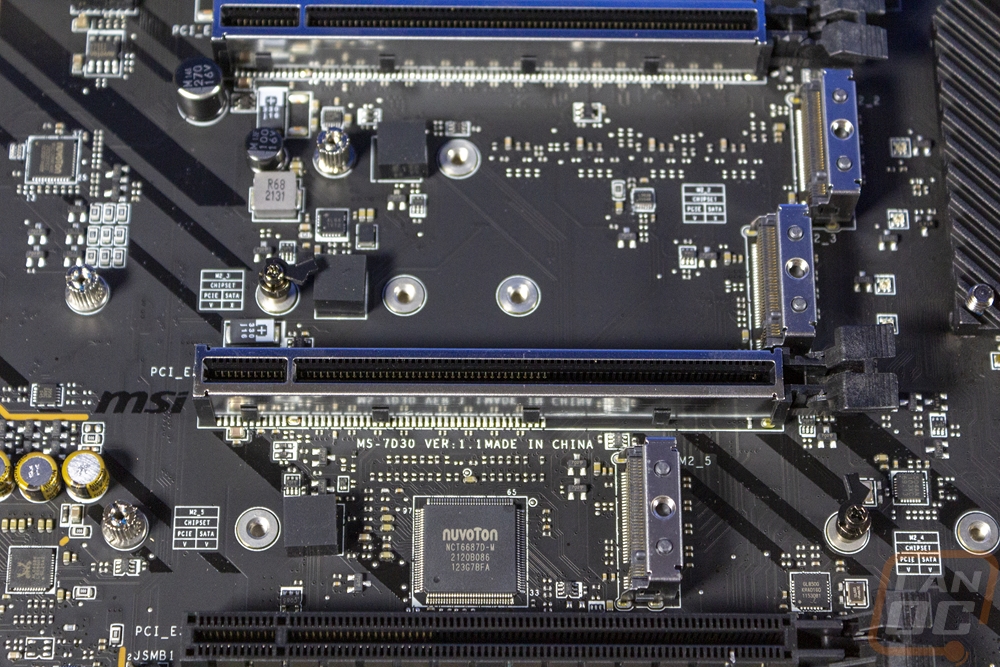
Most of the bottom left corner is filled with the M.2 slots and PCIe slots so let's check those out as well. All of the M.2 slots are covered by a total of three large heatsinks that all link up with the chipset cooler. Each comes off and has thermal tape on the back to help pull heat out and away from any M.2 drives you install. The Z690 Carbon WiFi has five M.2 drives in this area which is an impressive amount of storage. The top M.2 slot also has cooling on the underside of the drive. The top M.2 drive is a PCIe 4.0 running directly off the CPU and then the next two are also PCIe 4.0 but those run off the chipset. Then the last two down at the bottom which are next to each other are both PCIe 3.0 and also off the chipset as well. MSI does note that the bottom right M.2_5 slot supports Intel Optane Memory if you were to use that and the bottom left M.2_4 when used will disable the SATA7 port. The first, third, and fifth M.2 slots all have built-in clips on the hold down standoffs that allow you to hold the drive down without a screw and tools. As for the PCIe slots, there are three in total hiding between all of the M.2 slots. The top two also have the steel armor around the slot. All of the M.2 slots also have steel armor as well. The two armored PCIe slots both support up to PCIe 5.0 and run directly off the CPU. If you use one slot you will get x16 speeds and if you need to use both they will drop down to x8 for each. Then the bottom slot which is x16 in length is a PCIe 3.0 slot running at x4 and this slot runs off the Z690 chipset.

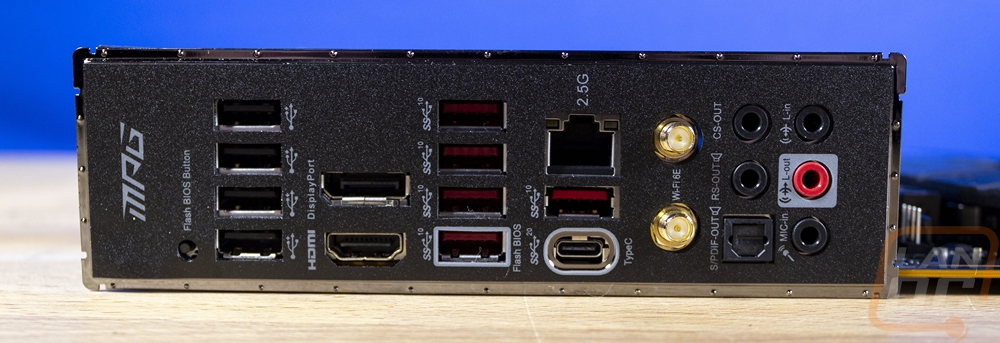
For the rear I/O, I love that the Z690 Carbon WiFi does have an integrated shield to make installation easier and to avoid the times when you put everything together and remember you forgot to install the shield. It is all blacked out which should match most cases and each connection does have a label in grey. They also have the MPG branding on the far left. Starting on the left they have a small button hidden away as a BIOS flash button for updating the BIOS without having a CPU installed. Next to that, you get a tower of USB 2.0 plugs then they have two display connections for CPUs with onboard video. You get a DisplayPort and an HDMI. Next to that is a second stack of four USB plugs, these are all USB 3.2 Gen 2 ports and the bottom one is highlighted for use with the BIOS flash. The next stack has a USB Type-C down at the bottom which runs at USB 3.2 Gen 2x2 and then another type-A above that which is 3.2 Gen 2 again like the other red ports for a total of 10 USB connections which is awesome. Then at the top of that stack, the Z690 Carbon WiFi has one ethernet which runs at 2.5G and uses the standard Intel I225V controller. Next to that are the wireless antenna connections which give the Z690 Carbon WiFi the WiFi in its name. This is an Intel WiFi 6E and also handles Bluetooth 5.2. Then on the far right, it has the standard audio array including an S/PDIF connection.
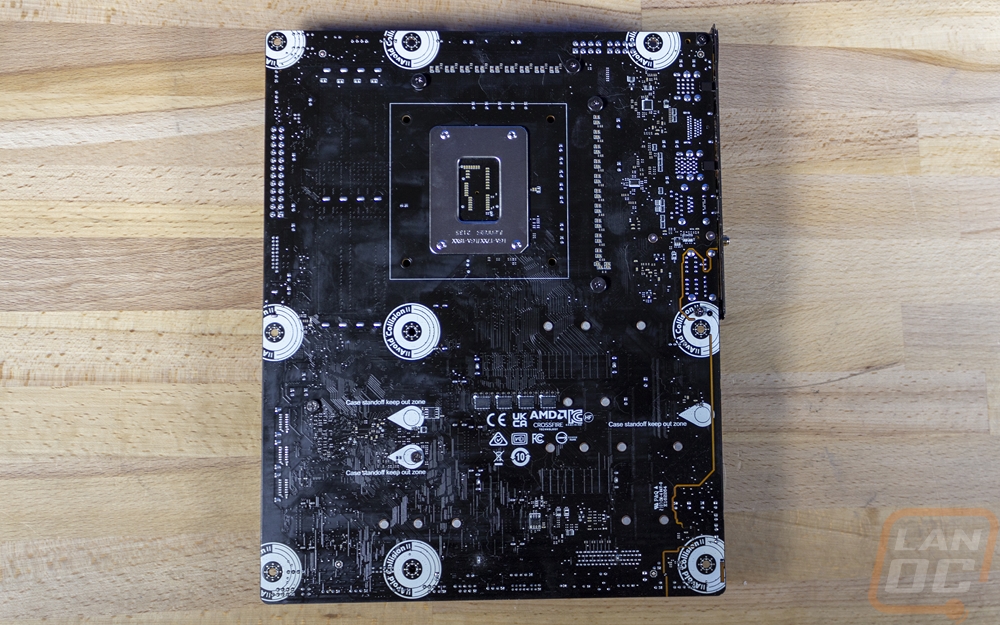
The back of the Z690 Carbon WiFi gets us another look at the blacked out PCB which on this side has more of a gloss finish. But what you are most likely going to spot first are the bright white circles that have warnings to avoid bumping the PCB into motherboard standoffs as well as arrows that point to spots where you might get standoffs in the wrong locations. The back also has all of the certification logos hidden back here which helps keep the top looking clean. Beyond that, this side makes it easier to see the split PCB for the audio circuit and we can also see the power VRMs on the back here along the side and top of the CPU socket.
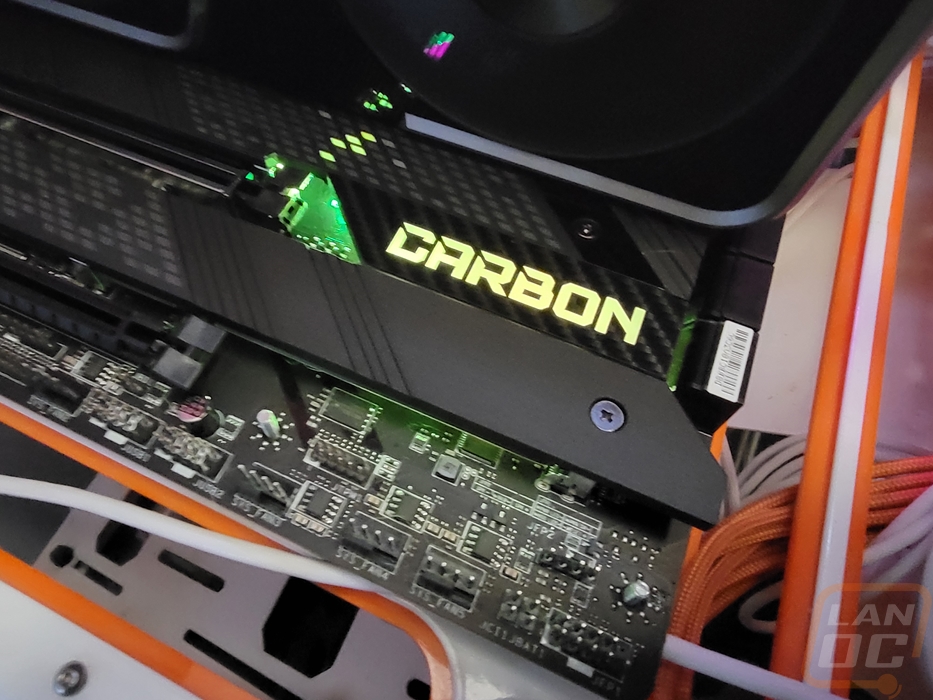
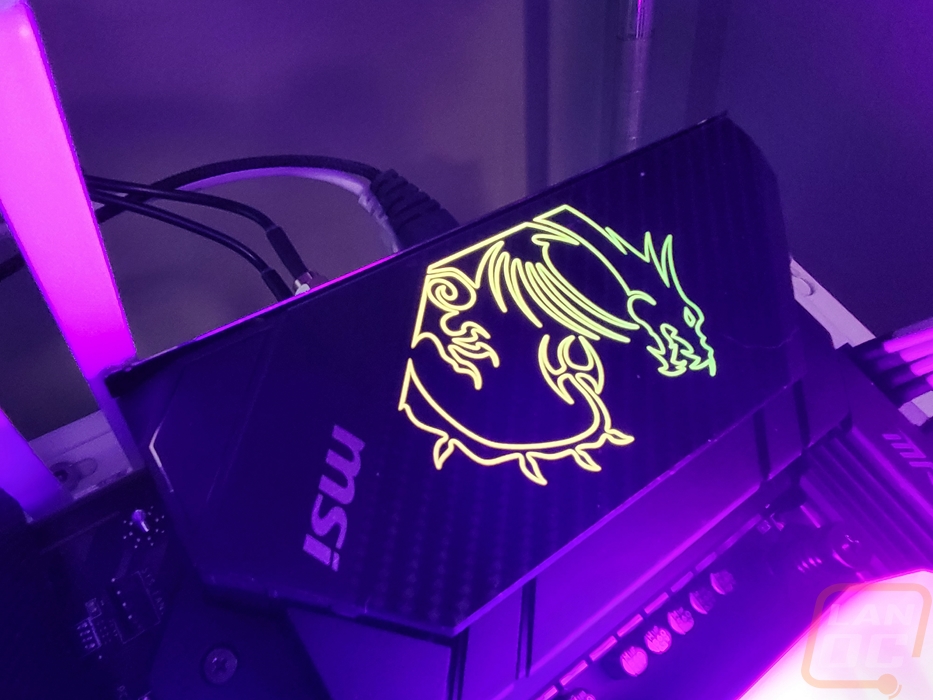
Before moving on I did want to check out the lighting on the Z690 Carbon WiFi. Down at the chipset cooler some of the random spots are transparent and lit up by the lighting behind it but most of those are covered up when the video card is installed. You can however see the Carbon branding as well as the overall light spilling out around the heatsink. Then up on the cover over the rear I/O, they also have the MSI Gaming dragon logo lit up. Both have addressable RGBs. With the small accents covered by the video card, what we are left with is mostly just backlit branding which I don’t typically like. What the Z690 Carbon WiFi has isn’t too overdone or in your face at least, however.
MAG Coreliquid C280
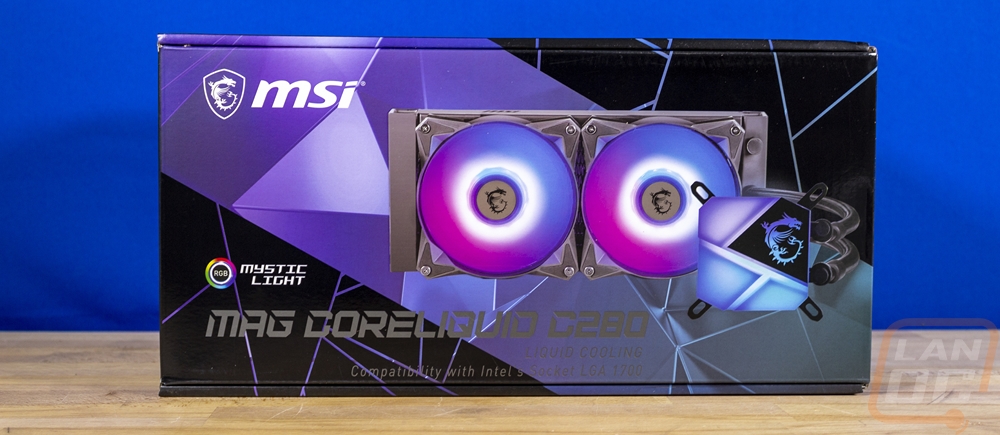
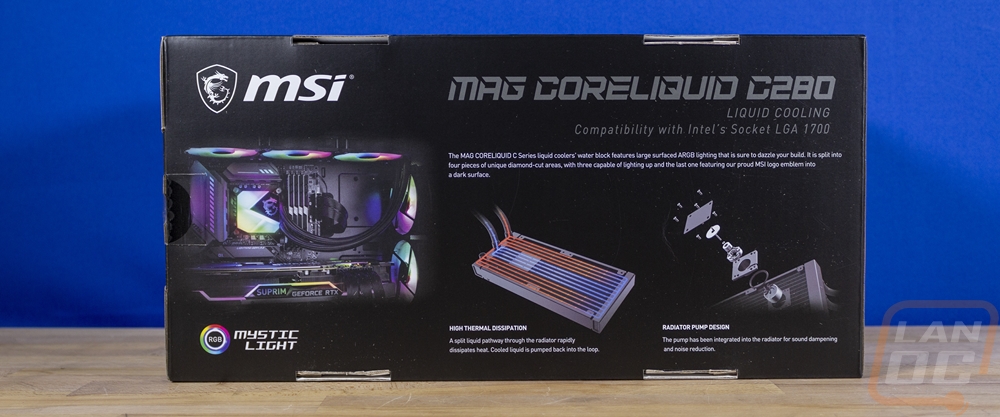
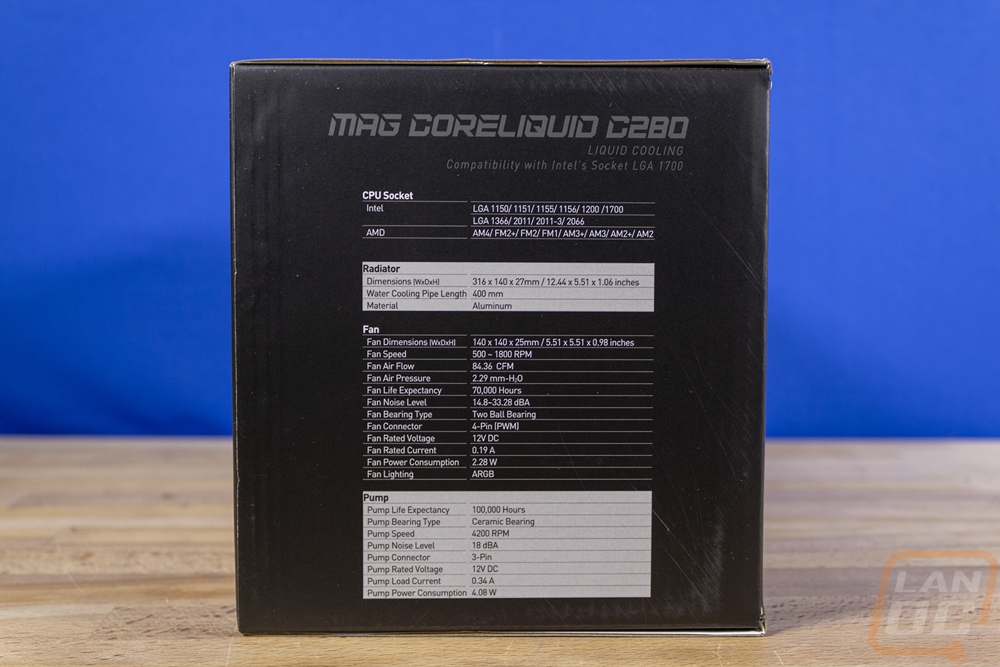
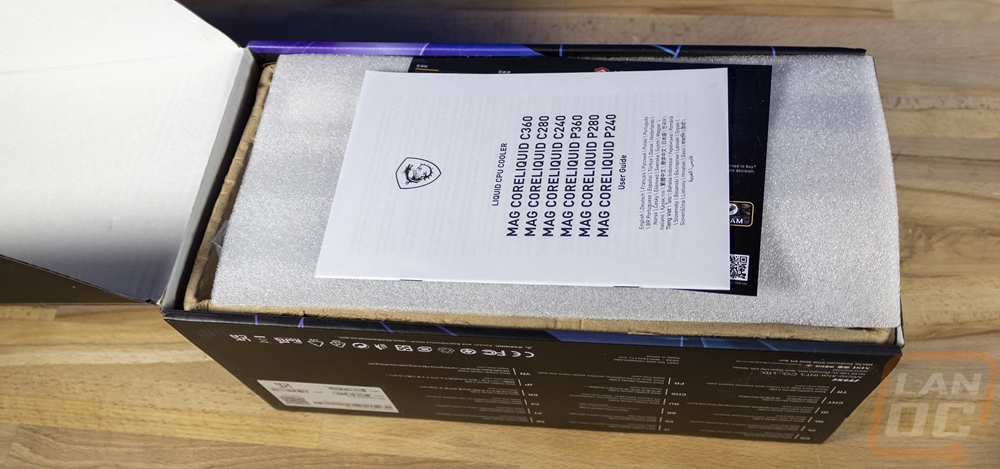
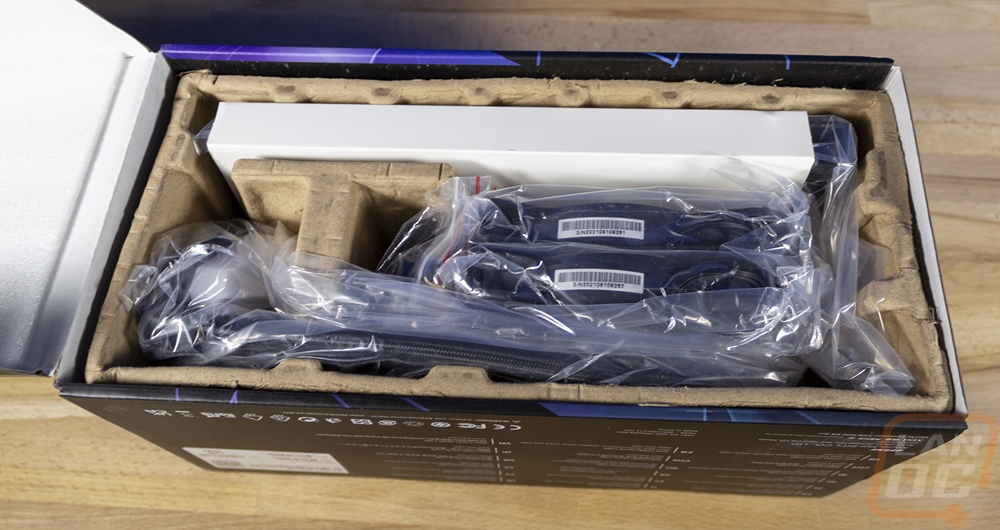
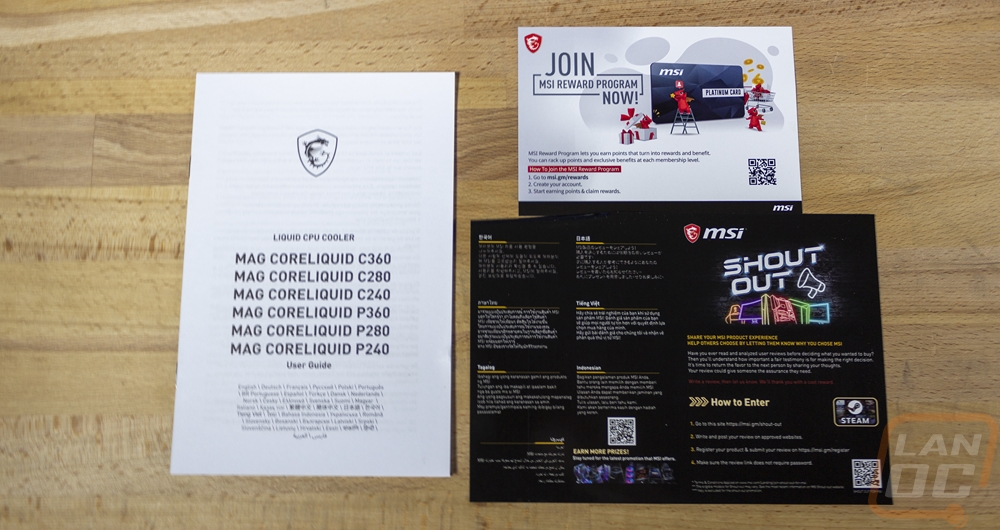
The packaging for the Coreliquid C280 is decked out with geometric shapes across a black background and then with a purple geometric filled strip across the middle. The purple strip turns to grey and that actually makes the MAG Coreliquid C280 model name hard to see as well as the information below that which mentions Intel’s LGA 1700 support. The MSI logo on the other hand is in bright white and easy to see in the top left corner as is the mystic light logo which lets you know that this uses MSIs RGB lighting. The front of the box also has a picture of the AIO as well with its RGB fans and RGB blowing top on the waterblock. The back of the box has a picture of the Coreliquid C280 installed in a case with additional matching fans. Then they break down one of the coolers key features, the pump being integrated into the radiator and the radiator having a unique flow layout that pulls water down and back, not just across the radiator to give it more distance to cool down. The end of the packaging also has a full specifications breakdown which is really useful and can help with dimensions if you aren’t sure if this kit will fit though it is mostly the same size as a normal 280mm AIO. Then inside the documentation is up on top with a layer of foam above all of the components which sit in a formed cardboard tray to keep everything from moving.
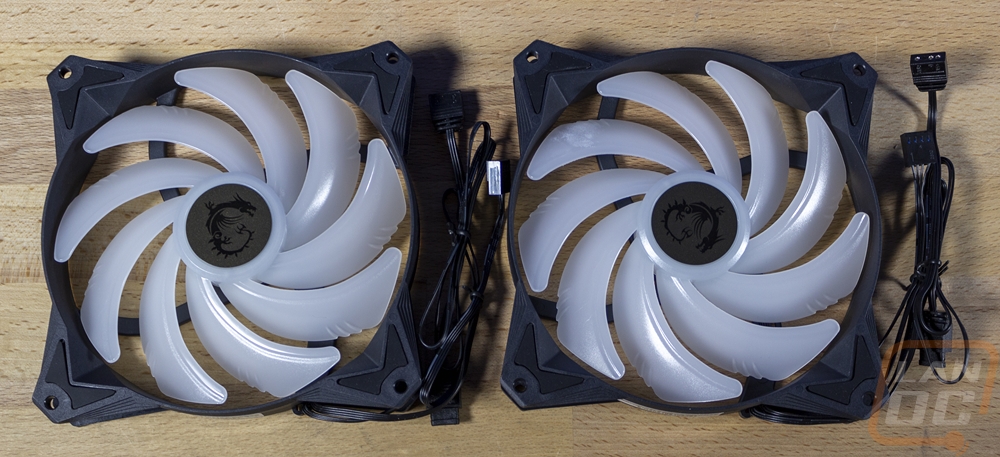
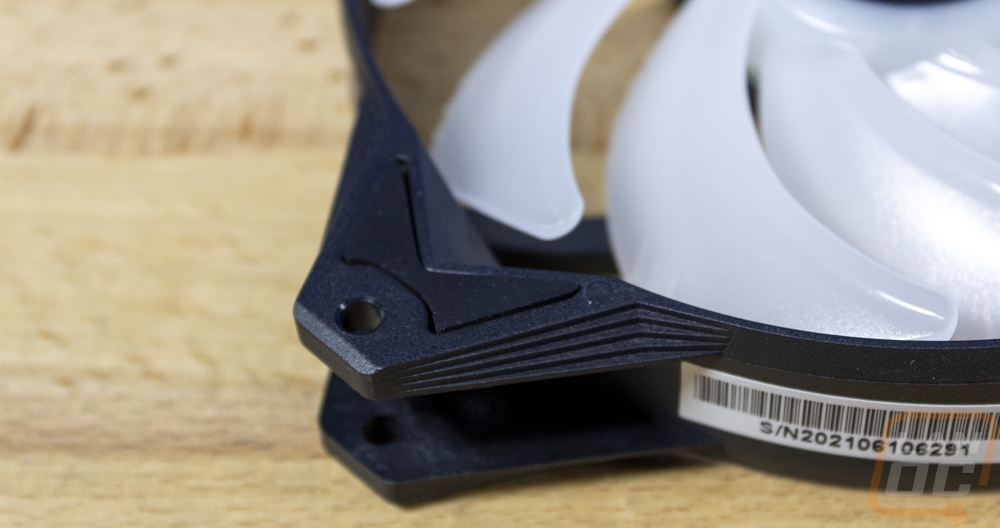
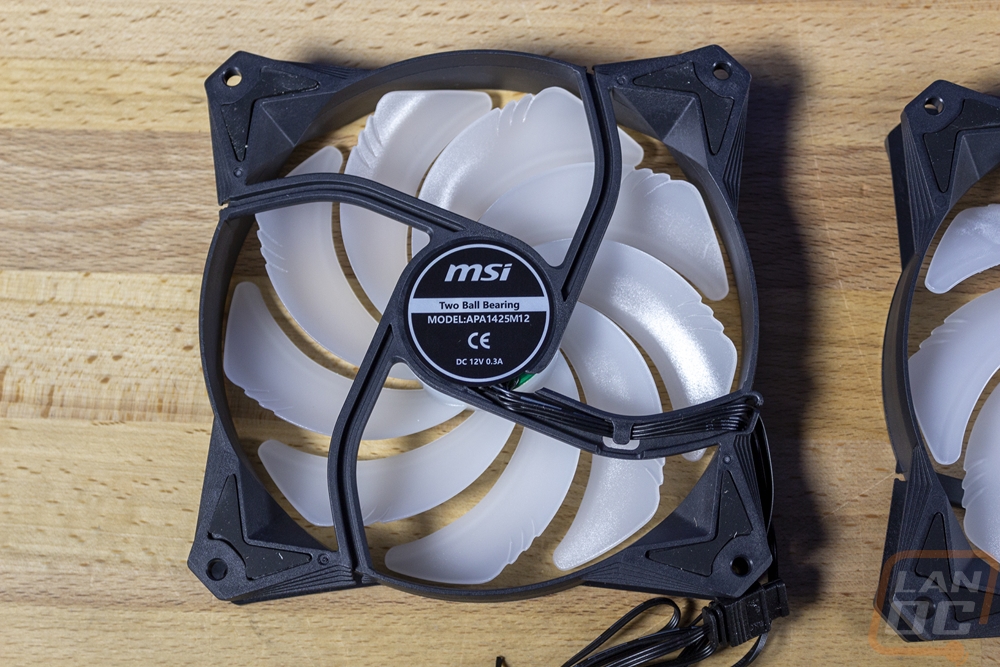
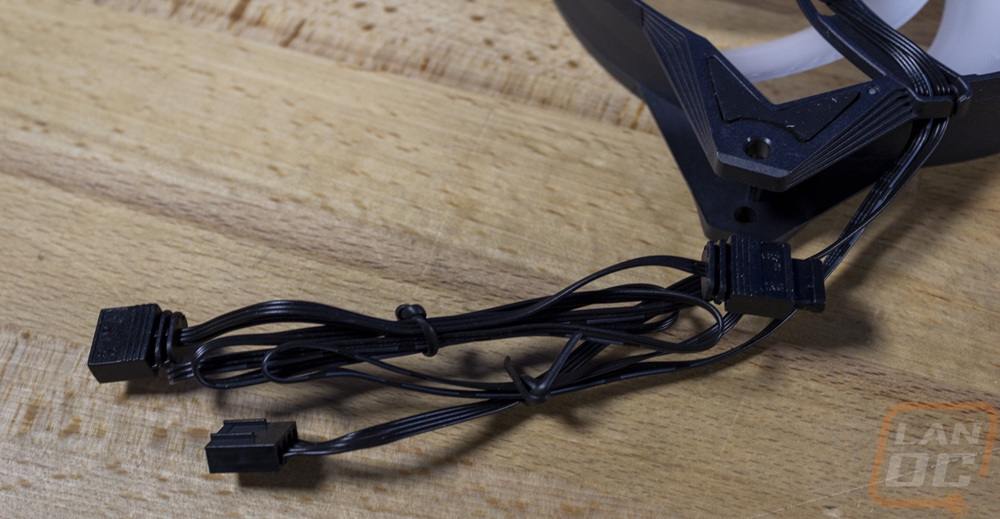
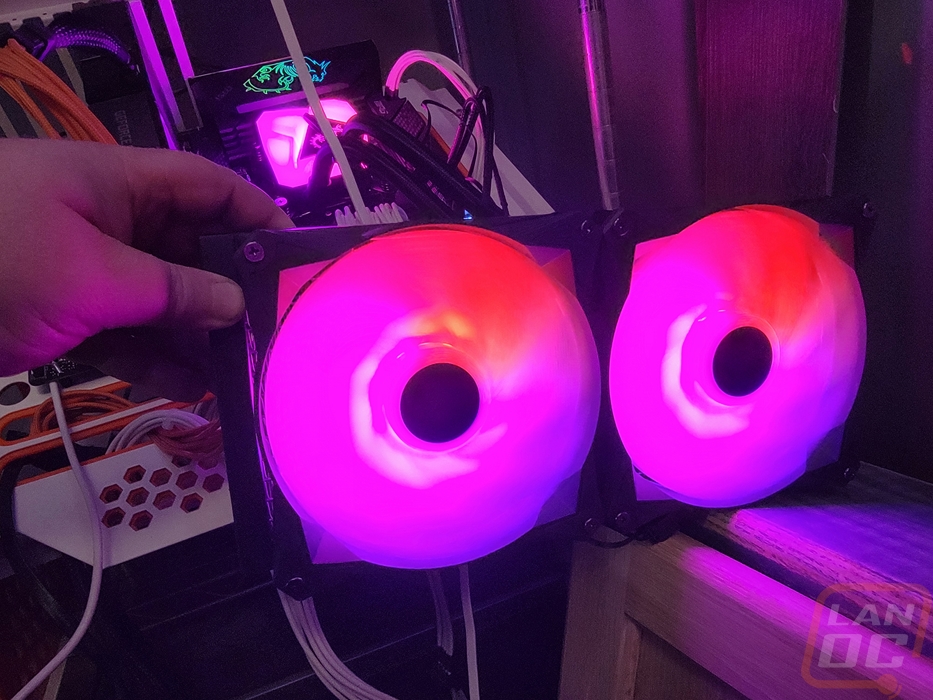
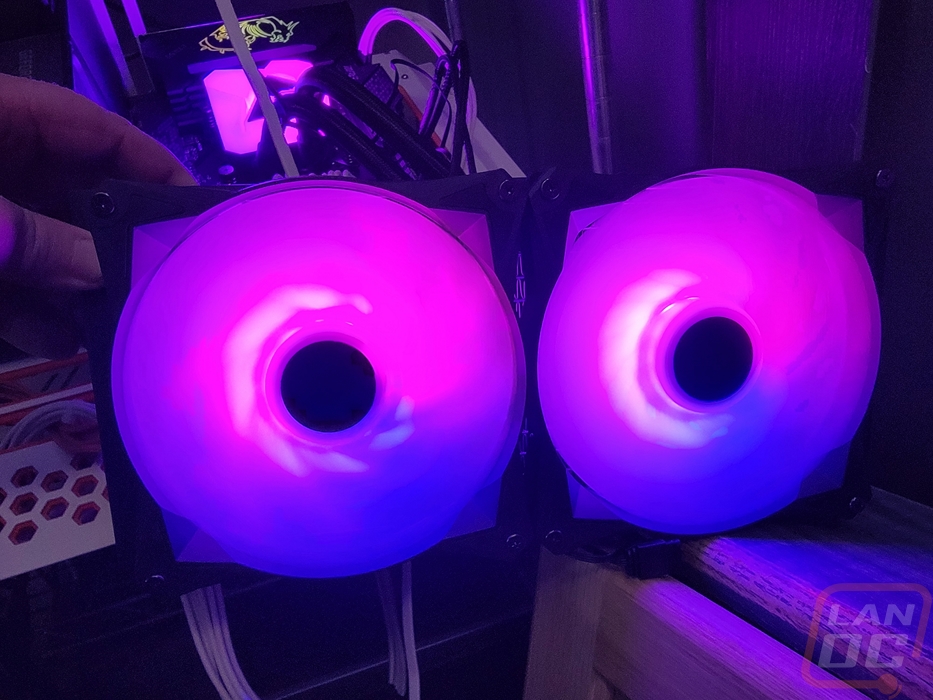
So the MAG Coreliquid C280 comes with two 140mm fans. They are MSI branded and have the model number APA1425M12. They don’t match any of MSI’s currently listed fans but they do use these in at least some of their cases. So you won’t have the option to pick up more fans to match but you can match if you go with an MSI case. As the back label shows they use a two ball bearing design and the specifications list a 70k hour life expectancy and 78.73 CFM airflow when the fan is running at its max speed of 2000 RPM. The fans have 9 translucent blades with a heavy curve and each blade also has three small grooves cut in them as well. The fan housing is also unique in its shape with a very angular design on every surface. Both fans have the standard four-pin PWM fan header cable as well as a 3 pin ARGB lighting cable. Both have thin black cabling but with twice the cabling it is a lot of wiring that you will need to keep clean.
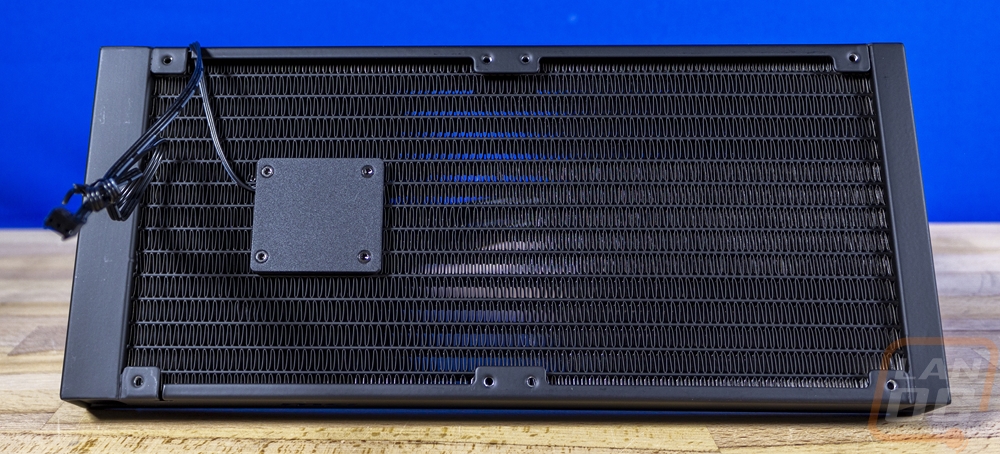
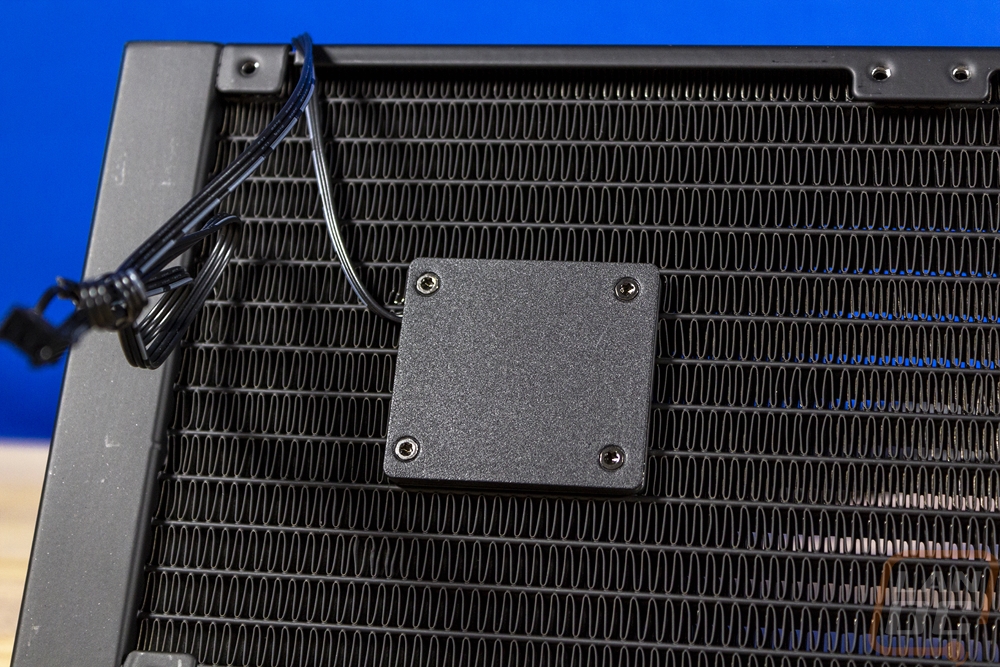
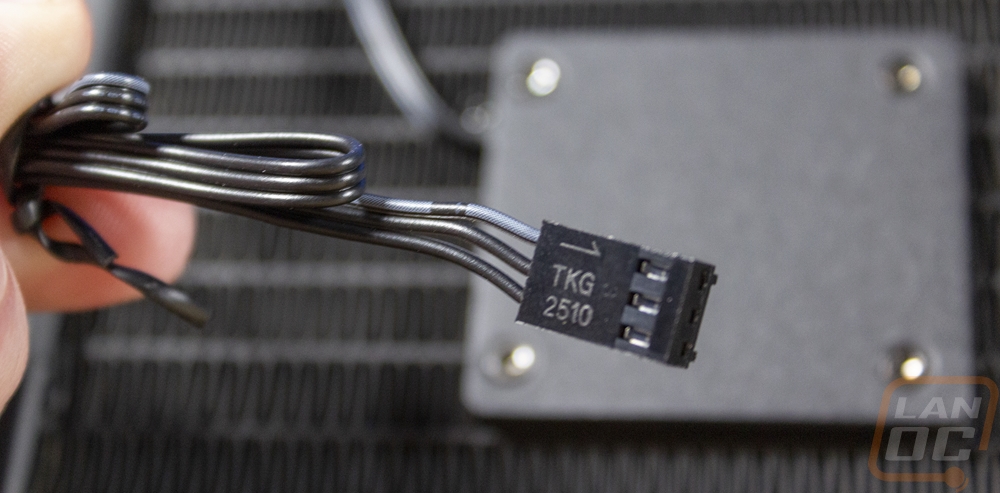
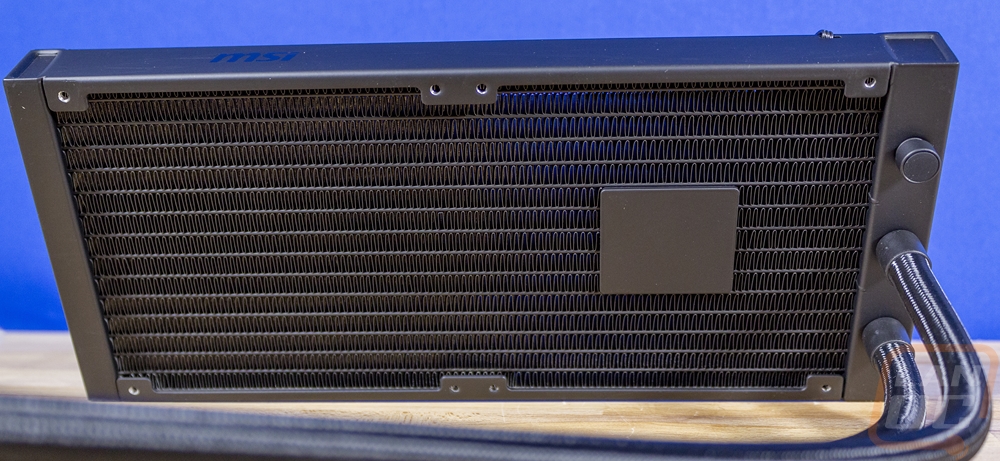
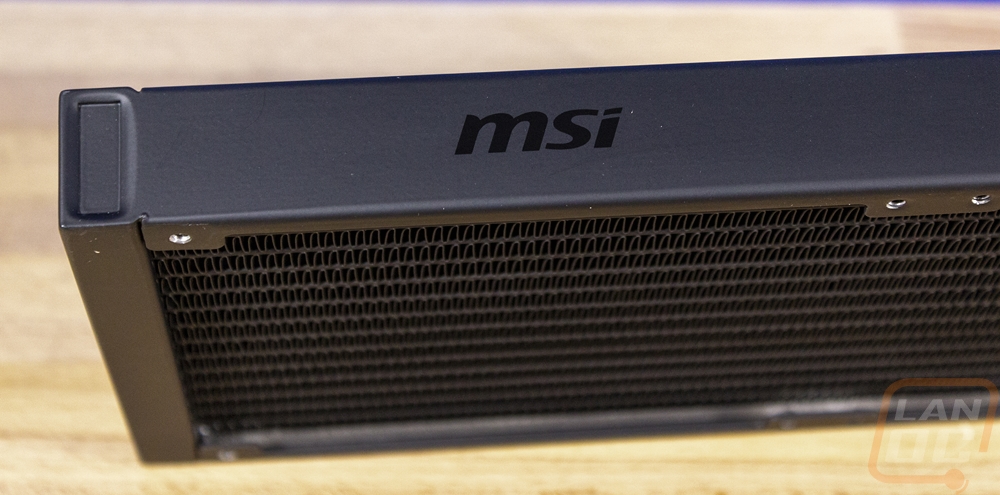
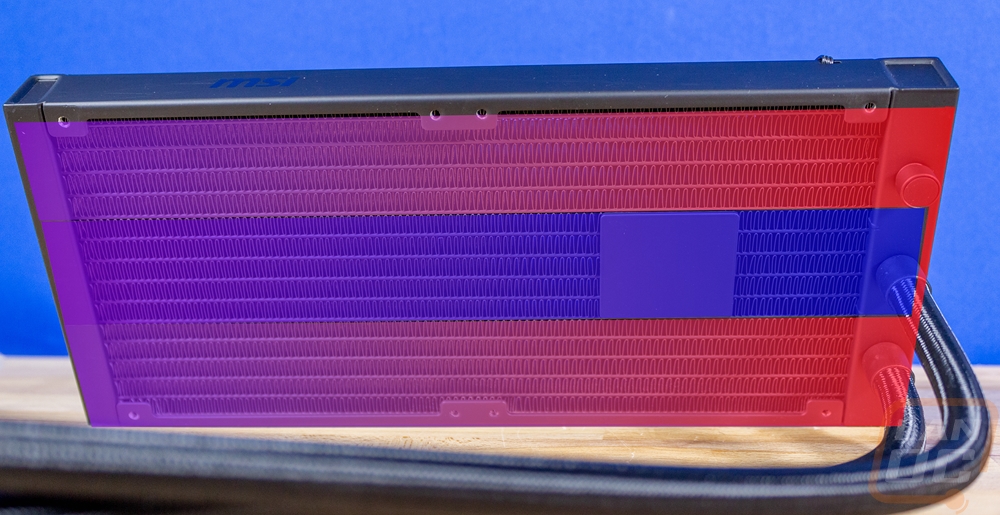
With most AIO water coolers, the radiator is basically the same with all of them. The MAG Coreliquid C280 on the other hand uses a completely different design. At first glance, it has the same shape and styling but MSI has integrated the pump into the radiator. This helps avoid some overbearing patents for one, but the design does also offer a new spin on the design that isn’t just aesthetic focused. Normal radiator designs are split down the middle but this one has the input on the side and the output in the middle which is where the pump is. I made a color-coded picture to help explain it as well. This does mean that you have to run the 3 pin pump plug to your radiator as well. You can spot the pump by the solid plates on each side. Beyond that, the radiator design has the same boxy style that most AIO coolers have been moving to recently.
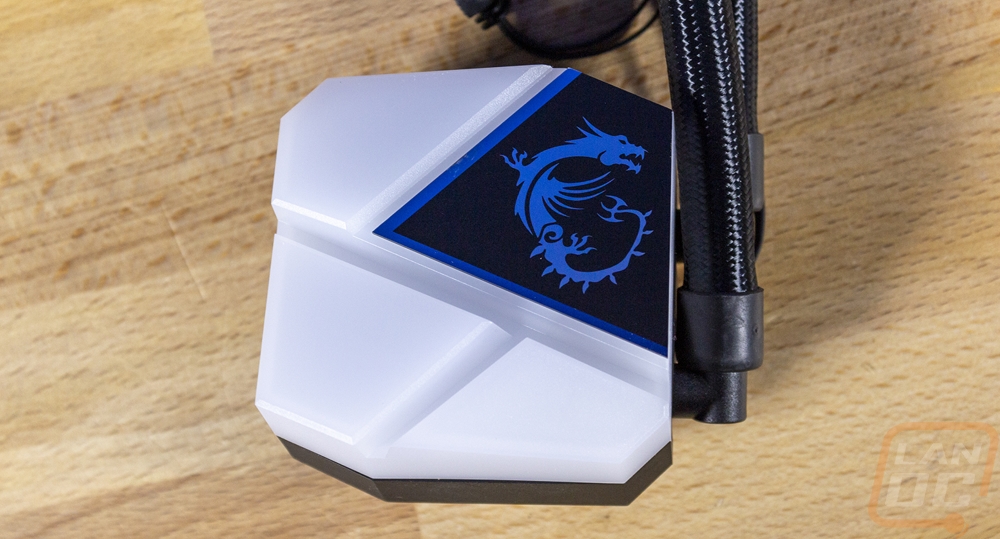
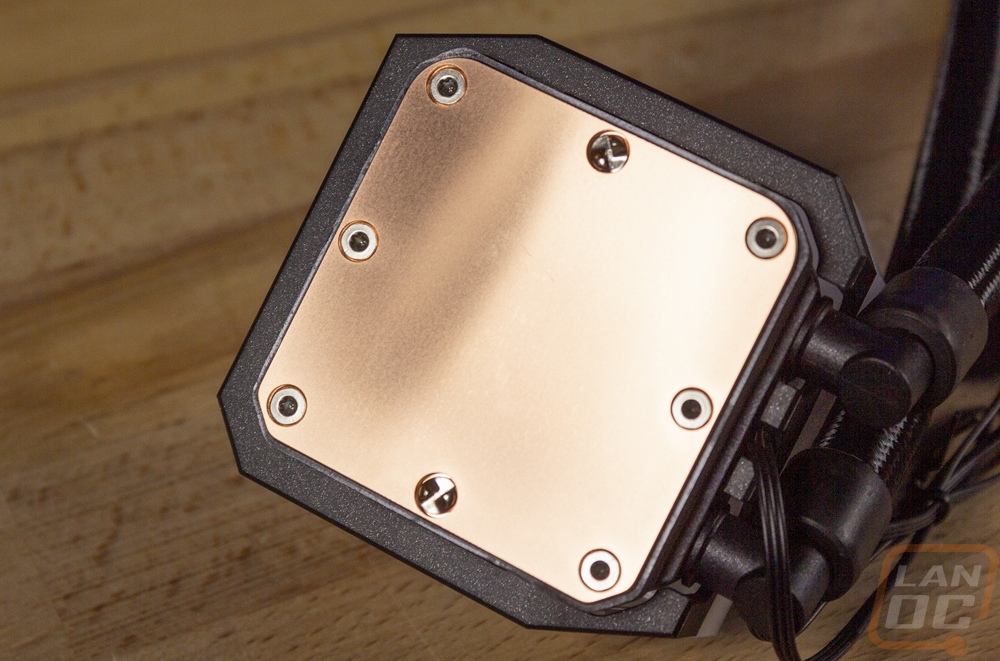
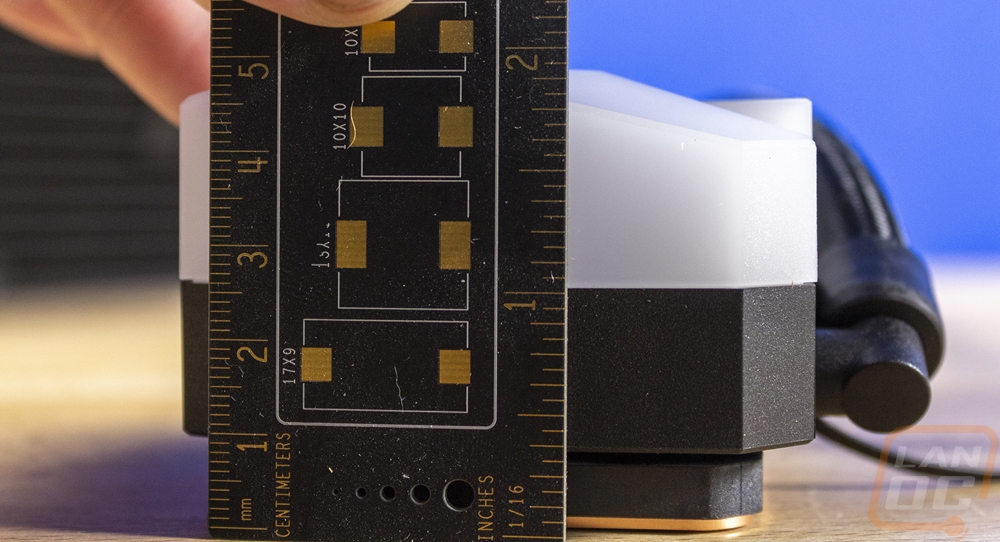
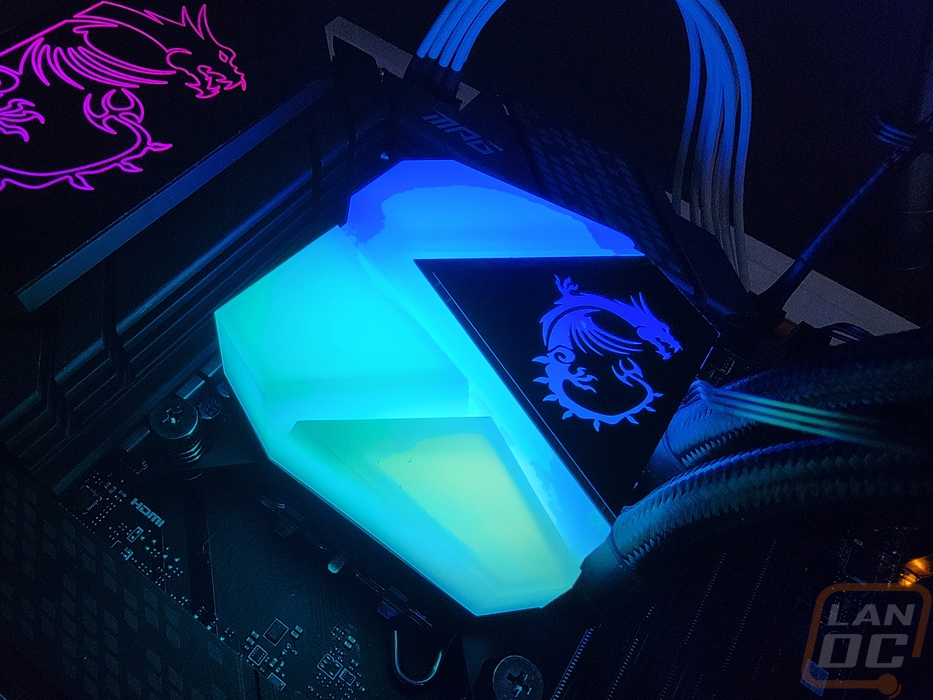
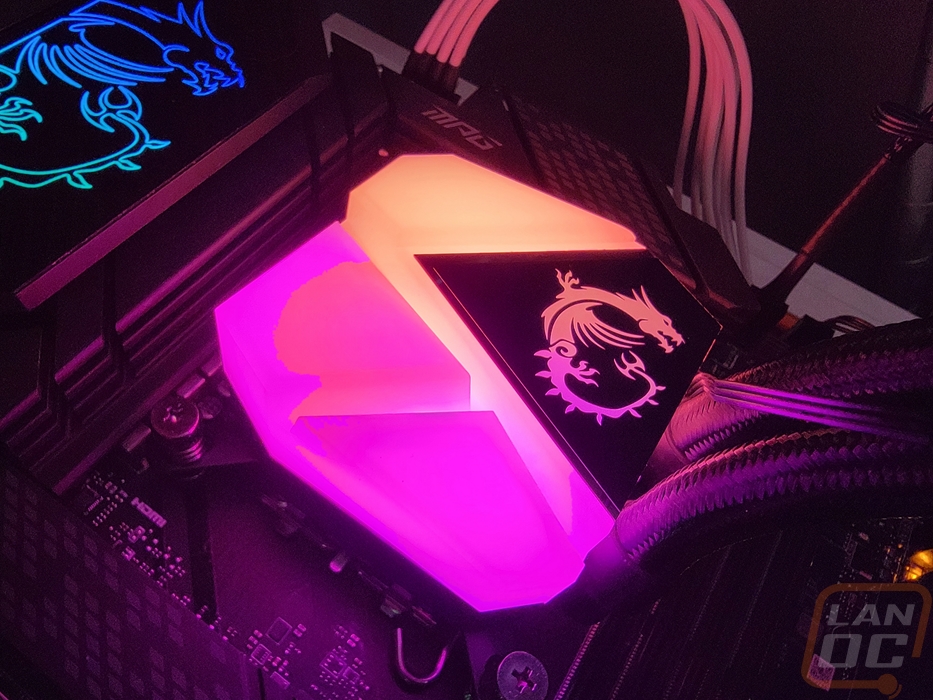
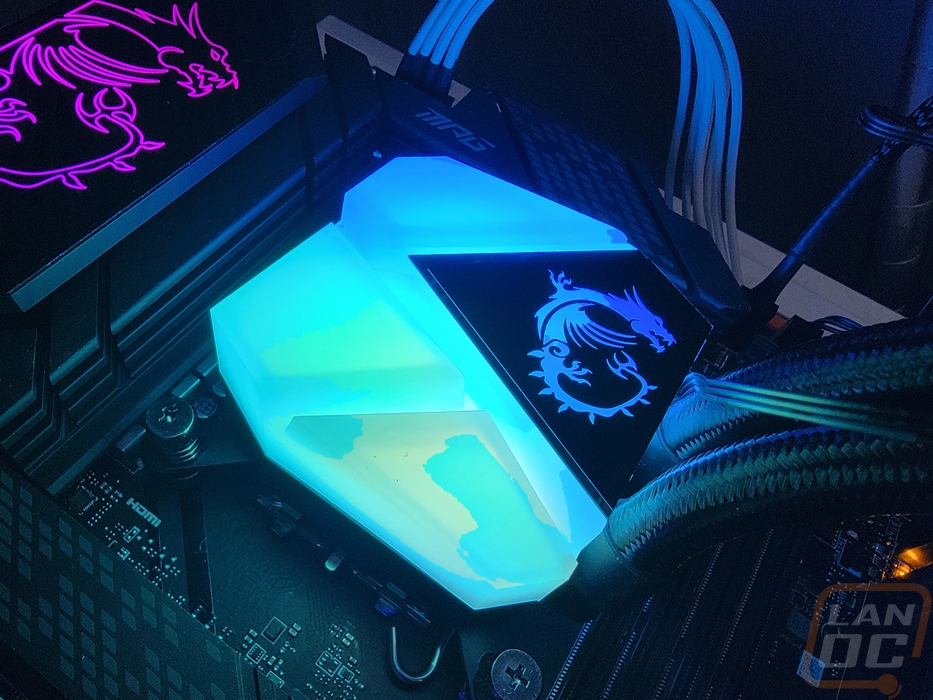
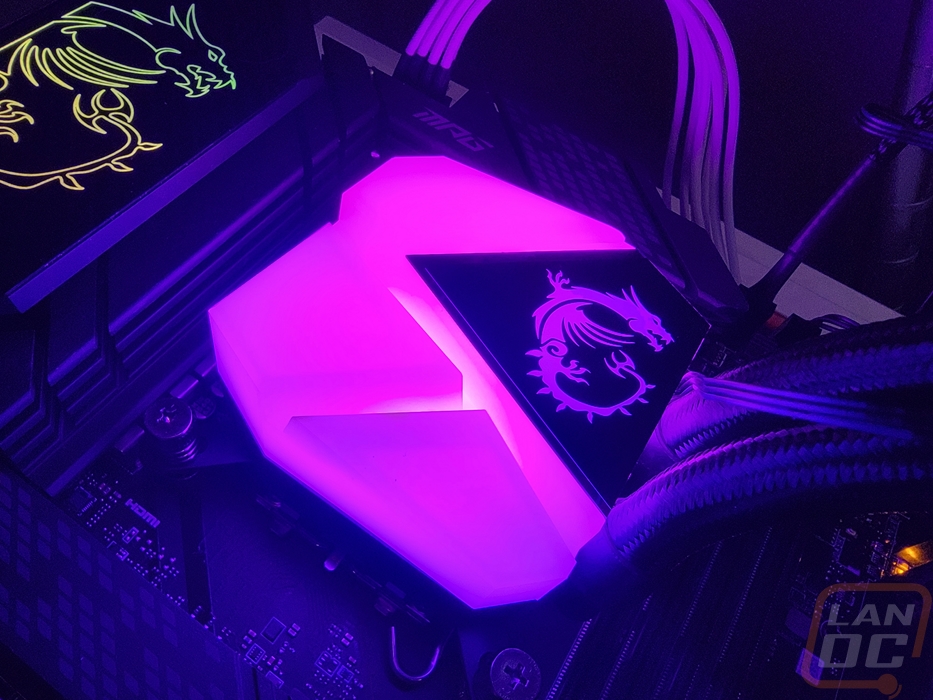
With the pump integrated into the radiator, it means that the water block is just a water block, not a combination of the black and pump like most AIO coolers. This helps the MAG Coreliquid C280 be a little shorter in height, though it is still taller than a standard waterblock. The top portion has the white translucent housing for the addressable RGB lighting and they have molded into it geometric designs with one corner having a black section with the MSI gaming dragon logo. The two water lines come in on the right side and have a plastic 90 right at the pump that swivels to help get your lines aimed where you need them. The bottom of the block has a copper finish on the contact surface. The surface itself isn’t a full mirror finish like a custom loop water block would have, but it is a LOT better than the brushed finish that a lot of AIO coolers get. Then for cables, because of the addressable RGB lighting, the block does have a cable coming out with the lighting plug that goes into your motherboard and a second in line that you can use on the fans if you want to hook them up altogether.

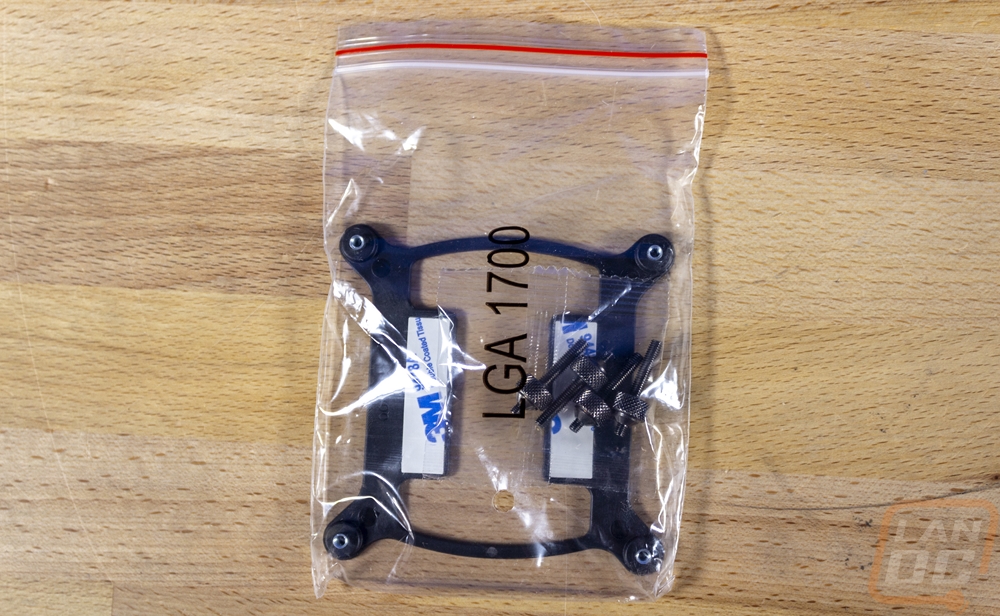
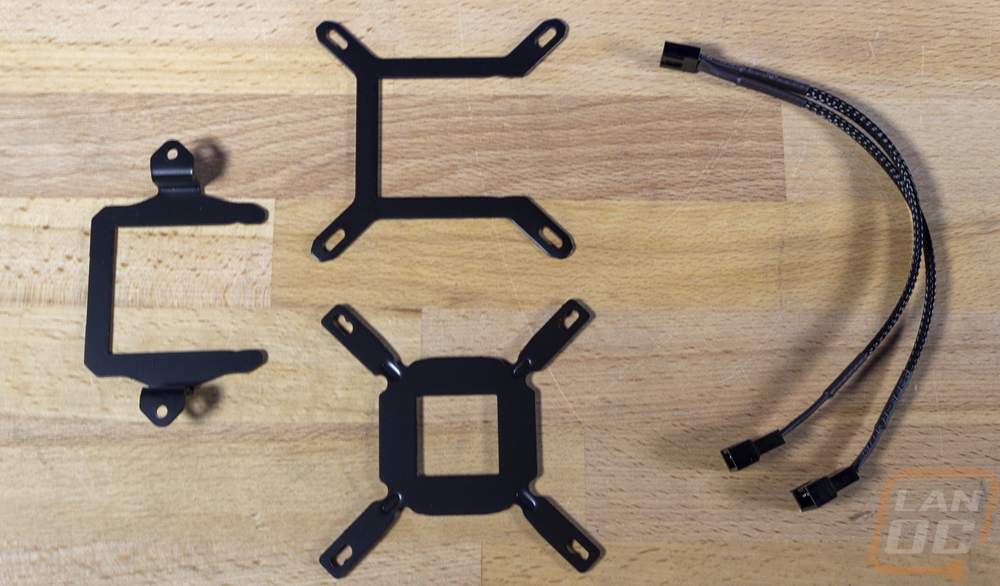
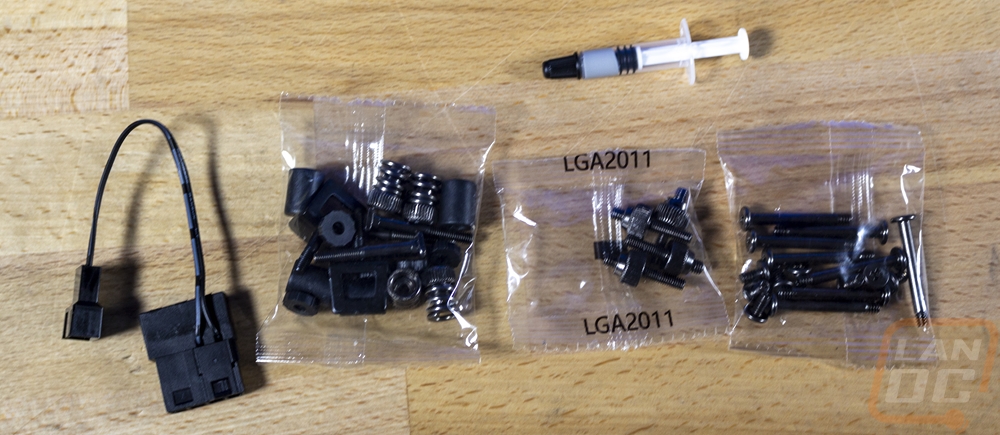
The MAG Coreliquid C280 does come with a few loose accessories when you dig into it. The fans themselves also come loose, but I have already touched on those. You get a bag of mounting hardware for the new LGA1700 socket which I obviously used for the Z690 review. There are two top mounts for the waterblock, one for Intel and the other for AMD and the Intel top bracket works with the 1700 socket. Then there is a second backplate for older Intel sockets. The AMD mounting design uses the stock plastic hook design from AMD so there isn’t a backplate needed for that. You get a fan splitter to hook both fans up to one PWM fan header so they have matching fan speeds and there is also a Molex to fan header adapter if you want the fans running at full speed all of the time and don’t have a motherboard header open. Thermal paste is included in a small dispenser as well. Then you have three small bags of mounting hardware. The one on the right in the picture below is all fan screws with short and long mounting screws for the fan and the radiator to be mounted. There is a bag just for Intel LGA2011 mounting with its screw-in standoffs. Then the last bag has all of the standard mounting including the screw-down thumbnuts with integrated springs.
As for the lighting on the Coreliquid C280, I did get a few pictures of both the pump/block and of the fans when running. I especially like the look of the waterblocks lighting with the addressable RGB lighting behind the translucent top housing. The white translucent blades on the fans have a similar effect as well that does a great job of blending the lighting while the fans are running.
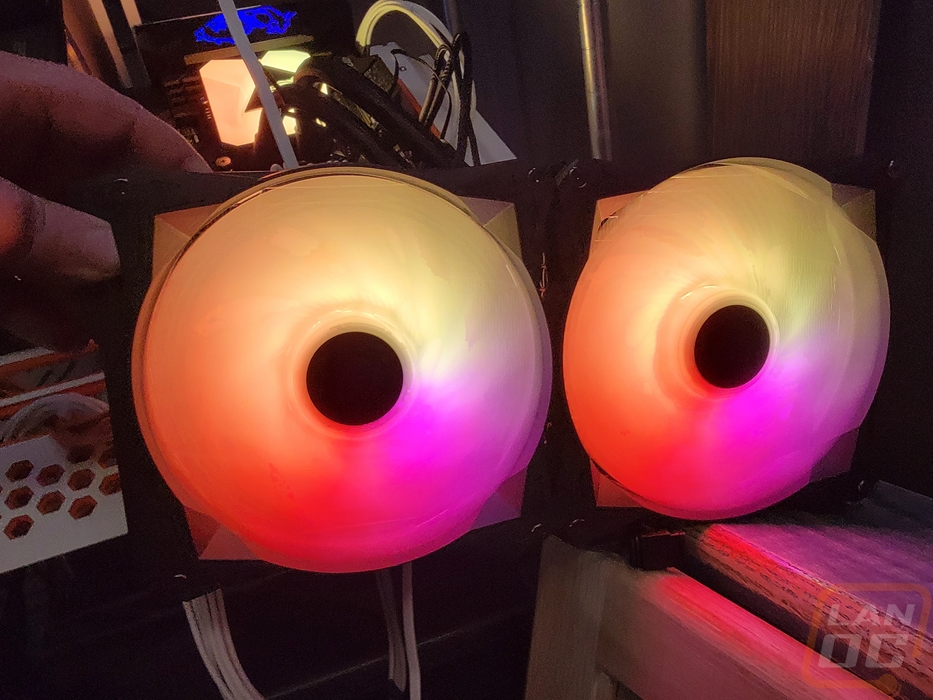
I also got a few videos of the lighting effects as well. Keep in mind that the lighting effects are run off of your motherboard's controls, so the effects available will depend on the options that the software has.
BIOS
The Z690 Carbon WiFi boots up into its Click BIOS 5 right into its EZ mode which has important information up top like your CPU temperature, BIOS version, memory capacity, and the CPU model. They also have the CPU and memory clock speeds in a large font in the top left. One click overclocking for the CPU is right below that and the XMP profiles for the memory can be turned on there as well. Then they have drag and drop boot priority where you can quickly change what your boot device order is. There are a few options on the left that let you flip through CPU, memory, storage, and fan information to see information on those. Then down at the bottom, they have a few quick options like being able to turn off the RGB lighting and the debug screen on the motherboard as well as M-Flash for updating your firmware. Basically, MSI has a majority of the options that most people would want to get into all on this one page while not confusing people with more detailed BIOS options that could cause damage if you don’t know what you are doing.
Once you click up top for the advanced mode, you get into their traditional BIOS. The top section is still the same with the CPU temperature, clock speeds, XMP, and boot options. But From below that you have pages you can open to get into motherboard settings, overclocking settings, the M-Flash again, hardware monitor, and a page for overclocking profiles.
The motherboards settings option when opened up is broken down into system status, advanced, boot, and security. You can also save and exit here as well or up in the top right corner of any page. The system status page just breaks down more detailed information on your motherboard including the serial number. They have a list of the SATA and M.2 ports and if anything is hooked up to them and even information on your CPU ID. This is also where you can set the system time. Most options are all packed into the advanced tab. They break things down by subsystem so anything with the PCI slots is all in the top option for example. All of the onboard video options are on one page and things like anything USB also has its own tab. The boot tab has a few bootup options like fast boot and options to set if your number lock is on or off when you boot up. Then below that, you have the more traditional boot order menu as well as the hard drive boot order as well for when you have more than one hard drive. The security tab gets into trusted platform settings which can be important now that Windows 11 requires it, chassis intrusion settings, and secure boot options for setting a BIOS password and turning on encryption.
The overclocking settings option is where most people who are diving into the advanced settings will spend more time. They start off right at the top with the OC explorer mode option which lets you pick how deep you want to go into overclocking options. Then right at the top are both P and E core ratios. You have to go down a little farther to get into base clock settings. Don’t skip out on the advanced CPU configuration though, this is where you can turn the P and E cores completely on and off and more importantly set your turbo boost options as well as setting your power limits. The long and short duration power limits should most likely be out in the main overclocking settings as these make a huge difference in cooling performance. There is the CPU Cooler tuning option at least which lets you pick from an unlimited wattage or 241w and 288w options depending on your air cooler capabilities. Back on the main page below the base clock settings, they have all of the memory overclocking settings including fine detail control in the advanced page. Then below that, they have all of the CPU power settings.
The overclocking profile page on the right is where you can backup your current overclocking settings and switch to other profiles that you have made. Then the hardware monitor opens up its own program. It does show the temperatures across the CPU and motherboard as well as voltages. This is also where you get into fan control settings to create a fan profile or to set them all to full speed. You can also fine-tune the fan step up or step down times to help cut down on the quick fan spin ups that make fan noise more obvious.
Test Rig and Procedures
Test System
CPU: Intel Core-i9 12900K – Live Pricing
Cooling: MSI MAG CoreLiquid C280 - Live Pricing
Noctua NT-H1 Thermal Paste - Live Pricing
Memory: Micron Pre Launch DDR5 2x32GB – Live Pricing
Storage: Sabrent Rocket Q4 2TB – Live Pricing
Video Card: Nvidia RTX 3080 FE - Live Pricing
Power Supply: Corsair AX1200 - Live Pricing
Case: Dimastech Test Bench - Live Pricing
OS: Windows 11 Pro 64-bit - Live Pricing
|
Motherboard Testing |
|
|
Passmark Performance Test 9.0 |
Overall PCMark score |
|
PCMark 10 |
PCMark 10 standard test, not the quick or extended versions |
|
3DMark |
We run the 2013 Fire Strike test on the performance setting and Time Spy on its regular setting |
|
In Game Tests |
|
|
World War Z: Aftermath |
1080p, In-Game Benchmark, Ultra detail |
|
The Division 2 |
1080p, In-Game benchmark, Ultra detail with v sync turned off |
|
Tom Clancy’s Ghost Recon: Wildlands |
1080p, built-in benchmark run at the high setting |
|
Shadow of the Tomb Raider |
1080p, In-Game benchmark, High detail setting |
|
Far Cry 6 |
1080p, In-Game benchmark, Ultra detail setting |
|
Subsystem Testing |
|
|
Passmark |
Passmark Advanced network test |
|
VRM Temps |
Temperatures tested using a Flir One Pro while running AIDA64 stress test on the FPU setting |
Performance
For performance testing I ran through a mix of standard benchmarks, these aren’t really there to show a big performance gap between any motherboards. But just to make sure everything is running smoothly and to make sure that no boards are overclocking our CPU more than they should be. But I did do the testing with the CPU power limits set to 250 watts just like in our CPU launch testing so that shouldn’t be an issue. It also gives a look at what the Z690 Carbon WiFi paired up with the 12900K and an RTX 3080 can do as well and surprise surprise, it’s a lot!
The main test that does take a look at an area that can vary from motherboard to motherboard was the network testing down at the bottom. Depending on what network controller is used performance can vary and in the case of WiFi performance I have found in the past that the included antennas make a big difference as well. I still have more Z690 boards to test before we see how the Carbon compares, but it did do well in all three tests with the 1G network coming in just a hair below that and the 2.5G test at 2356 Mb/s. The WiFi may look a little low, but that is in line with what I typically see in my house for any WiFi 6 device, if not a little on the high side.
|
3DMark – Fire Strike |
||||
|
Motherboard |
Overall Score |
Graphics Score |
Physics Score |
|
|
MSI MPG Z690 Carbon WiFi |
36688 |
42430 |
38900 |
|
|
3DMark – Time Spy |
||||
|
Motherboard |
Overall Score |
Graphics Score |
CPU Score |
|
|
MSI MPG Z690 Carbon WiFi |
17887 |
17715 |
18932 |
|
|
PCMark 10 Score |
||||
|
Motherboard |
Overall Score |
Essentials |
Productivity |
Content Creation |
|
MSI MPG Z690 Carbon WiFi |
8783 |
11240 |
10725 |
15251 |
|
Passmark PerformanceTest 10.0 - Overall Score |
||||
|
MSI MPG Z690 Carbon WiFi |
8254.4 |
|||
|
World War Z: Aftermath – Ultra Detail – Average FPS |
||||
|
MSI MPG Z690 Carbon WiFi |
279 FPS |
|||
|
Tom Clancy’s Ghost Recon: Wildlands – High Detail - Average FPS |
||||
|
MSI MPG Z690 Carbon WiFi |
186.58 FPS |
|||
|
Shadow of the Tomb Raider – High Detail - Average FPS |
||||
|
MSI MPG Z690 Carbon WiFi |
209 FPS |
|||
|
Far Cry 6 – Ultra Detail - Average FPS |
||||
|
MSI MPG Z690 Carbon WiFi |
141 FPS |
|||
|
Average Network Speed- Wired on a 1G Network - Mbits/Sec |
||||
|
MSI MPG Z690 Carbon WiFi - Intel I225V 2.5G NIC |
942.5 Mbits/sec |
|||
|
Average Network Speed – WiFi 6 - Mbits/Sec |
||||
|
MSI MPG Z690 Carbon WiFi – Intel WiFi 6E Module |
448.8 Mbits/sec |
|||
|
Average Network Speed – wired on 10G Network - Mbits/Sec |
||||
|
MSI MPG Z690 Carbon WiFi – Intel I225V 2.5G NIC |
2356 Mbits/sec |
|||
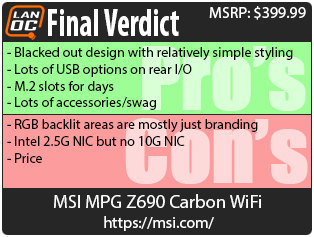
Overall and Final Verdict
MSI hit the ground running with the Z690 launch with a wide variety of options that cater to just about every type of build you might be considering. The MPG Z690 Carbon WiFi is focused on gaming, just like the MPG brand would indicate, but I love that MSI has toned down the typical “gaming” themed features. They have a blacked out design with large heatsinks for the VRM and the entire PCIe area but they don’t have crazy colors, reflective materials, or anything else that is too flashy. There is a little bit of the fake carbon fiber, but much less than order Carbon boards. Even with the RGB lighting things are a little toned down though I will say that nearly all of the backlit features are just lighting up the branding like the MSI dragon and the Carbon name, I would have liked it more if they had more basic RGB accents and less billboards.
As for features, MSI went crazy in the areas that you need it. The rear I/O is packed full of USB ports with a lot of USB 3.2 Gen 2 ports as well as one Gen 2x2 as well. Inside on the board for headers, there are two USB 2.0 headers and one each of the new and old USB 3.2 headers so USB shouldn’t be a problem. The same goes for M.2 space, the Carbon WiFi has 5 different M.2 slots which is a little crazy but should leave a lot of room for expansion in the future along with the normal SATA ports as well. For network connections, the board does have an Intel 6e WiFi onboard as the motherboard name would imply and you also get an Intel 2.5G NIC though I wouldn’t have minded also seeing a 10G NIC as well given the price range of this board.
The other area that I was really digging is that MSI has stepped things up when it comes to the accessories and swag that they include with the board. The software comes on a nice MSI branded USB drive, you get an MSI screwdriver, and even an MSI keyboard duster. None of those are expensive, but when you are spending this much on PC hardware I do like that it feels like you are getting hooked up a little bit.
I mentioned the pricing, the Z690 Carbon Wi-Fi has an MSRP of $399.99 which isn’t the most expensive Z690 board by a long shot. MSI alone has a few that are higher-end including another Z690 Carbon that comes with an EK waterblock. But I do have to just mention overall that the pricing for these boards is starting to get a little crazy. Six months ago for example the Z590 Carbon Wi-Fi was $349 and the Z490 Carbon launched at $269.99 in April of 2020. This isn’t specifically on MSI at all, but with board prices going up more and more and DDR5 availability issues really making those crazy as well it makes it hard to justify new builds as a whole, or at least I would be more likely to go with a board like the MSI Z690 Tomahawk where the money saved would also pay for a DDR4 memory kit to go with it.

Live Pricing: HERE


