Packaging and Accessories
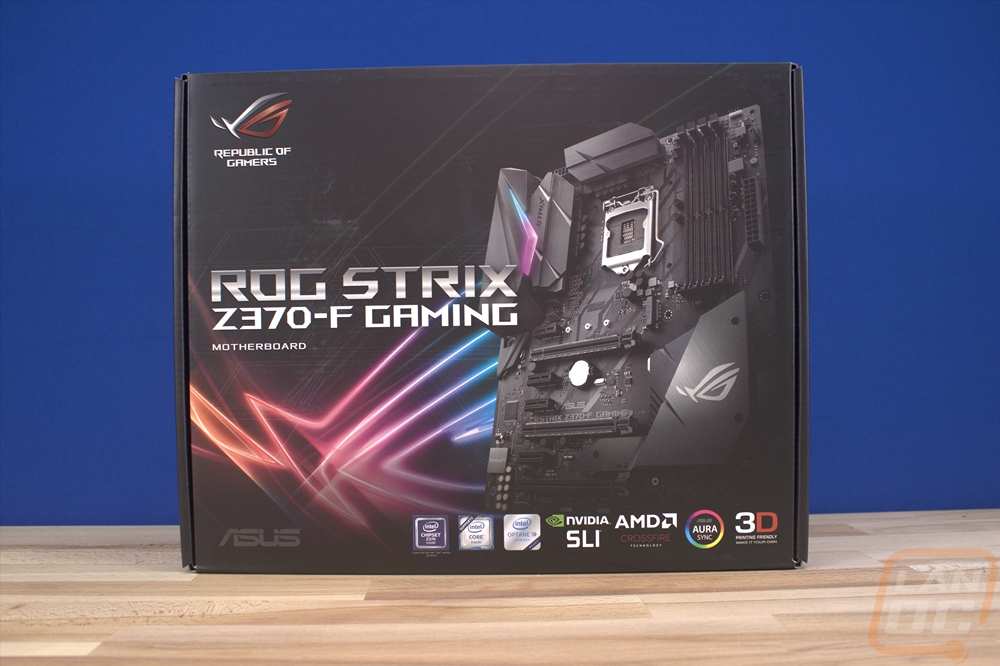
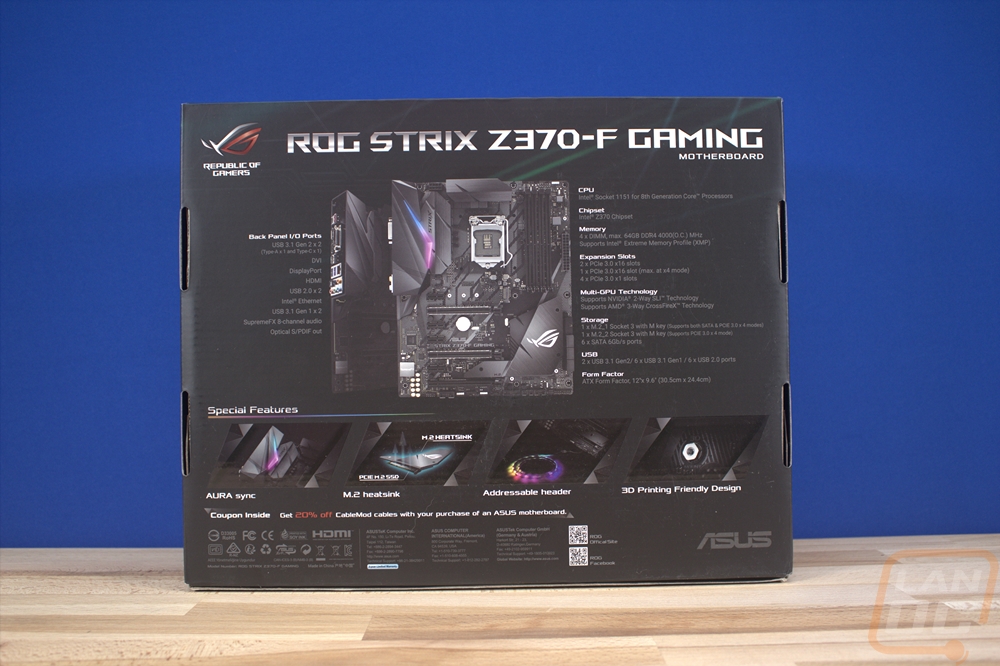
For packaging, Asus didn’t change anything big when moving to Z370. We have the standard Strix look with a black background and the ROG logo in the background in multiple neon colors. The front has a photo of the board with the model name out in front. Then down along the bottom, there are a few of the required logos for stuff like the Intel chipset and CPUs, Nvidia and AMD’s multi-card solution, and then Asus includes the Aura and 3d printing friendly logos to hint at some of the board's features. On the back of the box, there are a few more photos. The main photo has a top-down look at the board along with an angled picture to show the rear I/O. Next to that is a short specification listing. Then down along the bottom, they highlight four key features with more photos. Namely the Aura Sync lighting, the M.2 Heatsink, that the board has an Addressable LED header, and that it is 3D printing friendly.
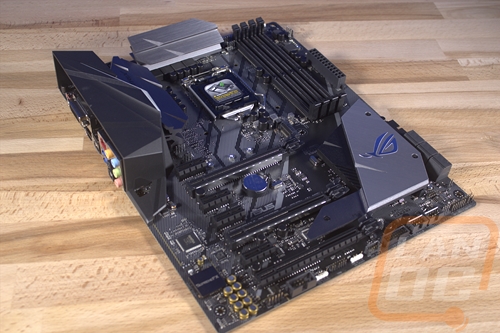
Once you open everything up the board comes wrapped up in a static protective bag and it its own carboard tray. This floats up above all of the accessories under it.

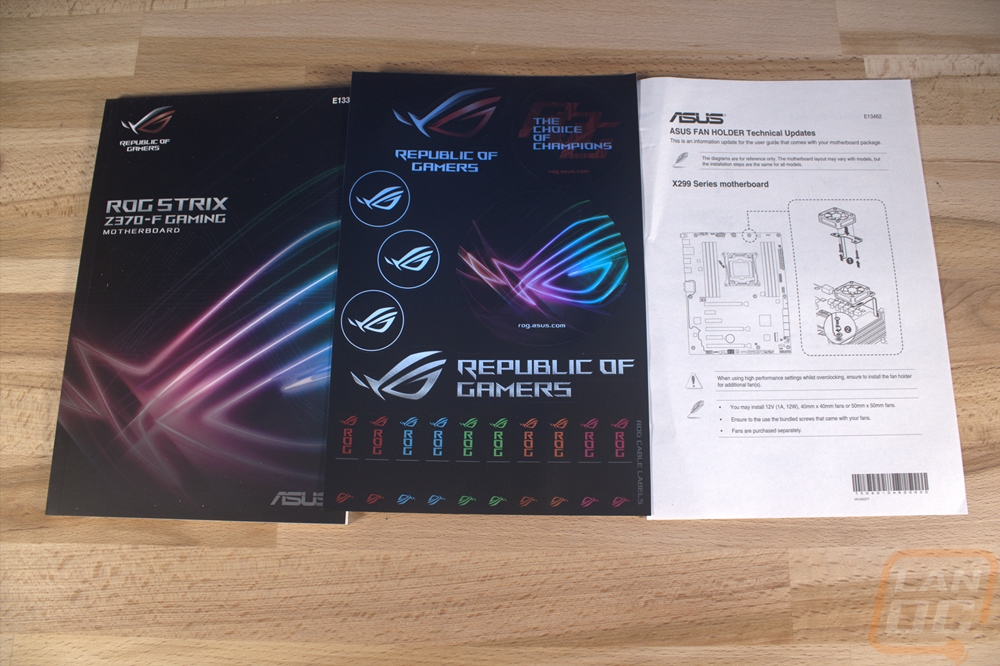
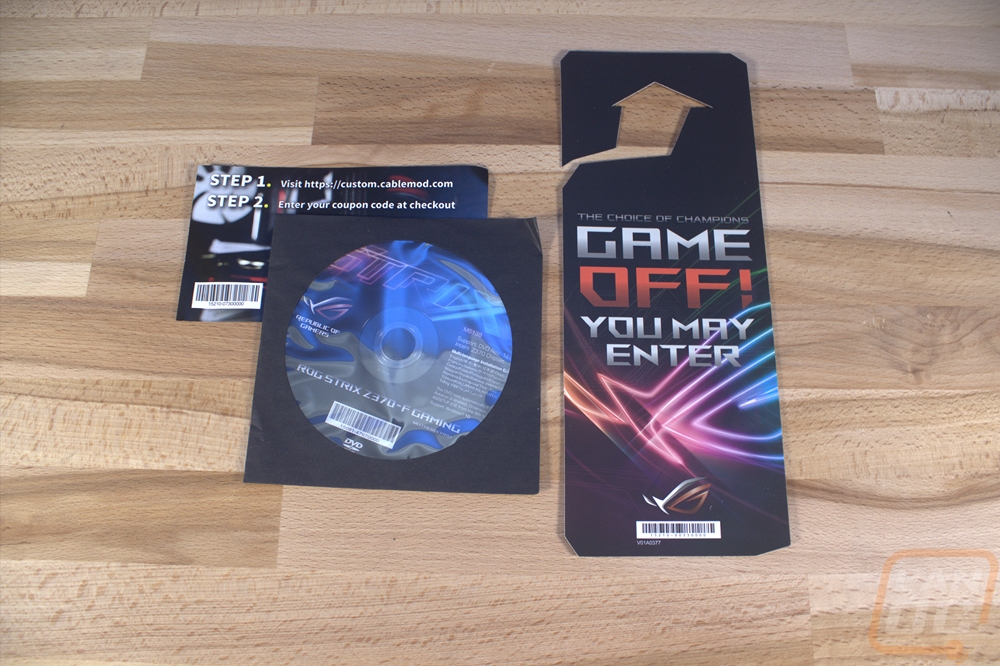
For documentation, you get a full user manual. With it, they have also included a sticker sheet, this time including the SATA stickers right in with the stickers you might stick around the house. There is also an instruction sheet showing how to use the fan holder, even though it says X299 on the paper it looks to match what you need to know for this board. Also with the documentation, you get a door hanger to warn people when you are gaming, a cablemod 20% off coupon to buy more lighting, and a driver/software disc. I would still suggest downloading the most up to date drivers and software from Asus’s website.
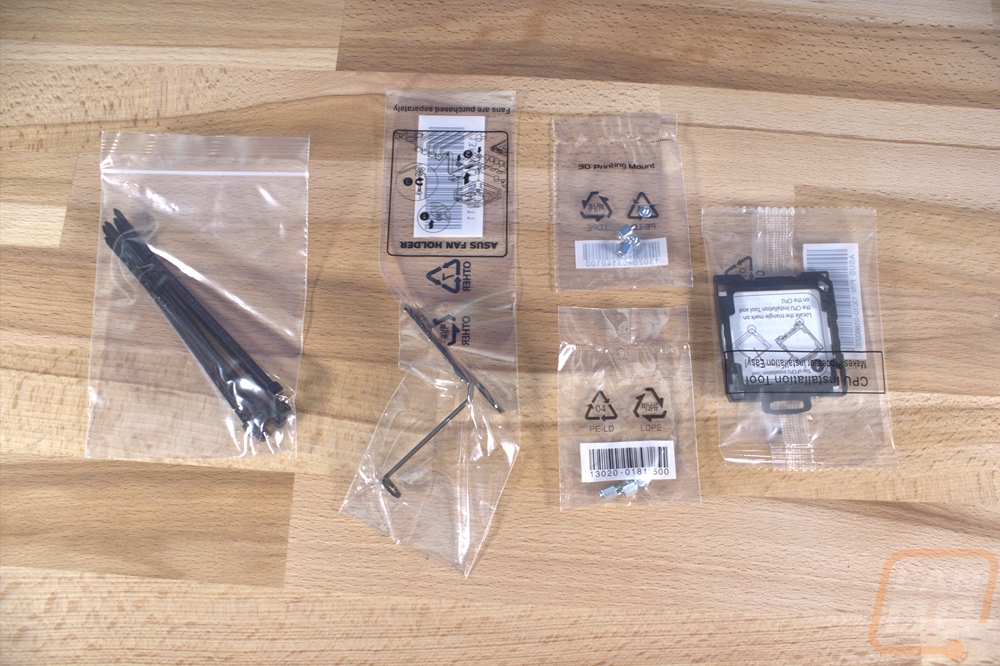
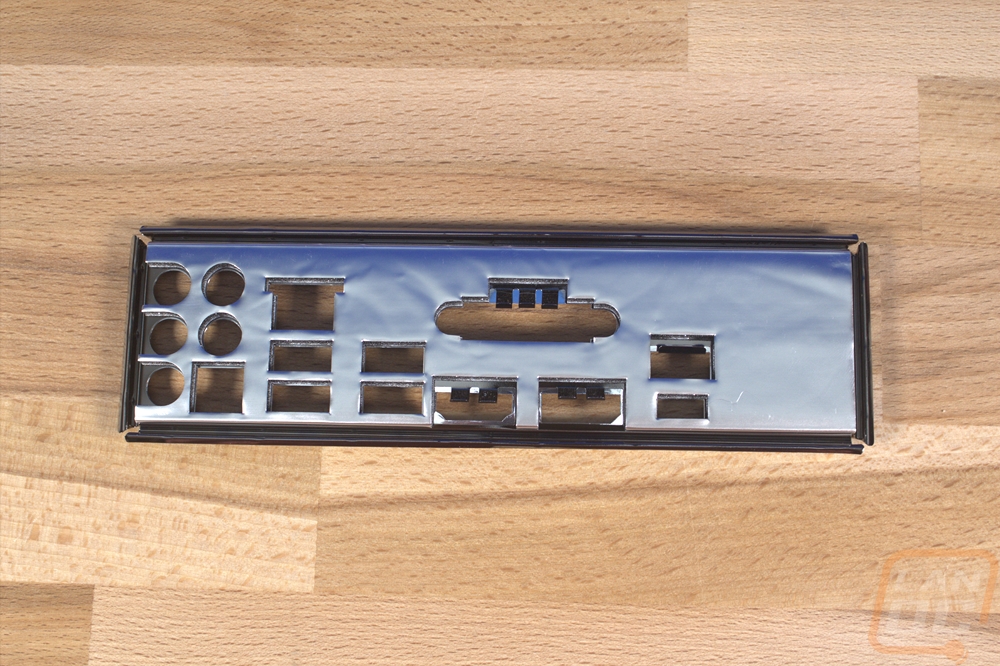
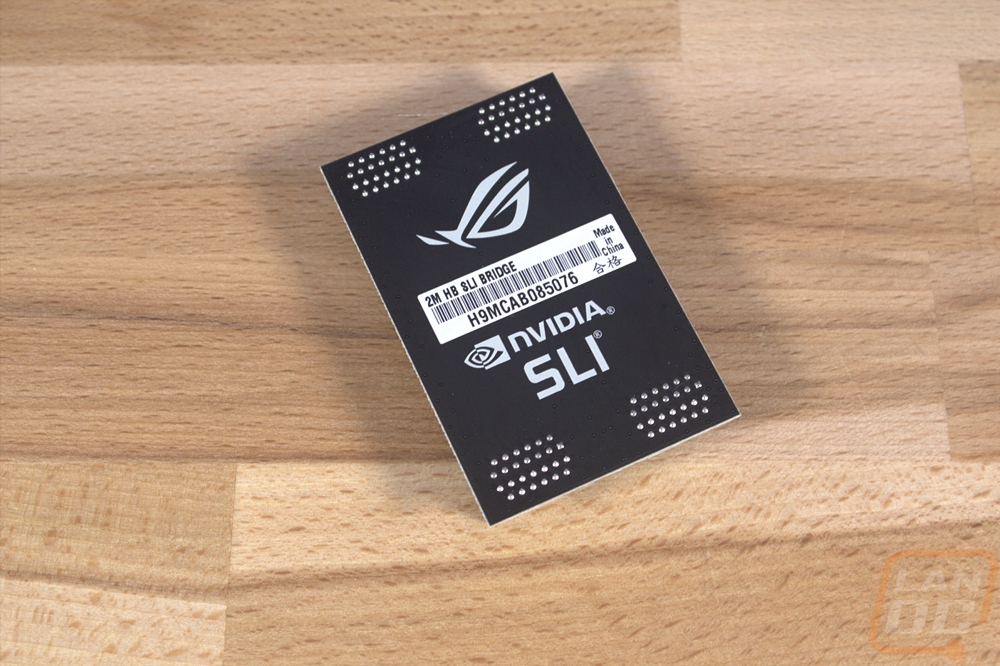
The Strix Z370-F comes with a few different accessories. You get two bags with two SATA cables each to start. Then you have cables for both normal RGB lighting and the new addressable LED lighting. Then on the far right, they also included one thermistor cable to be able to keep an eye on one temperature around your case using Asus’s software. This is something you normally see on a lot more high end of a board so I was happy to see they included one here. They included a bag of zip ties along with the screws and hold-downs for all of the 3d printable mounting locations and the fan bracket. There is also a CPU installation helper tool. The bracket is for mounting a small fan up over the memory DIMMs. Then, of course, you also have a rear I/O cover, this one is blacked out and while it does have foam on the back a few of the holes also have springs that you have to be careful don’t get jammed inside of their respective connection plugs. Then last but not least they included a flat black solid PCB HB SLI bridge in case you want to run two Nvidia cards together in the future.