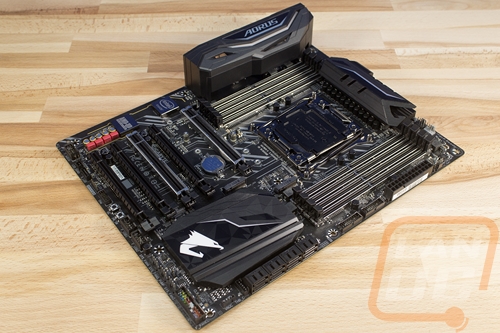
BIOS
For the BIOS, today I’m going to do something a little different from our normal BIOS photos. I’ve recorded a slow click through of the entire BIOS and have it below. This way anyone can flip through and see all of the options available in detail and at their own pace. Then below the video, I have a few notes and observations from my click through of the BIOS.
So the overall look and feel of the BIOS are very similar to the AM4 based Gigabyte AB350N Gaming Wifi and the AB350 Gaming 3 that I have checked out recently. I was honestly expecting a different BIOS look and feel with this being an X299 board and with this being an Aorus board. There is an Easy mode but given that it doesn’t boot directly into it, it doesn’t do any good. Putting new users into the advanced settings out of the hole defeats the point of an easy mode. On any page you can move your mouse over to the right and get a pull out look at the current CPU, Memory, and Voltage stats. There is also a q-flash option to update your bios down at the bottom.
The first page that you land on it basically the only place you need to go for overclocking, but each of the areas has been split up into its own page. I wish there were at least a few main options on the main M.I.T. page to maybe turn on XMP and change the basic clock speeds. You do have decent overclocking options including voltage and base clock adjustments. You can spot all of the modifiable options because they are bright white. Anything dimmed out can’t be changed, at least without turning on other options. Changing settings is a little confusing, you click on them and then type a new result in. I would love to see it at least keep the previous result up on the screen, I can see myself clicking to change something and then forgetting what the current setting is. Hell, I did it just when making this video even.
The Smart fan page is actually much better than the rest of the BIOS. Here you can dive into the current fan settings and even turn on a few different temperature warnings and fan fail warnings. The second tab is the system tab, this one is very basic and only shows the model and BIOS information. The BIOS page, like I have mentioned before should be called the Boot page as it is where you set all of your booting options. The Peripherals page gets into some of the USB and SATA configurations as well as RGB Fusion for the lighting. A lot of these fit with the chipset options page as well where they only have four different settings left to fit on it. The power tab is the last important tab, this one just handles how your PC handles losing power and lets you turn on different ways to wake your computer.
All in all this BIOS was fine with me on the entry level priced B350 boards but with this being a much more expensive board I was really hoping to see a little more. They could fix a lot just by cleaning up the locations and naming of the tabs, when the BIOS tab is where all of the boot options for example. Bringing the popular overclocking settings into the base MIT page would make things simpler as well. Beyond that getting it to boot into the built-in Easy Mode would be nice as well to prevent anyone who doesn’t know their way around from getting into something they shouldn’t.
