BIOS
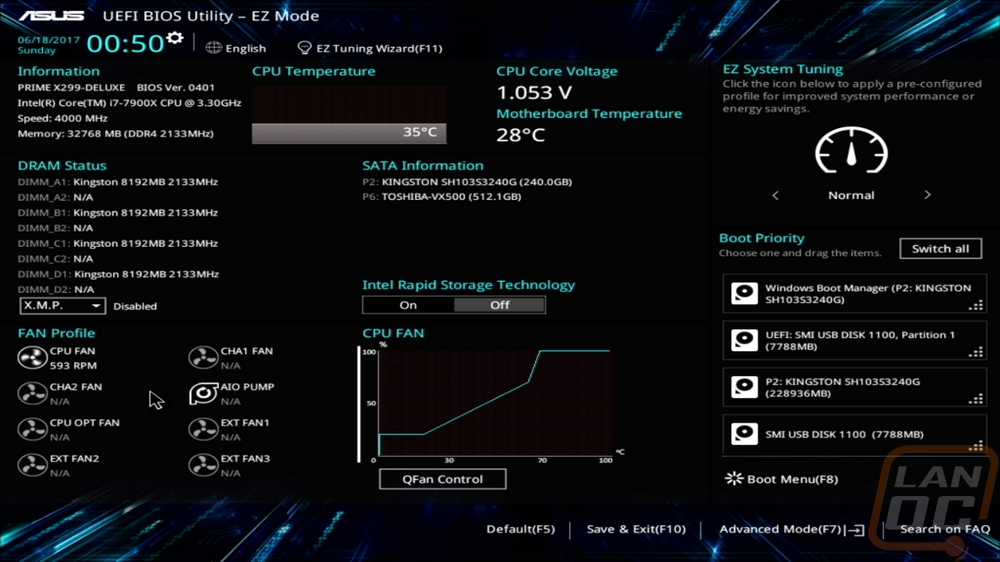
For the BIOS the UEFI on the Prime X299 Deluxe stuck with basically the same look and layout as the X370 Prime and X99 Prime boards that I have in the office. When you boot into the BIOS you land on the EZ Mode page where you can do and change the main offenders. You can do an auto overclock with the EZ System Tuning, change the boot priority with a drag and drop setup, adjust fan profiles, turn on XMP, and turn on Intel Rapid Storage. There is also some info about your PC and readouts for key information.
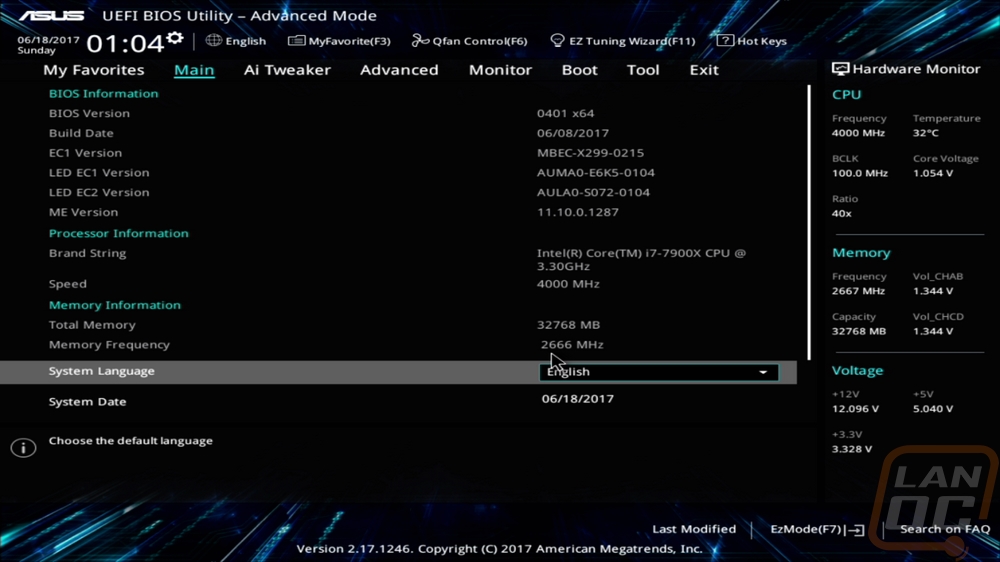
The advanced mode is a lot more like a traditional BIOS only with a mouse and I should point out that the mouse moves correctly, something that a lot of other boards still have trouble with. Over on the right of every page, you get CPU, Memory, and Voltage information on the fly. Up top, there are tabs to sort out all of the options and above that, there are a few main features like Qfan where you can adjust fan speeds. The main page itself just has BIOS versions and basic memory and CPU info.
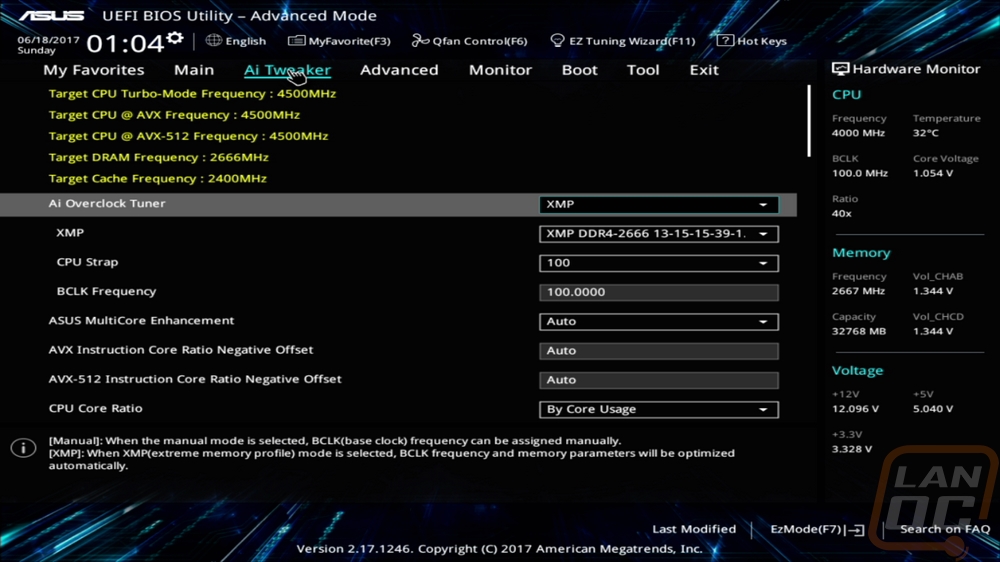
The Ai Tweaker tab is basically where you will do any and all overclocking. Up top, it shows your target frequencies for the CPU, memory, and cache. Then from there, most of the main settings for the CPU and memory are on this page or there are subpages you get to from this page like DRAM timings for example. Asus didn’t skimp on anything.
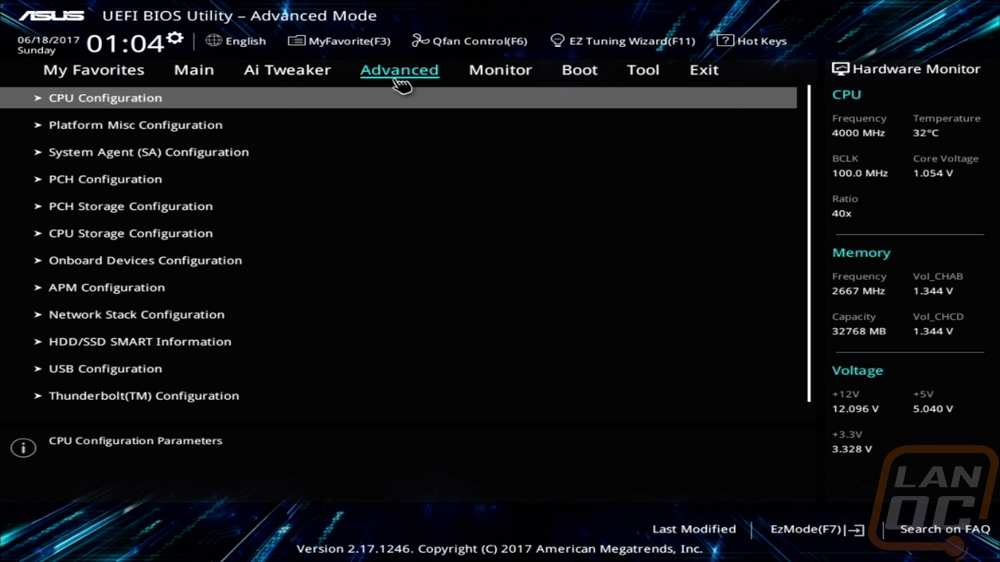
With the number of features built into the board, it also means a lot of on and off switches and tweaks you can do. Basically, anything that isn’t overclocking is on the Advanced tab. Each of the options seen here have their own pages with even more options and pages inside.
The Monitor page is simple, this is where you turn all of the sensors on and off and check all of the detailed readouts that the X299 Deluxe has. Remember on top of all of the fan headers and normal sensors they also included three external sensors as well, it’s all here.

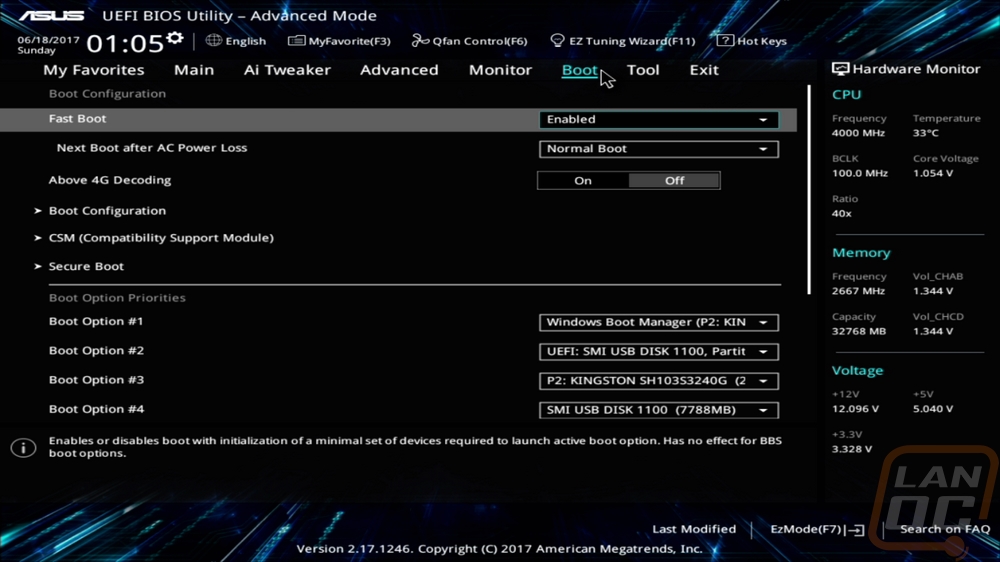
So the boot page isn’t as easy as drag and drop from the EZ Mode but you have that option and a lot more. You can change all of the boot order, dive into secure boot, turn compatibility modes on and off for Windows 10 and older OS’s, and anything else booting related.
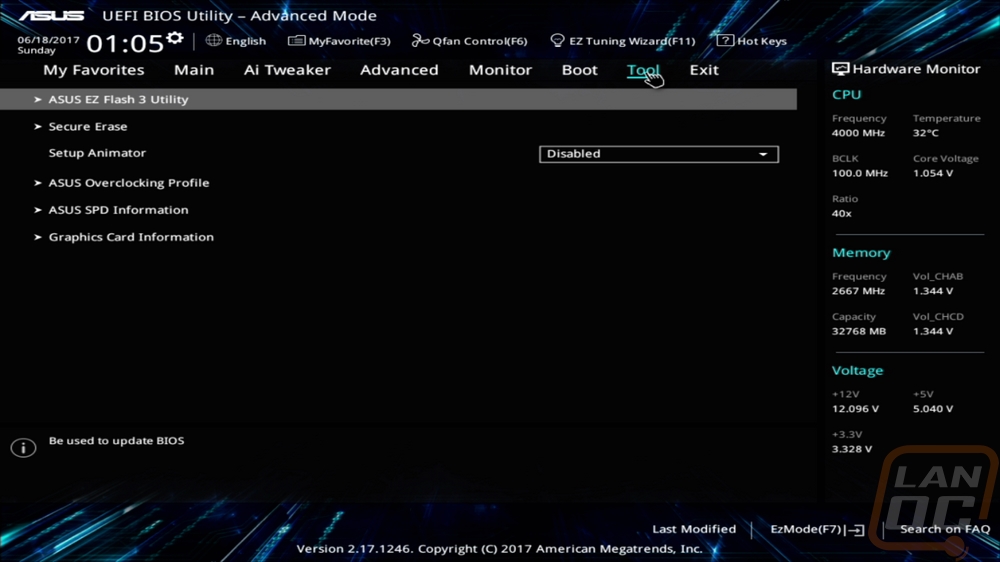
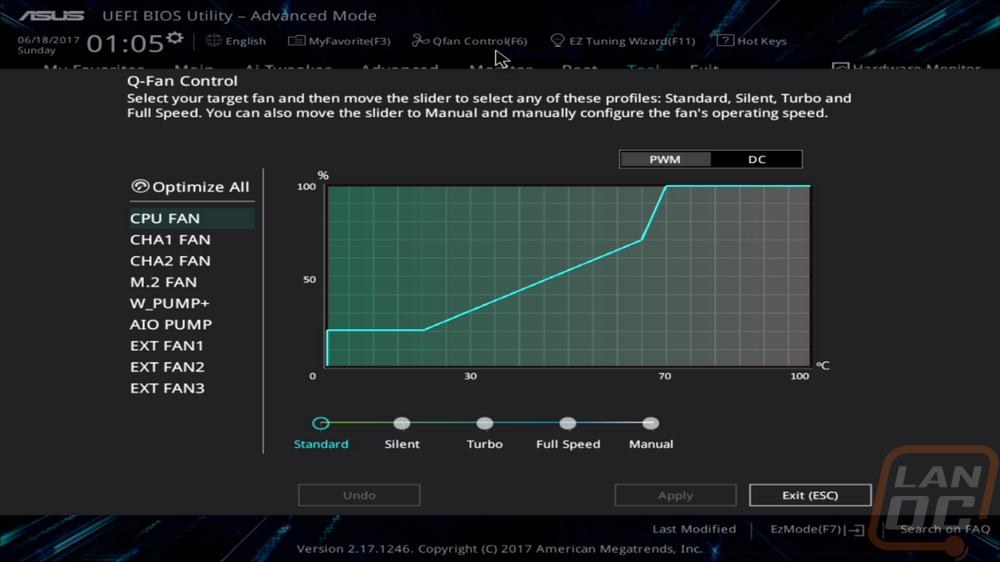
The tool page is the catch all for just about everything else and really the EZ Tuning and Qfan should also be here but they are already up on top. You can secure erase your hard drive or set overclocking profiles. Mostly though I use the EZ Flash 3 Utility where you can reflash your BIOS. You actually get the open to download it or you can pull the new BIOS that you already downloaded off any installed drive including your OS drive, in the downloads folder for example for a simple upgrade. Then I also included a look at the QFan page. You can basically create your own fan profiles to help better tune your cooling to keep things cool and quiet.