Board Layout and Pictures
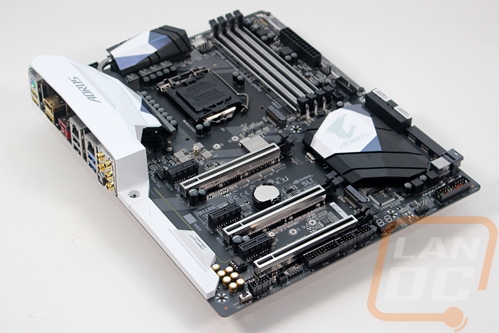
So the new Z270 board might have new branding, but it reminds me a lot of Gigabytes Z170 boards. In fact, a lot of the same features introduced on them have been carried over or improved on. For styling, they stayed color neutral with the black PCB, black heatsinks, and use of gray and white. The rear I/O cover is bright white and that stands out a lot from the rest of the board, but that is the look Gigabyte has seemed to prefer for the past year. The cover is a little different this time around, though, it has a more angular design and it actually integrates into one of the heatsinks. The color-neutral look is all about letting people pick their own style with the RGB lighting and Gigabyte did slip that in a few areas.
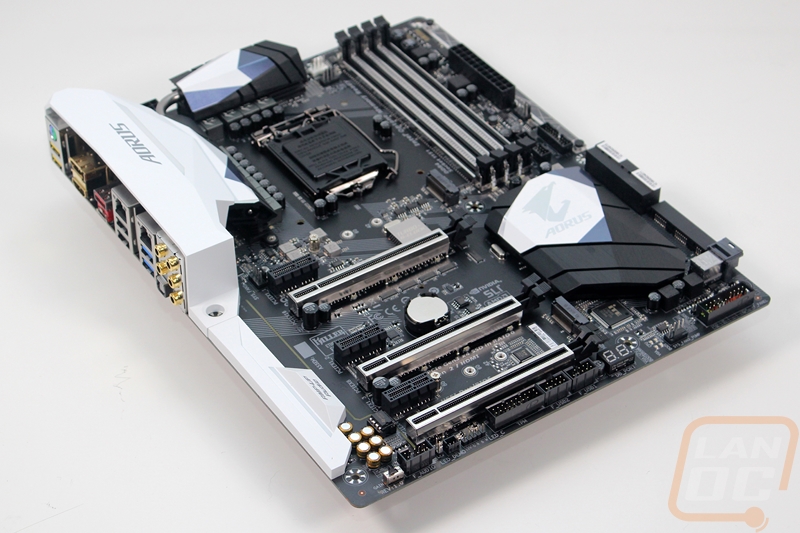
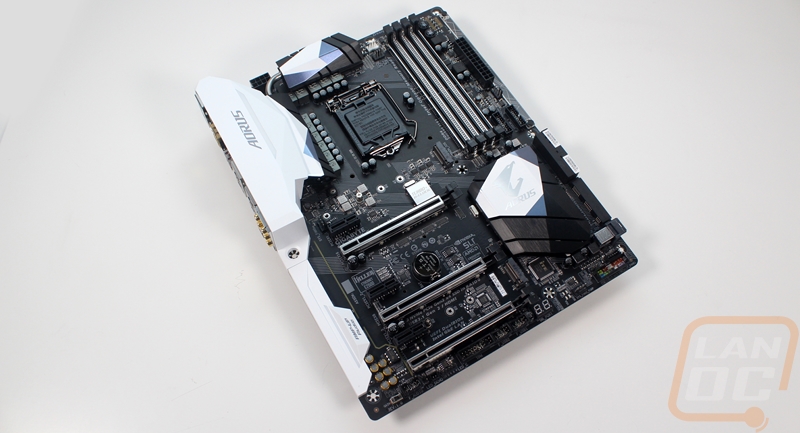
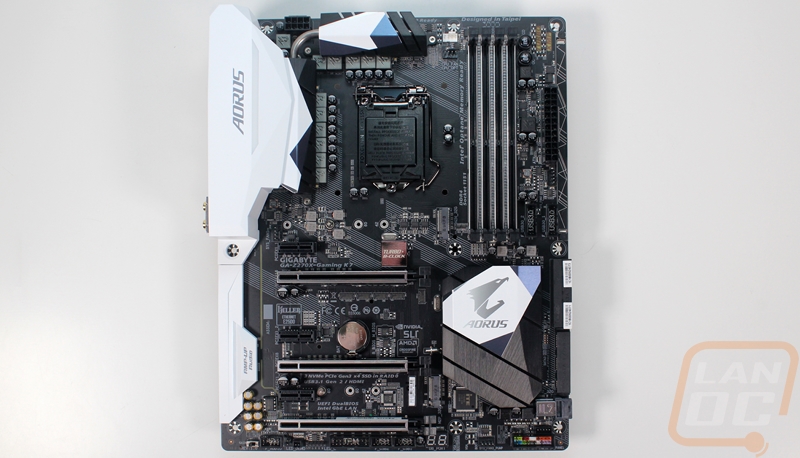
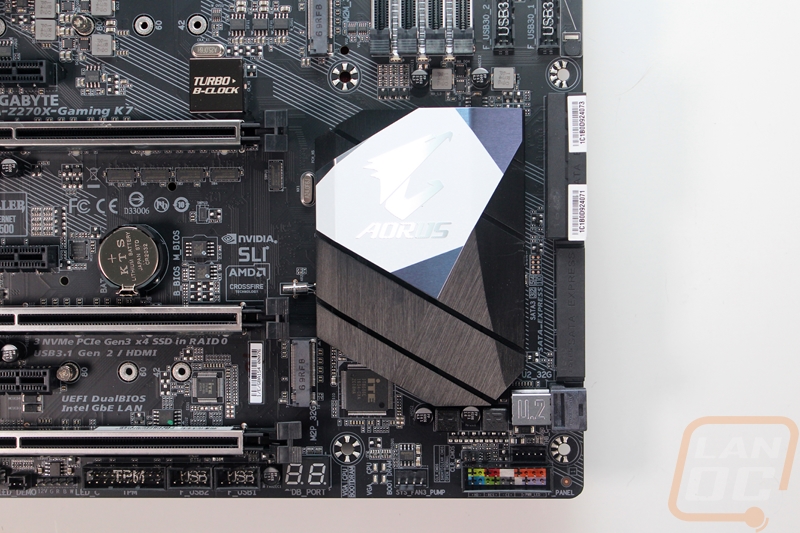
The coolers are similar to the Z170 and second gen X99 boards only more angular in design as well. The chipset cooler down at the bottom is still low-profile to slip under cards but they did get the Aorus logo onto it in the white patch. The cooling for the power circuitry is up to the top and left of the CPU socket and these are even more angular. They also have flat black heatsinks under the gray and white plates on top and the left heatsink has the rear I/O cover touching it as well. Between them is a relatively thick heatpipe to spread the heat out.


Starting up in the top left corner of the Gaming K7 lets check out what the board has to offer. Around the CPU socket we can see all of the power phases along with the dual heatsink configuration to keep them all cool The white plastic rear I/O cover goes over both the heatsink and the I/O with no room for anything to be hidden behind it so there really is only the 8-pin power connection up in the corner by the heatpipe and the two fan connections to the right. The fan connections are for the CPU cooler, you get a main PWM fan header for a cooler fan and the second can be used for a second fan or for a water pump for water cooling. For lighting, there is an RGB strip under the I/O panel that lights up and there are four surface mounted LEDs to the top and left of the CPU socket to light your cooler up.
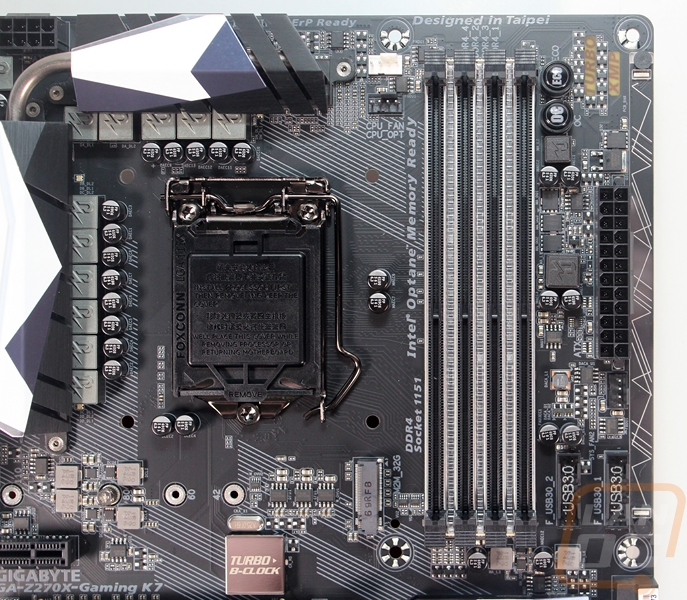
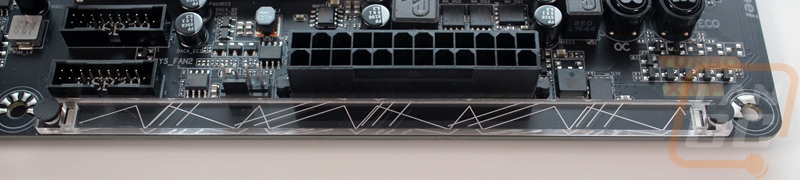
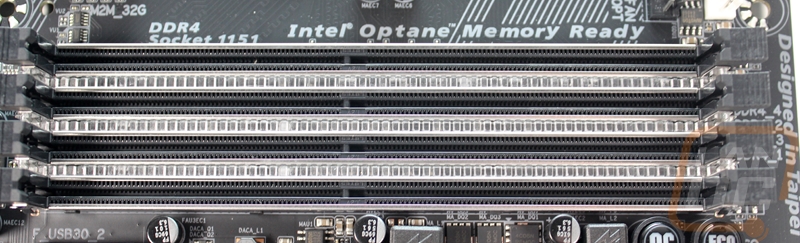
Over on the top right, the four DDR4 DIMMs take up most of the space. There are a few other things over along the edge, though. For starters, there is a standard 24-pin motherboard power connection but strangely enough, it's not right up against the edge like normal. There are also two buttons up next to the ram to overclock or to turn on the ECO mode without even having to get into the BIOS. There isn’t a power or reset button, though. Down at the bottom of the ram, they slipped in a 4-pin PWM can fan header and two USB 3.0 internal headers on the off chance your case needs two. I haven’t seen any cases that do even though I would prefer to have more USB 3.0 connections on them. I would actually prefer the second connection to be the new USB 3.1 internal header to open up options for that later when it starts to get used on cases for Type C connections.
The top right area is really heavy on the lighting. In between each DIMM Gigabyte put RGB LED strips to light up your ram to match the rest of the board. In addition to that, there is an odd plastic strip that gets lit up by the RGB LEDs with this line design on it. They advertise it as a swappable array and they have designed it to be easy to swap out with other overlays that you can make. I’m not sure if they plan on selling any others themselves, though.
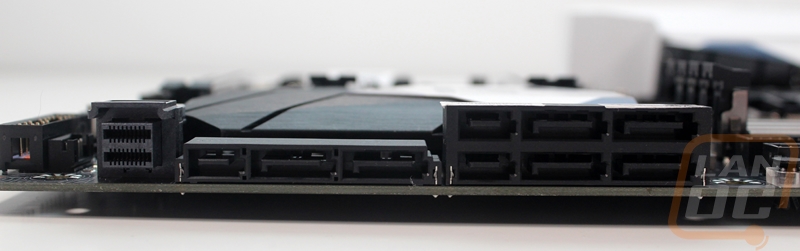
Down in the bottom right corner, the front panel connections are color coded and put on the bottom edge for the easiest access. The clear CMOS pins are also right above it, that’s a big improvement, a lot of times you can’t even find them without the manual. There is another 4-pin PWM system or pump fan header and next to it is a two digit LED readout for error codes and to show the boot process. The main connections though are all on the right edge. The board has three SATA Express ports on the off chance anyone actually makes devices for that form factor. They can also be used as six normal SATA connections as well. They also included a U.2 port as well. The Intel 750 Series drive is the only one using that right now, but it's nice to have.
Then down on the bottom left edge, the board is packed full of connections. There are two USB 2.0 headers and a TPM header. The front panel audio connection is there and this is where you will find the single RGB header to wire up your own lighting to the board with the included adapter. There is even a switch to flip between two gain settings for the audio card. Speaking of, you can see the gold Nichicon caps. The most interesting thing though is the replaceable OP AMP right next to them.
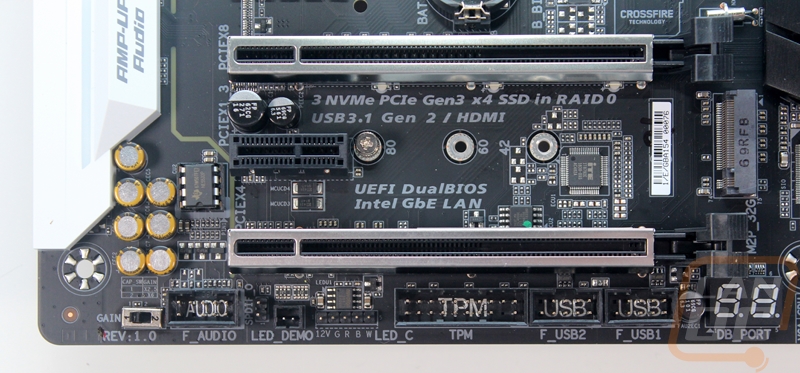
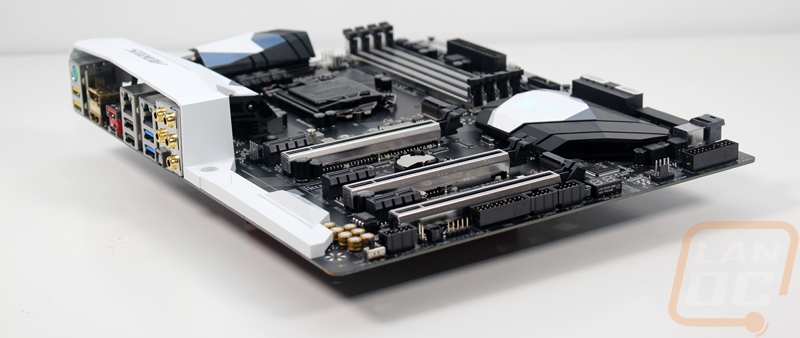
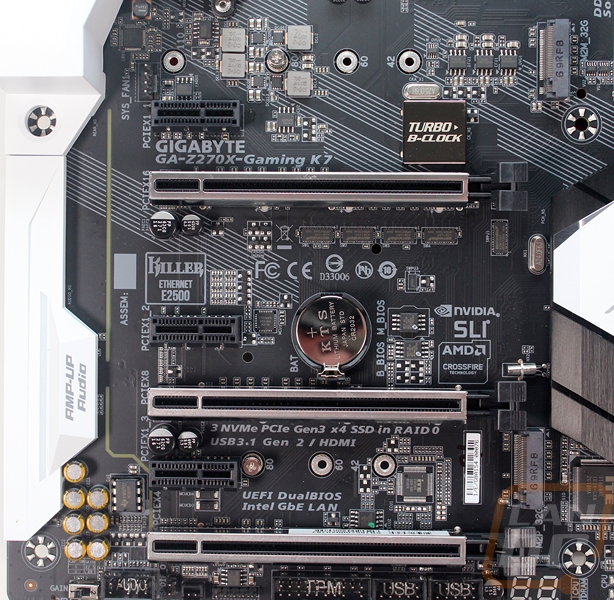
So for PCIe connections, there are three full-length x16 slots and three x1 slots. The three x16 slots all have metal armor around them that is reinforced from the back of the board. This helps protect from interference and most importantly it helps hold the strength of today's heavy video cards. The third x1 slot shares bandwidth with the SATA Express port one so you can only use one or the other. For the x26 slots, the top will run at x16 if you don’t have a card in the second slot, but if you do they both drop down to x8 slots. The last x16 slot runs at x4 all of the time. In between the PCIe slots the Gaming K7 also has two m.2 slots, both running at x4 with PCIe drive and SATA support.
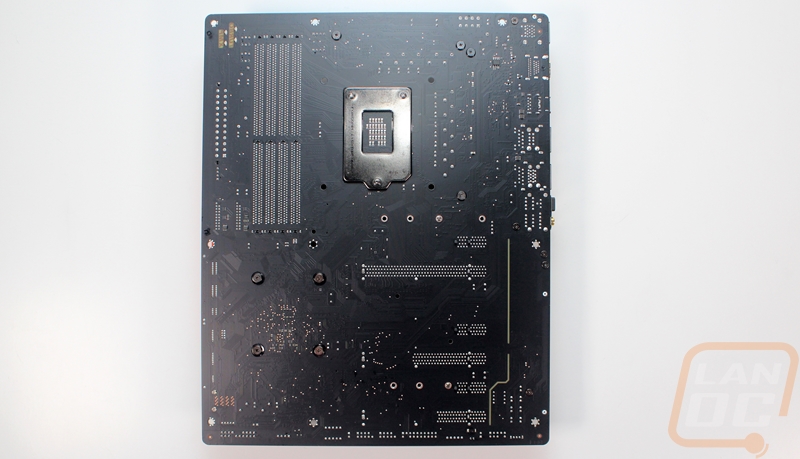
The back of the board mostly just gives a better look at that flat black PCB finish. We can also see the gap for the audio chipset down on the bottom right but it doesn’t really completely cut off at the end of the audio connections on the rear I/O like you would expect. I also really like that all of the heatsinks are attached with screws, not plastic pushpins like normal.
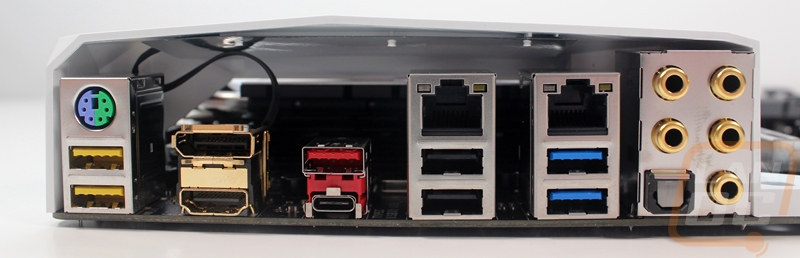
For connections on the rear I/O panel the Gaming K7 has a nice mix. Over on the right, it has gold plated audio connections in a standard audio layout with optical. Then there are two 1GbE network ports. One is run on the Intel chipset and the other is a Killer E2500. There are full sized Displayport and HDMI options for the onboard GPU and those are also gold plated. Then there is a PS2 port for those who still want to run an older keyboard or mouse. For USB there are two USB 2.0 ports, four USB 3.1 Gen 1, and then two USB 3.1 Gen 2. The two Gen 2 ports are the Type-C and the red labeled port, those are going to have the fastest transfer speeds with devices that support it.